
On Thursday I gave you a tutorial for a spiral decor mesh witch hat wreath. I had two more forms, and I knew that I wanted to do something different with them. I made a burlap fall farmhouse wreath in late August, and I thought a burlap wreath hat would be cute. It took a lot, a lot, of trial and error to figure out how to do it and how I wanted it. So you don’t have to go through what I did, here is the tutorial for a burlap witch hat wreath!
For a burlap witch hat wreath you need:
- Dollar Tree witch hat wreath form- This 3 pack will allow you to make this wreath, a spiral deco mesh wreath, and this burlap carrot wreath.
- 2 rolls 20ft long 5″ wide burlap– I used Ashland brand, tight weave burlap from Michael’s. They were $3.95 on sale.
- pipe cleaners- about 25 (just an approximation)
- 2.5″ wired ribbon- I used 3 different ribbons, one for the accent ribbon, one for the bow, and another for the “band.”

Attach Burlap to the Form
Ya’ll I can’t even begin to explain to you how much trial and error it took to figure out how to do this! With the round wreath forms, you just tie the burlap on then shove it though the wires, and it stays in because the wires are close together. Not so with this wreath form. I tried tying it on the end, but no matter what end I tied it to, the knot couldn’t be covered. I attempted to just make “bubbles” of burlap and hold them in until there were enough in there to hold themselves in. That wouldn’t word because of how far apart the wires are. Now, if you have really wide burlap that might work.
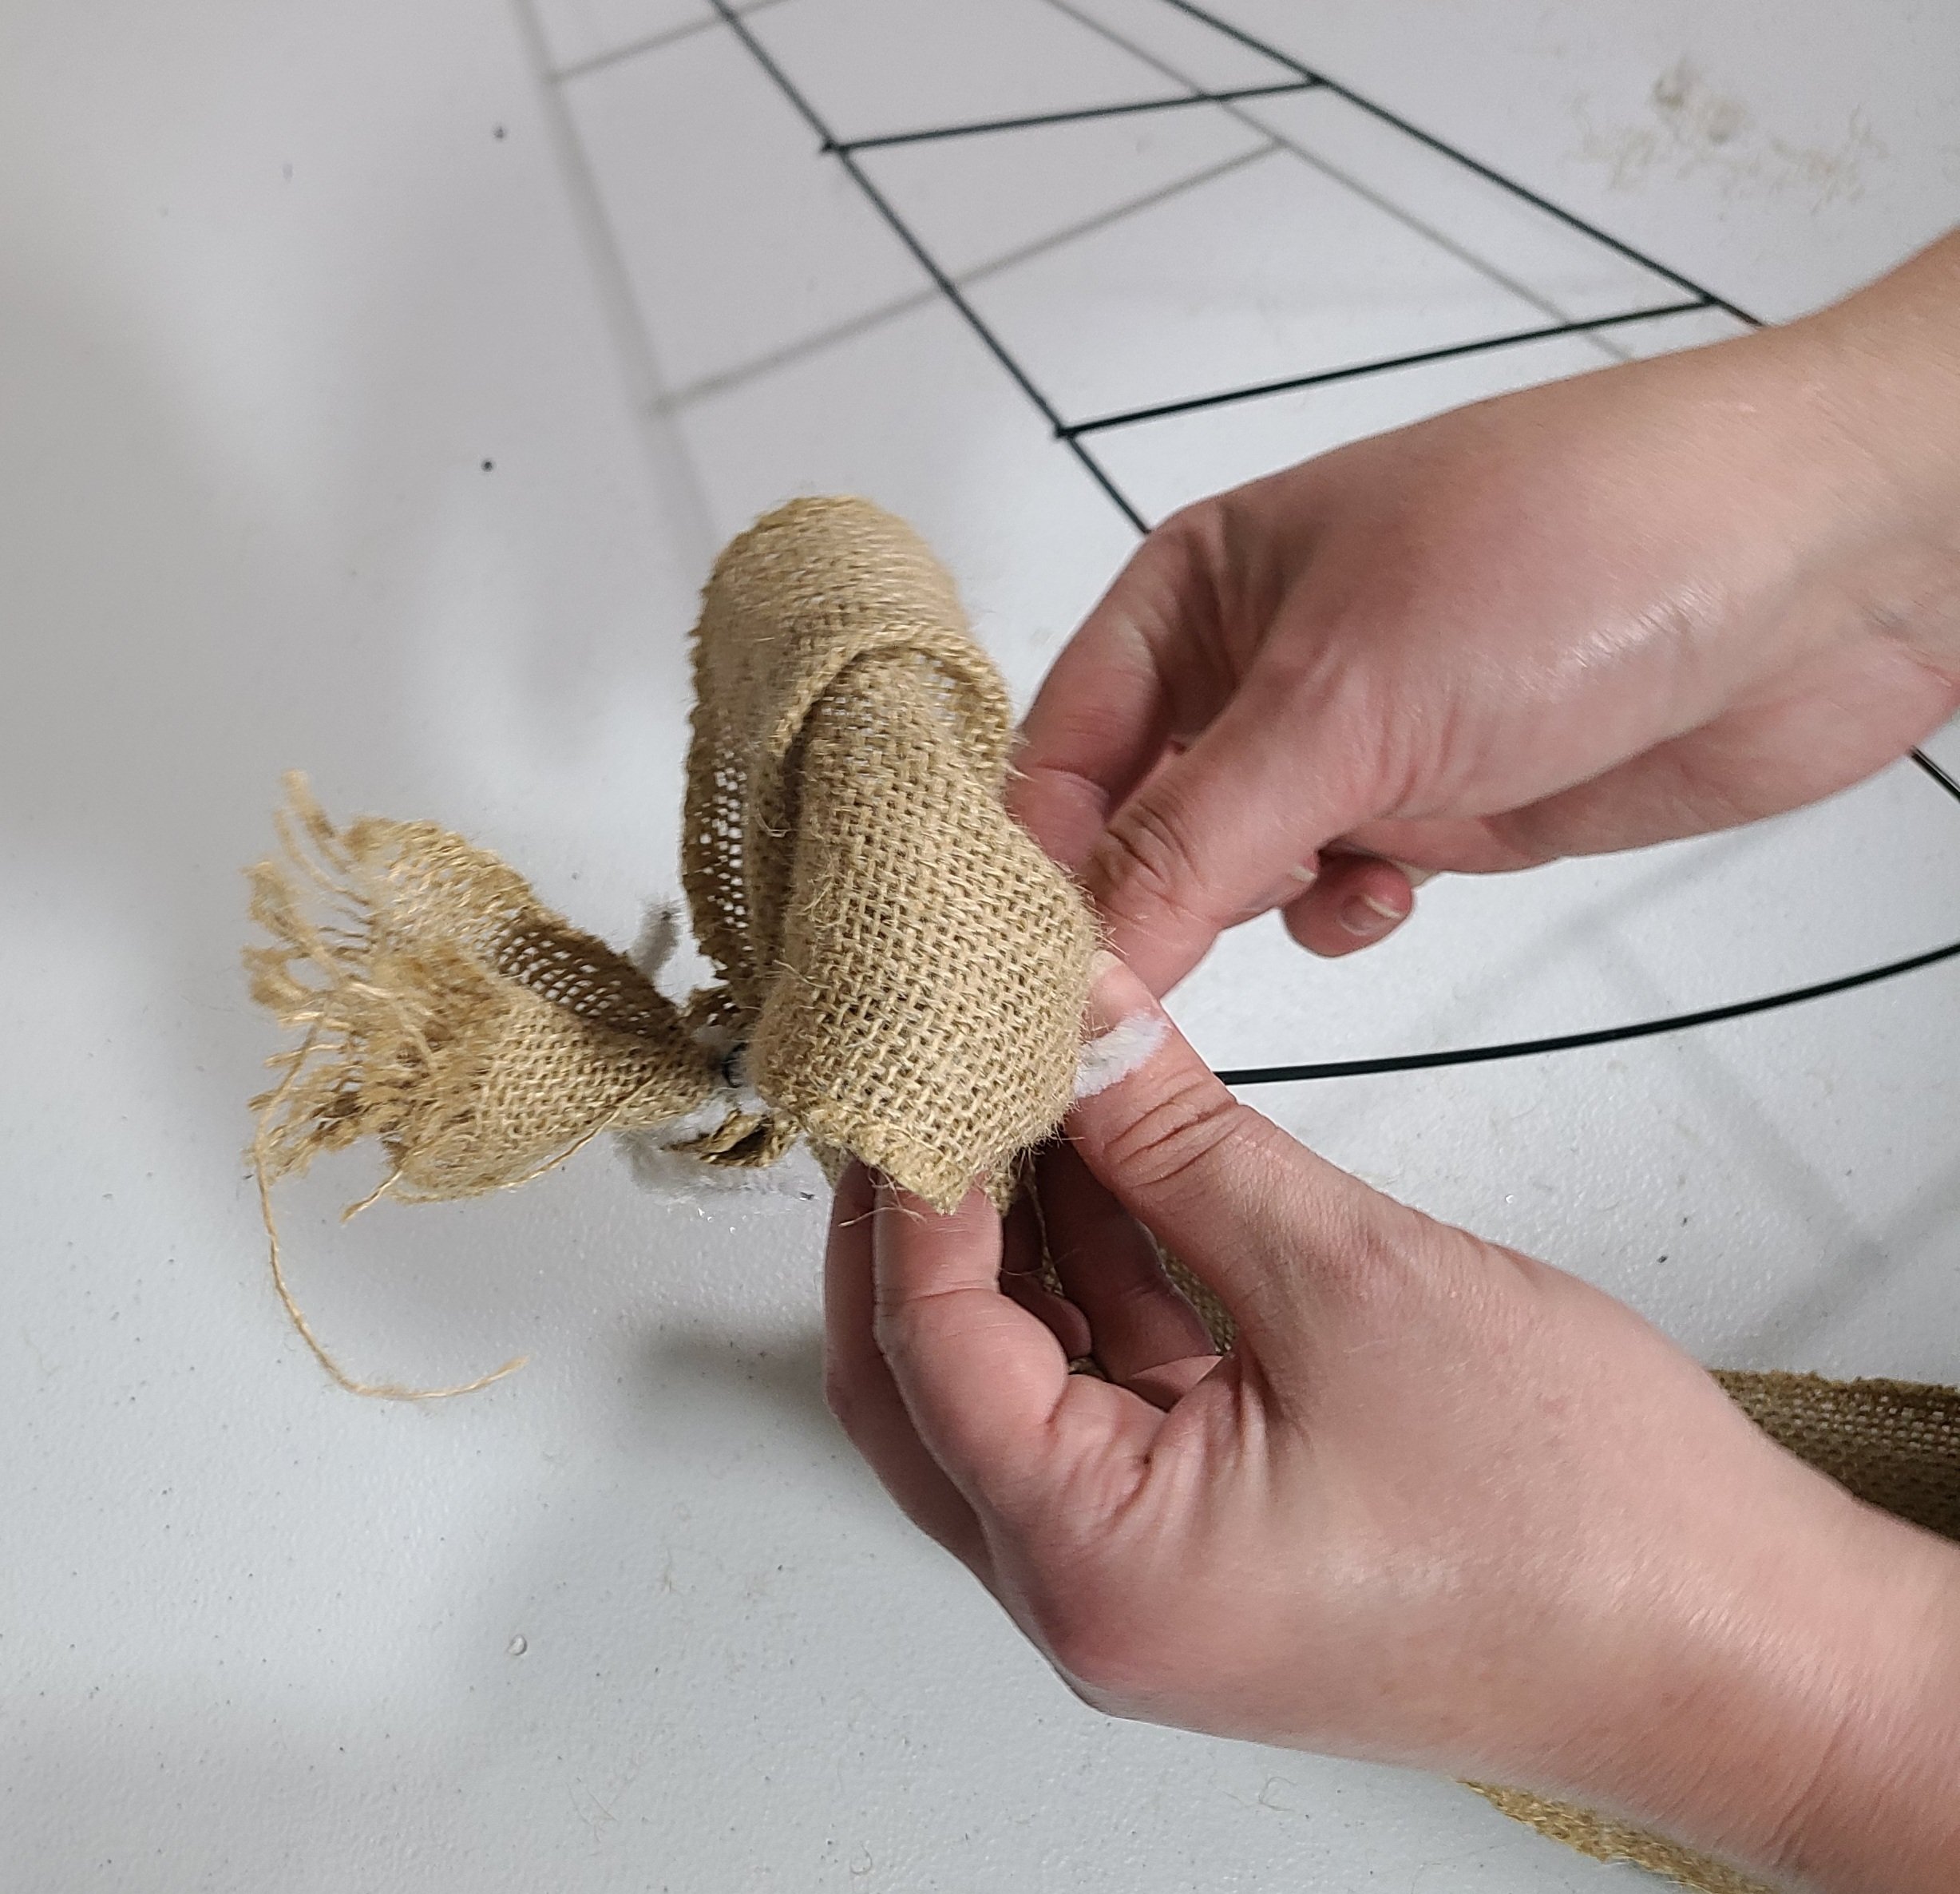
SO- you get the benefit of my trial and error! Here is how you make a burlap witch hat wreath with the 5″ burlap. Cut your pipe cleaners in quarters or thirds. If you’re not used to using them, maybe cut them in half. When I used halves, they were too long, and I had to go back and cut those off more at the end. If you’re not used to wrapping things tight though, I recommend half. I used 50 quarters, so I used 12.5 pipe cleaners. If you’re using halves, cut 25.
Take the end of the burlap and in one of the corners of the brim of the hat, attach it using a pipe cleaners to the wire form. You want to do it about 2-3″ from the end of the fabric so that you can tuck the end in when you’re finished. Put in inside the wire, rather than having piece of it outside the wire. You can see below that the end of the burlap is inside the frame.

Begin Adding “Bubbles” of Burlap
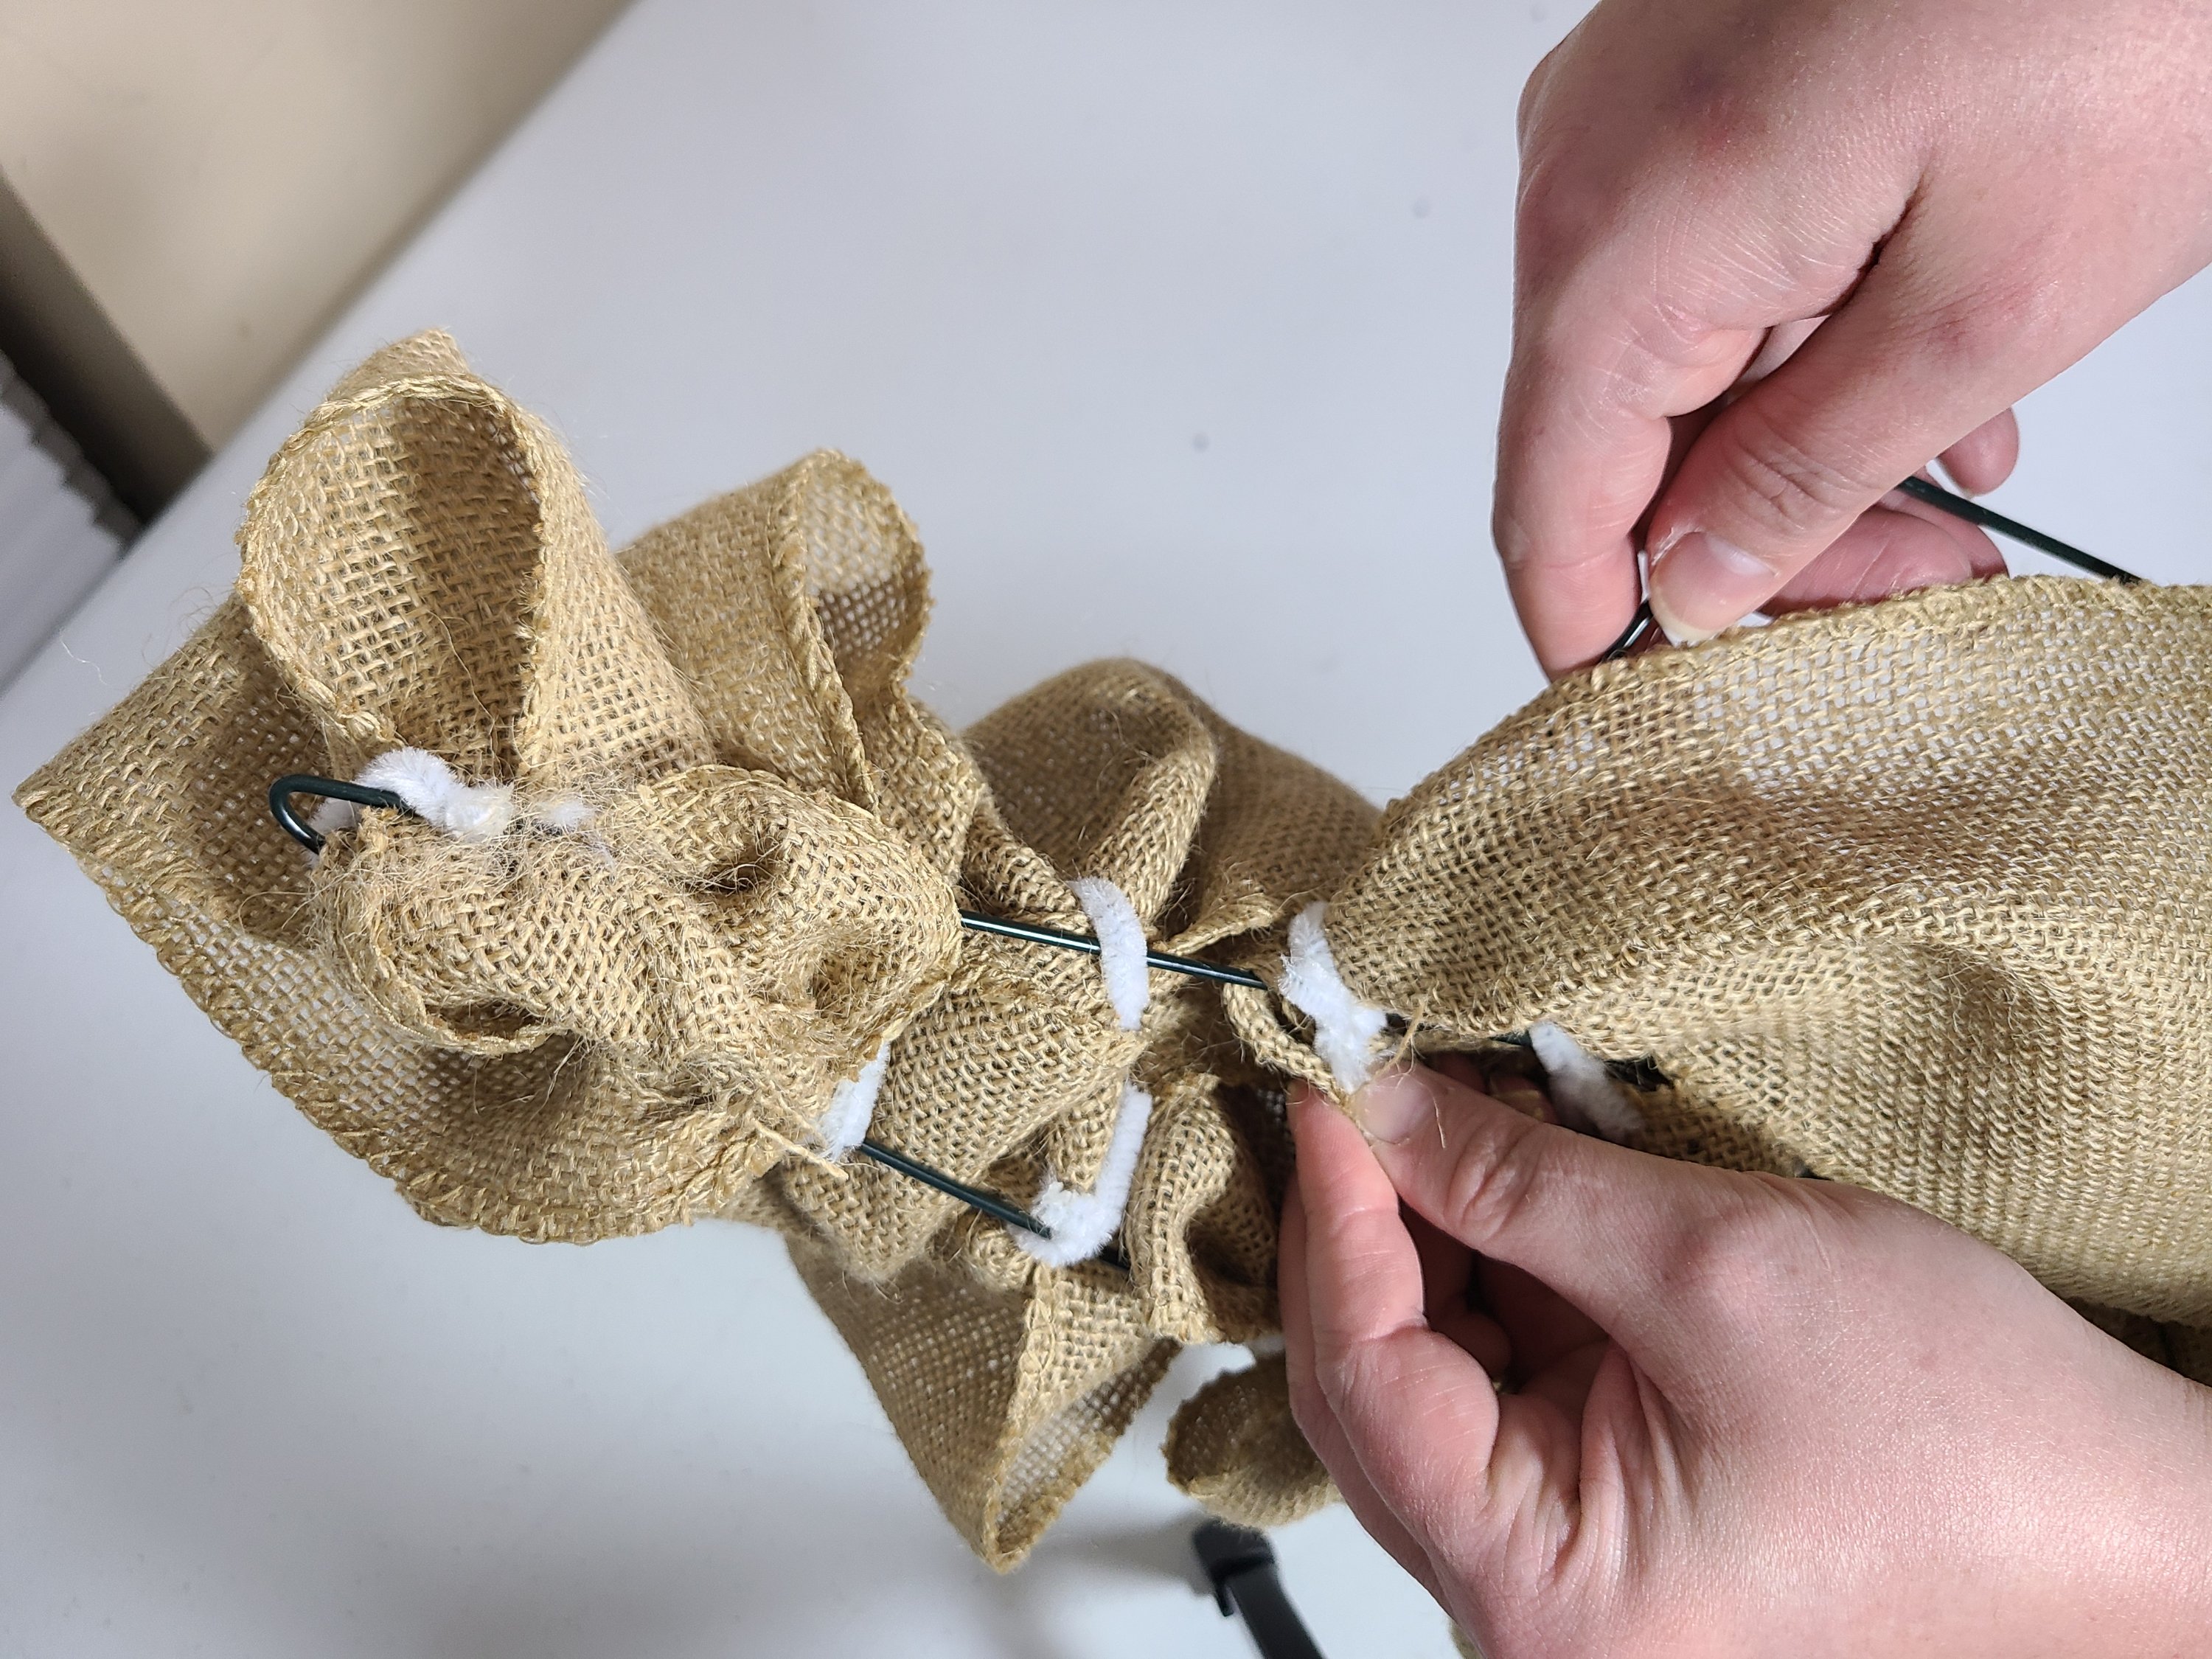
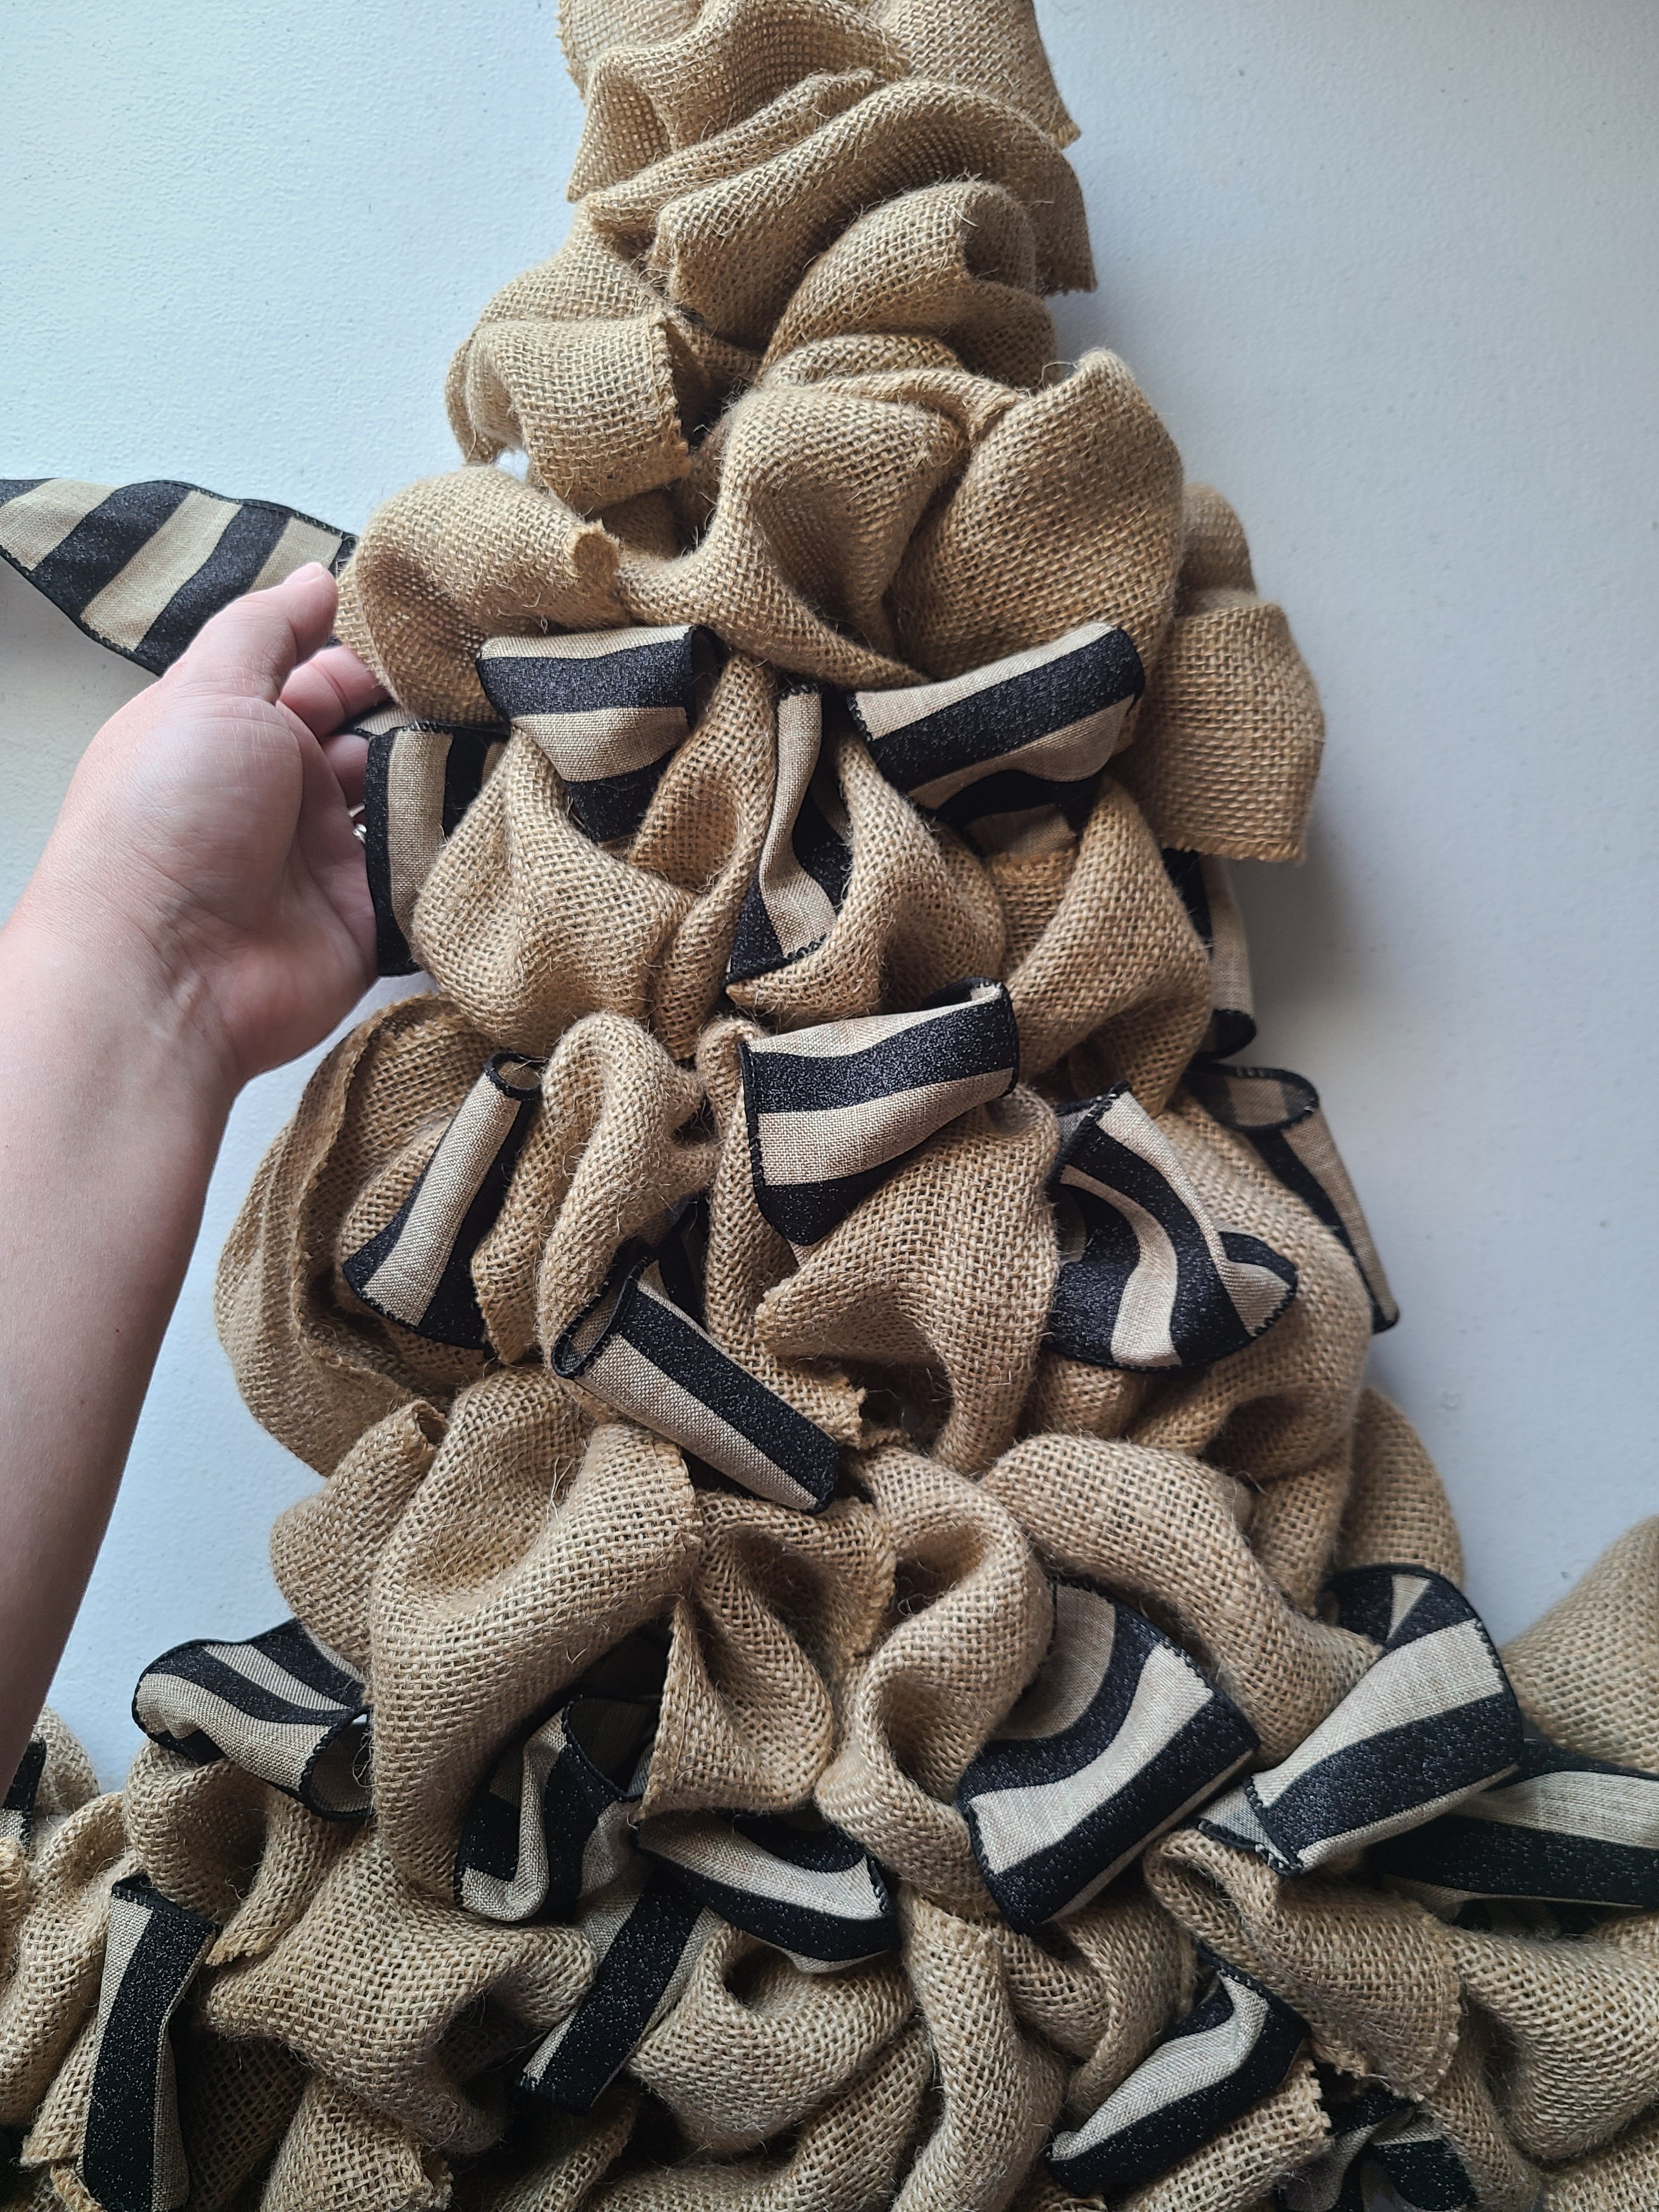
The end result will look like the burlap wreaths with the bubbles that you push in between the wire form. However, the way it will be done is different. Now that your burlap is attached to the frame in the corner, you’ll add your first bubble. About 8″ from the first pipe cleaner, pinch the fabric in and attach it to the wire at the bottom of the brim. If you want the “brim” of your hat wider than the rest, make your bubbles bigger. If I do another burlap witch hat wreath I think I’ll make the bubbles at least 10″ to 12″ in this section.

Make another bubble with 8″ of burlap and attach it with a pipe cleaner to the top wire of the brim. Then slide it toward the first two. Next make another bubble and attach it to the bottom again. Continue doing this, and when you get to the point where the edge of the sides of the hat meets the top wire of the brim, place the pipe cleaner on the inside of that, on the top wire, not around the edge wire and the top. Make sure that you’ve pushed everything together and it’s nice and full.


This is how it will look from the back.

Tuck in the End
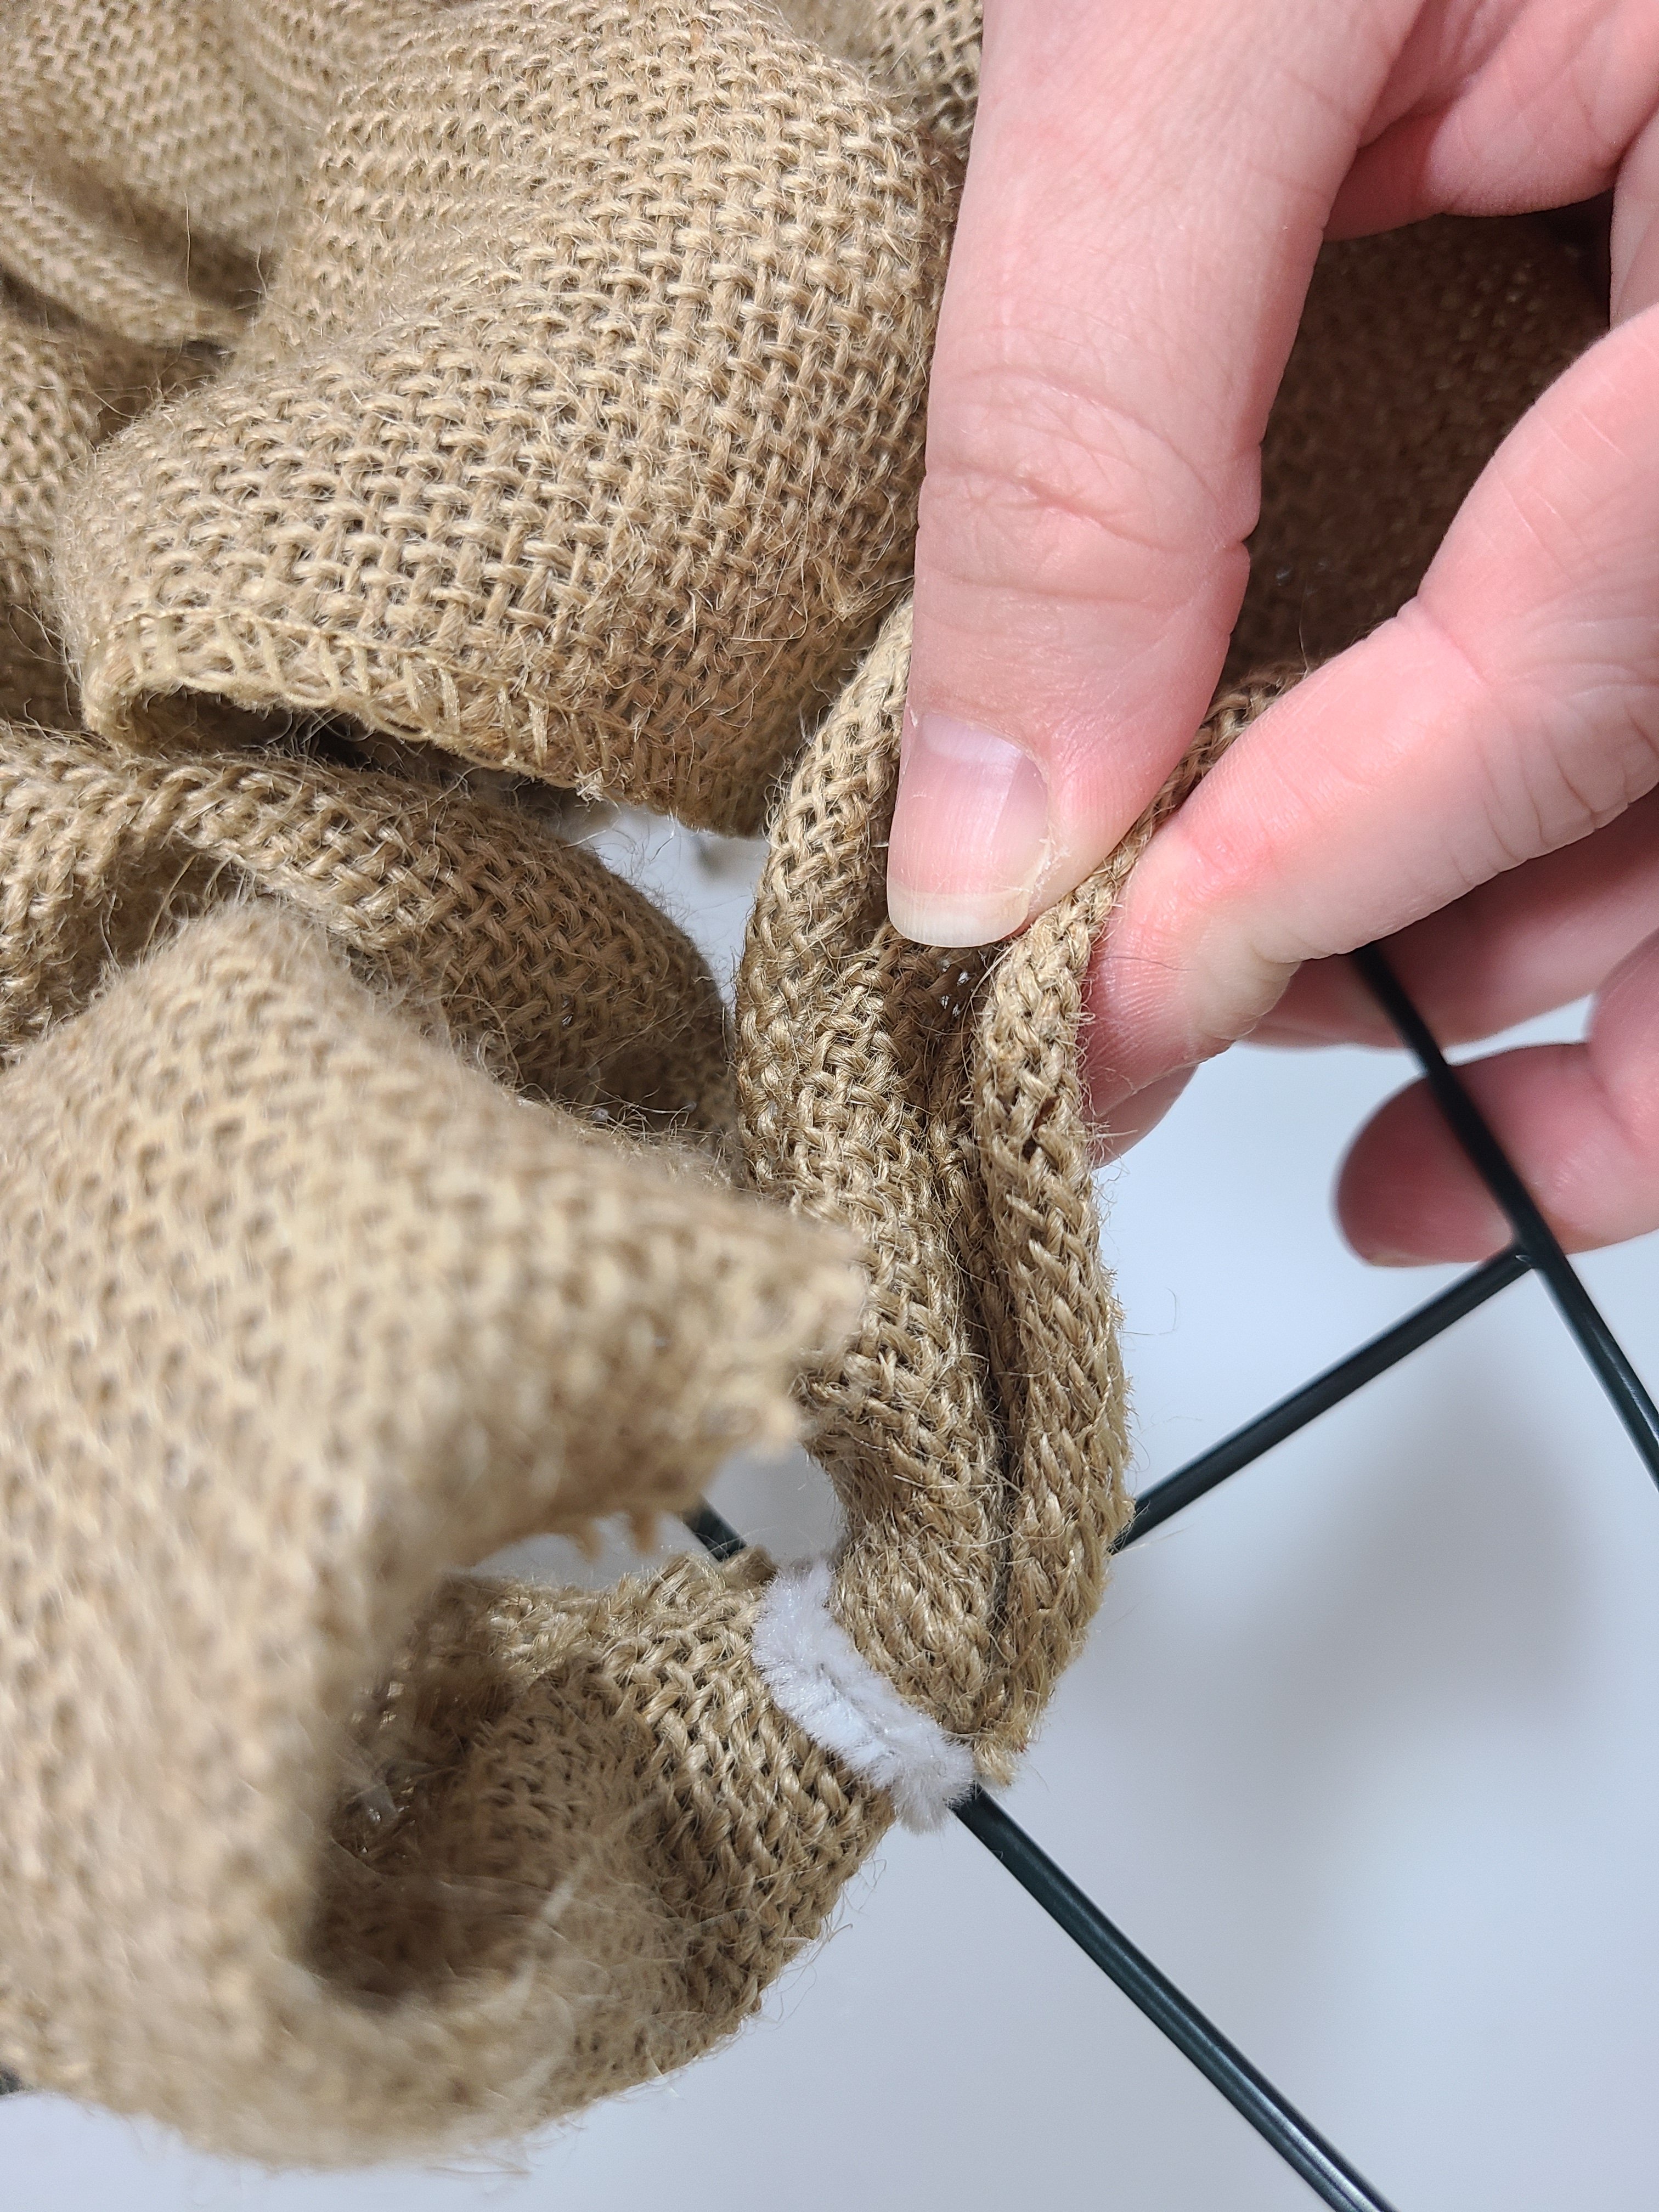
Continue filling the entire brim of the hat with bubbles until it’s completely full. When it is, cut the burlap about 3″ from the pipe cleaner and tuck that piece in to the other burlap.


Begin Filling the Top of the Burlap Witch Hat Wreath
First Rectangle
On the first two rows of the upper portion of the hat (the first rectangle from the bottom), you will be adding the burlap from the bottom wire to the top wire of that section. Just like you did at the start of the wreath form, attach your burlap at the wire that ends the brim and starts the triangle part with a pipe cleaner in the corner.

Bring 12″ of the burlap up to the wire above and attach it with a piece of the pipe cleaner (the fourth wire from the top). This will create a bubble that will cover the pipe cleaner and wire at the bottom.

Measure out another 12″ or so and attach it back to the bottom wire with another pipe cleaner. Slide the two “bubbles” together just like you did in the brim section. Bring another bubble back up and attach it to the top wire again. Continue sliding them together and adding more until that section is full. You need to end the section when you’re attaching the burlap to the upper wire, not from the bottom. I had six pieces of burlap running up and down in that section.


This is how the burlap witch hat wreath will look from the back at this point.

Second & Third Rectangle
In this section you’ll use about 14″ sections of burlap to create the bubbles because it’s about 3/4″ taller than the one below it. I didn’t really measure each one, so feel free to just use what looks best on your wreath. Bring the next strip of burlap up to the next wire, the third one from the top, and attach the burlap to it with a pipe cleaner. You’ll cover this rectangle just like you did the last one. You will end up with seven bubbles of burlap in this section. There are more bubbles in this section than the one below it because it is taller, so I felt like it looked better to have it fuller.


Continue this process for the third rectangle from the bottom. You will have four bubbles of burlap in here.

Add Burlap to the Top Two Sections
Fourth Rectangle
At first I filled in these top two sections the way I did the rest. It looked really weird to me. There were three long bubbles in the fourth rectangle from the bottom and two in the top triangle, and it just looked off. I mean I really can’t describe why it did, but I’ll show you what it looked like. I think maybe because it looks like a weird Christmas tree. If you like it, you can continue filling in these last two sections just like the others.


I removed the bubbles from those two sections and filled them in the way that I did in the brim, adding bubbles, then sliding them together. Instead of bringing your burlap from the second wire from the tip, to the first wire, create a bubble and attach it to the edge (either the left or right, wherever you ended up after filling the third rectangle). Slide it down to create the bubble. In this area I may have used about 5″ in each one. I just eyed it. Create another one and attach it to the wire just above the last one.

Make another bubble and bring it down and attach it to the first wire from the top, the horizontal wire.
Repeat and attach it to the opposite edge of the triangle from where you were. Do another and attach it above that one. So there will be two pipe cleaners on the left edge, one on the top, and two on the right edge right now.

Top Triangle of the Burlap Witch Wreath
Repeat this process until both of the top two sections are full. You will now be able to add some bubbles without attaching them to the outer wire because they will be held in due to the fullness. Attach your last bubble to the point of the triangle.


Once your wreath is full, cut the burlap from the roll, about 6″ from where it comes through the back of the wreath.

Add Accent Ribbon
Now it’s time to add the accent ribbon. This is optional of course. Open a pipe cleaner at one of the corners of the brim and add your ribbon to it.

Pull loops from the back of the wreath, through to create bubbles between the burlap bubbles. You can add as many or as few as you like to your wreath.


This is what you will have on the back.

I went across the brim first. To save ribbon, once I got to the other edge of the brim, I cut it off then added it again at the first rectangle edge. Continue up the wreath creating ribbon bubbles wherever you’d like them.

The accent ribbon will be used to cover the pipe cleaner that attached the burlap to the tip of the wreath form. Push the ribbon out of the side of the burlap at the second burlap bubble from the top. Then loop the ribbon over the tip of the triangle where the pipe cleaner is, cut the ribbon about 6″ past that point, then tuck the end in the back of the wreath.


Add Optional Band of Ribbon
I added a band of ribbon to the hat once I finished it, just above the “brim” section. I don’t know what else to call it other than a “band,” ha! You know like on some witch hats they have like a green band of ribbon at the joint of the brim and the triangle section. The hat seemed a little bland, and I wanted to break up the two sections, so I decided to add a piece of black sequin ribbon.
The wreath is about 12″ wide at the place where you’ll add the ribbon. Cut about 18″ to 20″ of ribbon off the roll. Before you make the cut, wrap it around and make sure that you cut the right amount off. Add a strip of hot glue on the back of the outer wire where it meets the brim wire and press the ribbon on to it. Wrap the ribbon around the front, then hot glue the other end to the back of the wire on the other side.


Add a Bow
For this wreath I made a simple four loop bow with 9″ tails. You can make one like that, a two loop, or other type of bow. This tutorial will show you how to make a more elaborate bow for wreaths or other home decor. I covered the pipe cleaner that holds the bow together with a thin black metallic ribbon, cut V in the tails, and added a pipe cleaner to the back to attach it to the wreath.


You can add the bow anywhere you’d like on the wreath. I added it at an angle just above the band. Then just above that I added a little witch hat pick from Dollar Tree. It came in a three pack, an orange, purple, and green one.
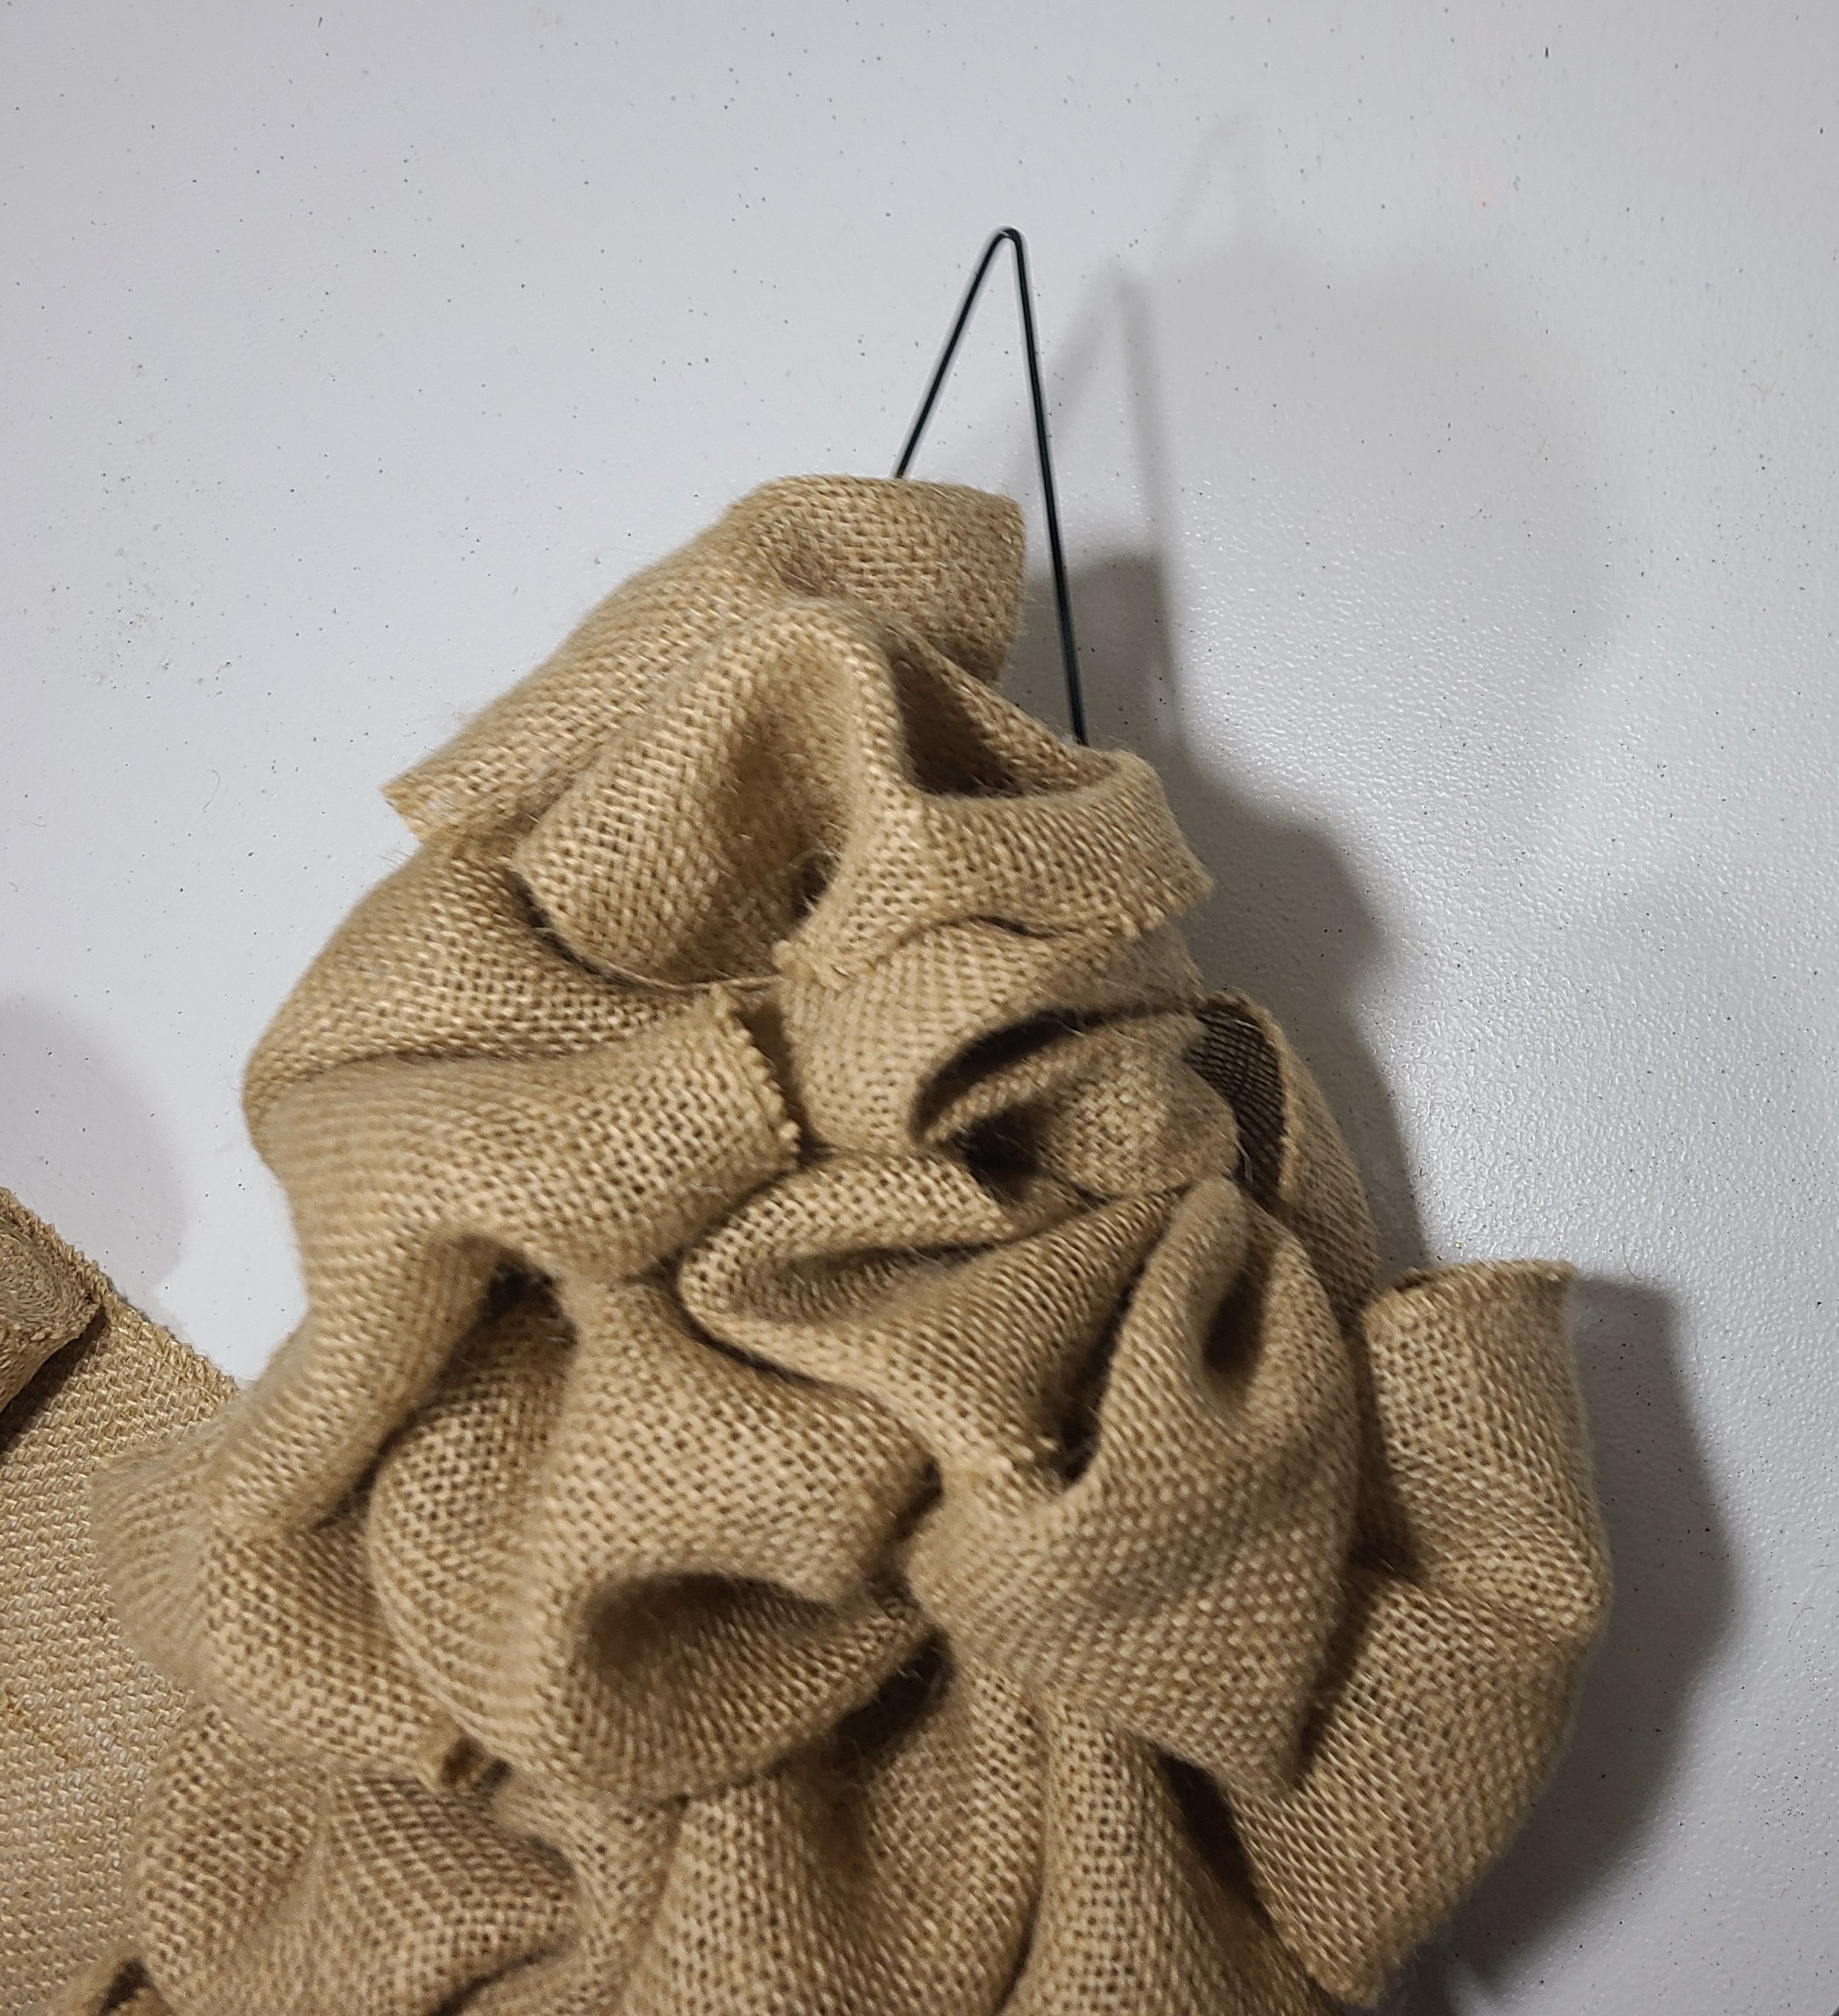
Your burlap witch hat wreath is complete!
Woohoo! It. is. finished! Feel free to move the bow and ribbon and picks however many times you’d like. Trust me I moved mine a lot. This is what mine looks like… for the moment. I think I’m going to add more bulk to the brim, and I’ll update you then.


I hope that you enjoyed this tutorial and that you make your own witch hat wreath. When you do, I would love for you to tag me on social media (@LifeasaLEOWife)! You can use the buttons on the sidebar to follow me. Follow me on IG to find out more about the Wife Life family! Make sure you pin this so you can make your wreath when you’re ready. You can use the buttons at the end of the post to share this on social media. If you share it, you can find it again when you need it! Remember to pin the image below (or the one at the top of the post) for later!

Don’t go yet! There’s more to see!
There’s plenty more to see here on the blog! If you’re looking for something specific, use the search box in the sidebar to look it up. If not, you might enjoy these ideas. Don’t have time to read them all now? That’s ok, just click over to the posts using the pictures and pin them for later. You can also add Life as a LEO Wife to your favorites and check back for new ideas and free printables and SVGs every Wednesday, as well as link parties with tons of shared ideas on Sundays!
If you have another witch hat wreath form, check out this spiral deco mesh wreath. I got all of the supplies from Dollar Tree!

Don’t miss a great DIY or craft tutorial, free printables, or other fun posts by entering your email address below. You’ll get an email when I add a new post, and you’ll never get any spam!
Get an email when a new post is added!
More Fall Decor!
It’s time for late fall decor! Did I mention how much I love changing my decor from September through November? Well I do! For late fall, Thanksgiving, I’m using the color scheme of burgundy and navy with copper accents. I’m in love with copper right now. Here are a few tutorials for fall decor that I think you’ll like:


If you’re looking to squeeze in a few more Halloween decorations, here’s some suggestions:


Looking for some great Halloween party ideas and printables? Check out these posts:


These fall pieces can take you through all of fall:


Looks fabulous. Not sure I’m crafty enough to take it on though. I’ll share on my social media sites. I have some super crafty followers who might really enjoy this project!
Thank you Gloria! It’s not as hard as it looks. Just time consuming!
Another burlap project, love it!! Thanks so much for linking up at the Unlimited Link Party 34. Pinned!
I love burlap for fall! Thank you!
Love your crafting – great, detailed instructions! Thanks for sharing at My Big Fat Menopausal Life’s Share the Wealth Party! Hope to see you at the next one too. Happy Halloween!
Thanks for visiting Helen! I’ll be there!
Visiting again to say thanks so much for linking up the witch hat wreath at A Themed Linkup 116 for Denim, Burlap, or Lace Crafts and Décor. Pinned.
Thanks Dee!