Fall is near, and I am so excited about creating new decor for the season. I’ve seen a lot of things done with the pumpkin wreaths on Pinterest. They are all so cute, and I couldn’t wait to make a Dollar Tree pumpkin wreath with my own twist!

You can make your own, even on a tiny budget. I made mine for about $10. Really less than that given that many of the items I used are also used in many of my other DIYs. I know you’re dying to hang yours up, so let’s get started.
Disclosure: I am a participant in the Amazon Services LLC Associates Program and the Dollar Tree Affiliate Program, affiliate programs that allow me to link to the products that you can use to make this project quickly and easily. If you purchase any of these products I may receive a very small commission at no cost to you! That commission helps me continue to bring these great decor DIYs, free printables, and all of the other goodies on this site to you. Thanks so much for your support!
For a Dollar Tree pumpkin wreath you need:
- pumpkin wreath form (Dollar Tree)
- pack of pumpkin picks in a pack of 5 (you’ll only need one, so you have some left to do a few of my other DIY fall projects, like making two wreaths for about $6) from Dollar Tree. These mini pumpkins are as close as I could find on Amazon.
- one pack of pumpkin picks in a pack of 10
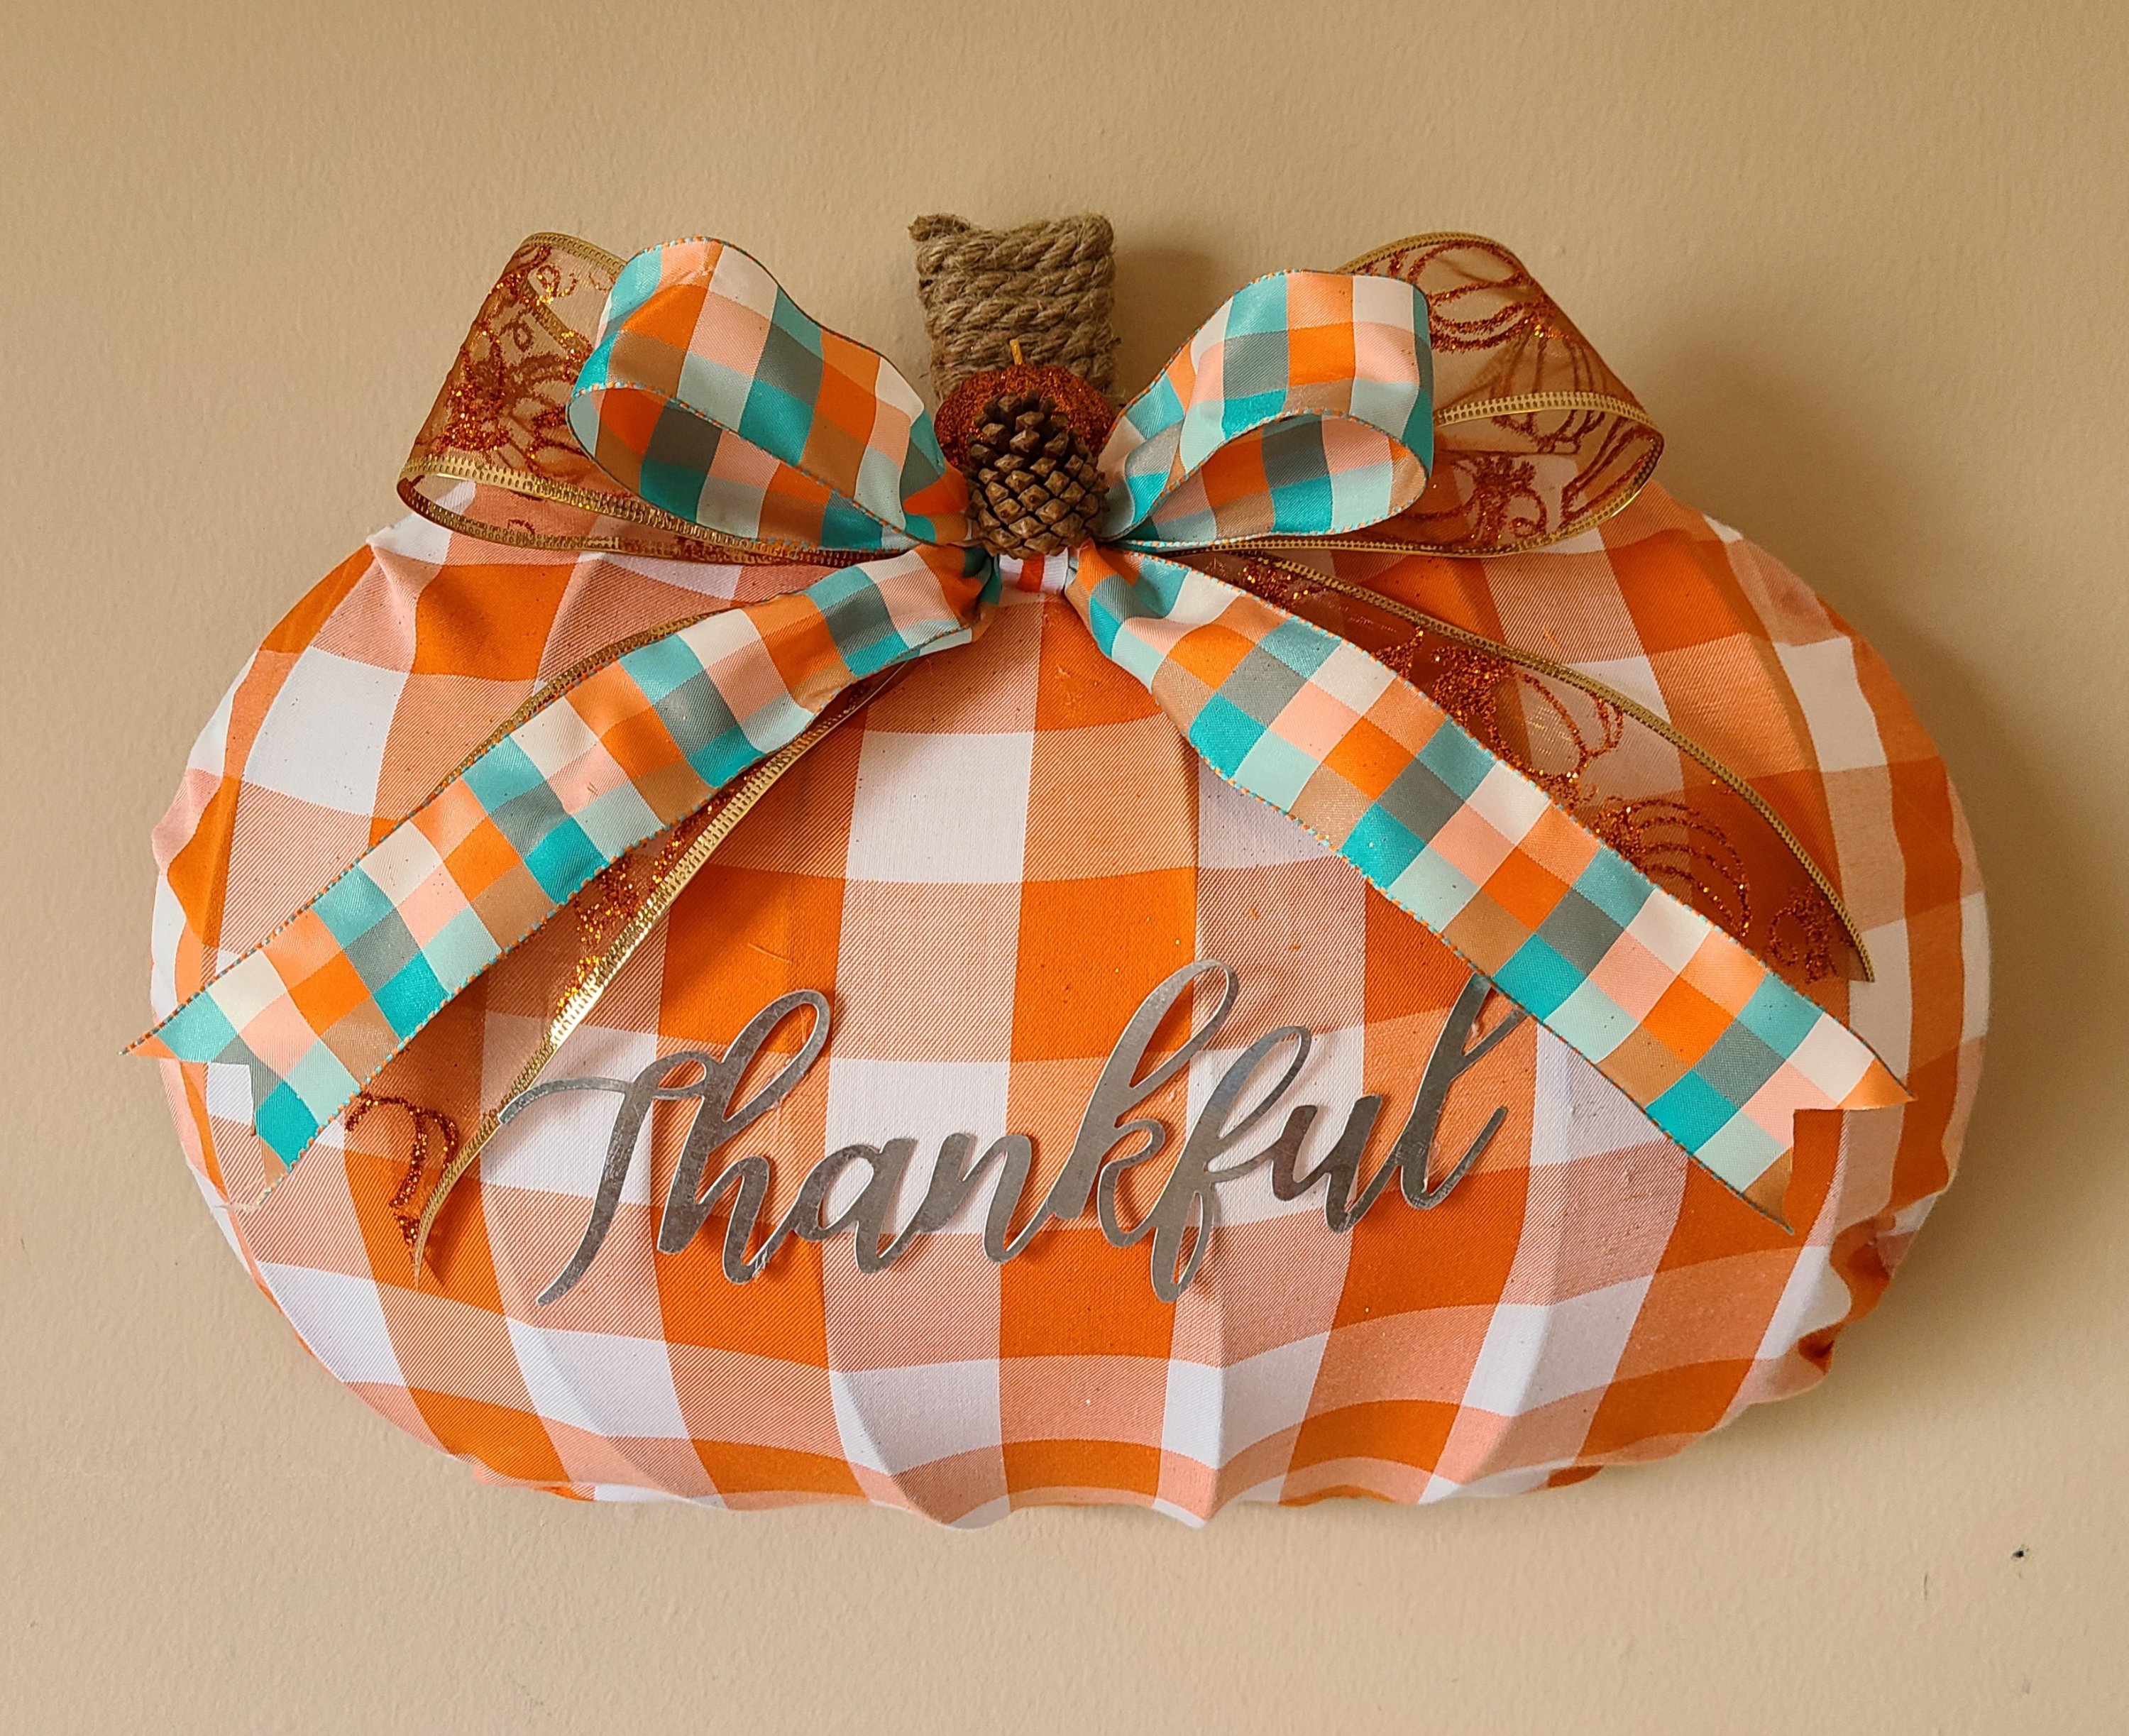
- a pack of 3 metal words– I used “Thankful.” It also contains Welcome and Harvest that you can use for the other tutorial as well. From Dollar Tree
- fabric from Hobby Lobby- I chose orange buffalo check. I bought a yard because it was half off along with all other fall fabric. You’ll only use about a quarter.
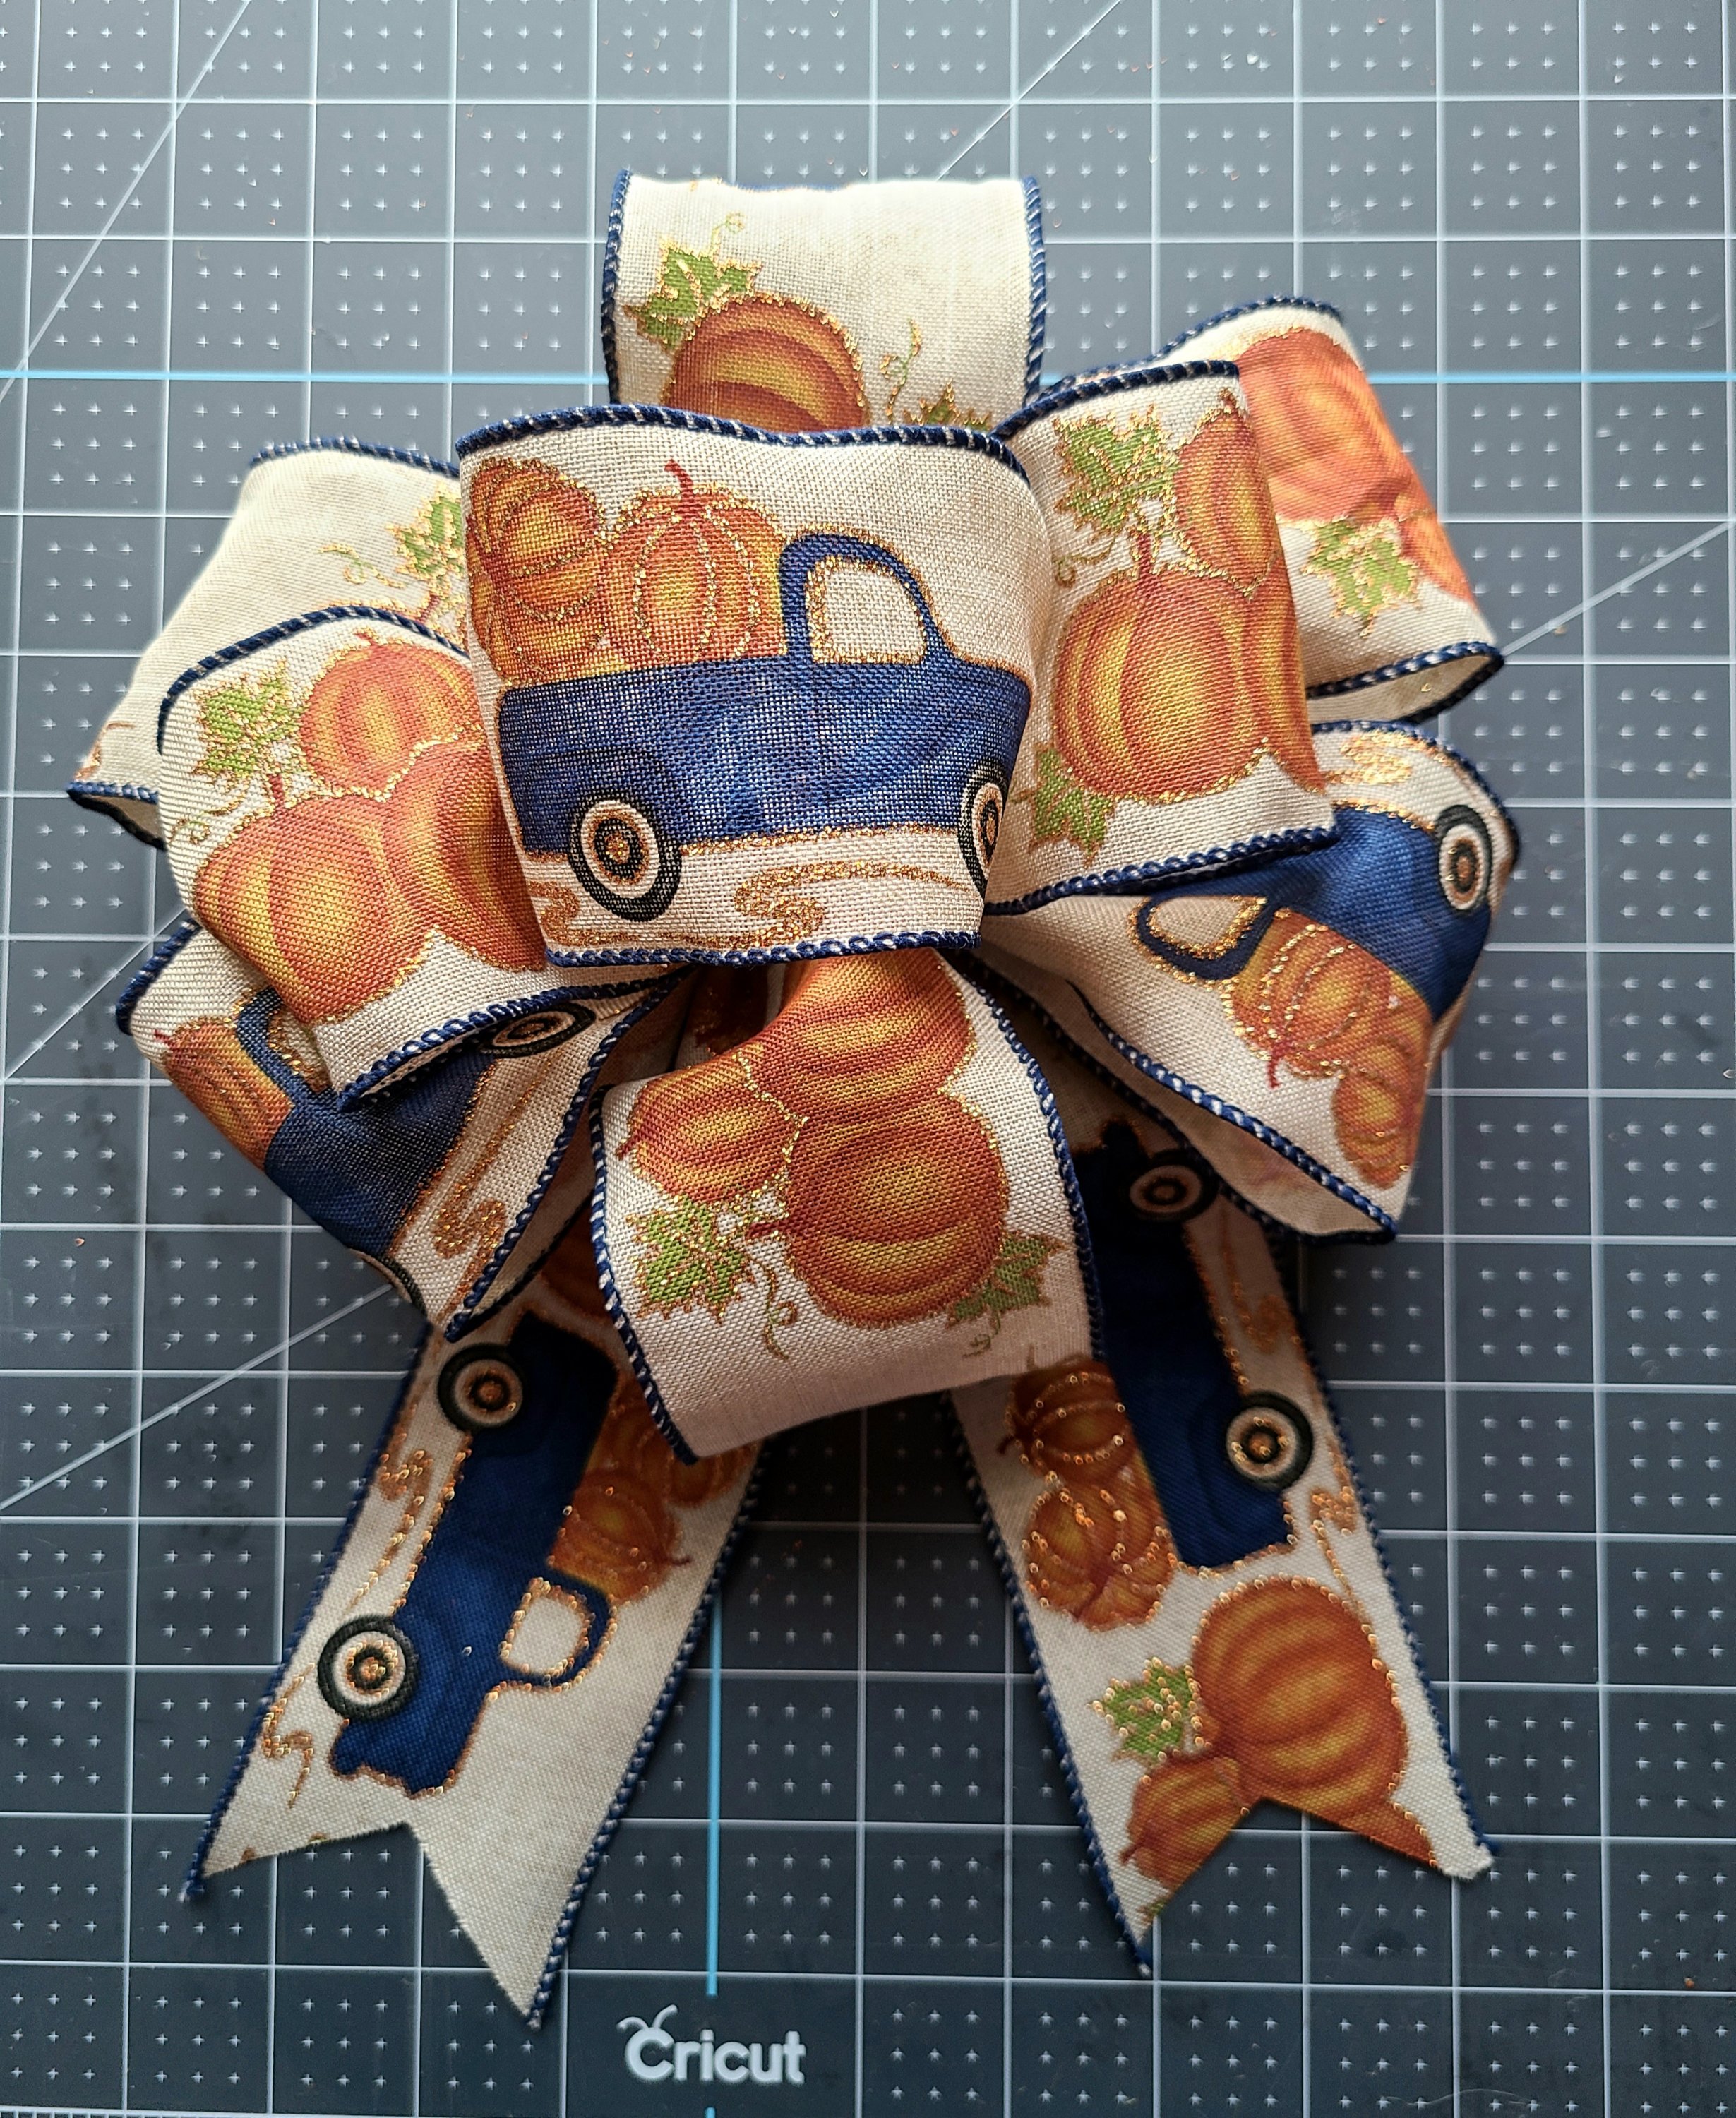
- Ribbon– 2.5 inch orange pumpkin ribbon from Dollar Tree & 2 inch plaid ribbon I already had.
- nautical rope from Dollar Tree (optional) You can also use raffia or something else for the “stem”
- scissors- These Fiskars are amazing!
- hot glue gun and glue sticks
- clothes pins or pins- You’ll use these to hold the fabric in place while the glue dries.

Cut & Attach the Fabric
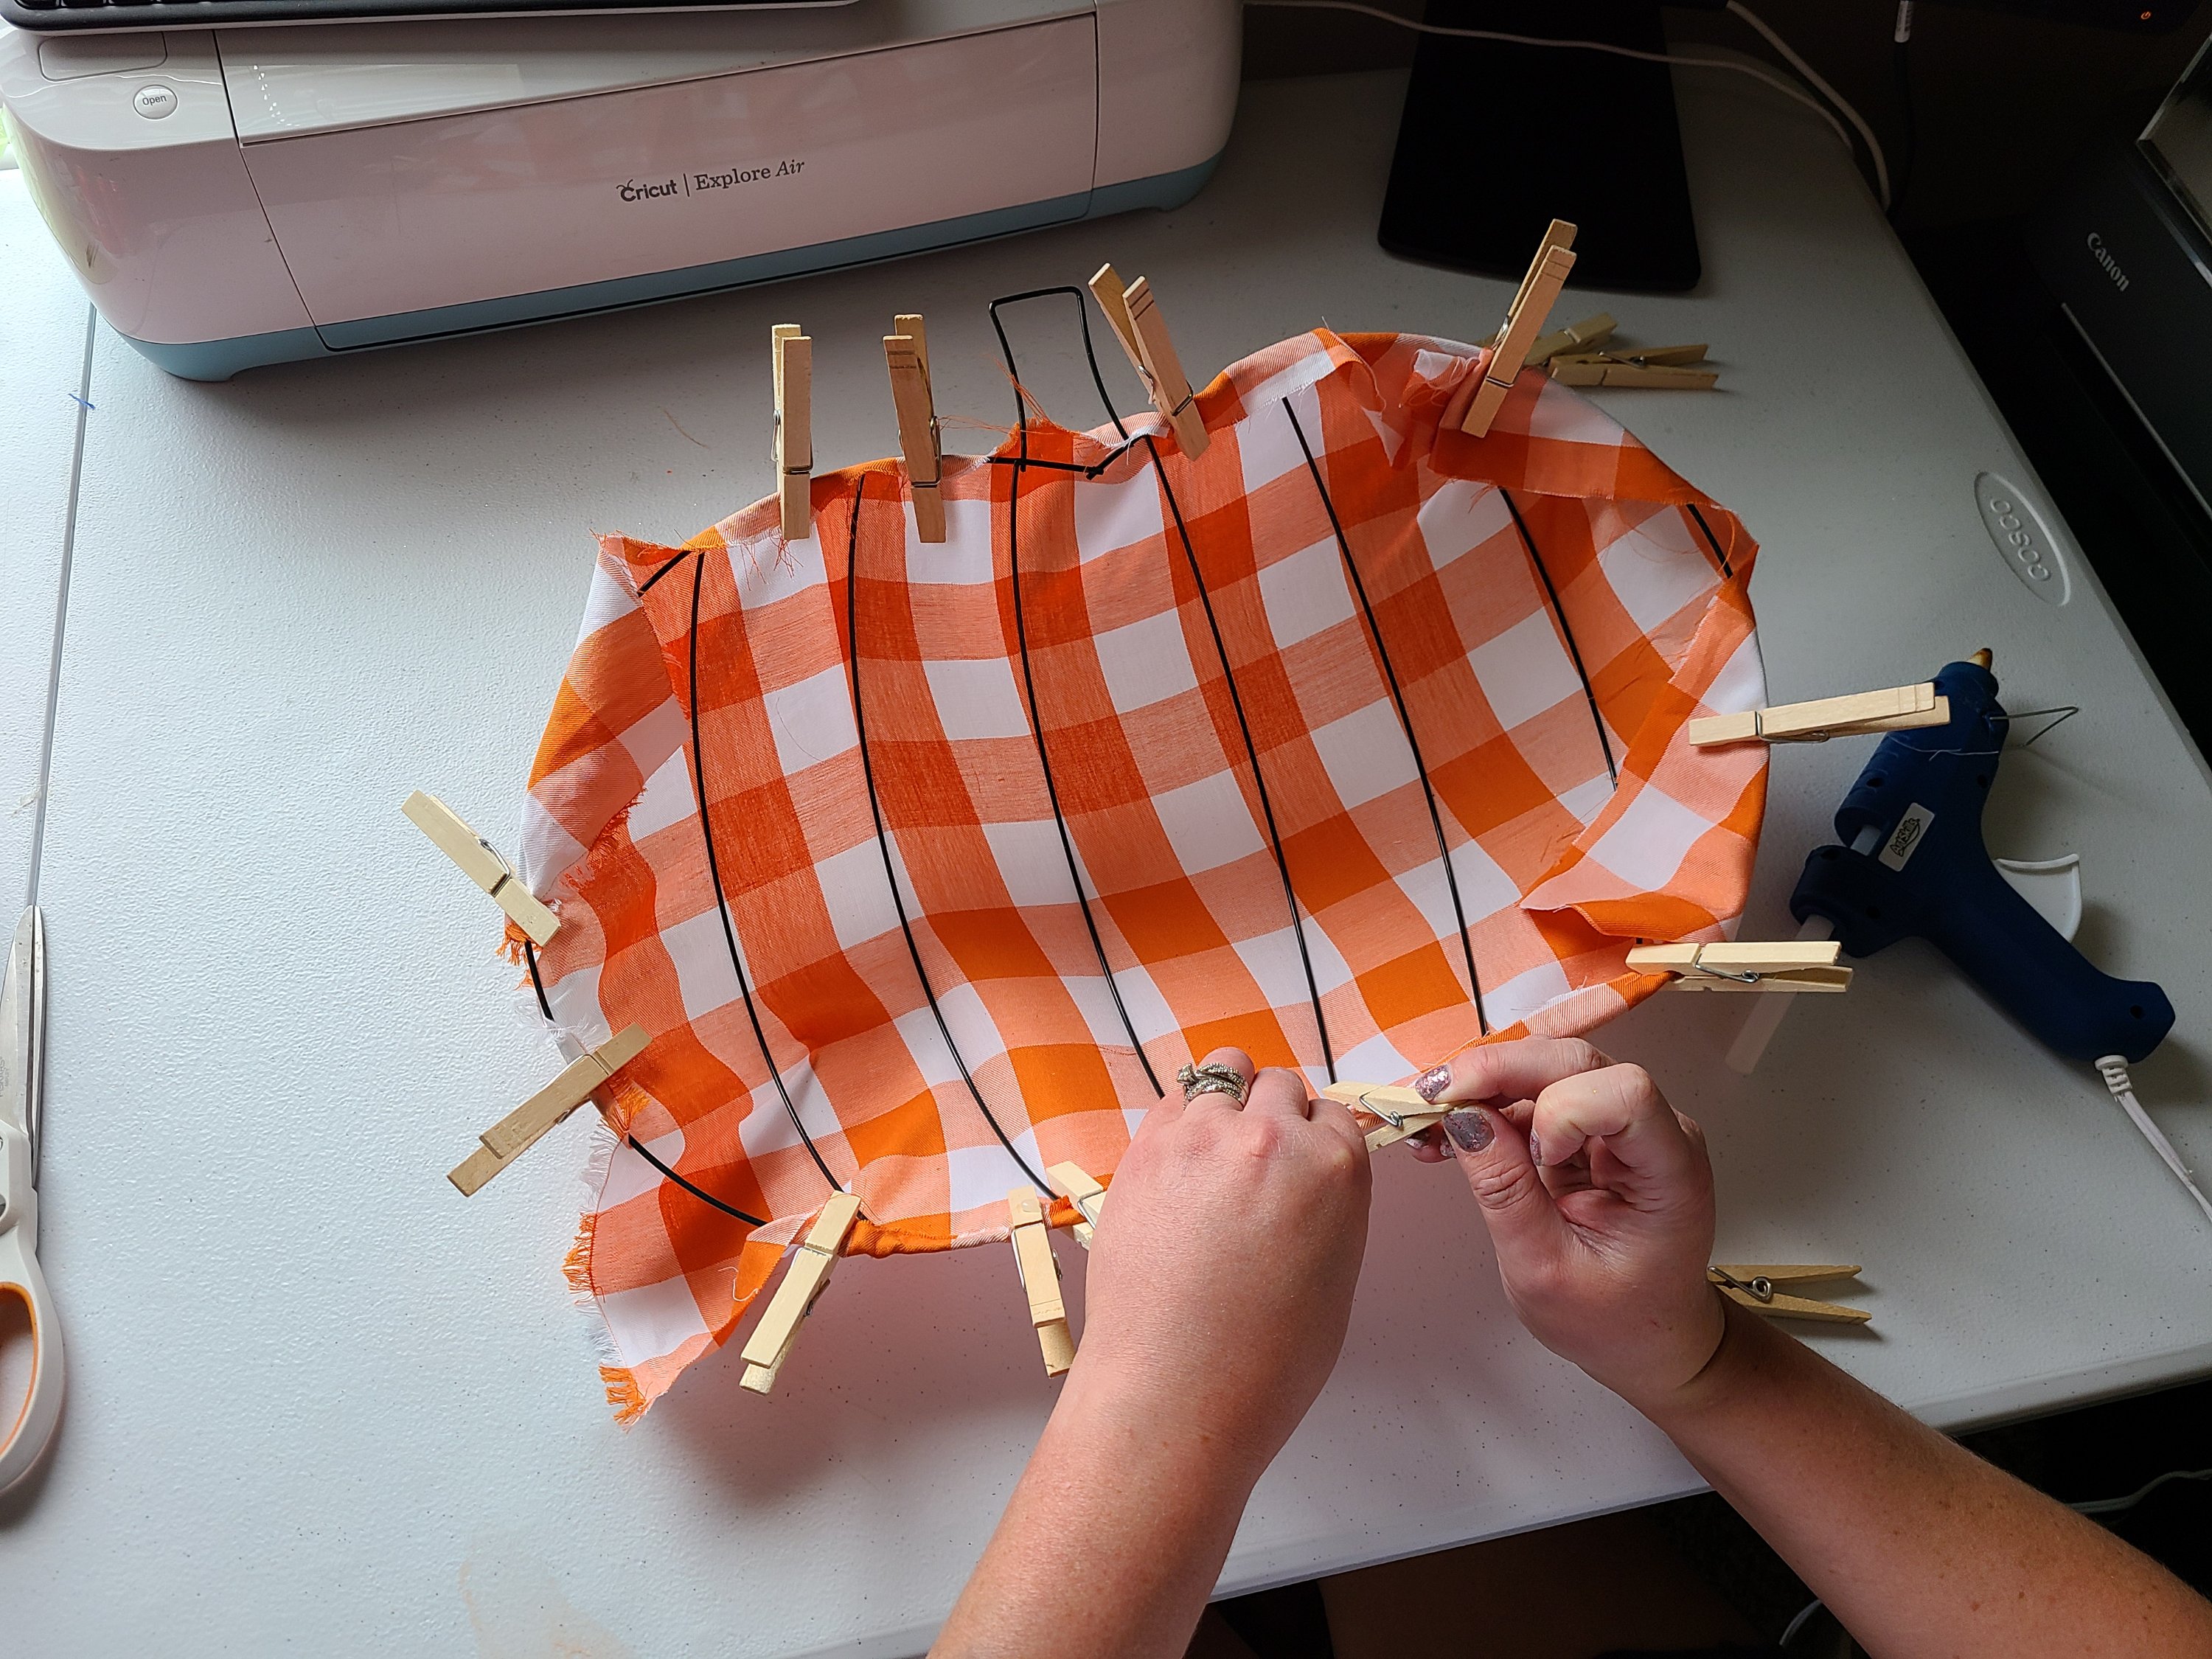
First you’ll need to cut the fabric to the size you need. It’s a bit hard to line up because of the shape. I cut about 2 extra inches from all sides. Now, use the clothes pins to pin the fabric in place around the whole wreath form.
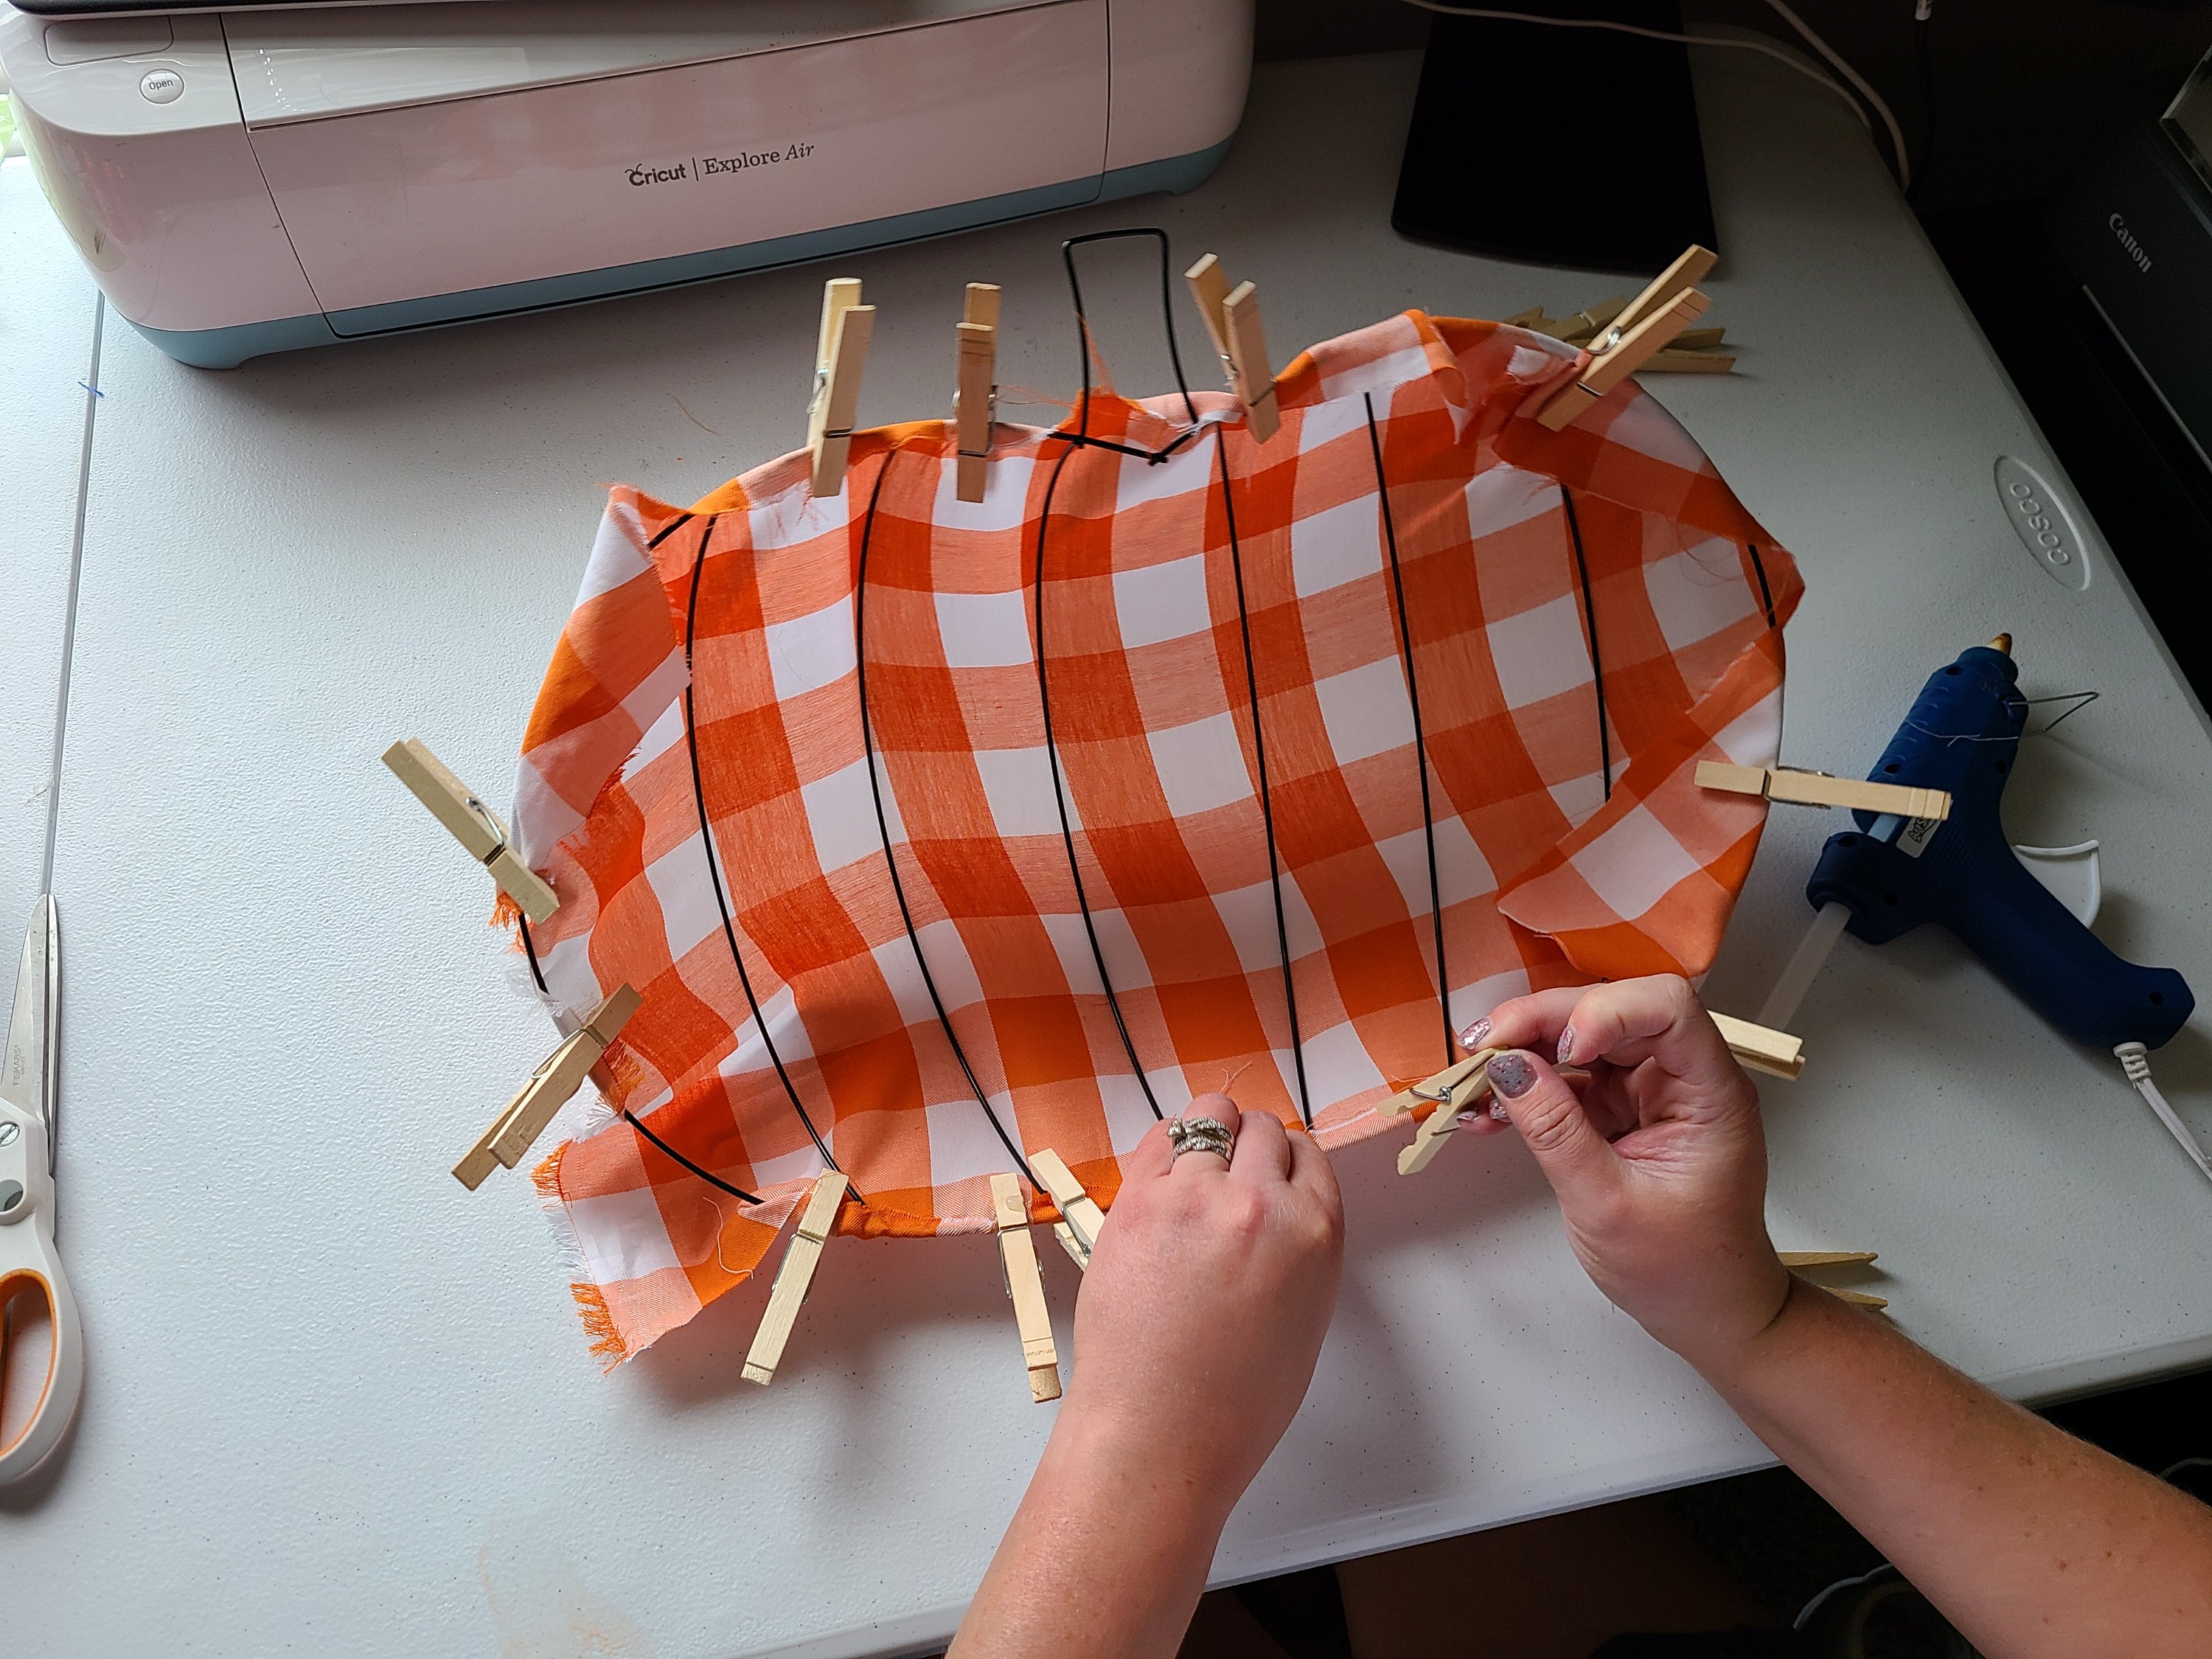
Once all the pins are in place, remove one in the spot that you want to begin gluing. Place the glue along the wire and a bit on the fabric. Replace the clothes pin to allow the glue to dry. Be careful, I burned the dickins out of my fingers! Continue like this until you get back to where you started. I let the glue dry for just a few more minutes.

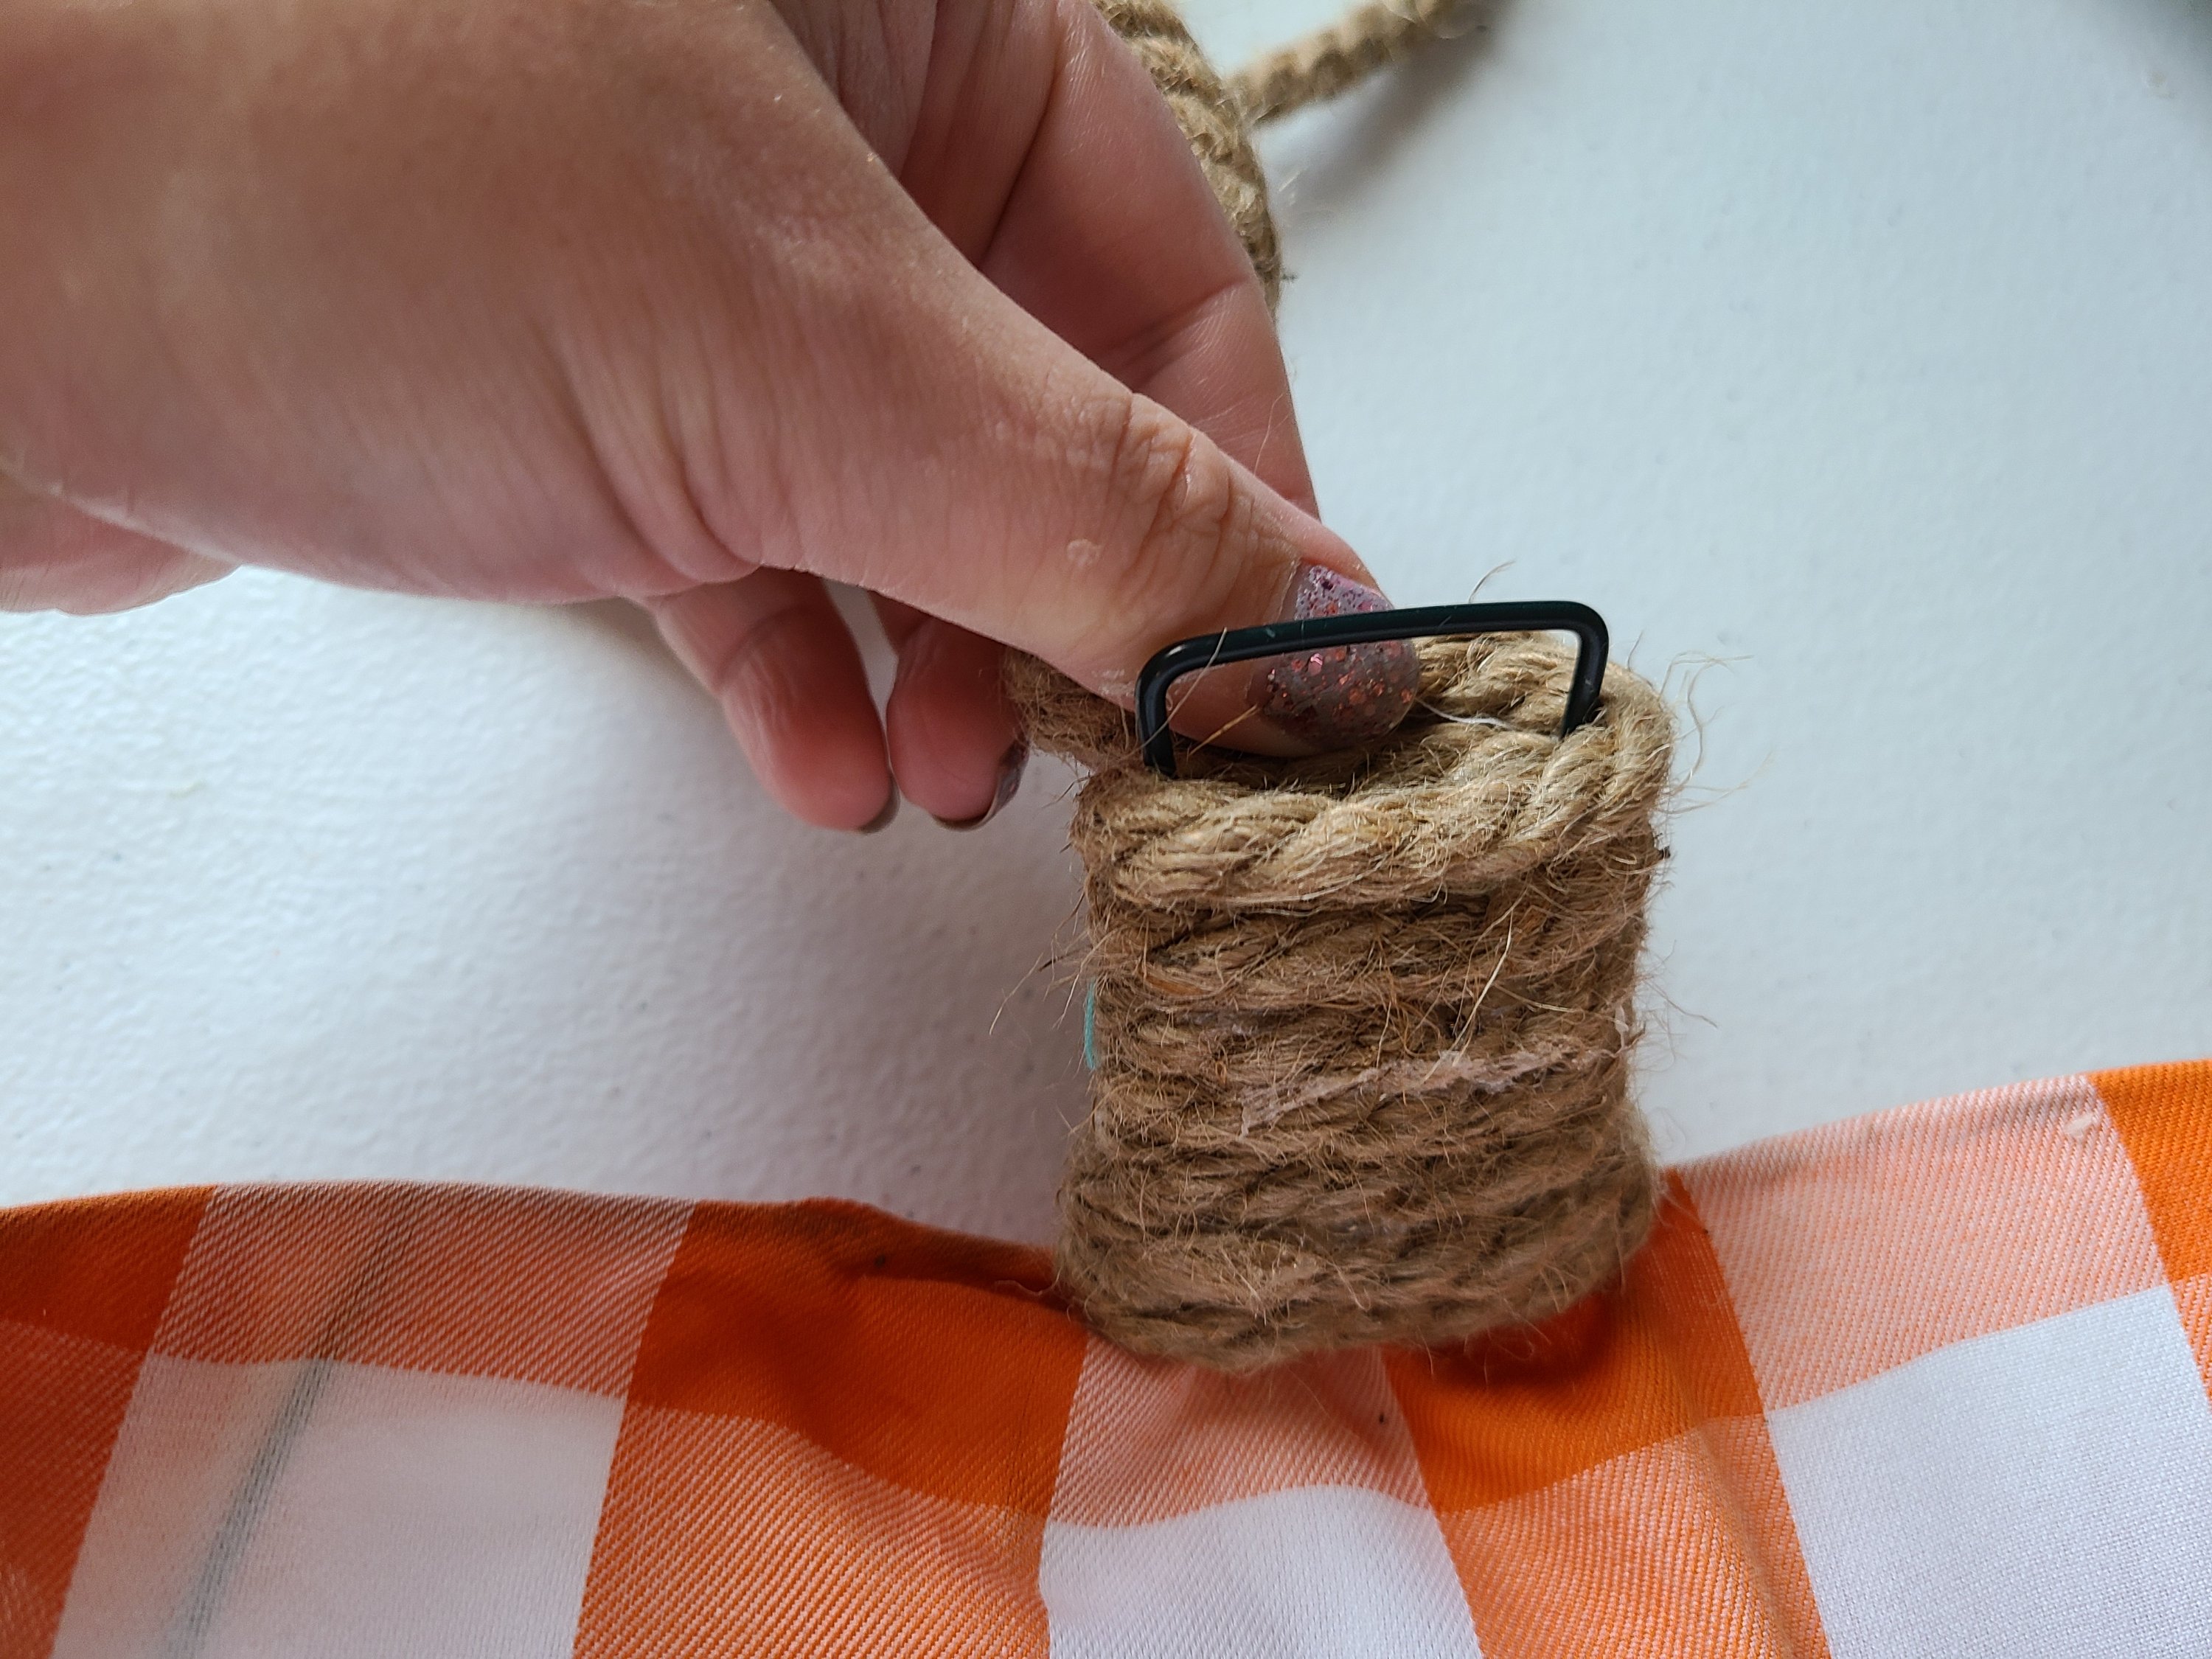
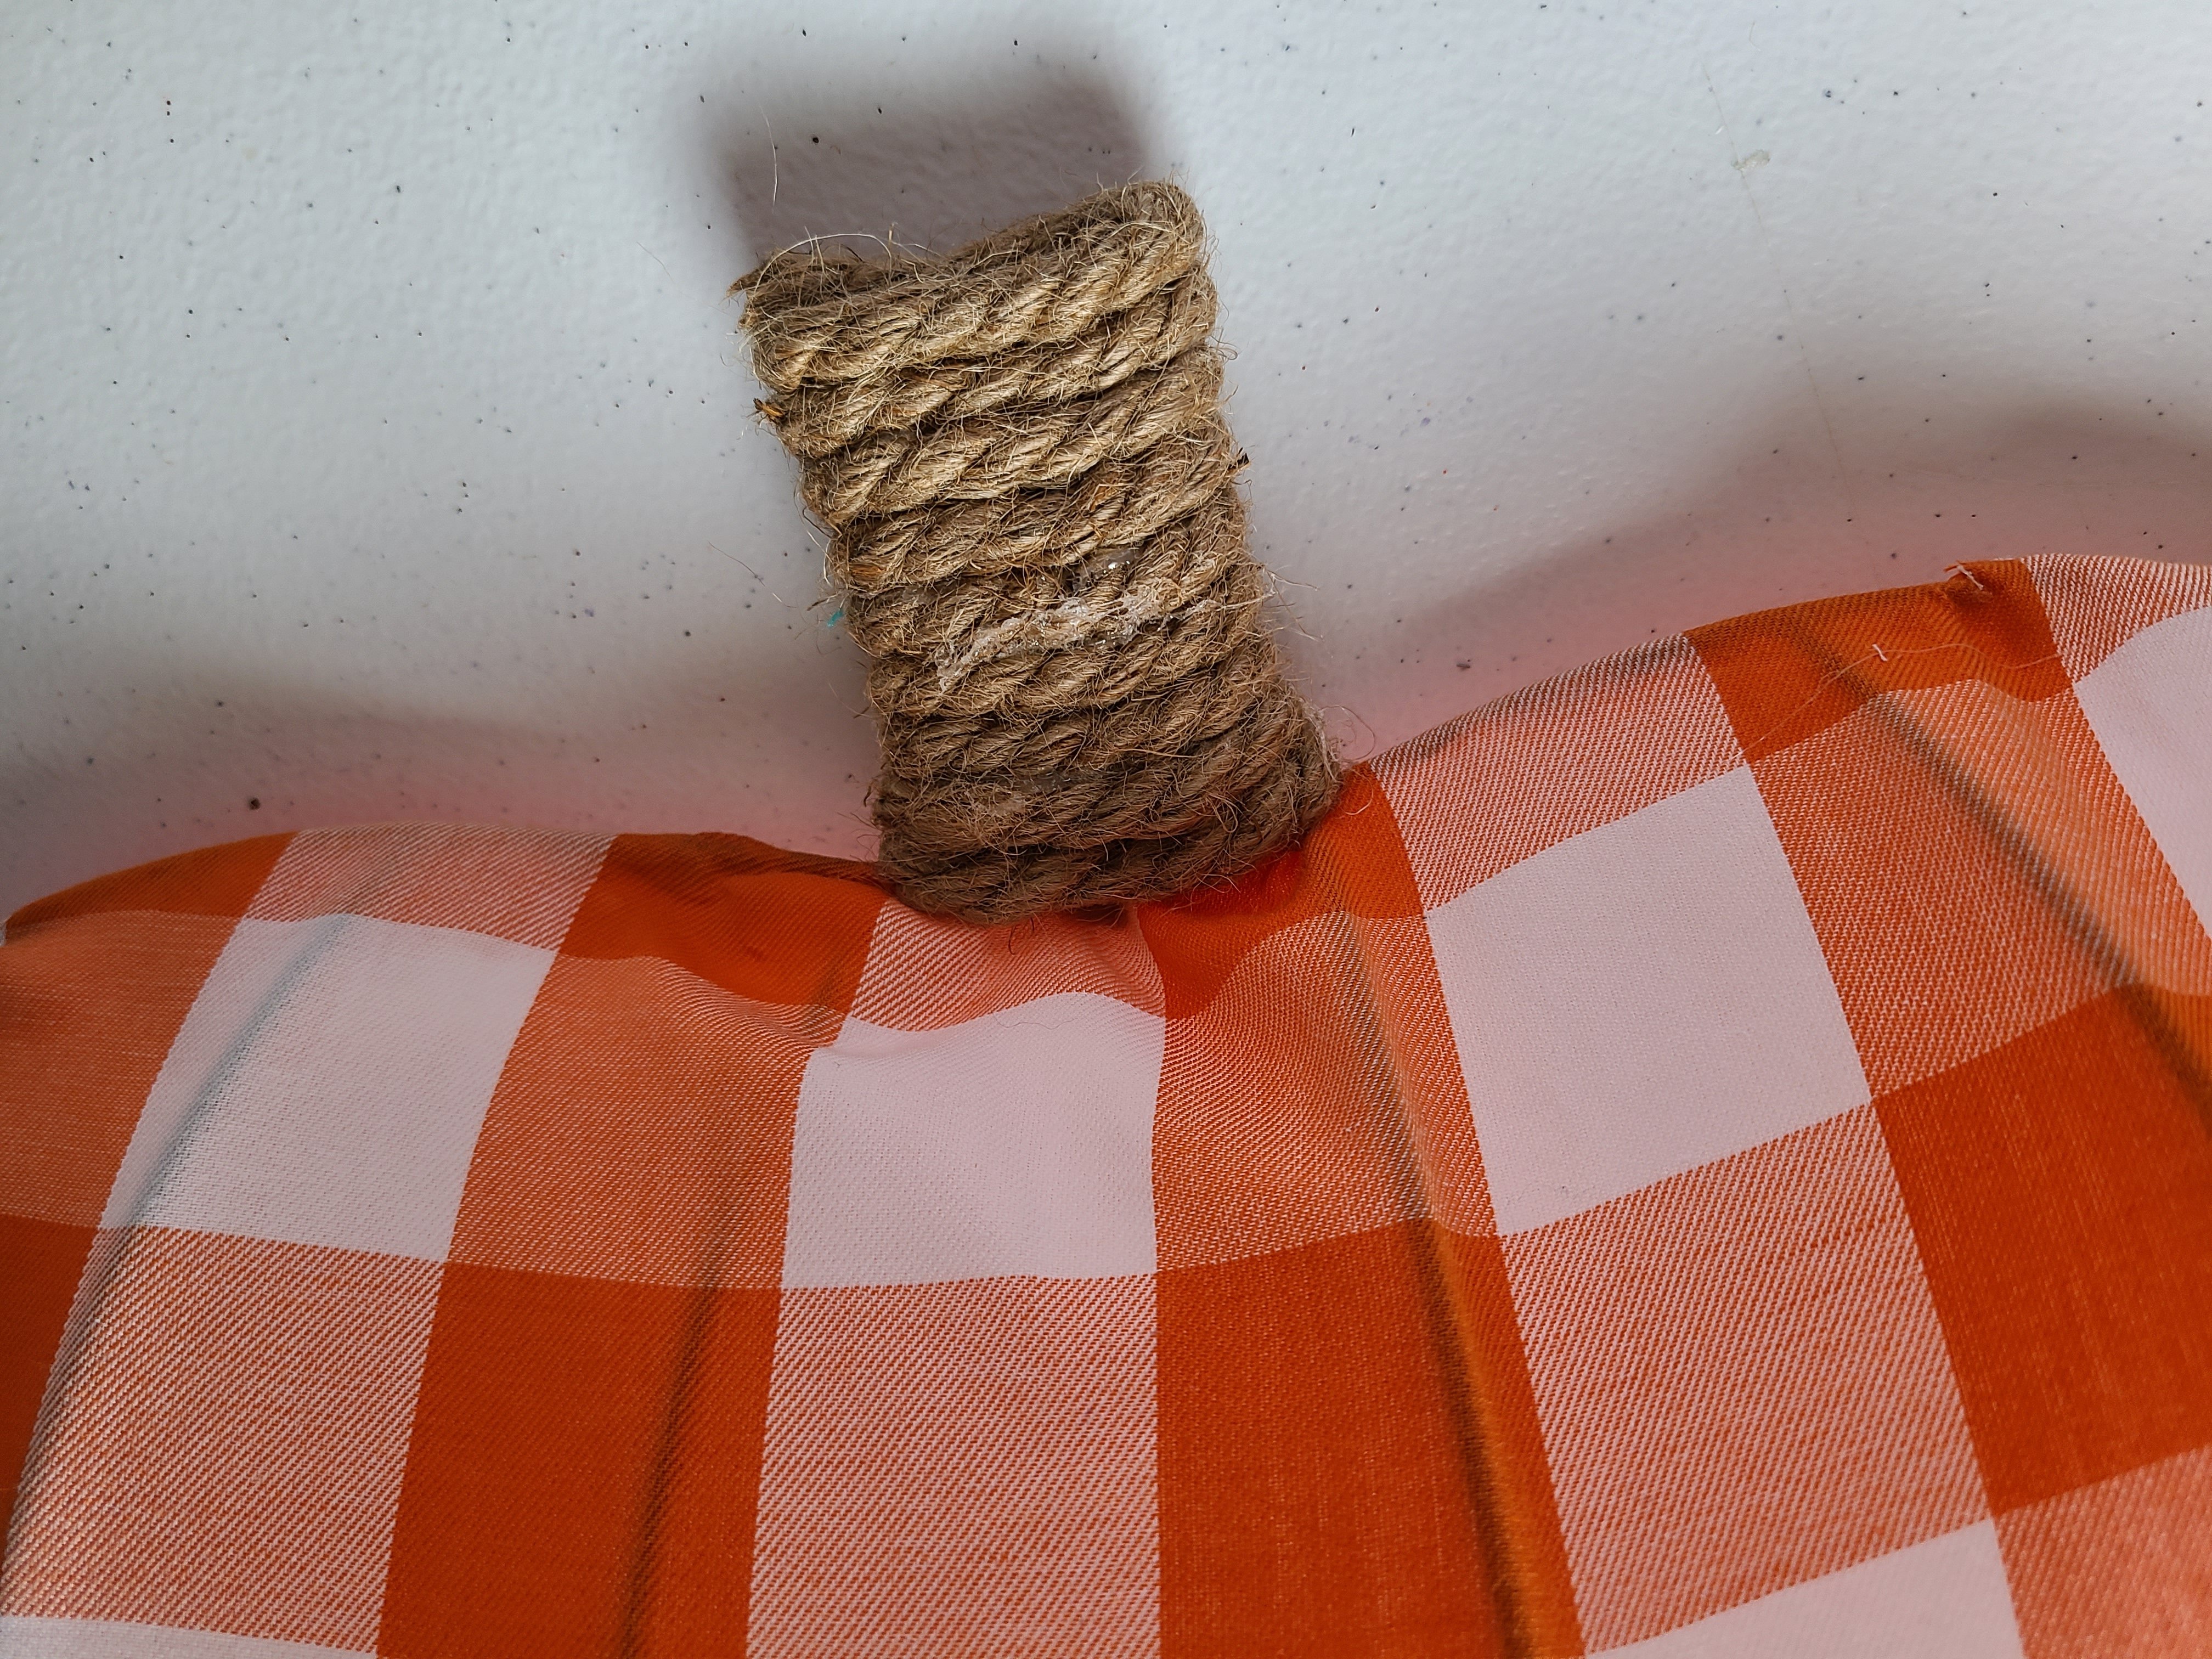
Create a “Stem” on the Dollar Tree Pumpkin Wreath
Now that your fabric is covering the form, you can start prettying it up. Add your nautical rope to the “stem” section of the wreath. Start at the base, adding hot glue to the rope, laced around one side of the wire, then wrap and glue as you get to the top. I finished mine off by gluing the rope across the top of the wire stem.

Make & Add Bows
Next you need to make your bows. I made regular, simple bows, and I left the tails a little long so once they were on the wreath I could cut them to the length that looked best. I made one out of the plaid ribbon, then one out of the glitter pumpkin ribbon. The plaid went on top of the pumpkin since it was thinner, and I used a pipe cleaner to attach them to one another.
Glue the bows near the top of the pumpkin, just below the stem. Then glue the styrofoam pumpkin just above the top center of the ribbons. I added a small pinecone just in front of the large pumpkin, but that’s optional. Again, you could move yours to another location. Whatever looks best for you.
Fancier Bow Tutorials
If you’d like a fancier bow to add to your wreath, you can check out this bow tutorial for a larger loopy bow and this tutorial for a super easy bow that looks like a bow that looks like a pro made it!
Add the Word
Next you’ll glue on the metal “Thankful” word. I placed it in the center of the form, and adjust the ribbon strands, cutting them to where your word can be seen. Do some final “fluffing” and you have yourself one beautiful pumpkin wreath to adorn your home until December!
Your Dollar Tree pumpkin wreath is complete!
I hope you love these pumpkin wreath forms as much a I do & you want to make more. Remember to pin the image below so that you can make this wreath when you’re ready. Follow me on Pinterest for more ideas weekly!
Remember to pin the image below or share this post with the buttons on the left side of the page so you can find it when you’re ready to start your project! Also, follow me on Pinterest for new ideas added weekly! Be sure that you never miss a great tutorial for decor like wreaths, signs and other home decor, free printables, crafts, and other fun posts! Enter your email address below to be notified of new posts! Use the buttons below to follow me on social media for other great content.

Don’t go yet! There’s more to see!
There’s plenty more to see here on the blog! If you’re looking for something specific, use the search box in the sidebar to look it up. If not, you might enjoy these ideas. Don’t have time to read them all now? That’s ok, just click over to the posts using the pictures and pin them for later. You can also add Life as a LEO Wife to your favorites and check back for new ideas and free printables and SVGs every Wednesday, as well as link parties with tons of shared ideas on Sundays!
Check out these decor pieces using the same Dollar Tree pumpkin forms.


More Fall Decor
I hope you’ll stick around and check out all of the fall decor that I have here on the blog. Everything you see can be customized to fit your home and seasonal decor because you’re making it yourself; DIY-ing a life you love! If you don’t have time to read them all right now, just head over and pin them for later!


Halloween Decor
Here are some great Halloween decor tutorials that you might like:


Until next time friends!
Thank you for stopping by today! Please leave a comment if you liked this tutorial. When you make your own pumpkin wreath, be sure to tag me on social media! I love seeing the twists you put on these ideas! You can follow me using the buttons at the top of the page or on the left side. If you know someone who’d love this idea, please share using the buttons at the bottom of the post!


I love this one! I hope to try it🤗
I’m glad you enjoyed! If you get around to making one, I’d love to see it. Thanks for stopping by!
Great ideas!
Love the way this turned out. And the frabric is really pretty. Not too bold of an orange. Thanks for sharing at #omhgww. See you next week.
Thanks Clearissa!
I’m honored to be chosen by Crafty Zoo as her feature of the week on Wonderful Wednesday link party!
Great project; guess I have to go back to DT soon. Haven’t seen the pumpkin forms here in Maine–yet! U love “wreathes” that aren’t wreathes! I got silicone finger cots (hot pink) at DT and they have protected my fingertips; I HATE glue gun burns! The hot pink makes them easy to find among clutter or when I drop them!
I got the same fingertips! I have had them a while, but I always forget to use them! I hope they get the wreath forms in soon!
Hi! thanks for your ideas. Where I live there is no Dollar store with those kinds of supplies but I might be able to improvise, using local materials to make it.
You can order from Dollar Tree online if you can’t find a store near you. I have also seen some people selling the pumpkin wreath form from Dollar Tree on Amazon. I get the fabric from Hobby Lobby, and I just checked and they do have it online too. I hope you can find some materials! If you do, let me know where you got them and tag me on social media to show up a picture of your wreath. I would love to see it!
Such a great project – we don’t really decorate our homes here in the UK which is a shame – I loved in Texas for a few years and loved how everyone embraced all the seasons and decorated. This is a great piece – thanks for sharing with us at 613 Avenue Create
Thank you! You should start a trend & decorate your home!