Welcome! Happy fall y’all! If you’ve been around for any length of time, you’ll know that I’ve made several wreaths using the Dollar Tree pumpkin wreath forms. I’ve seen several on Pinterest made using chunky yarn, but I couldn’t find any tutorials. Only the wreaths for sale. So, I sat down and figured out how to make my own. Today I’m going to show you how to make a woven chunky yarn pumpkin wreath!

Looking for more Dollar Tree pumpkin wreath form ideas? You might like these:


Be sure to head over & pin these tutorials for later if you don’t have time to read them all!
Disclosure: I am a participant in the Amazon Services LLC Associates Program and the Dollar Tree Affiliate Program, affiliate programs that allow me to link to the products that you can use to make this project quickly and easily. If you purchase any of these products I may receive a very small commission at no cost to you! That commission helps me continue to bring these great decor DIYs, free printables, and all of the other goodies on this site to you. Thanks so much for your support!
To make a woven yarn pumpkin wreath you need:
- chunky yarn – I used Bernat Blanket Big in rich burgundy from Michael’s.
- pumpkin wire wreath form – Dollar Tree
- metal word “welcome” – Dollar Tree (here’s a 3-pack)
- 2.5″ wired ribbon – I used a glitter pumpkin print from Dollar Tree. (this 2-pack is pretty)
- 1/8″ ribbon – I used copper to wrap the pumpkin stem.
- pipe cleaner
- spray paint or other paint – I used copper.
- hot glue gun


Prepare the Yarn
This was the first project I dud with the thick yarn. I used Bernat brand yarn that is just labeled as “Bernat Blanket Big.” It’s about 3/4″ wide. This was the thickest yarn they had at Michael’s. They had a sale for buy one get one half off, so I got a thinner navy as well. You could use their 40% off coupon as well and get this pack for $5.99. Update: Due to inflation I think the yarn I used is now $12.99, but you can still use a coupon. Walmart has their brand available in a similar color, plus a few others, for $6.99.
Before you can start you need to unroll some yarn from the skein because it will not fit through the wires on the form. I unrolled as much as I felt like could fit between the wires. It might have been about 10 to 12 feet long, I’m not sure. You will have to unroll and attach more as you go.
Begin your wreath by tying the yarn at the bottom edge of the wreath. I started on the bottom left, but you can choose either side. Tie the yarn in a knot around the wire on the outside edge. You can see the knot tied on the bottom wire on the outside edge, before the first wire that’s inside the frame.

Begin Weaving the Yarn Through the Pumpkin Wreath
Take your ball, roll, or what sometimes ends up as a pile of yarn (ha!) and pass it behind the first inside vertical wire on the form. Then bring it back through between the first and second wire, and over the second wire. Next take it through the second and third wire and go behind that third wire. Continue like that, over one wire then under the next until you’ve gone through all of them. You’ll end by going over the outside wire then behind and back around it. Don’t pull the yarn really taunt because it will not fluff up and cover the wires on the form.

Once you’ve gone around the outside wire, pass your ball of yarn back through the first and second wire on that side. On this row you’re going to weave the opposite of what you did in the first row. So if you went under a wire first, this time you’ll go over it, and if you went over in the first row, you’ll go under it this time. Again, don’t pull really tight.


Continue Weaving the Middle
Continue weaving the yarn though in this manner. Over one wire on one row, then under it on the next. Here is a video of me weaving in the middle of the wreath so you can see exactly how it’s done. It’s not a full tutorial video, just a small clip to show how to weave the yarn. This is the first video I’ve made and added, so forgive me if it’s not perfect. Let me know in the comments if you’d like to see more videos, if you like the written format better, or if you’d like to see tutorials with both like this one. Personally I like to read instructions, but I know everyone learns different.
Ignore my head popping into the video and me having to put my arms around my tripod every time I get to the middle of the wreath! My hair looks crazy, but, hey, it was a messy bun! Messy being the operative word lol! Here are a few still shots in case you don’t want to watch the video.


Upper Section of the Yarn Pumpkin Wreath
As you move up the wreath, make sure that you have enough yarn to fluff and cover the wires. Push the rows down slightly as you go. When you’re almost to the top, make sure the rows are pushed down enough that the fluffy yarn is covering the wires where the yarn goes behind them. You don’t want it packed down crazy tight though.
You will run out of yarn at some point in your project. When you do, unroll another section of yarn that is sized to be able to pass through the wires just like you did in the beginning. You can tie off the end, then tie the next portion on just above that or tie the two ends together. However either of those cause a big lump at that site. So I got around that by placing a dot of hot glue on the back of the end of the yarn and pressed the end of the next section of yarn to it. Don’t glue the yarn to the wreath form. When the two ends are attached, continue weaving as before.


When you get to the top, keep filling until the top edges and the top wire is covered by the fullness of the yarn. Cut off any excess, and tuck the end into the back of the wreath. You shouldn’t have to tie it off, as the bulk of the yarn will hold it in place.


Make a Bow
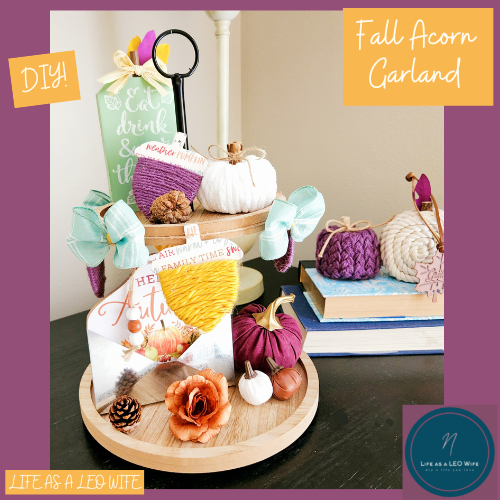
Having a bow on your yarn pumpkin wreath is optional. I liked the bow on my orange buffalo check pumpkin wreath, so I decided to add one on this one as well. If you’ve seen any of my previous posts, you may know that my color scheme for early fall was aqua, orange, and white, and the color scheme I’m going with for late fall (November) is burgundy, navy, and copper. Since I didn’t have any navy or copper ribbon, I decided to make my own. Update: My color scheme for early fall this year is mustard yellow, plum, and mint, which I got from a Target table runner. You might enjoy these fall DIYs (psst… you can make them in any color scheme, girl!).


Spray Paint the Metal Word (& bow if needed)
I had a roll of 2.5″ wired ribbon from Dollar Tree that was orange and gold with orange glitter pumpkins on it. I rolled out about 28″ of it from the spool and cut it off. Using Krylon metallic spray paint in copper, I painted one coat on each side of the ribbon. While I was at it, I painted the metal word “Welcome” as well. If you don’t want to use ribbon to cover the stem of the wreath form, you can give it a quick coat of paint as well.

I know what you’re thinking. What’s up with the hoop and “Thankful?” Well, I’ll I made an elegant, beautiful fall hoop wreath. Be sure to head over and pin that tutorial for later! This pumpkin topiary also goes well with the pumpkin wreath and hoop wreath. Hang your pumpkin wreath on the front door, the hoop wreath on the wall, and your topiary in a fall vignette!


Now make a regular two loop bow for the wreath. I secured my bow with a pipe cleaner in the middle, then wrapped the thin ribbon around that to hide it. You can make a four loop bow if you’d like, I just like the simplicity of the two loop for this particular wreath.
Add Embellishments
Next add a dot of hot glue to the back of the stem on the wreath form at the base and place the end of the 1/8″ ribbon on it. Wrap the ribbon up and around the stem until it’s covered. Add another dot of hot glue at the top of the stem to secure the ribbon, then cut off any excess. Place a bit of hot glue on the back of the bow and press it on to the pumpkin stem at the base.


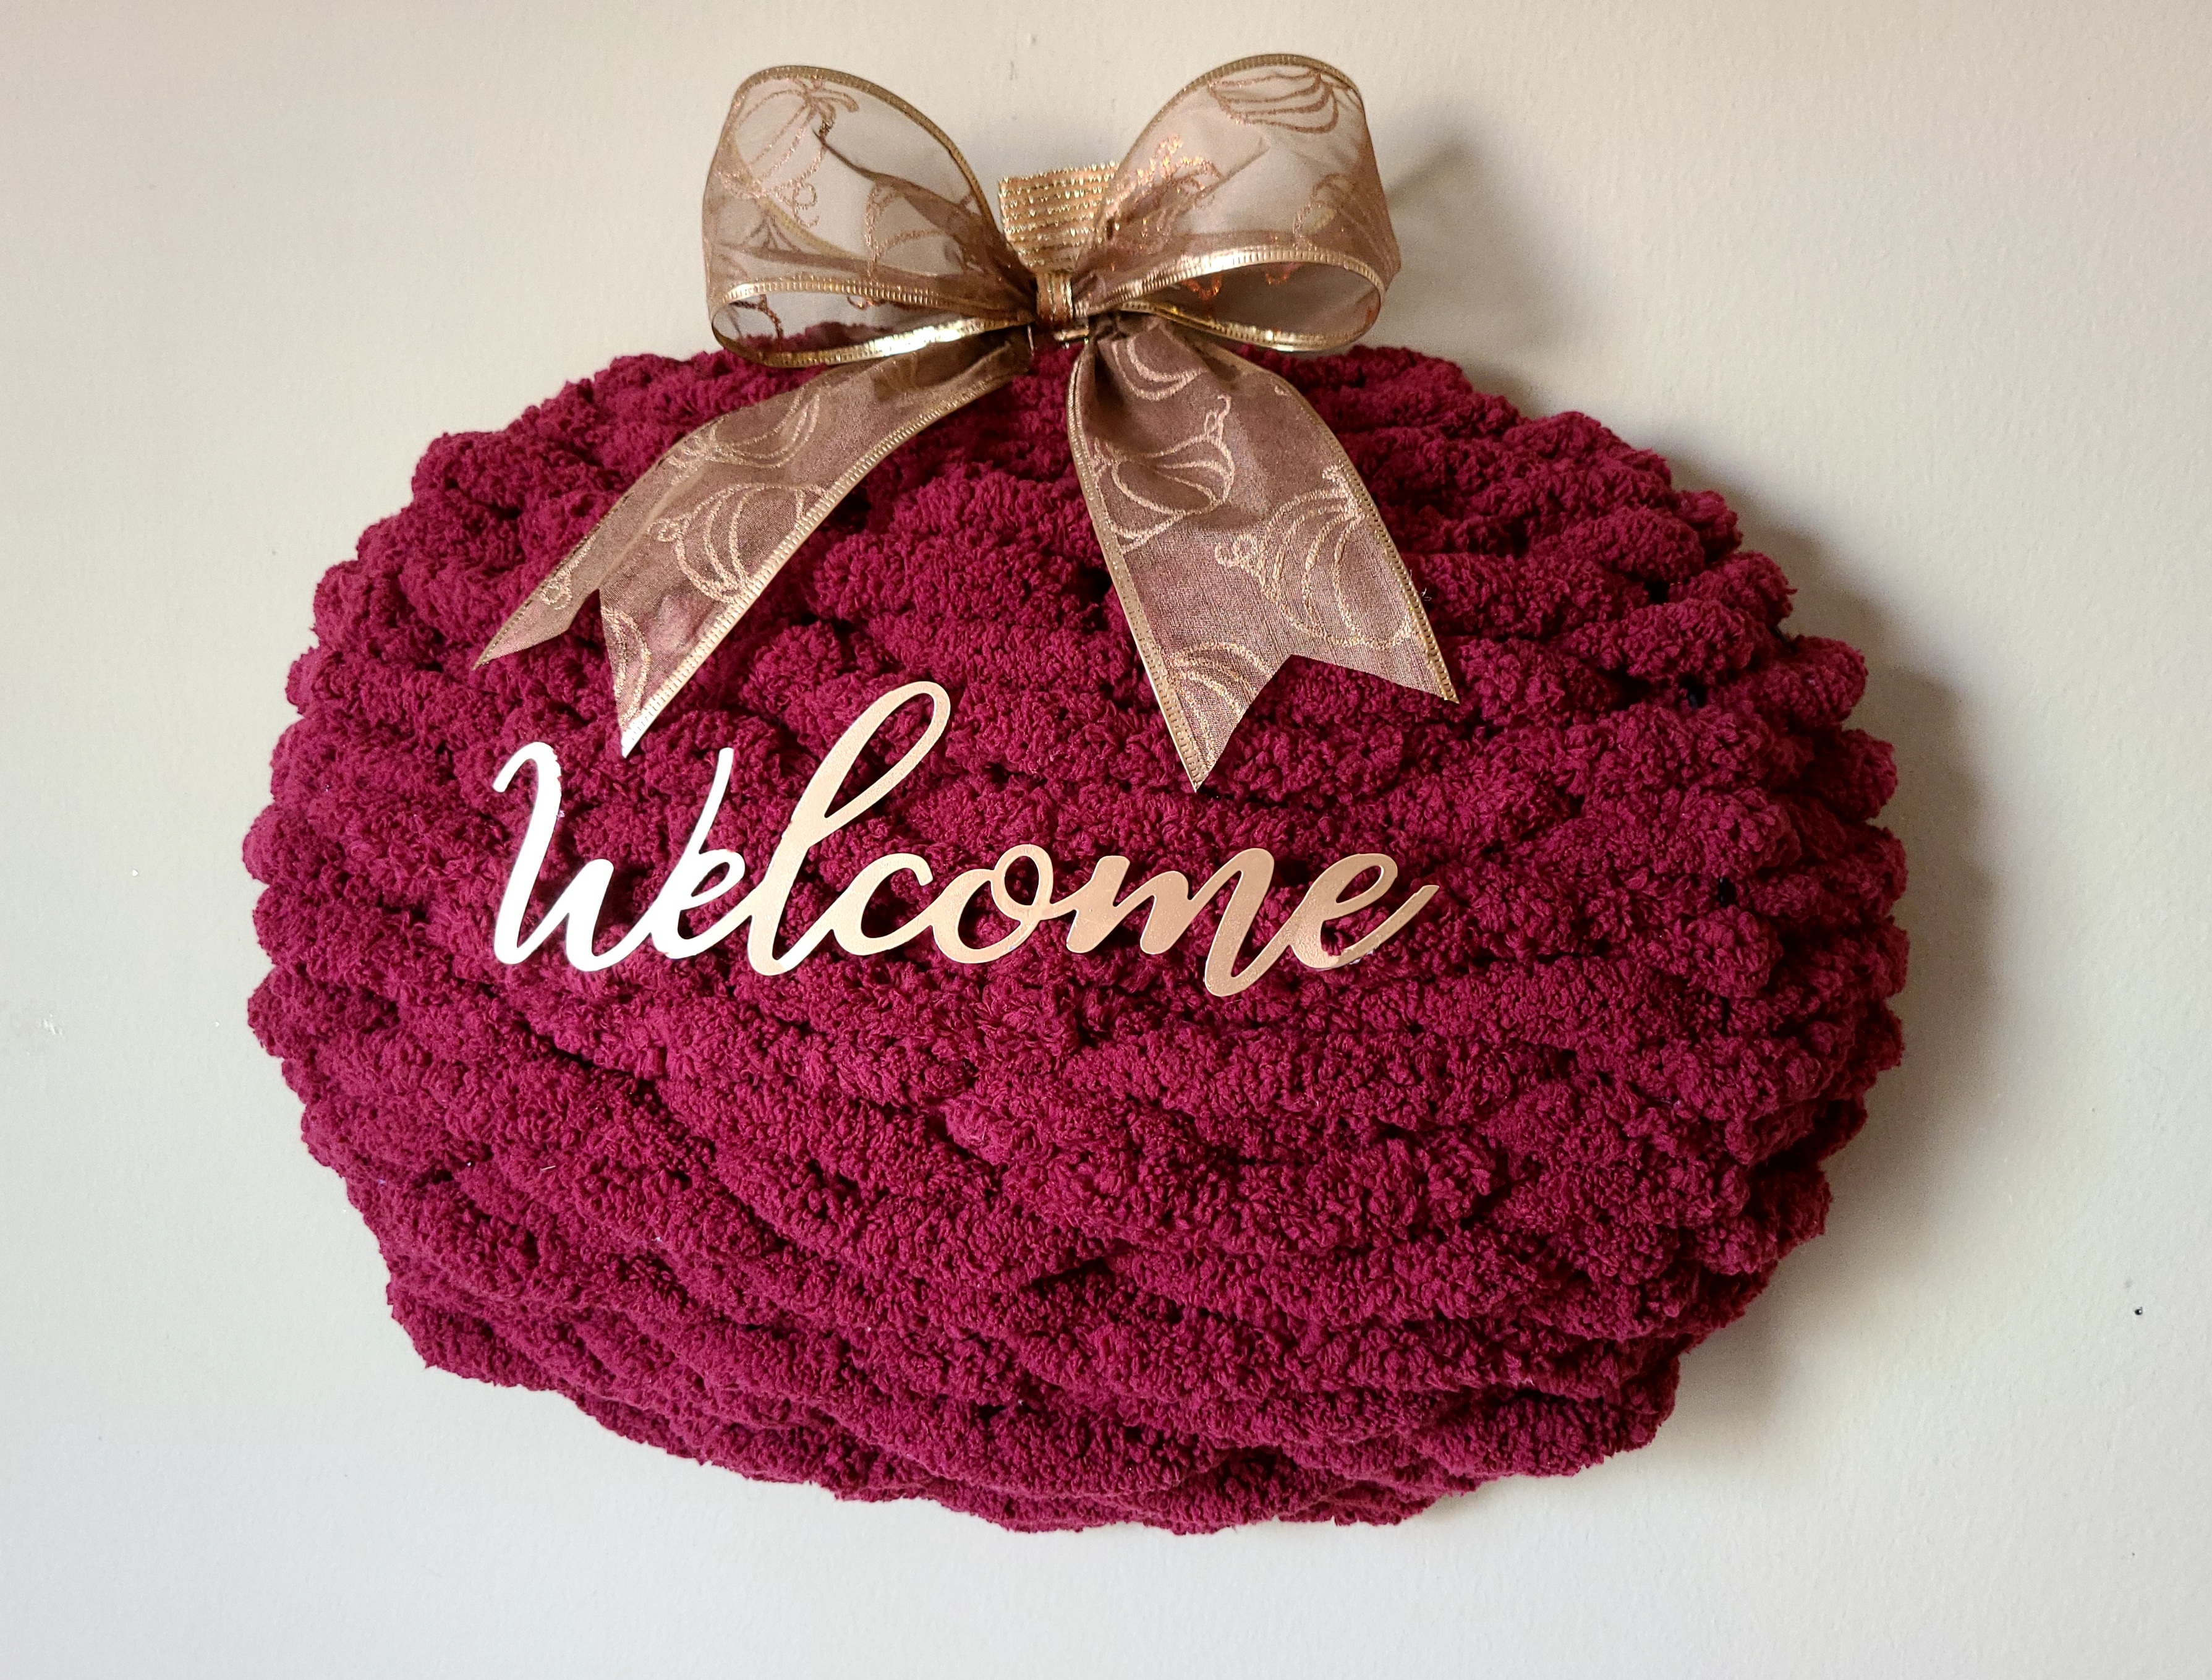
Now you can attach your painted word to the front of the yarn pumpkin wreath. The pack of words from Dollar Tree comes with three different words: welcome, harvest, and thankful. I used welcome on this wreath because I plan to place it on my door in November. At least that’s the plan for now, but that’s liable to change, ha! You can use whichever word you’d like on yours. Place some hot glue on the back, then turn it over and press it on the middle of the pumpkin. Do this carefully because the word is thin, and you don’t want the glue to get all over the yarn.

Fluff the Yarn Pumpkin Wreath
You are almost finished! If you have any of the metal wires showing through the yarn, pinch the yarn on either side of the wire and slightly wiggle it back and forth which will fluff that section, covering the wire. I fluffed mine before adding the embellishments, but ended up having to do it all over again after. I thought I’d save you some time and just let you know to do it after! You can also reach into the back of the wreath and push the rows of yarn forward. That will also fill and cover any open sections.

Your wreath is ready to display!
Now your beautiful yarn pumpkin wreath is complete. I really love the way it turned out. You’d never know I just winged it at first or that this is my first chunky yarn project. At least I hope you wouldn’t know….
Here are a few shots of this lovely wreath! (Keep reading for more DIY fall and Halloween decor ideas and free printables!)
Remember to pin the image below or share this post with the buttons on the left side of the page so you can find it when you’re ready to start your project! Also, follow me on Pinterest for new ideas added weekly! Be sure that you never miss a great tutorial for decor like wreaths, signs and other home decor, free printables, crafts, and other fun posts! Enter your email address below to be notified of new posts! Use the buttons below to follow me on social media for other great content.

More Fall Decor (No time? Click over & pin now for later!)
If you’re looking for more home decor, you’re in the right place! Here are a few tutorials you might enjoy:


Looking for more or something specific? Use the search box at the top of the right sidebar!
Halloween Decor (Pin Now for Later!)
Here are a few Halloween decor pieces that you might enjoy:


This is gorgeous Niki! Your projects always are! I am visiting from Katherine’s Corner and I just wanted you to know that you are in my prayers today and always!
Thank you Denise! I definitely always appreciate prayers. Your projects are always an inspiration as well!
Very pretty! Thanks so much for linking up at the Unlimited Link Party 35. Pinned!
Thank you!
Beautiful – and so easy – Thanks for sharing at the Share the Wealth Party!
Thank you!