Happy spring, my friends! Today I’ve got a fun Dollar Tree DIY decor idea for spring to share with you: an adorable bunny flowerpot to display flowers or small decor items. This project cost $2.50, so it’s not just cute, it’s oh-so affordable! Let’s get right into the tutorial.

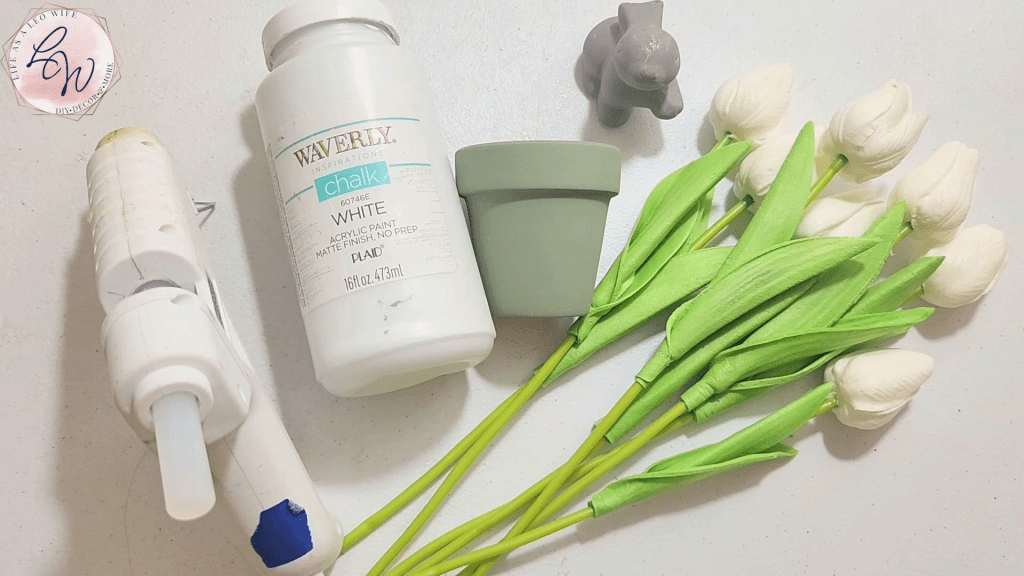
Dollar Tree Spring DIY Bunny Flowerpot Supplies:
- small terracotta pot- They come in a 3 pack.
- ceramic bunny ornament
- chalk paint- I used Waverly’s moss and white.
- paint brush
- Beacon Quick Grip
- hot glue gun & glue
Paint the bunny & terracotta pot.
The pot and bunny that I used for this project had already been used for previous projects. The tiny pot was used last year in my popular bunny topiaries and the bunny was part of a few Dollar Tree DIY spring houses I put together.
The flowerpot was already painted the color that I wanted, Waverly’s moss green. I painted over the gray on the Dollar Tree ceramic spring bunny with white chalk paint. You can paint your items whatever color you’d like. It can be the same color or two different colors for the end spring decor DIY project look that you’d prefer.

I used the smallest terracotta pots available, but this project would work with a large pot on top of a bigger bunny or even an egg.
Assemble the Bunny Flowerpot
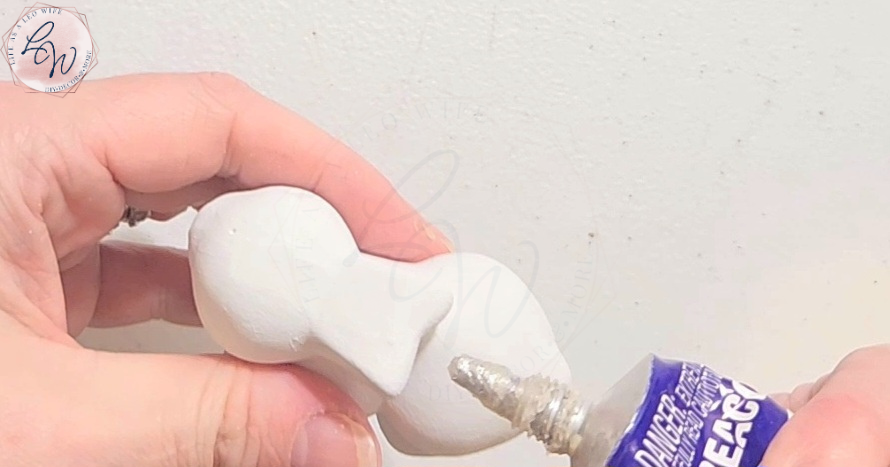
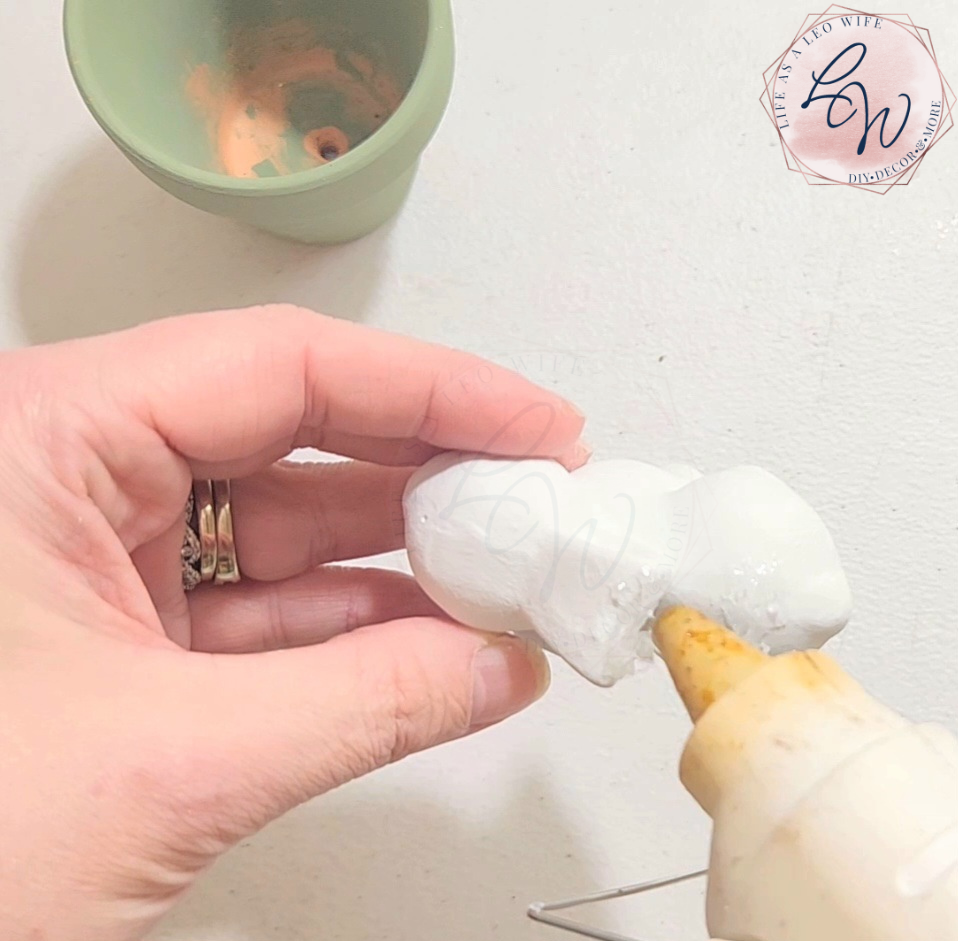
Add some Beacon Quick Grip to the top of the bunny head and the top of the ears, then squeeze some hot glue on top of that which will help the glue adhere faster.
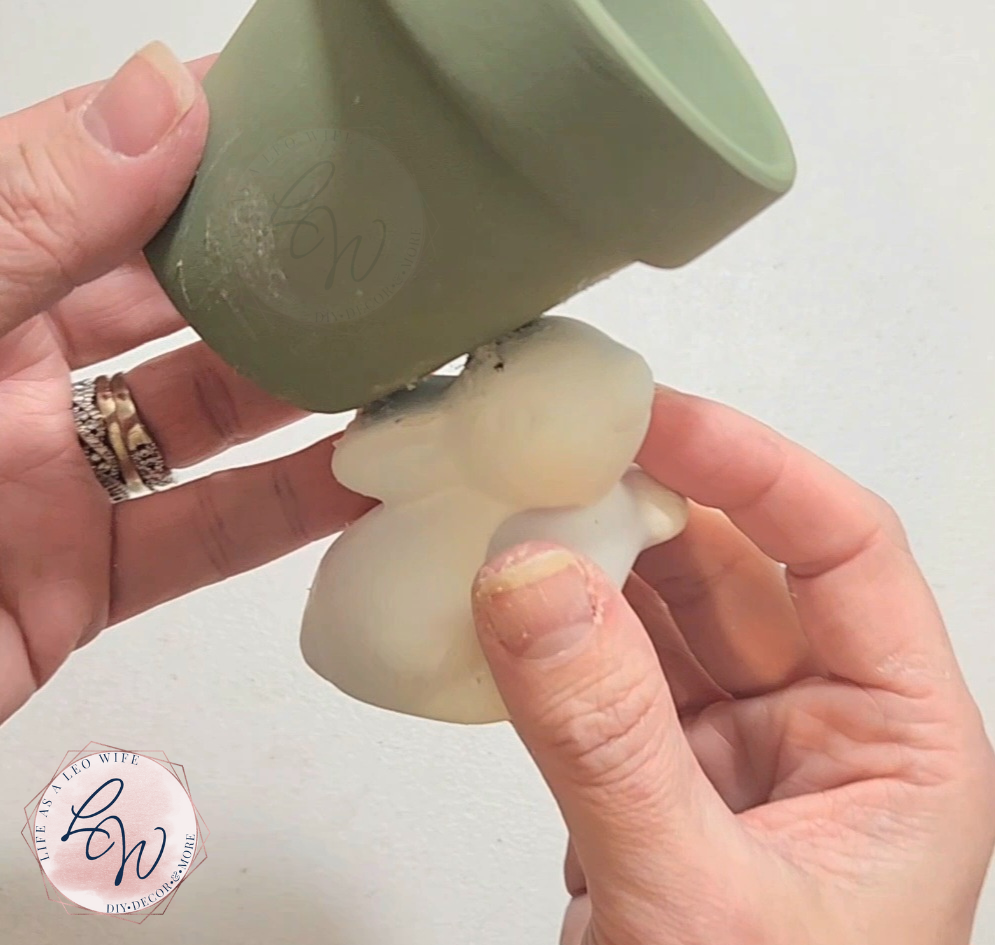
Place the pot on top of the glue and hold it in place until it dries. I like the Quick Grip because it dries so much faster than E6000. You should only have to hold it for about 60 seconds or less.
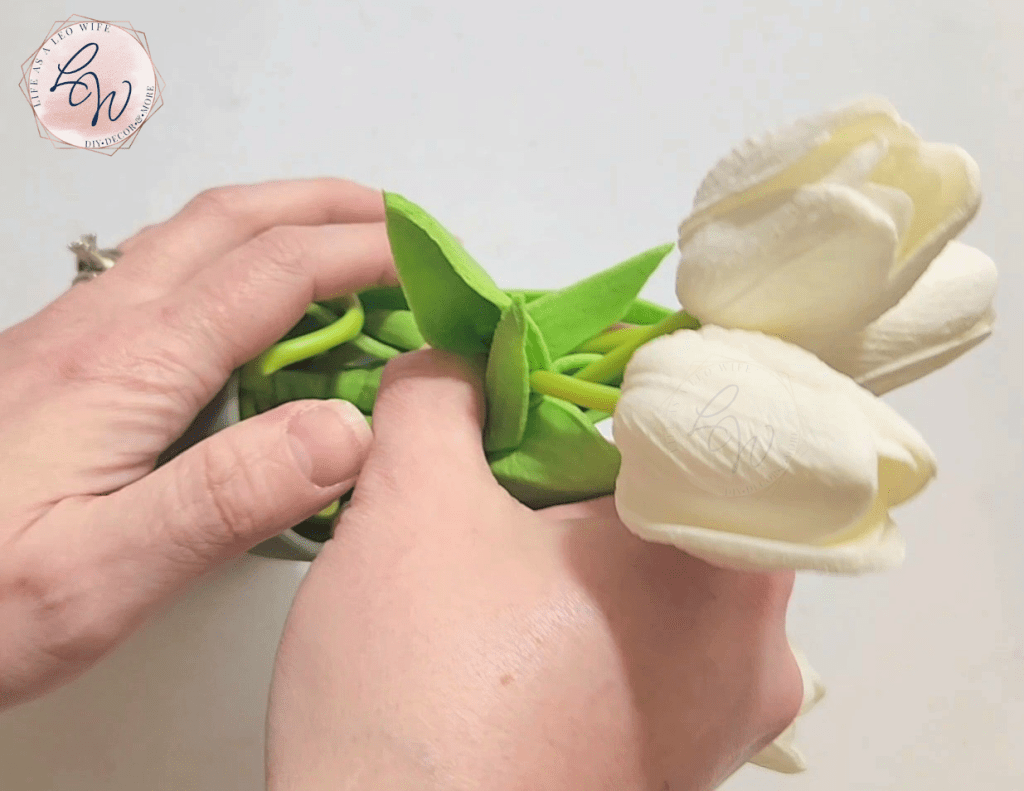
Now, add the flowers of your choice. I placed in some real-touch tulips and bent in the stems so that I didn’t have to cut them. That way I can use them later in taller vases by just unfolding the stems.
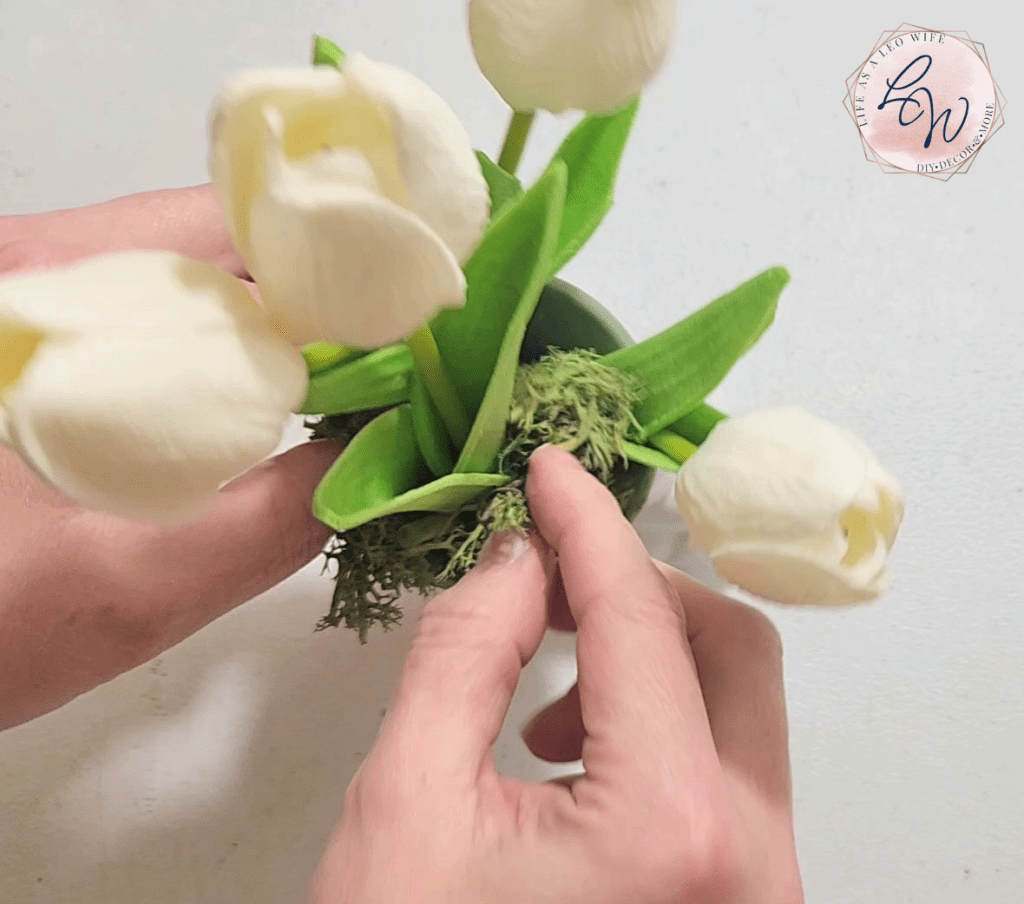
On top of the stems, I added some moss to cover the messy look.
If you’d rather, you could add small Easter eggs or other small spring decor items in your flowerpot as a kind of diorama instead of flowers. This will work well if you’ve used a larger flowerpot and bunny. You could glue the flowerpot at a different angle, completely horizontal on top of the bunny’s head, if you’d like to display items.
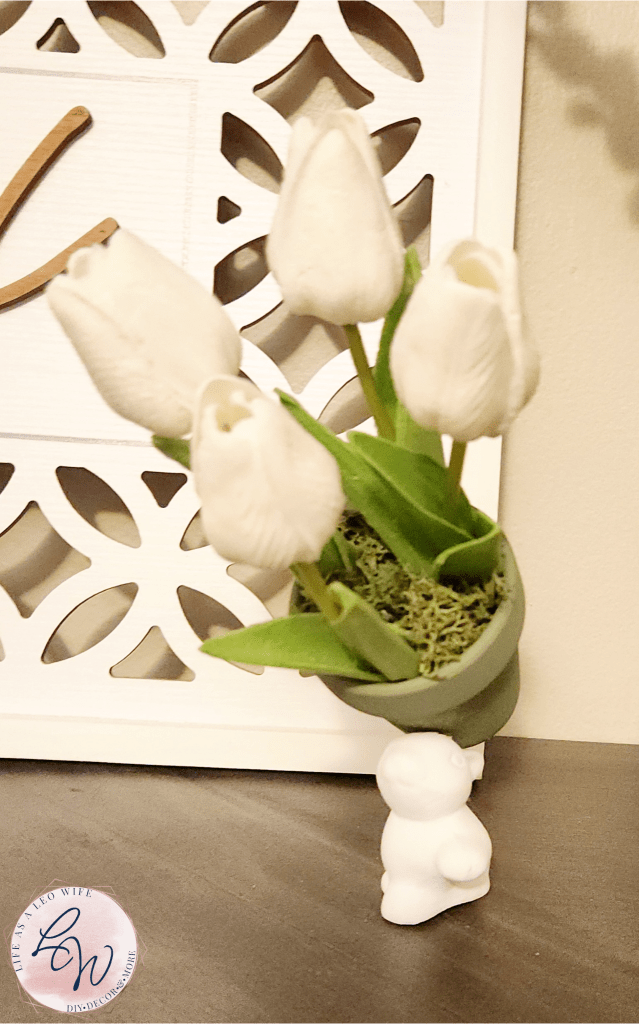
And that’s it! My spring Dollar Tree DIY bunny flowerpot is finished!
Bunny Flowerpot Video Tutorial
Here’s a quick video tutorial for those who are more visual learners.
Bunny Flowerpot Blog Video by Niki KlineDisplay your adorable & affordable spring Dollar Tree DIY decor piece & enjoy!

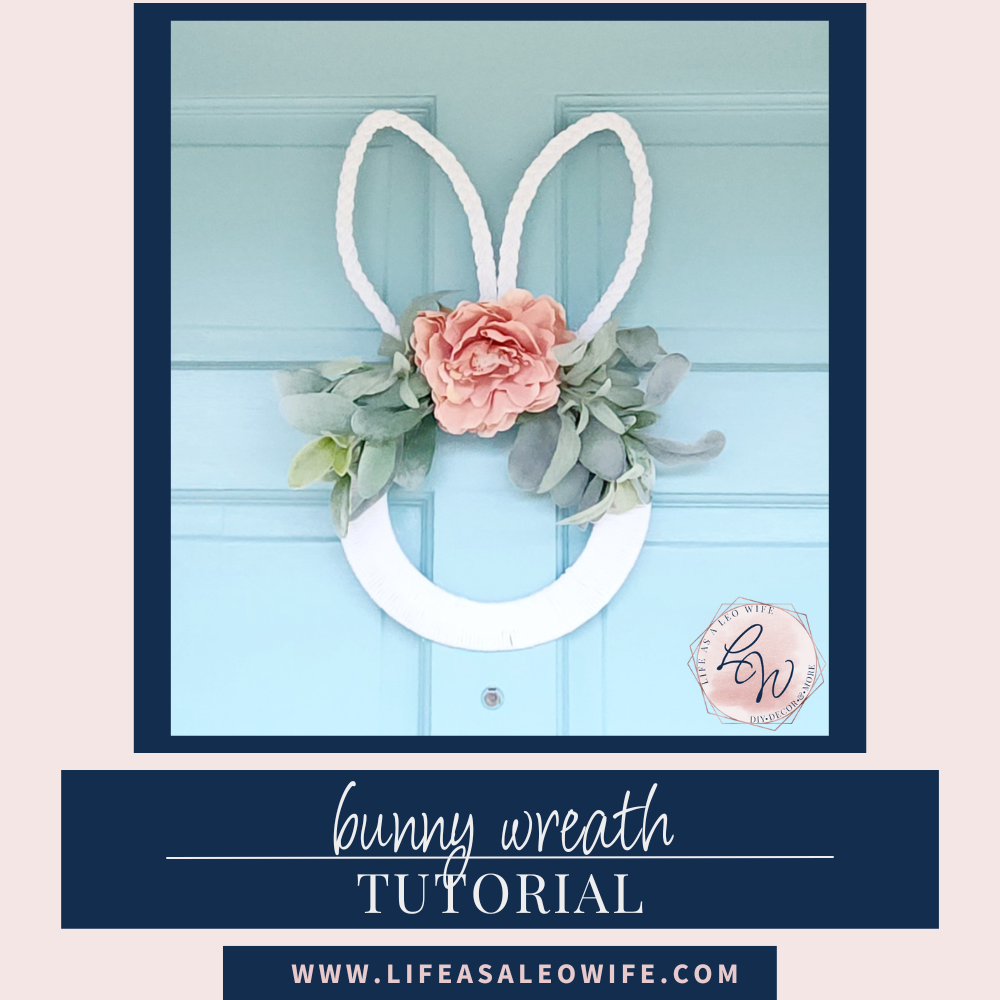
Remember to pin the image below or share this post with the buttons on the left side of the page so you can find it when you’re ready to start your project! Also, follow me on Pinterest for new ideas added weekly! Be sure that you never miss a great tutorial for decor like wreaths, signs and other home decor, free printables, crafts, and other fun posts! Enter your email address below to be notified of new posts! Use the buttons below to follow me on social media for other great content.
Don’t go yet! There’s more to see!
There’s plenty more to see here on the blog! If you’re looking for something specific, use the search box in the sidebar to look it up. If not, you might enjoy these ideas. Don’t have time to read them all now? That’s ok, just click over to the posts using the pictures and pin them for later. You can also add Life as a LEO Wife to your favorites and check back for new ideas and free printables and SVGs every Wednesday, as well as link parties with tons of shared ideas on Sundays!


One thought on “Genius Bunny Flowerpot: a Dollar Tree Spring DIY”