
Happy April everyone! I’m so glad that you’re here on April Fool’s Day, but there’s no fooling to be found around here today! I’ve got an adorable DIY that you can make for just a few dollars. The economy is incredibly bad now and only expected to get worse, so being able to make decor that’s budget-friendly is more important than ever. I’m sure you’ve seen the Dollar Tree houses all over Pinterest. I finally found a store that actually had them in stock, so I picked up three in different sizes. I decided to incorporate them into my spring dining room decor, so today I’ll show you how to upcycle those cheap looking Dollar Tree houses into cute spring decor.
Supplies for Spring Dollar Tree Houses (all from DT unless noted):
- 3 Dollar Tree houses
- my buffalo check printables
- 1/2″ ribbon (or smaller)- I used aqua.
- bunny letter ornament
- acrylic or chalk paint- I used pink chalk paint from Michael’s.
- paint brush
- small items to place inside the houses (small porcelain bunnies, eggs, flowers, etc.)- I used small egg-shaped ring dishes from Target Dollar Spot.
- hot glue gun & glue
- scissors

Paint the Dollar Tree Houses and Ornament
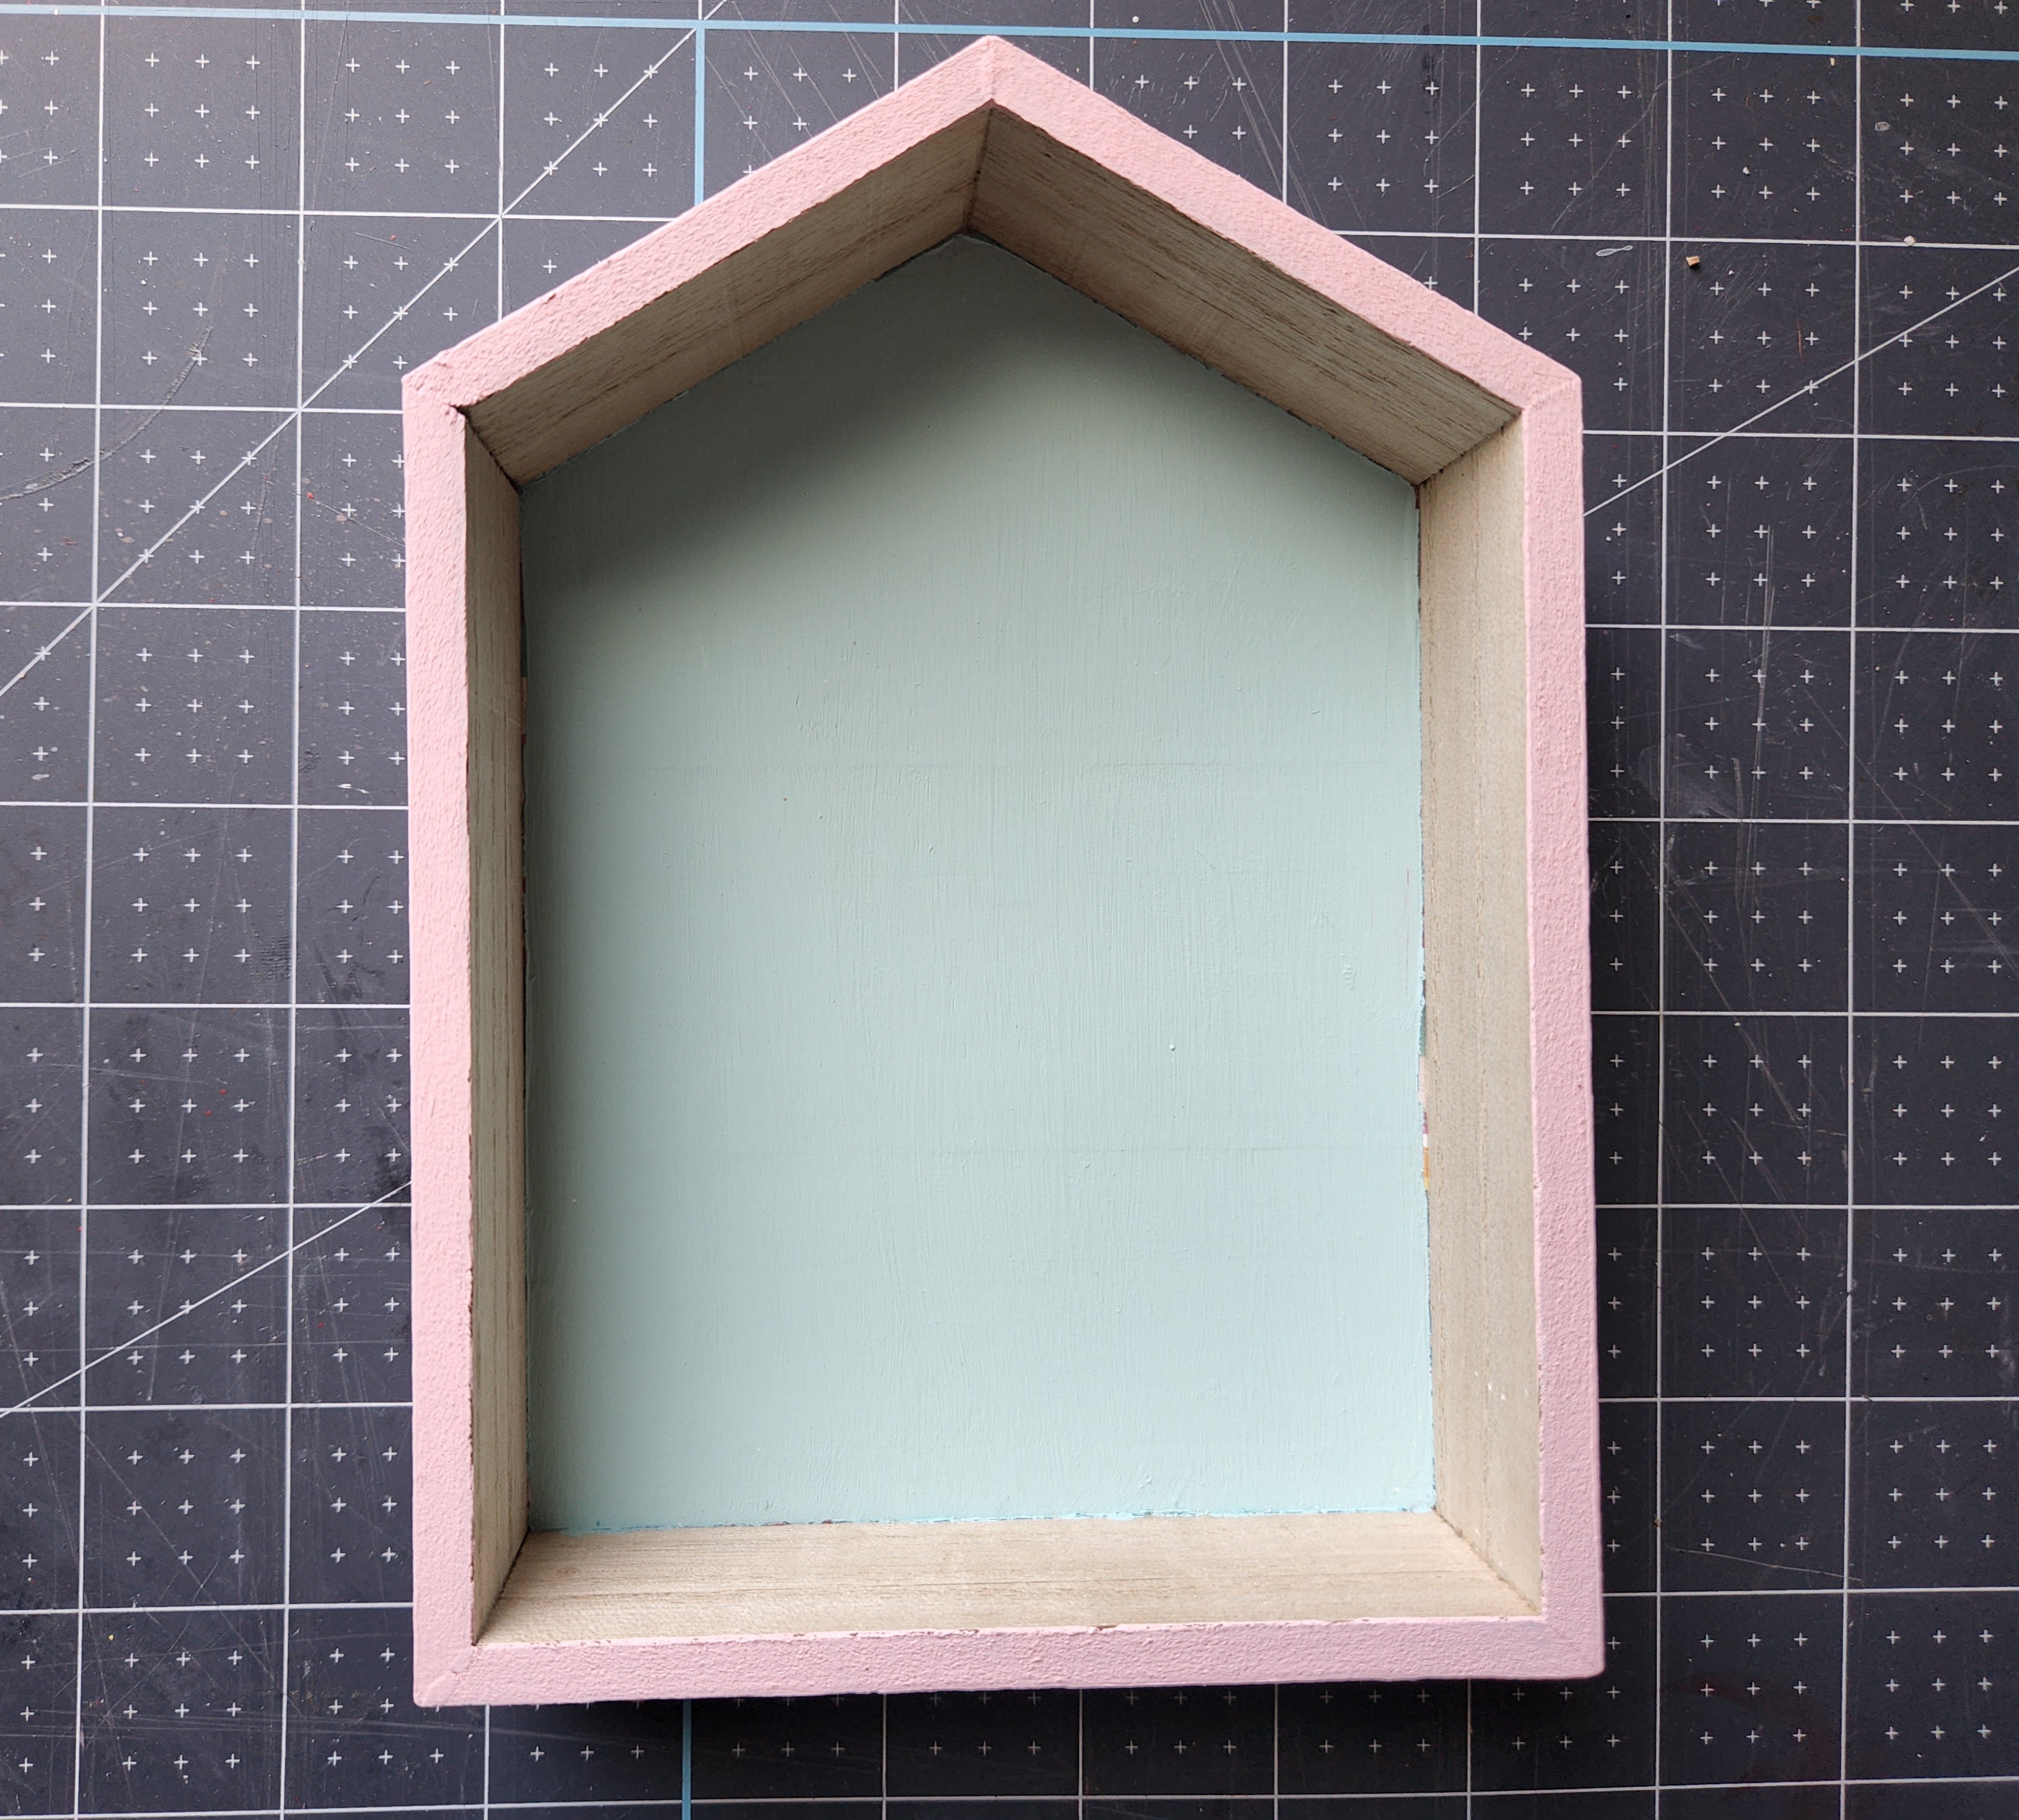
I used chalk paint for my houses, but you can use regular acrylic or even spray paint if you’d like. You can paint the entire house, inside and out, or you can just paint the outside. I chose the latter. I painted the outside and the front lip of the house but left the inside “wood.”

Before you paint your bunny ornament, you need to fill the holes that are pre-drilled that you use to hang it. If you’d like to hang yours inside the house, you don’t need to fill them. I just wanted to sit mine inside the house, so I filled the holes with lightweight spackling from Dollar Tree. Once it dries, sand it until it’s smooth.

Since all of my dining room decor for spring and Easter this year has an element of buffalo check on it, I decided to paint my ornament in that pattern. If you aren’t sure how to do that, you can use this post that will show you how, step-by-step.


I painted the inside of one of my Dollar Tree houses robin’s egg blue since I was already adding the buffalo check ornament to it. If you’re doing the same, go ahead and paint the inside whatever solid color you’d like. Use painter’s tape to tape off the sides so that only the back panel gets painted.
Add Buffalo Check Insert
I created a free printable buffalo check background that is aqua and white. Download and print it out to place inside the houses. You’ll need one for each house that you didn’t paint inside. If you’d like another color buffalo check, let me know and I’ll see what I can do. You could also use patterned or solid cardstock.
For Personal Use Only
As with all my printables, they are for personal use only. Do not sell or use on items that you will sell. If you’d like to share it with others, please share this post with them on social media using the buttons at the end of the post or direct them straight here to the blog. This helps me keep these printables coming to you for free. Thank you!
Place the houses on the paper, and trace around it. Next, cut the house out. You may want to cut a little bit inside the lines you traced because the space inside is about 2″ smaller than what you traced. You’ll cut the excess off in the next step.


Press the paper into the house, then use a utility knife to trim the excess paper off the edges. You don’t need to glue it in place.


Add Embellishments
For the Easter ornament, you can just sit it inside the house. They are pretty wide, so they will only fit in one of the house sizes. You may want to make sure you have the correct size before leaving the store.

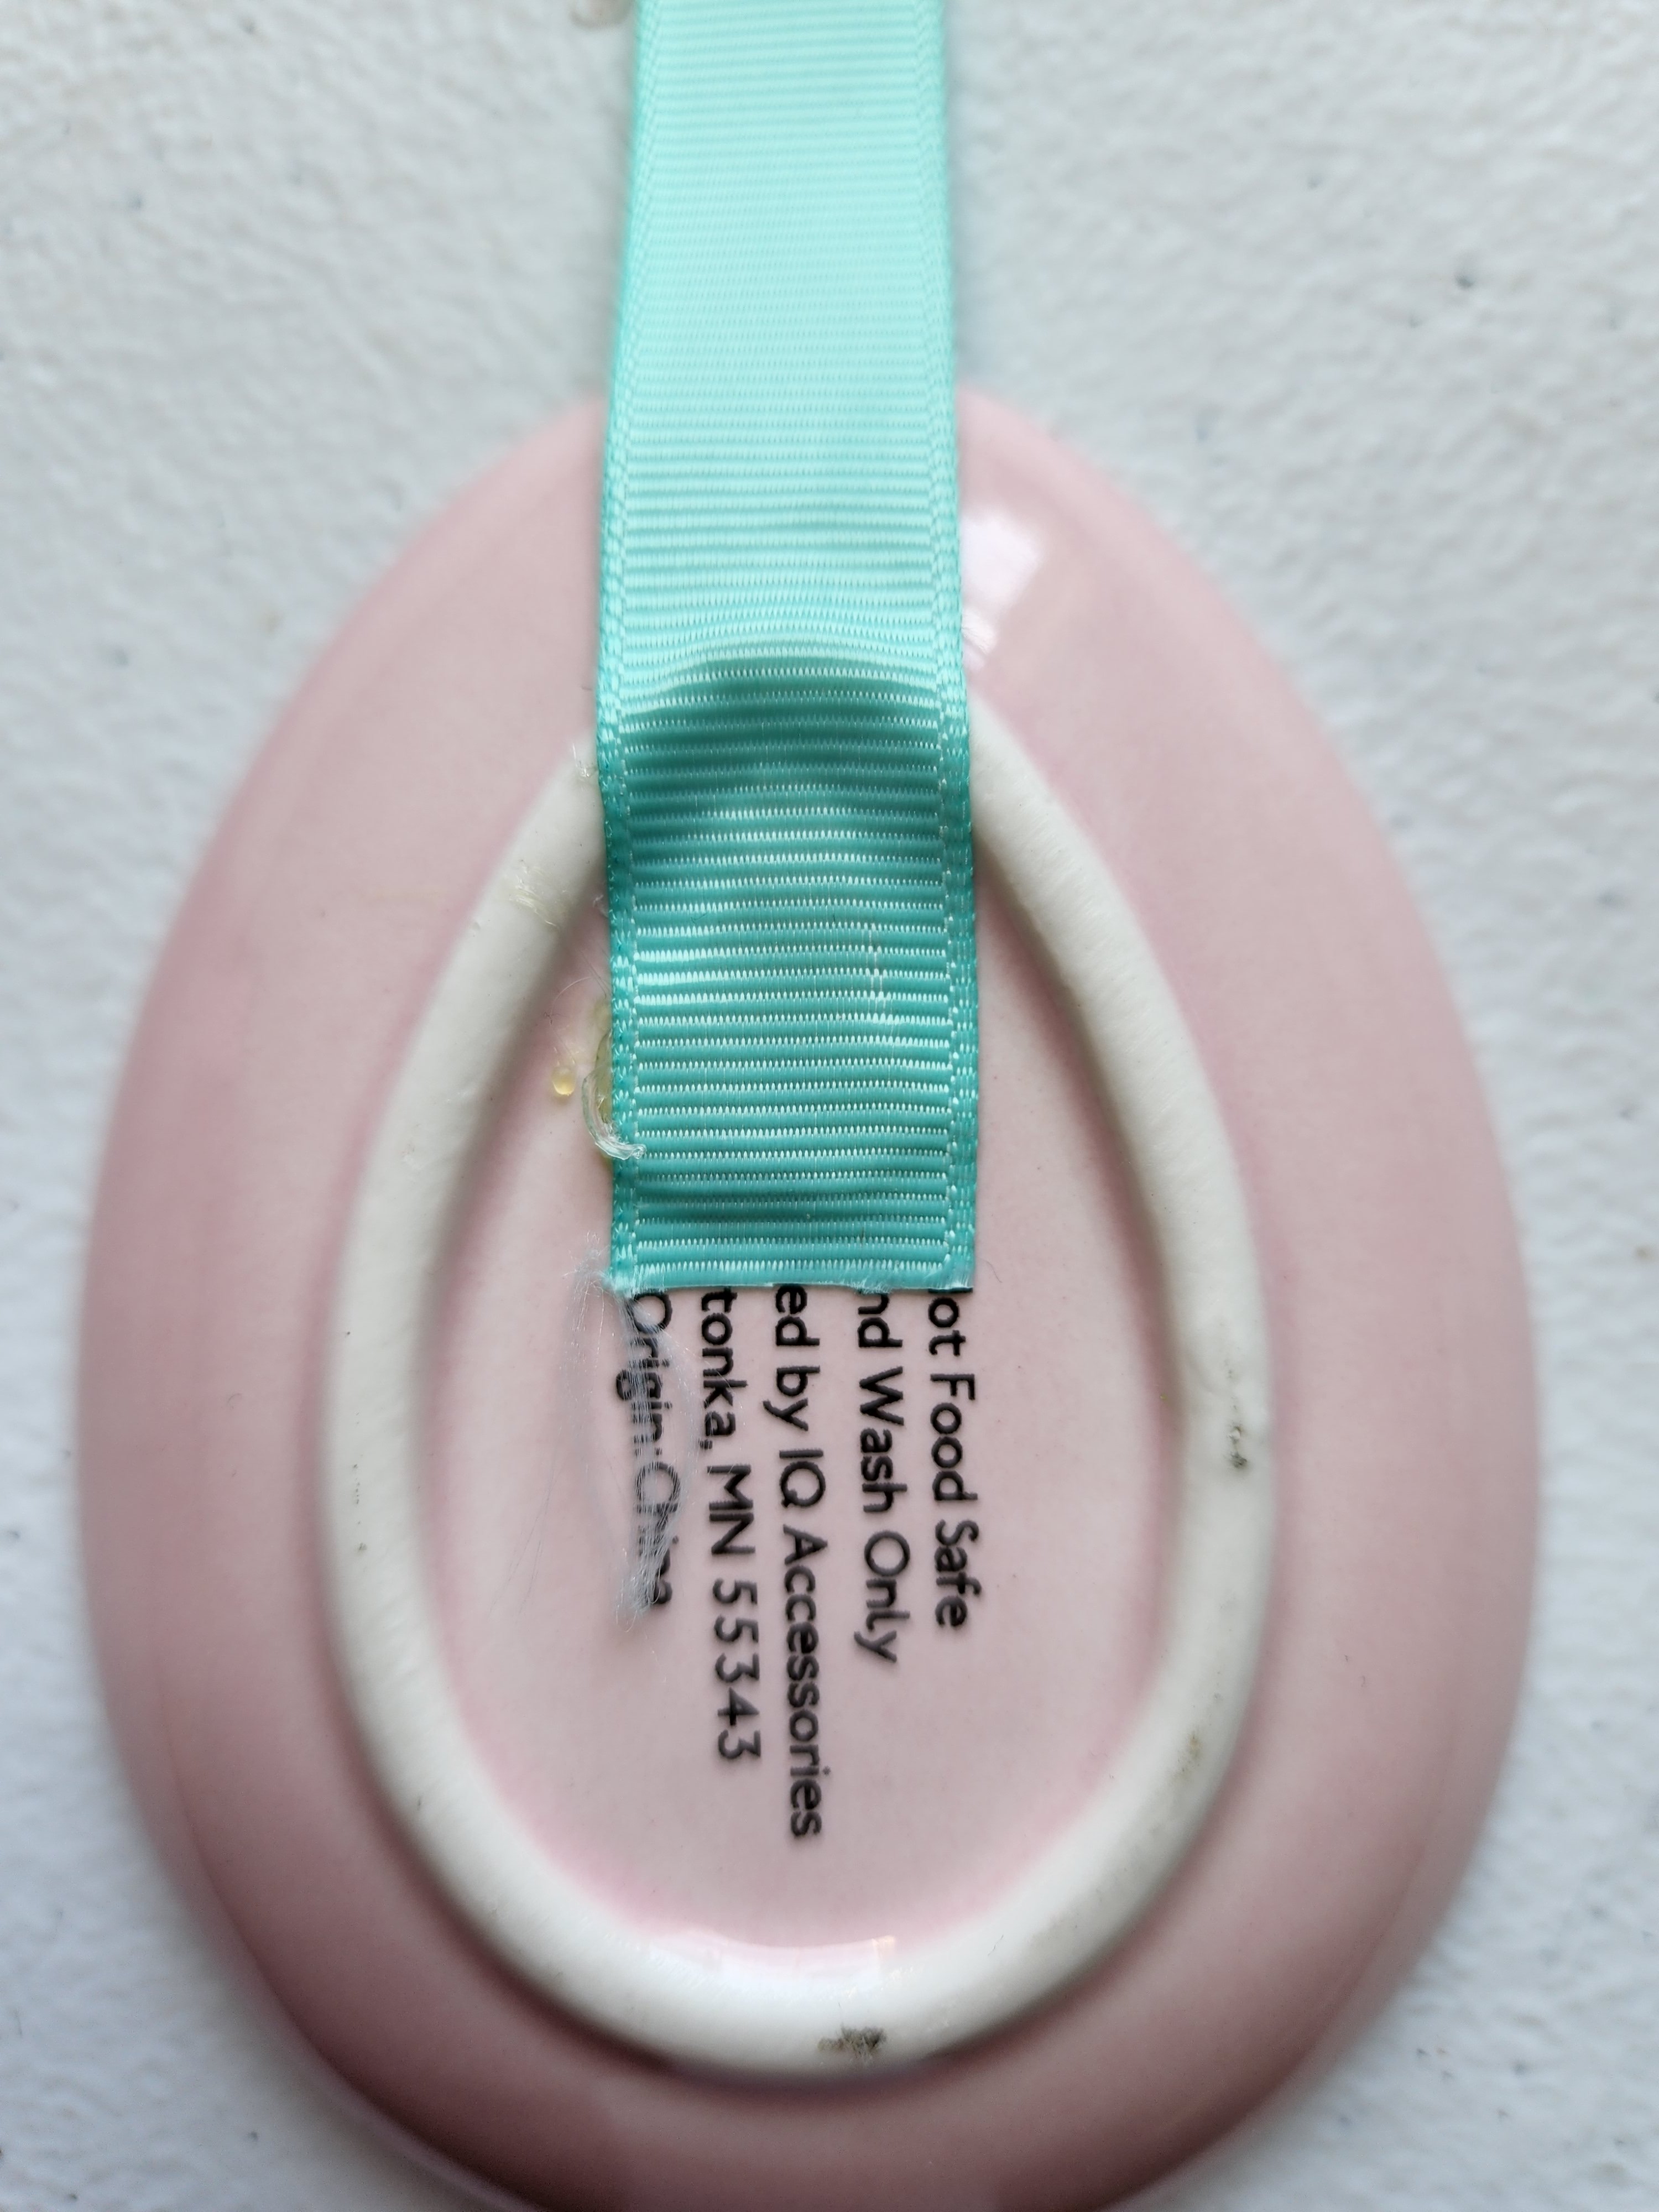
Next, glue the end of your ribbon to the back of the item that you’d like to hang in the spring Dollar Tree houses. I used egg-shaped dishes.
Hold the ribbon with the egg up inside the house to decide how long you’d like it. Once you like the look of how long it is, cut the excess ribbon off. Add hot glue to the free end of the ribbon and press it into the “V” at the top of the house.


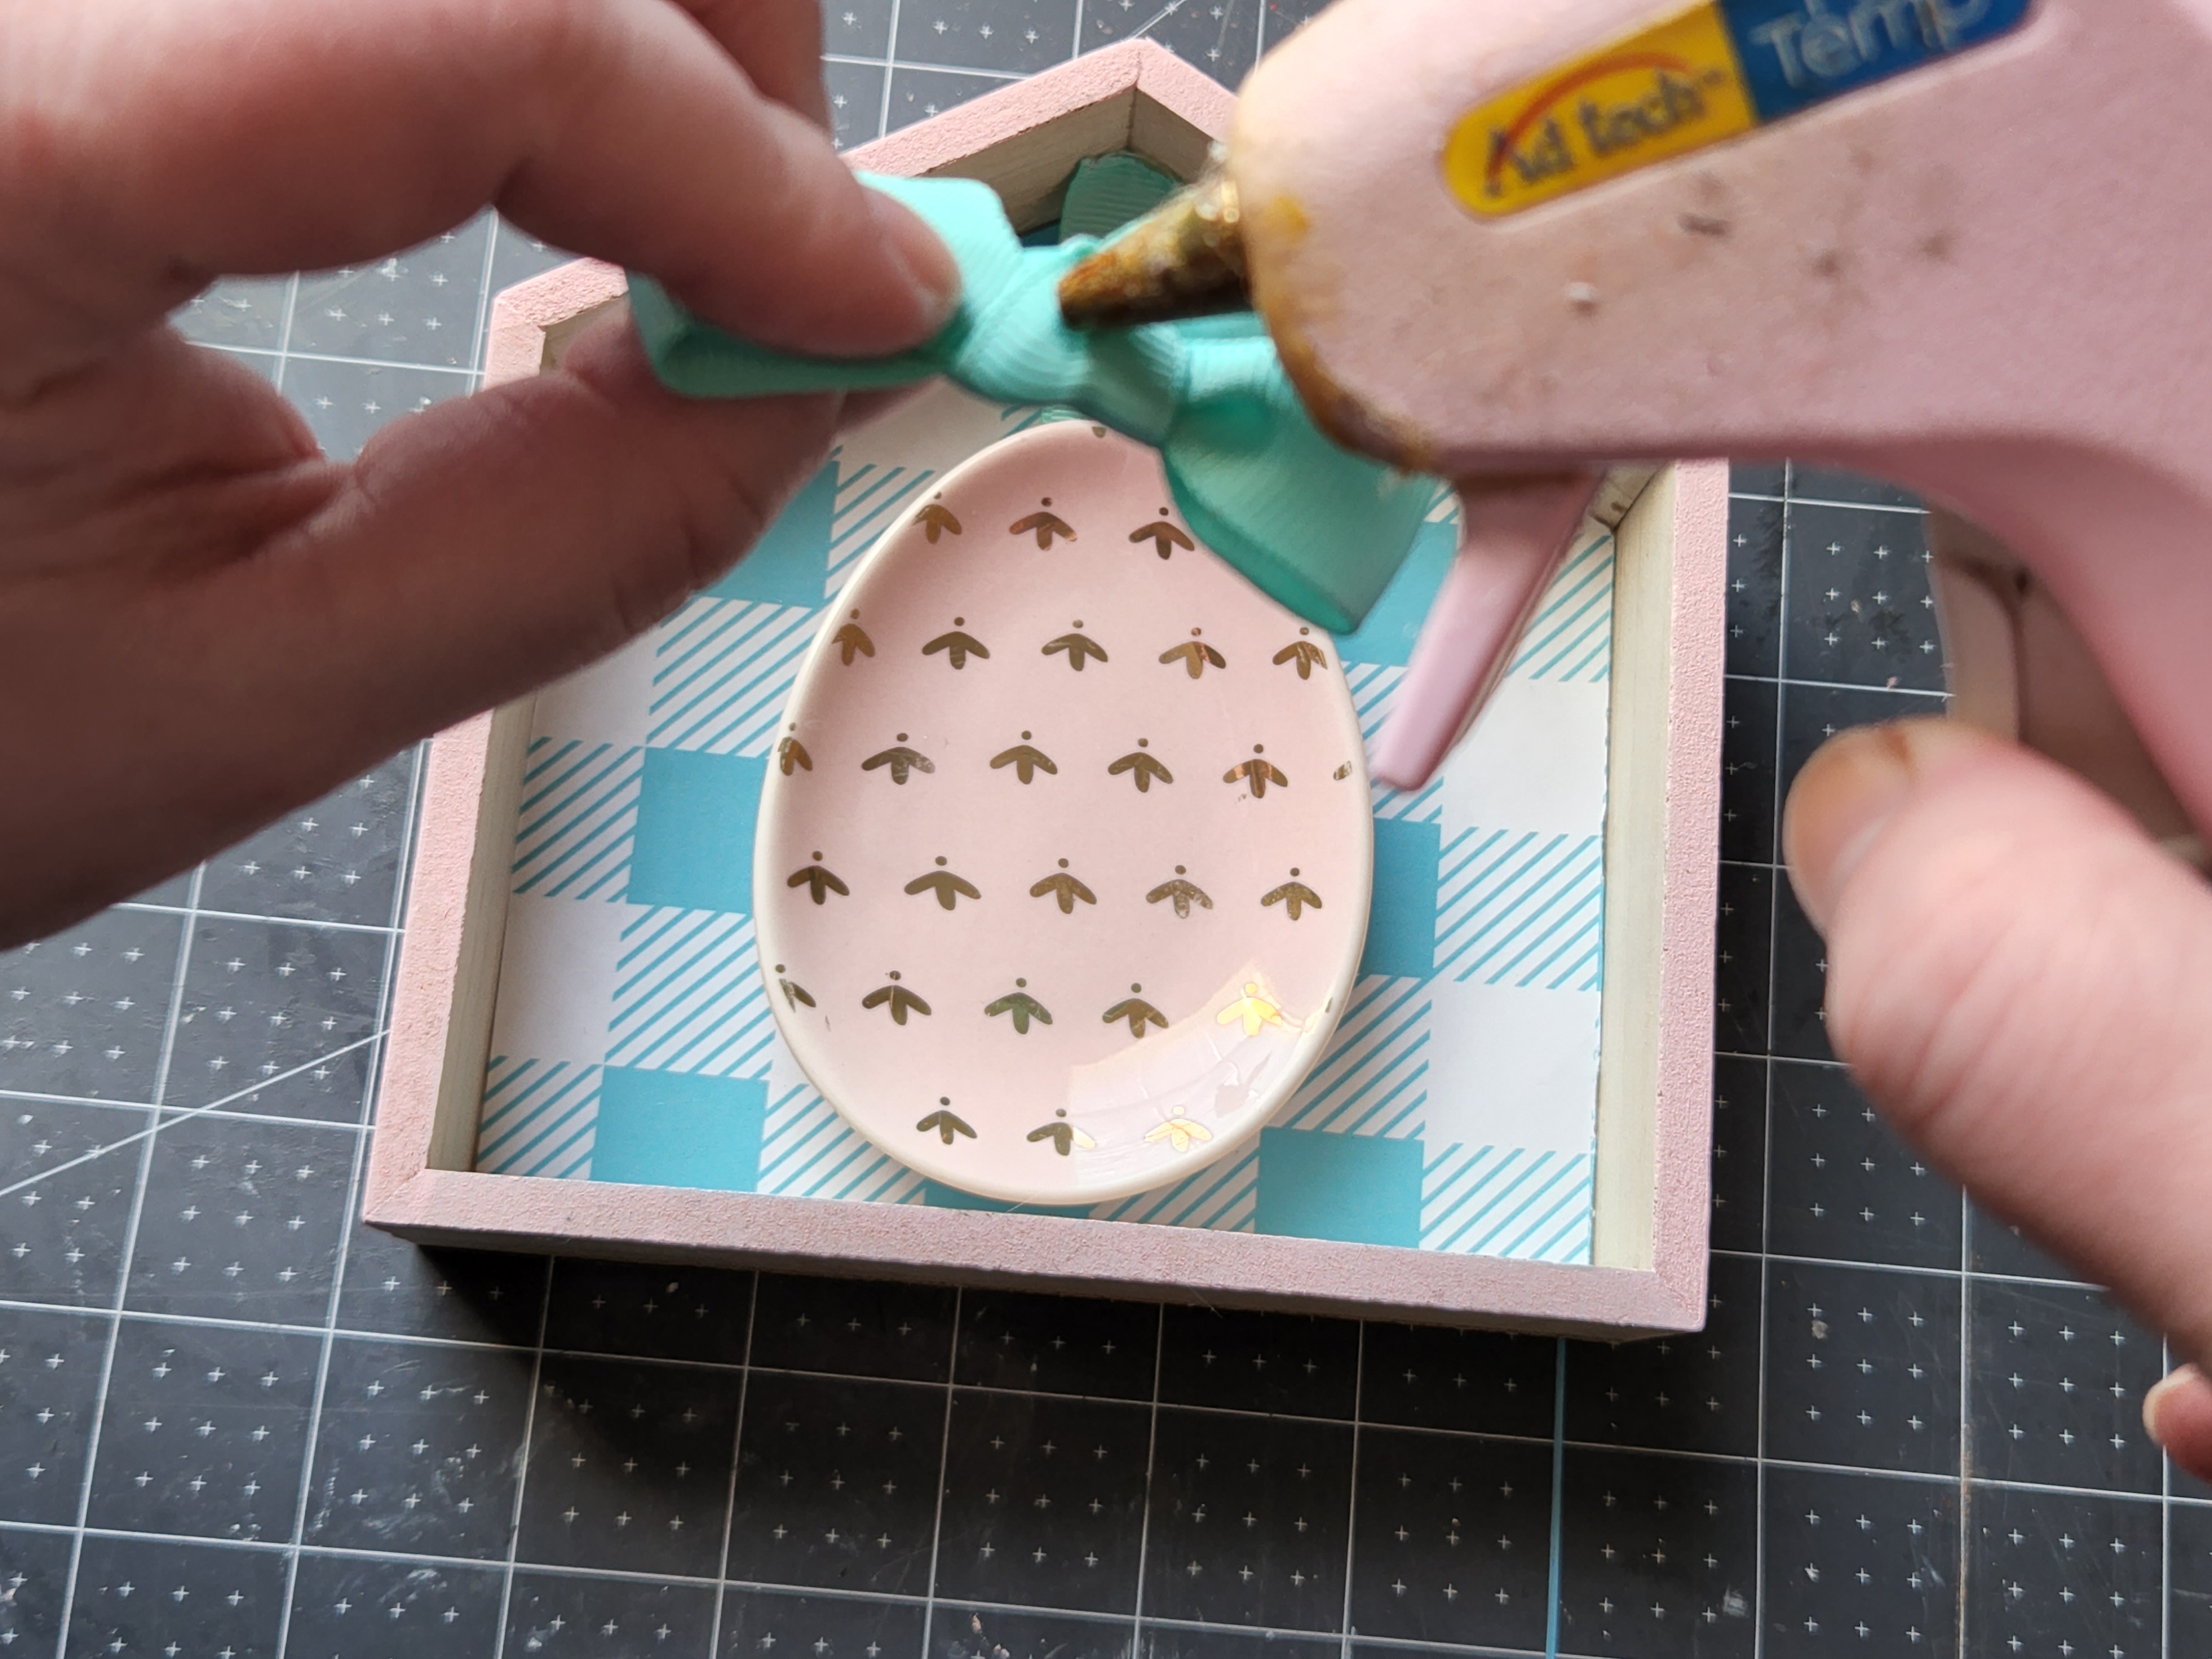
Make a small bow out of the same ribbon (or another color if you’d like) and glue it to the top of the dish or on the ribbon just above the item you’re using in your house.

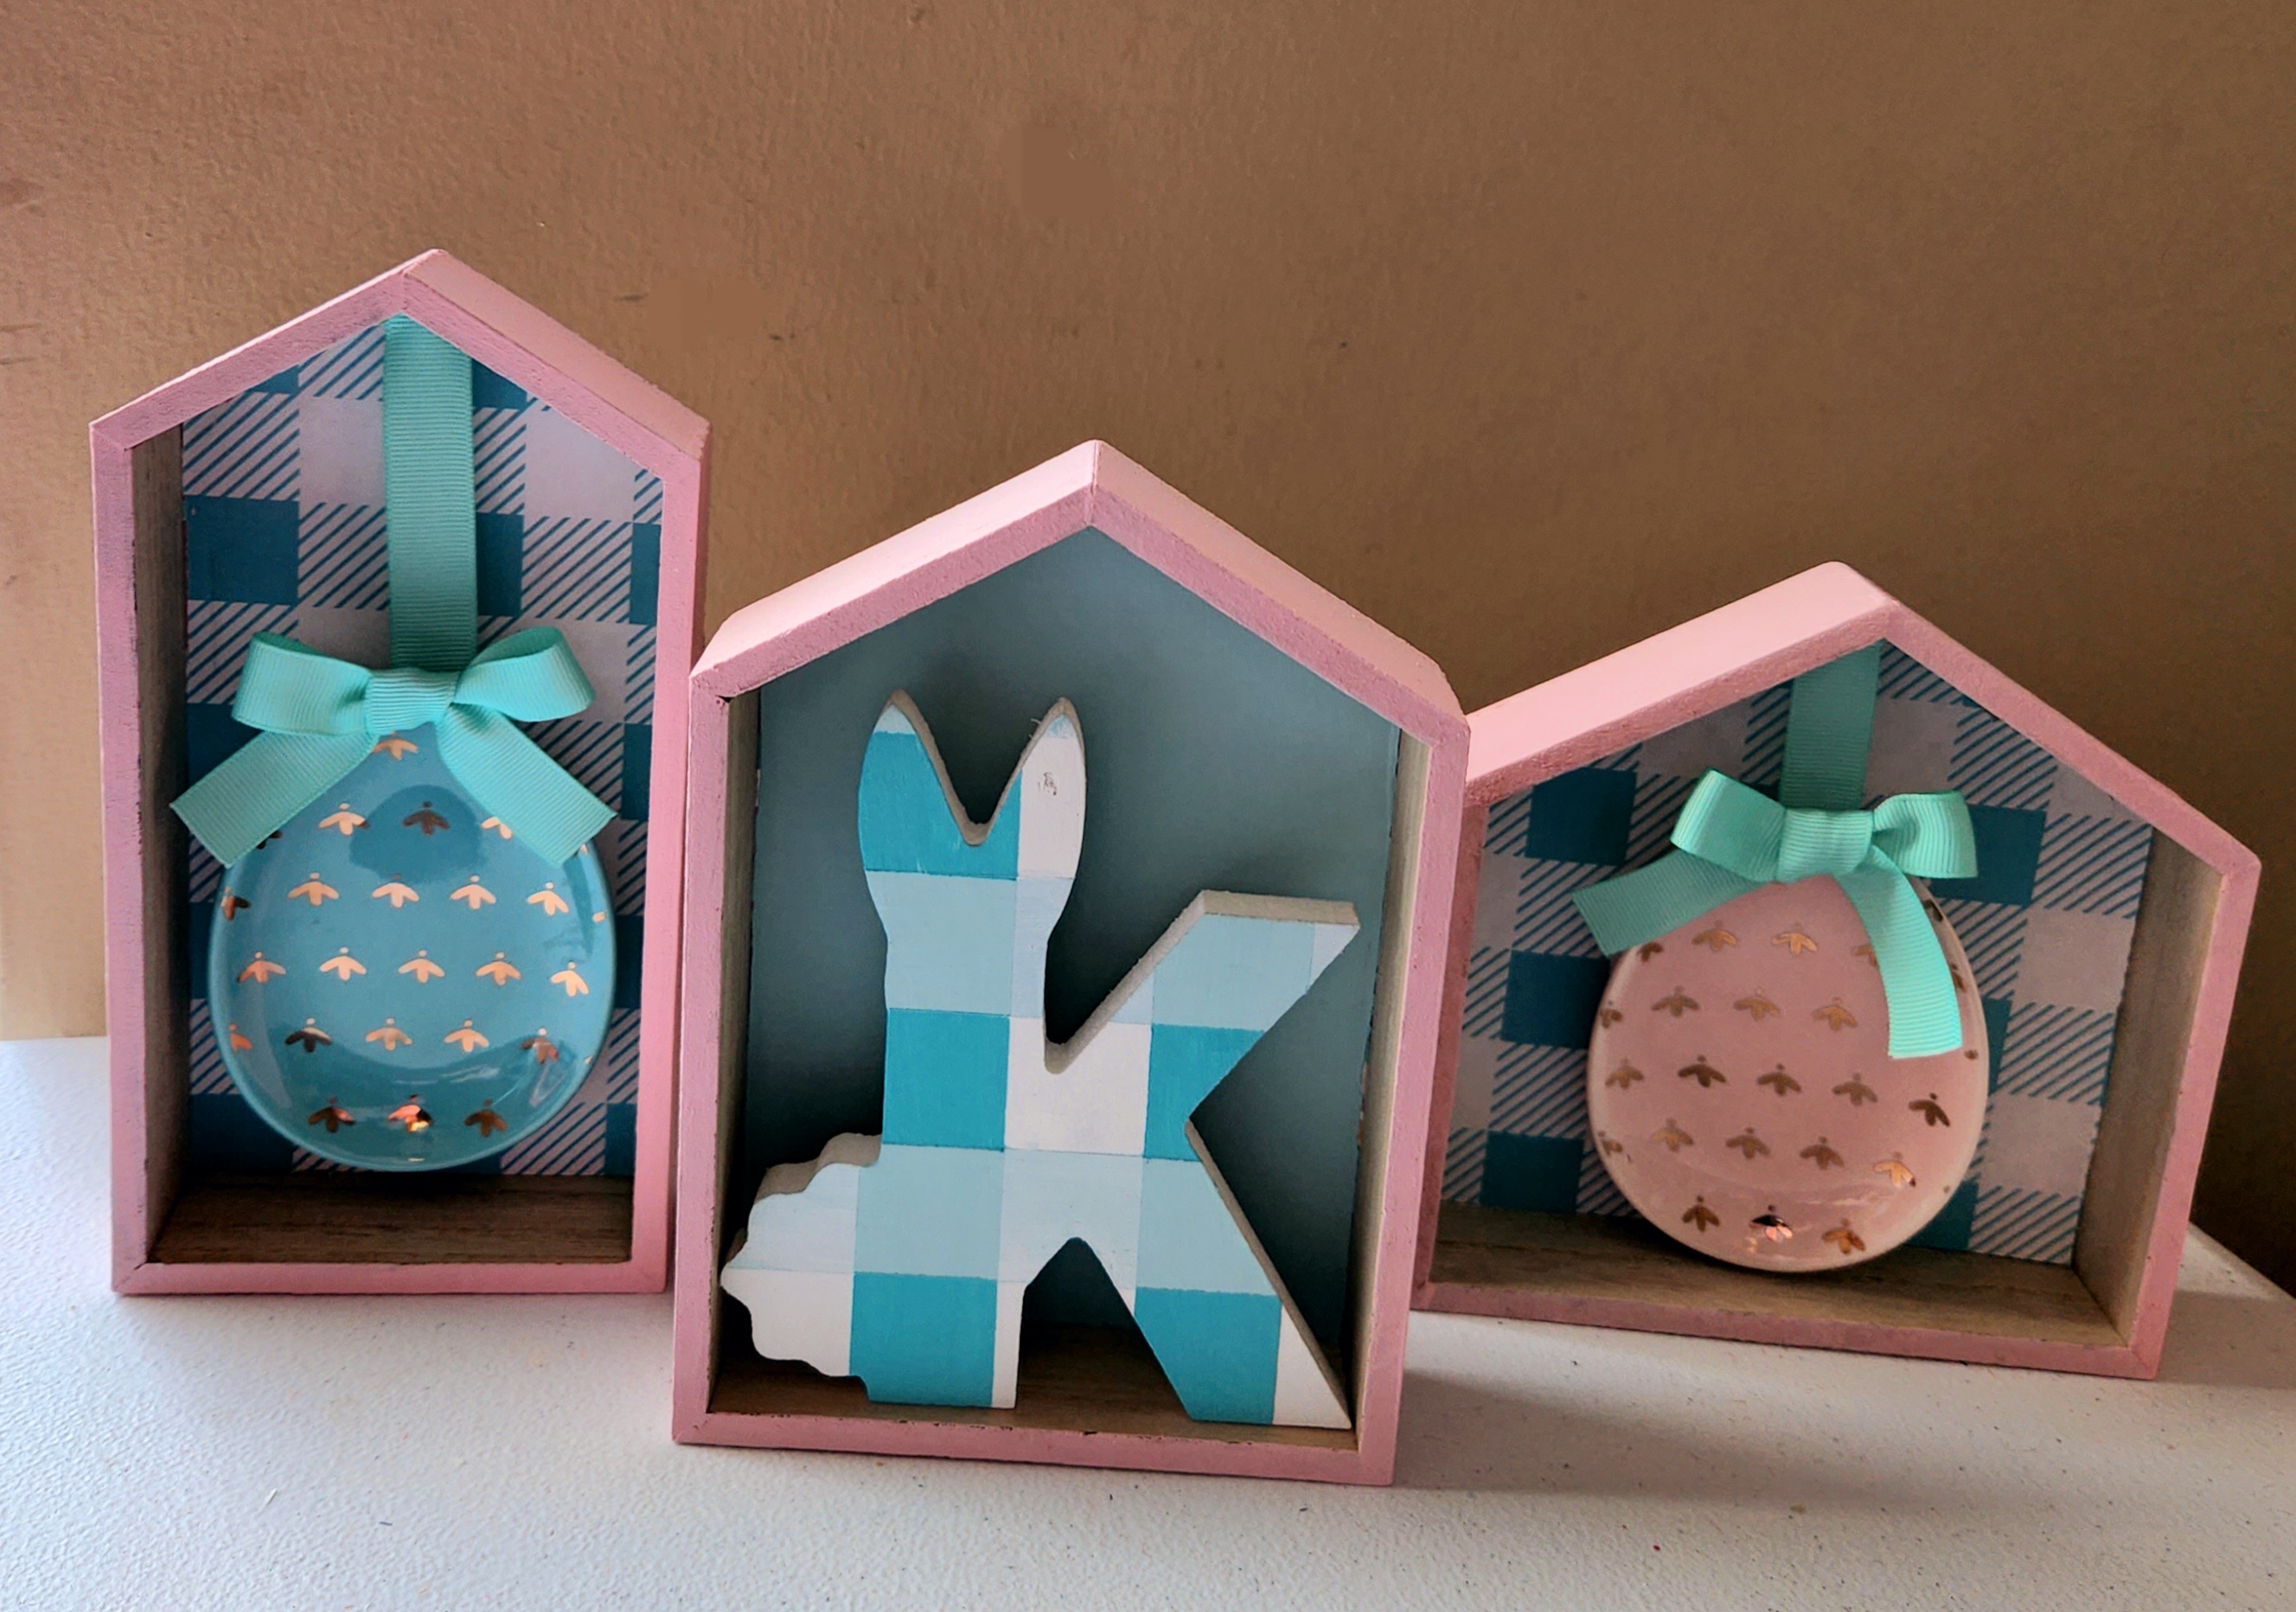
Your spring Dollar Tree houses are ready to display!
That was pretty easy right? I think mine turned out adorable (if I do say so myself). I don’t know why, but the color that I used on these, as well as my other spring decor this year, looks blue in pictures. They’re actually robin’s egg blue up to aqua at the darkest places. Here are a few pictures:


I think they will go well with my other spring buffalo check decor. You can check them out in these posts:


You might also like these other spring posts:


I hope that you enjoyed this tutorial! I have some great spring decor posts upcoming, including an adorable carrot wreath that you don’t want to miss! Make sure you’re following me on social media or via email so that you can check it out. I’ve also got some printables for home decor on the way. Enter your email address below, and you’ll get an email each time I add a new post, so you never miss a thing!
Follow me on Pinterest for new ideas added weekly!


I always love these little houses from Dollar Tree, but I never know what to do with them. Your project is so attractive! These are adorable decorations for Easter.
Carol
http://www.scribblingboomer.com
Aww, thank you!
These are super cute Niki! I’ve got to go to the Dollar Tree!
Jenna
Thanks Jenna! I’m so glad that I actually found some in stock!
Niki,
Looks great!! What a lovely transformation!!! Thanks so much for all your visits and kind words!! Stay safe, healthy and happy!!
Hugs,
Debbie
Thanks Debbie!
I saw these a few weeks ago and didn’t even think about something so adorable to make. Thanks for sharing the idea. This post will be one of the features this week. #HomeMattersParty
Aww, thank you Donna! Missed hopping with you this month!
Looks like another trip to Dollar Tree for me! Featuring these when my link party opens up. So cute!
Thank you! I’ll share your party on social media when it opens. You’re more than welcome to link your party up on Crafty Creators Link Party.
I love how you see something to repurpose DT items as – I just don’t have the eye – love your ideas!! Pinned – Thanks for sharing at My Big Fat Menopausal Life’s Share the Wealth Party – hope to see you at the next one this week!