
Hello friends! I’m glad you’re here today because I’m sharing an adorably spooky Halloween yarn wreath that you can make quickly for a last minute Halloween decoration. You’ll also learn how to make cute little felt ghosts and rosettes.
I made the two wreaths that you’ll see in today’s tutorial about six or seven years ago. I hang small 10″ wreaths on sconces in my living room above the couch to add some extra color for each season or holiday. Well, one of the Halloween wreaths met final death when my husband stretched his long body out and knocked the wreath off of the sconce. Don’t ask me how he managed to break it. It should’ve just landed on the back of the couch to easily rehang. Nope, it somehow busted into two pieces! Like how?!
The death of my old styrofoam wreath gave me the opportunity to share the process of making a new one with you. Let’s get into this with some instructions, pictures, and finally a video tutorial for those of you who learn better by watching.
Supplies for a Halloween yarn wreath:
- yarn in two colors- I used black and orange.
- hot glue gun & glue
- scissors
- white and black felt
- ribbon or pipe cleaner to use as a hanger (optional)


Wrap the Wreath with Yan
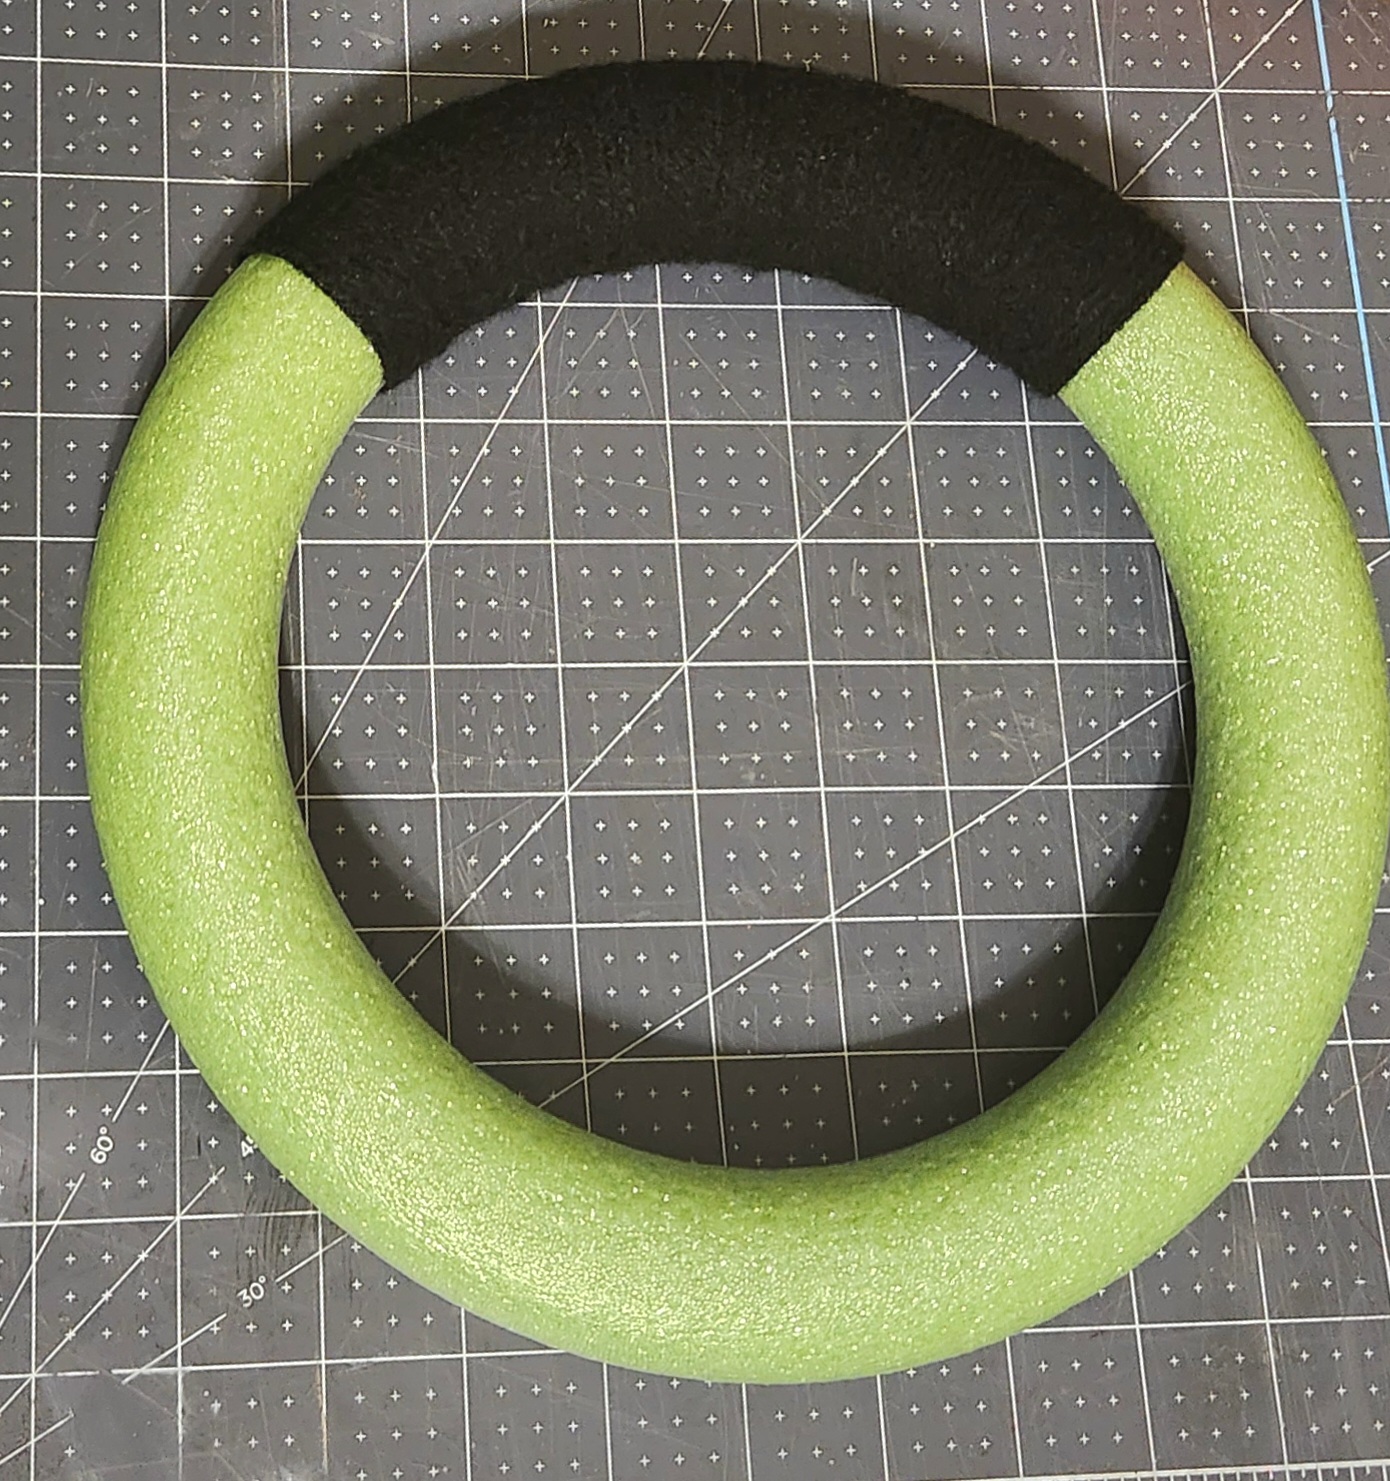
Start out by wrapping the wreath in the black yarn. Hot glue the end to the back of the wreath. Wrap a quarter of the form, hot glue the yarn to the back, and cut off the excess yarn.

Next, cover another quarter of the Halloween wreath in orange yarn. I like to wrap enough yarn to cover the section around something that will easily pass through the center of the form because passing a large skein of yarn through the middle is very difficult. My Amazon Fire Stick remote is the perfect thing to use for me. You’ll see what I mean in the video. You can use anything. A 6″ piece of cardboard would work well.
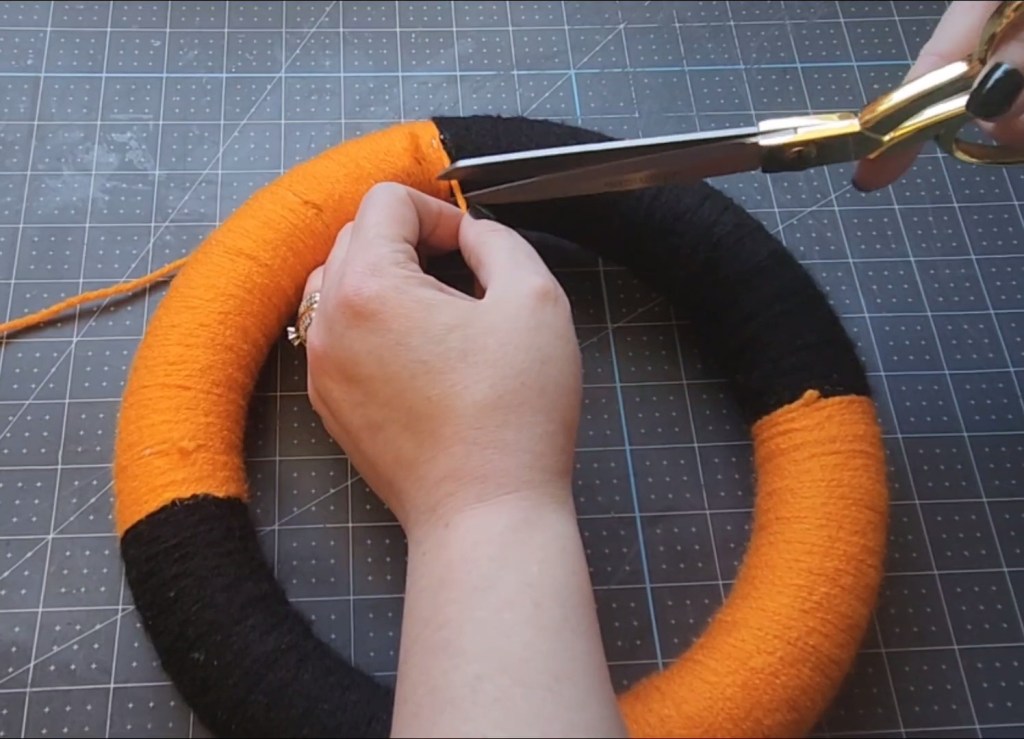
Once a quarter of the wreath is covered with the orange yarn, hot glue it to the back of the form. Cut off the excess. I glue first and cut last because it’s easier to keep the end in place with the excess yarn as the glue dries without burning my finger.


Cover the last half of the wreath with a quarter section in black and the final in orange.


Make Cute Little Ghosts
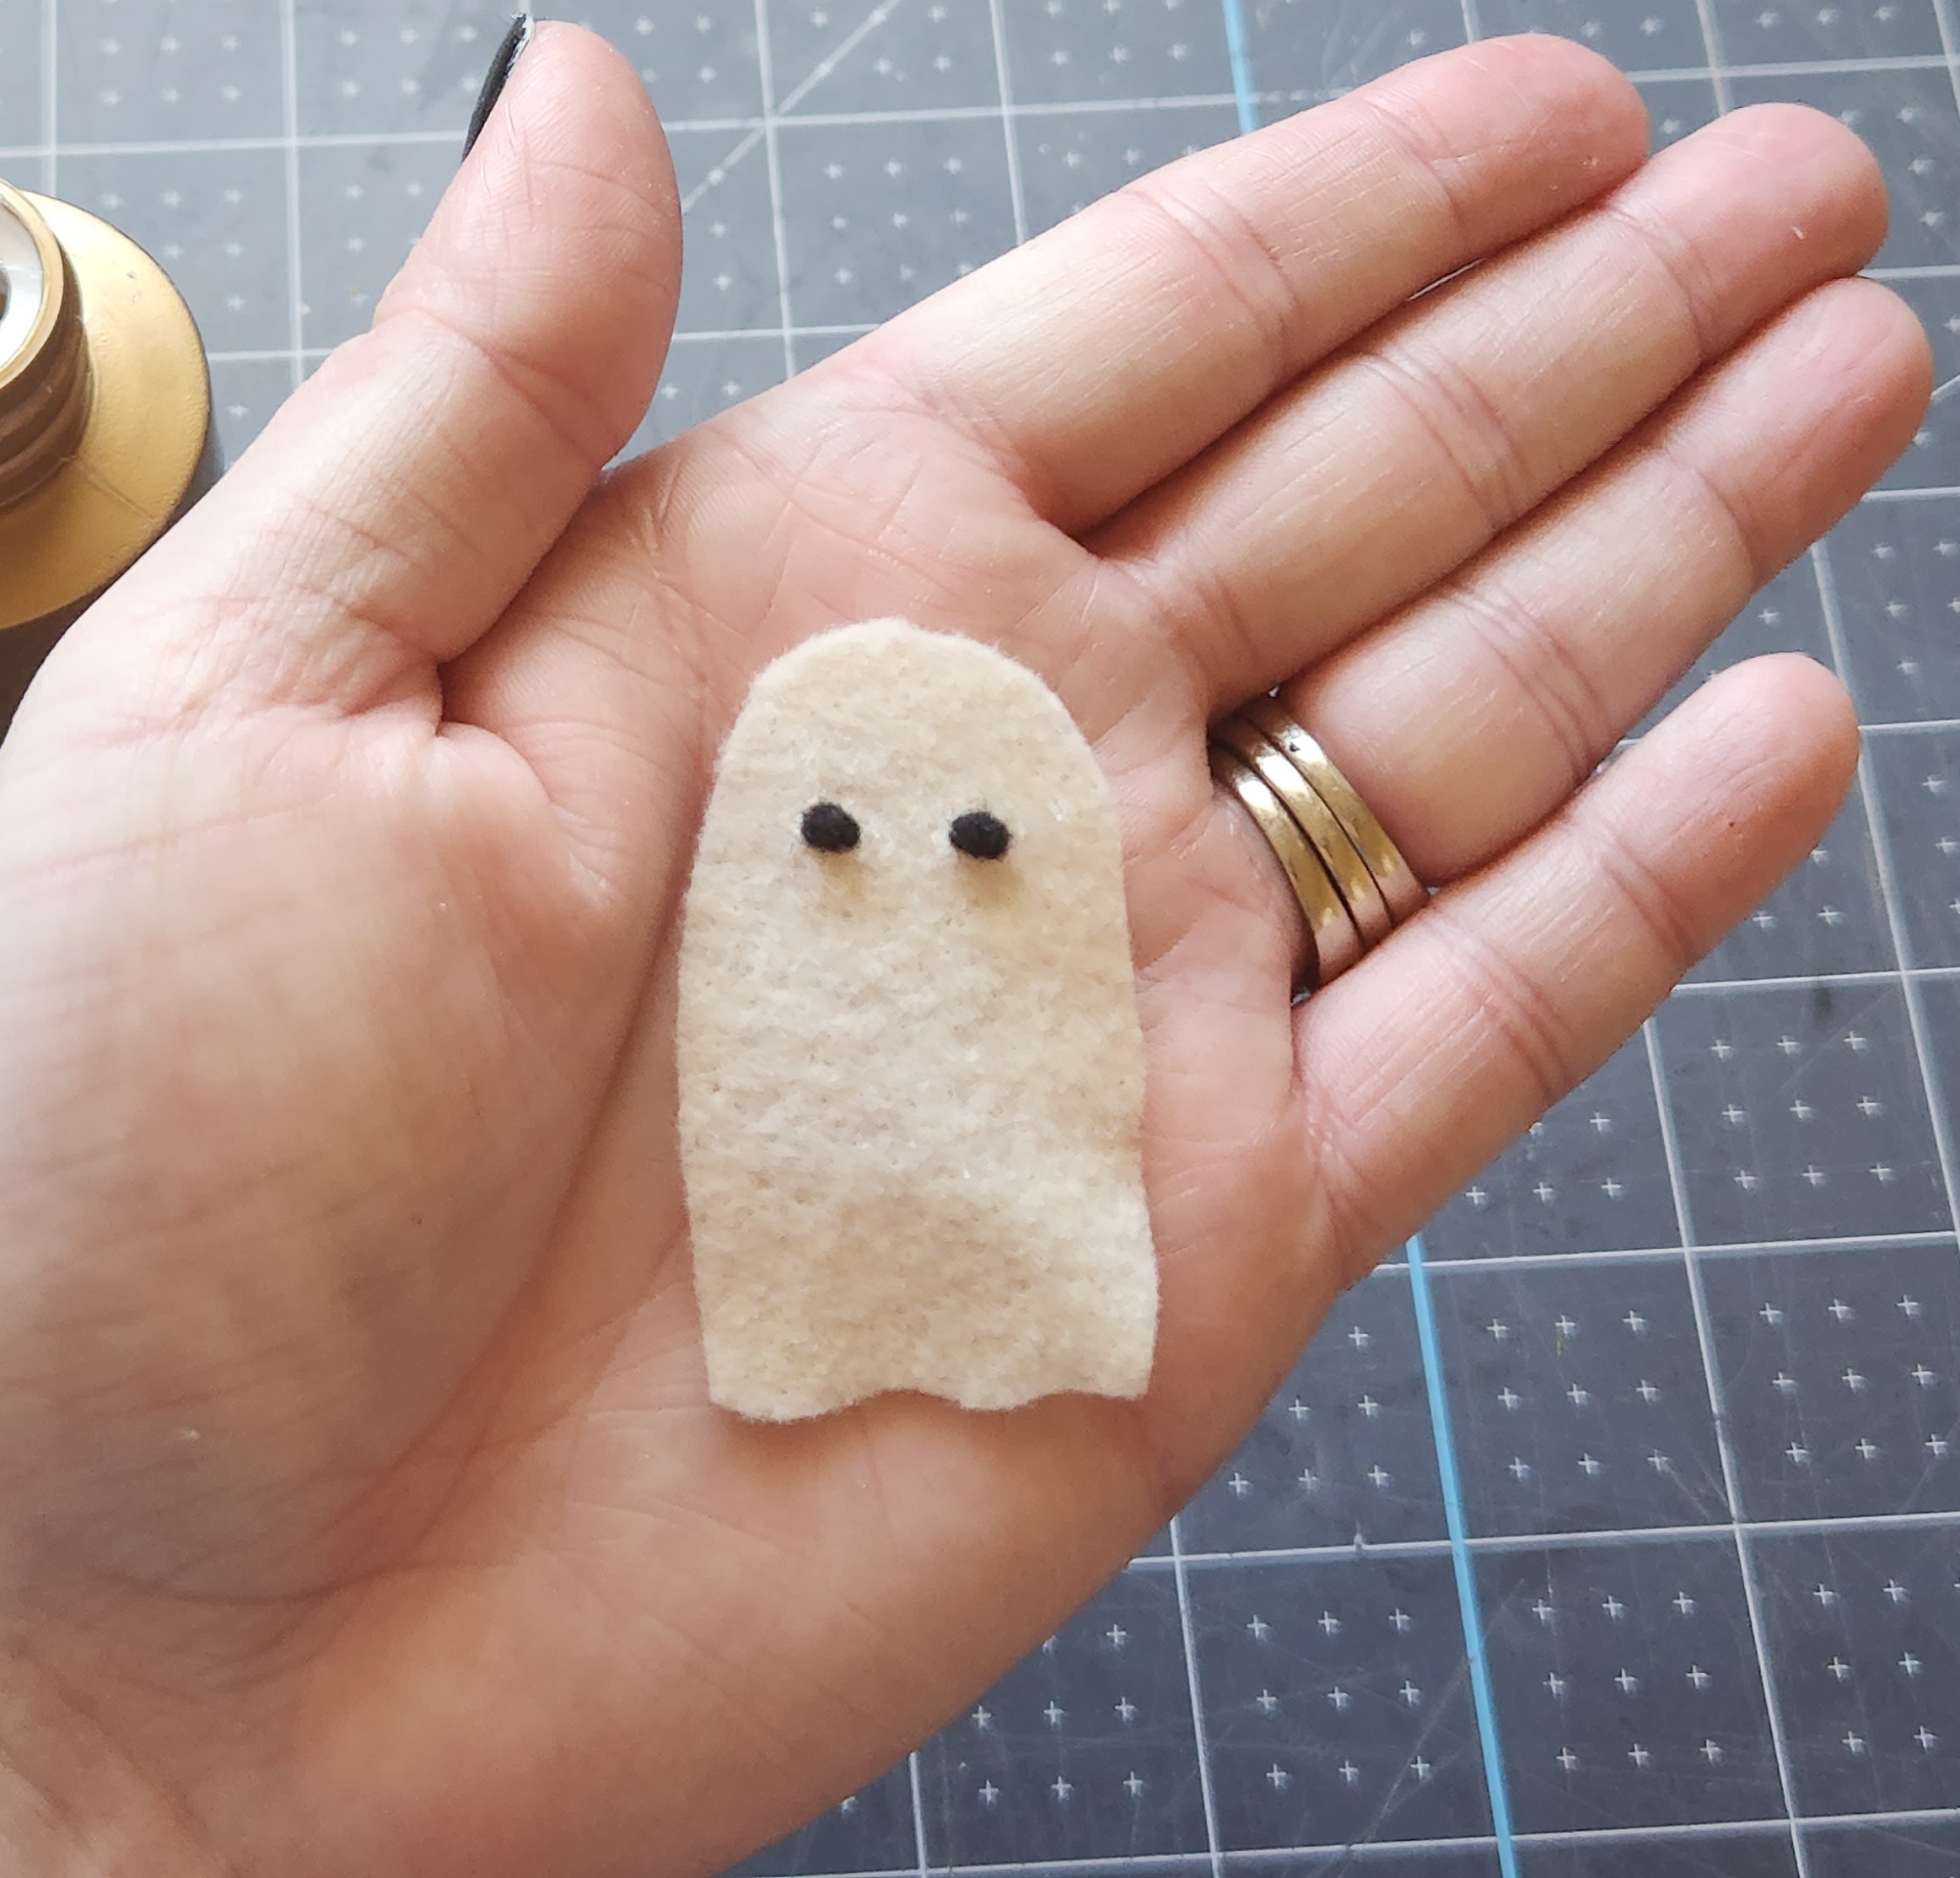
Now it’s time to make some cutesy ghosts with white felt! Use sharp scissors to cut a ghost shape, round on top with straight sides and a wavy bottom. You’ll need two, but they definitely don’t have to be the exact same. Mine are between 2.5″ and 3.”


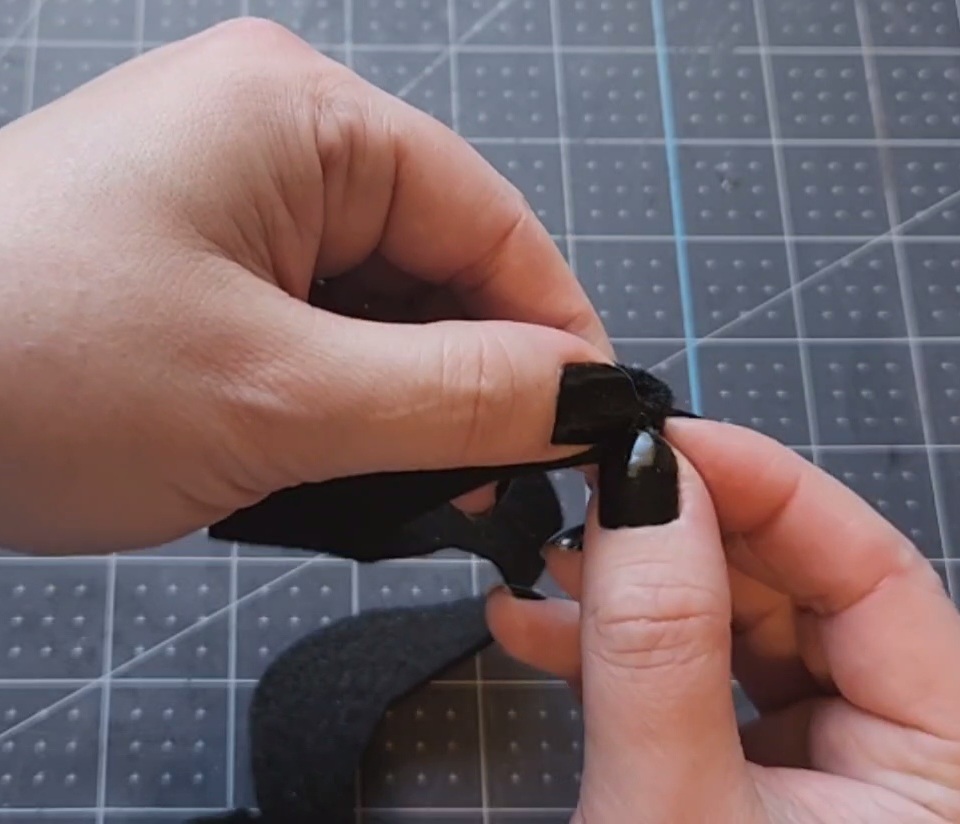
Next, cut two small sections of black felt. I had pieces left from my black rosettes, and I just cut tiny pieces from one of the tapered ends that were left. Roll the felt between your fingers until you have a tiny balls to use as the eyes.


Finally, glue the eyes onto the ghosts. I used Taky glue because I couldn’t get a tiny enough dot of hot glue on the back of them without having the glue show. The Taky glue dried quickly and was clear. I also noticed that the hot glue turned yellow over the months on my initial wreaths which wasn’t cute.


Make Rosettes
It’s now time to make some felt rosettes. I used white and black felt for this.
Cut squares with round corners. You can vary the sizes or make them all the same size. I varied mine. Around 2″ is a good size to start with.

Next, cut a spiral from the outside edge, starting right next to a round corner, to the center. Cut a wide circle in the center as that will be glued on the bottom as the base.


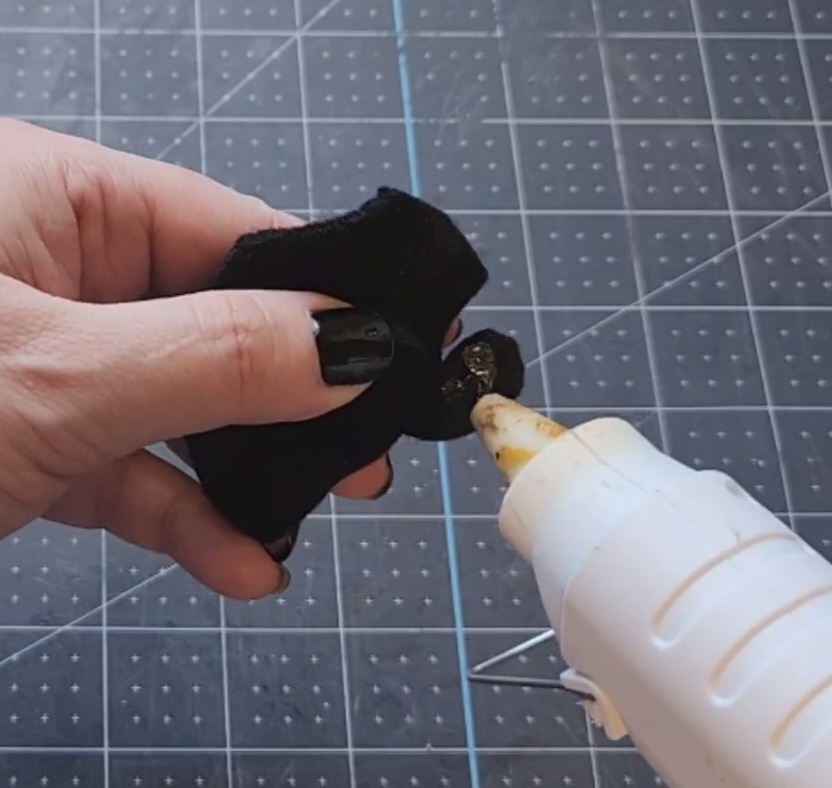
Finally, glue the felt into a rosette shape. Add some hot glue to the outside tip of the spiral and roll the spiral in on itself. Continue rolling until you’re at the inner circle. Add hot glue to it and place it on the bottom of the rosette. I made five black and six white ones for each of my Halloween wreaths.


Assemble the Halloween Yarn Wreath
Let’s finish up this adorable Halloween yarn wreath! If you want a hanger on the back, add that first so that your rosettes don’t get squished. I added a loop of 1/4″ black and orange ribbon.

Next, glue the ghosts toward the top of the Halloween wreath, about 11 o’clock. I set my wreath up so that the ghosts were glued where the orange and black yarn met.


Finally, add the rosettes to the yarn wreath. Place them all on the wreath first to decide where you’d like them before gluing one down. I grouped mine around the 4 o’clock area of my yarn wreath, over the section where the orange and black yarn met.


Halloween Yarn Wreath Video Tutorial
That’s it! Now display your quick & easy Halloween yarn wreaths with pride!
I tried my wreaths out in a few different places. First, I hung them back in their homes on the scones.

But then I worried for their safety and moved them to my sofa table. I think I like them best on the sconces to add color to that area, but we’ll see.


Remember to pin the image below or share this post with the buttons on the left side of the page so you can find it when you’re ready to start your project! Also, follow me on Pinterest for new ideas added weekly! Be sure that you never miss a great tutorial for decor like wreaths, signs and other home decor, free printables, crafts, and other fun posts! Enter your email address below to be notified of new posts! Use the buttons below to follow me on social media for other great content.

Don’t go yet! There’s more to see!
There’s plenty more to see here on the blog! If you’re looking for something specific, use the search box in the sidebar to look it up. If not, you might enjoy these ideas. Don’t have time to read them all now? That’s ok, just click over to the posts using the pictures and pin them for later. You can also add Life as a LEO Wife to your favorites and check back for new ideas and free printables and SVGs every Wednesday, as well as link parties with tons of shared ideas on Sundays!


3 thoughts on “Cute Halloween Block Color Halloween Wreath with DIY Felt Ghosts & Rosettes”