I absolutely love this wreath. I mean it’s so gorgeous! That’s if I do say so myself, ha! Even though I am the one’s saying it, I still think that you’re going to make your own fall hoop wreath. It’s actually pretty easy to do, especially since I’ve figured out how to attach the metal word to the ribbon already lol. You can probably have a floral hoop wreath on your wall or door in an hour or less.

To make a fall hoop wreath you need:
- gold or silver hoop- I got mine at Michael’s. It was $4.99, but I used a 20% off your entire purchase coupon.
- hot glue gun
- wire cutters
- floral wire or pipe cleaner
- ribbon- I used a sheer 1″ navy ribbon.
- metal word- I used “Thankful” from a 3 pack from Dollar Tree.
- navy hydrangea- I used one large bush from Michael’s that was normally $6.99, but it was 50% off.
- burgundy-blend flowers (I’m not sure what they are.)- They were $14.99 and 50% off.)
- lilac Eucalyptus bunch- $4.99, 50% off
- copper spray paint

Paint the Hoop & Word
This part is optional. The hoops from Michael’s come in gold and silver. I am using the colors burgundy, navy, and copper in my late fall decor, so I decided to spray paint my hoop and the word “thankful” to match. Also I used a 14″ hoop. You can see the word “welcome” in the picture below.
I used it in a woven yarn pumpkin wreath that is so luxurious. Make your own using this tutorial! The matching pumpkin topiary is also a great addition to your home for Thanksgiving.

Attach “Thankful” to the Fall Hoop Wreath Form
I had 1″ sheer navy ribbon on-hand, so I decided to use that for my project. I did have a 1/8″ copper, which would’ve been the perfect size, but it blended in too much with the hoop and the word. If you have a thinner ribbon, it’s a lot easier to attach it to the word. Wrap the ribbon over the top of the hoop, and cut off a length that measures to where you want the word to hang. My ribbon is 14″ long, making the word hang about 7″ from the top of the hoop.
Turn the word upside-down, and if you have a large ribbon like I did, place it along the cursive loop of the “l” and cut the ribbon into a diagonal line that matches the bend of the “l.” This was the more labor-intensive part of the project. Well, not exactly labor-intensive, but you have to concentrate, and trim carefully. I had to do it several times. Once you have the cut right, place a line of hot glue along the “l” and press the ribbon on to it. Make sure you don’t press down too much so the glue doesn’t squish out around the the front of the word.

Wrap the ribbon over the top of the hoop, so that one side is attached to the “l” on the back side, and the other side will be attached to the “T” on the front side. Cut the end of the ribbon to where it will fit across the top of the “T.”

Add hot glue to the “T” and place the ribbon on top of it.

This is how the word will look hung on the fall hoop wreath form.

Prepare the Flowers
With the word attached, you can now begin adding the flowers. If you’re using a very large hydrangea from Michael’s like I did, you can pull it apart in sections. Grab the center stem and pull up. The flower will come apart in 3 parts. You will use one of the round sections with an empty center. If you’d like, you can use another one, but I liked having just the one navy flower. Next, remove two of the burgundy flowers from their stems.


Add hot glue to the middle “o” ring in the center of the hydrangea piece. Then sit one of the burgundy flowers on top of it. They piece of stem on the burgundy flower can fit right on to the “o” ring.


Add hot glue to the bottom of the lone burgundy flower around the cut stem, cut a pipe cleaner (or piece of floral wire), and wrap it around the glue on the stem of the flower.

Place a dot of hot glue on the base of the hydrangea branches then wrap another piece of pipe cleaner around it.

Use the wire cutters and cut two branches of the eucalyptus off. Add a pipe cleaner to each of them.

Attach the Flowers to the Fall Hoop Wreath
There are many places you can add the flowers to the wreath. You can attach them to the bottom, top, or either side. Since my word is hanging from the top center, that location was off the list. The bottom seemed too on-the-nose, so I decided to place them on the lower left side.
Wrap one branch of the eucalyptus to the upper area, and have the top of it hit right where you want the arrangement to end. I ended up adding two pipe cleaners. One is right below the first bunch of leaves, and one is at the bottom of the stem.

Next add the nestled flowers so that the top of the hydrangea petals cover the top pipe cleaner. Wrap the pipe cleaner around the wreath.
Add the single burgundy flower to the wreath so it sits up against the navy flower. Then add your final stem of eucalyptus under the last flower so it curves around the wreath form like it’s growing from under the bottom flower.

This is how my flowers look once attached to the wreath form.

Your fall hoop wreath is complete!
Isn’t this thing gorgeous? It goes so well with my other luxurious looking fall decor. I really, really love it. If you don’t have time to make one, but you really like it, let me know and I’ll sell a few.


I really hope that you enjoyed this tutorial and that you make your own hoop wreath. Please tag me on social media when you do! Use the buttons on the sidebar to follow me on social media so you can see what’s going here on the blog. Don’t miss a beautiful tutorial or decor piece, free printable, or other great post by entering your email address below. You’ll get an email when a new post is added, so you don’t miss a thing! That will also remind you when our three link parties go live each week so that you can add your family-friendly posts or see all of the great posts added by wonderful bloggers!
Find out when new posts are added so you don’t miss something fantastic!
More Wreaths & Decor
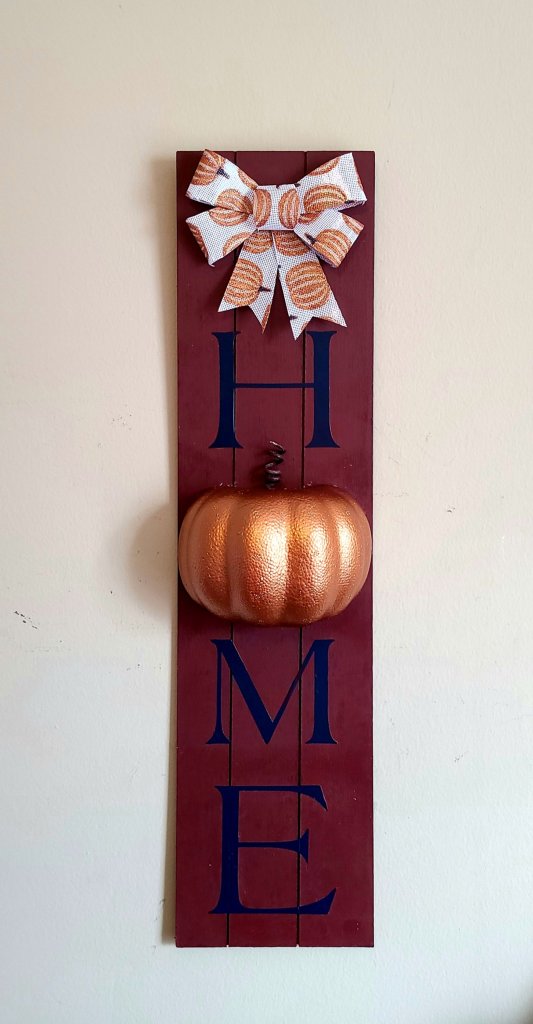
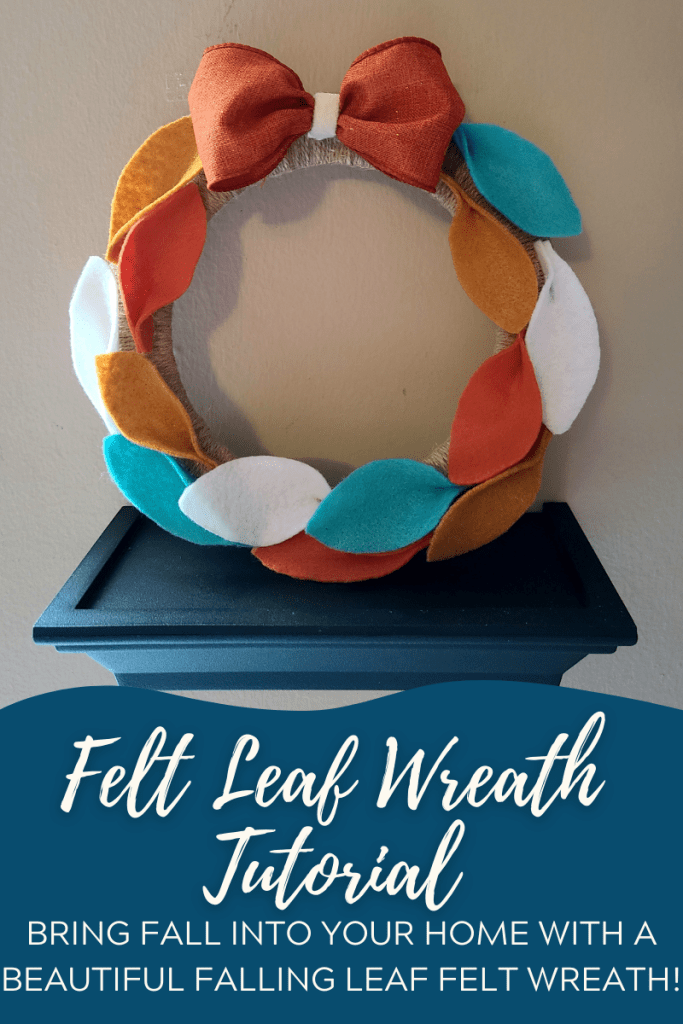
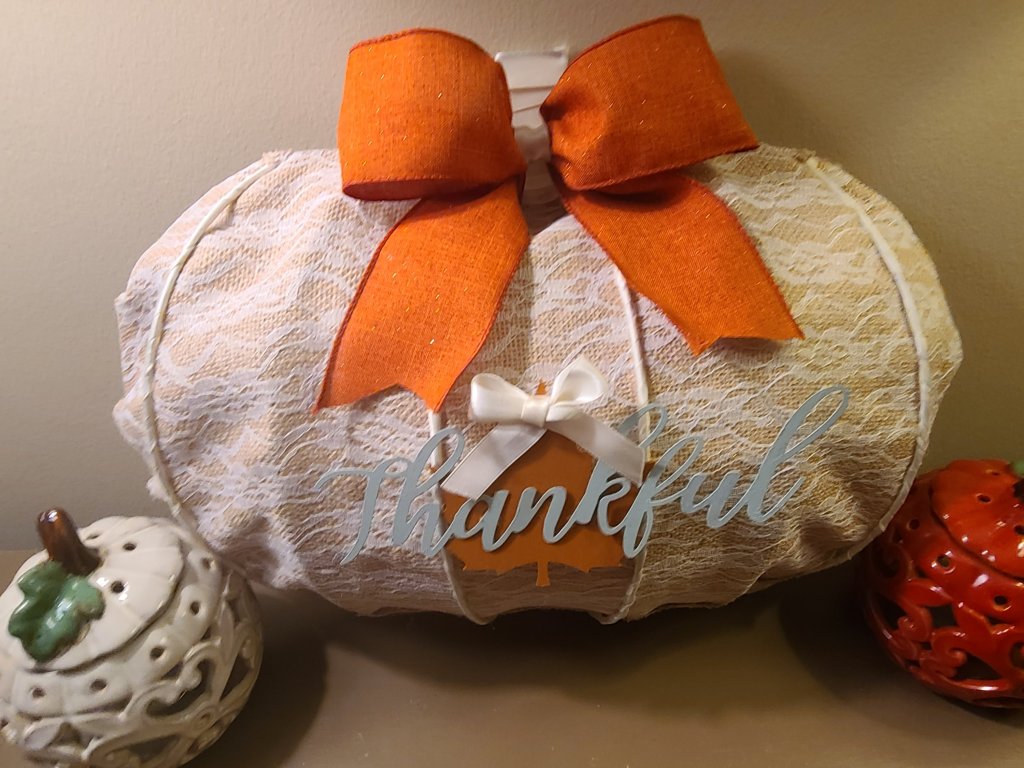
If you love DIY home decor and wreaths as much as I do, you might like these posts: this burlap wreath tutorial, these reversible wood pumpkins for Halloween and fall, this faux tile pumpkin, a fall “HOME” sign, these matching fall pizza pan wreath and sign, this fall felt leaf wreath, and this burlap and lace pumpkin wreath. There are so many more fall, Halloween, and other home decor tutorials and free printables around here! Make sure you stick around and check them out!


Follow me on Pinterest. I add new pins every week!


Gorgeous and so simple, great DIY! Thanks so much for sharing on craft schooling sunday, I love seeing what you’ve been up to!
Thank you! I enjoy visiting & sharing with you!
Very pretty wreath. Love the thankful on it. Thanks for sharing at Love Your Creativity.
Thank you!
This wreath looks so elegant. Thanks for sharing at My Big Fat Menopausal Life’s Share the Wealth Party. Have a fabulous weekend. See you again after the 15th!
Thank you! I’ll be there!
Beautiful. Thank you so much for sharing. Blessings.
Thank you Paula!