I am so glad that you’re here today! I’ve made several new early fall and Halloween pieces already this year, so I figured it’s time to start making some November and Thanksgiving pieces. I love to have bright colors in early fall like aqua, orange, and white. You’ll see that in posts like my reversible pumpkins for fall and Halloween and my orange buffalo check pumpkin wreath. For late fall and Thanksgiving I love more elegant colors; this year burgundy, navy, and copper. Yesterday I made a fall home sign, and I think you’re going to love it and want to make your own! Here’s how!

For a fall home sign you need:
- 24″ sign with ridges that makes it look like faux wood- I got mine from Dollar Tree during Valentine’s Day, but they do have one out right now for Halloween that says “Welcome.”
- acrylic and/or spray paint- You can’t use spray paint on foam for the pumpkin, it will melt. You need acrylic paint for that. I used burgundy and copper.
- paint brushes
- foam pumpkin and a way to cut it in half
- vinyl, stencil, or a printer
- hot glue gun and glue


Paint the Sign
Most of the 2′ signs from Dollar Tree have a little object glued on them. On the “LOVE” sign I used there was a heart, and on the Halloween “WELCOME” signs there are little jack-o-lanterns. Remove those and any leftover hot glue carefully. Sand off any bumps or glitter.
If you have spray paint that is probably is the easiest way to paint the sign. You’ll probably need three coats. I didn’t have burgundy spray paint, and my husband was at work (we have one car, yea it’s as awful as you think it’d be lol) so I couldn’t head out to buy some. I had acrylic paint which worked perfectly. My sign took about four coats, and my original sign was white with red letters. If you are like me and want to get this sign completed quickly, use a blow dryer to dry each coat quicker.

Paint the Pumpkin
The carvable styrofoam pumpkins from Dollar Tree have a line in the middle where it can be cut evenly in half. I used a large bread knife to easily cut it in half. Make sure you remove the green stem before cutting. You can just pull straight up, and it will pop right out.
Use the copper or other acrylic paint to paint the pumpkin. If a light color is used, it may need four or more coats. The copper color covered the pumpkin in three coats. You can see in the picture that I inserted a long bbq skewer through the bottom of the pumpkin to keep it still and also to keep it from blowing all over while I blow dried it between coats.

Update: Make a Sign without a Cricut
Don’t have a cutting machine? That’s ok, you can still make this fall home sign. Print the letters on your home printer, cover the back in pencil, and place it on your sign. Outline the letters with a pencil and it will remain on your sign. All you have to do then is paint! If you need a more in-depth tutorial, check out my carbon copy tutorial here. You can use it to make signs and other home decor without ever needing a Cricut!
You can use my design on your sign, with or without a Cricut. As with all of my free designs, it is for personal use only. If you’re using without a cutting machine, download and print, then cut the letters apart. You don’t have to cut along the lines, just cut them apart from one another. Then follow the carbon copy method.
Cut the Letters
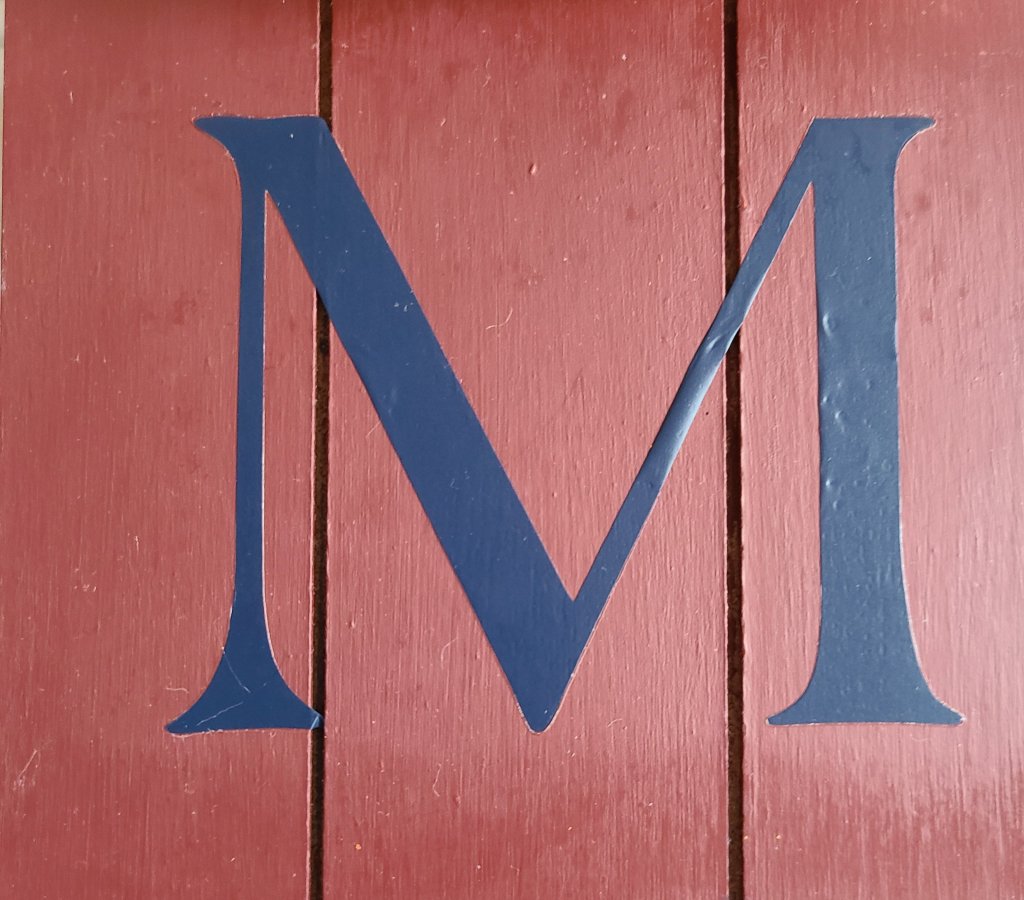
In this project I cut my letters with my Cricut from HTV vinyl in English navy. I used the font Americana Std. Terrible name, but I swear that’s its name! Yes, I do know that’s short for standard, but I think if I was in charge of naming, I certainly wouldn’t abbreviate standard if that was on only abbreviation option, ha! Each of my letters are 4″ tall because the pumpkin is 3.75″ tall. You can make them a little taller if you don’t want to add a bow at the top. Be sure to turn on the mirror option on the cut screen in Design Space if you are using HTV vinyl. You need it to cut backwards so it’s correct when it’s put on the sign.

There are other ways to apply letters to your sign if you don’t have a cutting machine. This tutorial will show you how to create crafts and other home decor with your printer and a pencil! You can also use stencils or stickers.
Apply the Letters to the Fall Home Sign
Now it’s time to apply or paint the letters on the sign. Since I was adding a bow to the top of the sign, I placed my H 5.25″ from the top. Leave another 5.25″ then apply the M. Finally add the E 1.25″ from the bottom of the M. My letters are centered on the sign, but you can see from the pictures below that the “boards” aren’t even. It’s not like 3 equally sized boards.
I wanted to make this a long sign that I could place by my door with the word “Welcome,” but the boards aren’t even on this one. Y’all I even went to the trouble and painted another “LOVE” sign I had. Yea- that was a waste of a lot of my Anita’s burgundy acrylic paint. Hobby Lobby is like 30 minutes from my house, and I rarely go to that area. That’s the only place with that paint near me. I was devastated when I went to attach the signs, and the other sign was even and this one wasn’t. So if you want to make a longer sign, place them end to end at Dollar Tree and make sure the “boards” line up before you buy them.
If you are using stencils, you can use painter’s tape to keep the stencil from sliding around. To make sure the paint doesn’t get under the edges of the stencil some people use Mod Podge just inside the letters to seal it off. I may do a tutorial on that soon. If you are using stickers, use a ruler to place them evenly along the sign.
Attach the Pumpkin
Once the paint is dry on the letters (if you used paint), it’s time to add the pumpkin to the sign. You can see that I already have the pumpkin sitting on the fall home sign so that I can quickly flip it over on to it before it dries. Place hot glue around the inside edges of the pumpkin. You will need to move quickly so the glue doesn’t dry before you can place it on the sign. But be careful! I have a 2nd degree burn on my pinkie that’s still healing, and trust me you do not want to go through that! I mean a chunk of skin was missing, it was that bad! Yesterday I scraped it, made it bleed, and now I have to wait longer for it to heal.

Make sure the pumpkin is centered between the H and the M and firmly press it down on to the sign. The pumpkin will be almost exactly as wide as the sign.
Give the Pumpkin a Stem
Once the pumpkin is on the sign, add a stem. You can use the stem that came with it after painting it if you don’t have anything else. You can use a stick, a piece of bark, or even something from some faux greenery. I used a piece of curly wire that’s made to look like wood. It was part of a floral pick from Michael’s I believe. I think a stick would be great though. Make sure to hold the pumpkin firmly while inserting it. I didn’t add it before because I wasn’t going to add one, but the fall home sign just begged for one once it was “done.” Also I think it’s easier to place it in the right place, but you can add it before gluing the pumpkin on if you want.

Make & Add a Bow
If you left a place at the top of the sign for a bow, now is the time to make it. If you’d like to make a nice full home decor bow, check out this tutorial for creating bows for wreaths, lanterns, and other home decor. For this piece I actually used something I never have before. I used one of those pre-made bows from Dollar Tree.
To customize the bow to fit the sign, I painted parts of the pumpkins on it to match the sign. This is a great way to upcycle inexpensive items to fit your decor. Use a small, thin paint brush and paint the stripes on the pumpkins to match the sign. I painted the light coral-ish color copper and the stems English navy.

Since there is 5.25″ left at the top of the sign and the bow’s tails were just a little bit too long, the ends will need to be trimmed them while keeping the V at the ends. Place a dot of hot glue on the back center of the bow. Make sure it’s correctly aligned on the sign, then press it firmly where you want it.

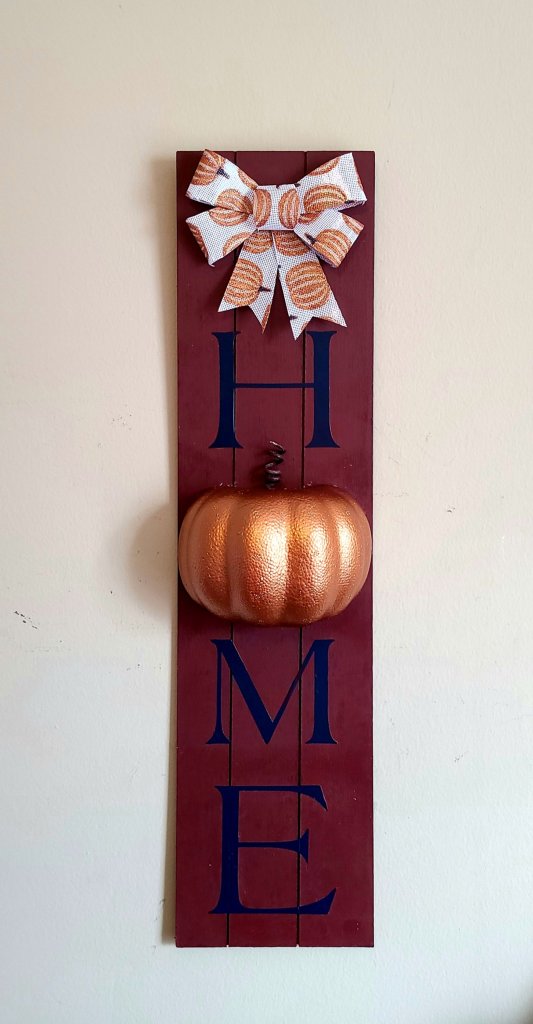
Your fall home sign is complete!
You can now hang or sit your sign in its place of honor! I really just love the color combo of burgundy, navy, and copper for Thanksgiving and late fall. I will be working on a lot more projects for that month soon, so make sure you don’t miss one! Use the buttons in the sidebar to follow me on social media so you see when I share posts, new and old. The best way for you to make sure you don’t miss a thing is to follow me via email. Enter your email address below, and you will receive an email when I add a new post, free printable, or tutorial.
Get new content delivered directly to your inbox.
Here is my fall home sign! I hung it up for just a minute to get a few pictures. It will find its permanent place after Halloween. Well not permanent, but it’s month long place. I don’t know if it will be inside or if it will be outside. Let me know in the comments if you have any ideas please!
Remember to pin the image below or share this post with the buttons on the left side of the page so you can find it when you’re ready to start your project! Also, follow me on Pinterest for new ideas added weekly! Be sure that you never miss a great tutorial for decor like wreaths, signs and other home decor, free printables, crafts, and other fun posts! Enter your email address below to be notified of new posts! Use the buttons below to follow me on social media for other great content.

More Fall Decor
If you enjoy making home decor on a budget you may like these posts (Don’t have time to read them now? Head over and pin them for later!):


If you’re looking for more Halloween ideas, you might like these:


Stick around for more!
There are a lot more tutorials and free printables here on Life as a LEO Wife, so I encourage you to stay around and check everything out! I am so glad that you are back or that you’ve found me for the first time! If you are a lover of recipes, crafts, home and seasonal decor, family posts, gardening ideas, fashion, and more I encourage you to come by each week and check out our link parties, Happiness is Homemade, You’re the Star Blog Hop, and Traffic Jam Weekend. These parties have tons of ideas shared and linked up with us from bloggers across the world. You’ll love all they have to offer. If you are a blogger, we would love you to come and share your wonderful, family friendly posts! Widen your audience and you have a chance to be featured at the next week’s parties!
Until next time friends!


I like it, pretty bow too. Thanks so much for linking up at the Unlimited Link Party 34. Pinned!
Visiting again to say thanks so much for linking up at A Themed Linkup 74 for Pumpkin Crafts and Décor. Pinned again!
Thanks Dee!
This is such a cute take on the home signs.
Thank you Janet!
This is such a cute fall decoration (and not that difficult to make either)! 🙂
Jenna ♥
Stay in touch? Life of an Earth Muffin
Thank you!