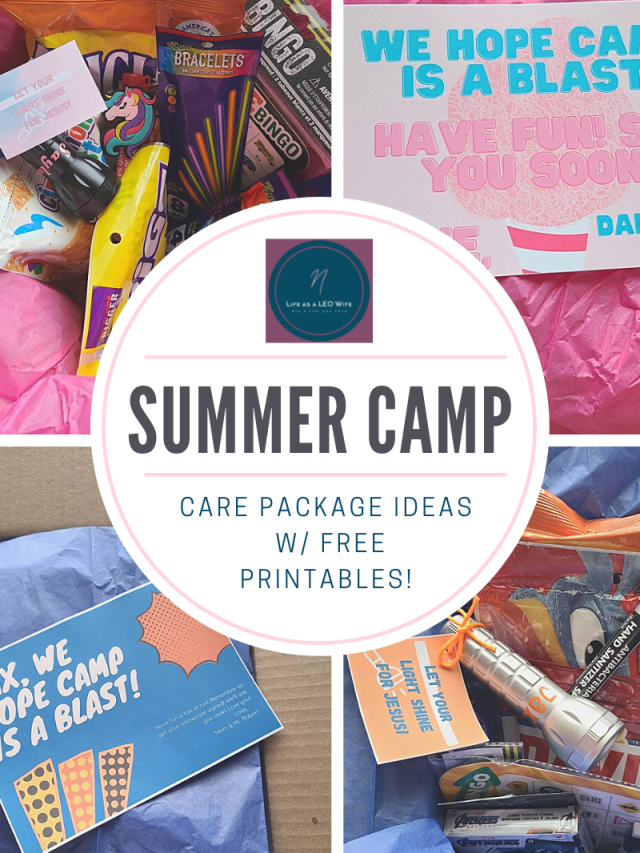
Today I’d like to share with you how to put together a summer camp care package. My son and step-daughter are leaving for camp on Tuesday with our church’s youth group. In today’s age, we don’t get to open much mail, other than bills, ugh! So I thought it would be important to mail them a care package to open an mail call one morning.

We mailed off our packages this morning, making sure that they would arrive before our kids’ last day at camp. Remember to purchase shipping that will get them there on time. You definitely don’t want them there after they leave! Even if you don’t get a chance to do it until the last minute, that’s ok! You can always pay for overnight shipping. I know with buying, labeling, packing, checking bags, and repacking for camp can consume your time leading up to the day they leave. The package that I will help you create is easy to buy and put together at the last minute, so no worries!
Items I placed in our summer camp care package (you can use these and/or customize them for your kids by adding or removing items):
We bought everything that went into the packages at Dollar Tree.
- dry cereal- Captain Crunch (step-daughter) & Froot Loops (son)
- individually wrapped Golden Graham Graham Crackers
- Yoohoos
- cute hand sanitizer spray
- mini flashlight
- batteries
- cards
- road trip spy game
- Bugles
- sunflower seeds
- glow sticks- several kinds
- cardboard box (from DT)

To personalize their box you need:
- colored tissue paper
- cardstock- white and colored
- printer
- Cricut & vinyl or letter stencils
- adorable free printables- from me! You will find the link to download them below.
- twine or string
- packaging tape
- scissors

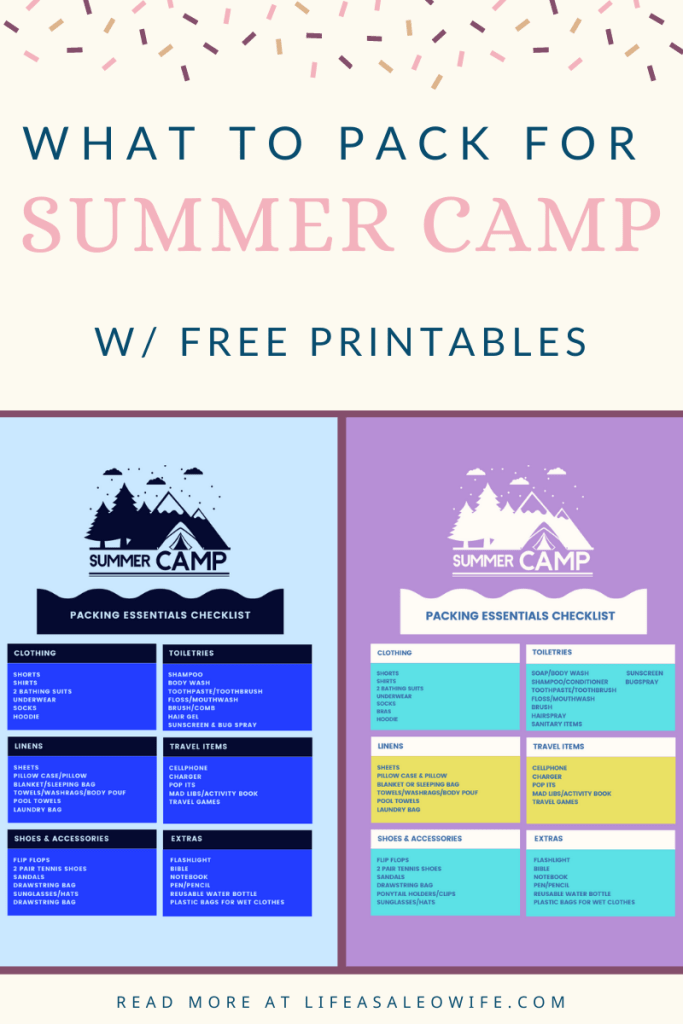
If summer camp is a new thing for you and your family, I’ve created an essentials checklist that you can print and use for free! There is one for boys and one for girls. These pages don’t have to just be for camp, you can use them for vacations and lengthy stays with the grandparents.
Personalize Items
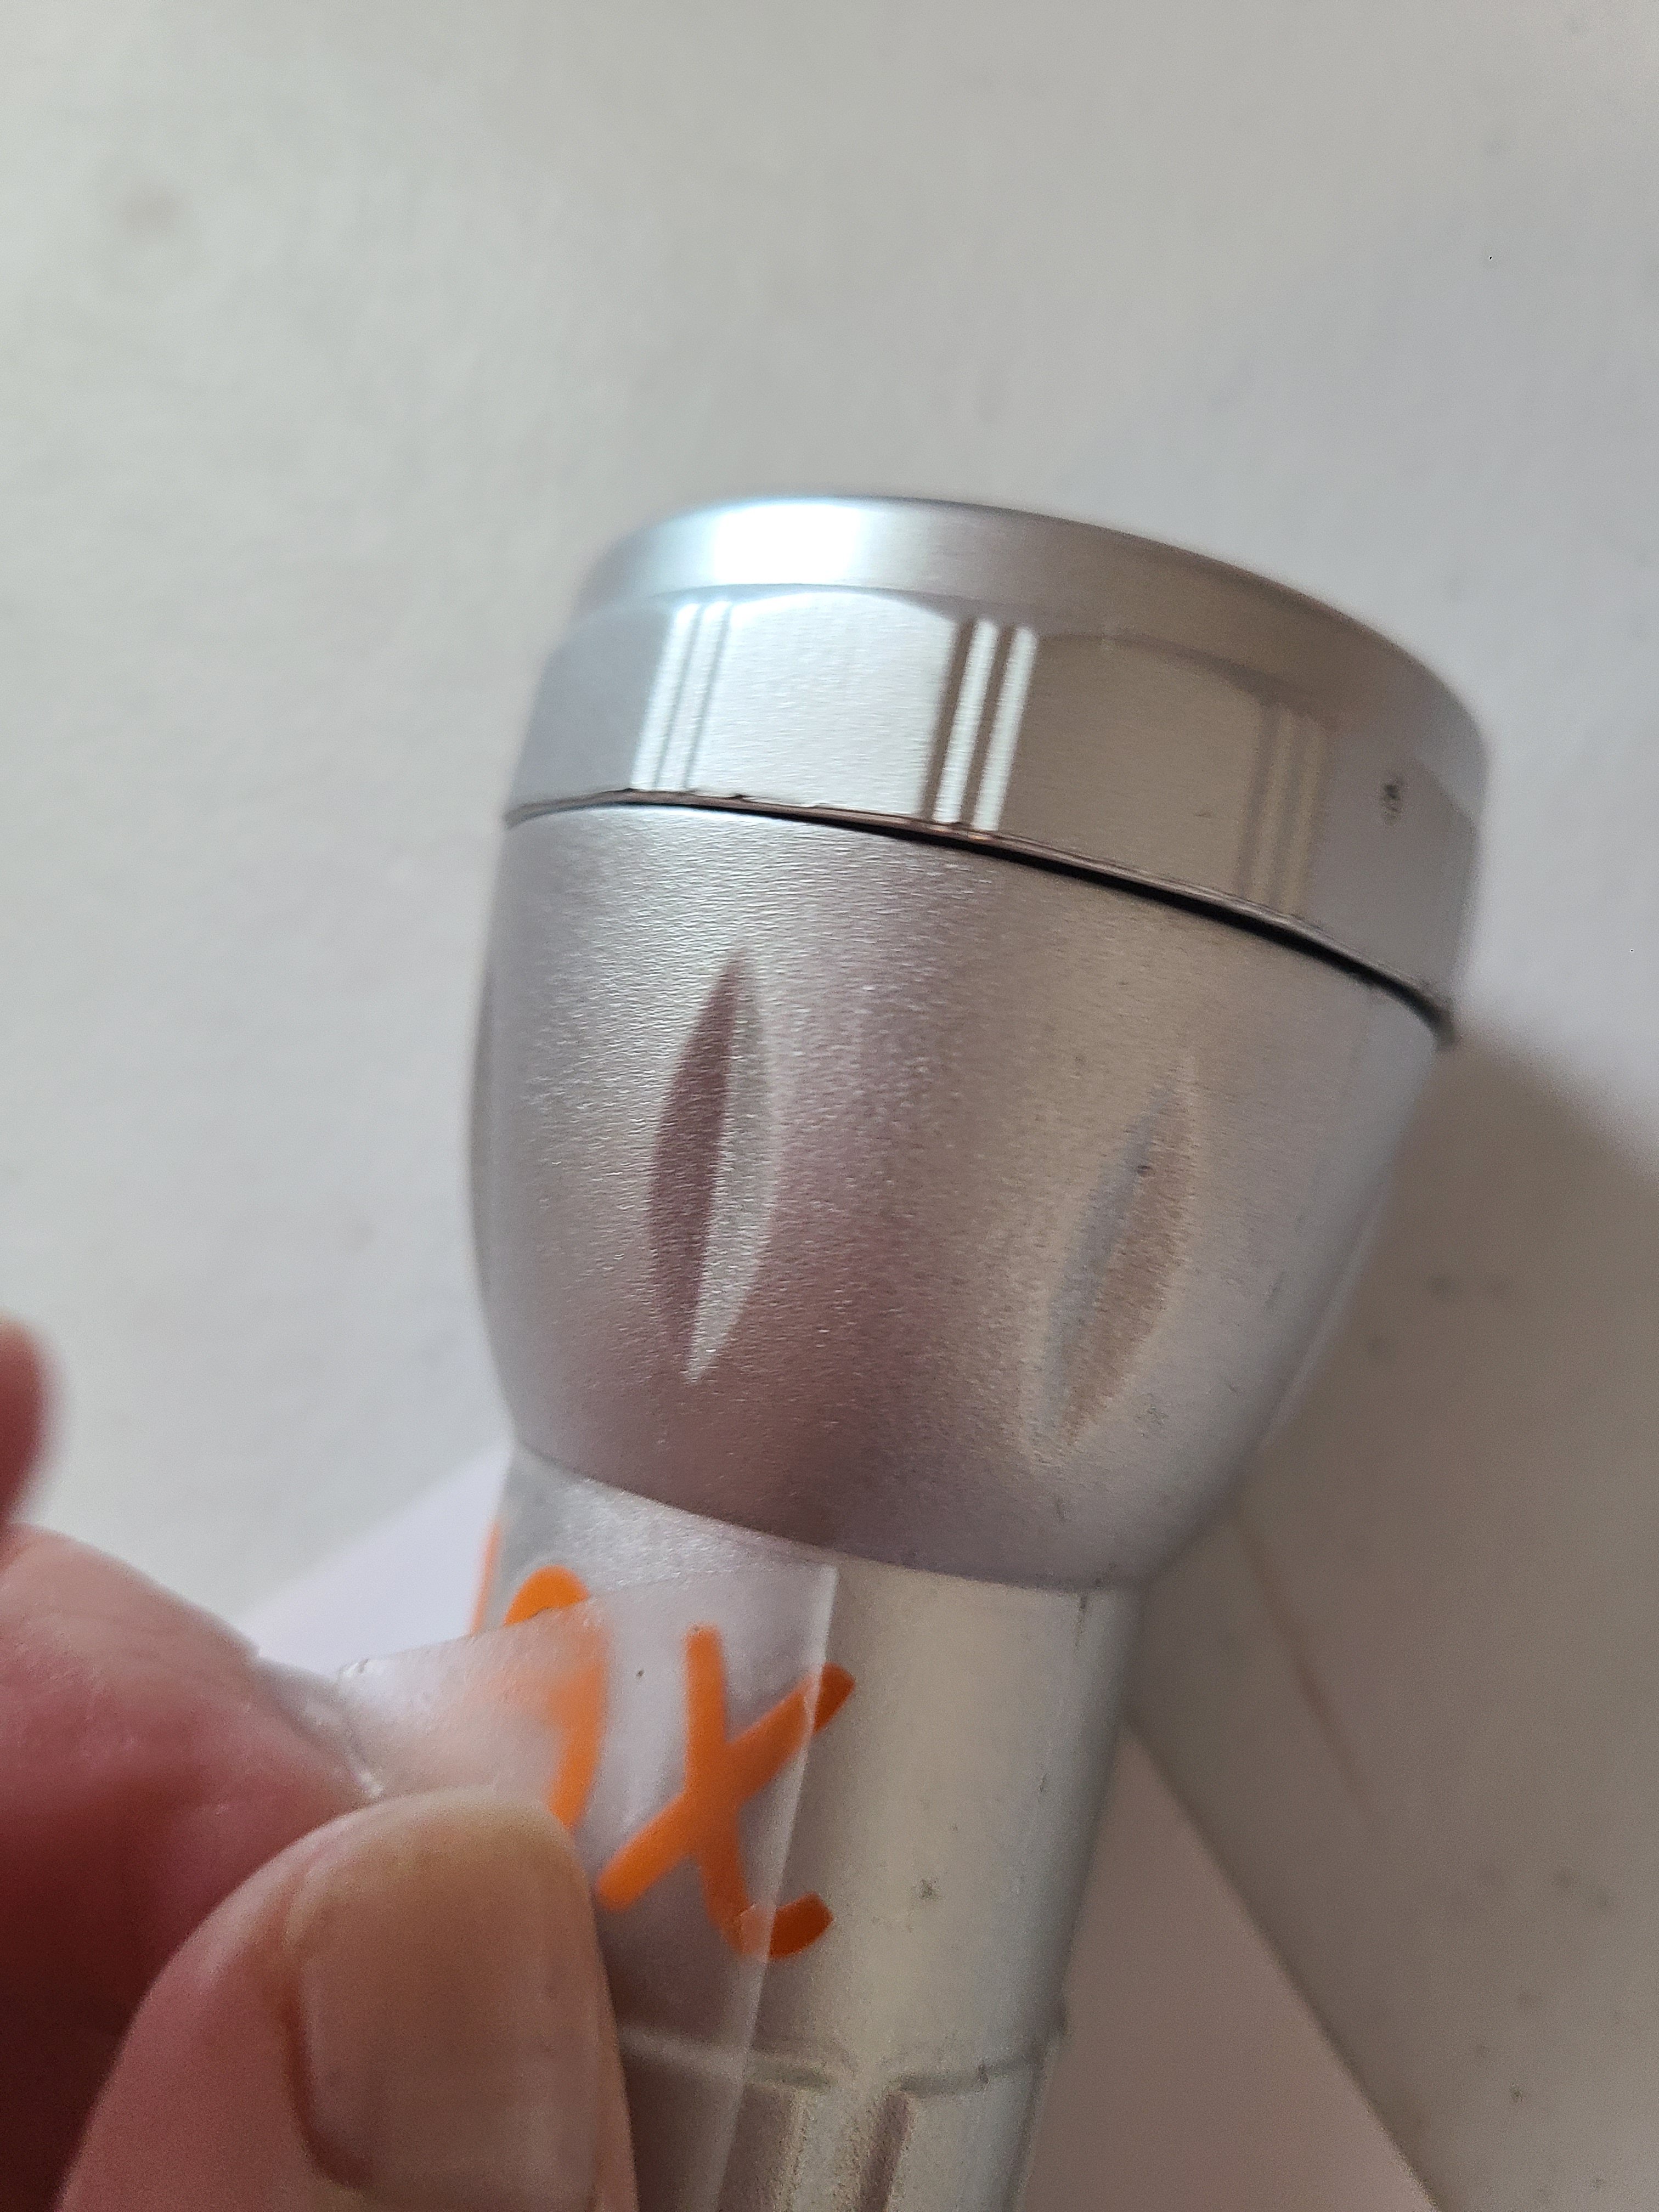
If you are personalizing any of the items you are putting in the box, you want to do that first. I bought each of our kids a mini flashlight. Actually I had different ones in mind, the small ones with the on button on the end and a keychain on them. My husband went to the store with a list and he found these. They worked out ok though.
Using my Cricut, I added Jax’s name in orange and Saylor’s in pink glitter to the back of the flashlight. I cut them out using the font that I used (and the same colors) on their summer camp autograph pillowcases. You can go over and pin that tutorial and the SVG design for when you’re ready to make your own. Those pillowcases will be around forever signed by all their new friends!
Using contact paper in place of transfer paper, I placed the vinyl on the side of the light opposite the on button.


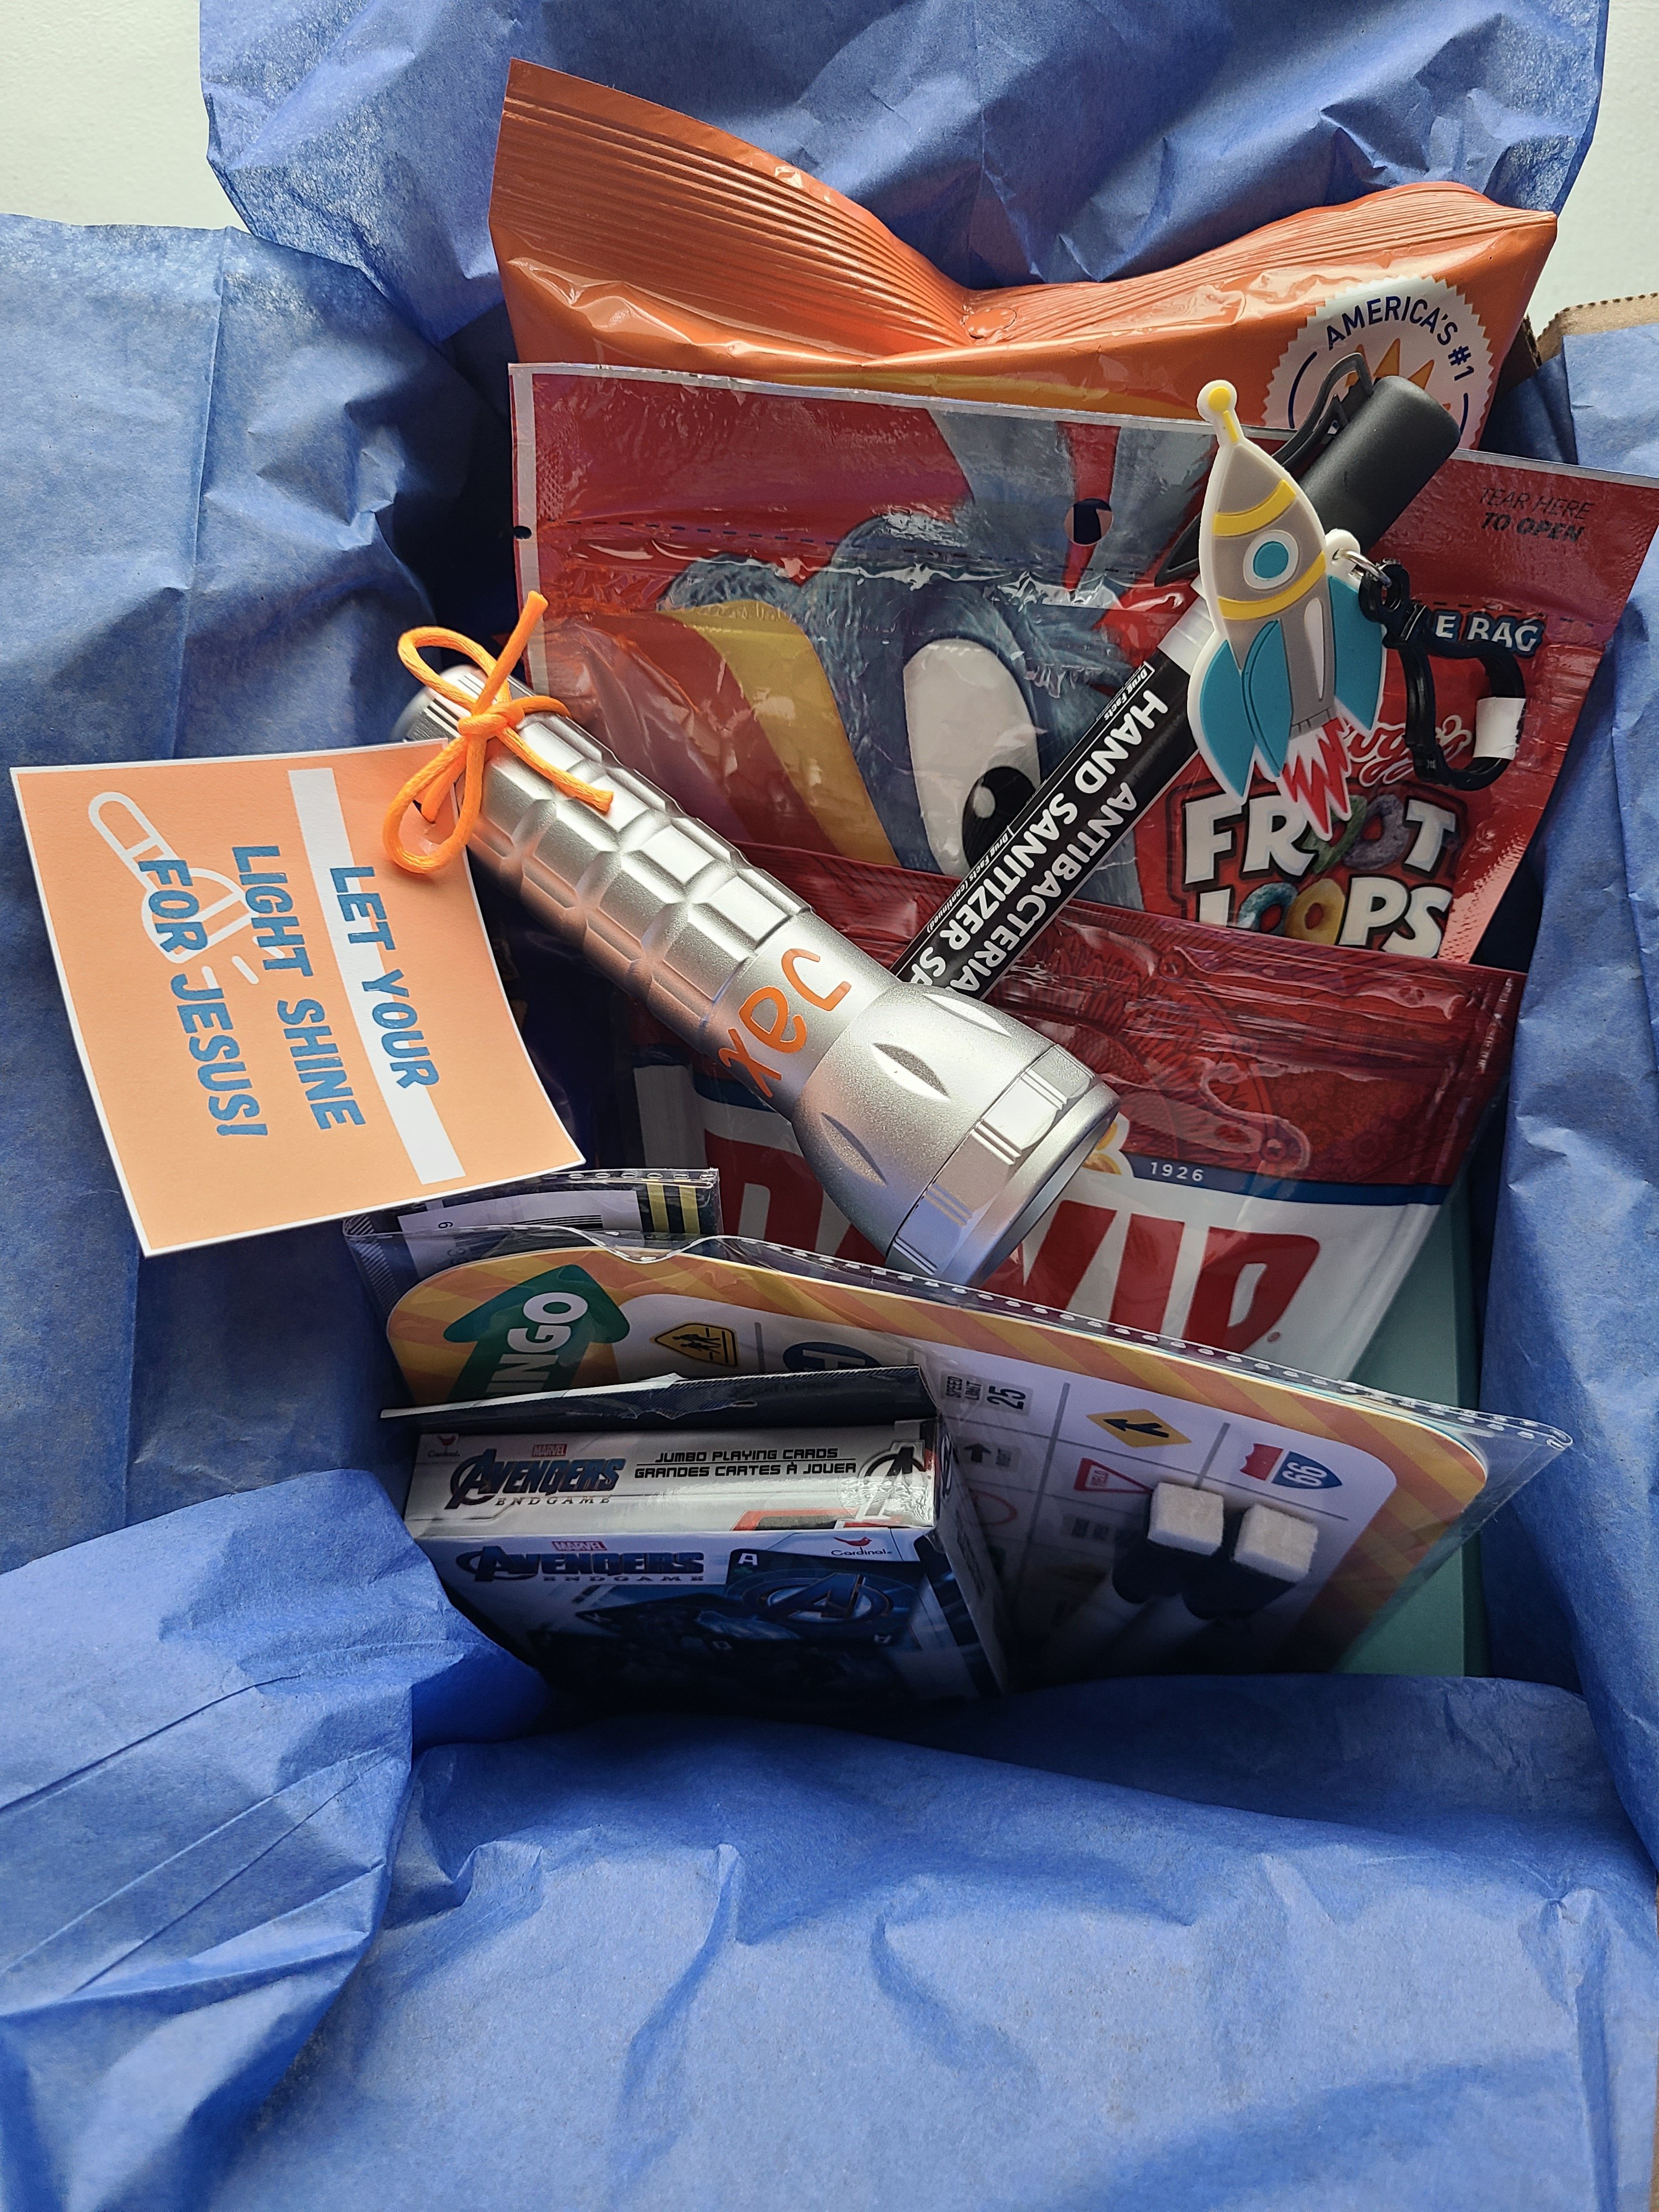
Next I created a gift tag to attach to the flashlights. I made them in different colors to match each one. I made you a free printable to attach to your lights as well! Once I printed them out and trimmed off the excess cardstock, I made a small slit in the upper left corner of each one and fed a piece of string through them. Orange string attached his tag and white attached hers.


Download your free printable flashlight tags below!
Free Printable Glow Stick Tags
I have created a few other tags to add to packages of glow sticks. You can use washi tape to tape the tags on to the packages or you can open the package, and tape the glow sticks to a piece of cardstock that is cut to about 3″ wide, which is the width of the tag. Then tape the over the middle of the glow sticks with a piece of tape on each wide end, with the back of the tape wrapping around the piece of cardstock. I ended up accidentally shrinking the tag when I printed it. I didn’t want to waste more ink, so I wrapped a piece of cardstock around all three packages of glow sticks then taped the tiny “Glow for God” tag on the front. Yours will not look like mine.
*Note
When printing your designs, make sure that your printer doesn’t blow up the image to fit the page or make it smaller. Check the setting carefully before hitting print. Check out this post if you have issues with your computer scaling the image to fit the page.
Begin Packing the Summer Camp Care Package
Open and assemble your box, taping up the bottom. Cut a piece of colored tissue paper in half and lay each half in and over the top of the box on the small right and left sides. Next lay a piece on the top and bottom sides. You will fold them down over the items once they are in the box.

Place your items neatly in your summer camp care package box. I arranged it so that their personalized and cutesy looking items can be seen right when it’s opened.

Now fold the tissue paper over the items. I have created free printable cards to place inside your care packages! They are adorable and match the colors in the box. On my version I have my children’s names typed in. To fit your summer camp care packages, I have removed the names and placed a closing greeting followed by a place for you to sign the cards. Place the cards on top of the tissue paper.

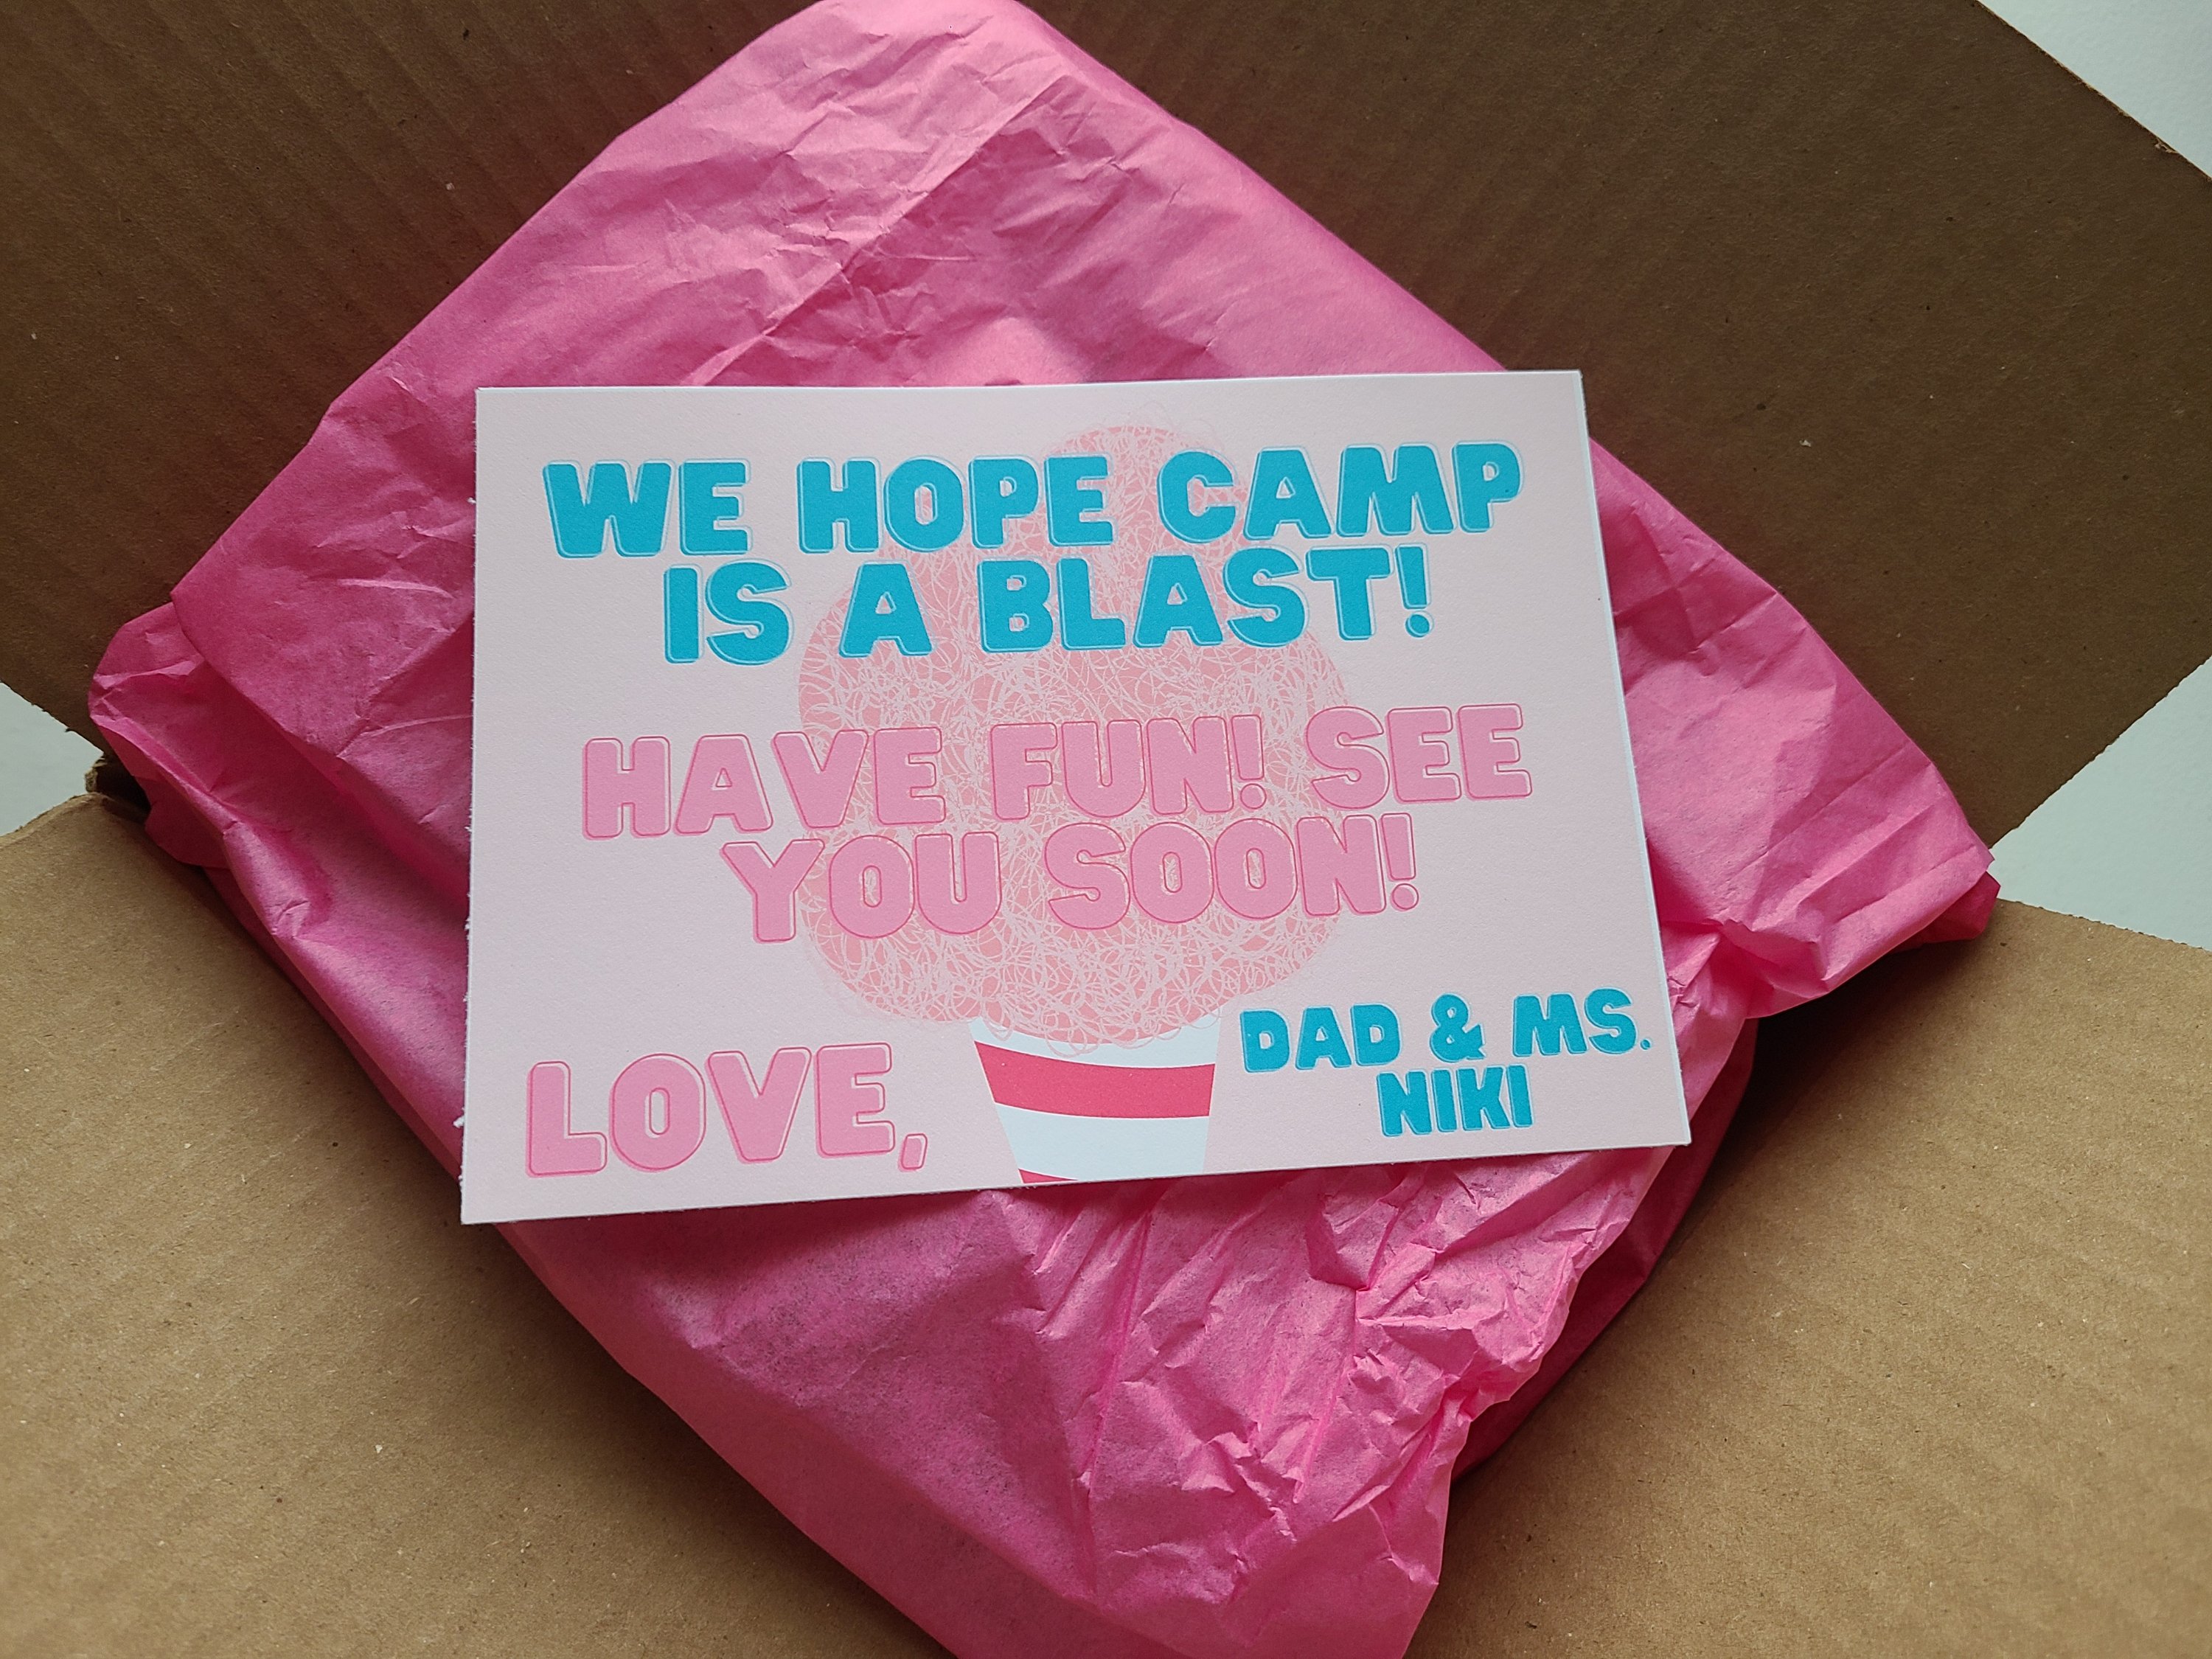
Download your cards using the buttons below. Again make sure your design is scaled correctly before printing.
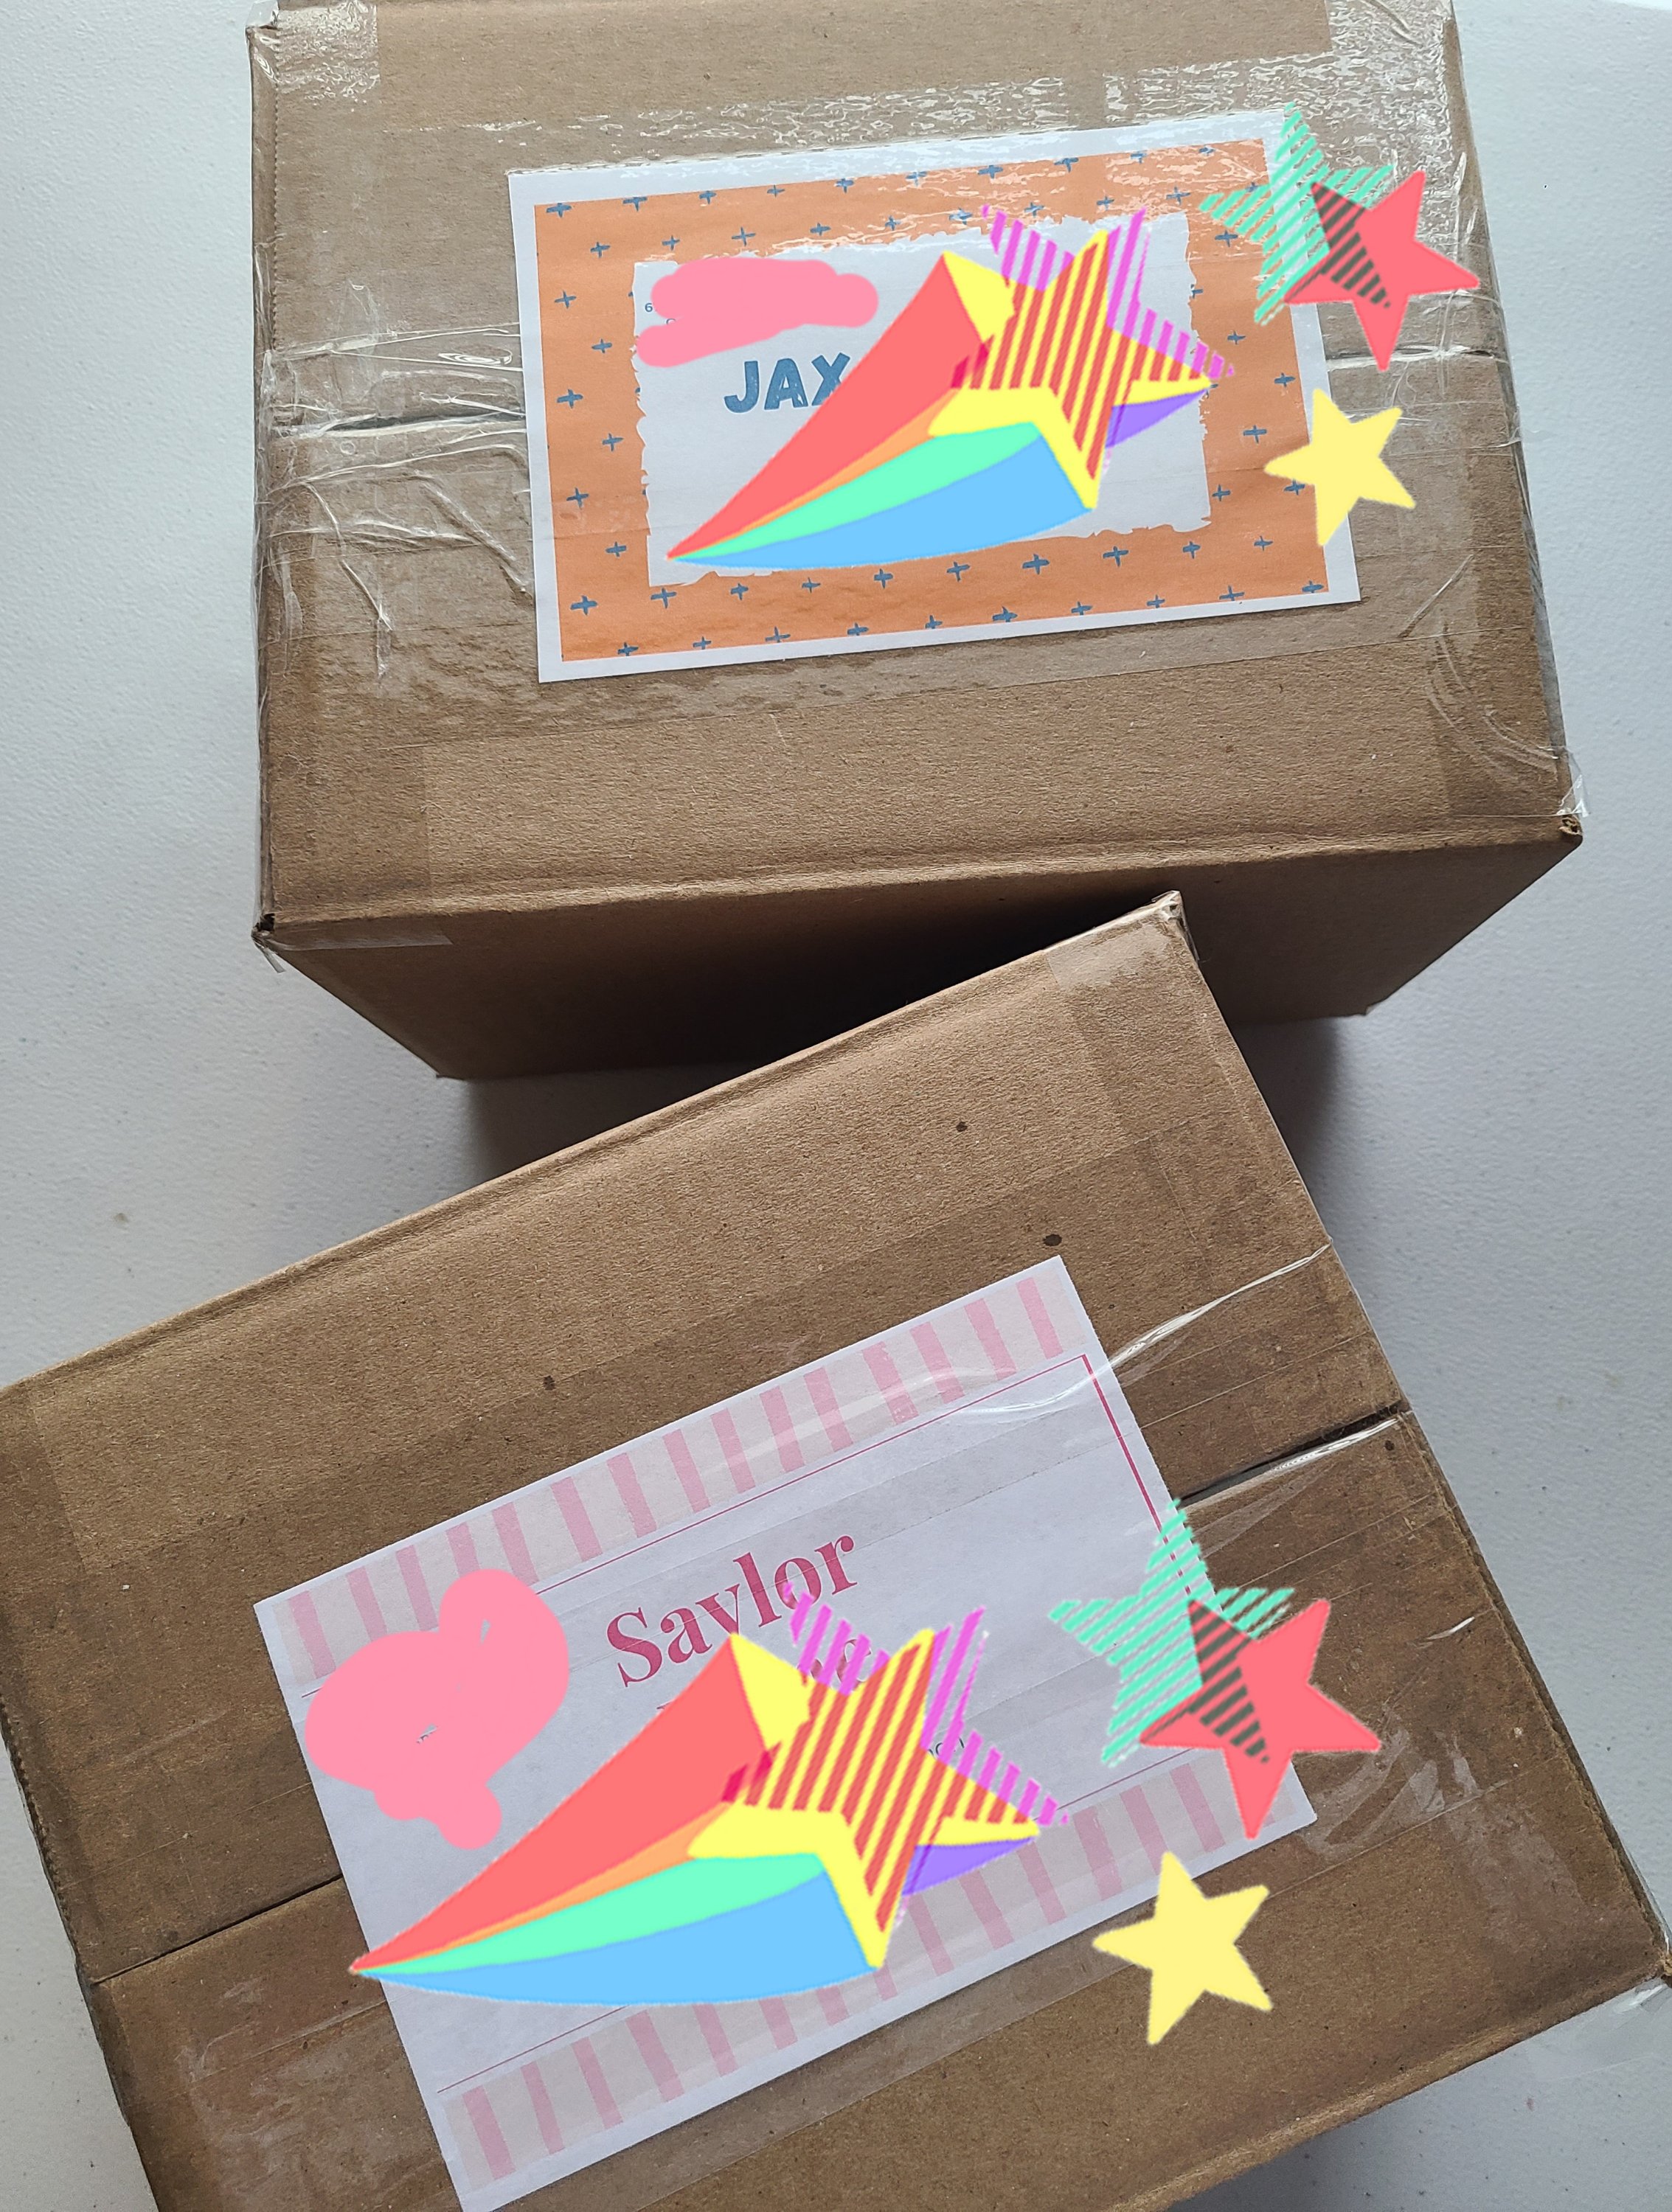
Now it’s time to seal your boxes. Fold the flaps over and make sure to tape the top of the box closed tightly and securely. Address the tops of the box with your child’s name in care of the camp name and address, and add your return address as a precaution. Here are our prepared boxes.
Mail your summer camp care packages!
I hope that your kids love their care packages as much as I know my son will. Make sure you check out this post for packing tips for summer camp and a free printable packing essentials checklist.
Remember to pin the image below or share this post with the buttons on the left side of the page so you can find it when you’re ready to start your project! Also, follow me on Pinterest for new ideas added weekly! Be sure that you never miss a great tutorial for decor like wreaths, signs and other home decor, free printables, crafts, and other fun posts! Enter your email address below to be notified of new posts! Use the buttons below to follow me on social media for other great content.
Don’t go yet! There’s more to see!
There’s plenty more to see here on the blog! If you’re looking for something specific, use the search box in the sidebar to look it up. If not, you might enjoy these ideas. Don’t have time to read them all now? That’s ok, just click over to the posts using the pictures and pin them for later. You can also add Life as a LEO Wife to your favorites and check back for new ideas and free printables and SVGs every Wednesday, as well as link parties with tons of shared ideas on Sundays!


I love your ideas for summer camp things! What a fun way to keep the kiddos fully prepared with snacks at summer camp. Thanks for linking!
Shelbee
http://www.shelbeeontheedge.com
Thanks for hosting your link party! Our kiddos loved their camp packages!
So sweet! And important! thanks for sharing on craft schooling sunday and great to “meet” you!
Thanks for visiting & hosting!