Fall is here, and it’s time to break out all the fall decor! I really love decorating this time of year, and you’ve probably figured that out by now. Changing up my home so much in the last four months of the year can get expensive, so I’m frugal in the way that I get new pieces. I had a pumpkin sign from Dollar Tree, but it just wasn’t something that I wanted hanging in my house. I had a stick-on faux tile that I planned to add in my kitchen, and I thought, “What the heck? Let’s see what a faux tile pumpkin looks like.” So this fall pumpkin sign upcycle was born! I think that I’ll sit it in a small vignette in my kitchen by my husband’s coffee pot. If you like upcycling Dollar Tree signs, you might enjoy this pumpkin entryway keyholder, this 20 minute fall farmhouse sign, Halloween sign tutorial. You can also turn a $1 doormat into a beautiful fall welcome mat with my tutorial and gourd-geous free design (the design could be used on other decor as well)!
To upcycle a fall pumpkin sign you need:
- pumpkin shaped sign (DT)
- stick-on faux tile (DT)
- acrylic paint- I used three colors, nutmeg brown, spiced carrot, and aqua. Dollar Tree does have some acrylic paints now, but mostly just simple, common colors.
- paint brush for the stem and accent color
- thick paper towels- I used auto paper towels.
- hot glue gun & glue
- twine (or other ribbon for the stem) (DT)
- faux greenery or other flower (optional)- You can get this from DT or from elsewhere. I used an orange flower from Michael’s. It’s not really a flower, but the label on the bunch just says “bush.”
- metal words (DT)- I used “harvest.”
- Sharpie or other marker

Cut the Pumpkin Shape
First you will need to remove the metal leaf and raffia bow off of the pumpkin, if you have the same one that I bought. Be careful with the raffia because it will be placed back on the sign. Now you need to trace the pumpkin on the faux tile. Turn the tile upside-down, and lay the pumpkin shaped sign face-up on it. The tile is just wide enough to fit the pumpkin, so you’ll have to position it perfectly. Trace around it using the Sharpie.

Use a good pair of scissors for this part because the tile is pretty thick and uneven. If your scissors aren’t nice and sharp they will make the lifted sections jagged. Cut just inside the marker line so that the tile fits the pumpkin perfectly.

Once the pumpkin shape is cut out, remove the backing from the faux tile, and place it on the back of the fall pumpkin sign. Make sure it’s even before you press it down. Now, the sticky part isn’t actually directly on the tile. There is a separate piece of plastic that has the adhesive on it. When you cut it, it may detach completely from the tile. If that happens, just use your hot glue gun, or other glue, to attach the tile to the pumpkin.

Paint the Faux Tile on the Fall Pumpkin Sign
Paint the Stem
You can choose to paint the tile all one color, or paint the stem separately so it’s its own distinct part. I painted my stem with a light brown called nutmeg brown. For this part just use a regular paint brush and paint the stem section.

Paint the Pumpkin
Now the bottom part of the pumpkin with whatever color you choose. I used orange, but I am making another one for late fall using a deep, reddish brown called Spanish tile, so you can choose any color you’d like. Fold up several paper towels together and dip them in the paint. Begin applying it to the tile in circular motions. I used thick paper towels used in the automotive industry. My husband bought them from Auto Zone a while back, and they are so handy for crafting.
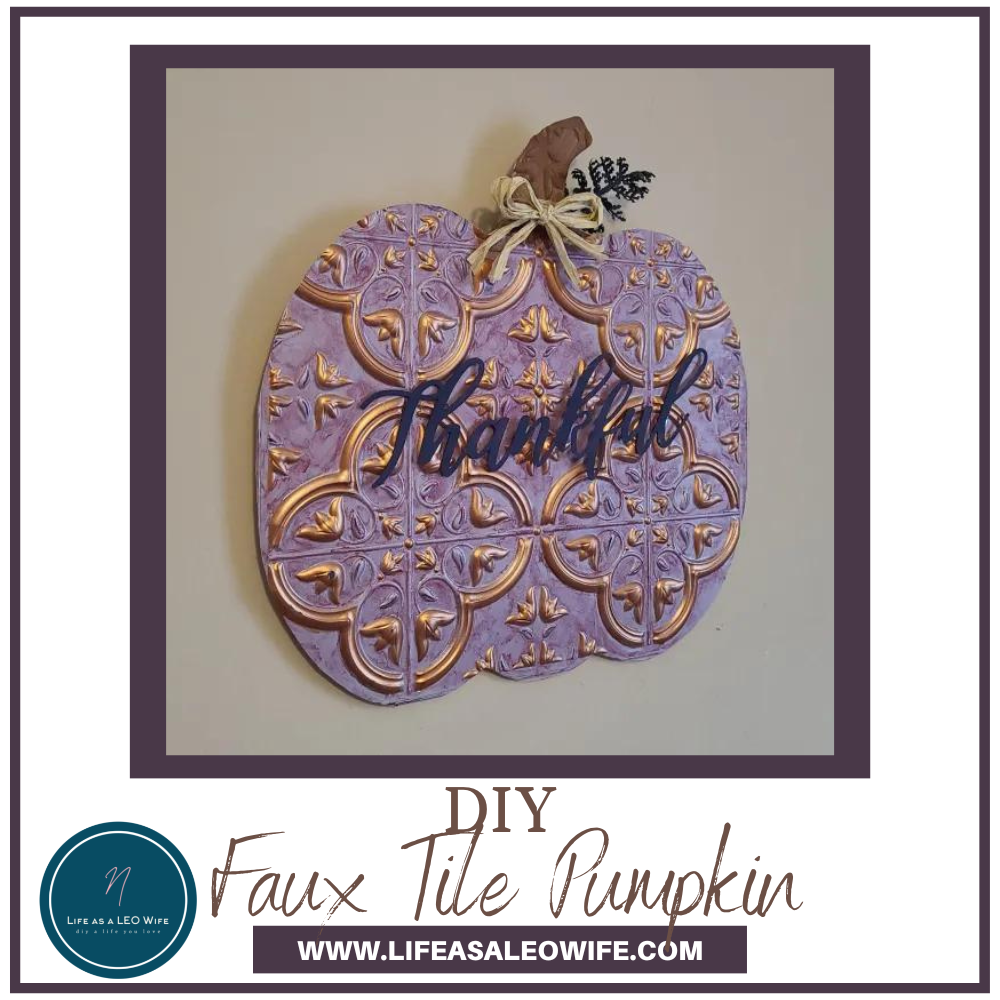
Update: I made a second faux tile pumpkin using burgundy as the main color. “Thankful” was painted English navy and copper was the accent color on the raised areas. It turned out beautiful. Use fun colors for simple decor and metallics and darker colors for a “dressier” look.
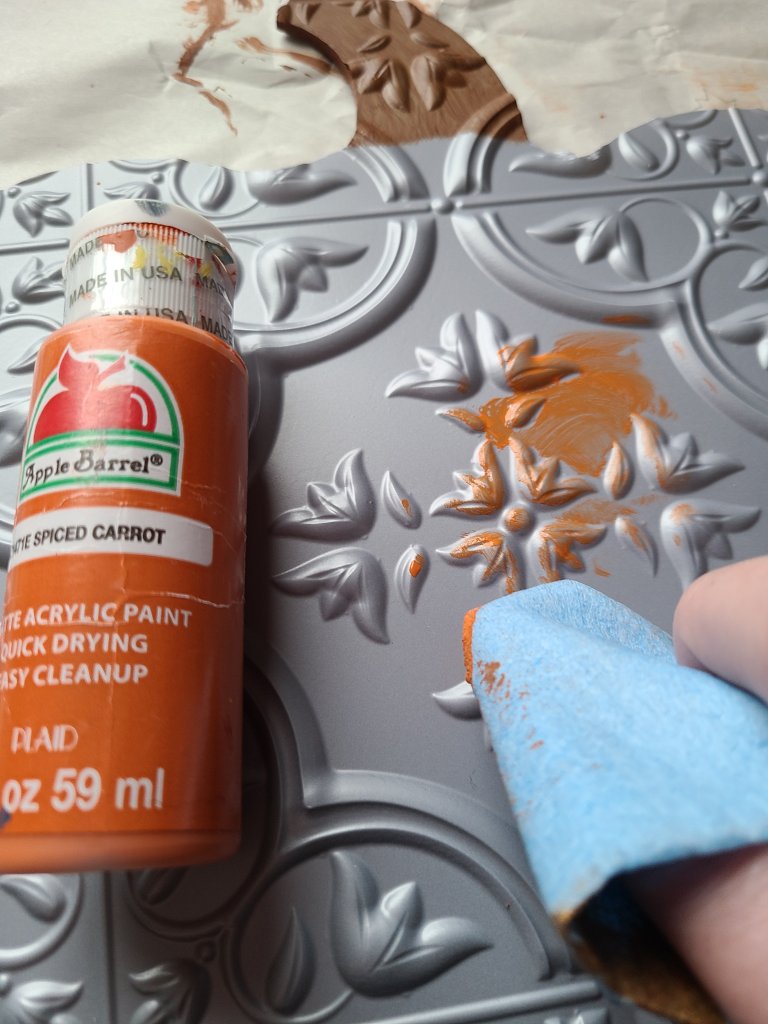
The paint won’t be thick across the entire pumpkin. I really like the look. I wanted a thin layer, with some places being darker than others. You can of course use a paint brush and paint it the normal way if you’d like.

Paint the Flowers as Accents
This part is optional, but I really like the way the sign looks with the flowers painted. Use a regular paint brush for this. Paint the flowers with whatever accent color you choose. I used aqua because that’s the colors I used in my early fall decor. (Again, I used copper on the second faux tile pumpkin and it looks great!)

As you go through painting the flowers, don’t worry too much about being perfect on every one. On some of mine I even did just a few brush strokes, one on each side and one in the middle. Only paint the flowers, not the stems, leaves or borders. That is just way too much of an “accent” color.

Paint the Metal Word
The words come in a three pack from Dollar Tree. “Harvest,” “welcome,” and “thankful” come in the pack. For this sign I used “harvest.” If you want to leave the word as is, that’s fine. However, I wanted more aqua in the sign, so I painted the word. You can use your accent color paint or even throw in a third color. When I made my second fall pumpkin sign I painted “thankful” in English navy.

Once the word is dry, glue it to the sign. Before you add the glue to the back of the word, take a look at the faux tile on the sign and where you want to place the word. Since the tile is not a flat surface, the glue will need to be placed on the word where it will hit the higher places. Since the word is cursive, it’s hard to squeeze the hot glue across the entire word and to do it before the glue dries. I made sure to squeeze the glue on the ends of my word. In doing that, I was able to get enough glue on it to hold and get it on the tile before the glue was dry.
Create the Stem on the Fall Pumpkin Sign
The final step in upcycling the fall pumpkin sign is adding twine and faux greenery. Add a bit of hot glue on the back of the sign at the base of the stem. It’s easy to know where to put it because the back is actually the original front. Place the end of the twine on the glue and wrap it around the stem several times. Add the greenery or flower on the side of the stem then continue wrapping the twine around it to hold it on. If you don’t have a long enough stem on the greenery, you can hot glue it to the pumpkin then wrap the twine around it. If needed retie the raffia bow and hot glue it to the middle of the stem.


I really love the look of the stem area. It makes it look like decor that you actually want to put out in your home.

The fall pumpkin sign is ready to be put in its place of honor!
I love the way this sign turned out! I can’t wait to finish my other sign. It will be burgundy, copper, and navy, and I really like the way it’s going so far! I will update this post as soon as I have pictures of it. I will also add pictures of my fall coffee bar vignette as soon as it’s ready. Hate to repeat it, but- the word and flowers look blue in the pictures, but they’re not! It drives me insane. If I can get a picture that show the actual colors, I’ll add them.
Update: I finished my burgundy, navy, and copper faux tile pumpkin! It’s pictured below, and, again, for some reason it looks purple once it’s uploaded. The piece of greenery I used was from a faux greenery bunch from Dollar Tree. I painted it English navy along with the metal “Thankful.”


Remember to pin the image below or share this post with the buttons on the left side of the page so you can find it when you’re ready to start your project! Also, follow me on Pinterest for new ideas added weekly! Be sure that you never miss a great tutorial for decor like wreaths, signs and other home decor, free printables, crafts, and other fun posts! Enter your email address below to be notified of new posts! Use the buttons below to follow me on social media for other great content.

Don’t go yet! There’s more to see!
There’s plenty more to see here on the blog! If you’re looking for something specific, use the search box in the sidebar to look it up. If not, you might enjoy these ideas. Don’t have time to read them all now? That’s ok, just click over to the posts using the pictures and pin them for later. You can also add Life as a LEO Wife to your favorites and check back for new ideas and free printables and SVGs every Wednesday, as well as link parties with tons of shared ideas on Sundays!


Looks nice! Thanks so much for linking up at the Unlimited Link Party 34. Pinned!
Visiting again to say thanks so much for linking up at A Themed Linkup 74 for Pumpkin Crafts and Décor. Pinned again!
Ed what a creative idea and great end result! Appreciate the tutorial too.
Thanks Debbee!
great job on the upcycle, love the aqua touches, and thanks for sharing on craft schooling Sunday!
Thank you!