
I love decorating for Halloween. We never did it as a kid, and when I saw my beautiful former mother-in-law’s house the first Halloween I met her I was mesmerized! She went all out, and I knew then I’d want to do that with my kiddos one day. I like to add new pieces to the collection each year, but that can get expensive. This tutorial will show you how to upcycle a Halloween Dollar Tree sign into something you want to hang on your wall or door!
To upcycle your Halloween Dollar Tree sign you’ll need:
- Dollar Tree Halloween sign
- 2.5″ wired Halloween ribbon- I bought mine at Michael’s during the 50% off sale.
- black acrylic paint and paint brush
- pipe cleaner or floral wire

Tape Off & Paint Edges
First you need to paint the edges of your sign black. Without the paint you can see the cheap cardboard on the outside edges. I also glued any spots that were peeling away on the front. I used painter’s tape to keep any stray paint off the front of the sign. You don’t have to do that. After I took the tape off, I kind of liked the little bit of the paint that got on it.

Make the Bow
While the paint is drying you can make your bow for the top of the sign. Gather the ribbon and pinch a bit of it in, leaving an extra inch of ribbon to hold on to. Bring about an inch and a half and gather it at the first pinch. Twist your ribbon to make sure the front of it faces forward, then bring another inch and a half back to the center again. Use your pipe cleaner and tie off the ribbon tightly, leaving the twist at the back of the bow. Measure about two and a half inches of the ribbon and that will be part of your tail. Now double back to the center of the bow with another two and a half inches and tie it off with the pipe cleaner. That will be the other tail. Cut the ribbon at the bottom center to make it two separate tails. Layer each tail on top of the other and fold the two tails in half. Cut a diagonal line to give your tails the “V” shape.


Add Hanger & Fluff
Use the wire you have at the back of your completed bow and wrap it around your thin ribbon that is used to hang the sign that came with it when you bought it. Fluff and center the bow on the sign and you’re ready to hang your masterpiece!

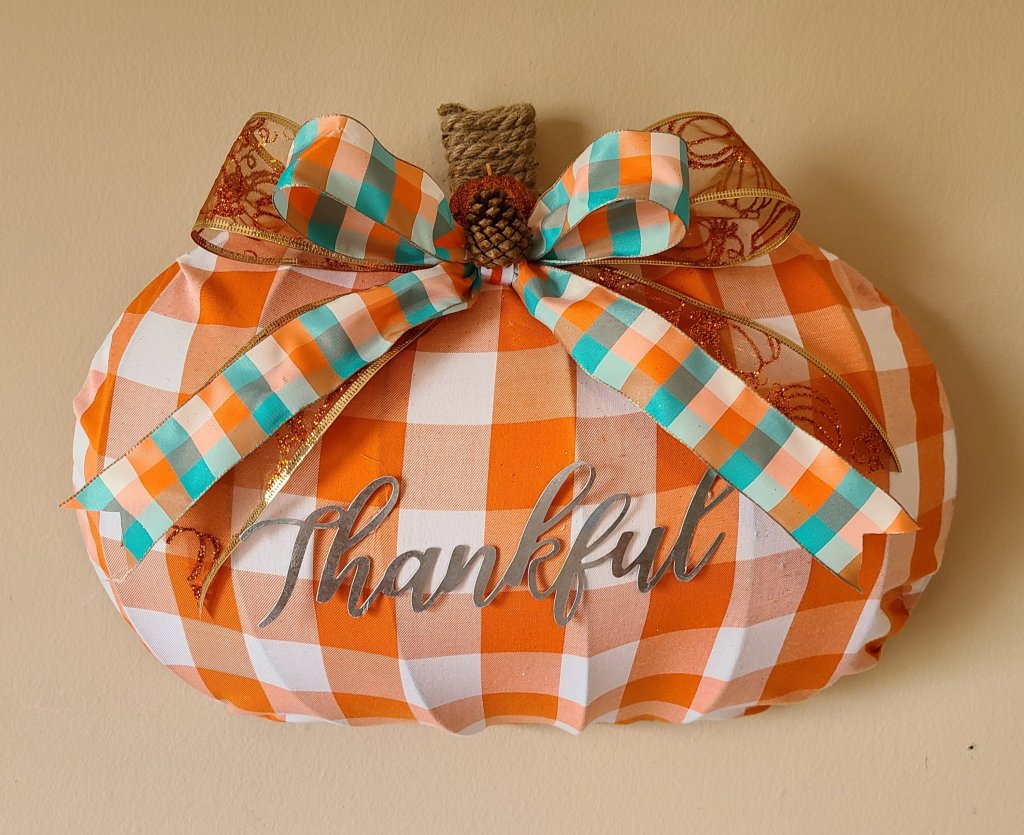
I hope you enjoyed this tutorial! I’d love for you to pin it for inspiration later and share this post using the buttons at the bottom of the post. If you liked this post, you might like this quick and easy Halloween centerpiece, this burlap wreath tutorial, and this adorable orange buffalo check pumpkin wreath!


To keep up with what’s going on over here at Life as a LEO Wife, use the social buttons on the sidebar. I would love for you to follow me! Enter your email address below to make sure you don’t miss any tutorials, free printables, or other great posts! You’ll get an email when a new post is uploaded, and never any spam!
Get new content delivered directly to your inbox.
If you love the tutorials, crafts, DIYs, recipes, fashion, gardening, family posts, and more, make sure you visit our three weekly link parties where tons of ideas are shared: Happiness is Homemade, You’re the Star Blog Hop, and Traffic Jam Weekend. Make sure you visit and share your family friendly posts every week if you’re one of my blogger friends! Widen your audience and get a chance to be featured at the next week’s party!


3 thoughts on “Halloween Dollar Tree Sign Upcycle”