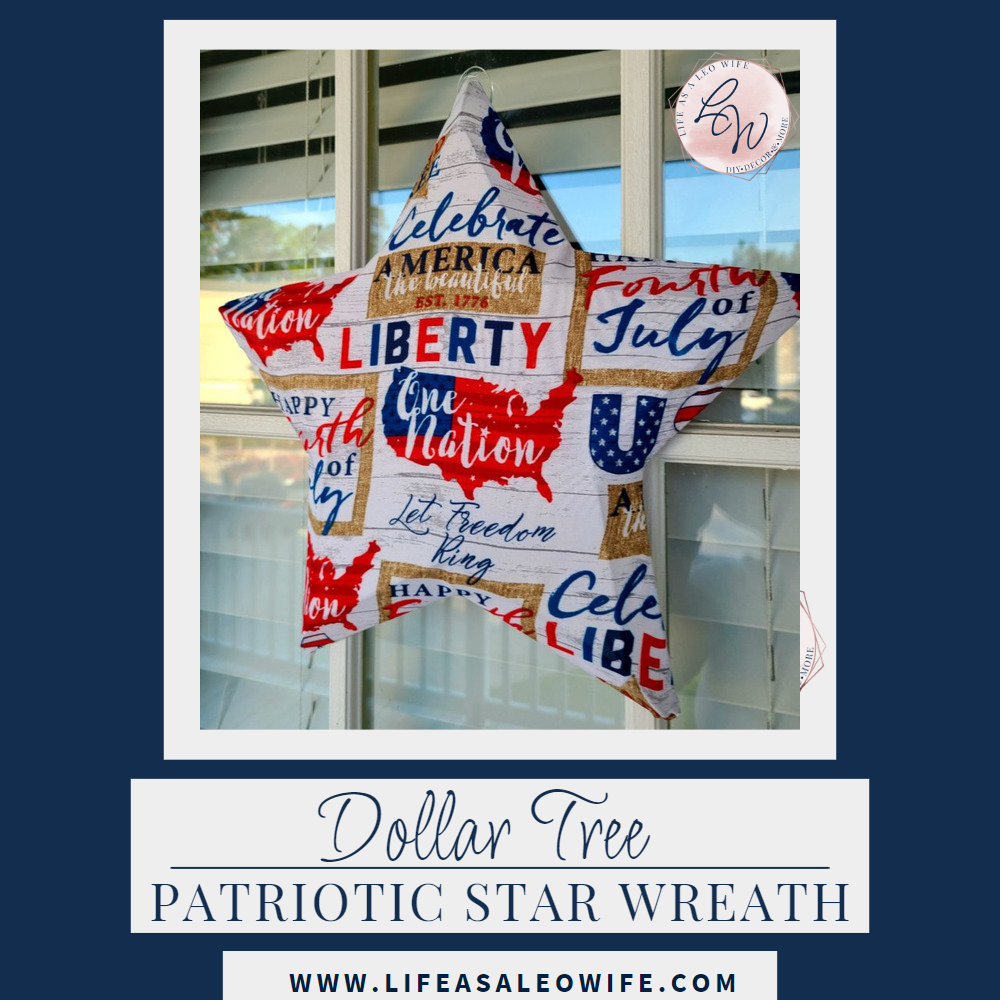
It’s summer time and time for red, white, and blue decor, and this patriotic star wreath is perfect to add to your collection. Two weeks or so ago I was a few cities over and visited a Dollar Tree that I don’t think I’ve ever been to before. They had amazing things that they definitely do not have at the one by my house. I got a ton of stuff including some red, white, and blue items that I knew they wouldn’t carry at my store. This project was born from that trip.
I wasn’t exactly sure how it would turn out, but I like them. They were pretty easy to do and took about ten minutes each! You can make one for $2! If you no supplies at all, including glue and scissors, you can make it for $4! I made two of these wreaths, one with a white bandana and another with blue, for $3.
Make your own patriotic star wreath with (*all from DT unless noted):
- star wreath form
- pack of 2 red, white, and blue bandanas- They had 3 different packs at my store. At first I used a pack with one white with blue edges and the United States on it saying “One Nation” and a white one with phrases for the US in red and blue.
- hot glue gun* and glue sticks
- scissors

Prep the Bandana
The way the bandanas are packaged leaves a few creases that will run right through the middle of your wreath. Iron them to keep them from showing. Of course this is optional, but it looks better!
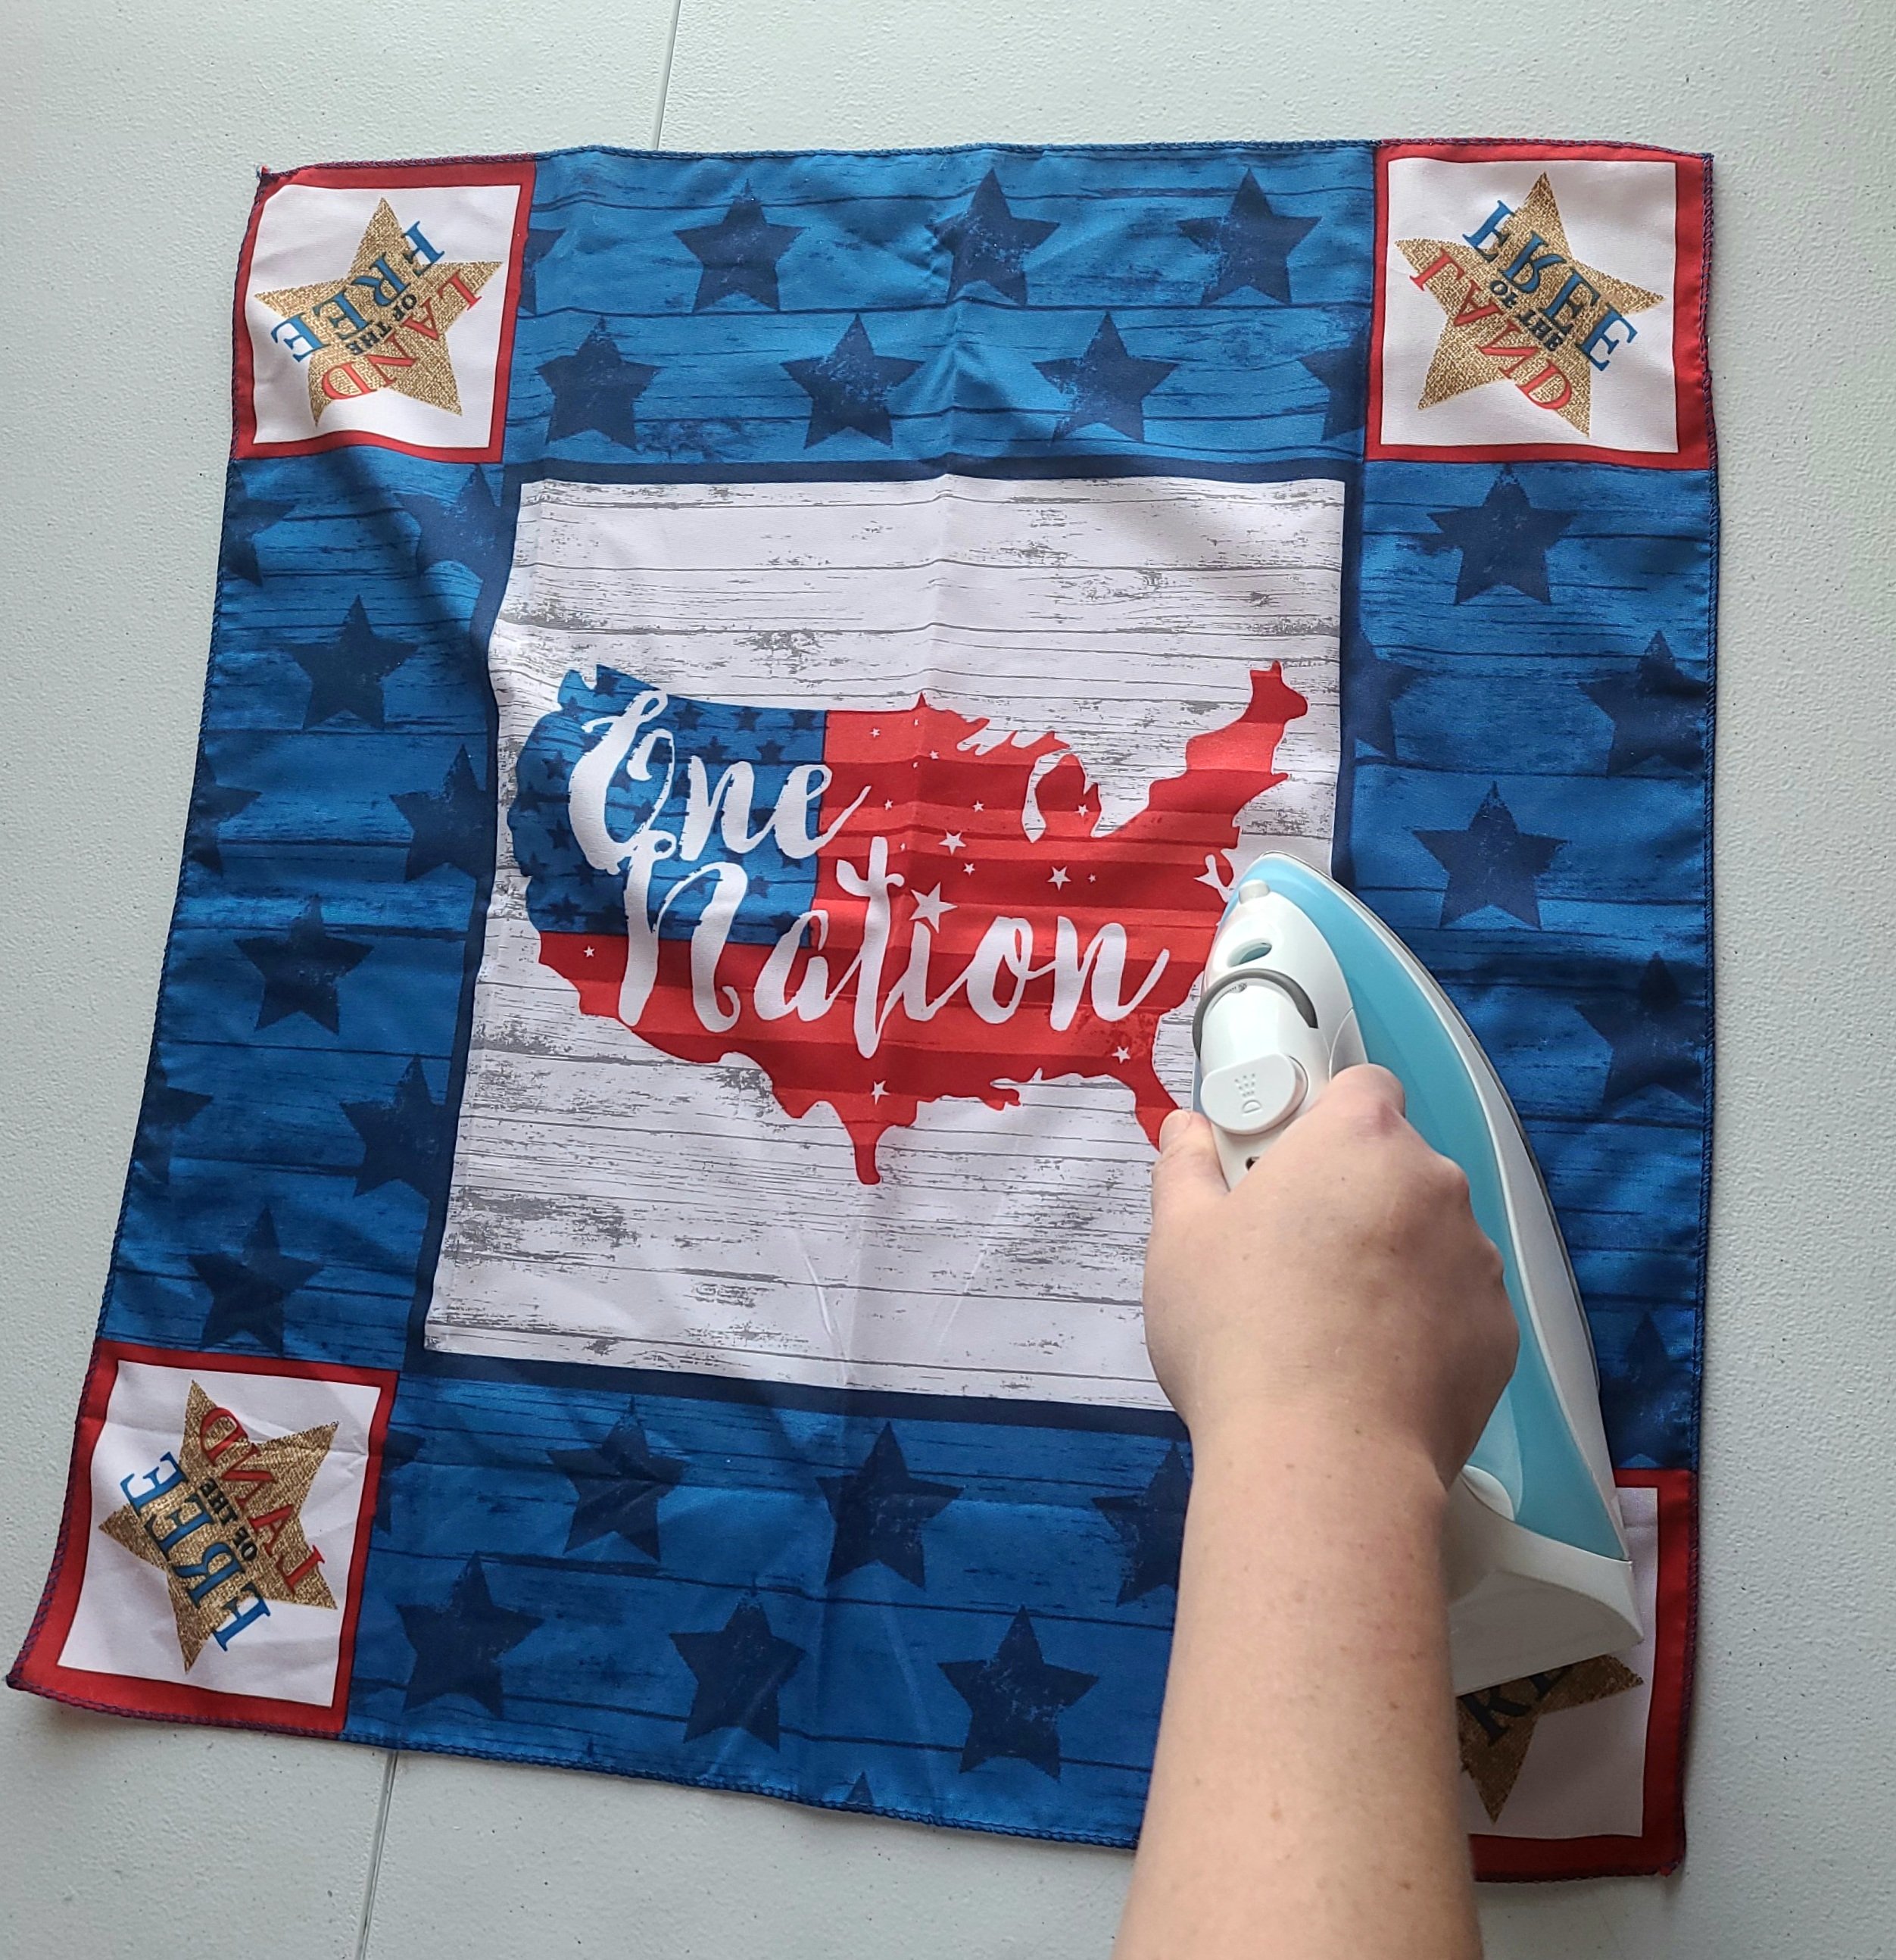
If you’re using the blue “One Nation” bandana, you won’t use the corners where it says “Land of the Free” so you can cut them out and save them for another project. You want to do this before you start so you can remove them cleanly. I made my first wreath with this bandana, but ended up removing it and making both wreaths match using the white. When you use this blue, be very careful through the entire process, to keep the country shape centered. You may want to start off using the white or another bandana that won’t matter where you have the star form.

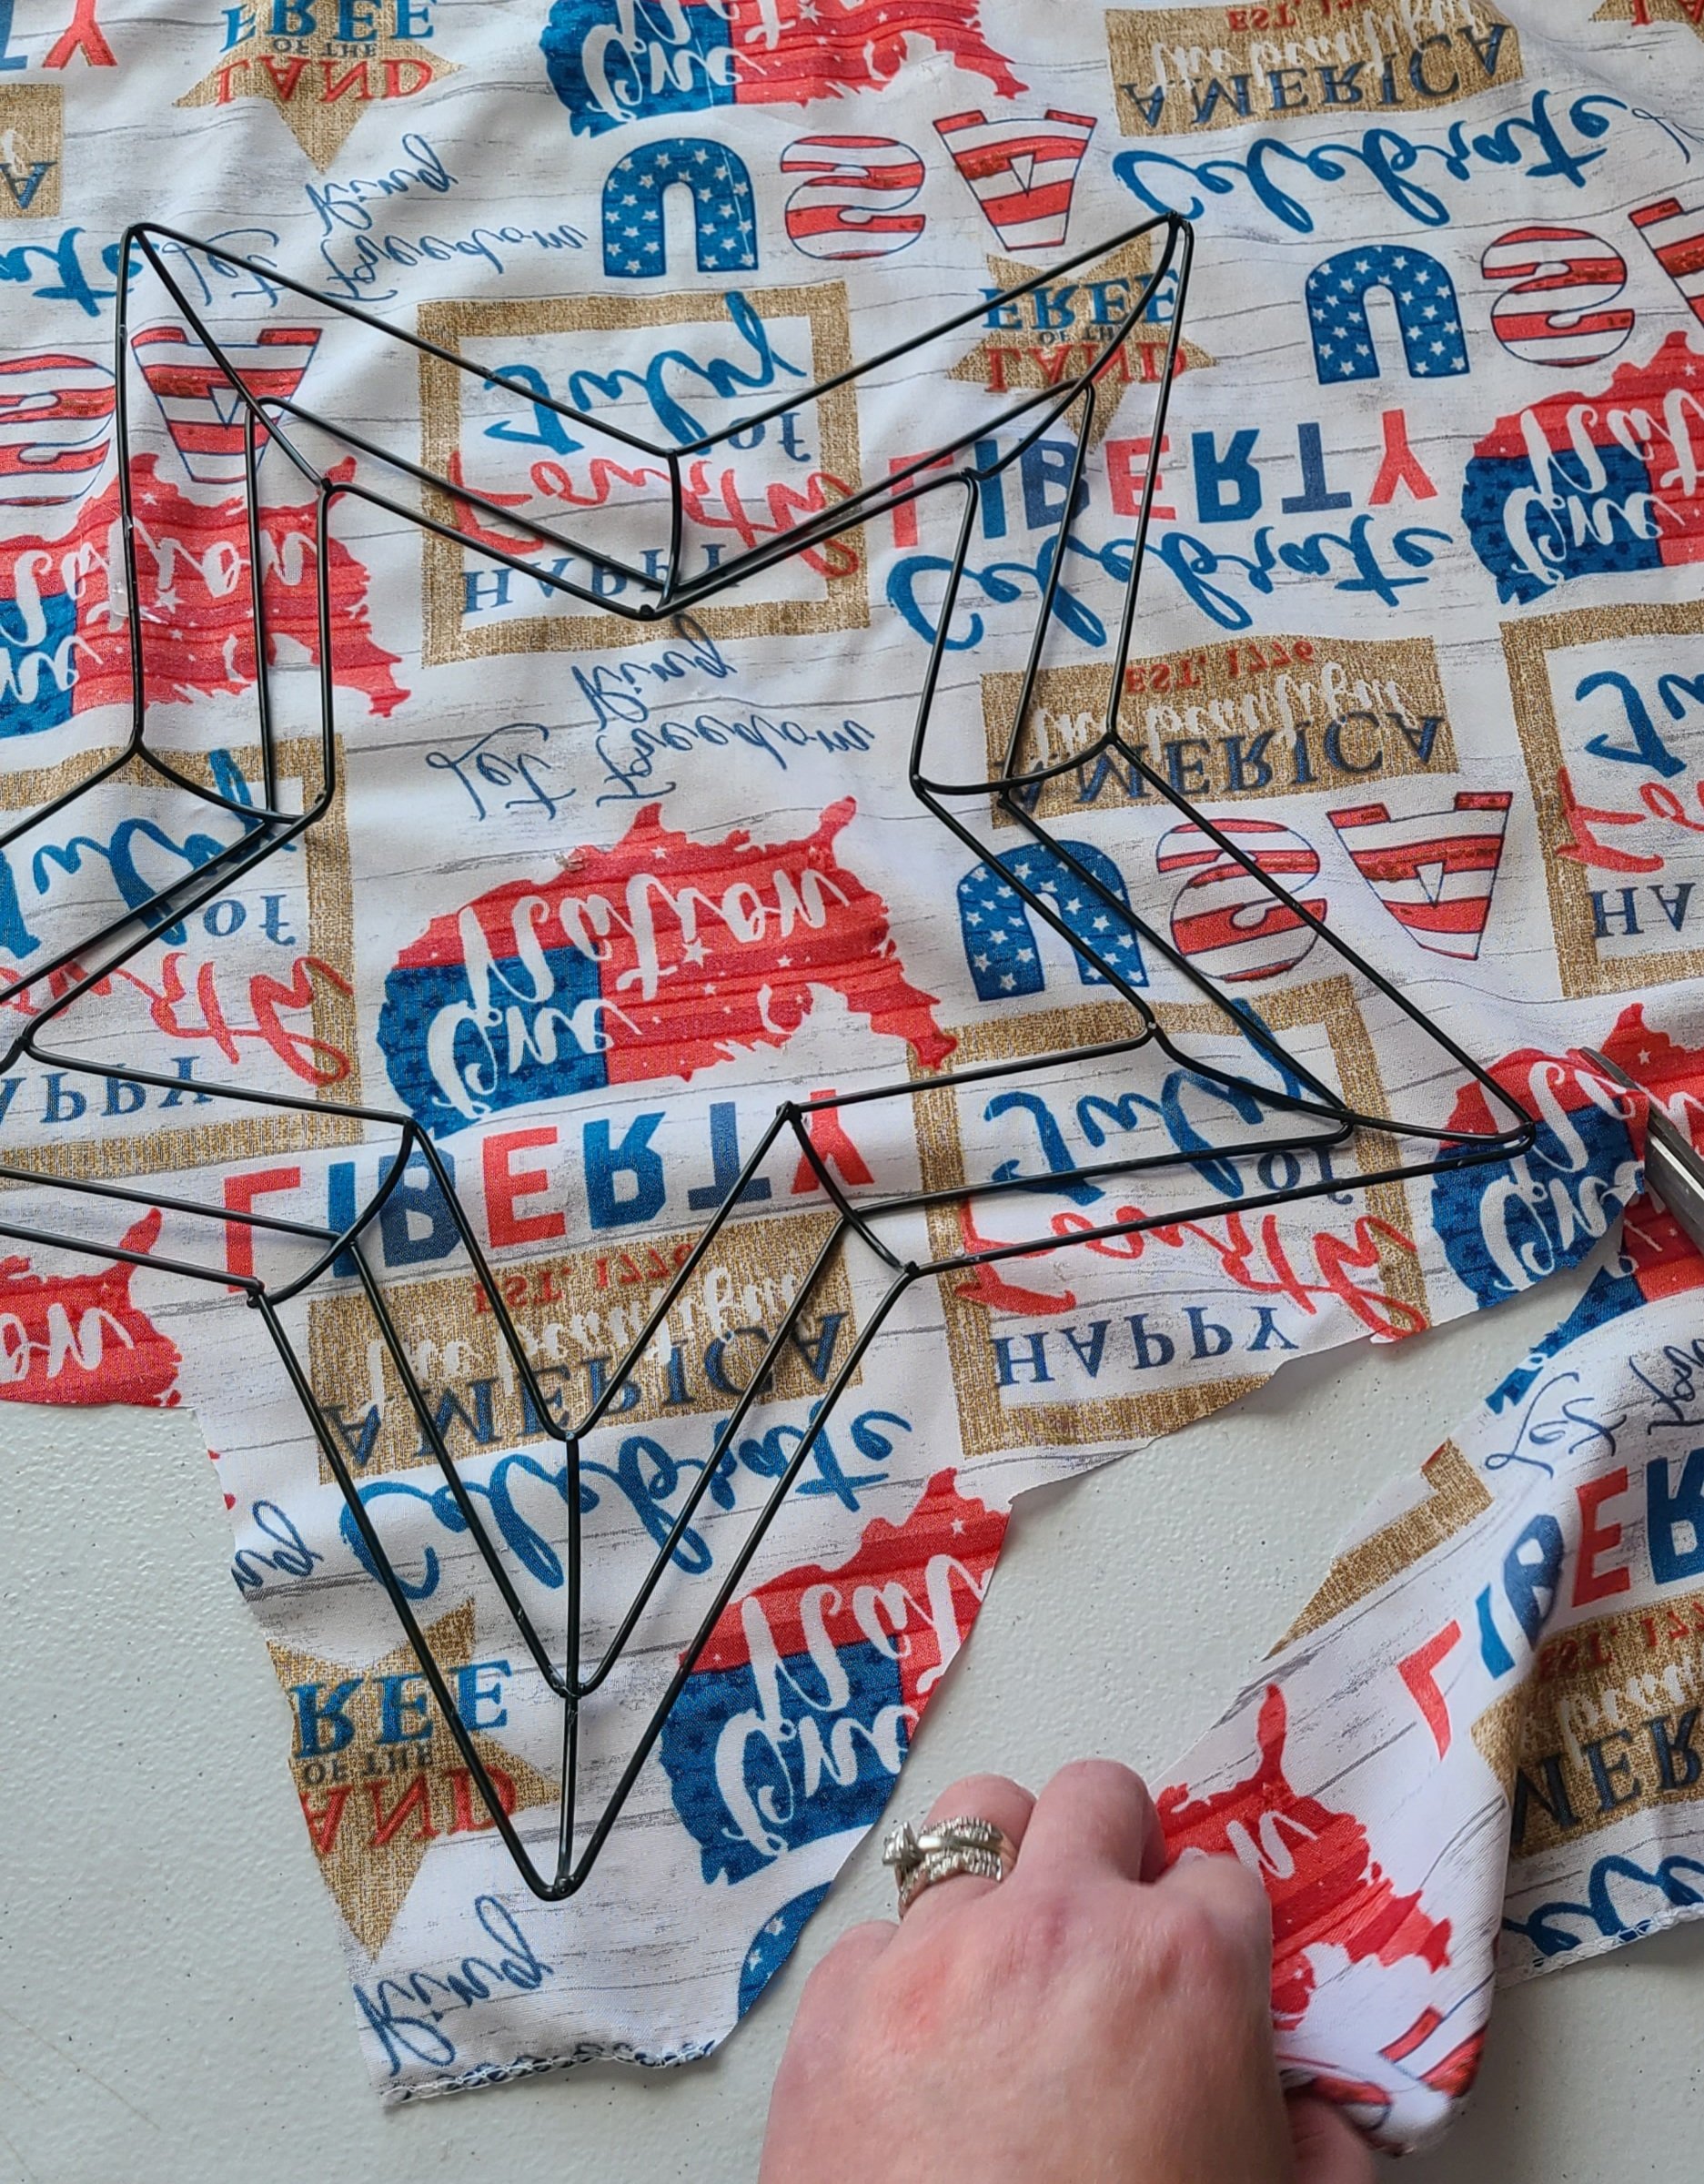
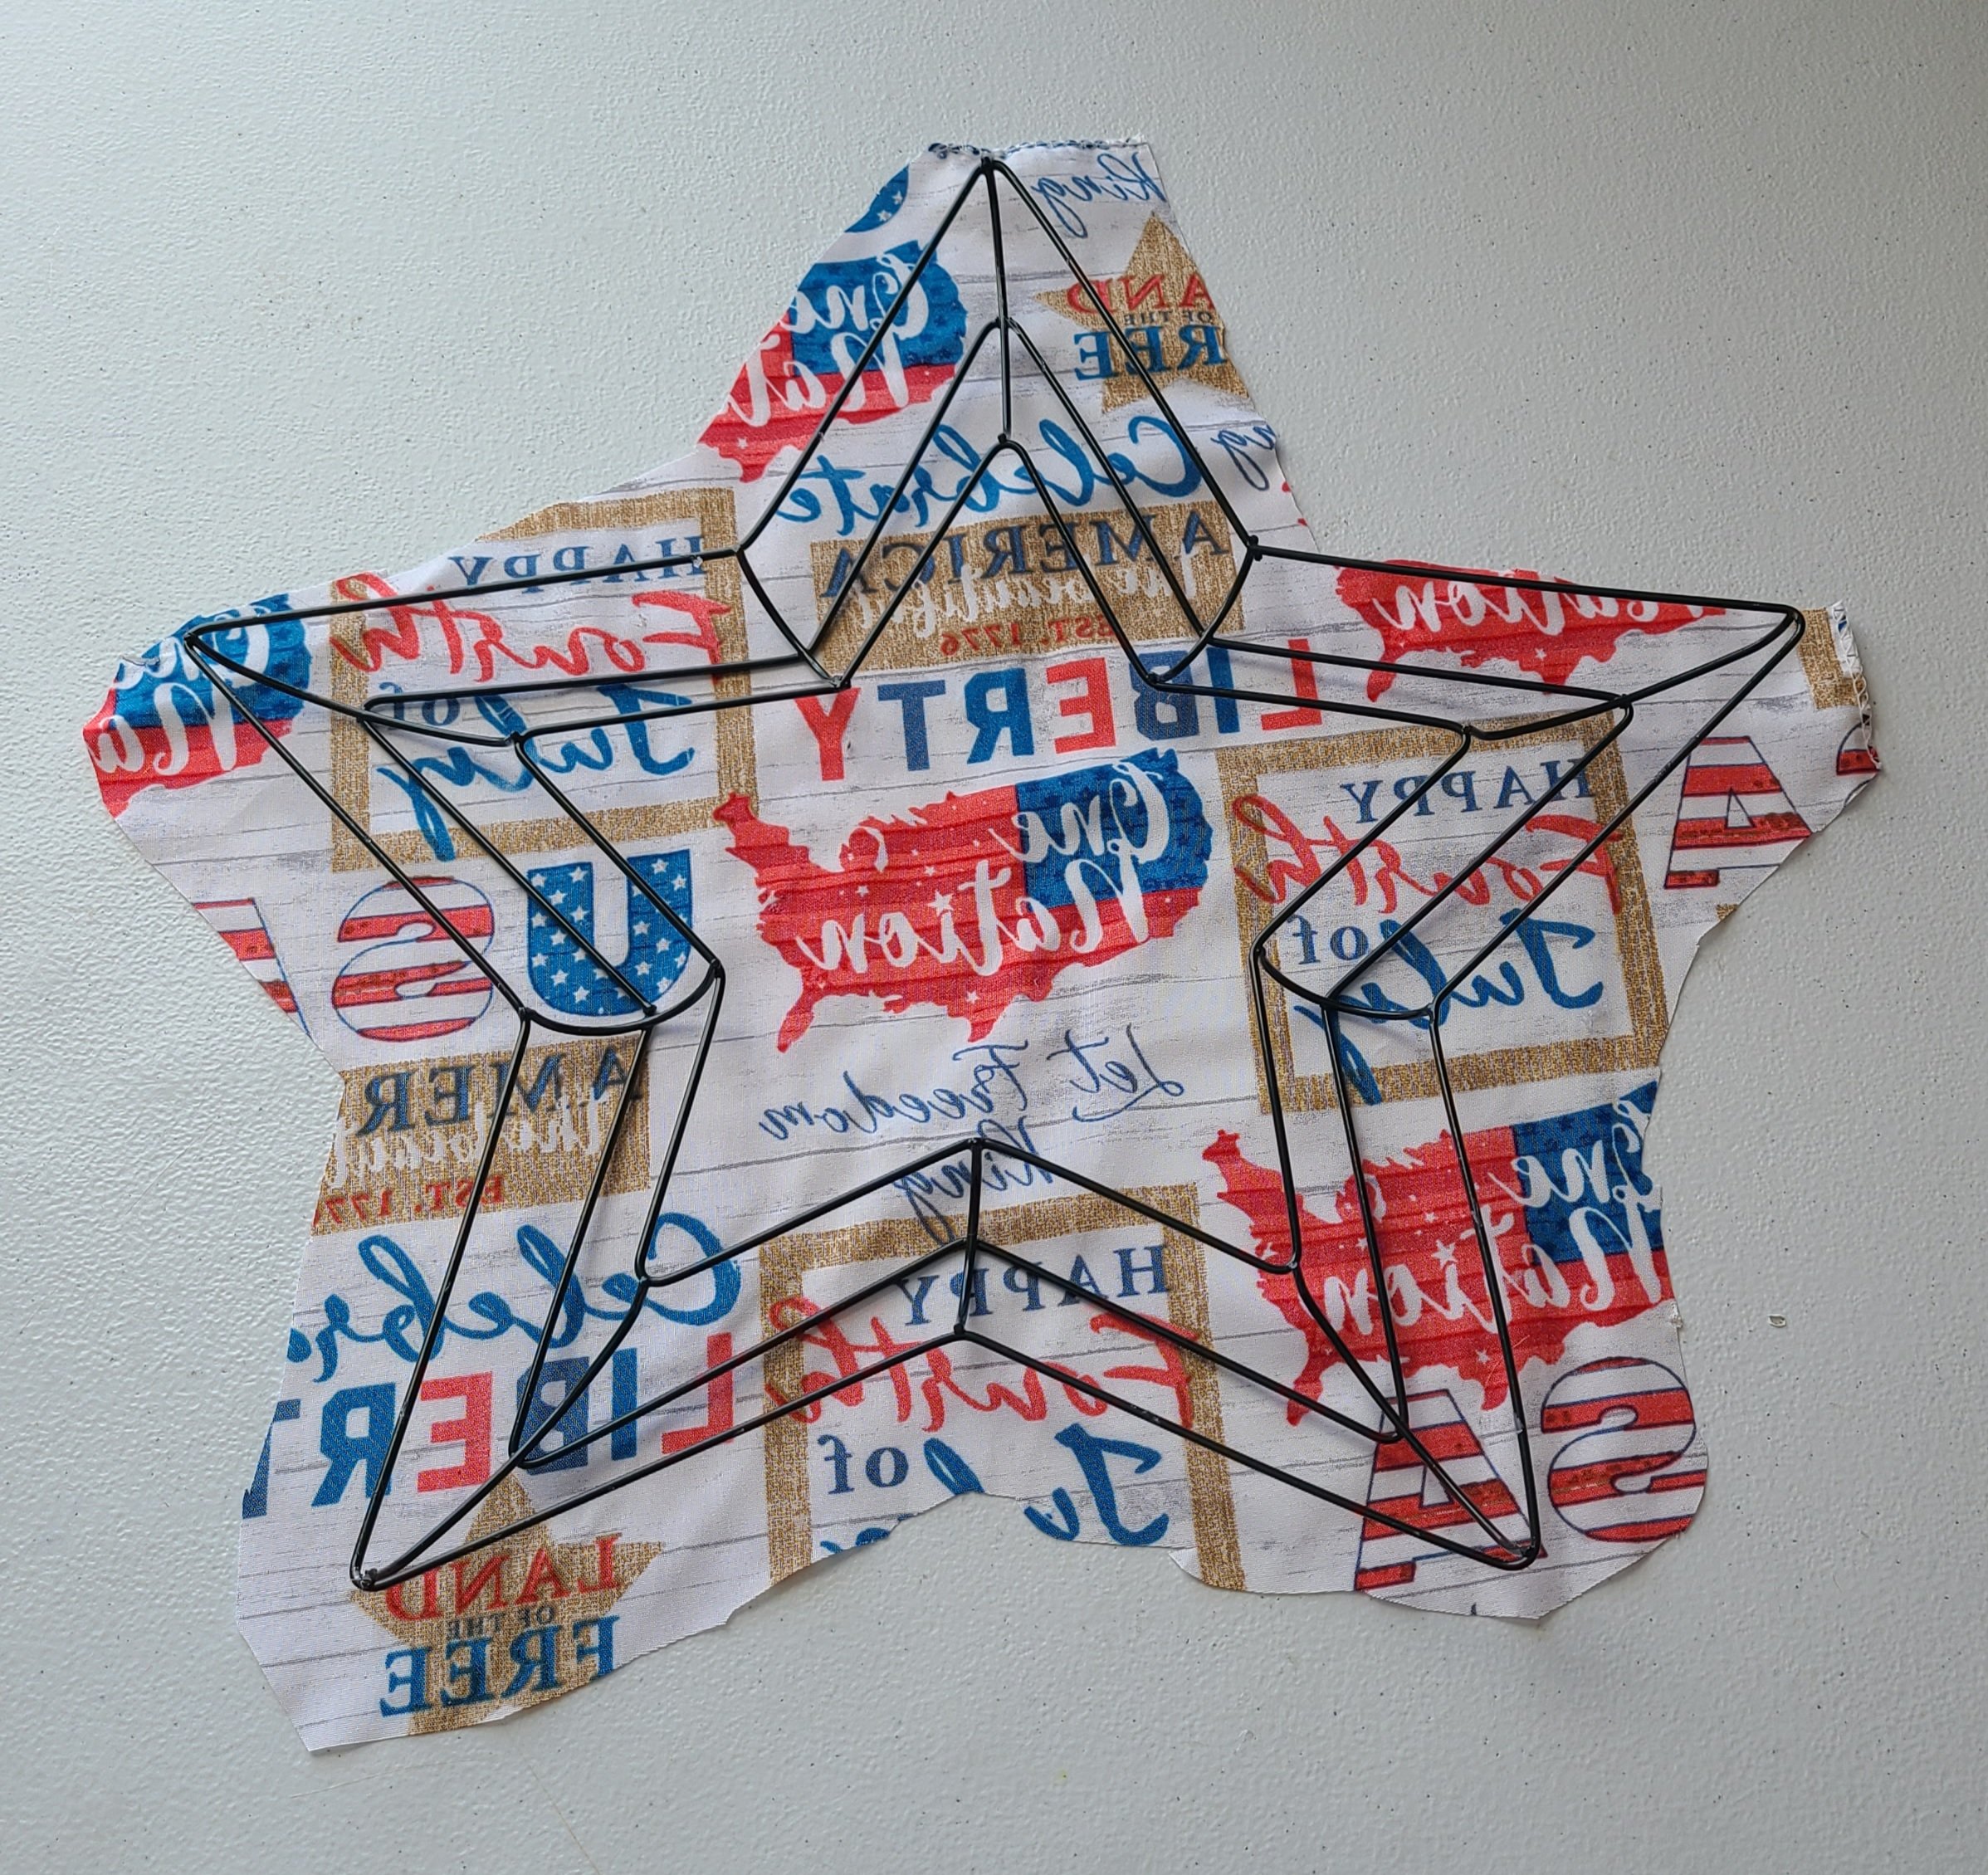
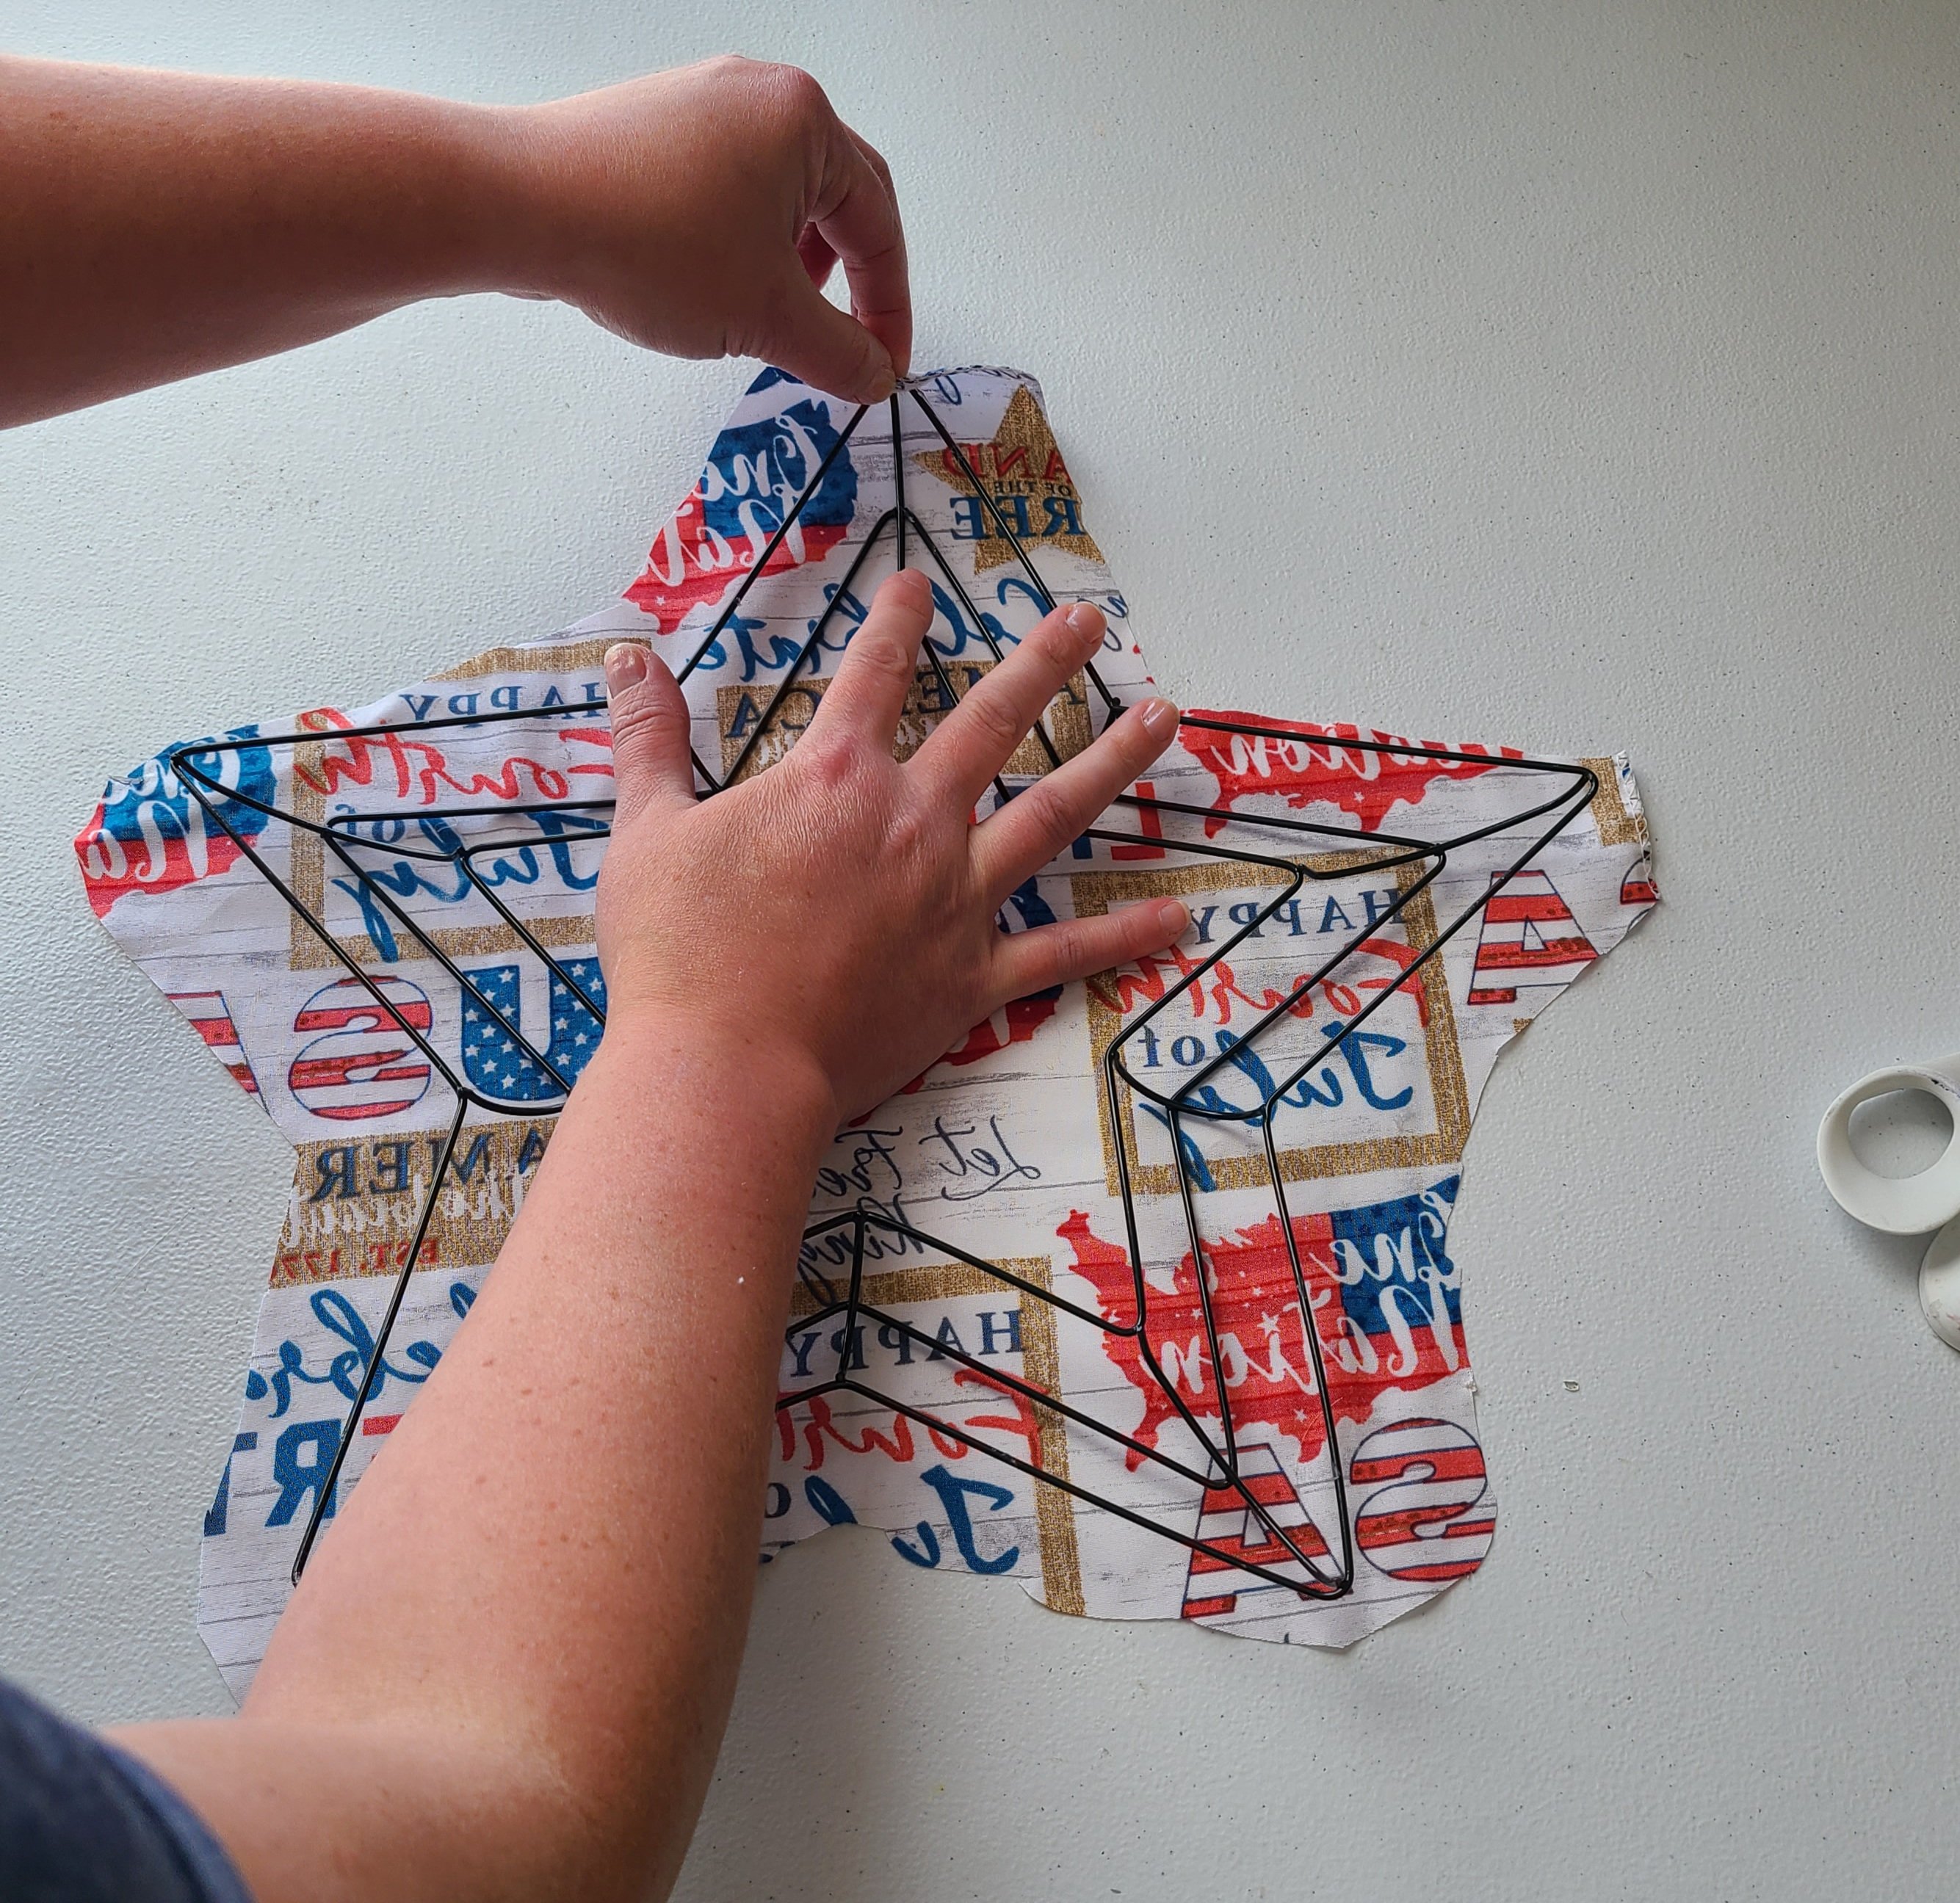
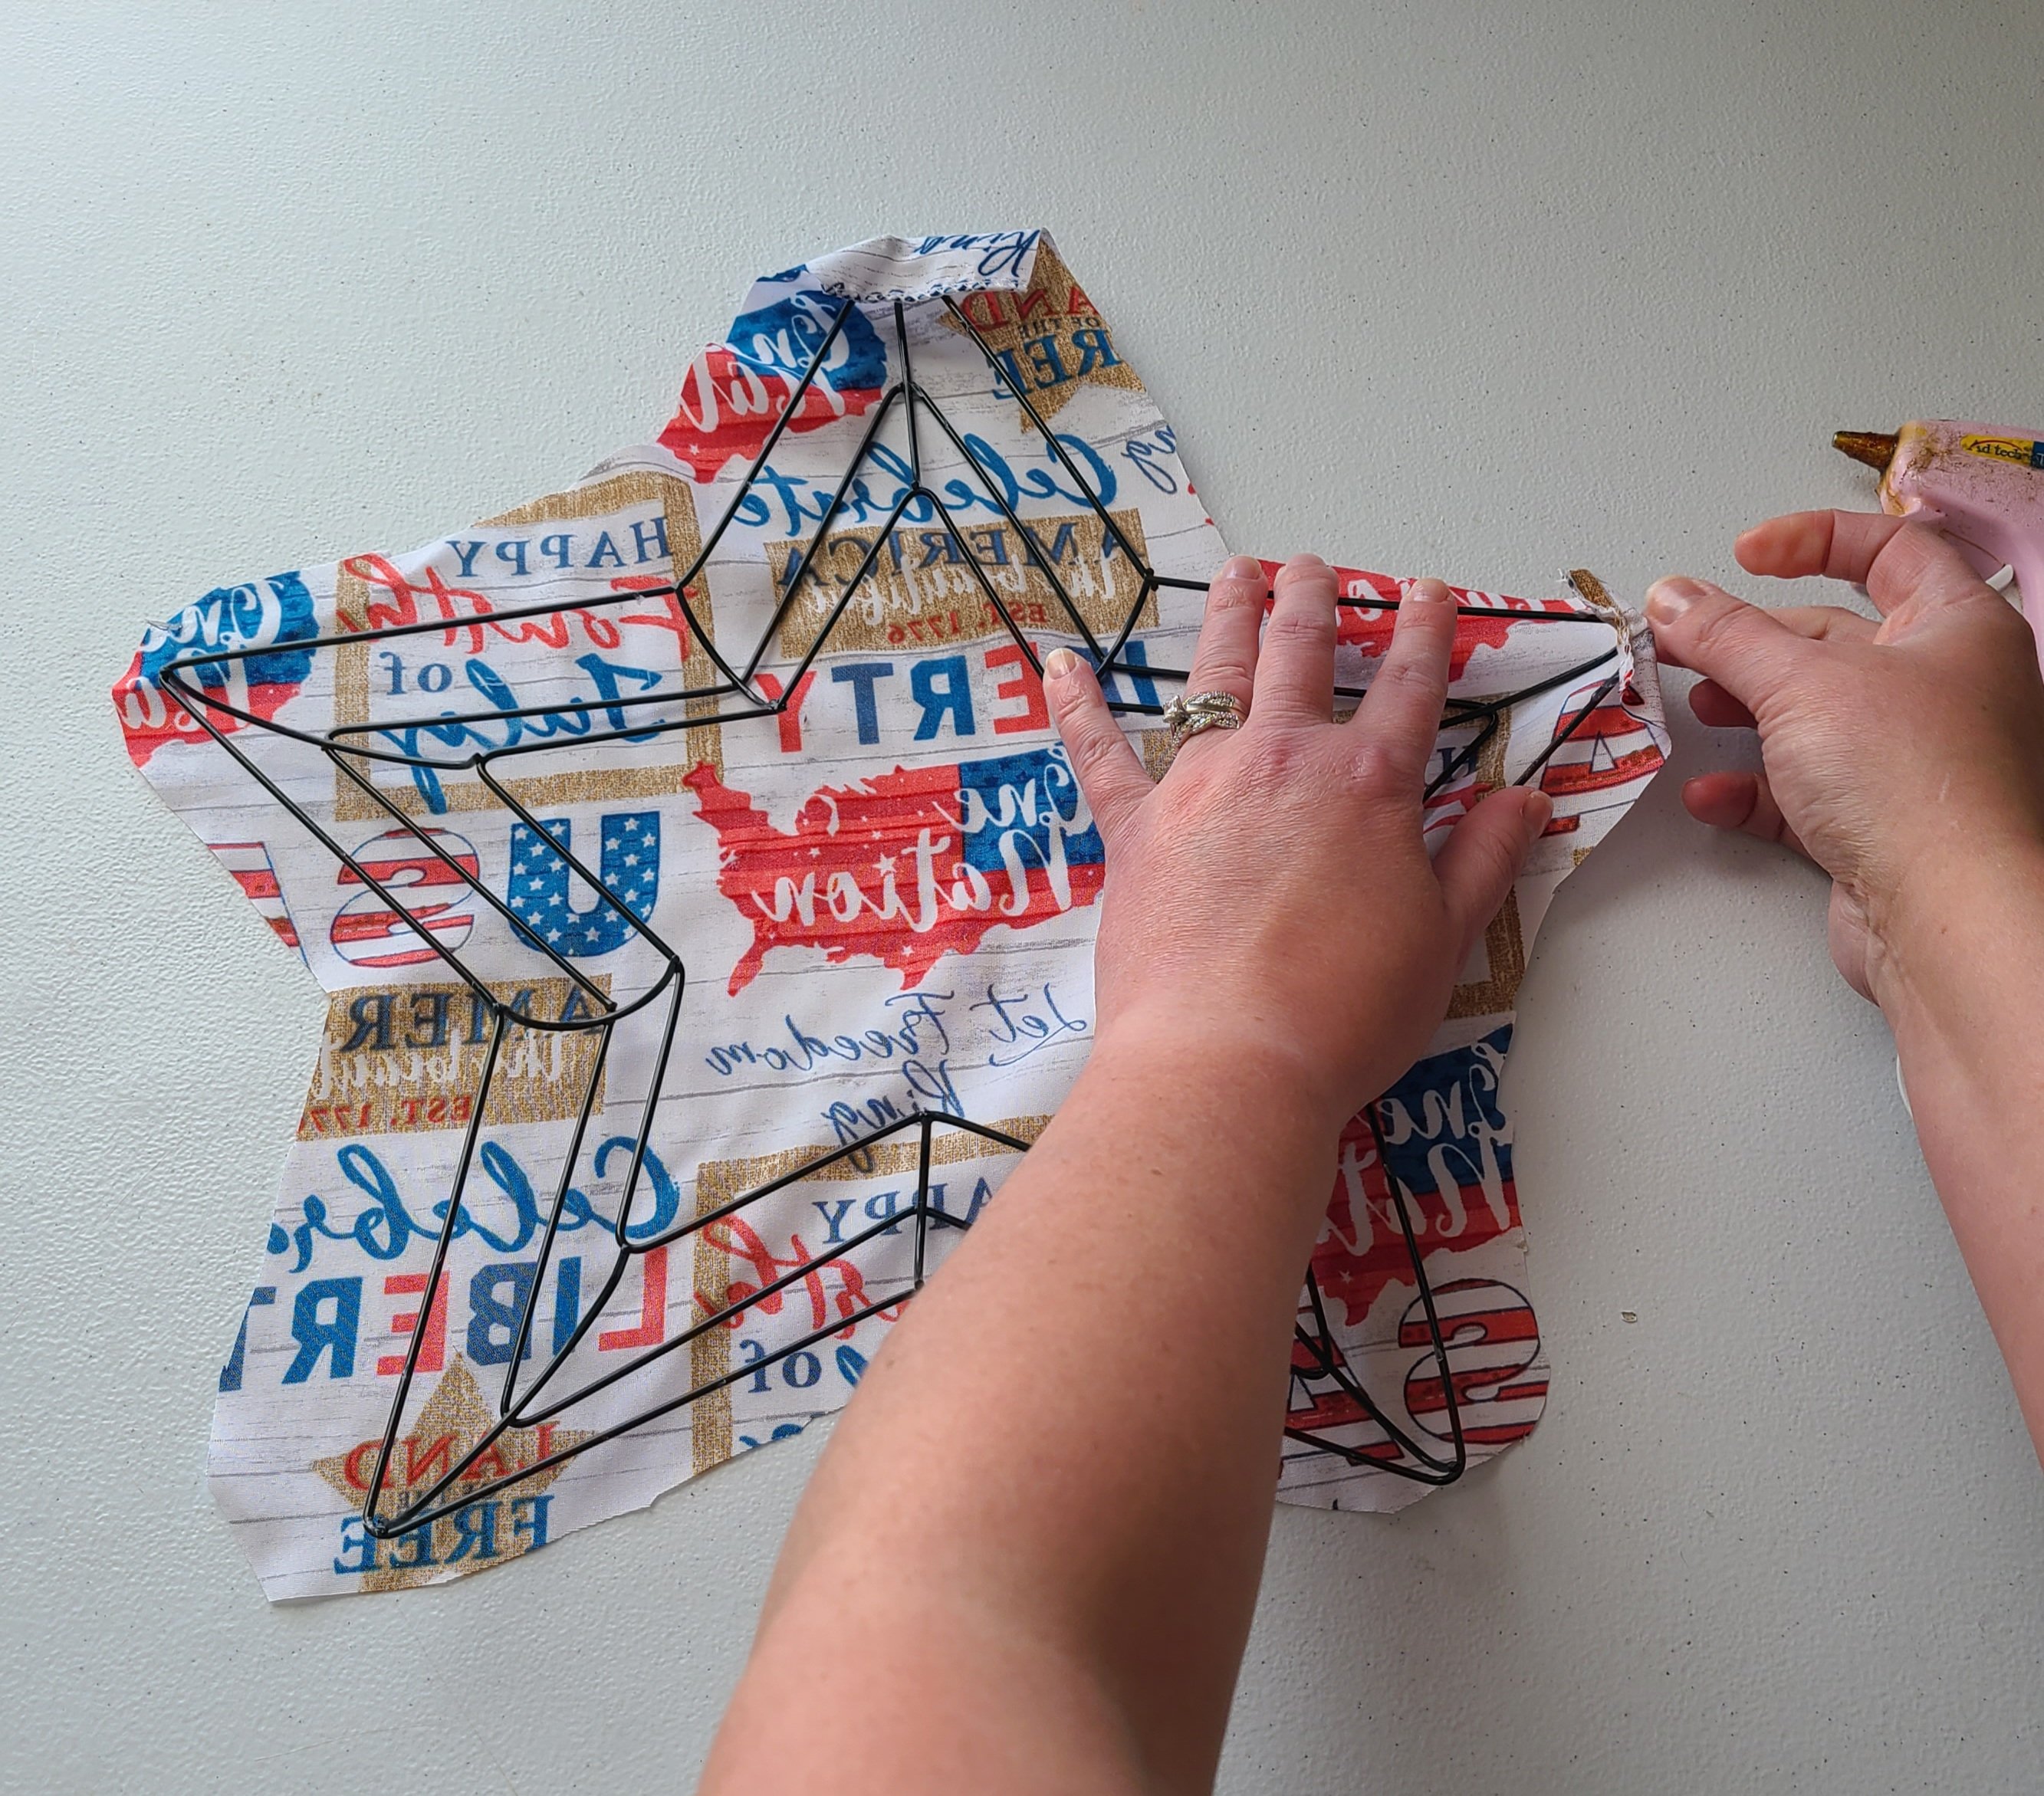
Lay your bandana face down then place your star form upside down on top of it. Line up the top point of the star near the top of the bandana, where you can fold it down over the tip without a lot of extra fabric. The right side should be near the edge just like the top, with the fabric able to fold over without extra fabric.

Now trim the fabric around the star leaving enough of it to wrap up and around the outer ring of the form. You will cut kind of triangles in between the points. When I made this patriotic star wreath, I had already made several others. Give yourself a little more fabric around your wreath on the first one. You can always cut the excess off, but you can’t really add any back to it.

Start with the points of your patriotic star wreath
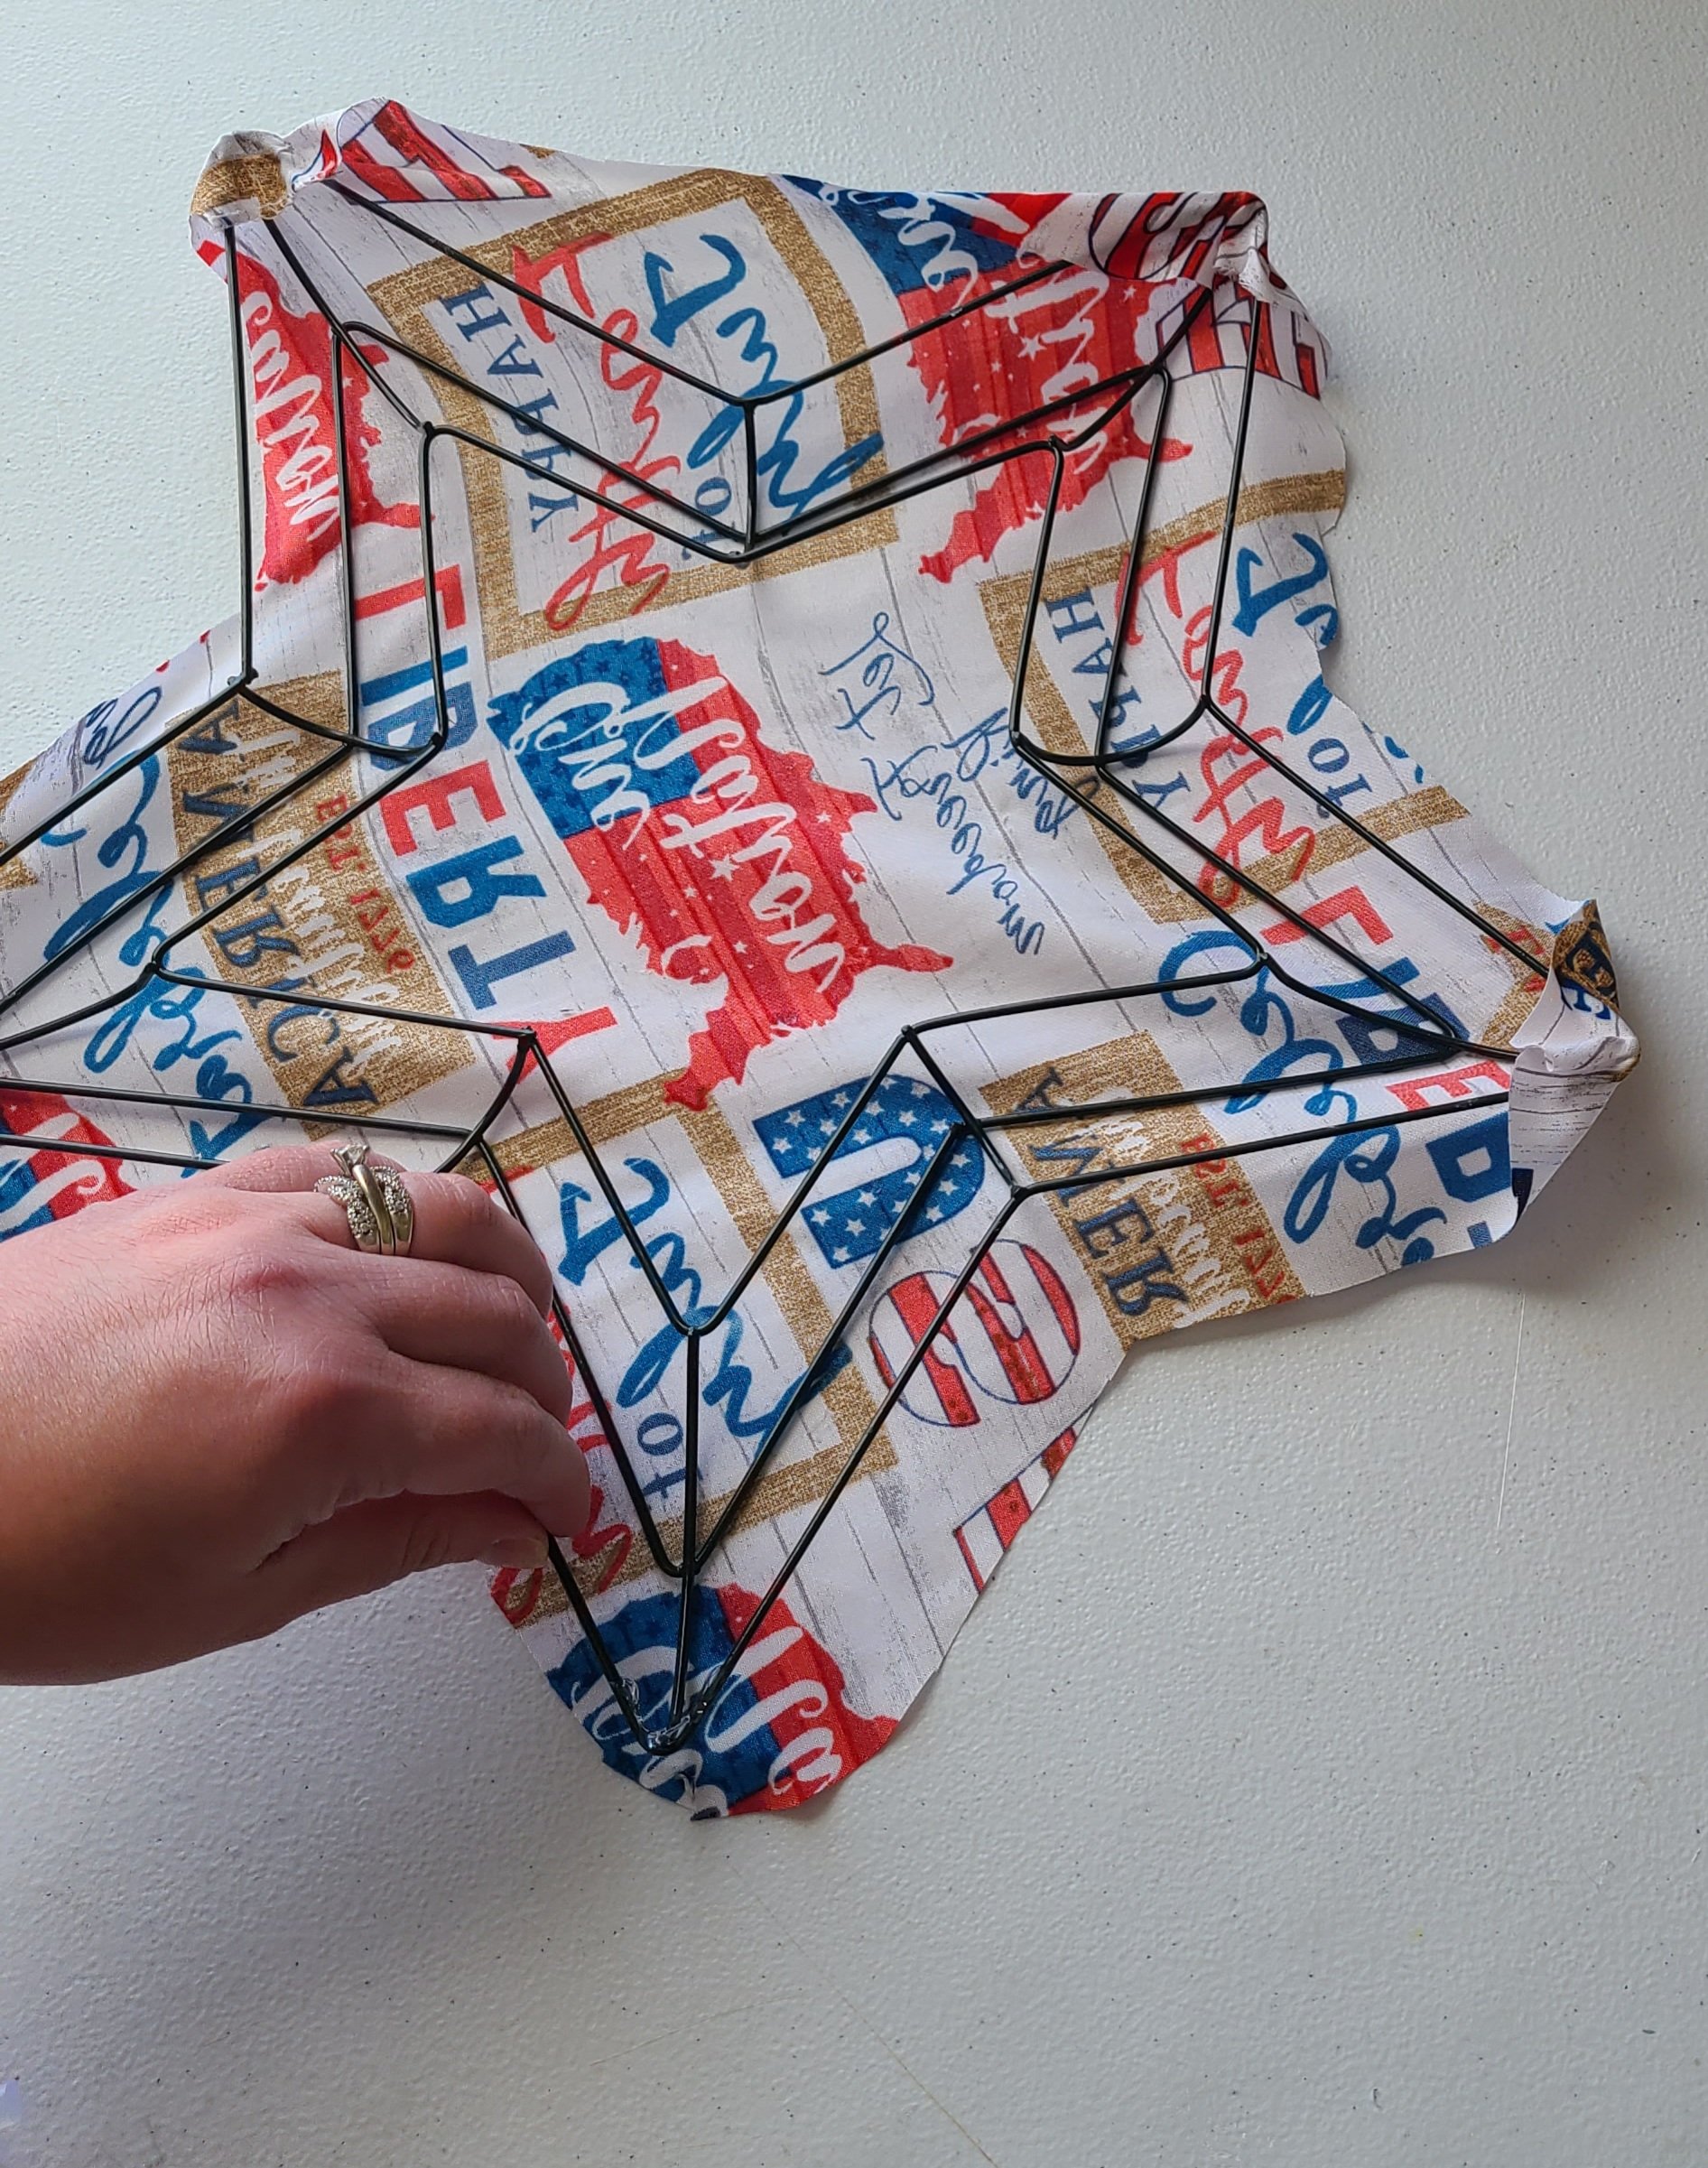
Add hot glue around the outer ring on the top point of the star. Wrap the edge of the fabric over the end and hold it there for a moment, letting the glue dry.
Move to one of the bottom points, and repeat this process. Pull the fabric taunt as you go. Next move to one of the side points and glue. Continue until all of your points are glued.
Wrap fabric around the form
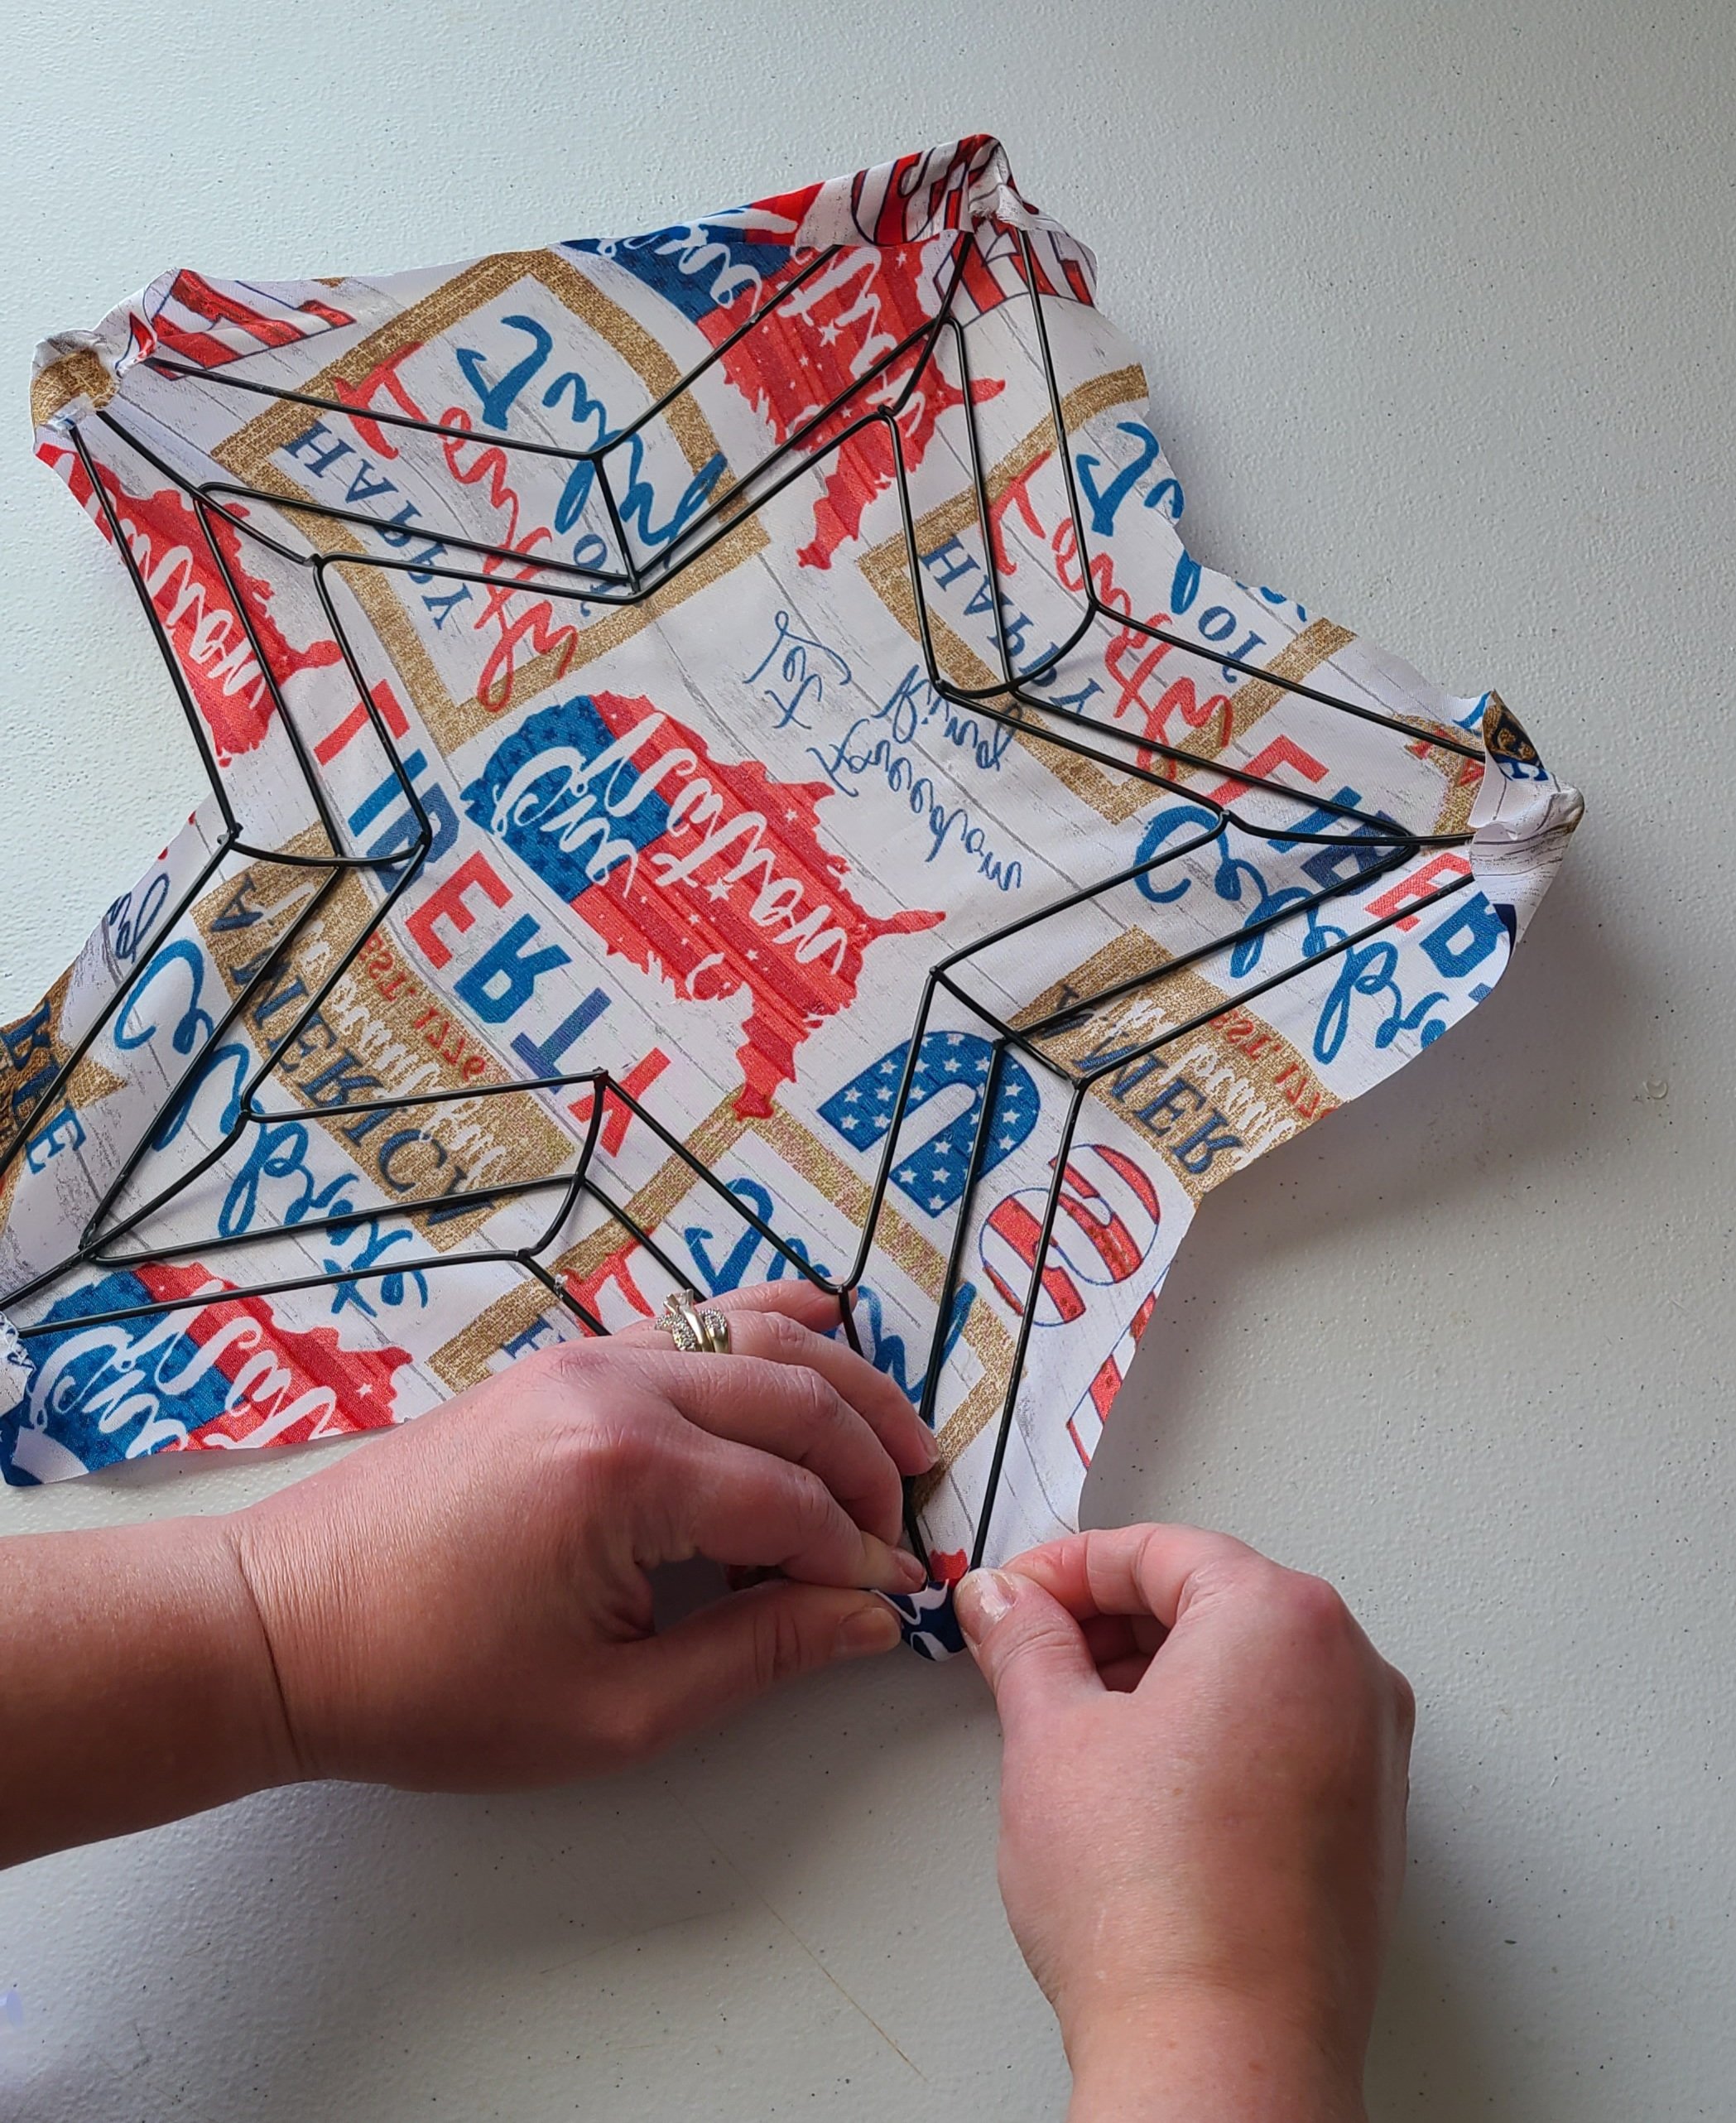
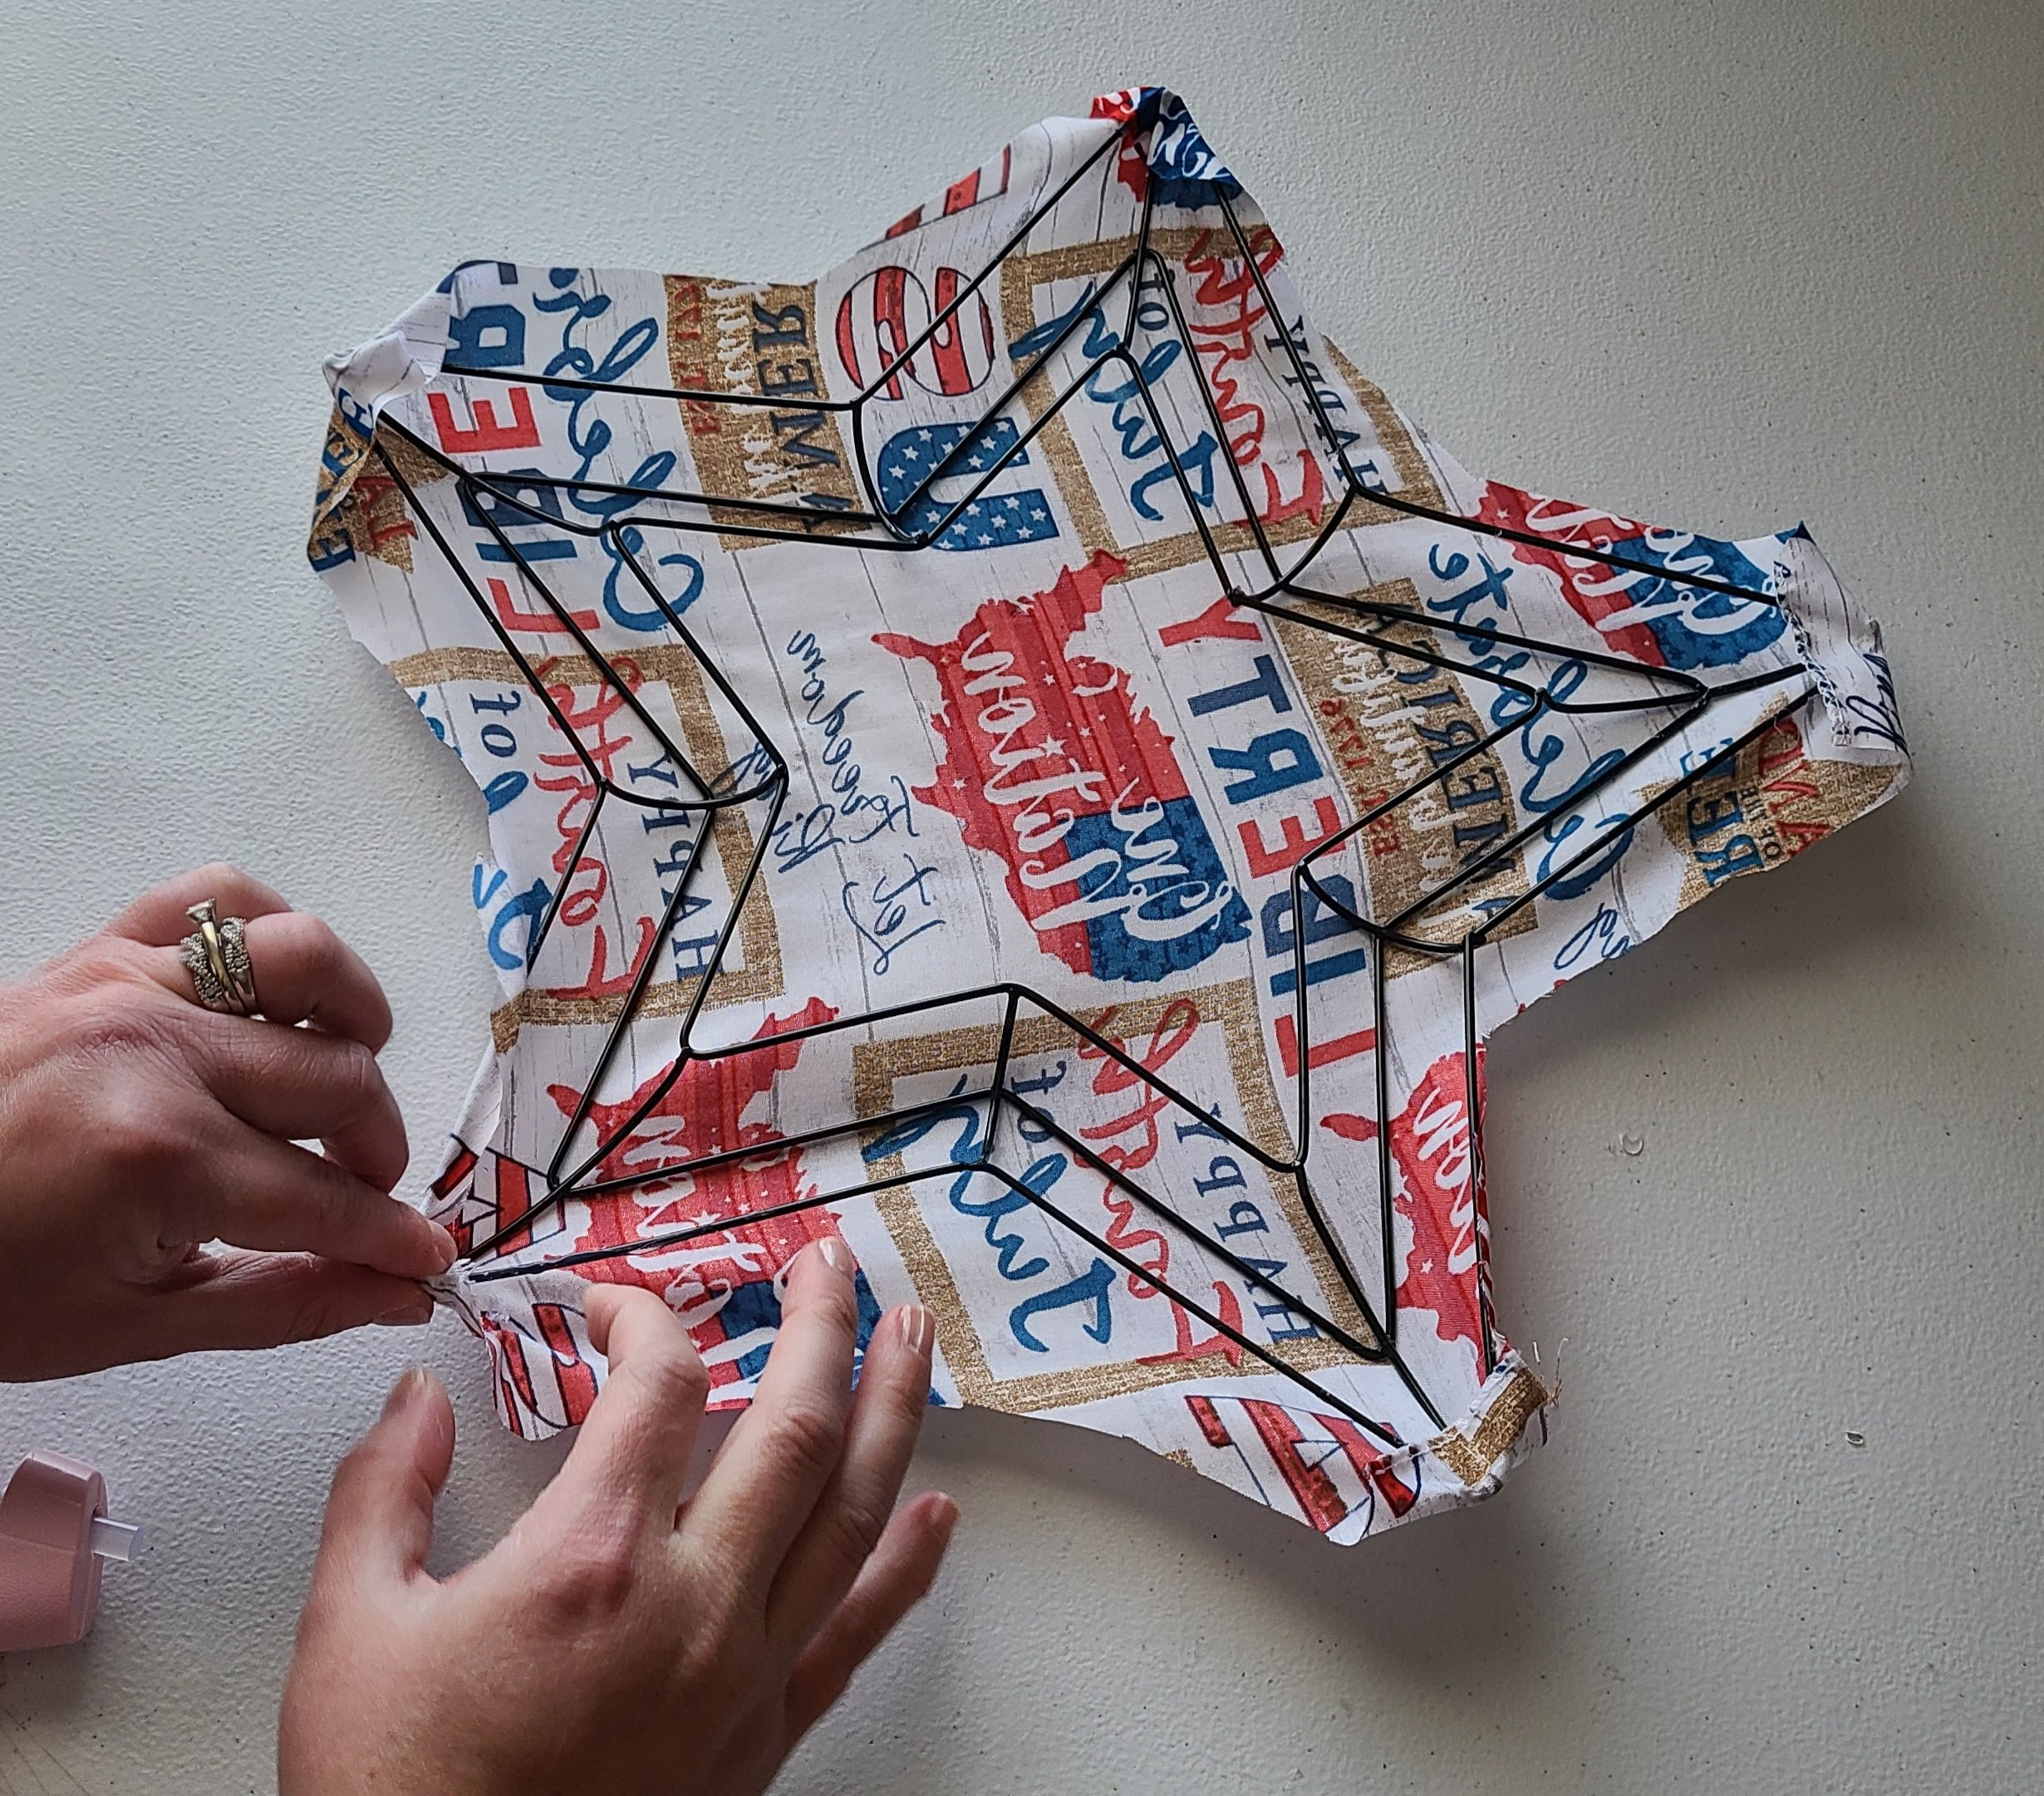
Next you’ll start wrapping the rest of the form. Between two points of the star, a triangle tip is formed. Use your scissors to cut a straight line from the edge of the fabric toward one of the tips. Cut until you are about 1/4 to 1/2″ from the outer ring on the form.

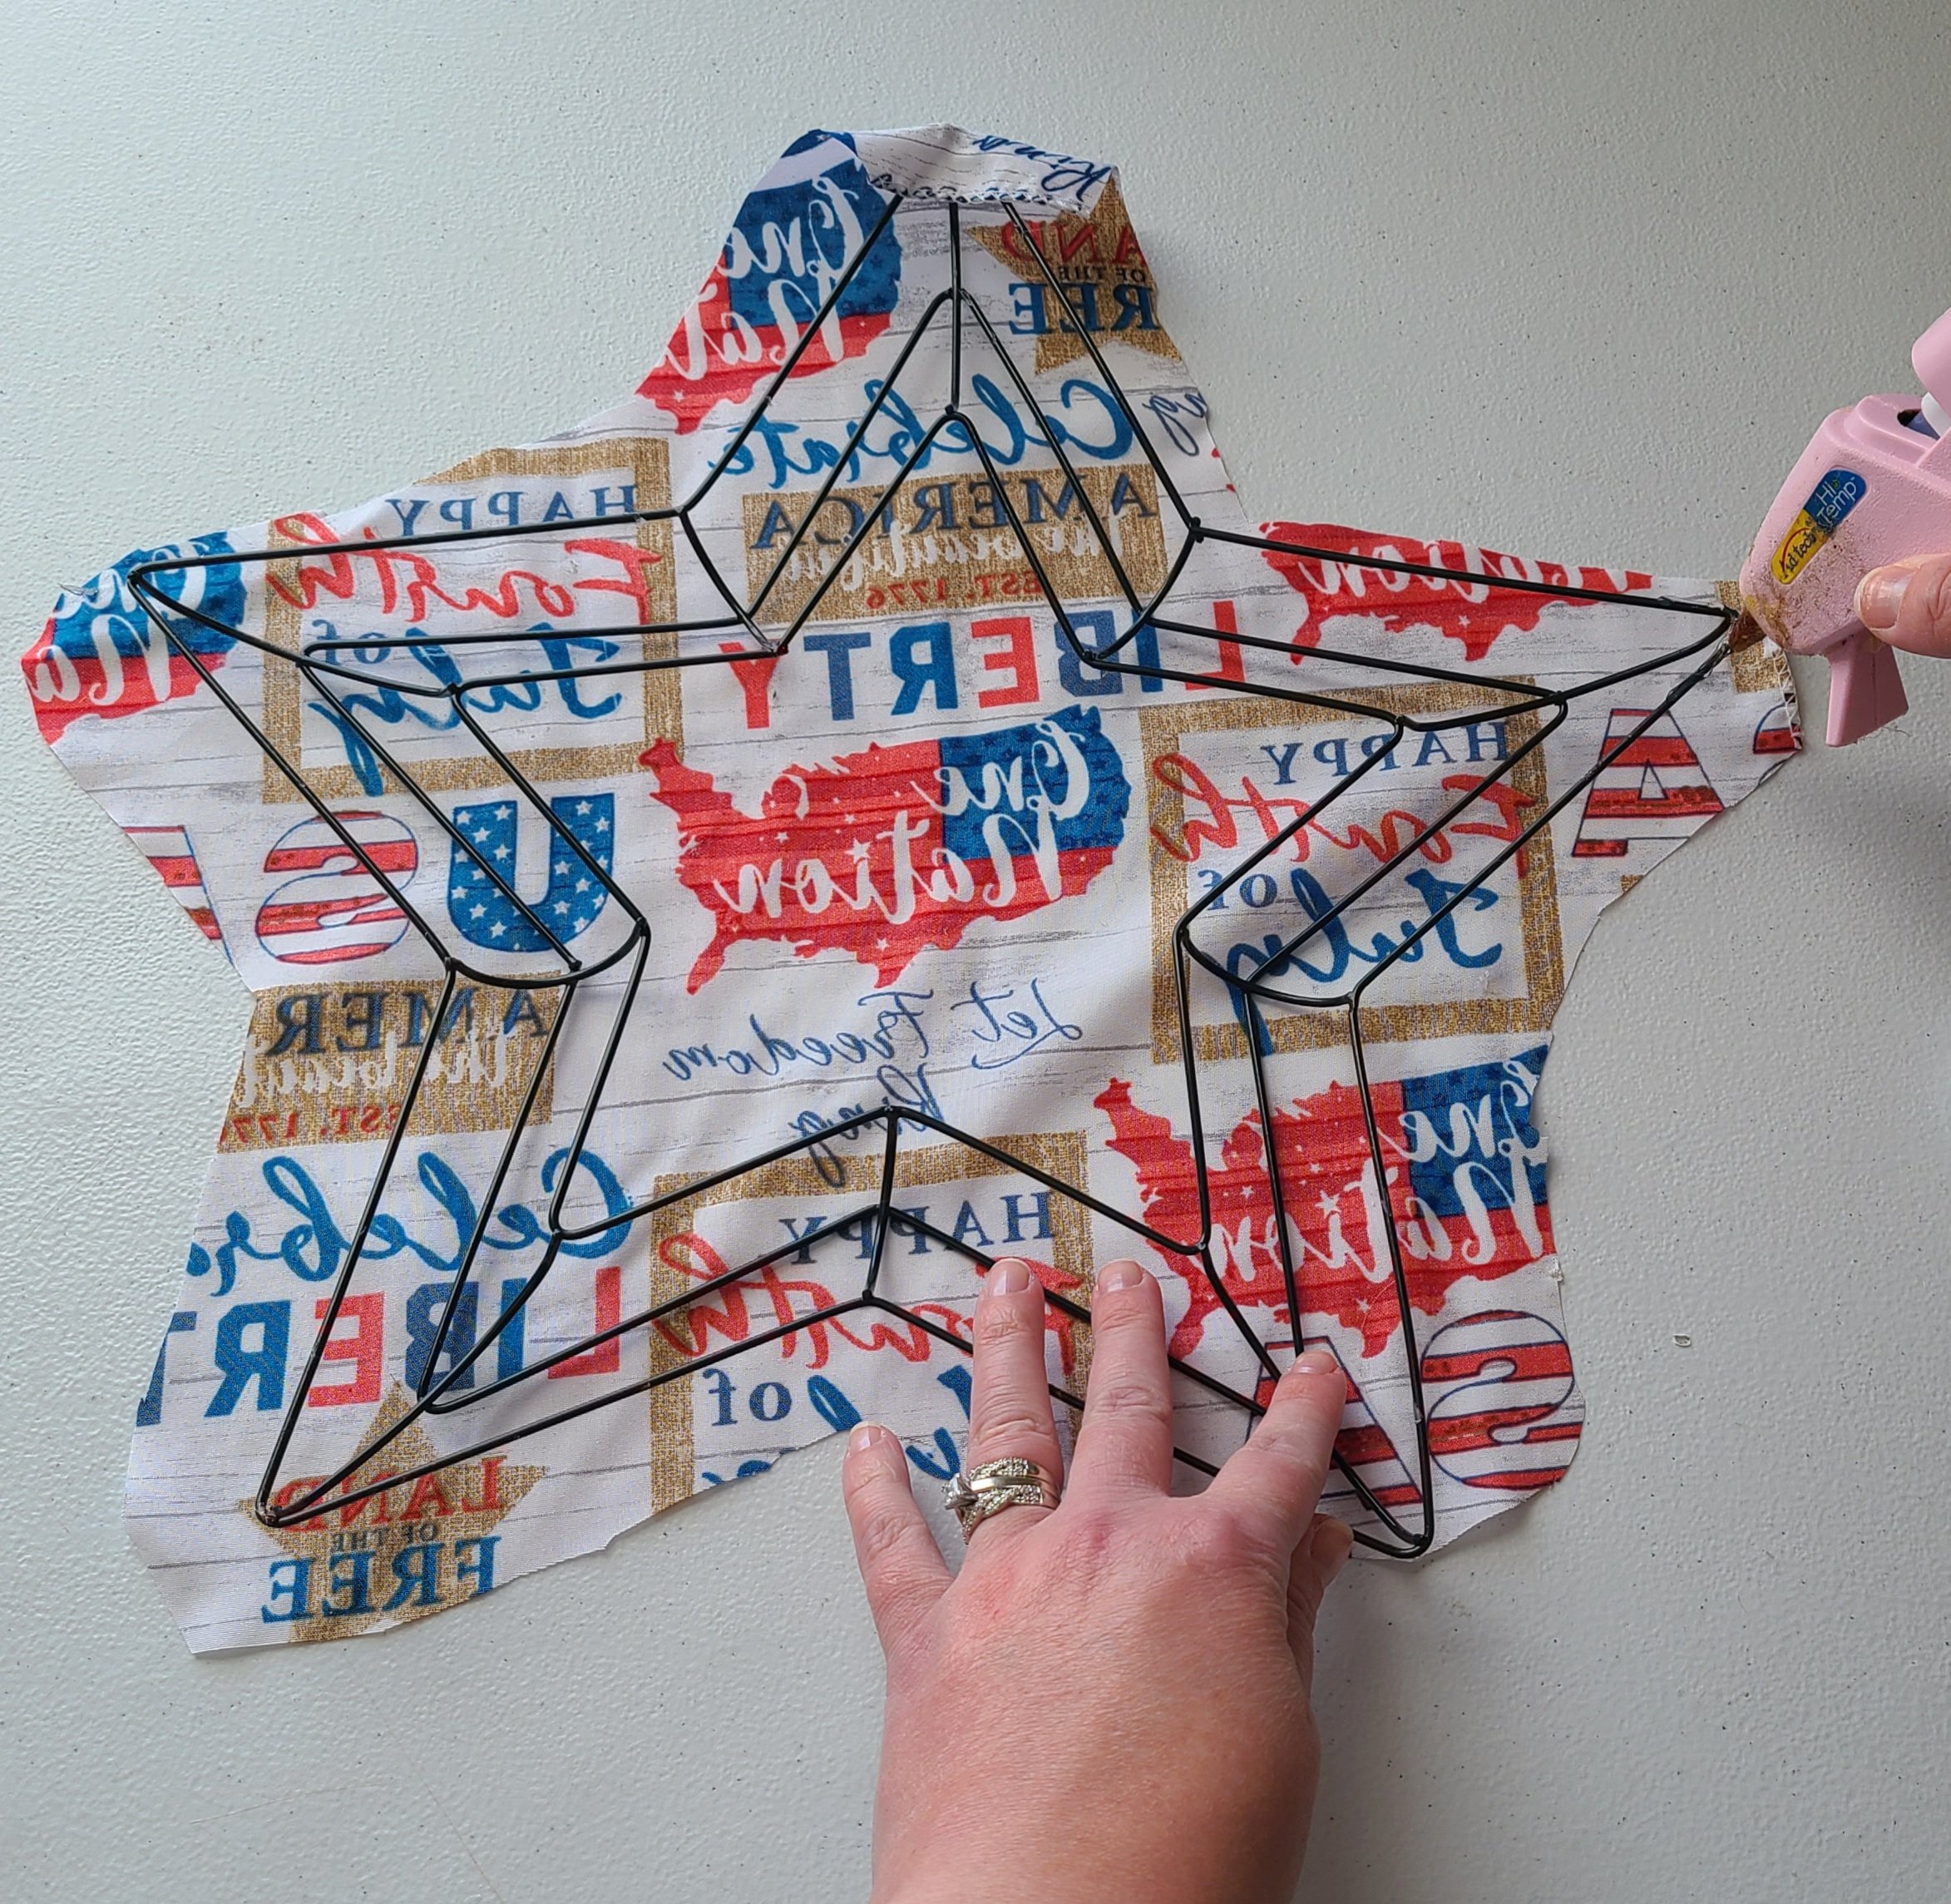
Add hot glue to one side of the triangle and the outer ring of the form to the star point. Cut the slit deeper if you need to as you wrap that side of the fabric over that edge of the form.

Continue doing this all around the form until it is covered completely with the fabric.

If needed, trim any overly excess fabric from the back of your patriotic star wreath.

Completed Patriotic Star Wreath
You are finished with your patriotic star wreath! It’s that easy. When you’ve made a few, you can crank them out in five minutes.
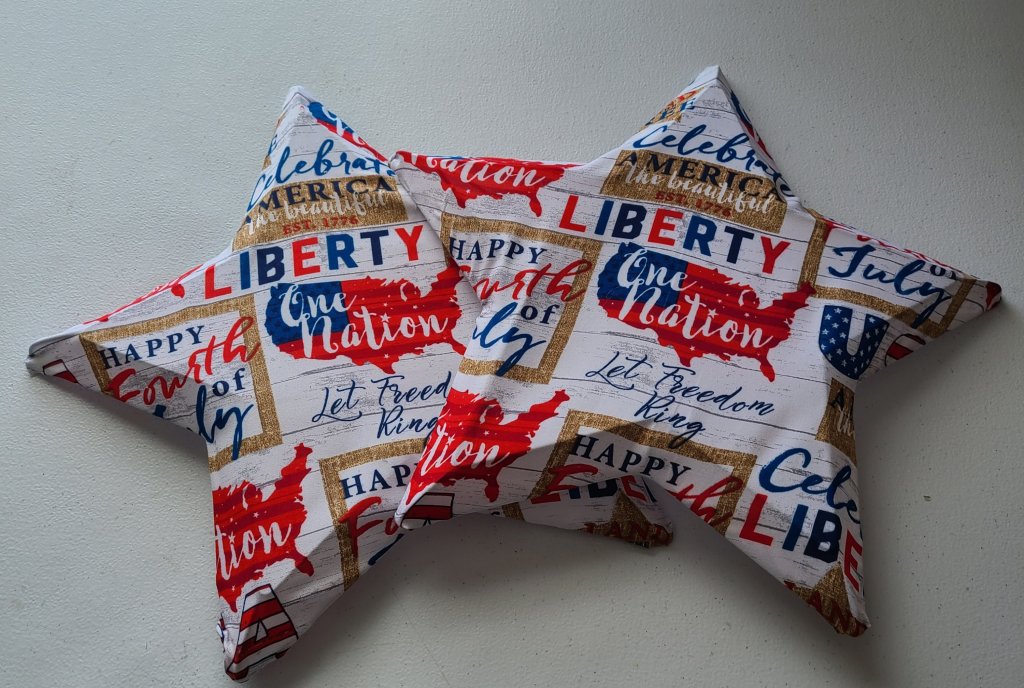
Hang it on your door or wall, or even sit it in a patriotic vignette.

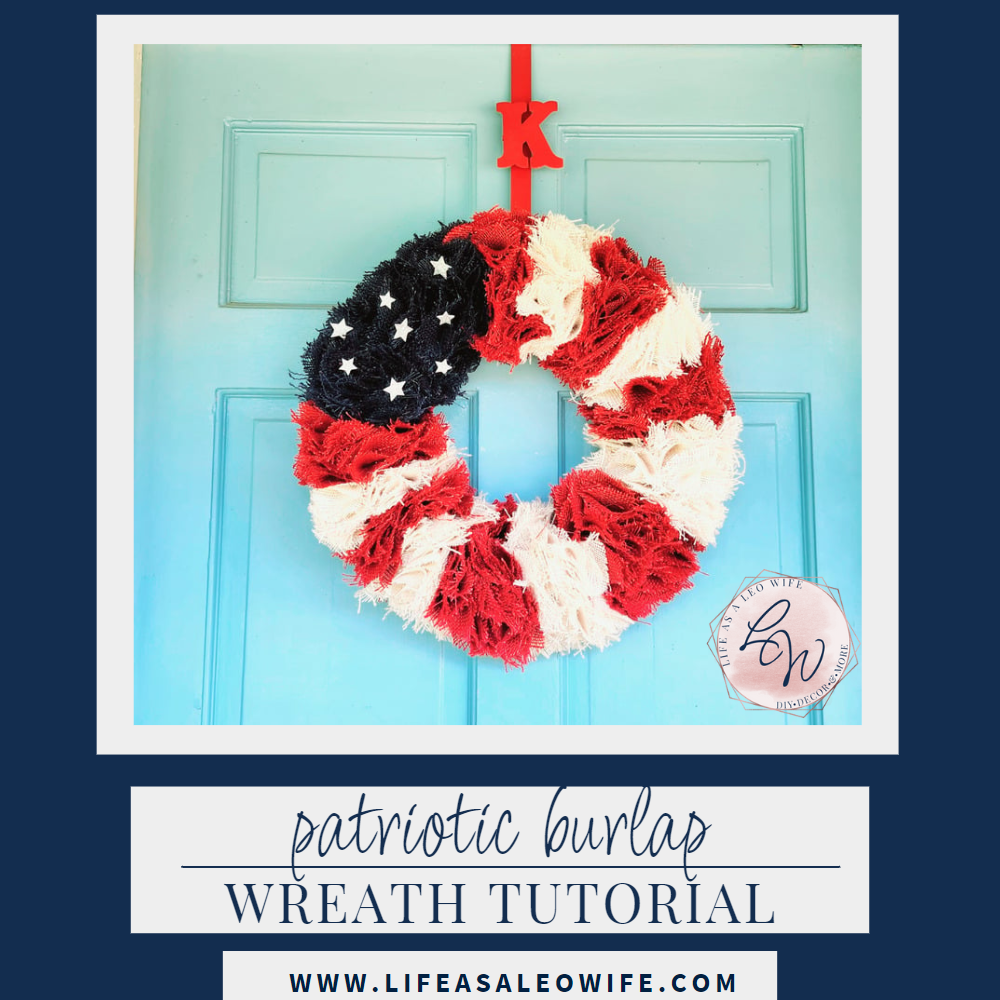
Remember to pin the image below or share this post with the buttons on the left side of the page so you can find it when you’re ready to start your project! Also, follow me on Pinterest for new ideas added weekly! Be sure that you never miss a great tutorial for decor like wreaths, signs and other home decor, free printables, crafts, and other fun posts! Enter your email address below to be notified of new posts! Use the buttons below to follow me on social media for other great content.

Pin this project to come back to it later. Follow me on Pinterest for more summer DIYs and home decor!
Don’t go yet! There’s more to see!
There’s plenty more to see here on the blog! If you’re looking for something specific, use the search box in the sidebar to look it up. If not, you might enjoy these ideas. Don’t have time to read them all now? That’s ok, just click over to the posts using the pictures and pin them for later. You can also add Life as a LEO Wife to your favorites and check back for new ideas and free printables and SVGs every Wednesday, as well as link parties with tons of shared ideas on Sundays!


What pretty bandanas, love the wreath!! Thanks so much for linking up with me at the Unlimited Link Party 27. Pinned!
Thanks Dee! Have a great summer!
CONGRATS! Your post is FEATURED at my Unlimited Link Party 28!
Thanks Dee! I have been pretty sick for the past two weeks, but I hope to have some new content to share with you soon! Thank you for hosting all of your wonderful link parties!!
Hope you’re feeling better now! Visiting again to say thanks so much for linking up with me at A Themed Linkup 62 for All Things American and Patriotic. Pinned again!
Visiting again to say thanks so much for linking up at A Themed Linkup 115 for All Things American and Patriotic. Pinned.
Thank you!