Welcome! It’s the first Sunday of the month which means it’s time for our monthly DIY Blog Hop where I join up with some lovely ladies to share a themed project. Our theme this month is “kitchen,” so today I’ll be sharing how to make a small storage shelf with Dollar Tree crate(s) and arrows. You could even use this in your bathroom for cotton balls and Q-tips or in your craft room for a myriad of things. Stick around after the tutorial and visit the other bloggers on the hop. They’ve always got something great for you. Would you like to join us? We’d love to have you! Contact me via email or in the comments or Tarah from Grandma’s House DIY for info. Let’s get into this!

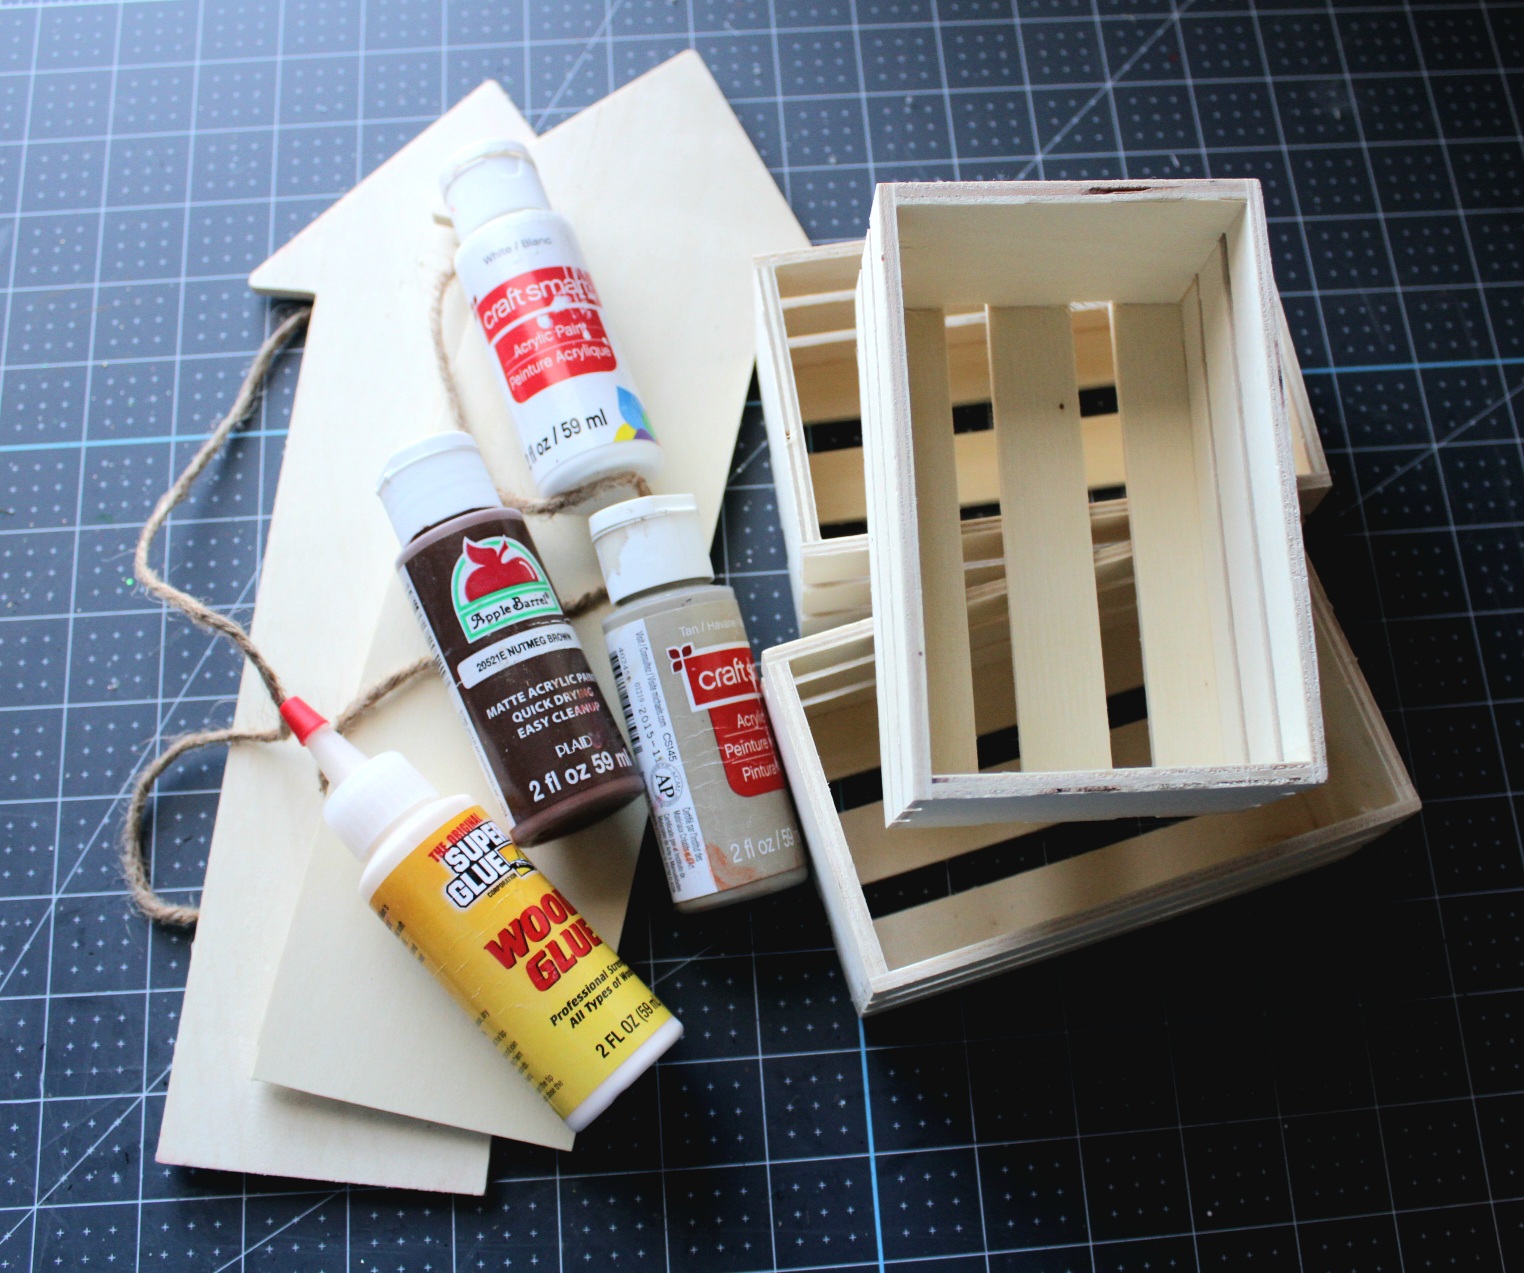
Supplies for a Dollar Tree crate shelf:
- 3 Dollar Tree wood crates
- 2 DT wood arrows
- E6000 or Gorilla wood glue
- wood stain or
- acrylic paint & water- I used black, brown, and tan
- paint brush & paper towel
Prep Wood
Remove the stapes holding the thin piece of rope on the arrows. There are two on each side of the rope. I used a clay tool to pry them up pretty easily, but a flathead screwdriver will work. You won’t have to worry about filling the holes on this project because the crates are going to cover them.

This won’t take long. Dollar Tree wood usually has a lot of pieces that stick off of it. Use some sandpaper and down the rough edges. Be careful though because their wood can lead to more and more and more sanding, ha!

Assemble the Shelf
Add the Top Crate
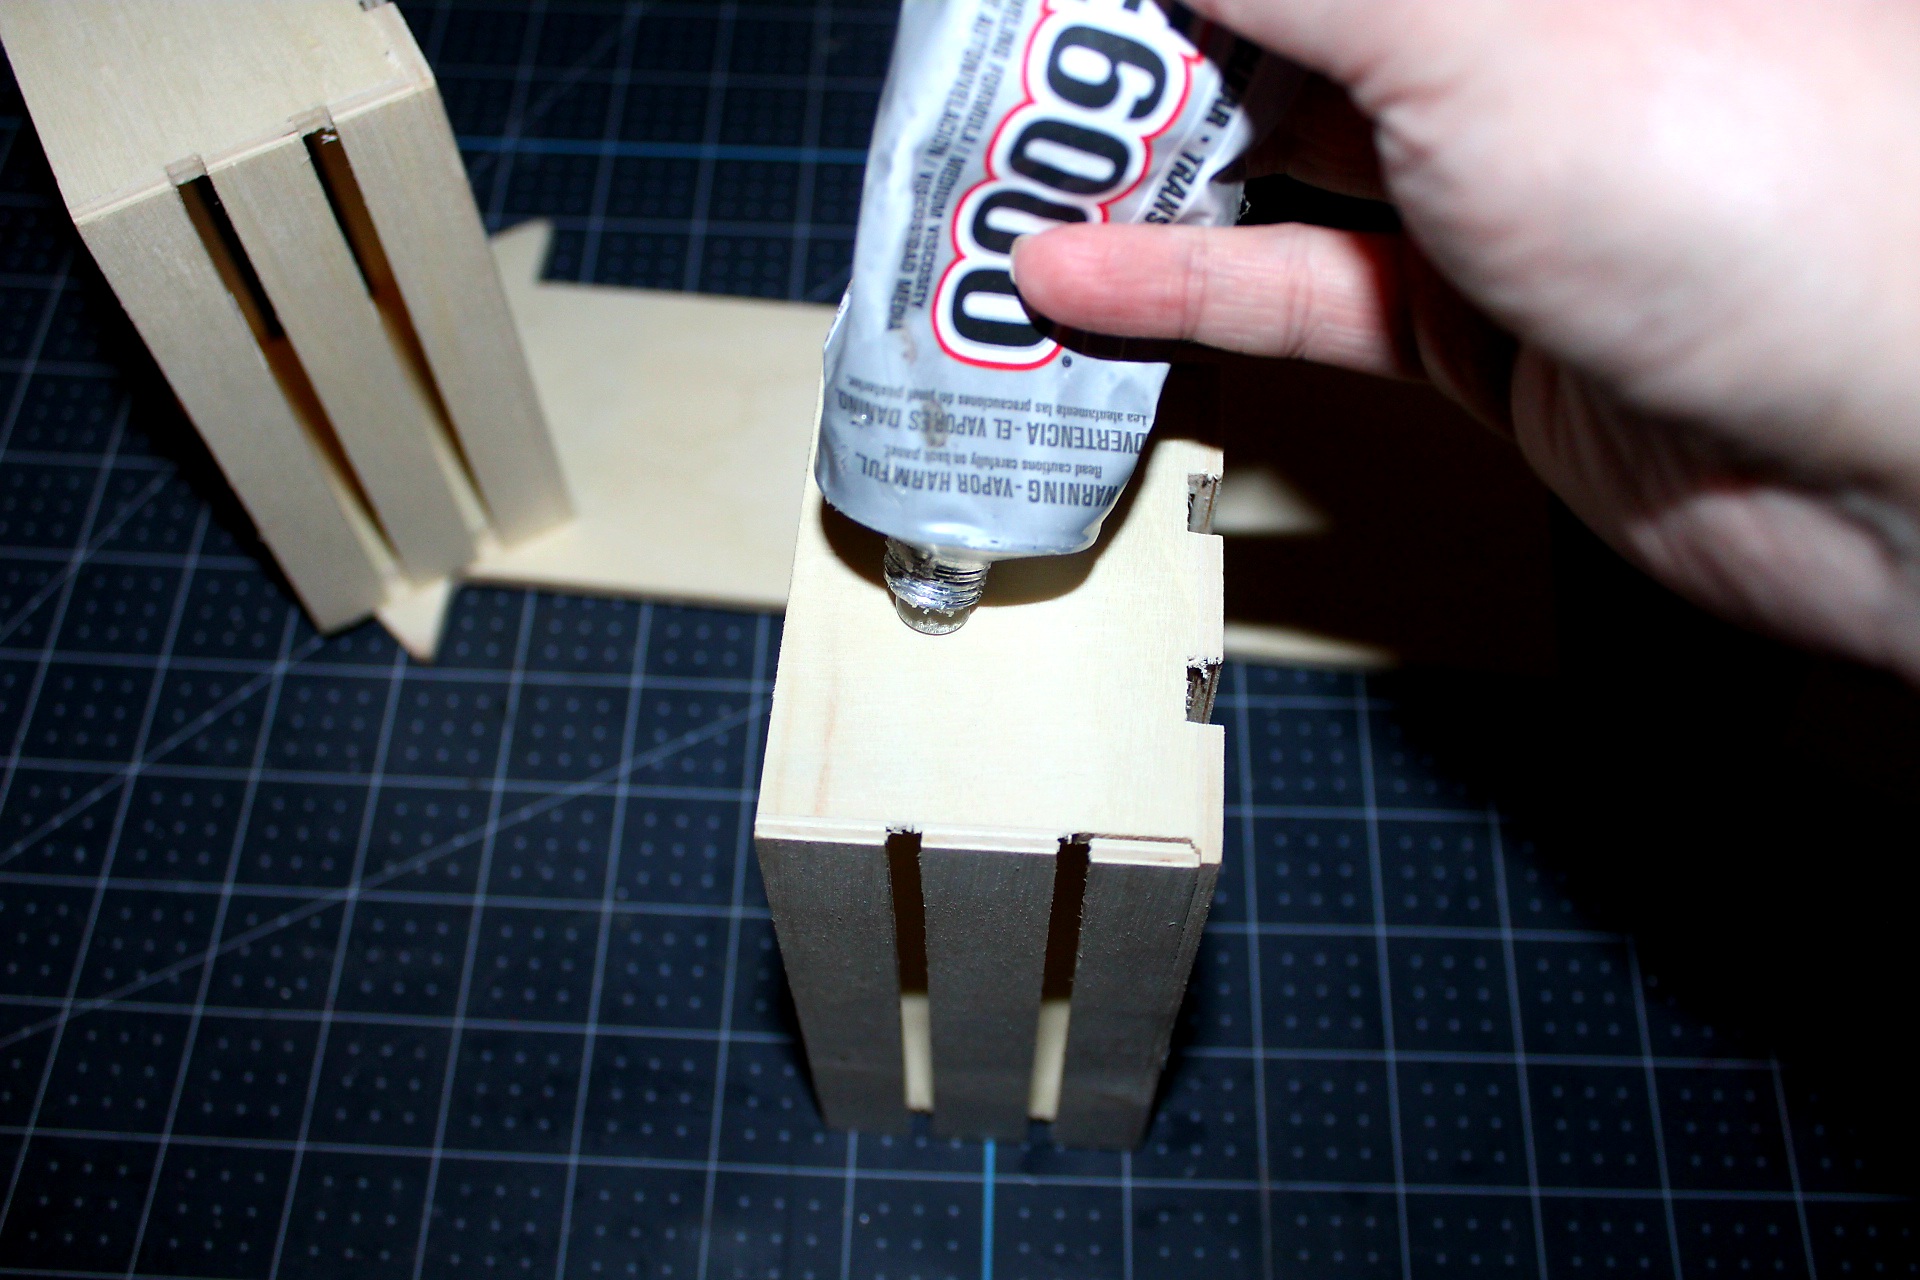
You’re going to start by adding the top crate shelf first. I know it seems odd, but just go with me. The top “shelf” will be glued along the angle of the top of the arrow, and that helps you figure out the rest of the angling and spacing better. I used E6000 for this project, but Gorilla wood glue would work as well. I tried the Dollar Tree Super Glue wood glue, but ehhhh, no. Didn’t work so well. Hot glue would work in the short term, but it would eventually fall apart if enough weight was added to it.
Lay one of the arrows down with the side that the staples were in face up. Then add E6000 to the side of one of the crates.

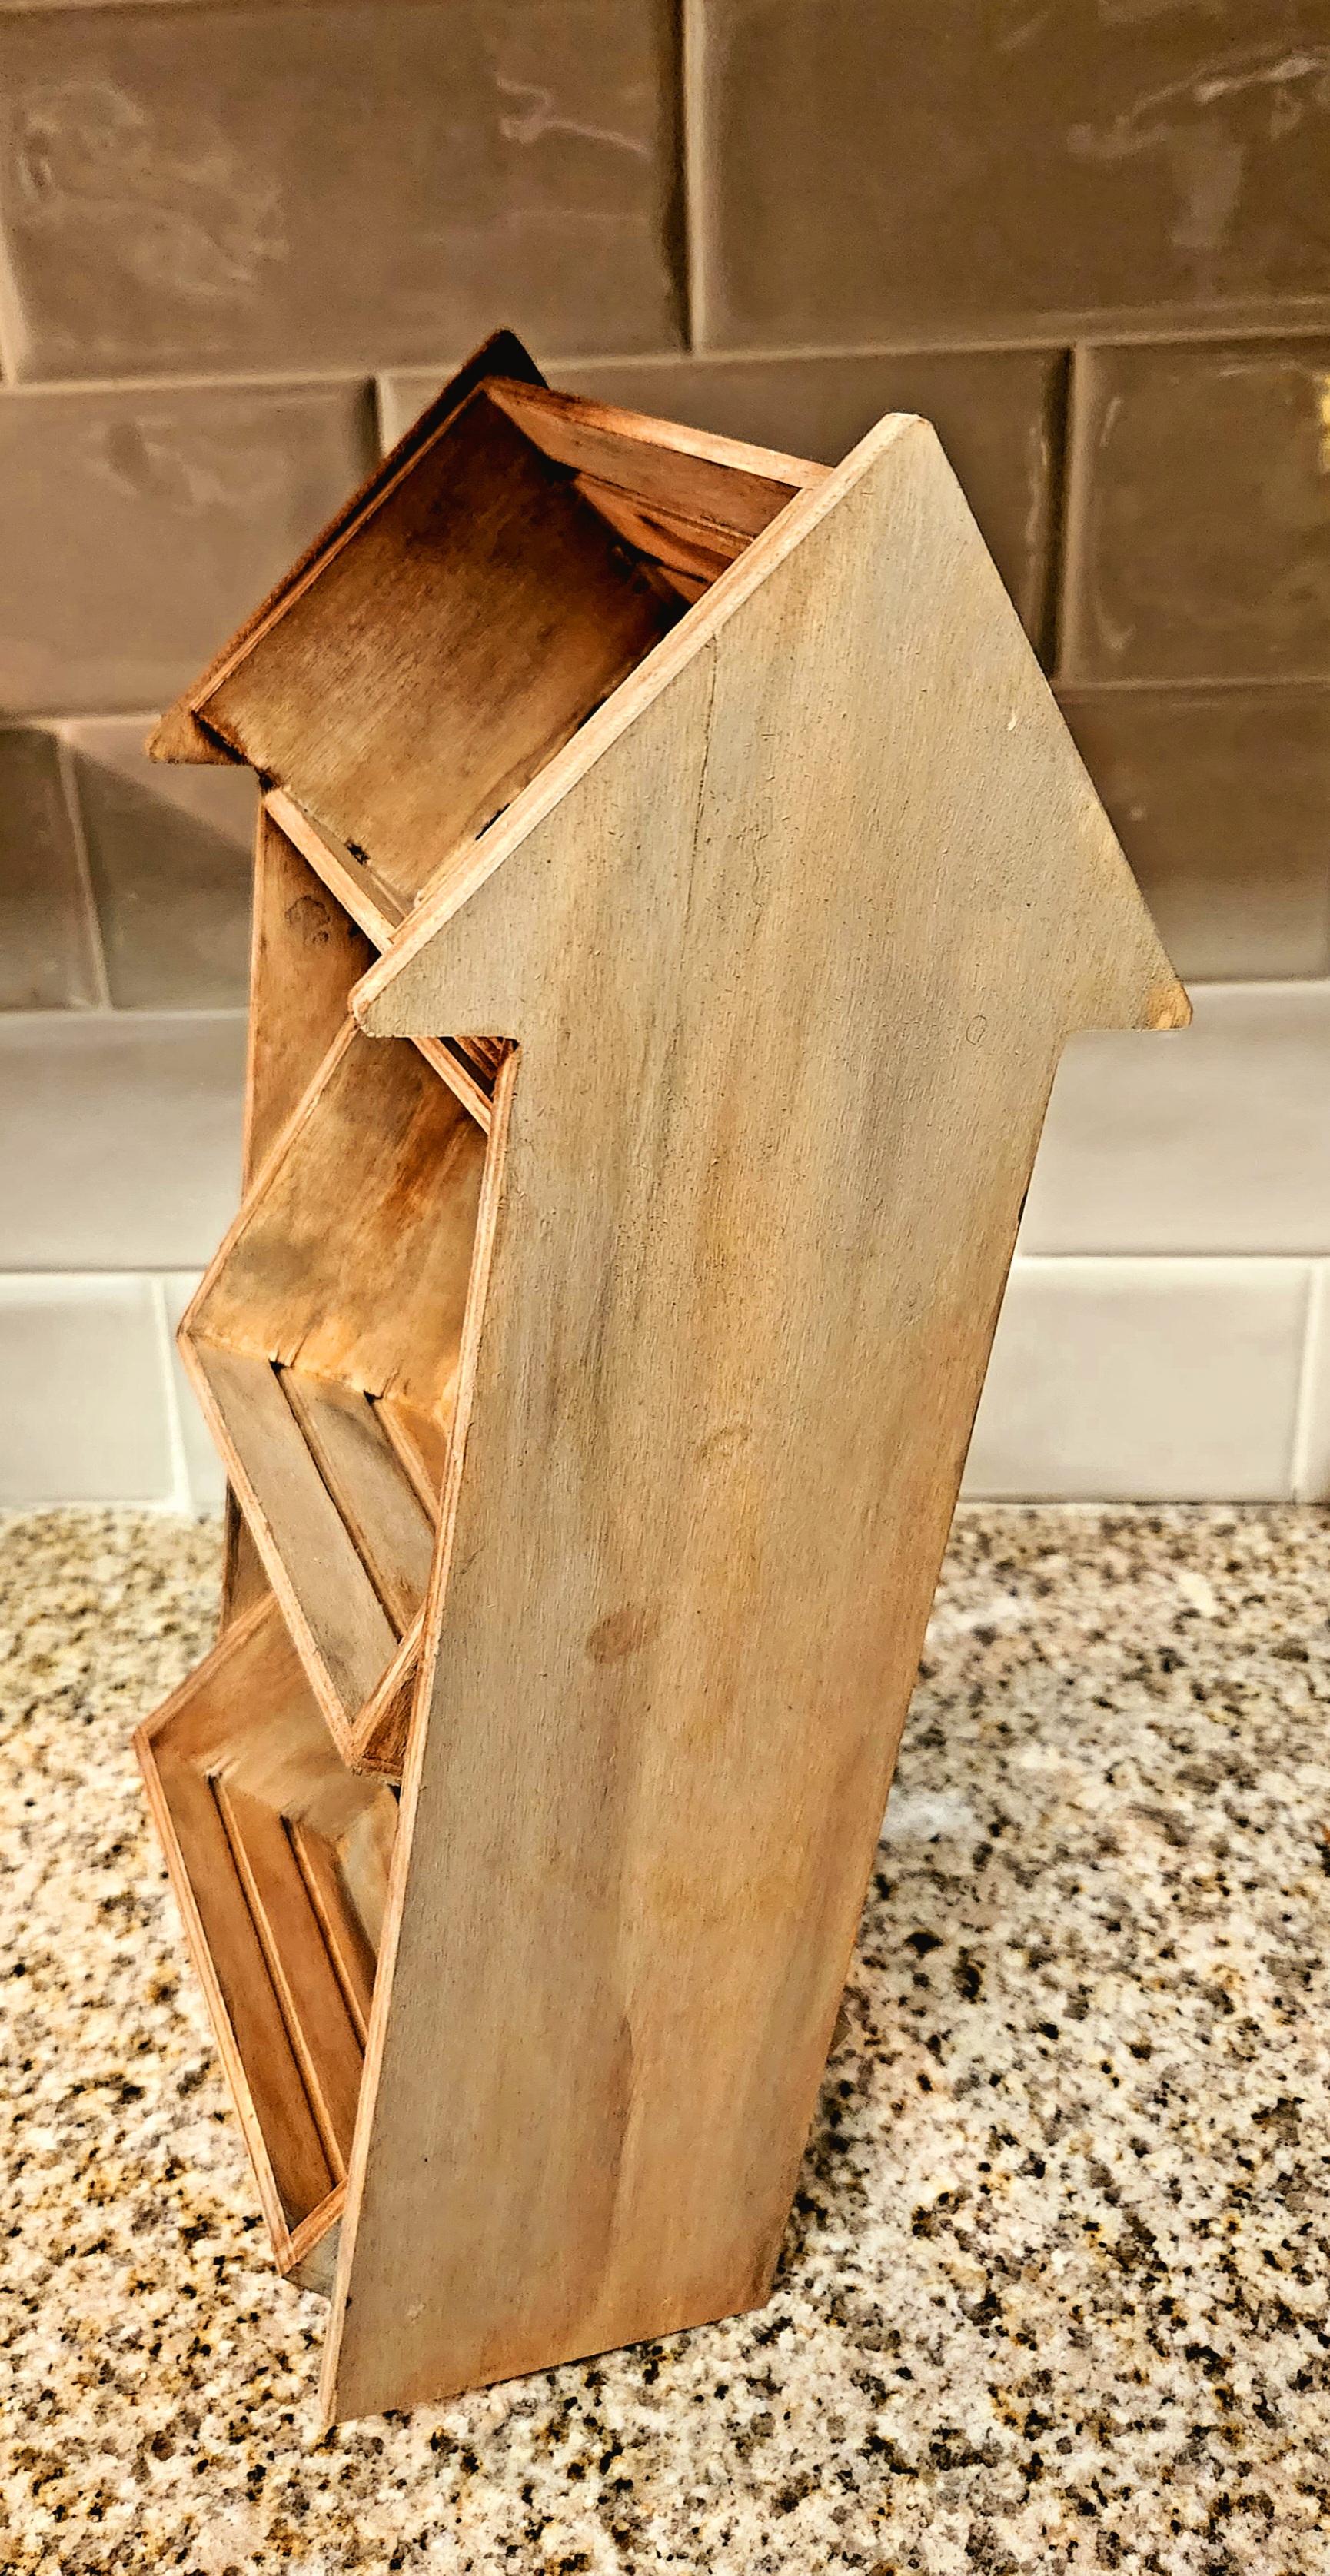
Place the crate on top of the arrow, lining the back side up with the back angle at the tip of the arrow. The front will protrude just a bit past the front in the top corners, as you can see in the picture. You could put them on straight up and down, but I’m using mine in the kitchen, so it makes it easier to grab sugar packets and such. Plus, it looks better since the arrow has angles.


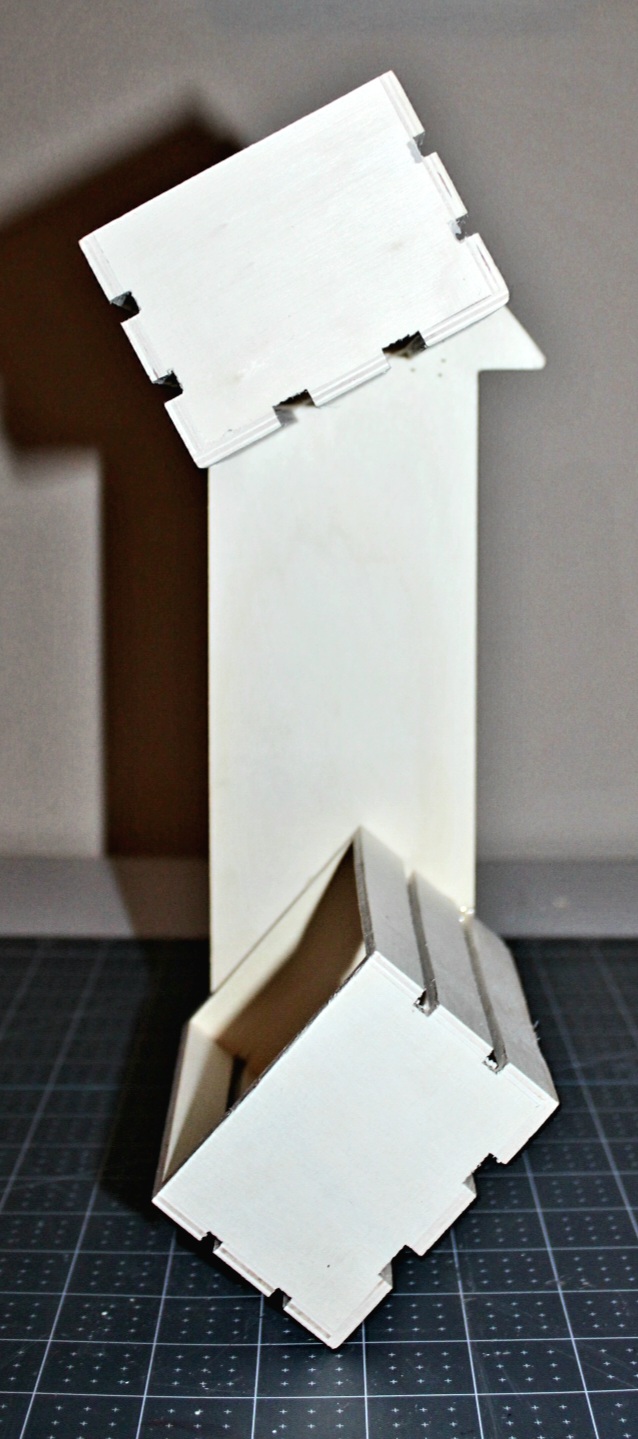
Add the Bottom Crate
I added the next crate to the bottom. That allows you to space them all correctly out. Add glue to the side of the next crate and place it at the same angle as the first one on the bottom of the arrow. I did allow the bottom angled edge of mine to protrude a bit past bottom of the arrow. Doing that makes the shelf rest on it and the back side of the arrows. You can make yours flush with the bottom. Mine was a happy accident and I ended up liking it lol.


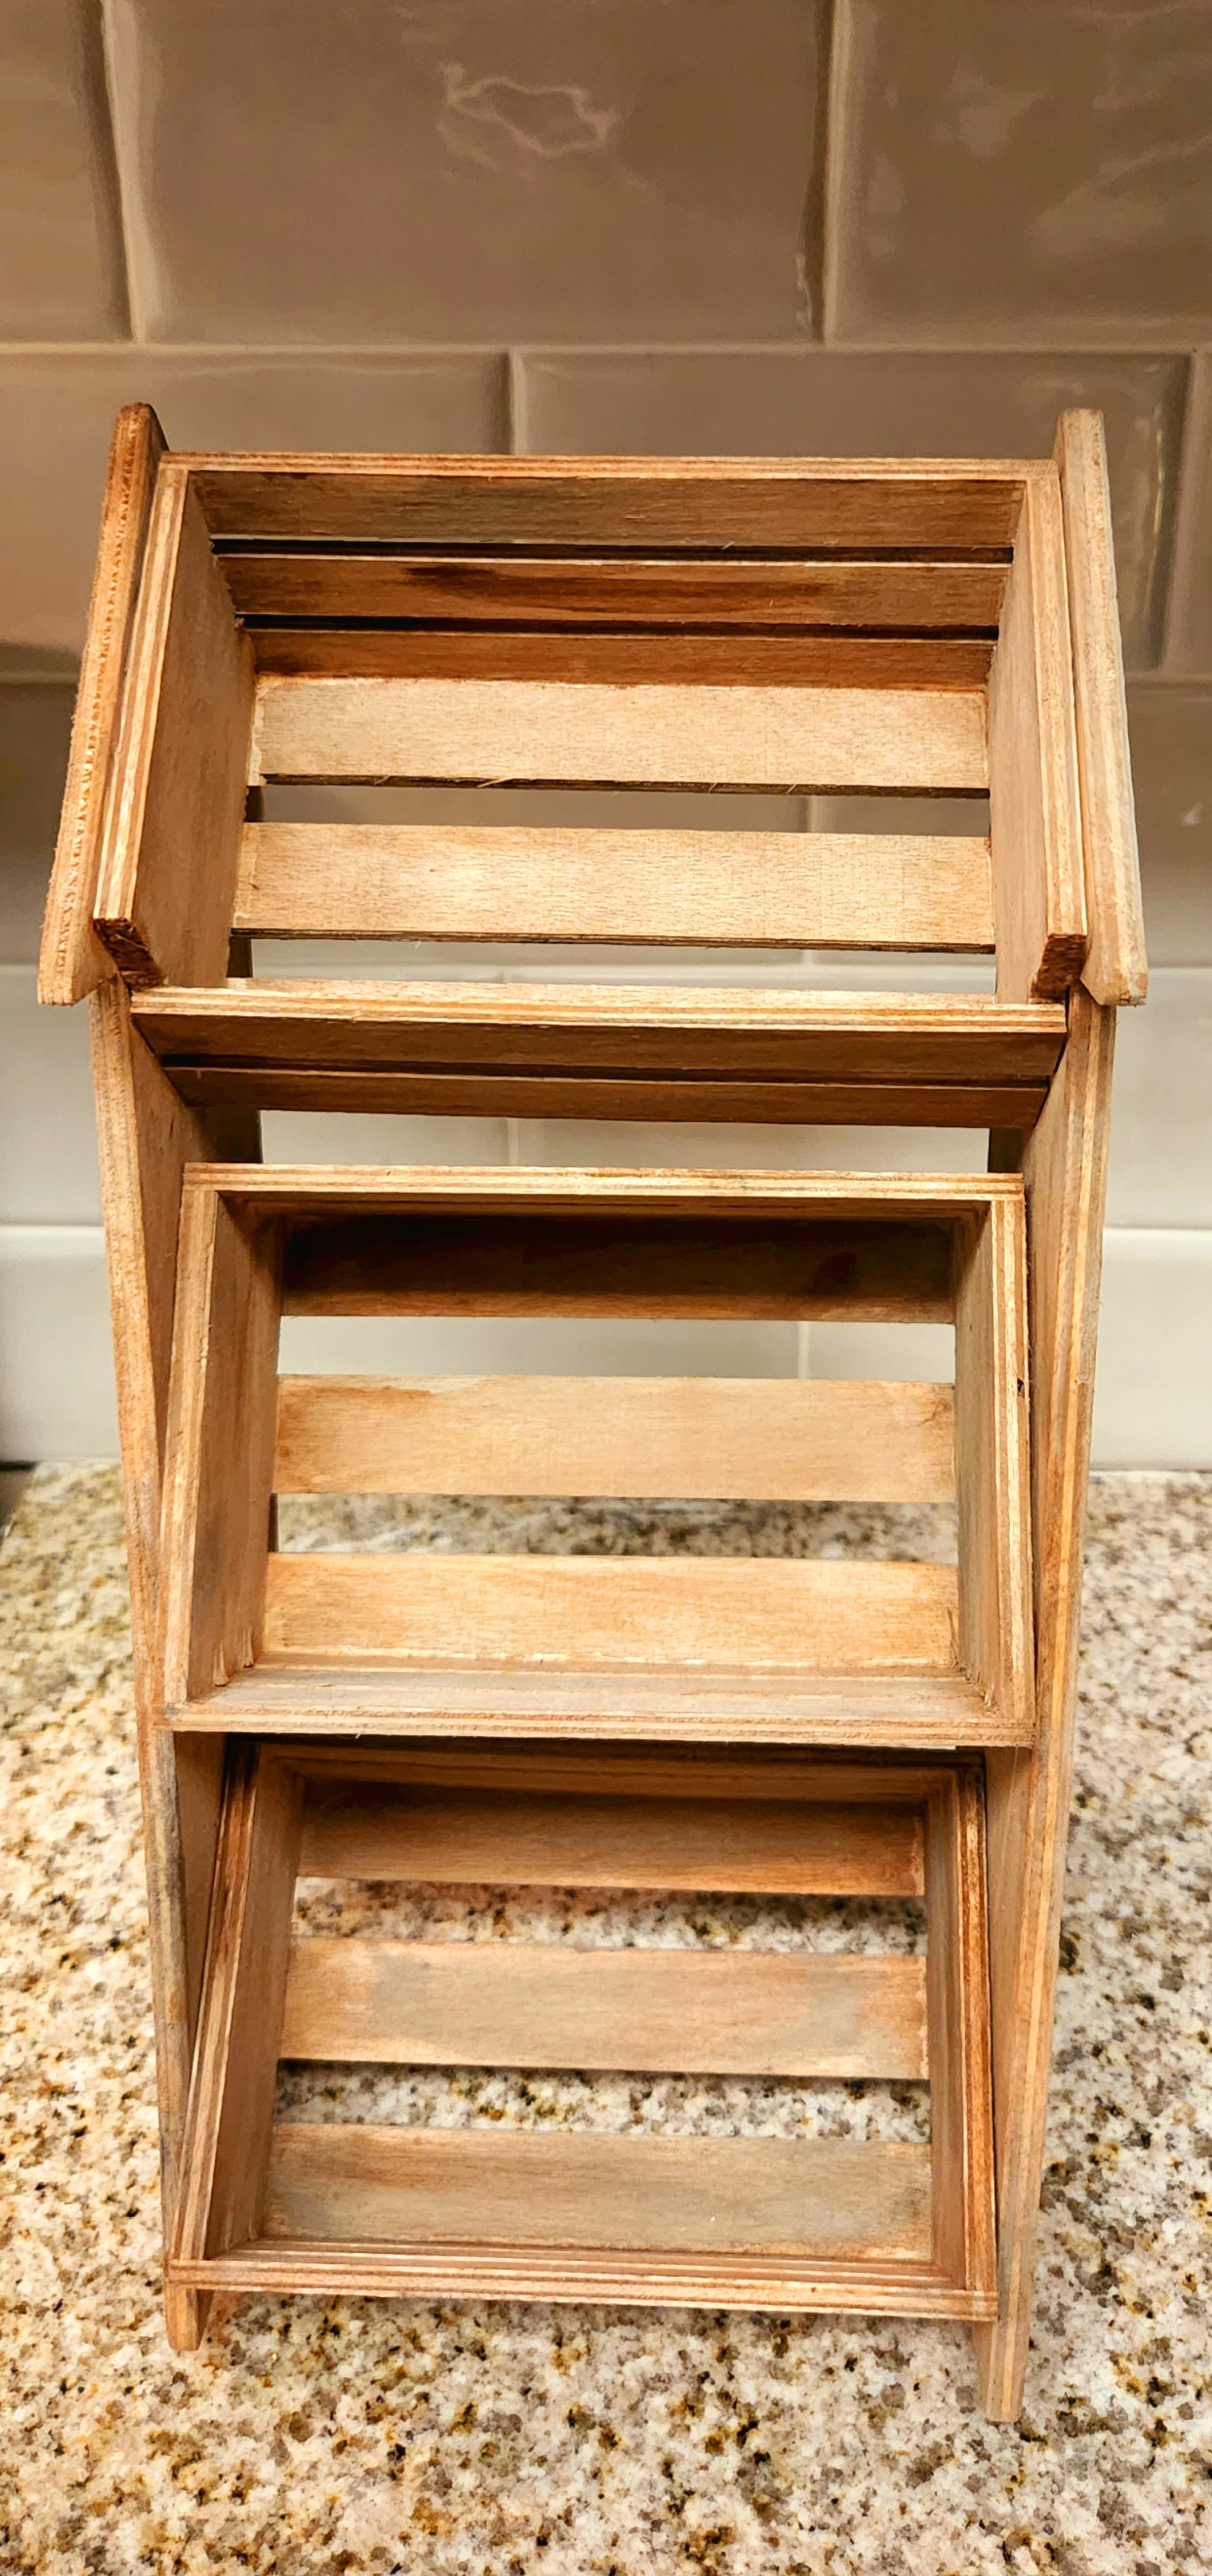
When it’s dry enough you’ll be able to stand it up and have something like this:
Add the Middle Dollar Tree Crate
Now add the middle crate just like you did with the first two. Add the glue and place it evenly between the top and bottom crates.


Here’s a very short Crafting with Christ moment that came to me as I remembered building this crate shelf.
Rather, speaking the truth in love, we are to grow up in every way into him who is the head, into Christ, from whom the whole body, joined and held together by every joint with which it is equipped, when each part is working properly, makes the body grow so that it builds itself up in love.
Ephesians 4:15-16 ESV
As I was writing this section of the post, remembering how I carefully adjusted each crate, making sure it was in its proper position, I began to think of Paul writing to the church at Ephesus. In chapter 4 he was encouraging them all to work together because they were one whole, not individuals, creating the church, one “unit” so to speak. I was trying to place my crates just so, to create one cohesive unit. Our world seems so far from being one unit. As Christians, we need to build one another up, giving support to each other, creating one fully equipped body. Then we can accomplish anything in Christ and bring this country together again! Build each other up in love!
Soon I hope to be writing one Crafting with Christ post a month with a little more detail in the devotional. It’s been a while since I’ve been able to do a Designing Devotion post. I’ve gotten sick, then busy, and then, well, life. If you’re interested in these posts, be sure to subscribe to the blog to get an email when they are posted so you don’t miss them.
Add the Second Arrow
Squeeze E6000 to the sides of all three crates.

Lay the second arrow on top to the glue. Be sure to lay the side with the holes from the stapes onto the crates. You can place a ruler or something straight at the end of the tip of the bottom arrow and then the sides to make sure you have it lined up correctly.

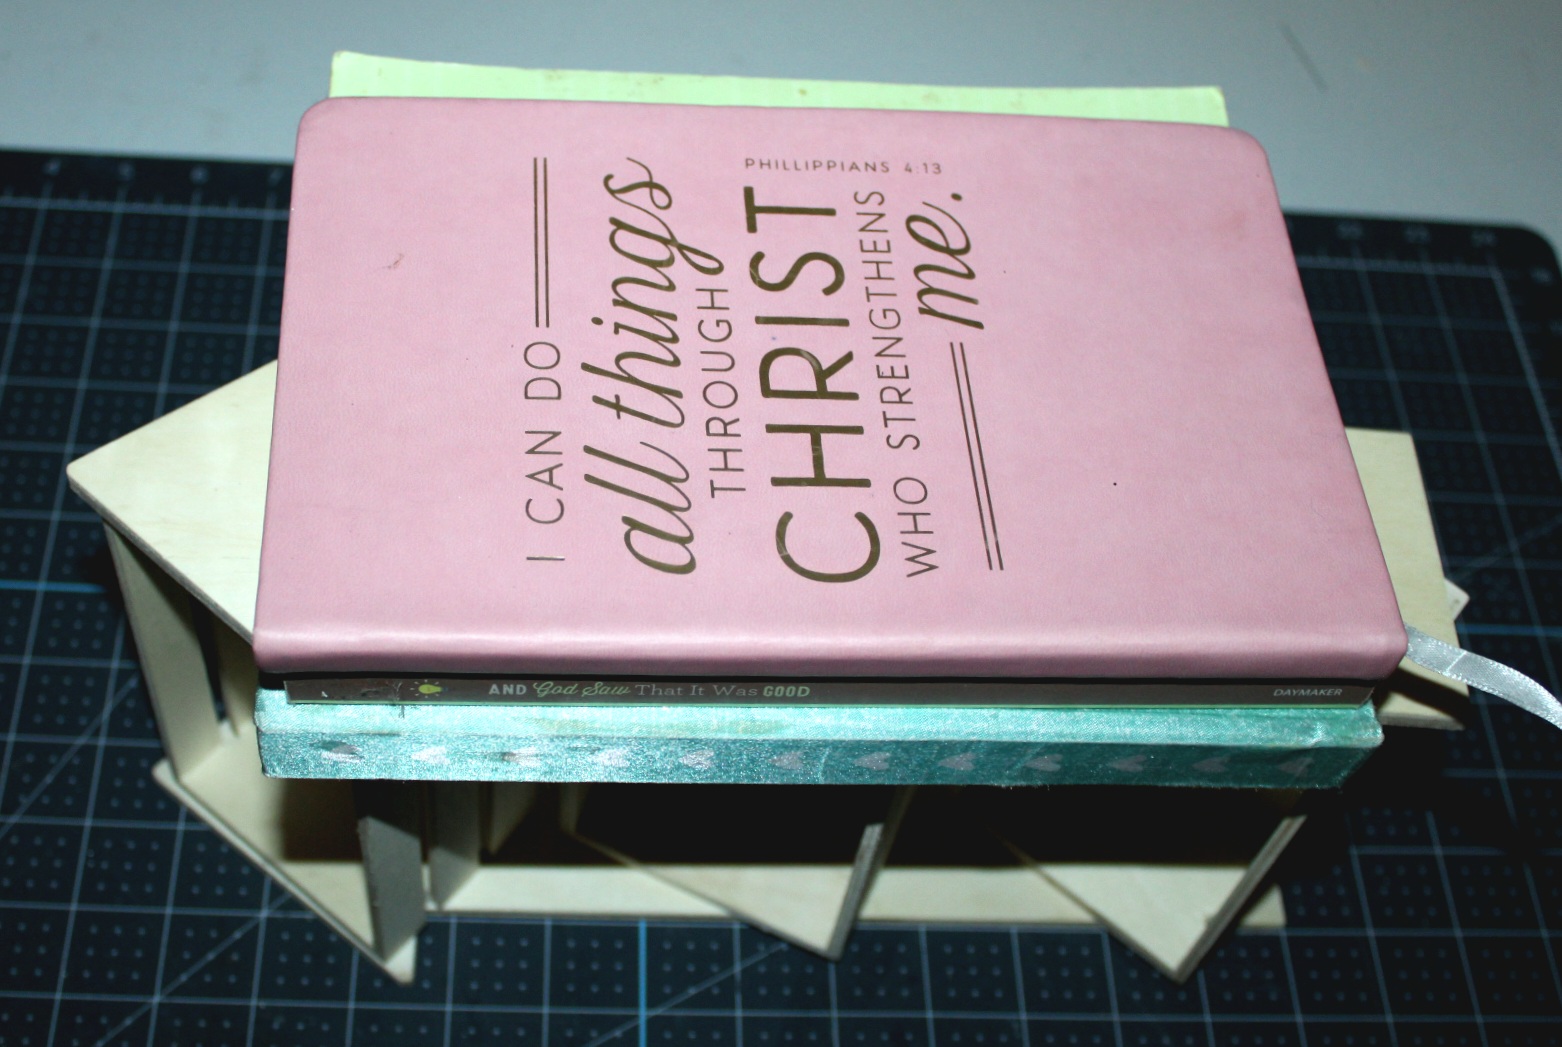
Once it’s on straight, lay some books or heavy objects on top and allow it to dry.

Paint or Stain the Wood
I still have yet to buy any wood stain, so I again went with the faux stain with paint method. That’s the name I gave it. If you don’t like the name, give me another name in the comments lol. Not familiar with that method? Check out the tutorial for my DIY tea towel ladder for complete instructions. I used a combination of brown, black, and light tan paint for this piece. You can just paint it if you’d rather.

Allow it to dry, and that’s it! Easy, right?

Place your Dollar Tree crate shelf in its new home.
I am using this shelf in my kitchen by my husband’s coffee maker. Yes, I said it. HIS coffee maker. I don’t know how you people choke down that bitter mess! Lordy me! Maybe when I’m old I’ll need more caffeine than my 12 cokes a day can give me, and I’ll be forced to ingest it for energy. For now, I’m getting all I need from my unhealthy addiction!


If you like the tea towel in the picture, you can get the free SVG to make one in this post. In that post I also show you how to use acrylic paint on fabric so you can customize anything fabric! I actually made the tea towel itself from old sheets, and you can see that NO SEW tutorial here. By the way, there’s a free SVG in that post too!


I hope you enjoyed this Dollar Tree crate shelf tutorial! I’d love it if you’d use the buttons in the sidebar to follow me on social media. That will allow you to keep up with what’s going on here on the blog. Plus, you can make some things from my tutorials or use my SVGs and tag me in the photos. I love seeing what y’all come up with! In the next few weeks, I have some great tutorials and spring printables coming, so make sure you don’t miss them by entering your email address below. You’ll get an email when I add new posts, tutorials, free printables, and link parties.
On to our DIY Blog Hop!
Tarah from Grandma’s House DIY | Basement Refrigerator Makeover

Allison from Darling & Dapper Life | How to Make Pantry Labels with a Cricut

Amy from Health, Home, & Heart | Painted Tile Backsplash Update

Follow me on Pinterest for new ideas added weekly!
If you love ideas make sure you check out our weekly link parties, Happiness is Homemade (Sunday thru Thursday) and Crafty Creators (Thursday thru Monday). For my blogger friends, make sure you link up on both parties each week for a chance to be featured on the next week’s party!


What a clever idea! It turned out so cute! I love the reference to scripture, too. We definitely need to be building each other up. 🙂
Thank you Amy! I try to add them, but so many times I forget. I’m ashamed of myself when I do!
OMG That is just fabulous and so well done. I need one! Its great hopping with you!
Thank you! I need one for each bathroom now lol.
Such a great idea, Niki. I’ve often seen those little crates and wondered, what can I do with these? Now I may have to pick some up to do just this with! Pinning for later 🙂
Thanks! I’ve had those little crates for months (maybe a year lol) trying to decide what to do with them. They make the little packs of hot chocolate look better than when they were just sitting there.