Welcome to this month’s DIY Blog Hop where I join a group of lovely ladies to bring you our latest project tutorial. The blog hop is hosted by Tarah of Grandma’s House DIY. If you’re interested in joining us, check out the hop’s information page. This month’s theme is “bathroom,” and since we’re moving into a new house with completely different bathroom set-ups than our current home, this was the perfect theme for me. Like I’ve mentioned in all of my tutorials as of late, it’s more important than ever to keep costs low, especially on non-essentials! (Not like we ladies think home decor items are non-essentials lol!) In this post I’m going to show you how to use Dollar Tree items to make beautiful farmhouse bathroom storage set.
Our guest bathroom colors are white and teal (kind of in between aqua and turquoise, so I’m not sure exactly what to call it). My initial plan was to spray paint the lids and glue decorative glass knobs to the top. Quick, easy, and super affordable. However, I felt like the paint looked to child-like once it dried. I quickly changed tactics, so you’ll see two different photos of supplies below. I absolutely love the way this set turned out, and I think you will too! If you’re looking for more affordable bathroom storage DIYs, check out this Dollar Tree crate shelf.

Supplies for Farmhouse Bathroom Storage Tray:
- 3 glass jars- I used the Dollar Tree jars that you can sit upright with the lid on top or to the side where the lid faces the front.
- piece of wood- I used a dark stained shiplap piece from Walmart that cost $1.97 when I bought it about a year ago. DT has an unstained flat wood piece that would work, as well as rectangular trays that come in gold and silver. I planned to use the tray at first but found that the wood piece was perfect and looked amazing.
- burlap, fabric, or ribbon- DT does have colored burlap ribbon that you could use to cover the jar lids. Other options are fabrics (DT or WM has cheap fat quarters), rope, twine, contact paper, or squares of wallpaper from DT (they look like faux metal ceiling tiles, faux subway tiles, etc.). If you have the right color spray paint that could work as well.
- 2 or 3 decorative glass knobs- I use 2 and got them from DT.
- utility knife
- Mod Podge (or make your own by combining one part Elmer’s glue to two parts water)
- paint or foam brush


Create a Hole in the Lid
Before I started my project, I thought I could just take the long screw part out of the decorative glass knobs and glue them to the tops of my storage jar lids. Absolutely no go on that! I don’t have an electric saw, and there was no way my little hand saw would do the job. I had to come up with a new way to attach the knobs to the lids. At first, I thought there was no way that I could leave the screw part on because they are really, really long. It turned out to be ok since the items in the jars will cover the screws.
If you have a saw and you’re not ok with hiding the screw with cotton balls, you can just cut the screw off. If you don’t have a saw, let me show you how easy it is to add the screw to the jar lid. First find the center of the lid and mark it with a small dot. Place your utility knife on the dot and press it down firmly until you have even the tiniest hole.

Once you have a hole, switch to a tool that can widen that hole circularly. I used a clay sculpting tool that I often use to weed my Cricut vinyl projects. Any tool that starts with a point and widens out will work, like a Phillip’s head screwdriver. Place the tool in the small hole and twist it back and forth until it’s just wide enough to accommodate the width of the screw.

Quick note before we move to adding burlap to the jar lids:
I want to add a quick note here: you don’t have to stick with burlap. If you don’t have any on hand, you can use ribbon, fabric, etc. Dollar Tree sells colored burlap ribbon in 2.5″ widths (I believe). Sometimes they have the regular tan burlap if you get lucky. DT also sells sheets of vinyl in the home section (not the crafty vinyl) that have a good farmhouse look. It’s marketed as backsplash vinyl. Chalk painting the lids then adding twine around the sides with a tiny bow would also work. Don’t ever feel like you can’t do one of my tutorials because you don’t have an item. I have readers who have emailed me for ideas, so feel free to reach out via social media, the comments, or through email!
Add Burlap to the Bathroom Storage Jar Lids

Now it’s time to farmhouse up your bathroom storage jars! Yeah, that’s the term we’re going with. We’re farmhouse-ing the up lol. I had to come up with something to cover the horrible aqua color of my lids. I have several rolls of burlap and lace table runners that my beautiful cousin rescued from their dumpster destination after a wedding. (Who in the world would just throw away tons of perfect burlap and lace with no stains?! Not we crafters, DIYers, or upcyclers that’s for sure!) I though burlap was the perfect way to cover the lids and would give the storage set more of a farmhouse look.
Place one of the lids upside down on the back of the burlap. Trace lightly around the lid with a pen or small marker, making sure your marking wide enough to all for the coverage of the sides.

Cut out the burlap circle.

Mod Podge the Burlap to the Lids
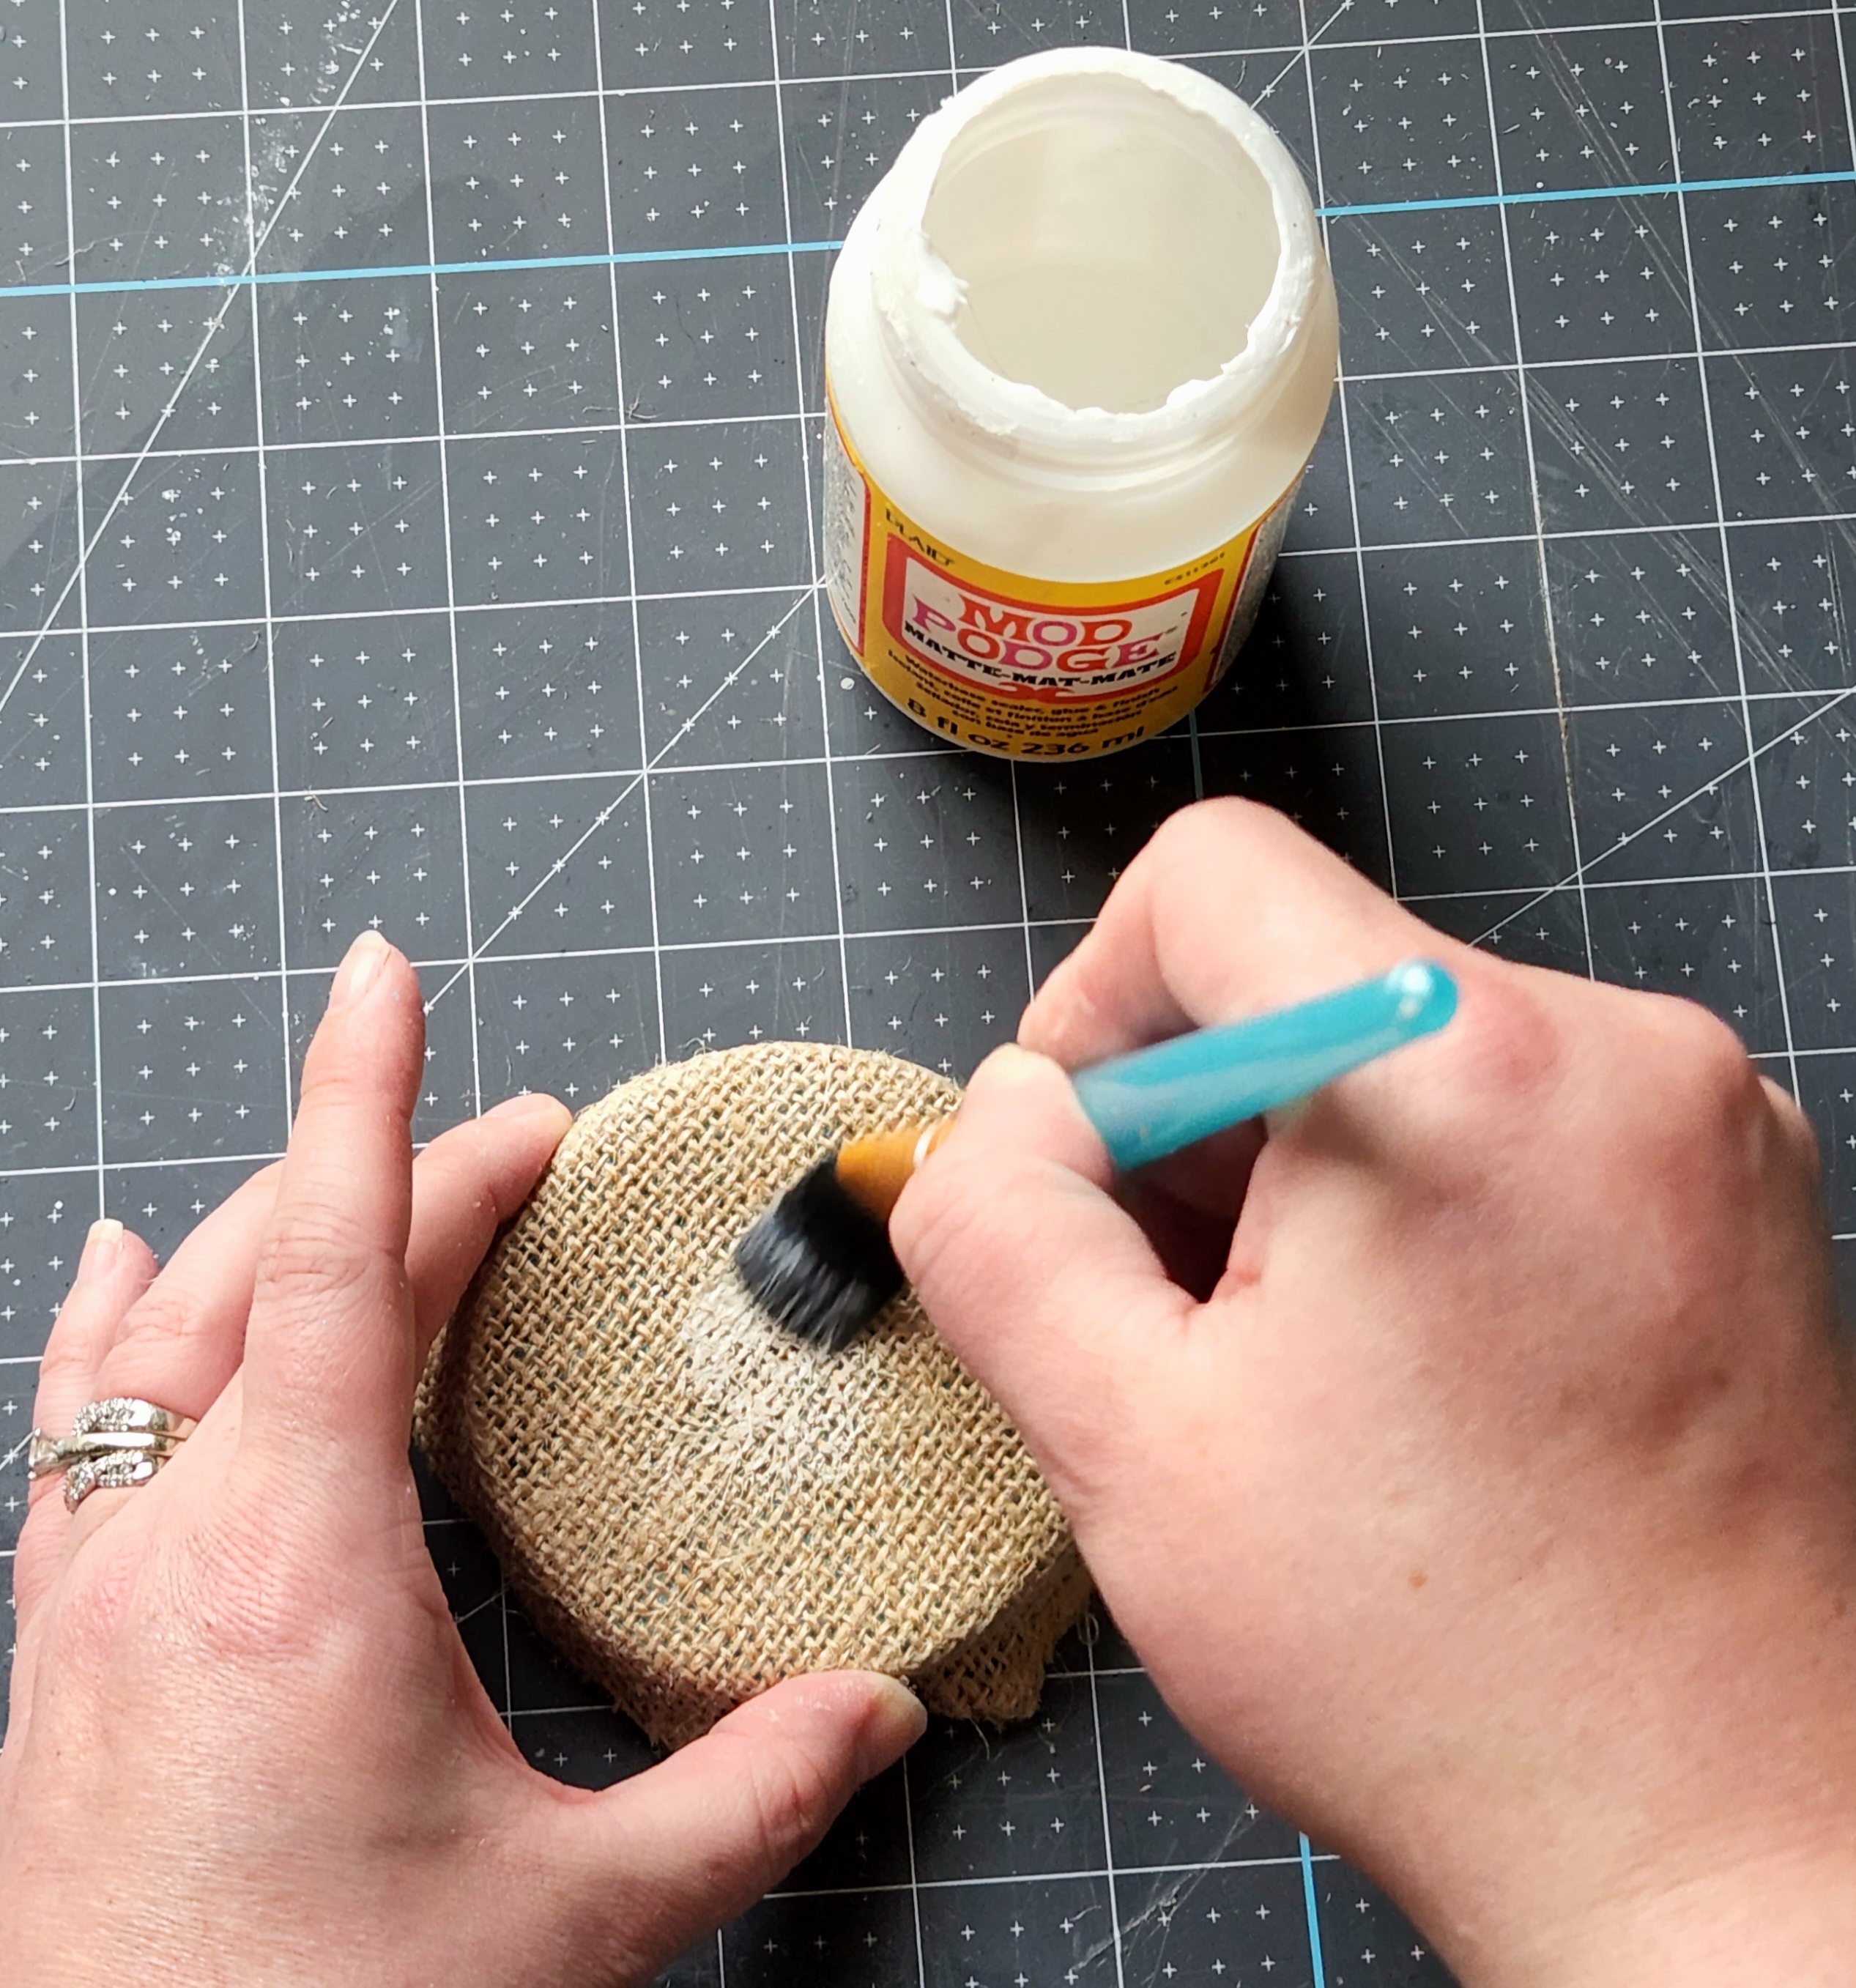
Spread a generous amount of Mod Podge to the top of the jar lid.

Center your circle of burlap on top of the lid and press it down.

You will probably need to lift it a bit and add more Mod Podge. Since burlap has so many loose fibers, they tend to stick to the Mod Podge and the solid part of the burlap lifts up. Just add more, and smooth the burlap on it.
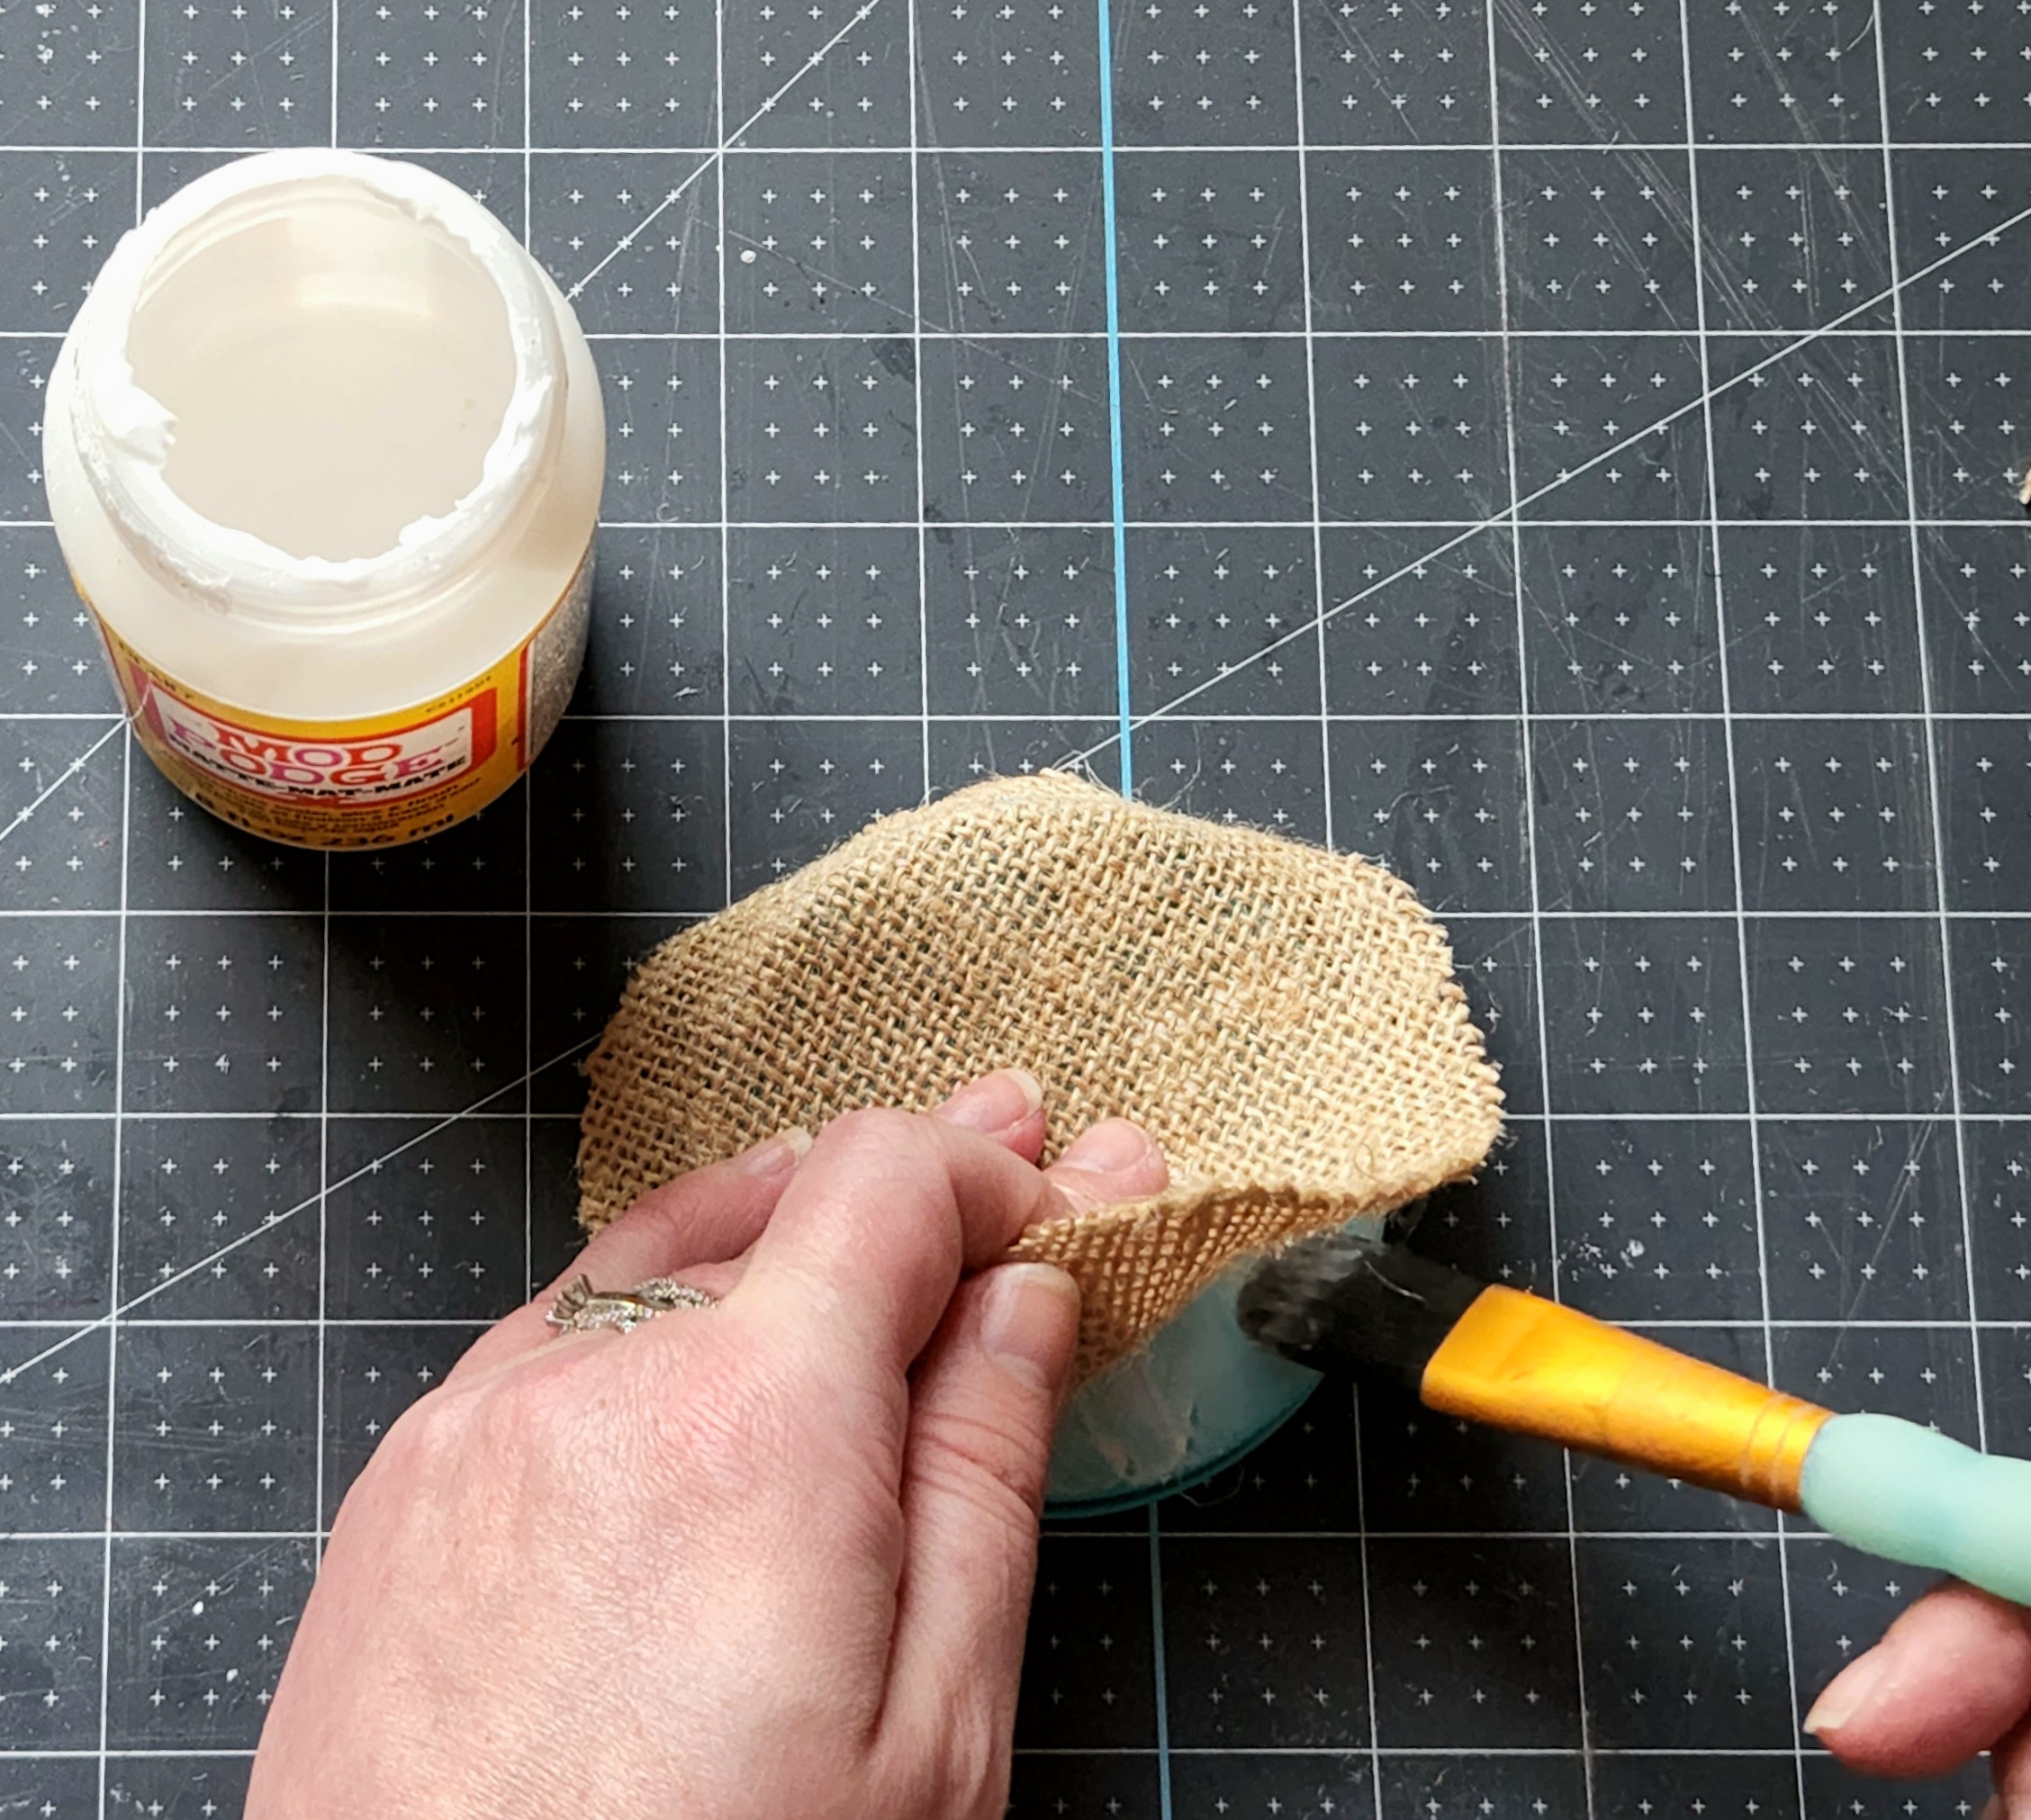
Finally, add Mod Podge to the side of the lid and fold the burlap over it.

Allow the Mod Podge to dry then trim off any excess burlap from the lid.


Optional: Add Lace to One Lid
You can leave the jar lids like this with only the burlap, but I only bought two decorative knobs. I felt like the jar without one needed to look a little different, so I added lace that runs down the center of my burlap roll. When I cut my first piece of burlap, I cut a piece with lace. If you need to cut it separately, you only need enough for the top of the lid, not the side. Spread more Mod Podge on the top of the burlap and place the circle of lace on top.

Add more Mod Podge on top of the lace. Allow it to dry then cut any excess lace that extends past the top of the lid.


Add Decorative Knobs to the Farmhouse Bathroom Storage Jars
Once all three of your jar lids are covered with burlap, it’s time to add your knobs. Use an Exacto or utility knife and press it through the burlap opening the hole that you made earlier.

Screw the glass knob into the hole. You’ll have to turn it, just like screwing in a regular screw.

Add the piece that holds the knob in on the inside of the lid, then add the washer and screw on the nut.

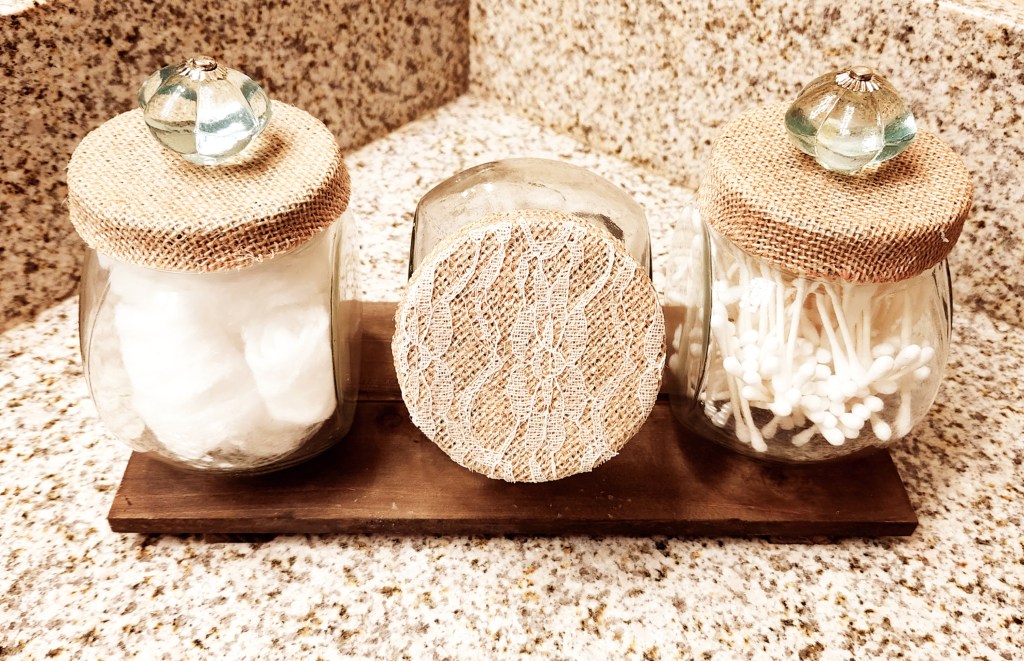
Place your jars on your piece of wood and your farmhouse bathroom storage set is complete!
Fill your jars with whatever you’d like them to hold, place them on the wood piece, and you’re done! I put Q-tips in one, cotton balls in another, and headbands that we use when we wash our faces in the last. Since my blank wood sign has vertical wood pieces toward each end, I didn’t add any “feet” to it. If you buy a flat piece of wood, I suggest going the extra step and adding something to the bottom to use as “feet.” Wood beads that have holes in the middle for stringing would be perfect because they are flat-ish in the middle. Stain or paint them to match the wood and you’re set! Here is my farmhouse bathroom storage tray set.

I hope that you enjoyed this tutorial, and you come up with your own way to customize it. I love seeing the twists that y’all place on these DIYs, so follow me on social media using the buttons in the sidebar and tag me in your pictures! Remember to pin the photo below or share this post using the buttons at the bottom of the page so that you can get back to this tutorial when you’re ready to use it.

More on the Way!
I’ve got some great home decor tutorials, DIY Mother’s Day and end of the year teacher’s gift ideas and free printables on the way, so make sure you don’t miss them by following me on social media and via email. If you’re following me both ways, you make sure that my posts don’t get lost in your timeline!
Stick around after you check out the wonderful projects shared by the ladies in the DIY Blog Hop because there’s plenty more here for you to find on the blog! If you’re looking for something specific, you can use the search box in the sidebar. You can check out my DIY Mother’s Day gifts with free SVGs by searching. If not, you might enjoy these posts:


On to Our DIY Blog Hop!
Our theme for May is “bathroom,” so each one of us has come up with a DIY project that you can do or use in your bathroom. I hope that you’ll visit each of the bloggers and let them know what you think of their idea. As I do with all of our blog hops, I’ve linked their blog to their name on the left and to their project with its name on the right. If you missed last month’s hop where the theme was spring, you can check out my burlap carrot wreath here.
Tarah from Grandma’s House DIY | Closet and Bathroom Repainting, finishing out our Master Suite

Amy from Health, Home, & Heart | DIY Budget Bathroom Makeover

Patti from Pandora’s Box | A Plan Gone Awry

Lydia from Life Beyond the Kitchen | Wash Your Worries Away With Easy Bathroom Updates

I hope you’ll stick around and come back to visit me! Follow me on Pinterest for new ideas added weekly!
If you love ideas make sure you check out our weekly link parties, Happiness is Homemade (Sunday thru Thursday) and Crafty Creators (Thursday thru Monday). For my blogger friends, make sure you link up on both parties each week for a chance to be featured on the next week’s party!


What a sweet idea for a bathroom. I especially like the lace added! Perfect for storing items you use daily (of which I can never find in my large drawer!!)
Thank you! Drawers can sometimes be like blackholes lol. Our new house has tiny pedestal sinks (that I plan to change really quickly lol), so this will give the kids quick access to items they need every day. Let’s pray they don’t knock them off and break them! It won’t be a big deal cost wise, but knowing my kids, it’ll land right on their foot because they’re my children haha!
This turned out super cute! I think adding the lace to the odd jar was a good call. The set looks very nice!
Thank you! I knew it needed to be a little different!
You did a lovely job! Its great hopping with you, happy spring!
Thanks Tarah!