
Welcome, welcome! Come on in friends! Today is February 10th which means it’s time for Under $10 on the 10th. This is a wonderful blog hop where I join up with many other lovely ladies to bring you projects that cost less than $10 to make. This month’s theme is to make a craft of our choosing. Since I made this DIY no sew tea towel for our Sustainable Pinterest Challenge, I decided to make a DIY tea towel ladder to hold it. Today I’ll be sharing that tutorial with you!
Stick around after the post to check out all of the great tutorials brought to you by the other bloggers in the blog hop. They always have amazing ideas. Creating decor and other items for under $10 is so important right now. The entire world is going through supply shortages and taking major economic hits. That’s why I love this challenge and why I bring you so many upcycled and DIY projects that cost dollars to make.

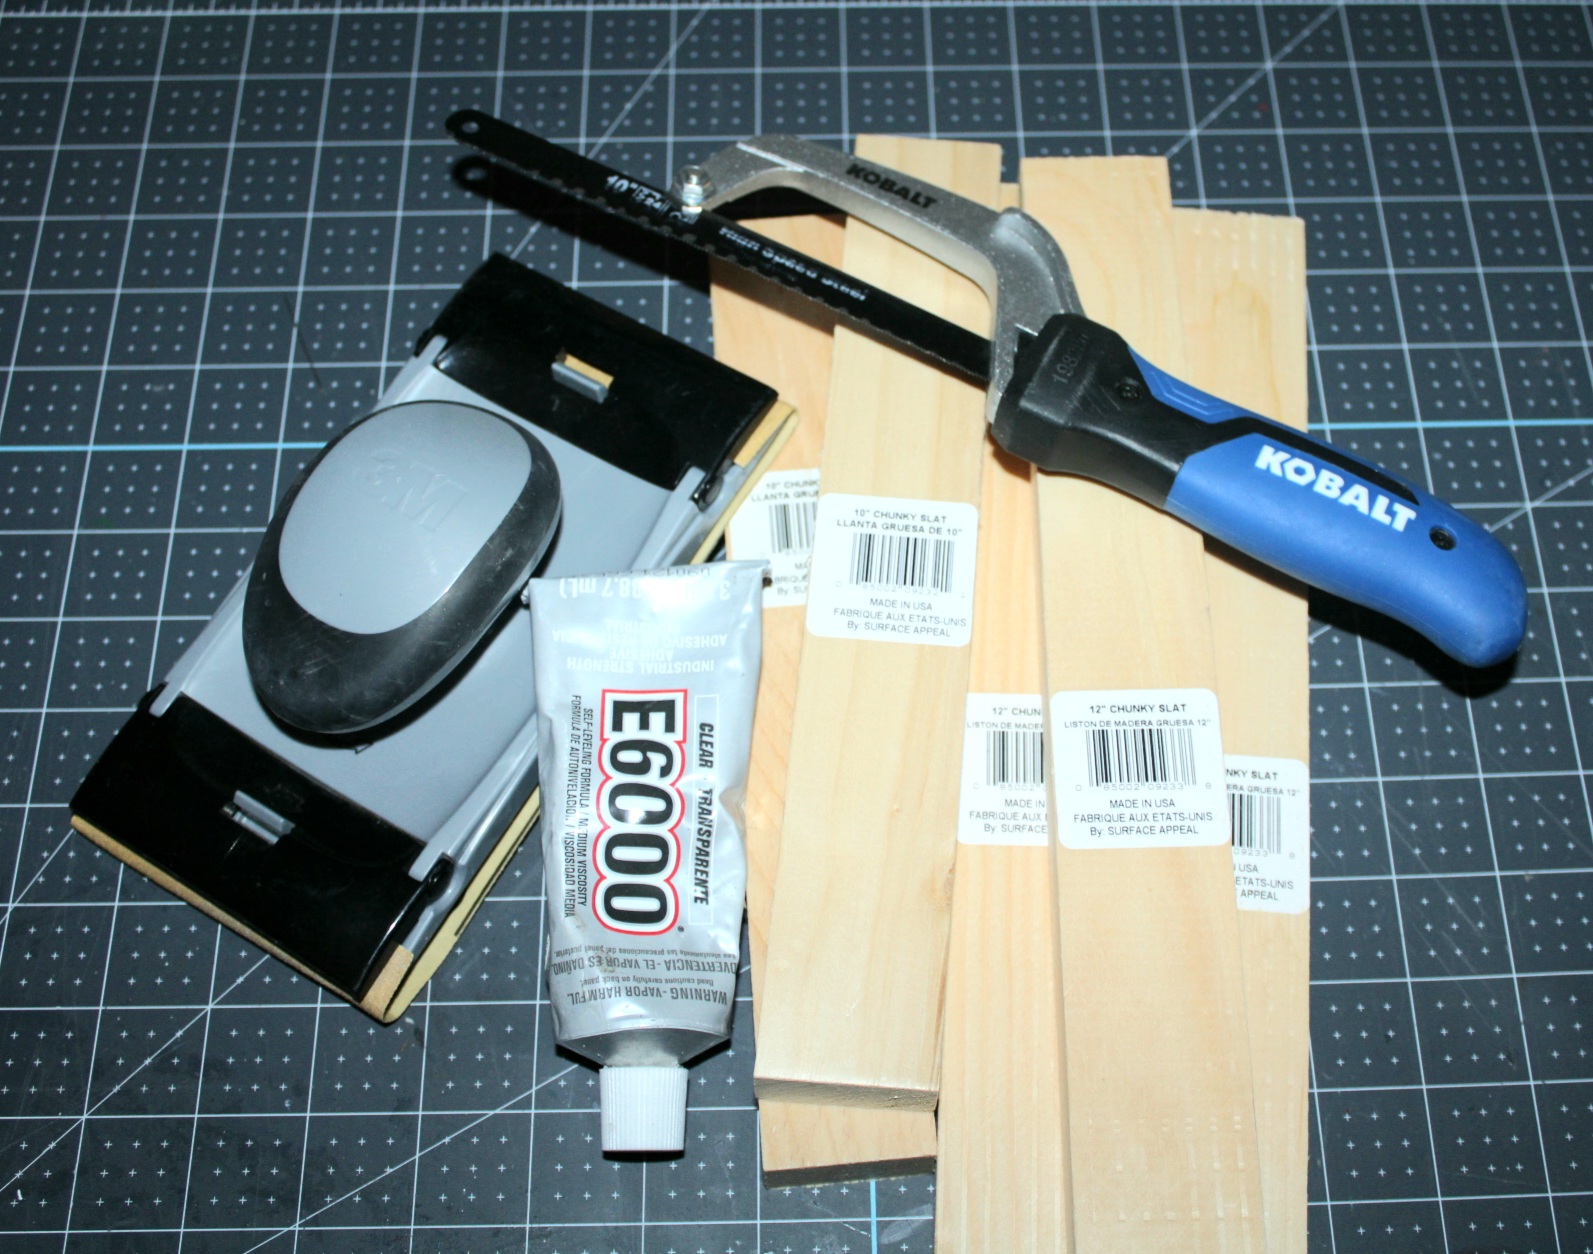
Supplies for a DIY Tea Towel Ladder:
- 4 10″ pieces of wood from Dollar Tree (I think they’re about 2″ wide.)
- 2 12″ pieces of wood from Dollar Tree
- E6000 or other wood glue
- hand saw
- sandpaper
- wood stain or
- brown, white, and black acrylic paint
- water
- paper towels
I had everything I needed for this project. You probably have everything except the wood, so this project will cost $6. If you don’t have a saw, DT does have hand saws for $1 that work perfectly for this. Acrylic paint is $.50 at Walmart if you need that. It’s cheaper than wood stain. If you need all of those things, this DIY tea towel ladder will cost you only $8.50! I did get my wood before Dollar Tree raised their prices to $1.25.
Cut the Wood
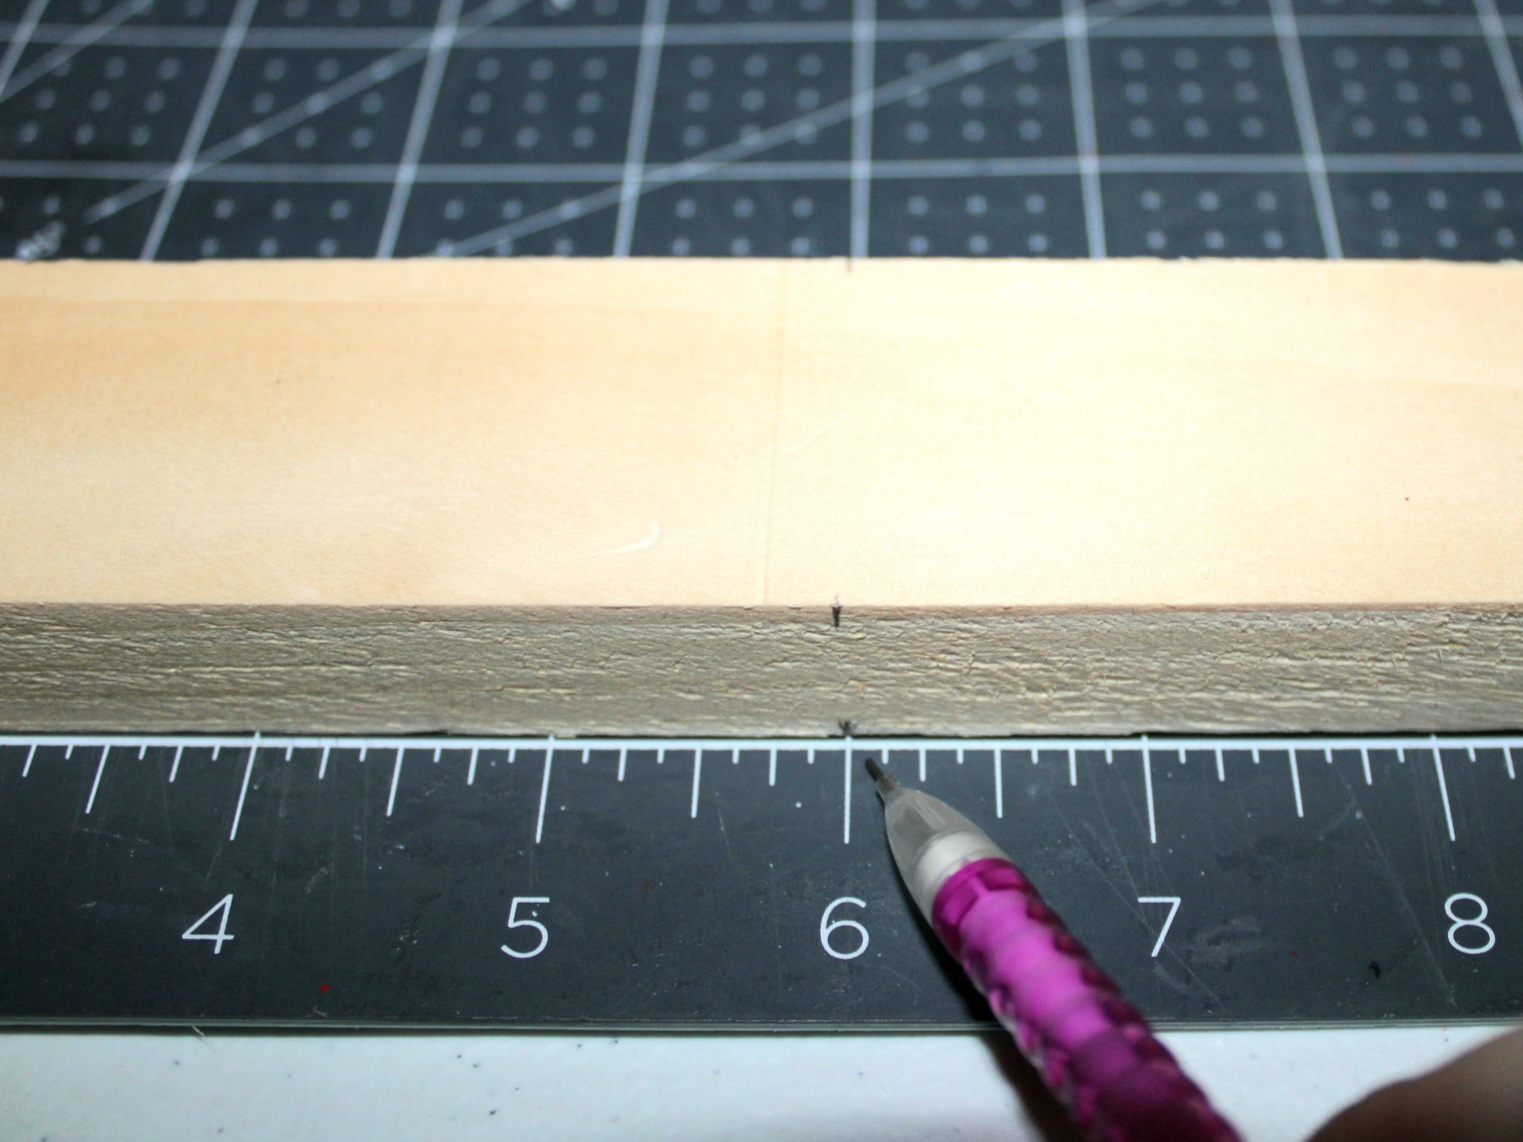
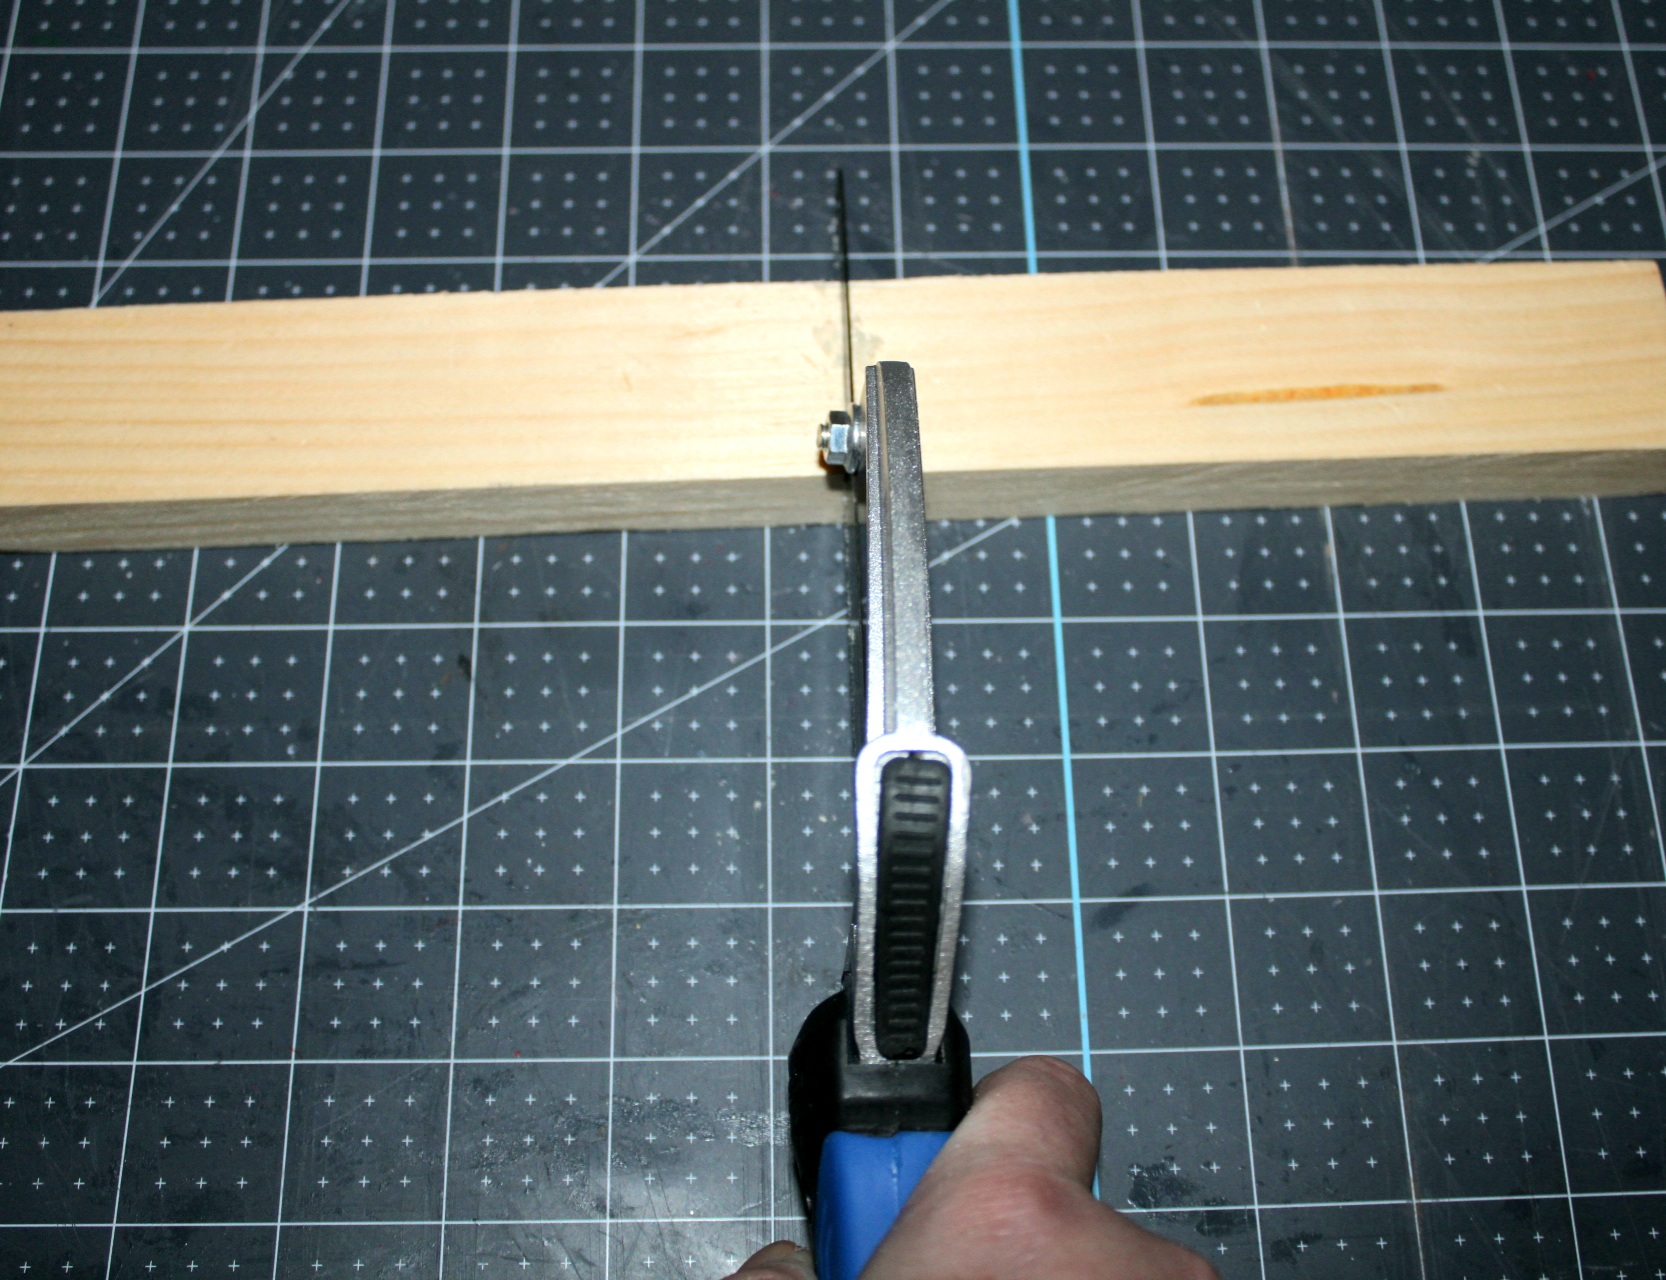
The first step in making a DIY tea towel ladder is creating the “steps.” Take your two 12″ pieces of wood and use a pencil and a ruler to make a mark at the 6″ point on each one. I like to mark both sides so that I can keep the cut even since I’m using a hand saw. You can line up the saw with both marks easier.
Use your hand saw and cut both pieces of wood in half along the pencil mark. You will use three of the pieces.
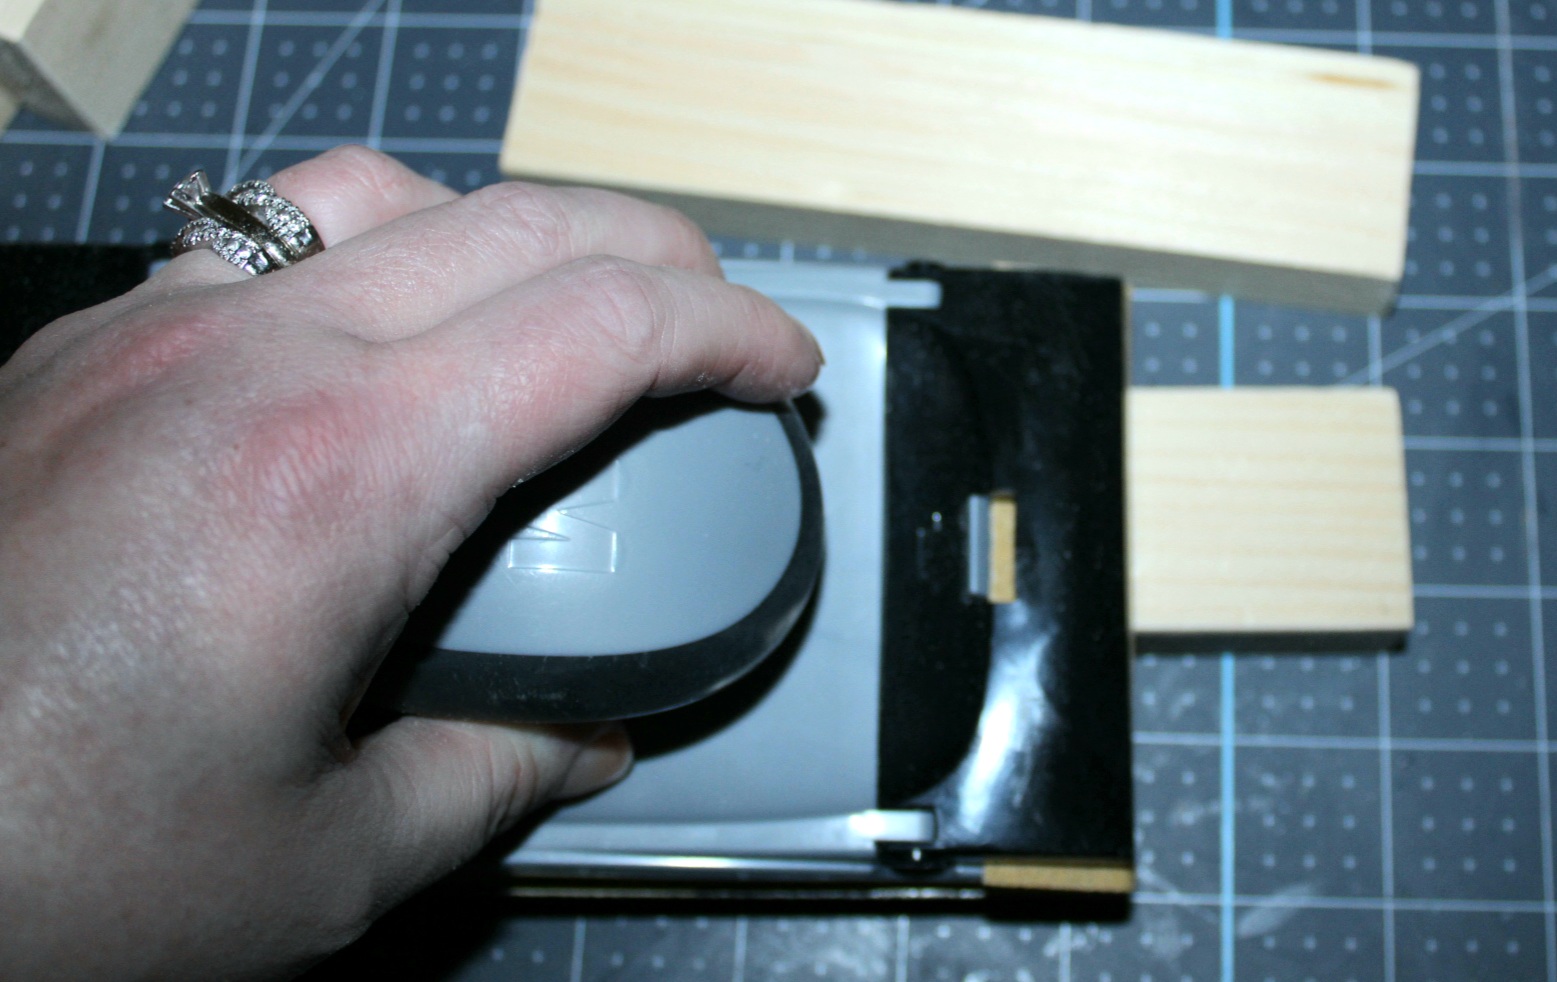
Sand the Wood
Usually, Dollar Tree wood needs quite a bit of sanding. Sand the three cut wood pieces and make sure it is flat and even on the ends. Go ahead and sand the four 10″ pieces as well, if needed.
Glue the DIY Tea Towel Ladder Together
Glue the Sides
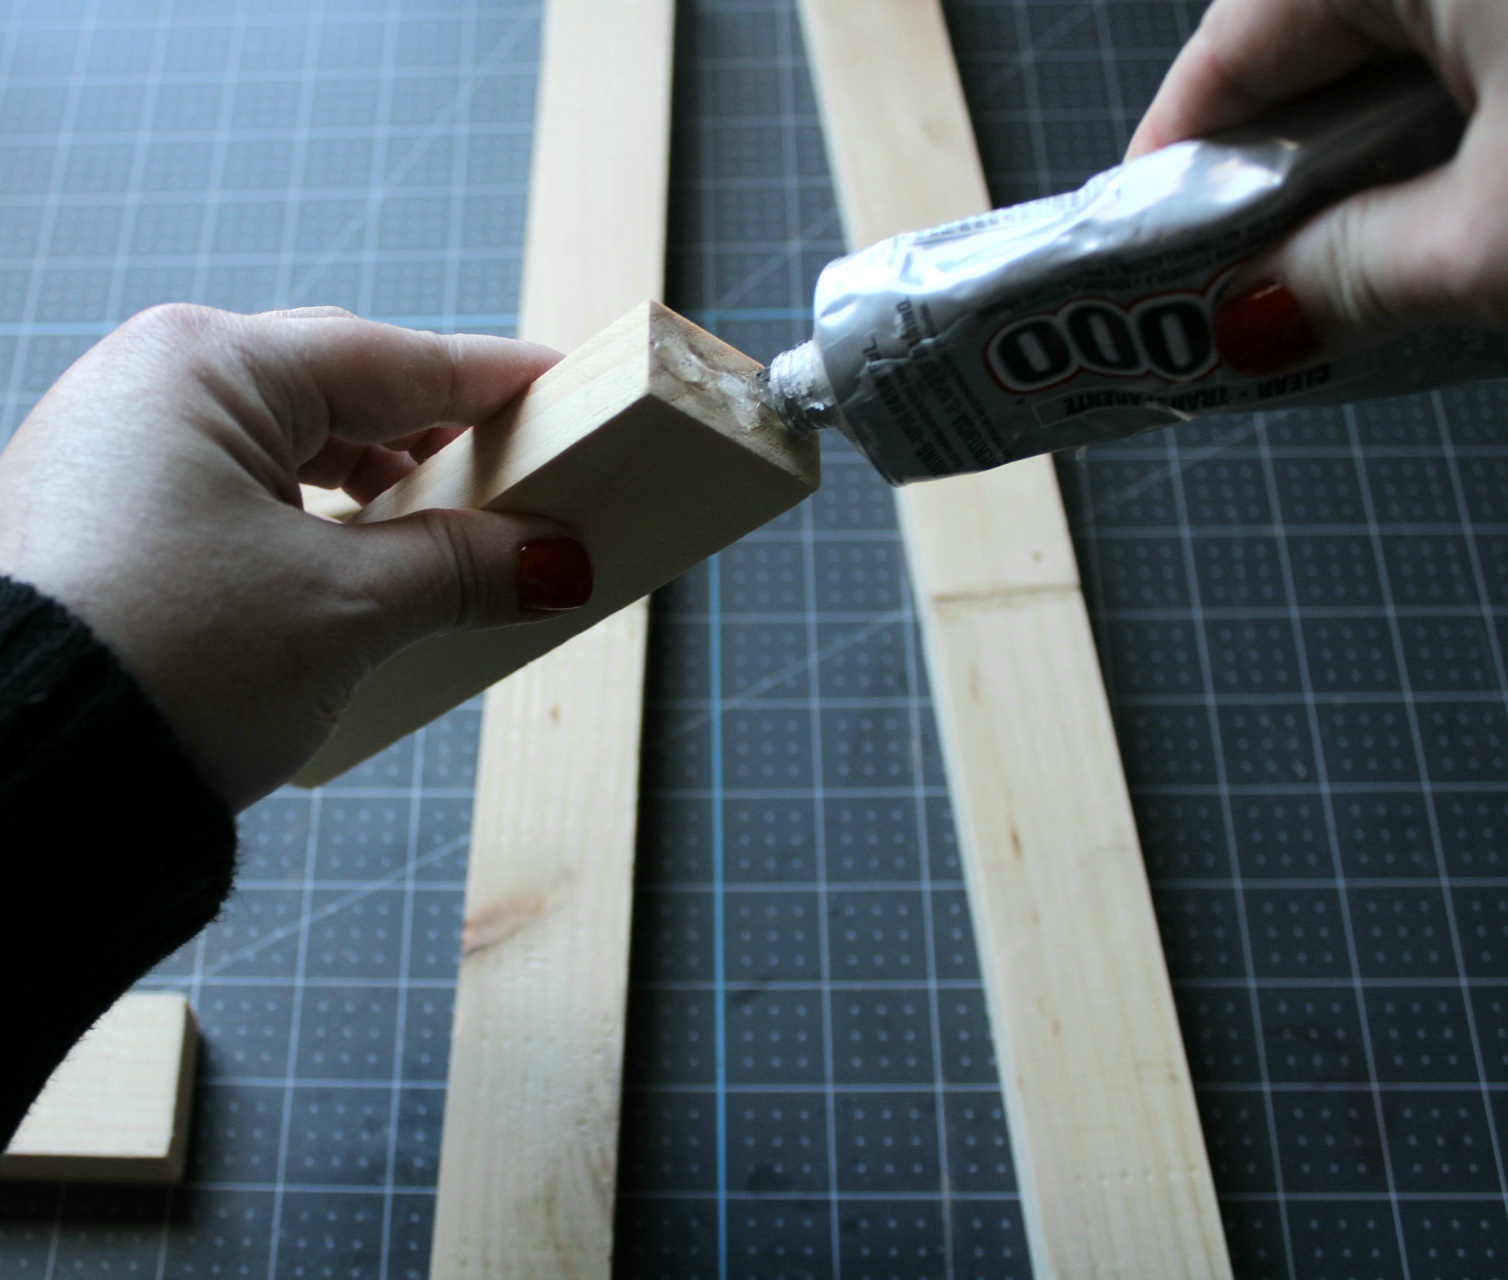
Once all of the wood is smooth, it’s time to glue the ladder together. Put E6000 or wood glue on the end of one of the 10″ pieces of wood.
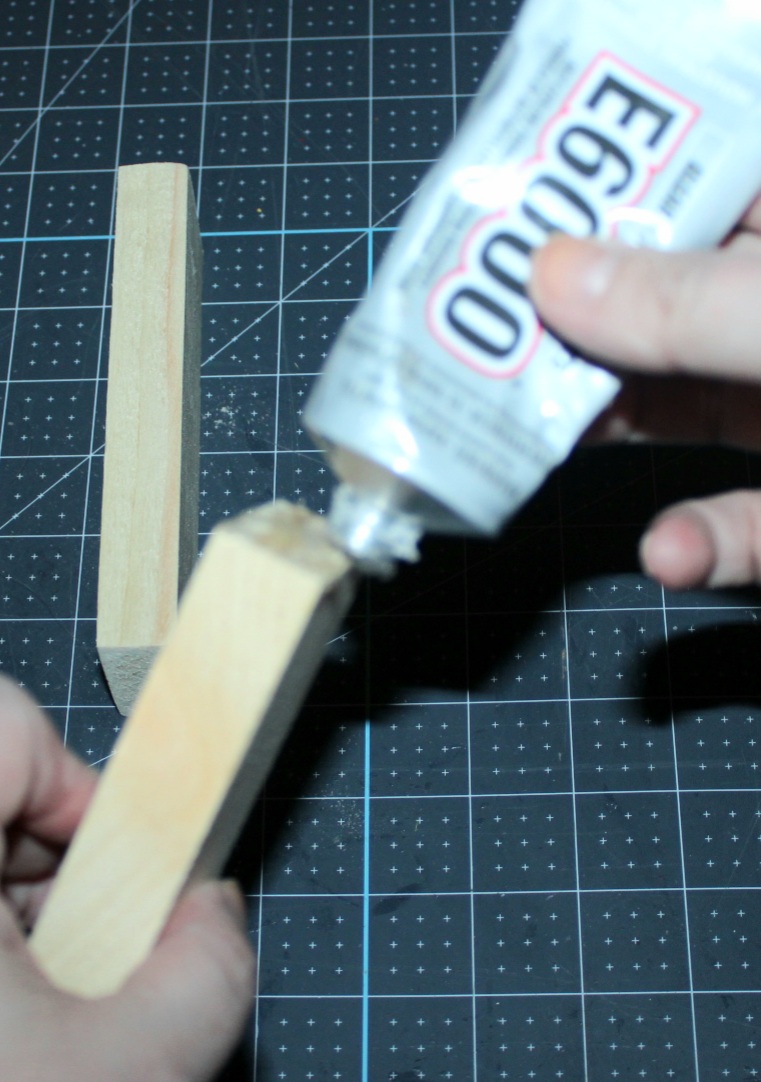
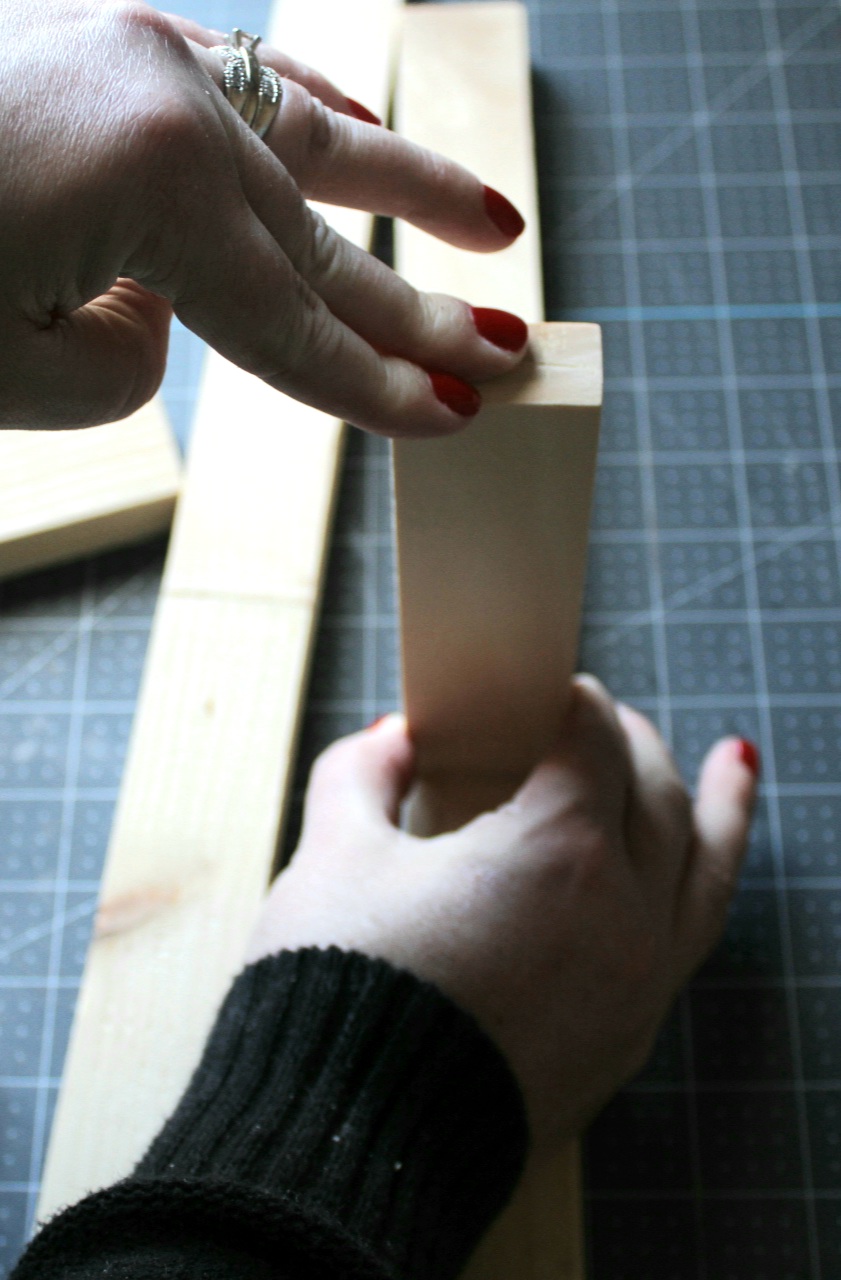
Place another 10″ piece of wood on the glue so the two pieces are end to end forming a 20″ piece. Make sure they are lined up evenly.
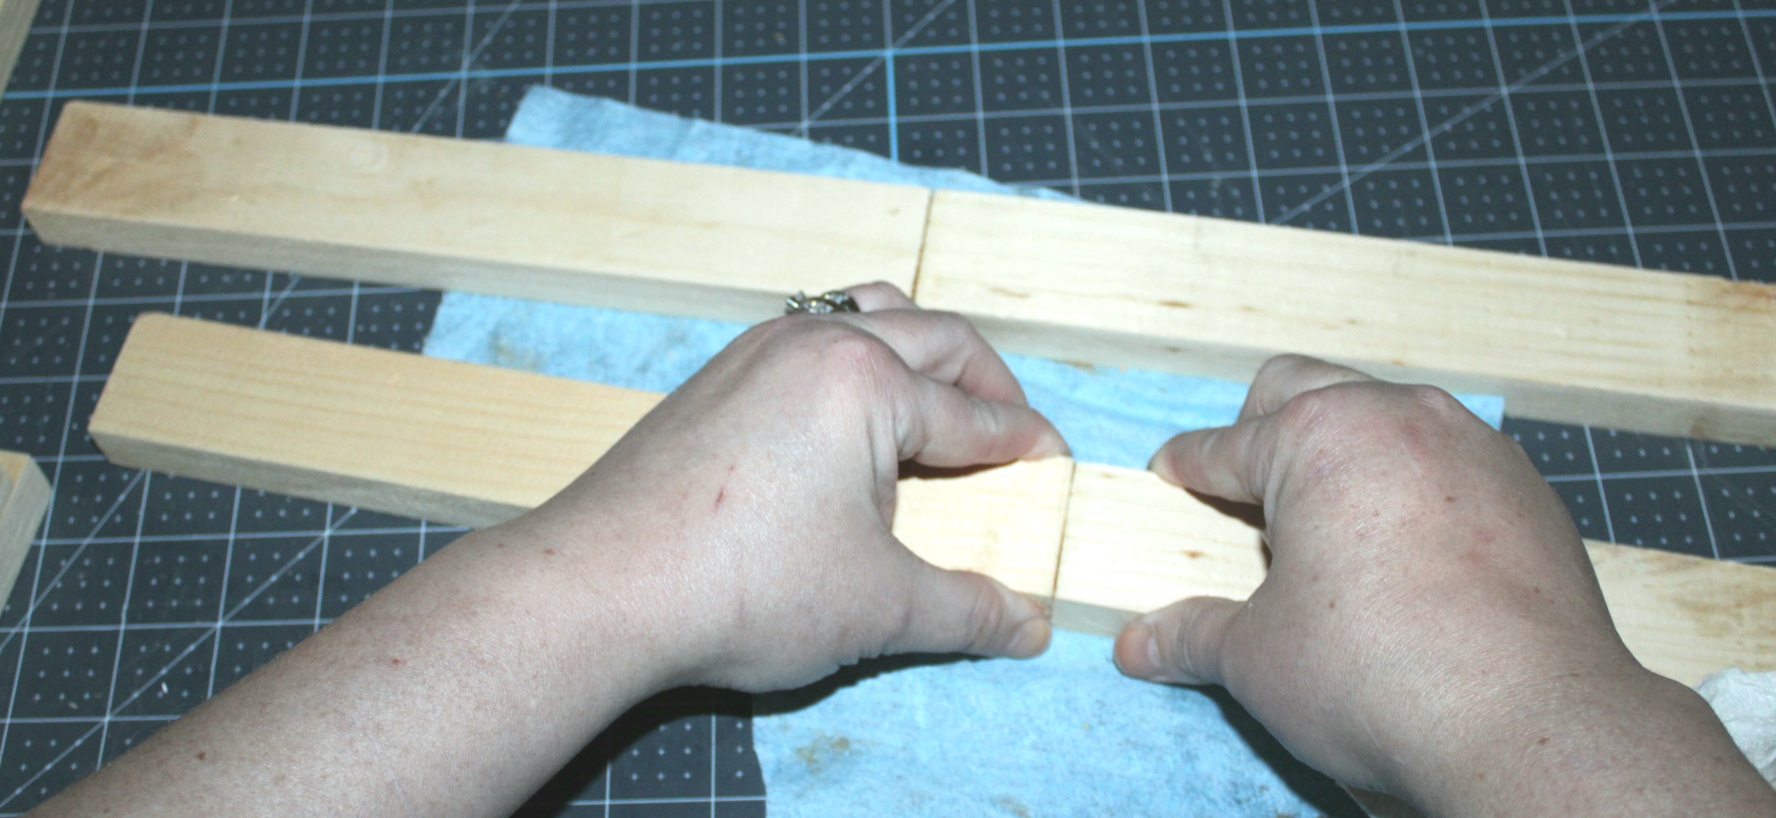
Wipe off any excess glue that seeps out. Repeat the process, gluing the other two 10″ pieces together. Allow the glue to dry for a few hours. I left mine overnight.
Glue the Steps on the Ladder
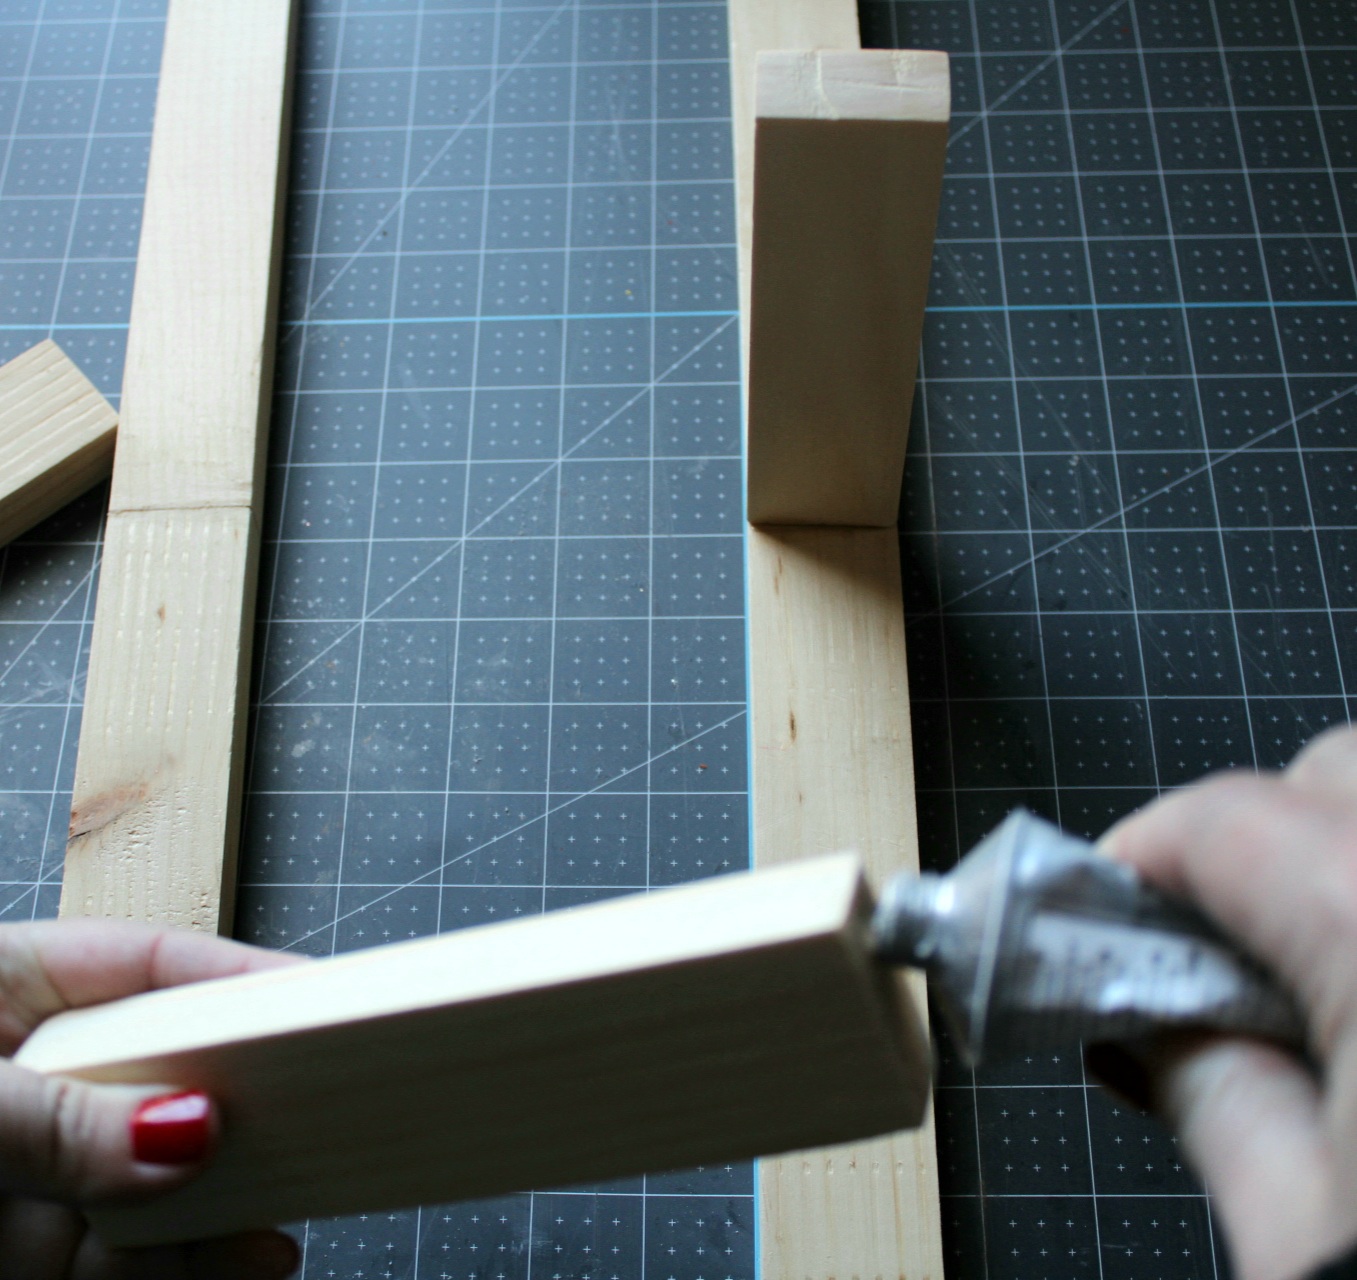
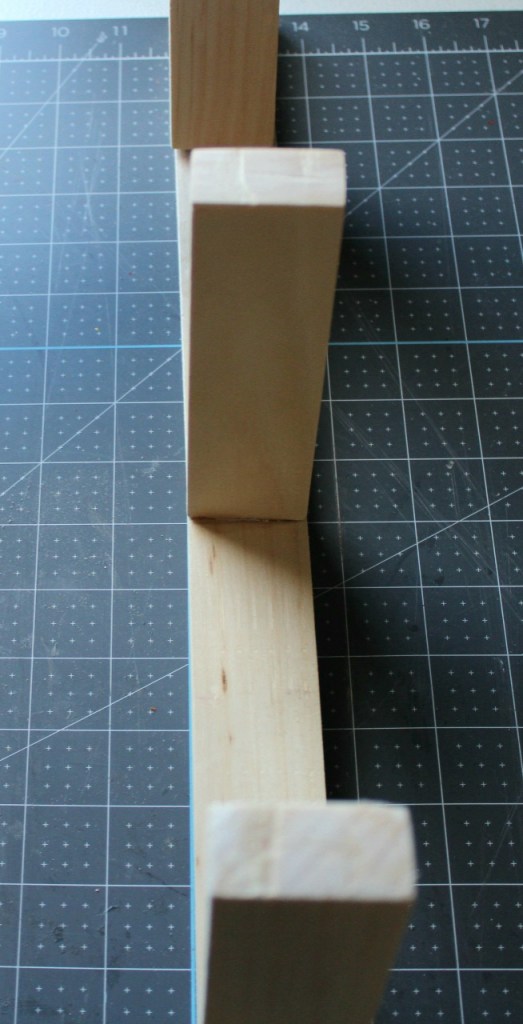
Put glue on the end of one of the 6″ pieces of wood. Then center the middle of that piece with the seam where two of the 10″ pieces are glued together. This will be the middle step. I laid the 20″ piece flat and pressed the step down for about a minute before moving to the next step.
Next glue on the bottom step. Add glue to another 6″ piece of wood and place it on the 20″ piece so that the bottom of the step is 3″ from the bottom of the 20″.
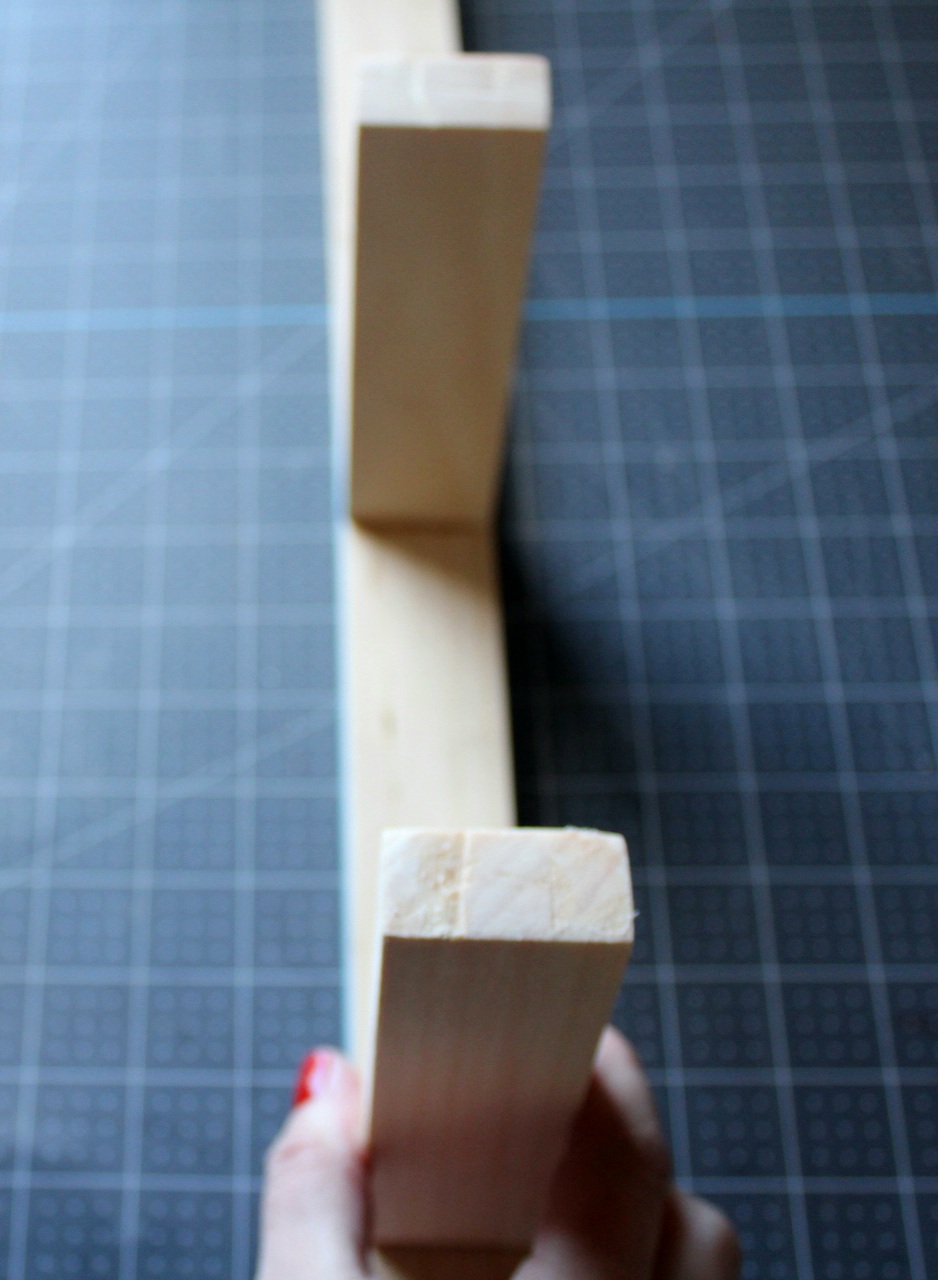
Glue the final step on the 20″ base so that the bottom of the step is 16″ from the bottom. You could glue the steps leaving an even amount of space between the middle and bottom and middle and top steps. However, I glued mine as I told you because I wanted the bottom step closer to the counter and more open space at the top. That way I can wrap wood bead garland on the top or place a little vase on it.
Attach the Other Side
Now add glue to the end of each of the three steps that are sticking up.
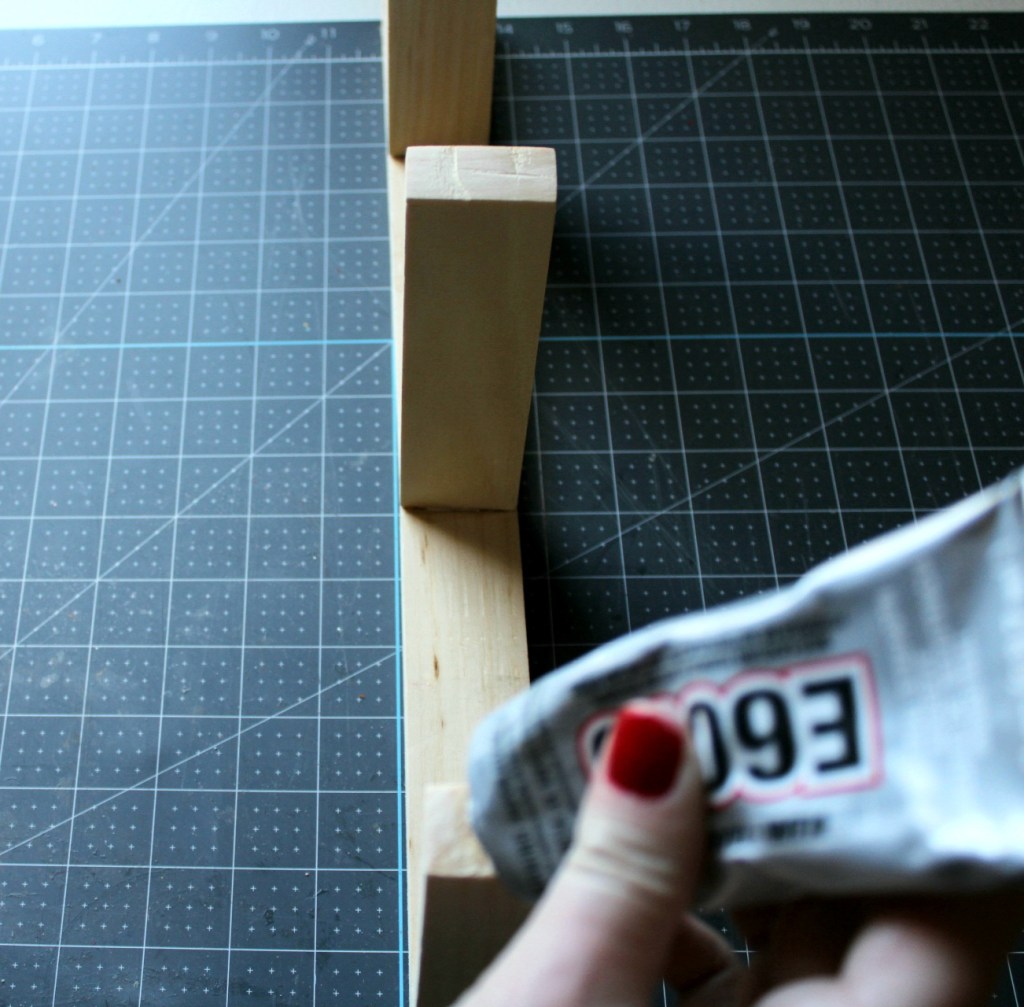
Line up the other 20″ piece of wood so that it’s even with the first one and place it evenly on the steps.

Make sure the steps aren’t sticking out of the sides of the ladder. They should be flush with width of the sides. Wipe off any excess glue.

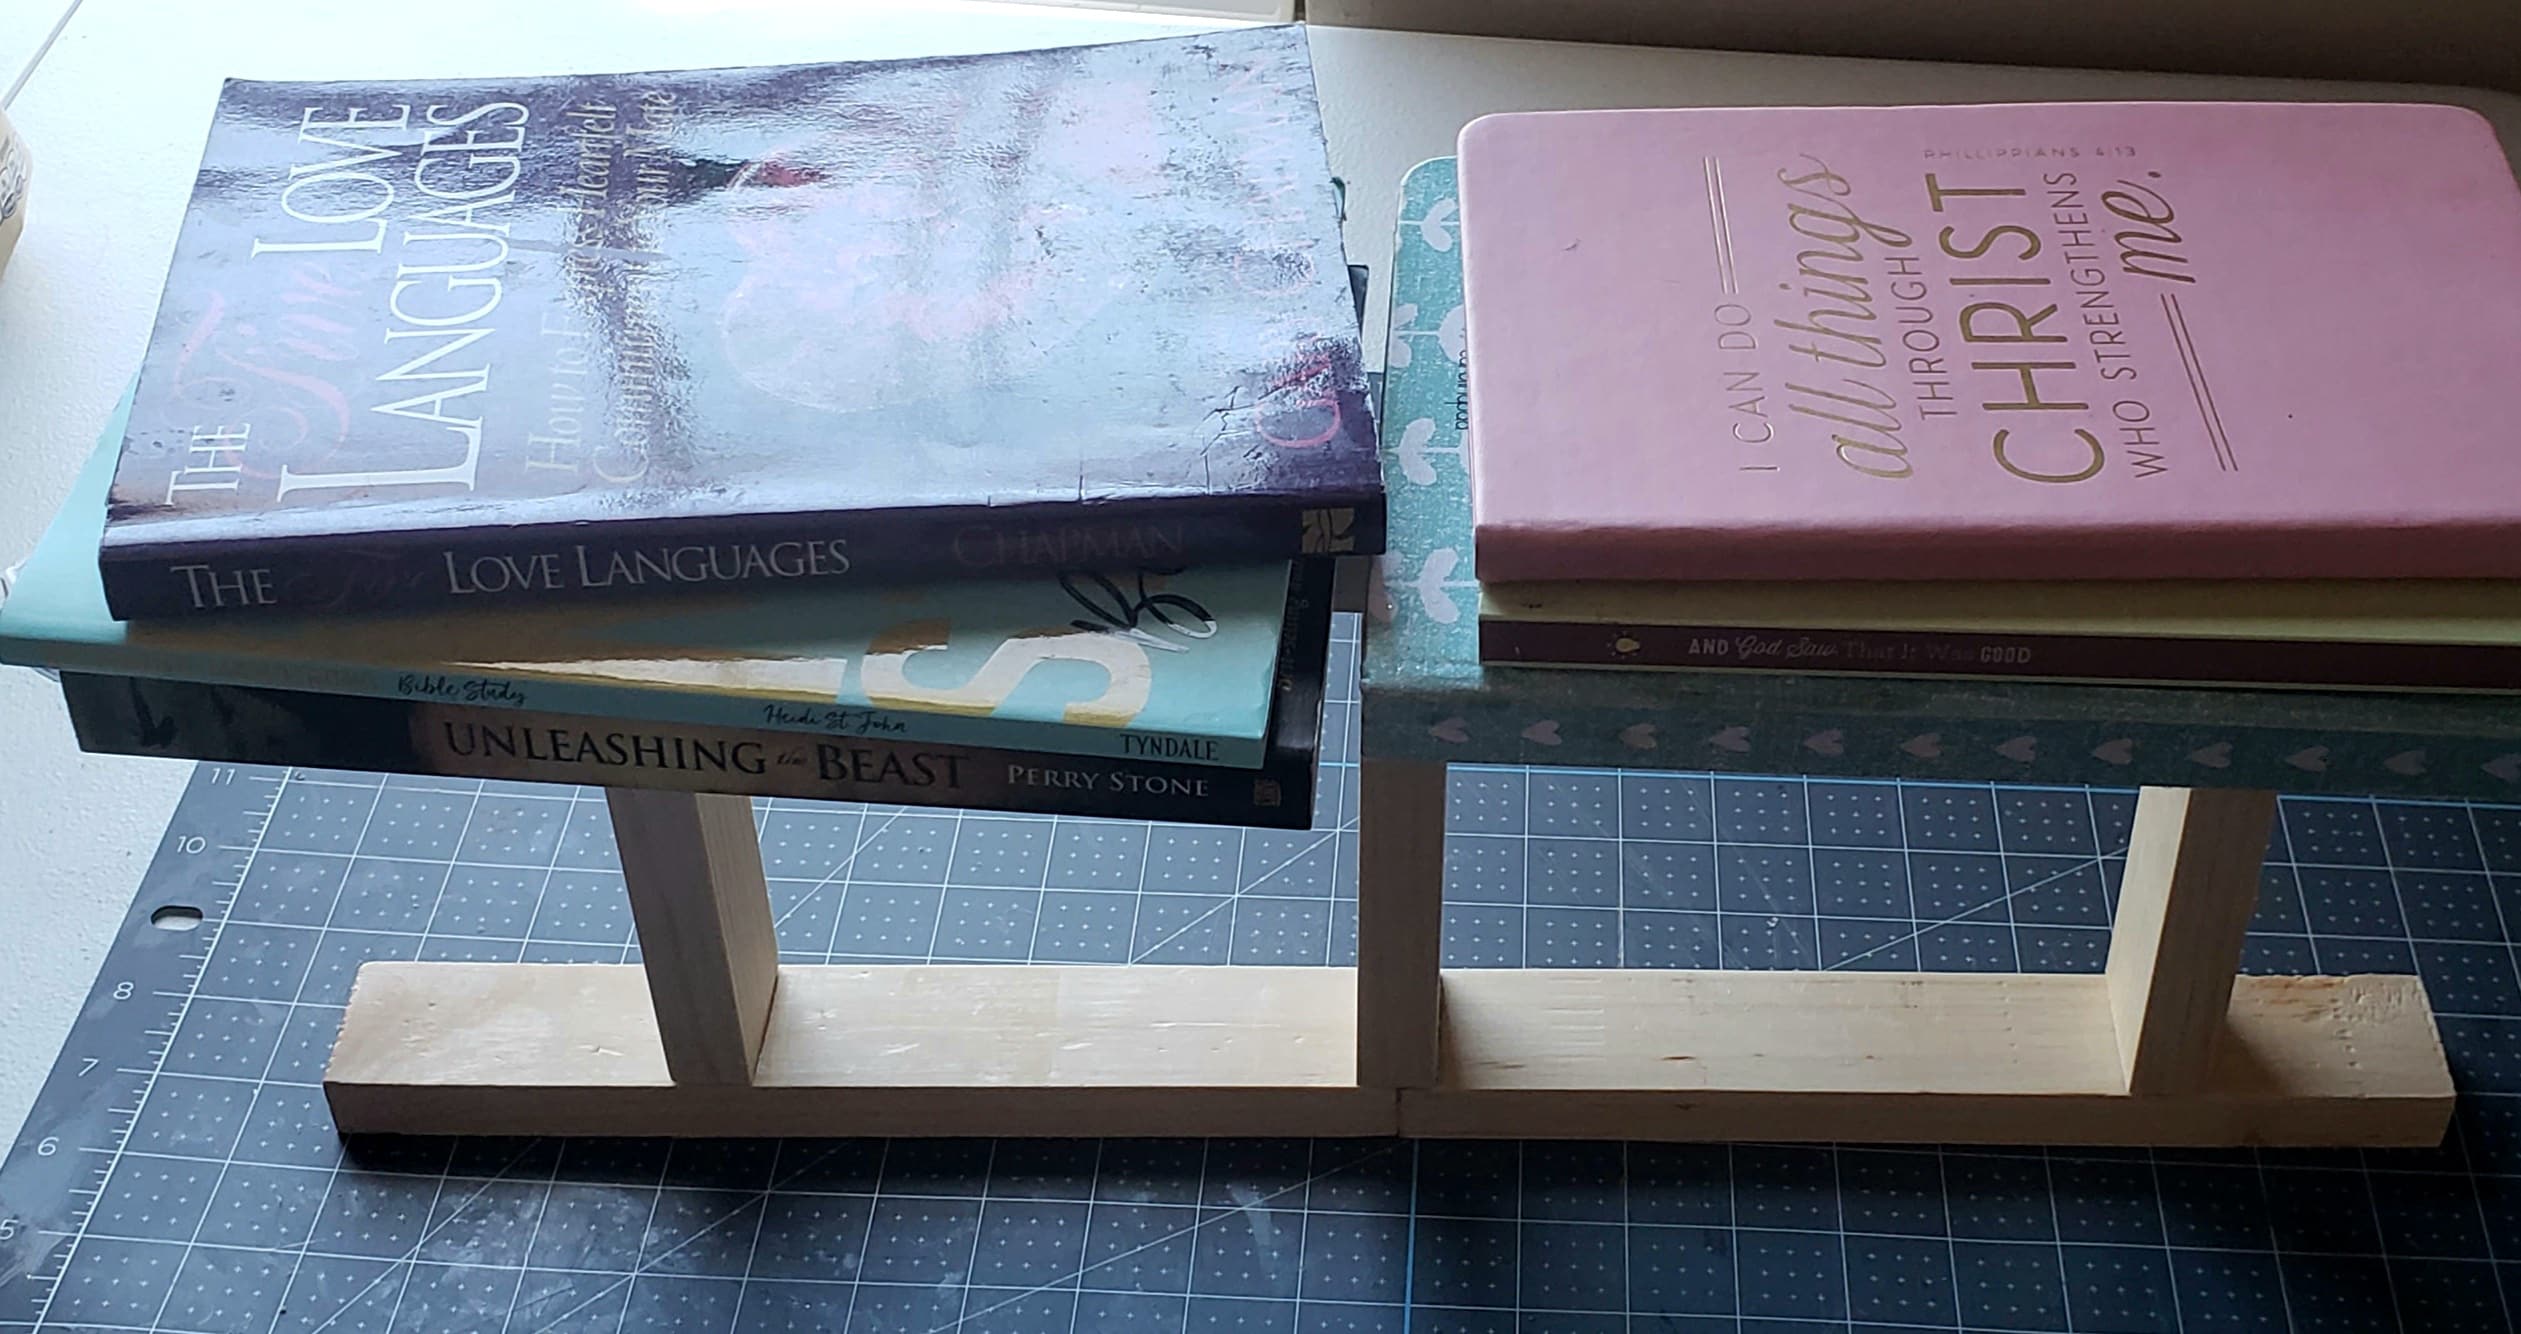
To help your ladder stay together while it’s drying, place books or something heavy on top. Leave it to dry for a few hours. Again, I left mine overnight.
Stain or Paint the DIY Tea Towel Ladder
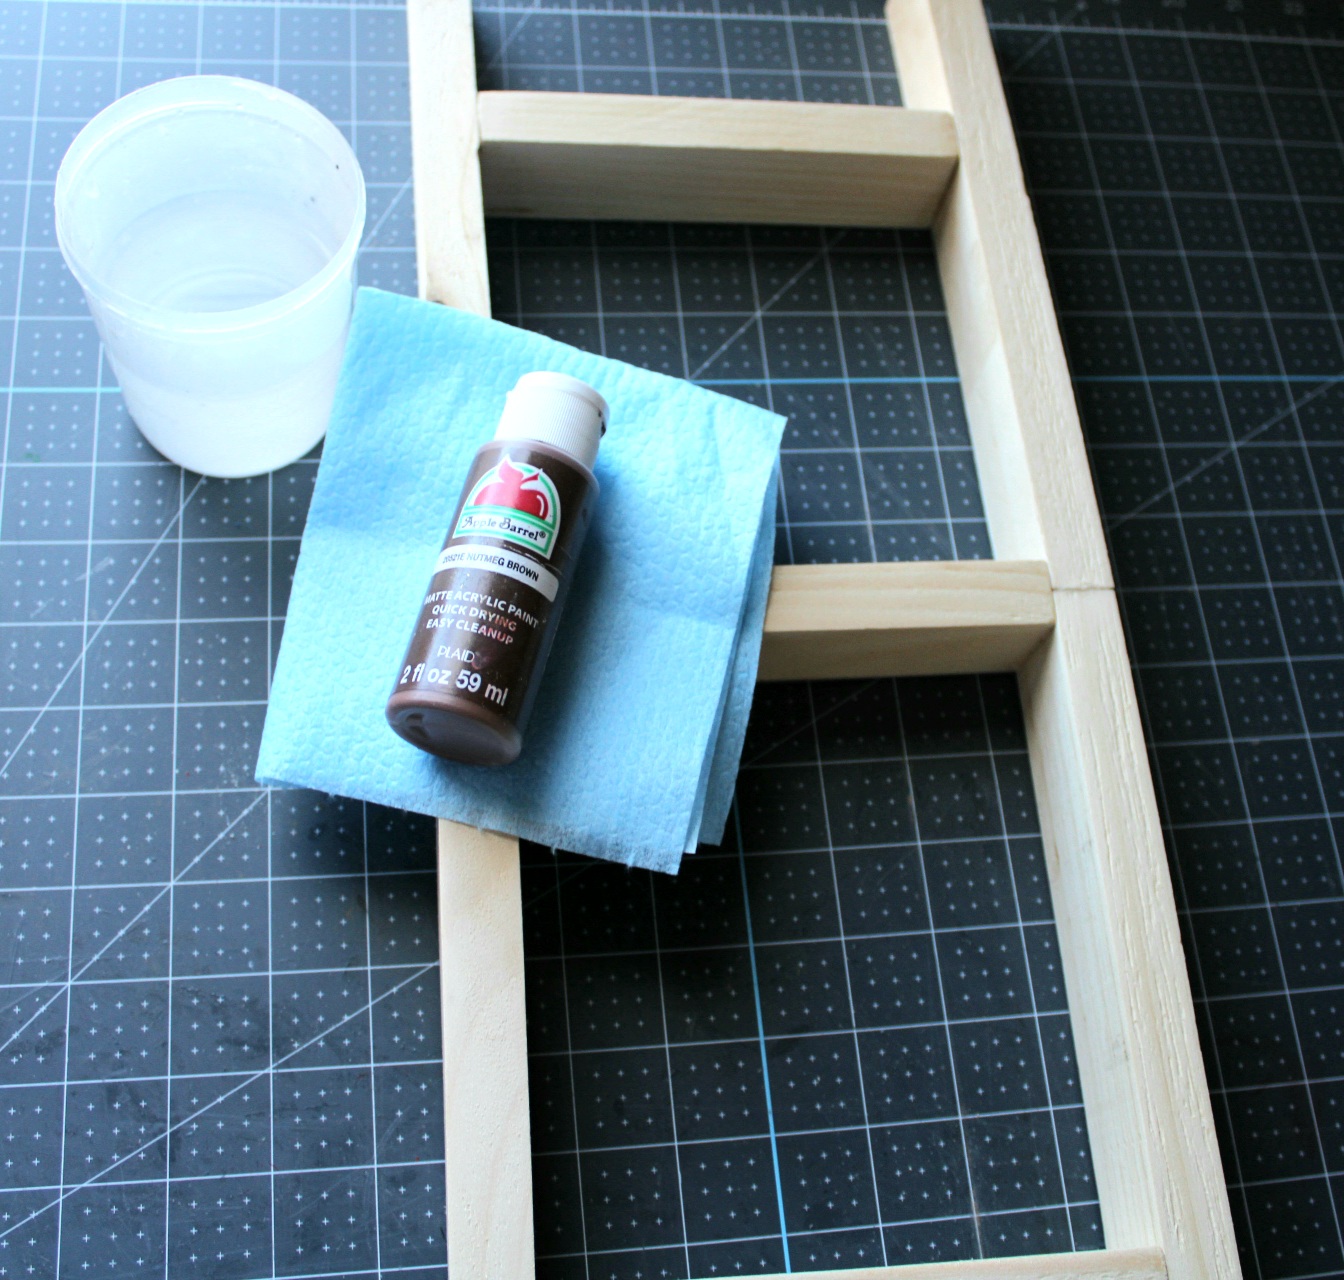
You can either stain or paint the ladder. I didn’t have any wood stain, but I wanted a wood stain look. Since I didn’t want to make this project more expensive, I made my own stain with acrylic paint. You can just paint your ladder if you’d like.
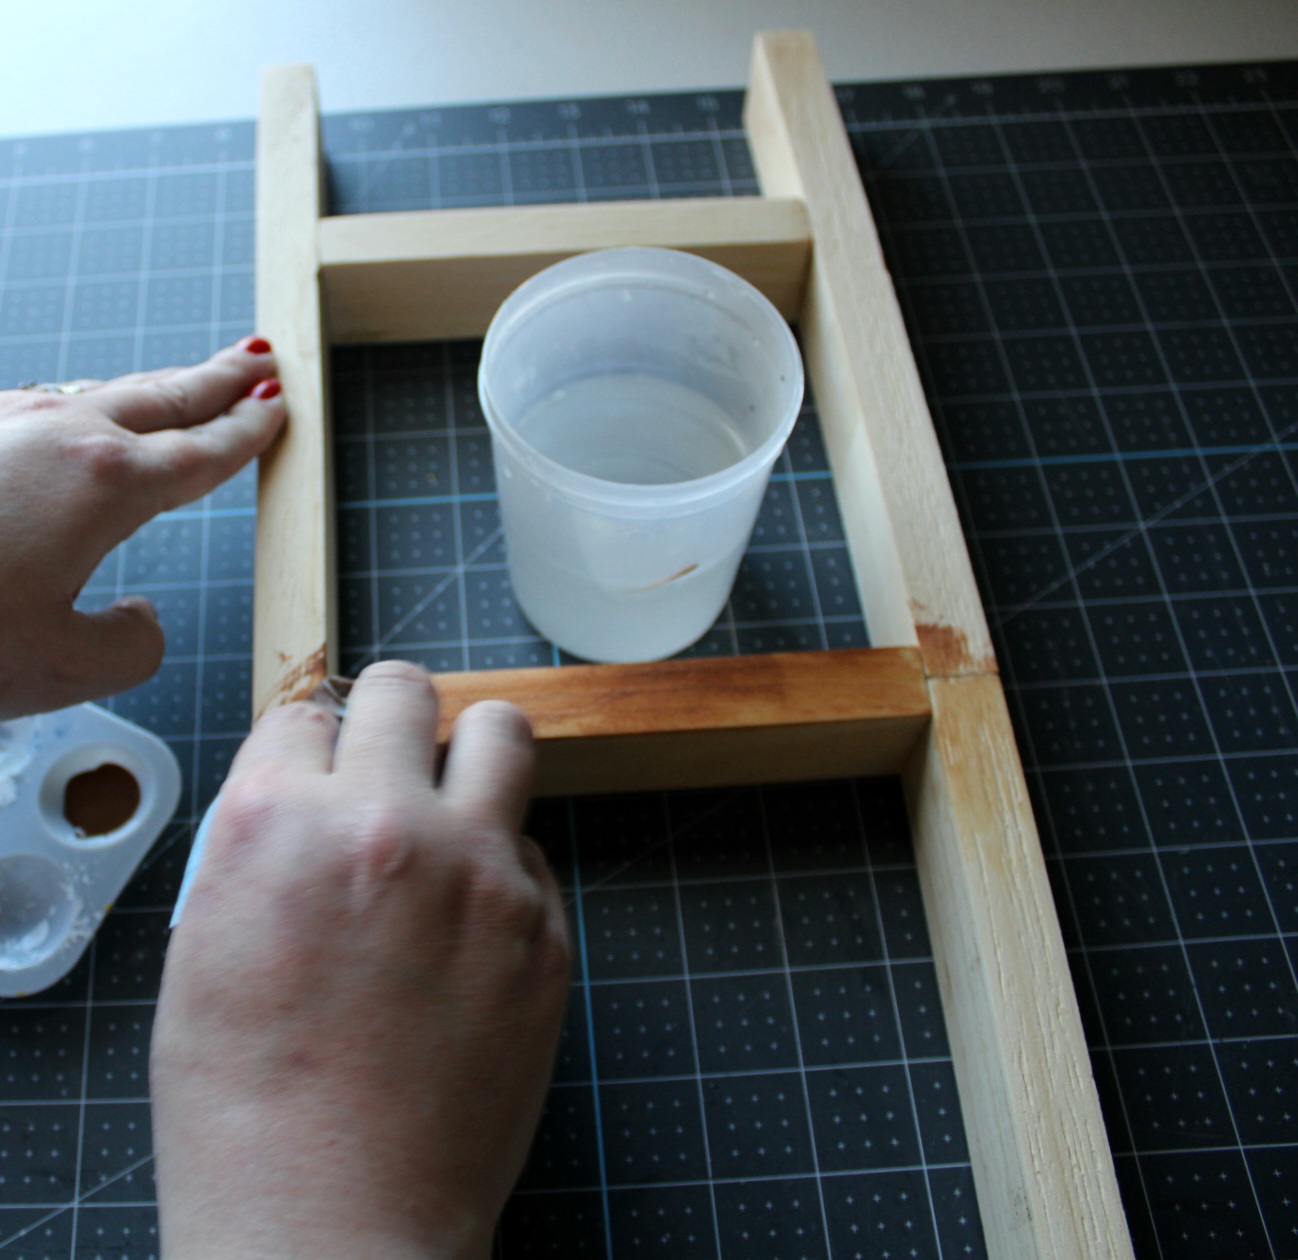
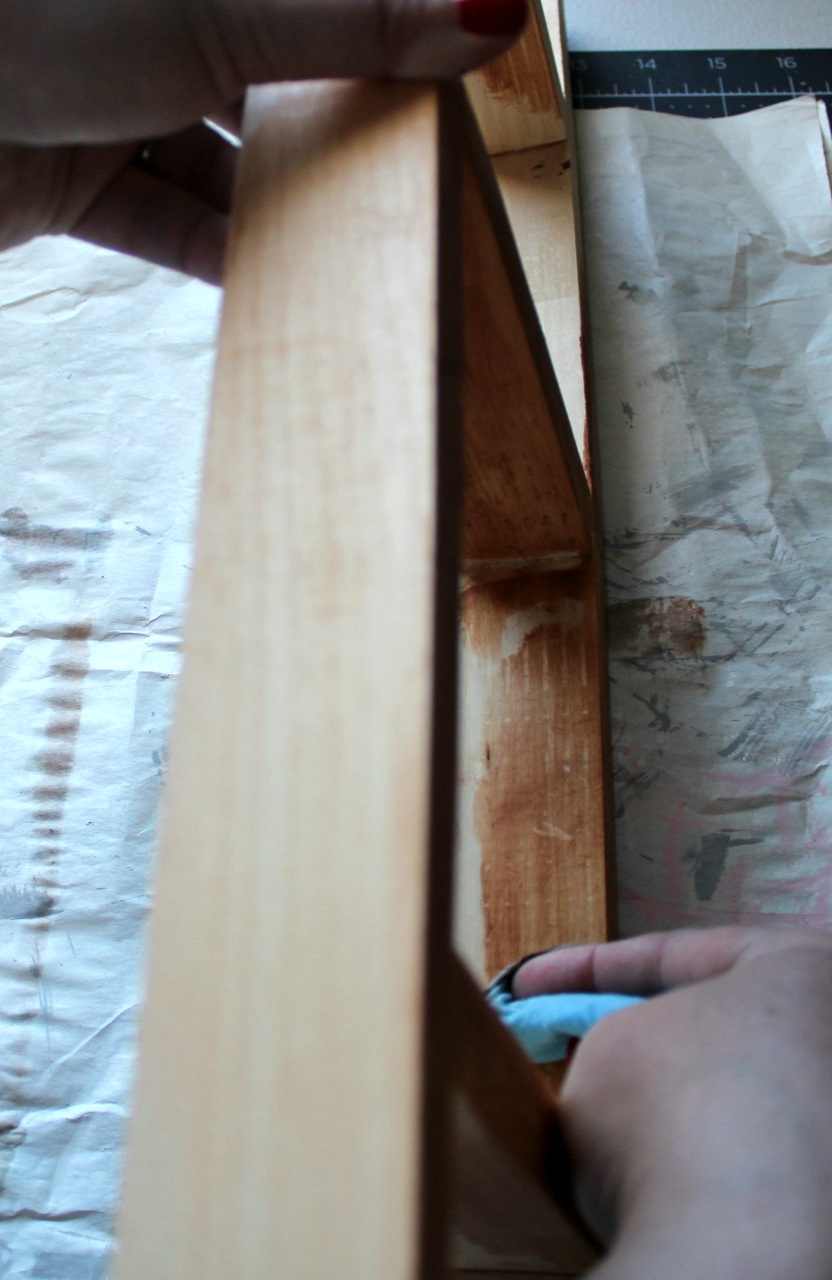
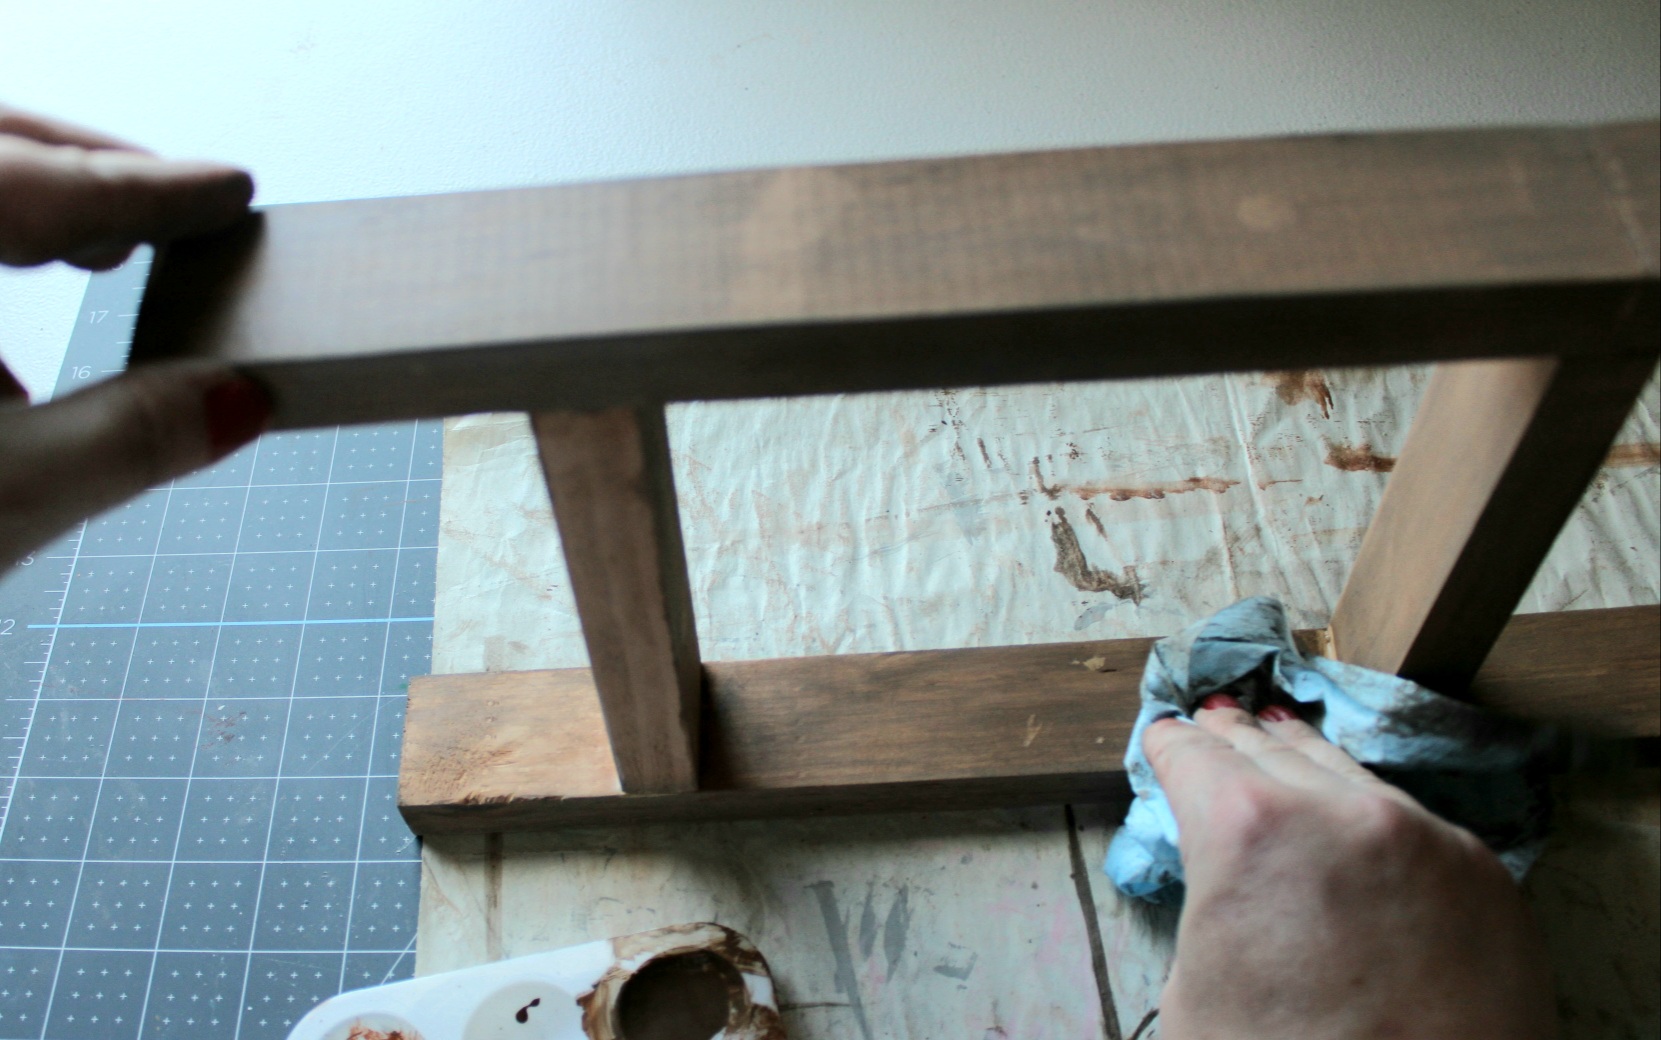
To faux stain with paint, you’ll need water and paper towels. I use automotive towels. They are amazing for projects like this. Fold the towel and dip it into the water, then dip it, just a little, into the paint.


Now begin rubbing the wood with the mixture on the towel.
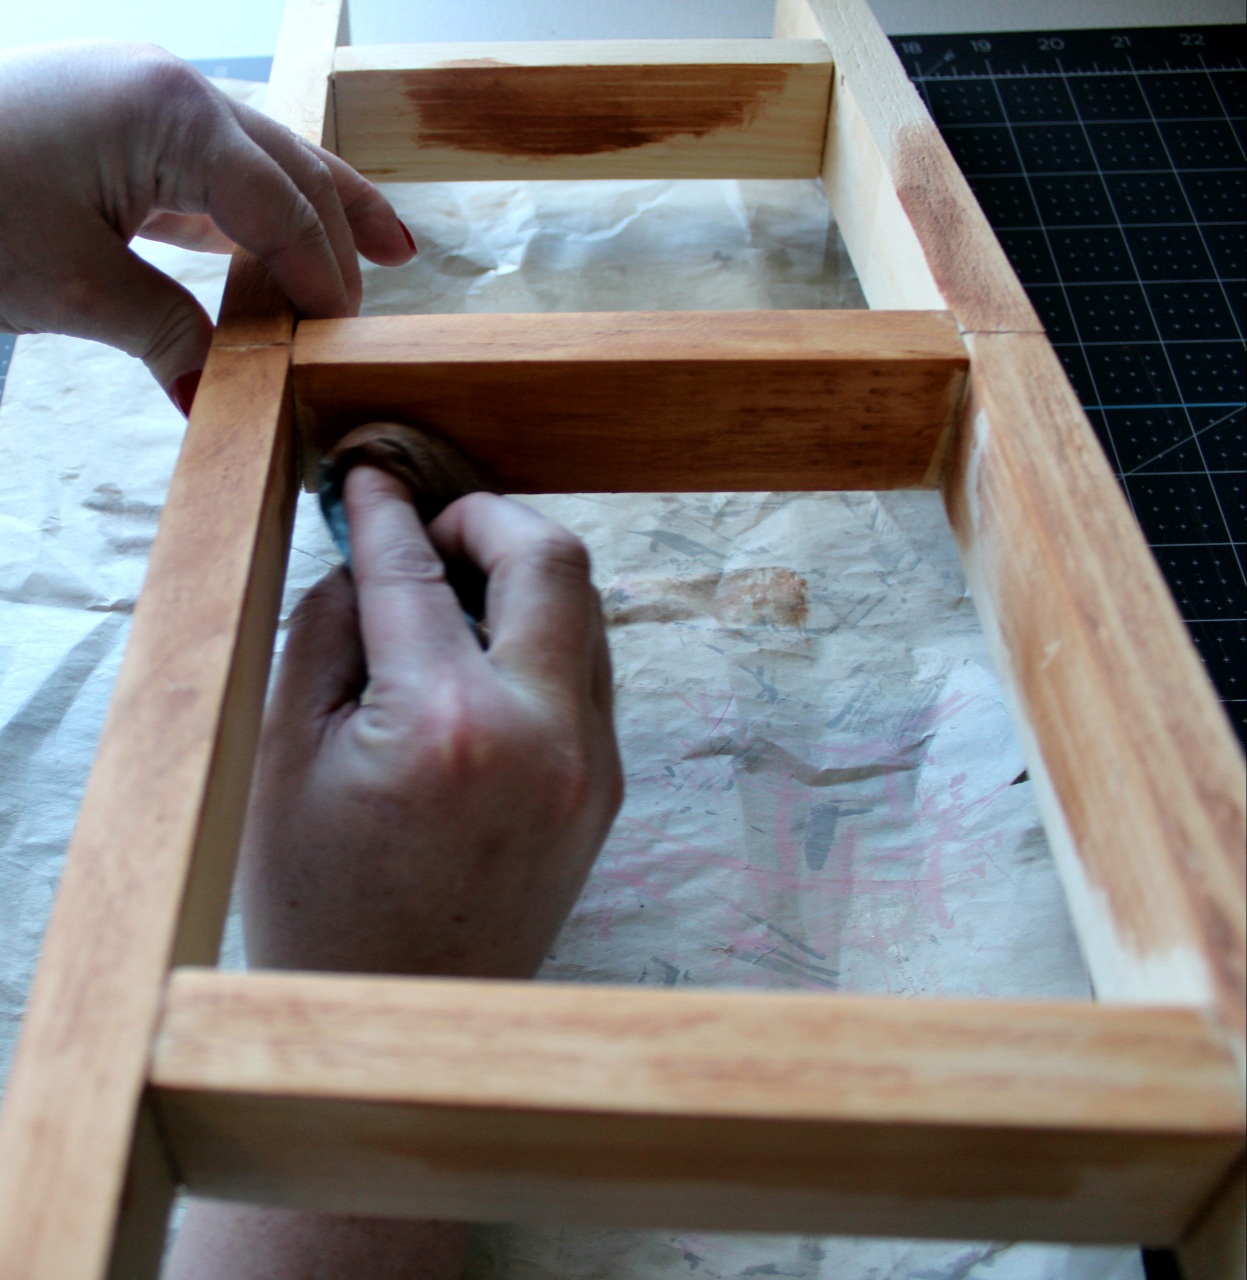
If you don’t like brown alone, you can add other colors like white or black.
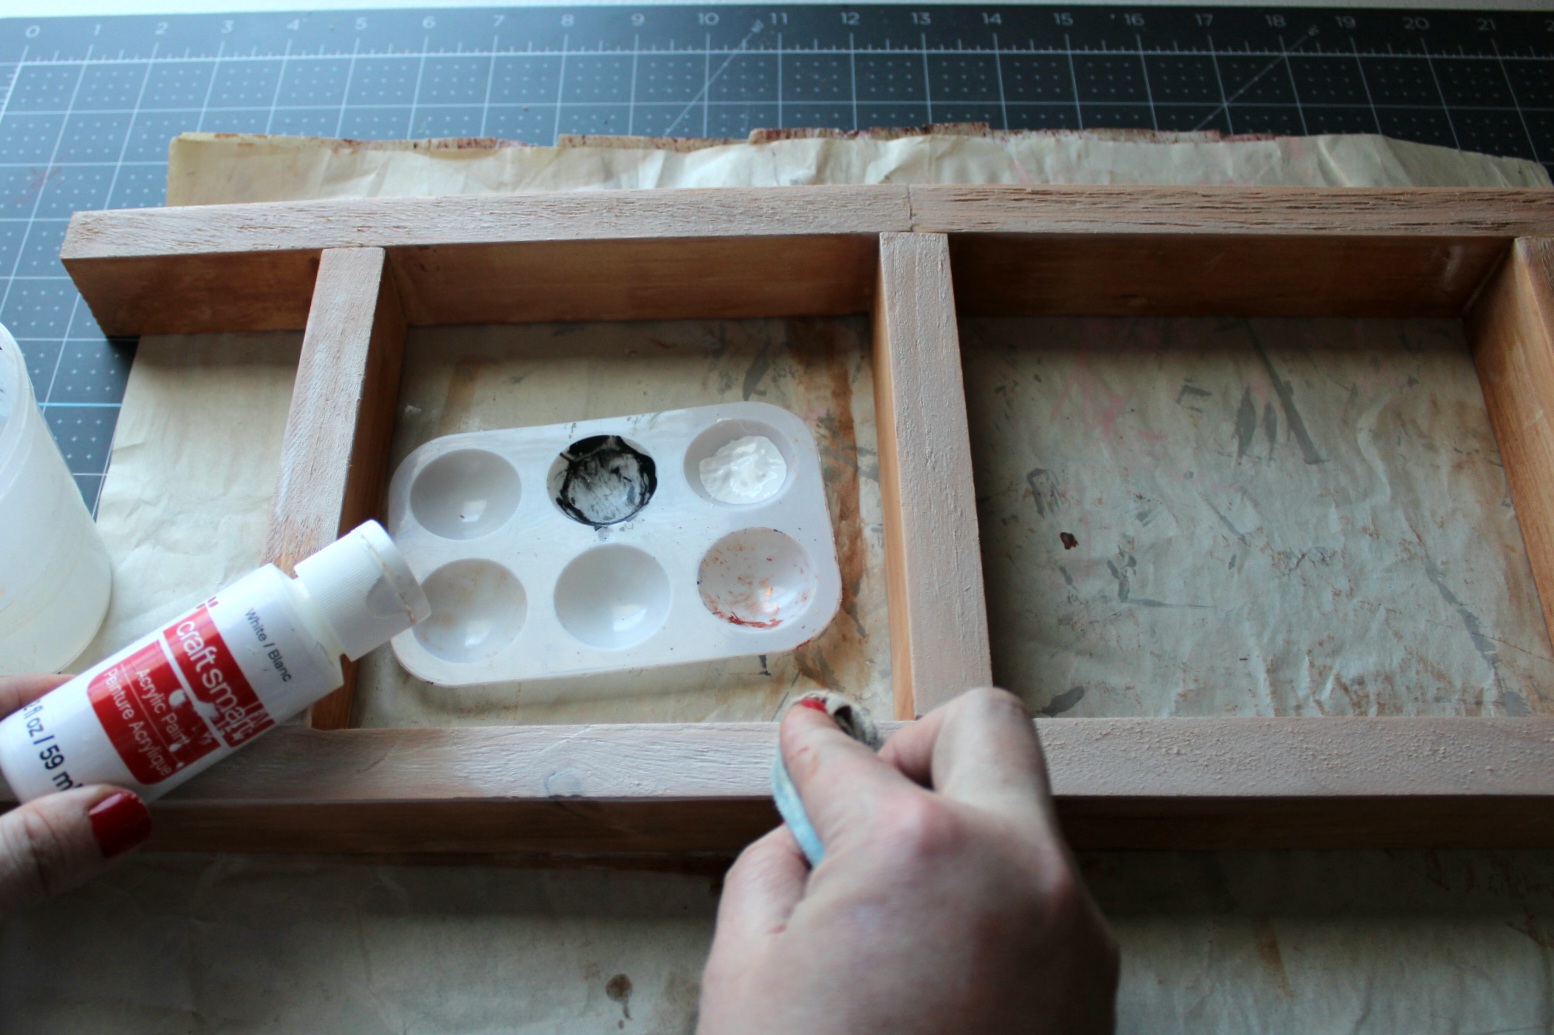
I made it a little too white, so I mixed the black and brown with water and brushed it on with a paint brush then wiped it down with a fresh paper towel.
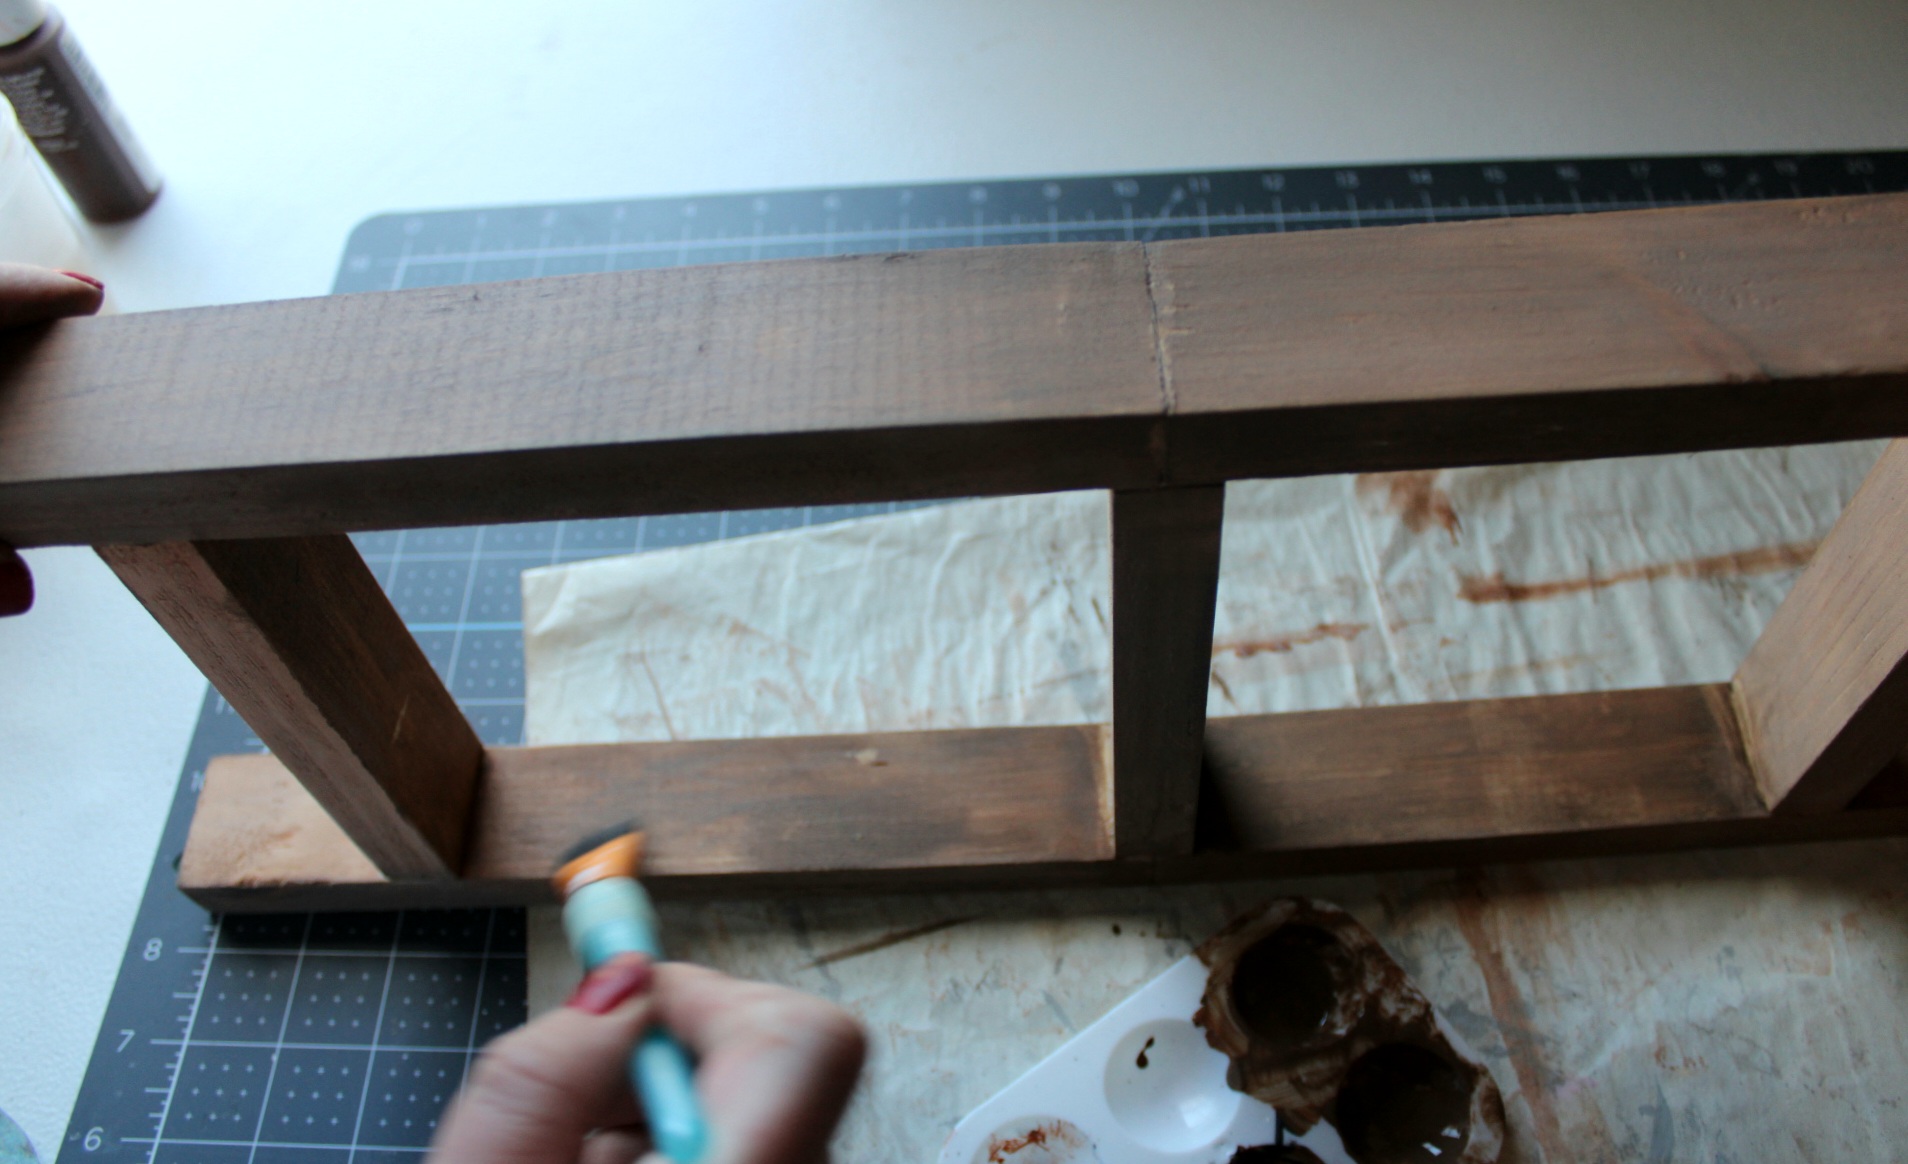
When you’re happy with the color, stop wiping and allow the ladder to dry.
*Note: if you sit it up and it slides down, sand the back ends of the bottom of the ladder until there’s an angle. That will keep it standing up. That’s helpful if your counters are slick.
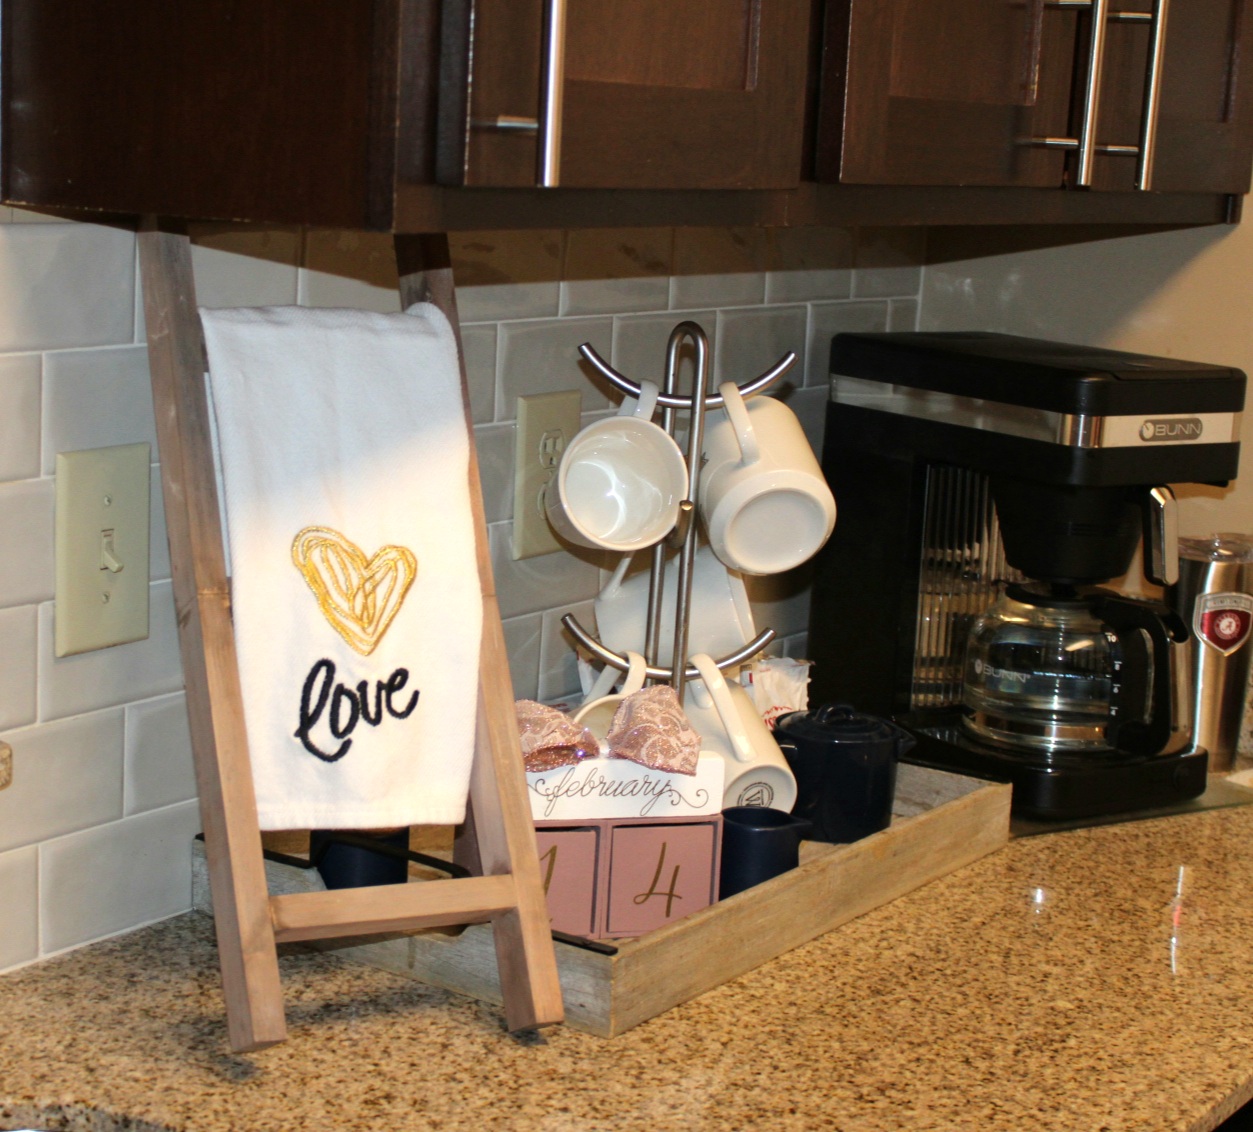
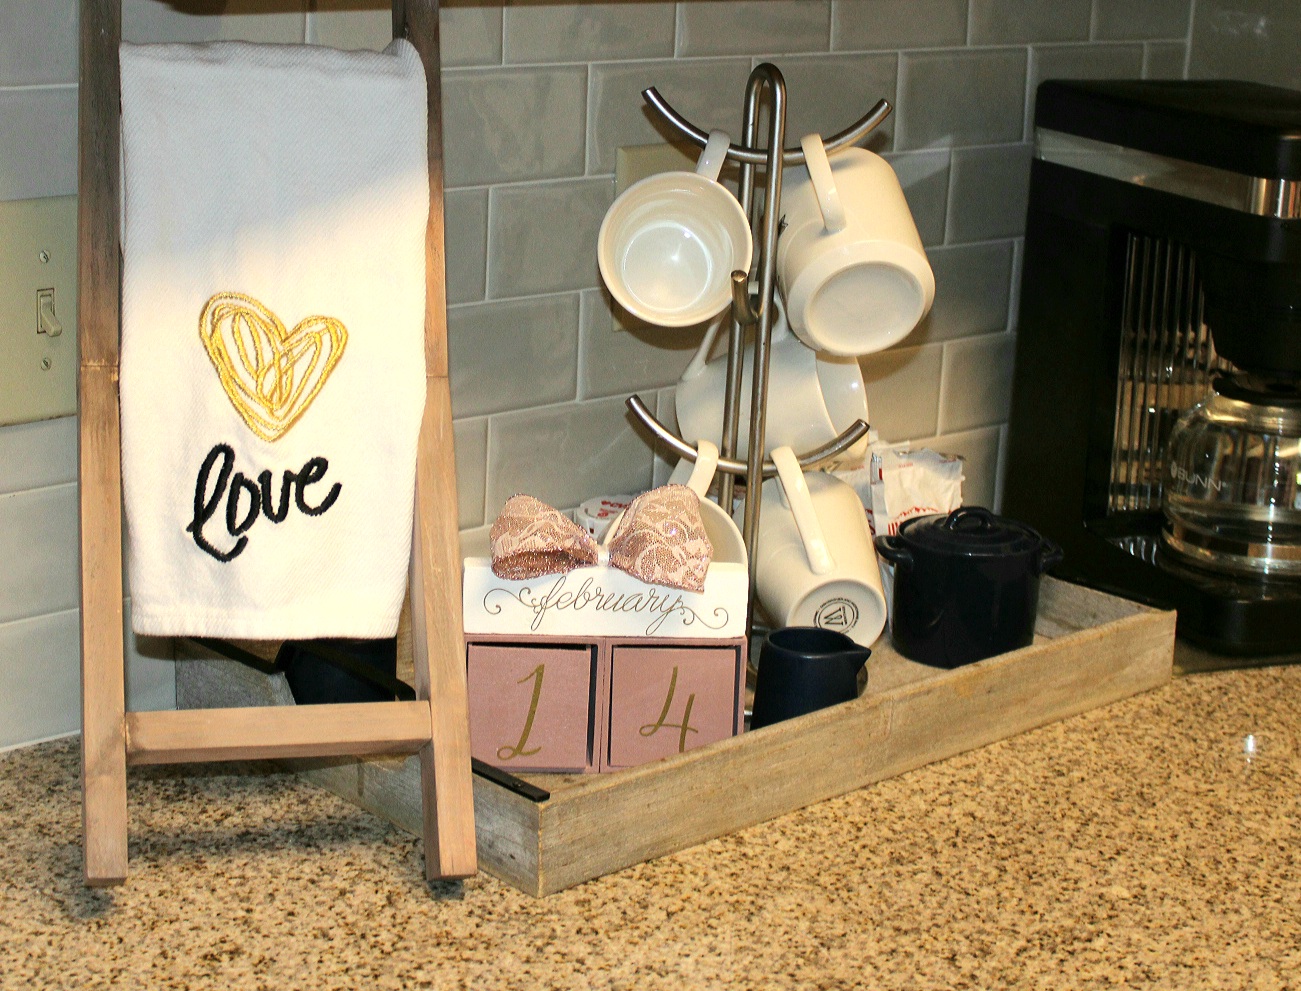
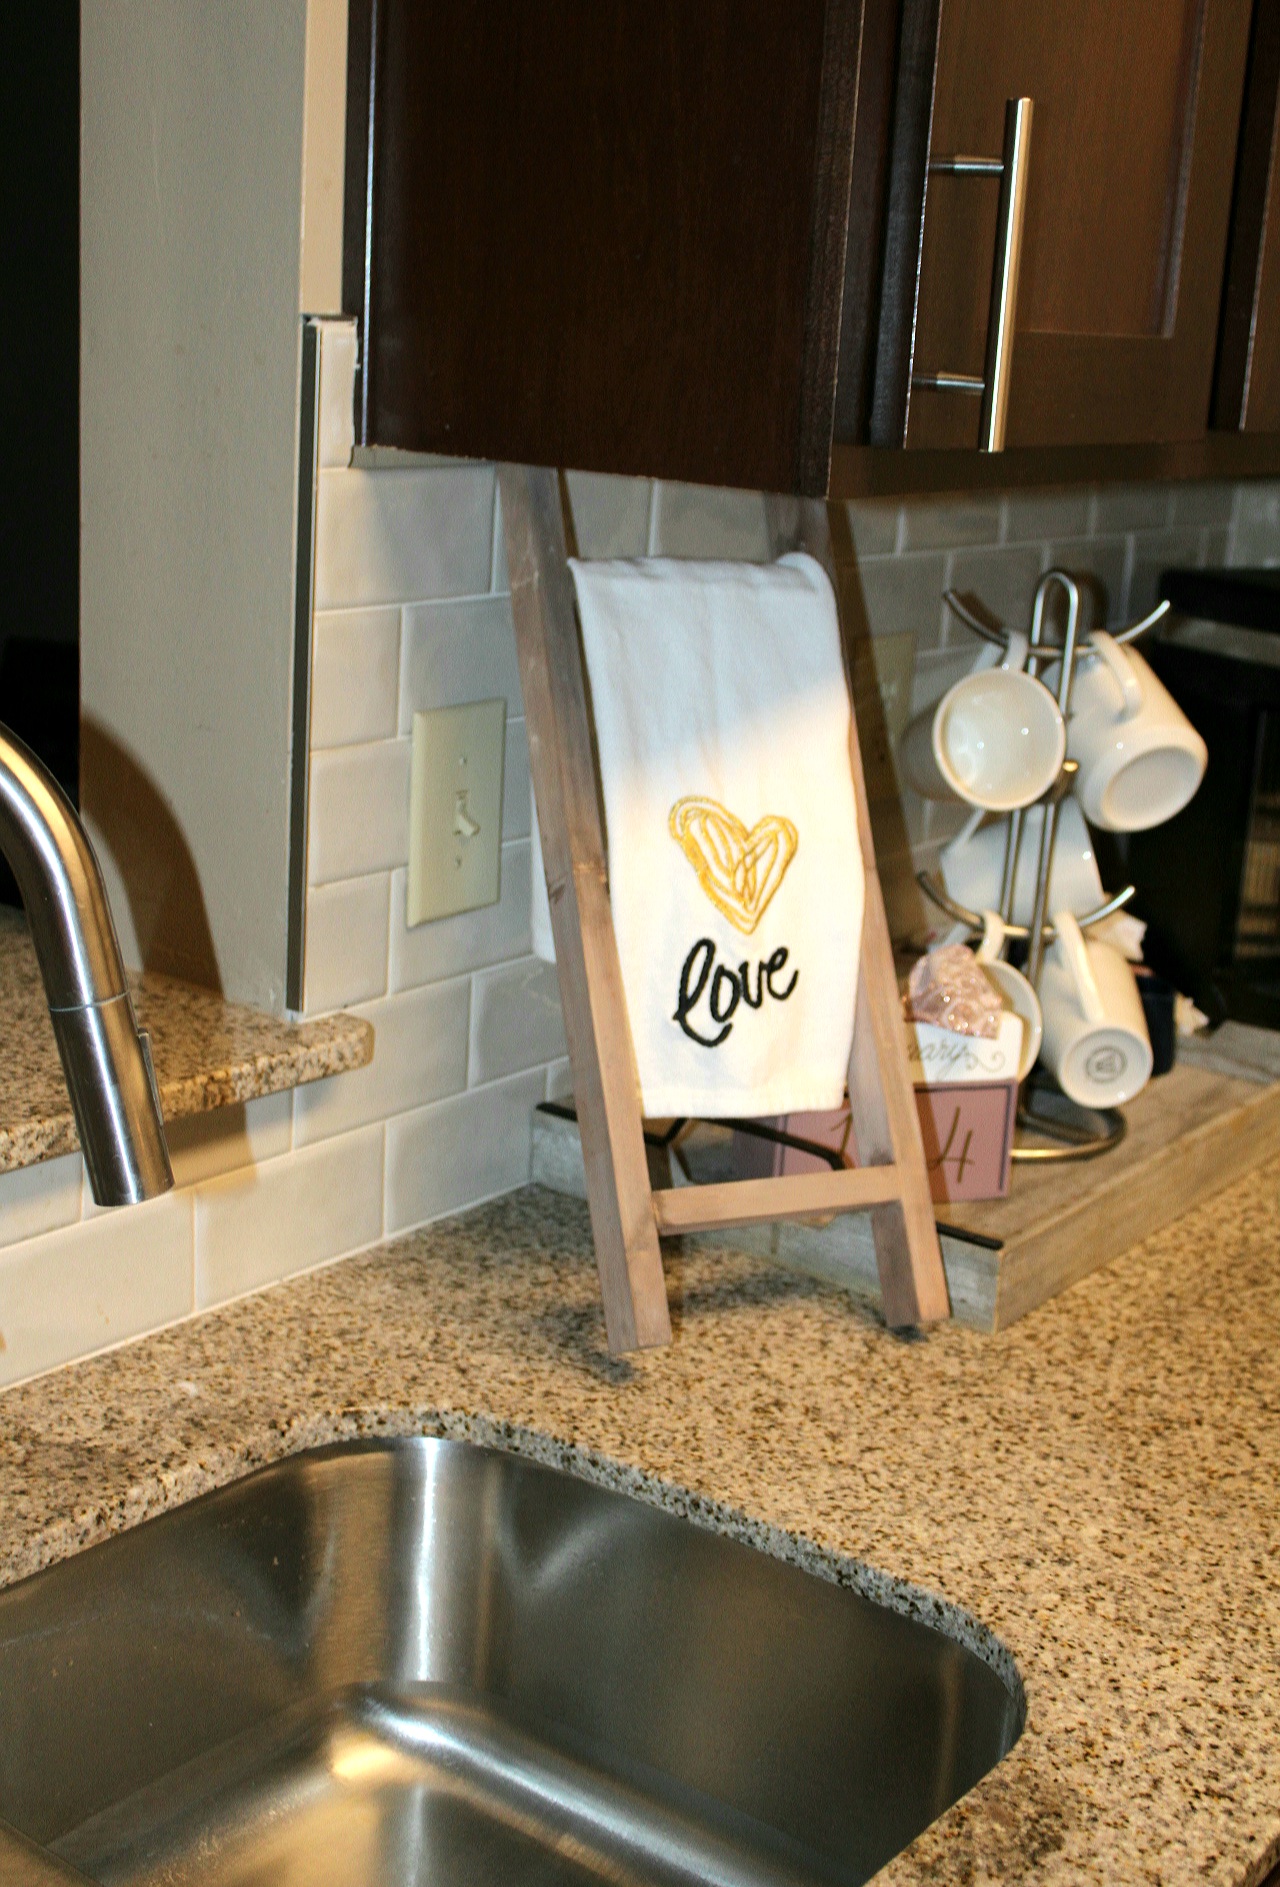
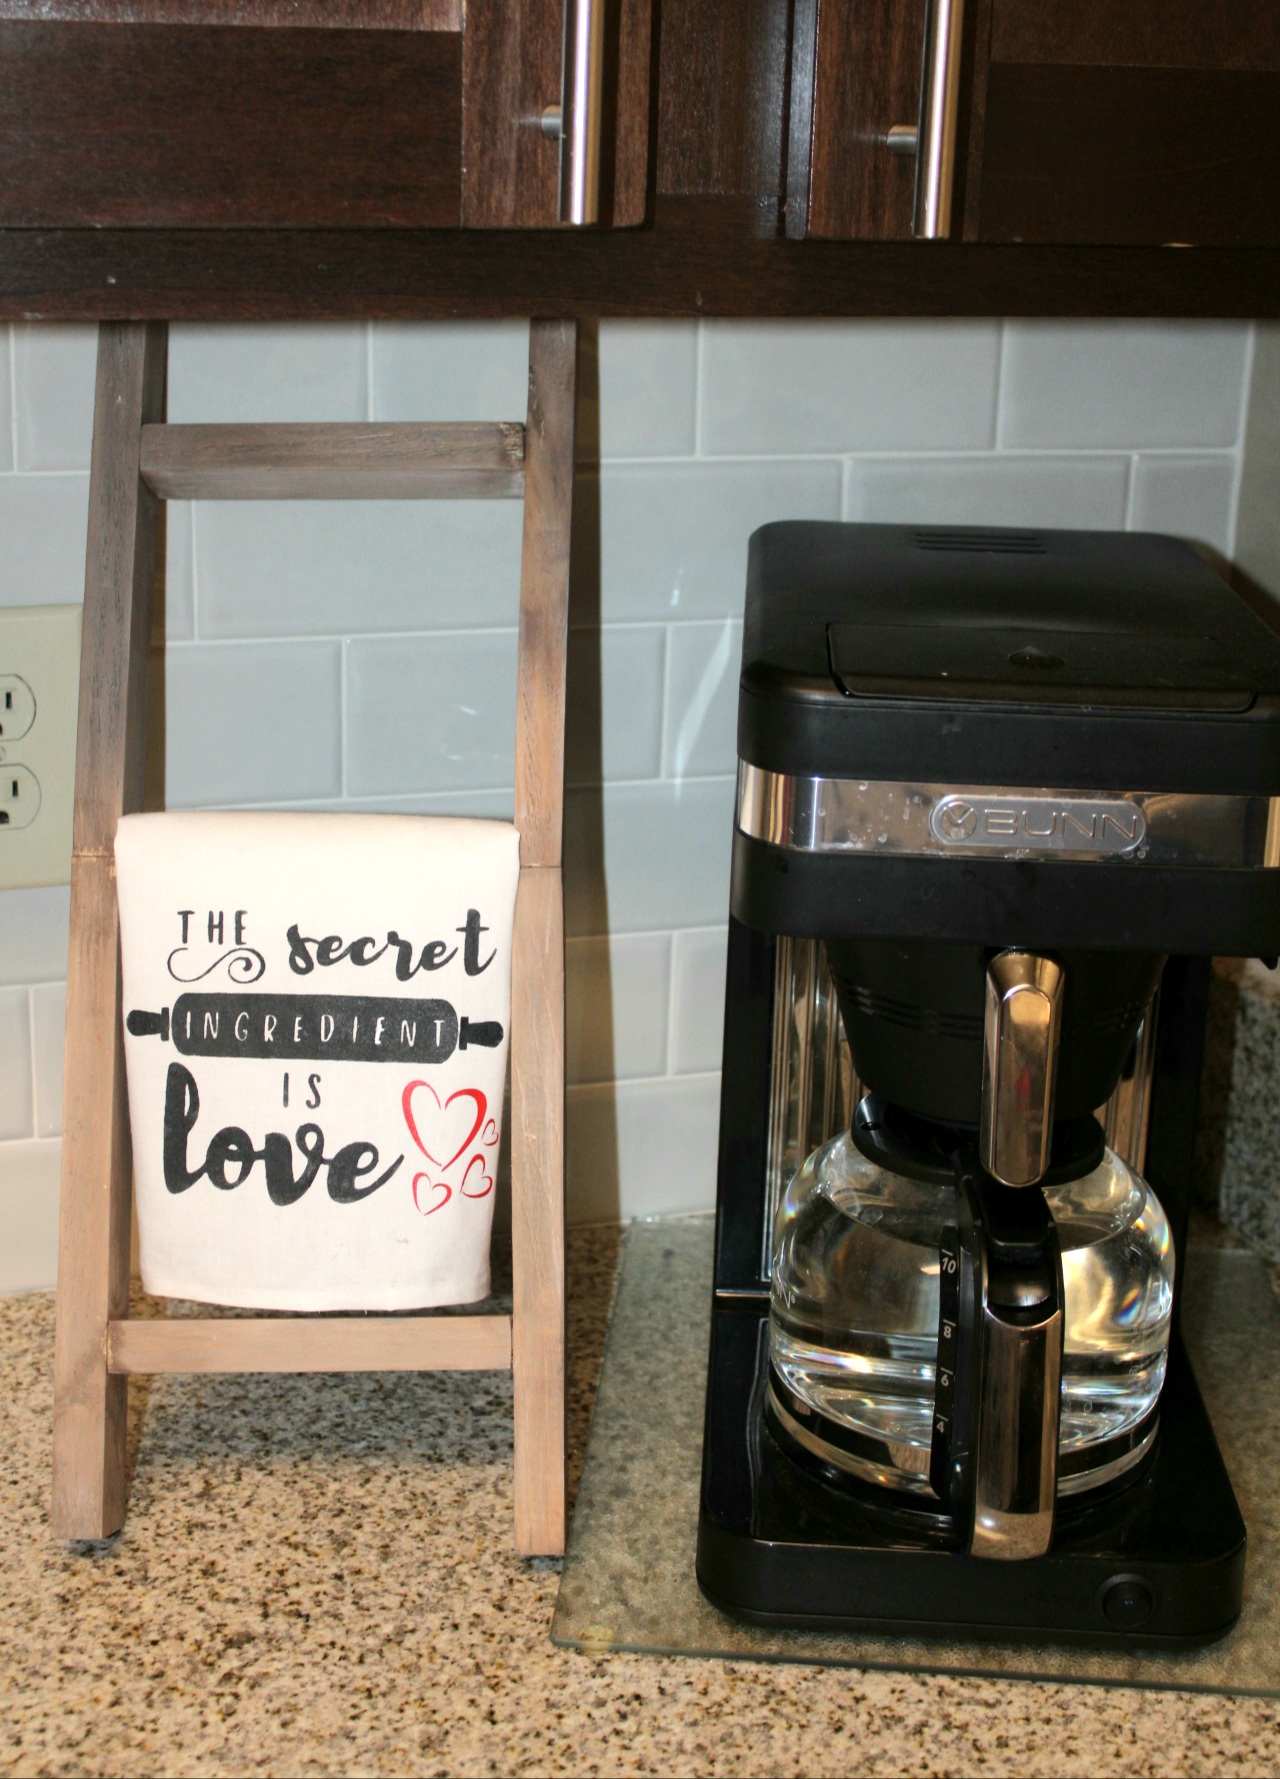
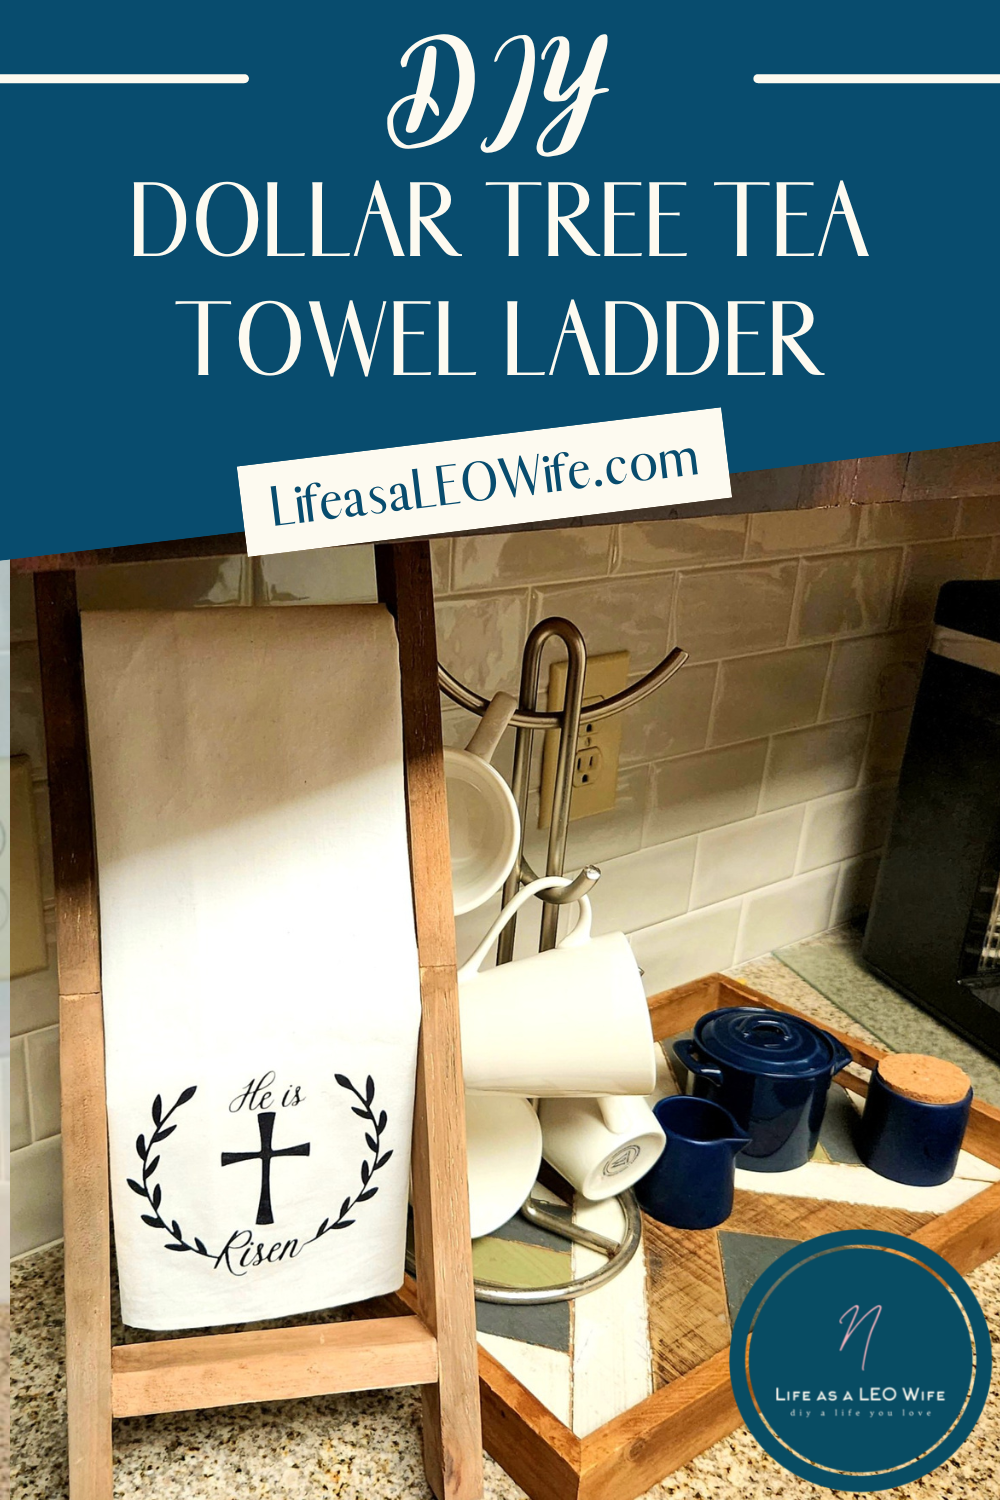
The DIY tea towel is ready to display!
That’s it! Isn’t that an easy project?! It makes the cutest farmhouse kitchen decor. My stove, where I hang my towels, is across from my sink so we’d drip water all over the floor trying to dry our hands after washing them. I had little towel bar under my sink, and it broke. Ugh! So, I placed my tea towel ladder next to the sink, and now I don’t have to buy a new towel bar. Here’s a few pictures of my finished ladder.


Remember to pin the image below or share this post with the buttons on the left side of the page so you can find it when you’re ready to start your project! Also, follow me on Pinterest for new ideas added weekly! Be sure that you never miss a great tutorial for decor like wreaths, signs and other home decor, free printables, crafts, and other fun posts! Enter your email address below to be notified of new posts! Use the buttons below to follow me on social media for other great content.
On to the Blog Hop!
I know you can’t wait to see what the other lovely ladies in the hop have cooked up for Valentine’s Day! I know I can’t!
Tammie – Patina & Paint (main blog)
Terrie – Decorating & More with Tip (main blog)
Allyson – Southern Sunflowers (main blog)
Corine – Junk to Gems (main blog)
Follow me on Pinterest for new ideas added weekly! And don’t forget to link up to our weekly link parties on Sundays and Thursdays!


Niki Wow! I am so impressed. I’ve seen these ladders but thought it would take a lot more skills than I possess but after seeing how easy you make it look I’m thinking I need to try it! Thanks so much for sharing.
It was so easy. The hardest part was leaving it alone long enough for the glue to dry!
This is so neat; I haven’t seen the wood yet in the Dollar Tree near us but will start keeping an eye out for it. Love the ladder you made; your tutorial is so easy to follow. Love the height of your ladder. Great job!
Thank you! I think our Dollar Tree started getting the wood a few months ago, but I did notice that not every one of them has some.
Oh my goodness, I have always wanted to try and make one! Thank you for sharing the steps. Now I am motivated!
You’re welcome! Tag me on social media if you make one. I’d love to share it!
Your ladder looks great on the counter and your tea towels look cute displayed on it! I like making my own stain, too. I think it works just as well as the real stuff.
Thank you! It took me a while to get the right color on the wood. My husband got to hear me lament about how I ruined it when I was letting it dry. Then it was the perfect color once it dried!
This turned out so cute Niki! I love your tutorials because they are always so easy to follow. Thanks for sharing. and have a great weekend ahead. Pinned!
That’s so kind! Thank you!
This is so cute Niki! I will have to head to the Dollar Store and see if they have what I need to make one. Thanks for the inspiration!
Thank you! I hope they do!