
It’s the first Tuesday of the month which means it’s time for our monthly Sustainable Pinterest Challenge. That’s where a group of bloggers from around the world get together for a blog hop. This month’s challenge was to make our own version of a kitchen item or project that caught our eye on Pinterest. We’ve also added the additional challenge of using “green” or sustainable items in the project. So today I’m sharing a tutorial for creating a DIY tea towel using old sheets or other clothing that you’re no longer using. I don’t have a sewing machine, and I can’t sew a straight line to save my life, so this is also a no sew tutorial!
Our projects each month are based on a pin or two that we’ve seen, and I saw these tutorials for making tea towels out of flour sacks. I can’t get ahold of a flower sack (I’m not a baker so I don’t even have a clue if it’s actually a sack that holds flour lol), so I needed to come up with another sustainable item to make my DIY tea towels from. I had an old piece of white fabric that used to line my desk, but it got a tear in it, so I had to take it down. It looked like it would make the perfect tea towel. It’s similar to a white sheet, so if you have one of those, that’s perfect. This is the pin that got me interested in making mine.


Stick around after the tutorial to check out the posts made by all of the wonderful, lovely ladies who are participating in this month’s Sustainable Pinterest Challenge Blog Hop!
Supplies for a DIY Tea Towel:
- old sheet or other fabric
- my free SVG design (No need for a Cricut if you don’t have one!)
- fabric paint or
- acrylic paint with fabric medium
- foam brushes
- scissors
- fabric glue (Liquid Stitch) or
- craft glue (Tacky Glue) or
- needle & thread

Looking for a place to display your tea towel? This DIY tea towel ladder is perfect and costs less than $5!
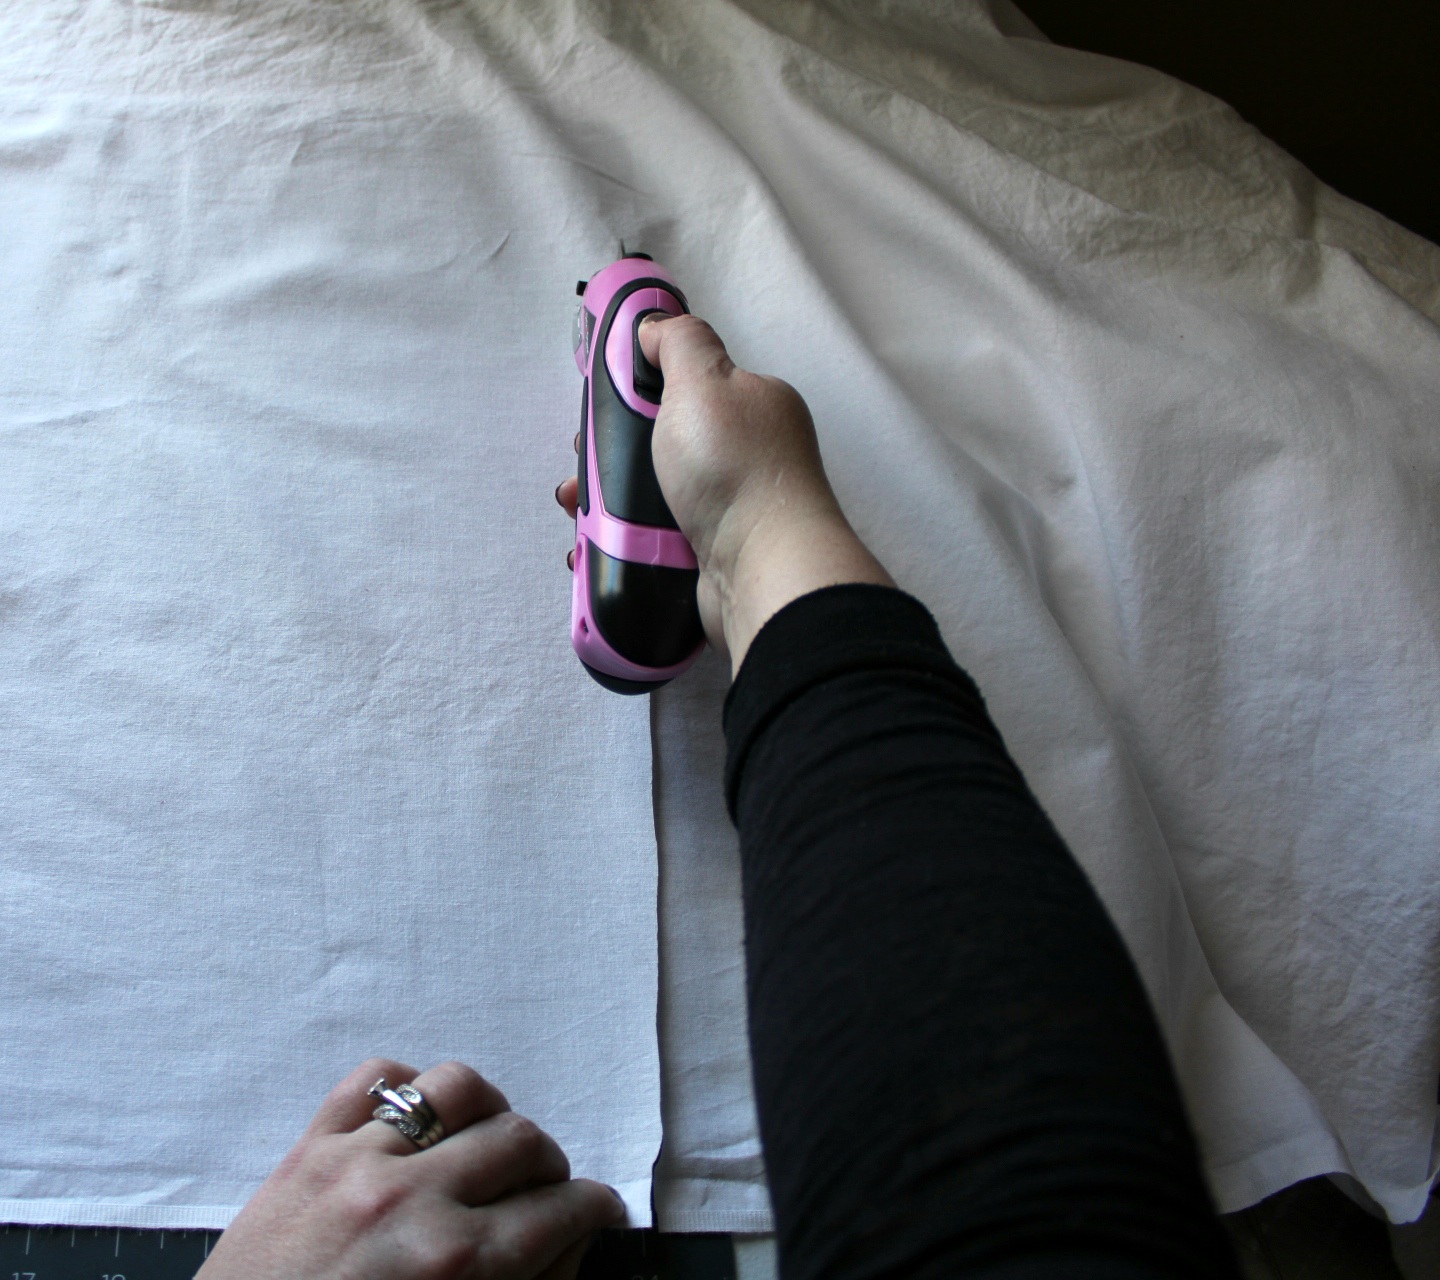
Cut Fabric
To cut the fabric to the correct size, lay a kitchen towel on top of the straightened fabric and cut around it. Cut a little wider and longer the towel to leave room for hemming. If you have a cutting mat and don’t want to use another towel, you can cut the fabric to about 25″ long by 17″ wide. That will give you enough room to hem each side.

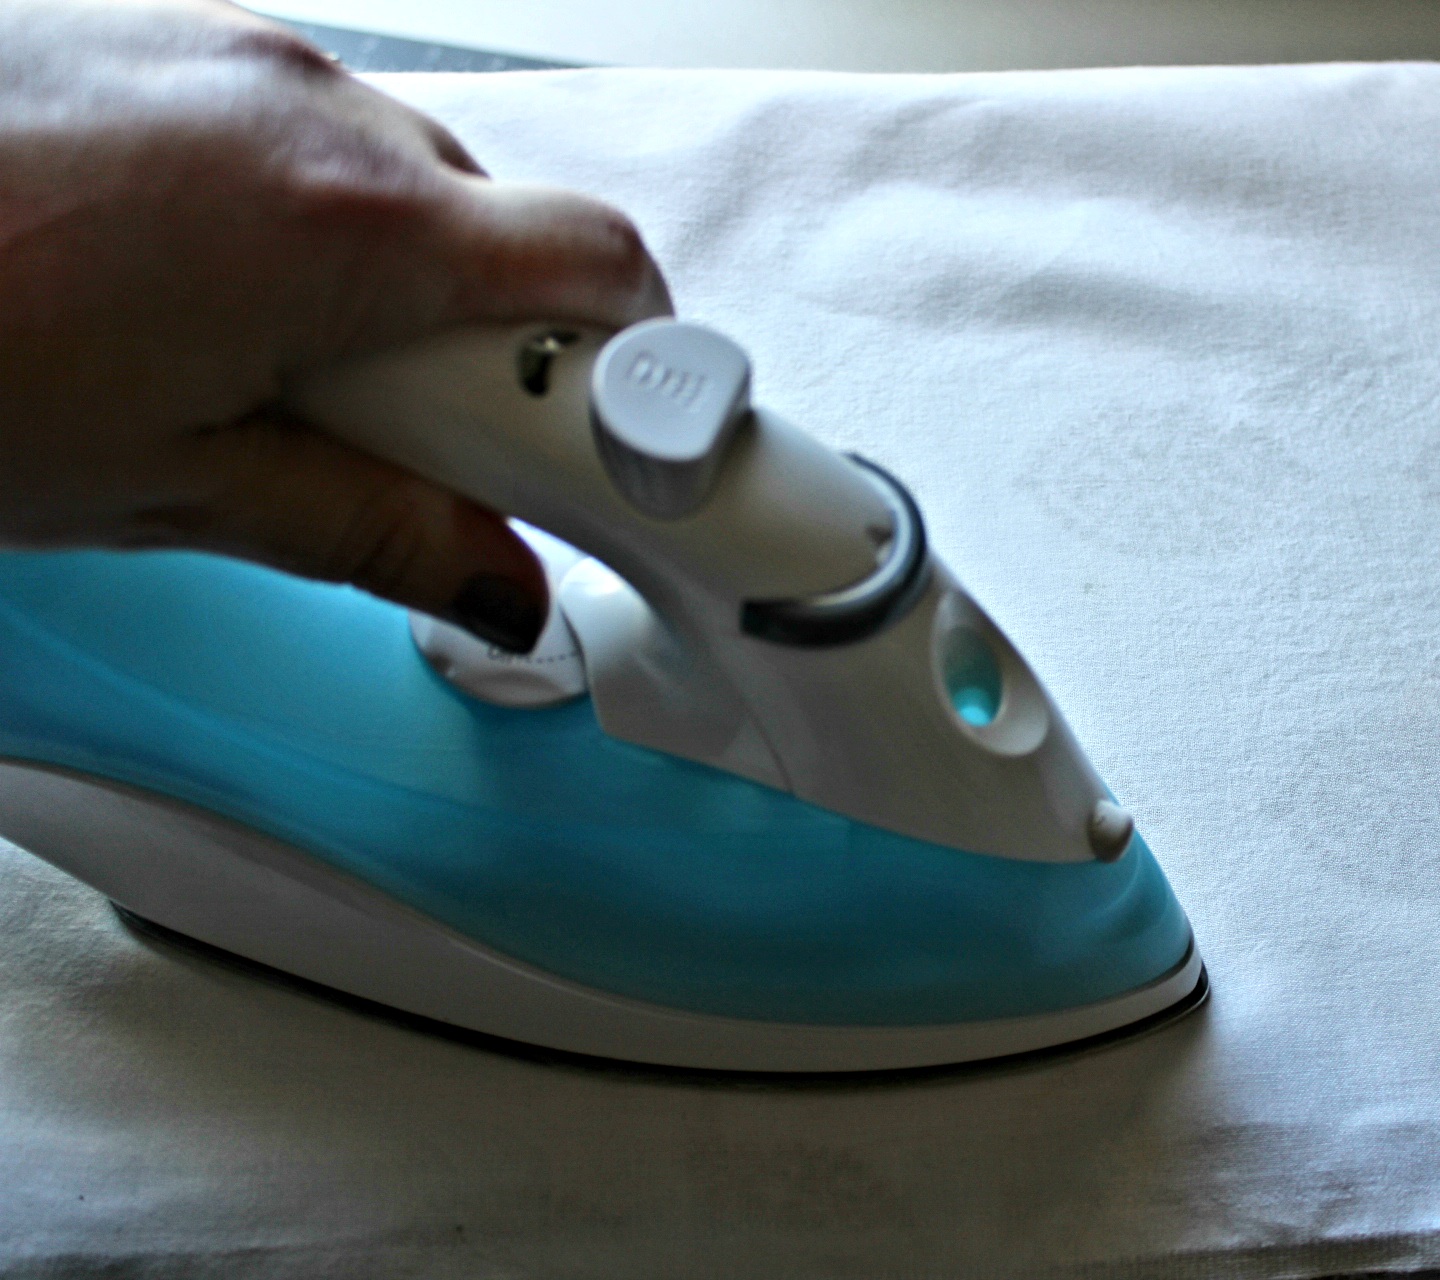
Iron the fabric.
Pin the Fabric
Next you need to pin the fabric so that you can “hem” it into a straight line with clean edges. I used my grid cutting mat to make sure that I pinned the fabric so that the lines would be straight. I’m not a sewer, so forgive me if you are and this part of the tutorial seems silly lol.
Lay your fabric out on a cutting mat or something that will help you keep it straight. Fold in the edges just a bit, then fold it in again so that you can’t see the cut edge. Push a straight pin through the fold to hold it.

Continue around the entire piece of fabric, folding and pinning, until you have all of the edges pinned.

“Hem” the Fabric
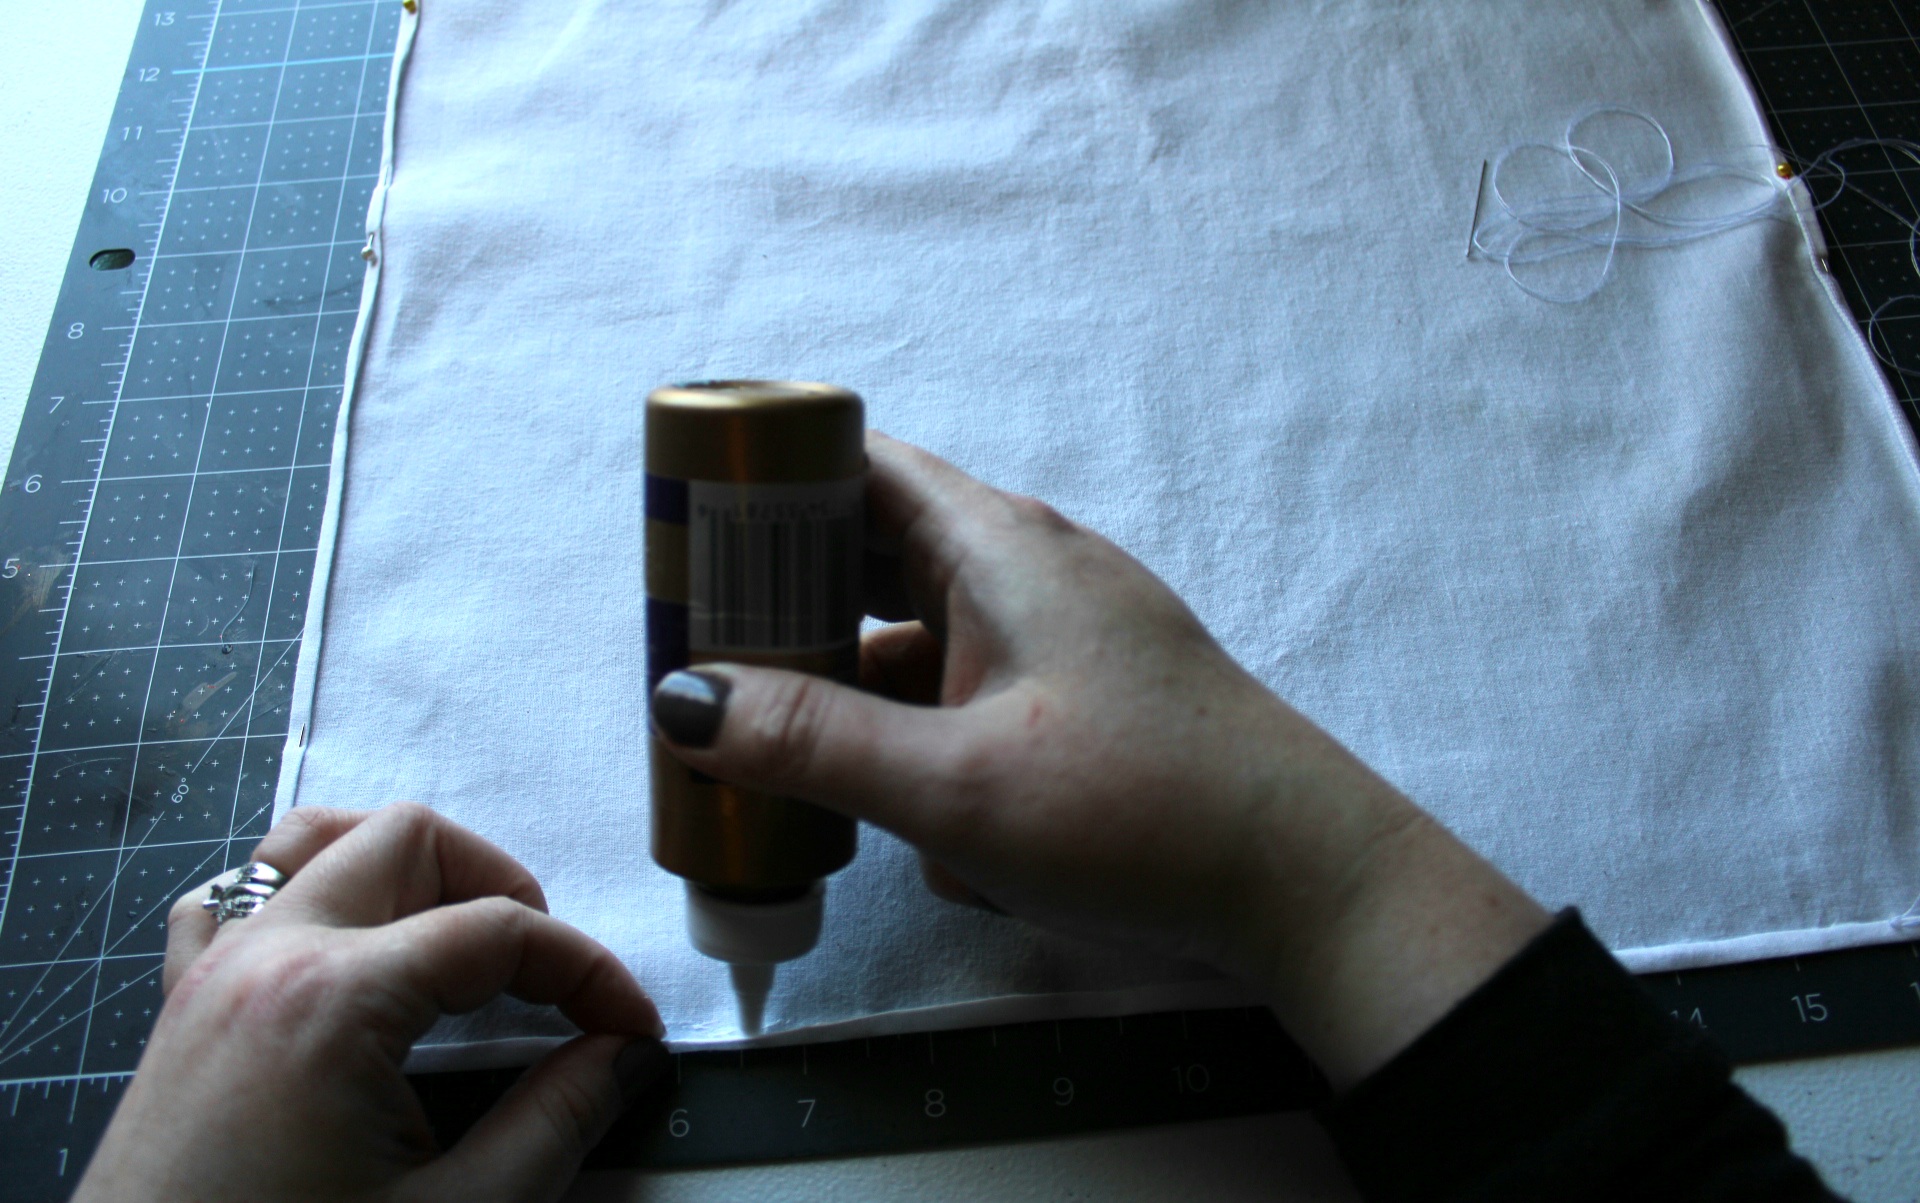
Now that you have your fabric pinned, it’s time to “hem” it. You can go around the edges and hand sew it or even sew it with a sewing machine if you have one. I do not. However, I did try to hand sew it. It was a whacked train wreck. The thread wasn’t evenly spaced or in a straight line lol. SO, on to plan B.
They have a glue called Liquid Stitch that is made to, you guessed it, stitch with glue. If you have Tacky Glue on hand, you can use that too. It doesn’t hold up to washing as well as the Liquid Stitch, but it works. I happened to have some, so I went with that until I can pick up the Liquid Stitch glue. Remove the pin closest to a corner and squeeze a line of glue under the fold.
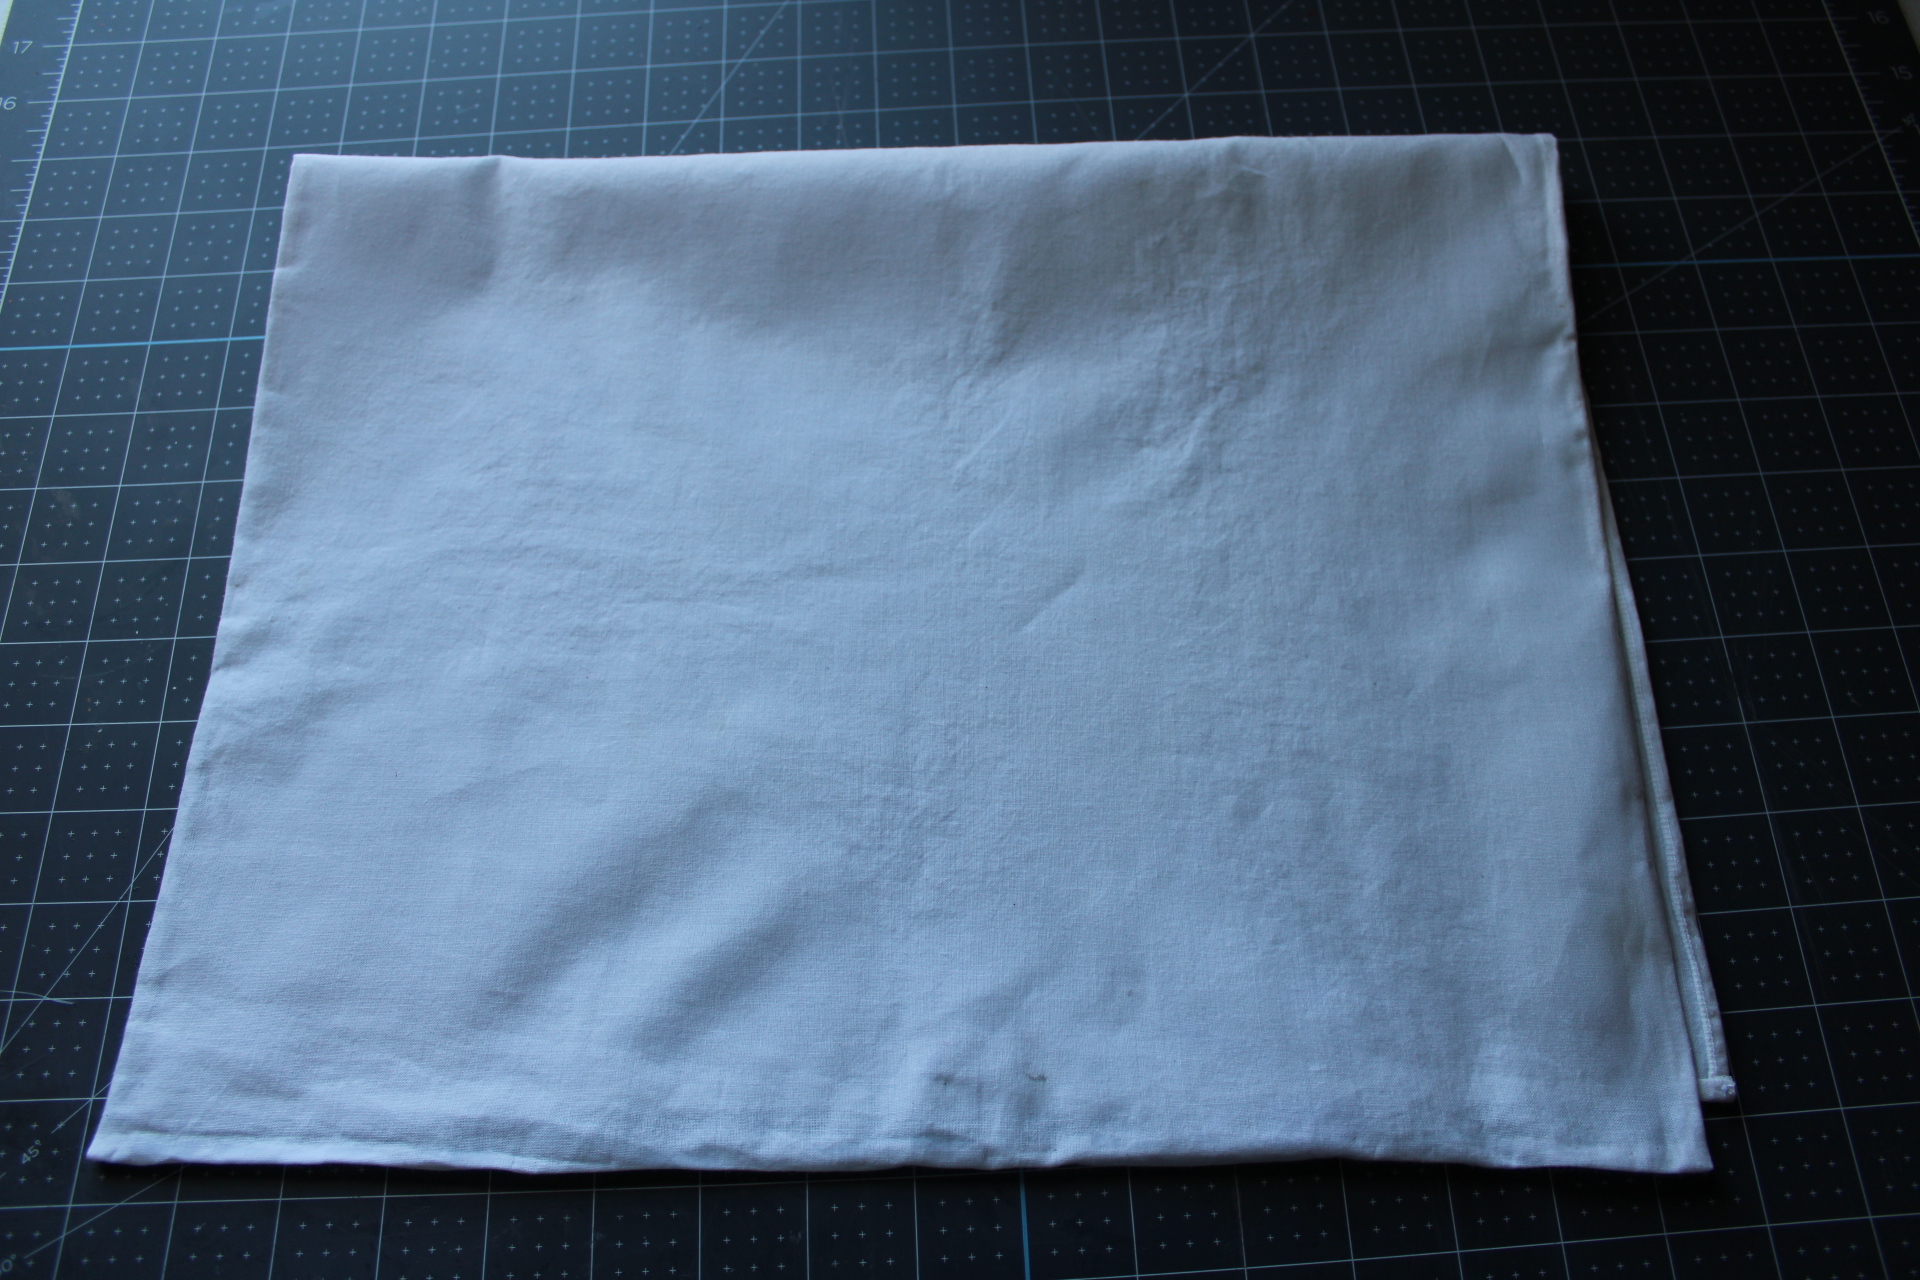
Then press the folded hem on top of the glue.

Continue removing pins, adding glue, and pressing the fabric down until your entire DIY tea towel is hemmed.
My designs are for personal use only.
For personal use only!
This printable & SVG is for your personal use only. Please do not share it with your friends or use it on items that you will sell. Do not sell the image alone either. If you’d like your friends and family to use this image, please use the links at the bottom of the post to share this with them on social media. You can also send them directly to the site. Thank you so much! This allows me to keep these freebies coming to you, well, for free! Make sure you follow me on via email or social media because I have free Valentine’s Day printables & St. Patrick’s Day designs coming soon!
Don’t have a cutting machine? No problem! You can still make a DIY tea towel!
If you don’t have a Cricut, you can still use the free design (or another one of your choosing) on the tea towel. In this winter door hanger tutorial I show you how to use the carbon copy method to transfer a design to a project using your printer and a pencil. Print the design below, then cover the back of the design with a pencil. Give it a good, thick layer. Place the paper on the tea towel where you want the design, then trace the outline of the letters and shapes. When you lift the paper you will see the design outlined in pencil. Use the rest of the tutorial to paint over the pencil! Easy, peasy!
Cut the Design
I created an SVG that you can use on your towel. Since it’s Valentine’s Day, I thought “the secret ingredient is love” would be the perfect saying for one. You can also use the towel year-round though since that’s a common cooking or baking phrase.
Would you like a different design to use on your tea towel? This St. Patrick’s Day design is adorable, and here’s an Easter (or any time of year for Christian households) one.

When you download the SVG, you then need to upload it to Cricut Design Space or the program that your cutting machine uses. Once the program opens and you have the design uploaded make sure you remove any negative space by clicking on it. I downloaded the file with the background supposedly removed, but when I uploaded it to Design Space, I had to remove the background again.
Load your cutting mat with a piece of vinyl and cut the design.

Remove the mat from the machine, then remove the vinyl from the mat.
Reverse Weed the Design
Next you need to reverse week the design. Normally you would take off the vinyl around the design and keep the design itself. However, we’re using this as a stencil, so we are going to keep the “negative image.” Take out everything that is part of the design. The words “the, secret, is,” “and love” as well as the rolling pin, the thin lines that make up the outside of the hearts, and the decorative swirl under the word “the.” Leave the word “ingredient” inside the rolling pin; do NOT take it out. We’ll place it letter by letter on the tea towel.
You’ll be left with this:

Apply the Design to the DIY Tea Towel
Use Transfer Tape!
Ok- here’s a little aside. If you don’t have transfer tape, you can follow the instructions below. If you have it, please use it lol. That way you don’t have to transfer these small parts one by one to the tea towel! I use transfer tape for everything, and for some reason, I forgot all about it this time. I have a major abscess in my jaw that looks like I have a golf ball embedded in it, so I’m going to blame the pain and the pain meds for this mental lapse lol! Here’s how to use it if you’re unfamiliar. This was from my Valentine’s Day mailbox tutorial.


Many of you know that I have a severe neutrophil defect that will eventually be fatal. So let me just say that I’m not in my right mind, nor was I when I made this lol. I’ve had all of my top teeth replaced due to my body’s inability to fight off any bacteria, even the natural bacteria we have in our mouths. They were trying to wait on the bottom which it seems was not a good plan. I do have a surgical port so we were trying to go get hooked up every day to an antibiotic IV infusion since we don’t want to risk getting something else (like covid) while in the hospital. I’m fighting to stay out of the hospital, but that’s probably not going to happen. Prayers are more than welcome!
Back to Transferring the Image
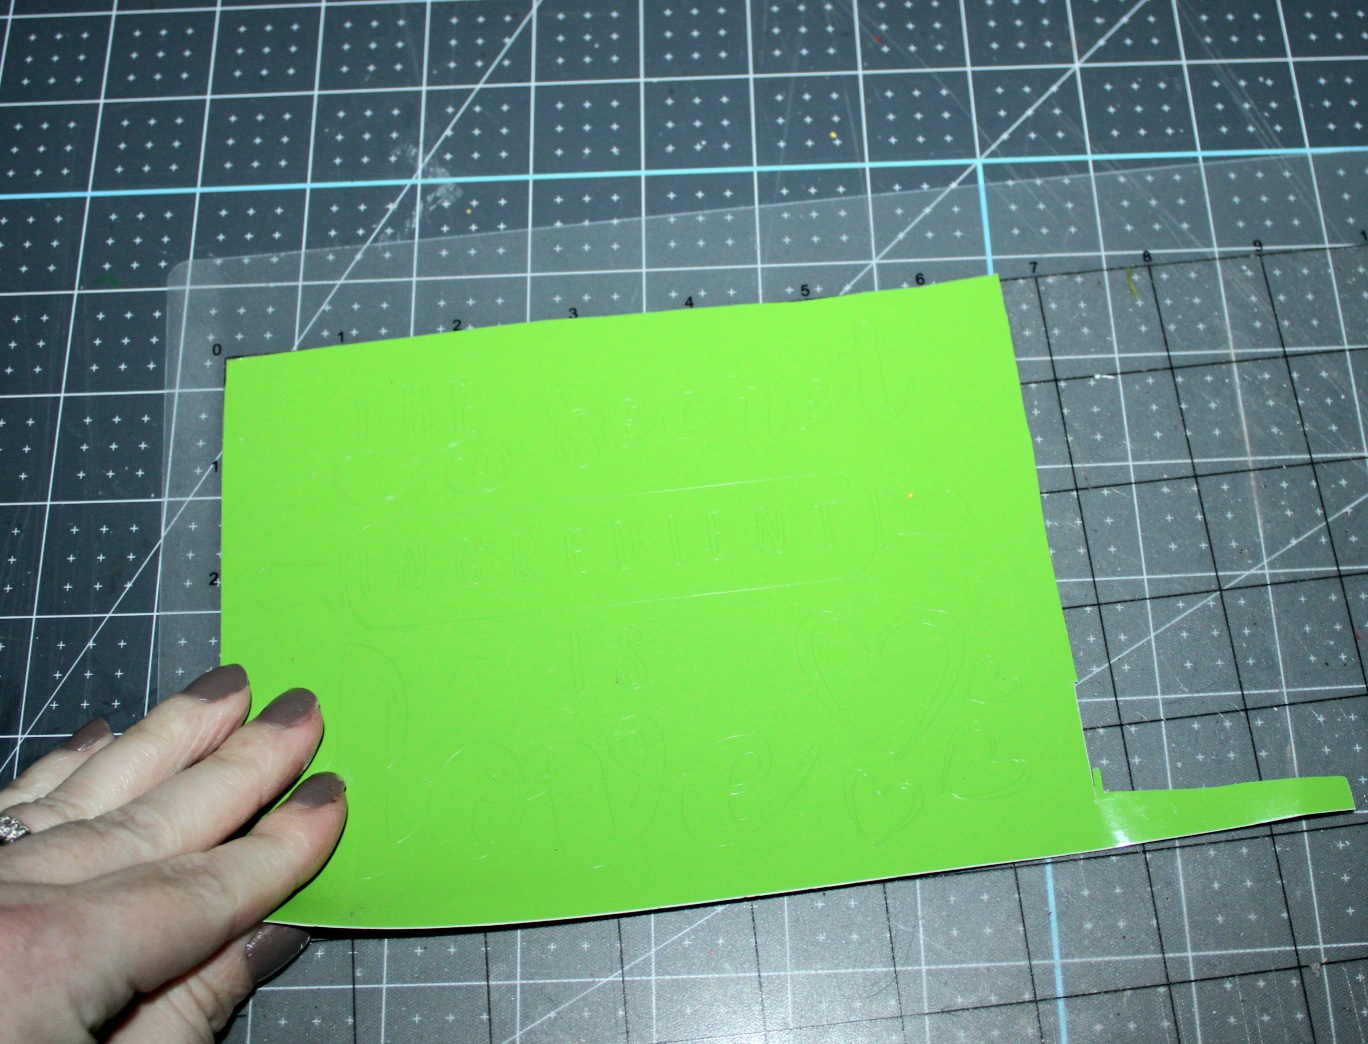
Next remove the negative vinyl image from the backing. Be careful not to knock any of the inner part of the letters (like inside the “e” or “o”) off of the backing.

Place the design toward the bottom of the tea towel and make sure it’s centered. You can eye it pretty well, but if you need help or would like it to be exact, measure the tea towel, divide by 2 and that’s your mid-point. Place the middle of the design at that mid-point. Having a large grid cutting mat is really helpful for this.

Once you’ve pressed the design down well, place the vinyl that needs to be there inside the letters. For example, place the two pieces of vinyl inside the “o,” the one in the “e’s,” the “s,” etc.


Next place the word “ingredient” back inside the rolling pin. To keep it even it helps if you hold the backing just above the rolling pin because you can see where the letters went. Another option is to put the middle letters in, then the two outer letters and work back to the middle. I went with the first option. If you have to move them, it’s ok.

As you finish your stencil should look like this:

Paint the Stencil on the DIY Tea Towel
If you have fabric paint or if you’ve decided to use acrylic paint alone (the towel will be hard and non-washable if you use only acrylic), you can go ahead and start painting. However, if you’re using fabric medium you need to prepare the paint first. I used Martha Stewart’s fabric paint medium. Pour two parts paint in a palette, then add one part medium. Mix them together well. Of course you’ll need read the directions on yours if you’re using a different medium.
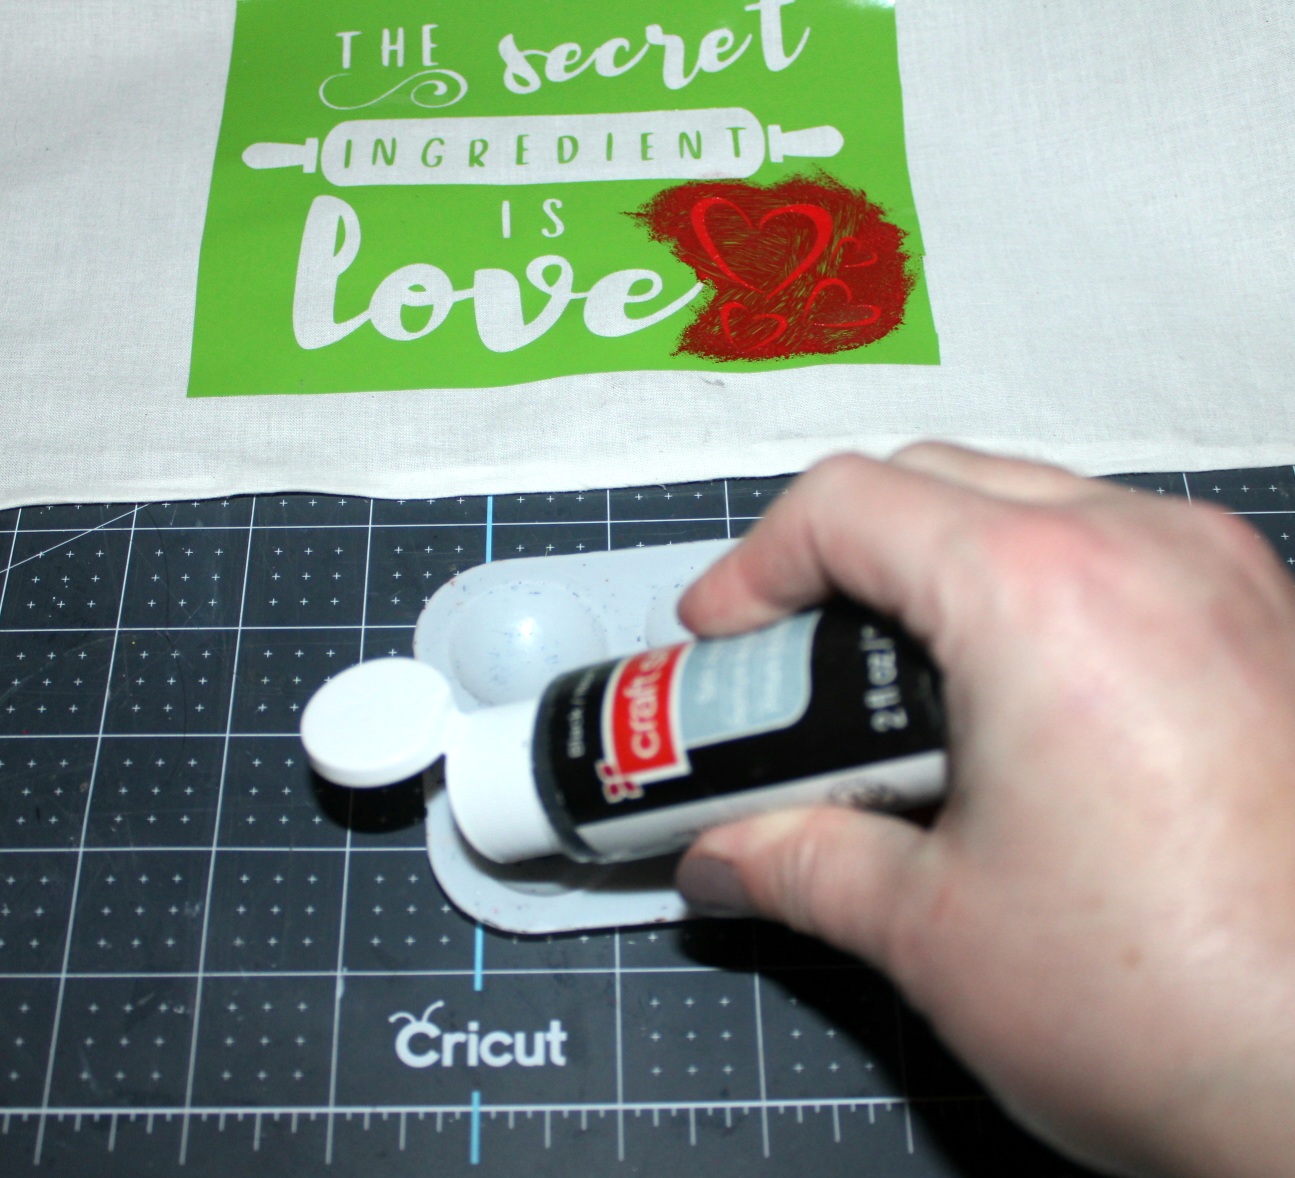

When I started to paint my stencil, I used a full foam brush. That was too wide and I almost got red into the black areas and vice versa, so I cut two pieces of foam off. You can use yours however you’d like. Dip the foam into the paint and dab it all over the stencil. Don’t get any paint outside the stencil. I painted my hearts red and the rest black. You can use as many colors as you’d like. Give the towel two coats of paint, leaving time to dry in between coats.


Easy peasy. When you’re finished your DIY tea towel will look something like this:

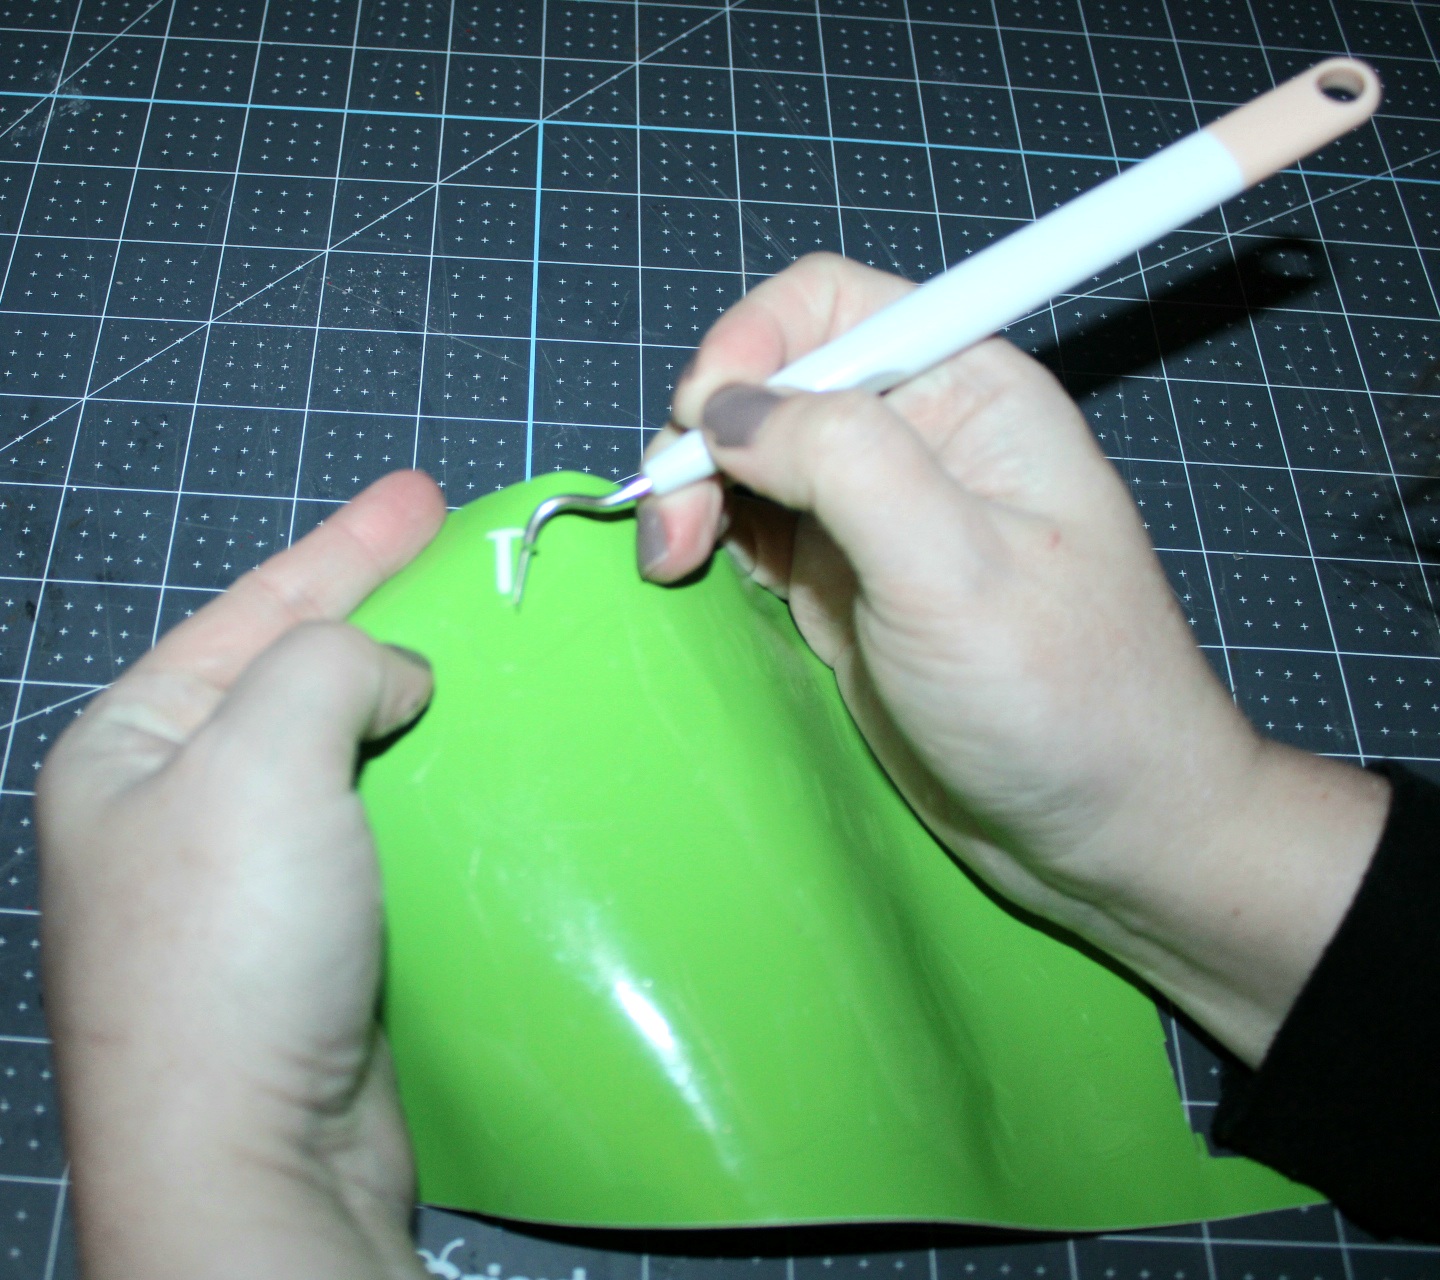
Allow the paint to dry completely then remove the stencil. After you take off the main part, remove the little stickers inside the letters and the rolling pin.


Your DIY tea towel is complete!
That’s all folks. It’s that easy. Now you can make a custom towel for every holiday, season, and some for everyday use. Here are a few pictures of my towel:


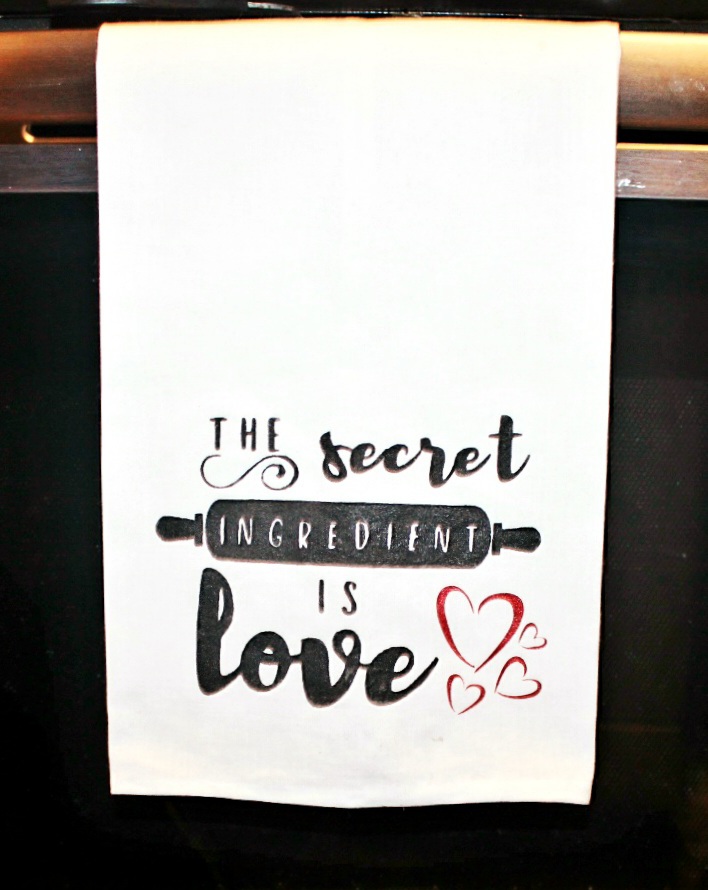
This DIY tea towel ladder is the perfect place to display your farmhouse style tea towel! You could buy one, but they cost over $25, and you can make this one for less than $5 easily! Here’s a St. Patrick’s Day design to use after Valentine’s Day, and there’s a design in this “how to customize fabric with paint” post for Easter. I actually use it for more than Easter to remember the sacrifice that Jesus made for me!
Remember to pin the image below or share this post with the buttons on the left side of the page so you can find it when you’re ready to start your project! Also, follow me on Pinterest for new ideas added weekly! Be sure that you never miss a great tutorial for decor like wreaths, signs and other home decor, free printables, crafts, and other fun posts! Enter your email address below to be notified of new posts! Use the buttons below to follow me on social media for other great content.
Don’t go yet! There’s more to see!
There’s plenty more to see here on the blog! If you’re looking for something specific, use the search box in the sidebar to look it up. If not, you might enjoy these ideas. Don’t have time to read them all now? That’s ok, just click over to the posts using the pictures and pin them for later. You can also add Life as a LEO Wife to your favorites and check back for new ideas and free printables and SVGs every Wednesday, as well as link parties with tons of shared ideas on Sundays!


Click on the name of the blog to head to their main blog page and on the name of the project to head straight to the project itself!
Julie from Sum of Their Stories | Kitchen Storage Jar to Pretty Vase
Gail from Purple Hues and Me | Upcycle Fry Pan DIY
Terri Steffes from Terri Steffes | Repurposed Altoid Tin to Camper Game
Ann from Apple Street Cottage | Vintage Lace Tealight Holder
T’onna from Sew Crafty Crochet | Crochet Dishcloth & Sponge Set
Julie from Treasures Made from Yarn | Crochet Jar Covers
Lydia from Life Beyond the Kitchen | How to Make Reusable Sandwich Wraps
Allyson from Southern Sunflowers | Wooden Cutting Board Makeover
Mel from Decor Craft Design | Upcycled Valentine Wall Decoration
Donna from Modern on Monticello | Jelly Jar Sewing Kits
Linda from Crafts a la Mode | Cakeplate Makeover & Valentine


You’re brilliant! I don’t sew so I’m making a tea towel. I don’t bake so I’m inspired by flour sacks!!
You are so innovative with how you got round these two little issues! That Liquid Stitch stuff is actually really good isn’t it ? (although I’m a sewer so I’m thinking to sew it would be easier!) Using old fabric like this is so much better than just throwing it away, you’d never know this was made from rescued fabric.
Thank you Julie! Yes. my little hand sewing adventure looked like a 3 year old did it! LOL!
Such a cute towel, Niki. I’ve made a few myself, but never thought of using other fabric. Great idea!
Thanks Ann!
It’s so adorable, Niki!
Thanks Mel!
Even though I can sew, I love no-sew projects and showing us how to make no-sew tea towels is a huge win for me! We use too many paper towels and making our own kitchen towels would certainly help with that! When I was considering what to make sustainable from the kitchen, I thought about kitchen towels but couldn’t think of any fabric that I already had that would work. Never thought about an old sheet – which is a genius idea! I have lots of those! But mine would not have been as pretty as yours – stencil and all! Great job, Niki!
Thank you Gail! I so wish I could sew. I need to learn, but I already do so much crafting that I don’t know where I’d put anything!
Your stencil turned out great! I think your tea towel looks fab hanging from the stove. I haven’t tried making a stencil with the Cricut. This seems like a good project 🙂
Thank you! I love using my Cricut for stencils. This is the first one I’ve used with vinyl on fabric. I’ll never use anything else on fabric from now on!
Your upcycled tea towel turned out just perfect using the no-sew method. I wouldn’t mind the tacky glue since I would use the towel only for displaying on my stove handle. It’s too cute to use for my messy kitchen hands – LOL
I was thinking the same thing!
That stencil is adorable. I can see making a few of these for my camper!
Thank you Terri!
I love the idea of using glue to hem projects.
Thank you. Liquid Stitch is amazing!
Your tea towel turned out great! I love that saying and the rolling pin. Too cute!
Thank you!
These tea towels turned out so cute! They would make wonderful gifts as well as nice Valentines decor for you own kitchen.
Carol
http://www.scribblingboomer.com
They would make adorable gifts. I should’ve thought of that before I made the bath bombs for my son’s teachers lol!