
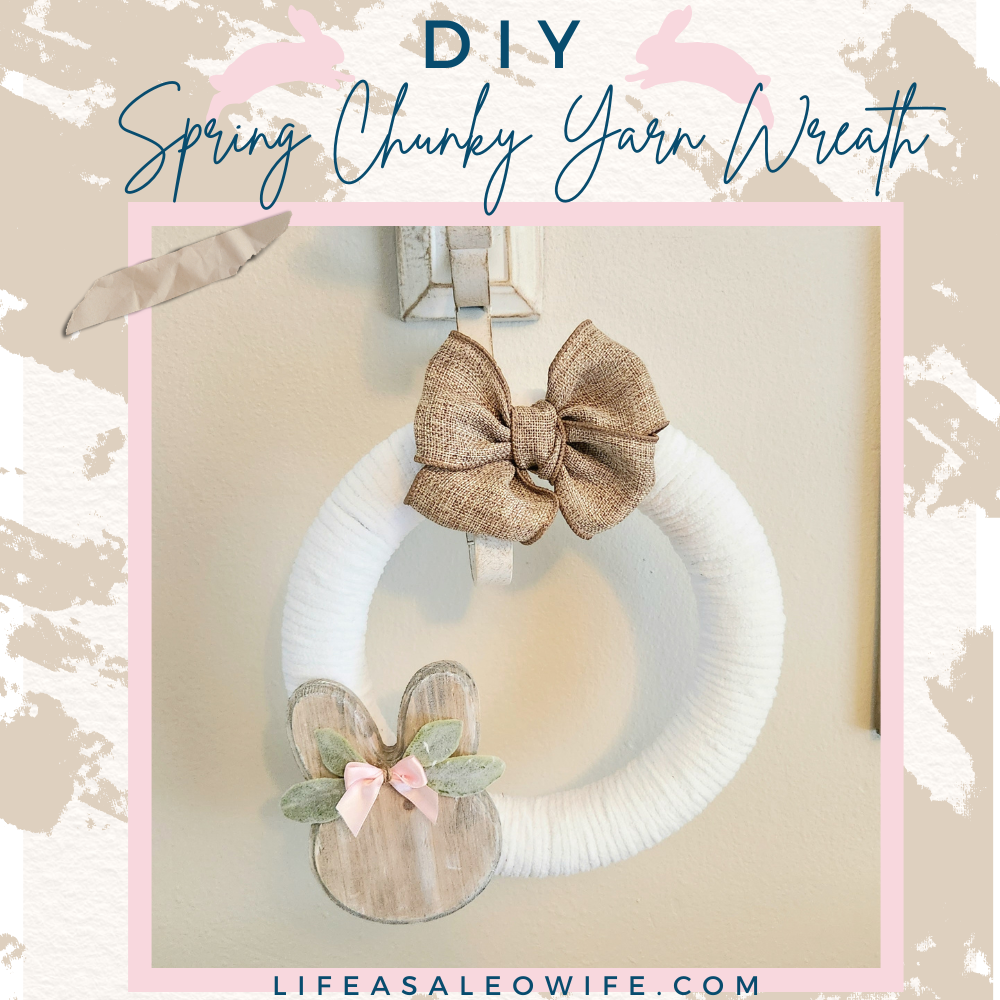
Hello friends! I’m so glad to have you here today because I’ve got a fabulous decor project to share with you! If you’re looking for the perfect spring wreath, I’ve got just the one for you. This burlap carrot wreath is so cute and makes me smile just looking at it! Let’s get into this tutorial. Oh wait, one more thing before we get started. Be sure to enter to win $100 with our Spring ’23 Giveaway (open March 14-April 14, 2023) before you go!
If you’re looking for other great spring wreaths that are great for spring, you might like these. Be sure to head over and pin the tutorials for later!

Burlap Carrot Wreath Supplies:
- witch hat wreath form from Dollar Tree (another option is a wire clothes hanger)- If you don’t have one laying around from Halloween, you can get one from Amazon here.
- orange 5.5″ burlap– I got mine from Walmart.
- 1.5″ ribbon– I used orange and white gingham from Walmart. Using a wired ribbon would be better.
- greenery- I used a eucalyptus bush and a baby’s breath bush.
- wire cutters
- pipe cleaners (cut into thirds) or floral wire
- mason jar block sign from Dollar Tree (optional)
- 1/4″ ribbon (optional) I used white with an orange stripe to accent the mason jar sign.

I’m so glad you’ve found me! Now that you have, don’t miss any more great DIYs, free printables, or giveaways by following me via email!
Create a Carrot Wreath Form
The first step in making a burlap carrot wreath is re-fabbing a Dollar Tree wire witch hat wreath form into a carrot. There are a few ways to do this. You can cut the sides of the hat’s brim off using wire cutters and fold the sides in like Ann of Apple Street Cottage did with her carrot wreath upcycle.
My wreath form already had one side of the triangle portion dislodged from the brim where it should be semi-welded together. Since I didn’t have really strong wire cutters available, I simply spun the wires on the other side where the triangle met the brim and it popped off as well. That left me with only the triangle section intact. It’s really easy to break off pieces of these types of wreath forms where two pieces meet. Simply bend it back and forth, and in a few movements, it will break off easily.


You can leave it like this, but I wanted to the form to bend in toward the top. I bent each of the sides in toward the middle.

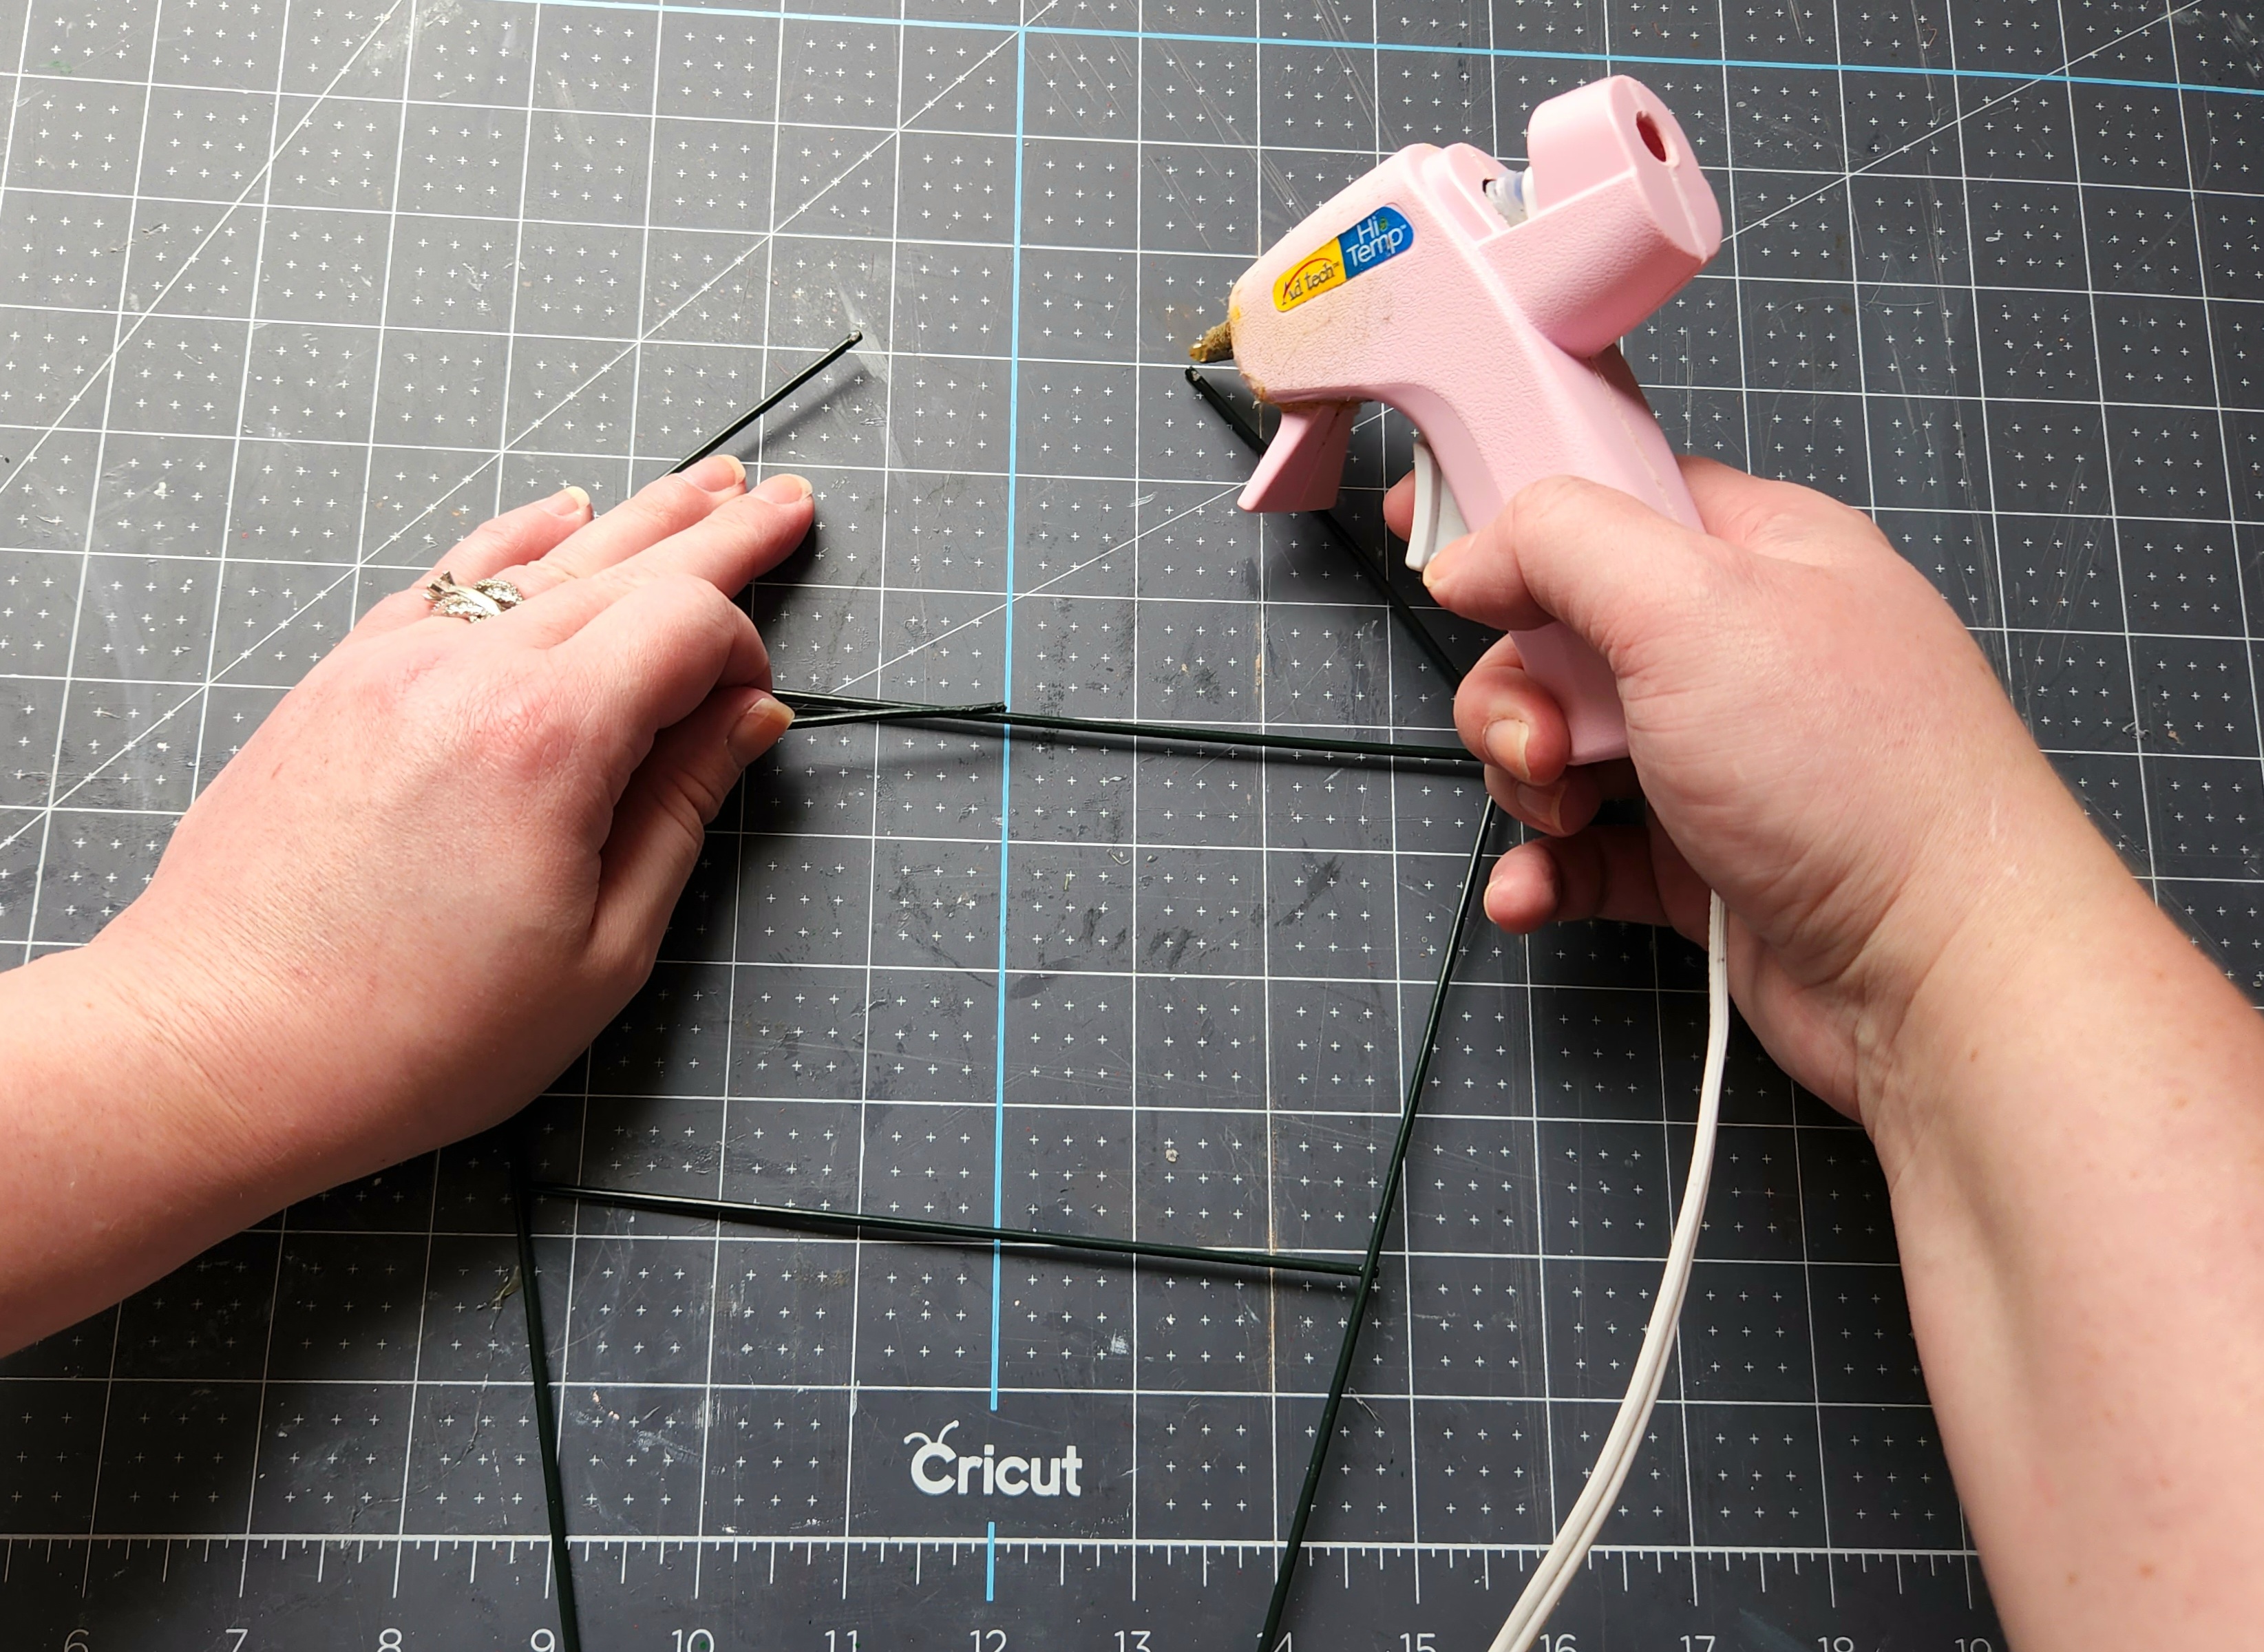
To create a “top,” I tried to cut a section of wire off to glue across the two sides.

The wire is extremely thick, so my wire cutters would not do the job. I went with plan B and pulled the middle wire off of the brim. It’s the vertical piece of wire you see in the picture above. The form is very easy to pull apart at the joints (like I mentioned above).

Next use a hot glue gun or E6000 to glue the wire across the two open ends.


Now that the form is ready, cut your pipe cleaners into thirds. You’ll need at least 25 or so thirds.


Another Option for a Carrot Wreath Base
If you don’t have a Dollar Tree witch hat wreath form, you can make a carrot wreath form base from a wire clothes hanger. I used one in my Christmas ornament wreath tutorial (which I love so much! Head over and pin that tutorial so that you can use it next year to make your own!). It was easy to unwrap the twisty hanger part and shape it into a circular wreath base.
To create a carrot base, unwrap the hanger section and flatten the hanger into a straight line. Bend it into a triangle shape with the point at the bottom about 14″ from one end. This should leave you with one side a little longer than the other. Widen the triangle shape at the open end, then fold that extra length over, closing the triangle like closing a lid. You won’t have the exact shape that I have at the top of my carrot, the way it bends in at the top, you’ll have an ice cream cone shape.
Add Burlap in the Top Section
Begin adding your burlap to the wreath form in the widest section which will be the top of the carrot. Gather the burlap about 2″ or so from the end and attach it to the corner of the first and second sections.

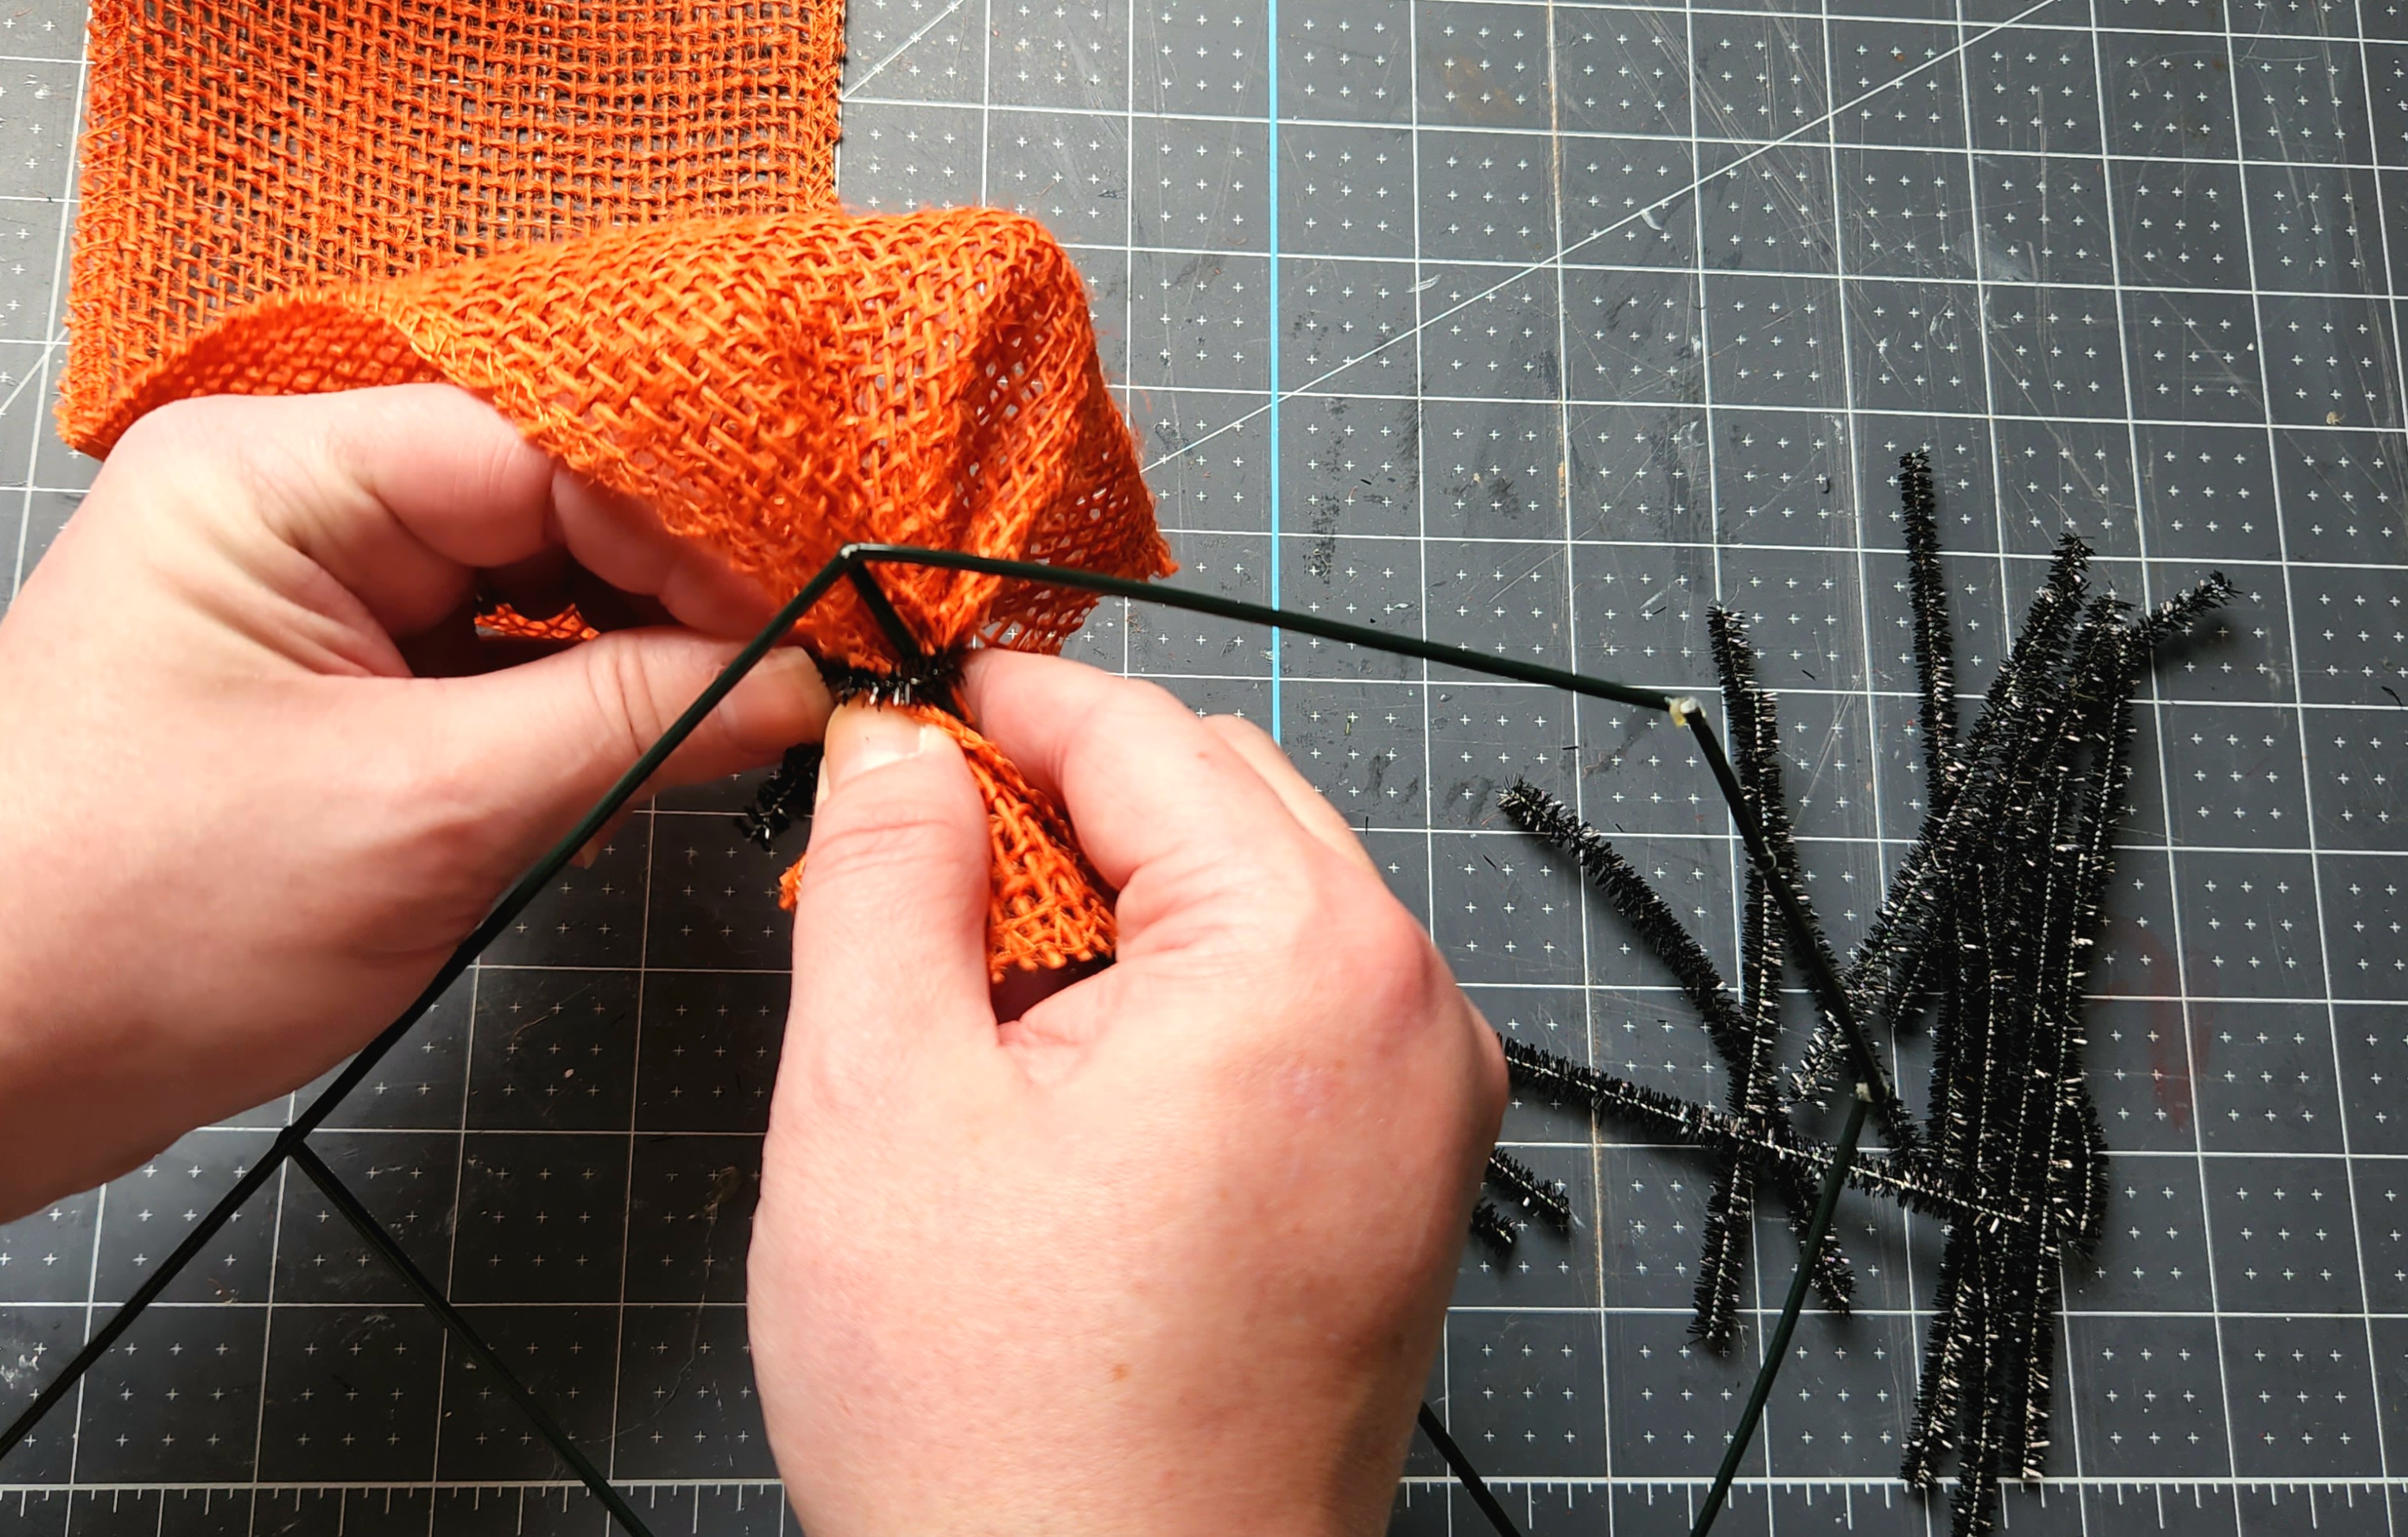
Gather the burlap about 5″ from where it’s attached to the wire to form a bubble. Attach the “bubble” to the wire near the first pipe cleaner. You can check out my regular burlap bubble wreath for an in-depth look at how those bubbles are formed without a pipe cleaner. I’ve also created burlap witch hat wreath that you can look at to see how I added the bubbles to that one.

Add another bubble to the wreath just above the one you just attached.
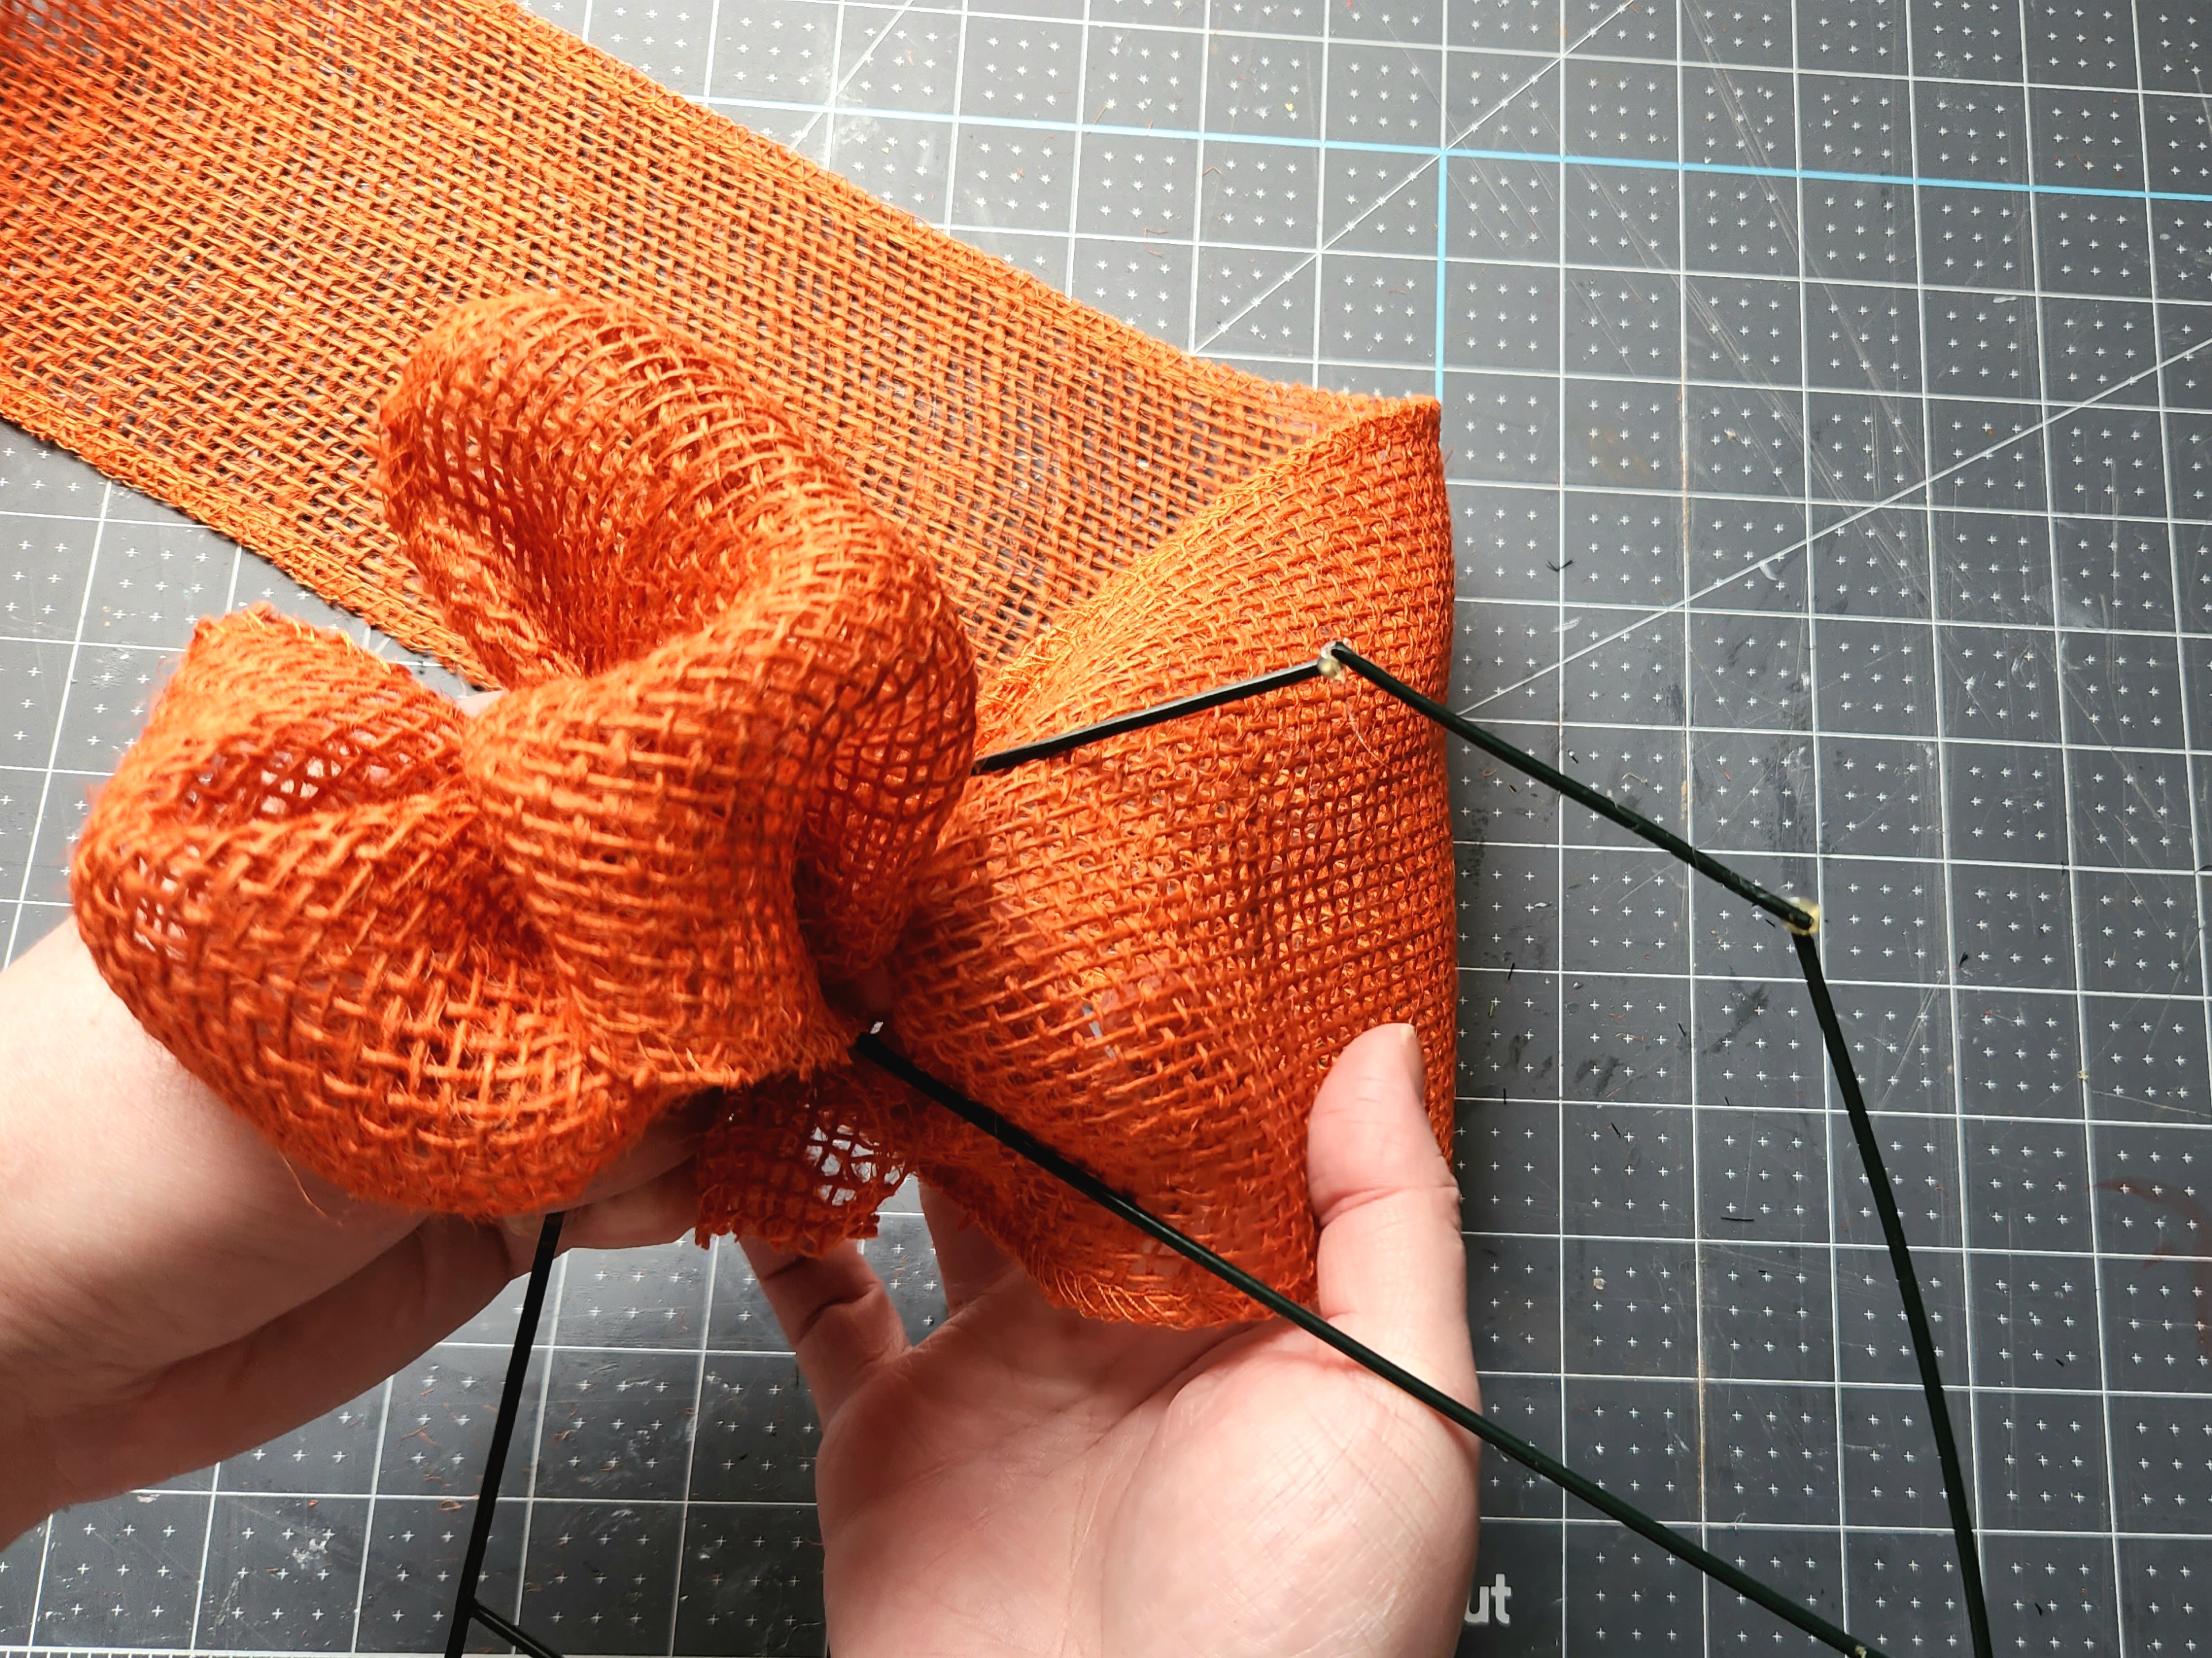
Continue adding bubbles to the wreath, up the side, across the top wire, the down the other sloped side.


Once the three sides of the first section are covered, begin adding bubbles to the bottom/middle wire between the first and second sections. Leave at least one spot open on that wire.

Push bubbles up into the bare space in the first section. It will all hold together on its own when it’s packed in tight.

Once the middle of that section is full, attach the last bubble to the middle wire between the first and second sections. You want that bubble to attach in the left or right bottom corner to easily move into the next section.

Move to the Next Section
The rest of the sections of the carrot are easier and will go faster. Since they are thinner, you won’t have to go around the entire shape adding burlap. Extend a long “bubble” of burlap across the second section and attach it on the middle wire with a pipe cleaner. Meaning bring it down from the wire separating the first and second sections that you just filled and attach the burlap to the middle wire separating the second and third sections, leaving about 6-7″ of burlap in between.

Bring another long bubble back up to the wire between the first and second sections and attach it with the wire or pipe cleaner.

Continue bringing them up and down like this until this section is full. I used five rows of bubbles in this section before moving to the third. You’ll keep adding rows of bubbles like this in the rest of the sections.

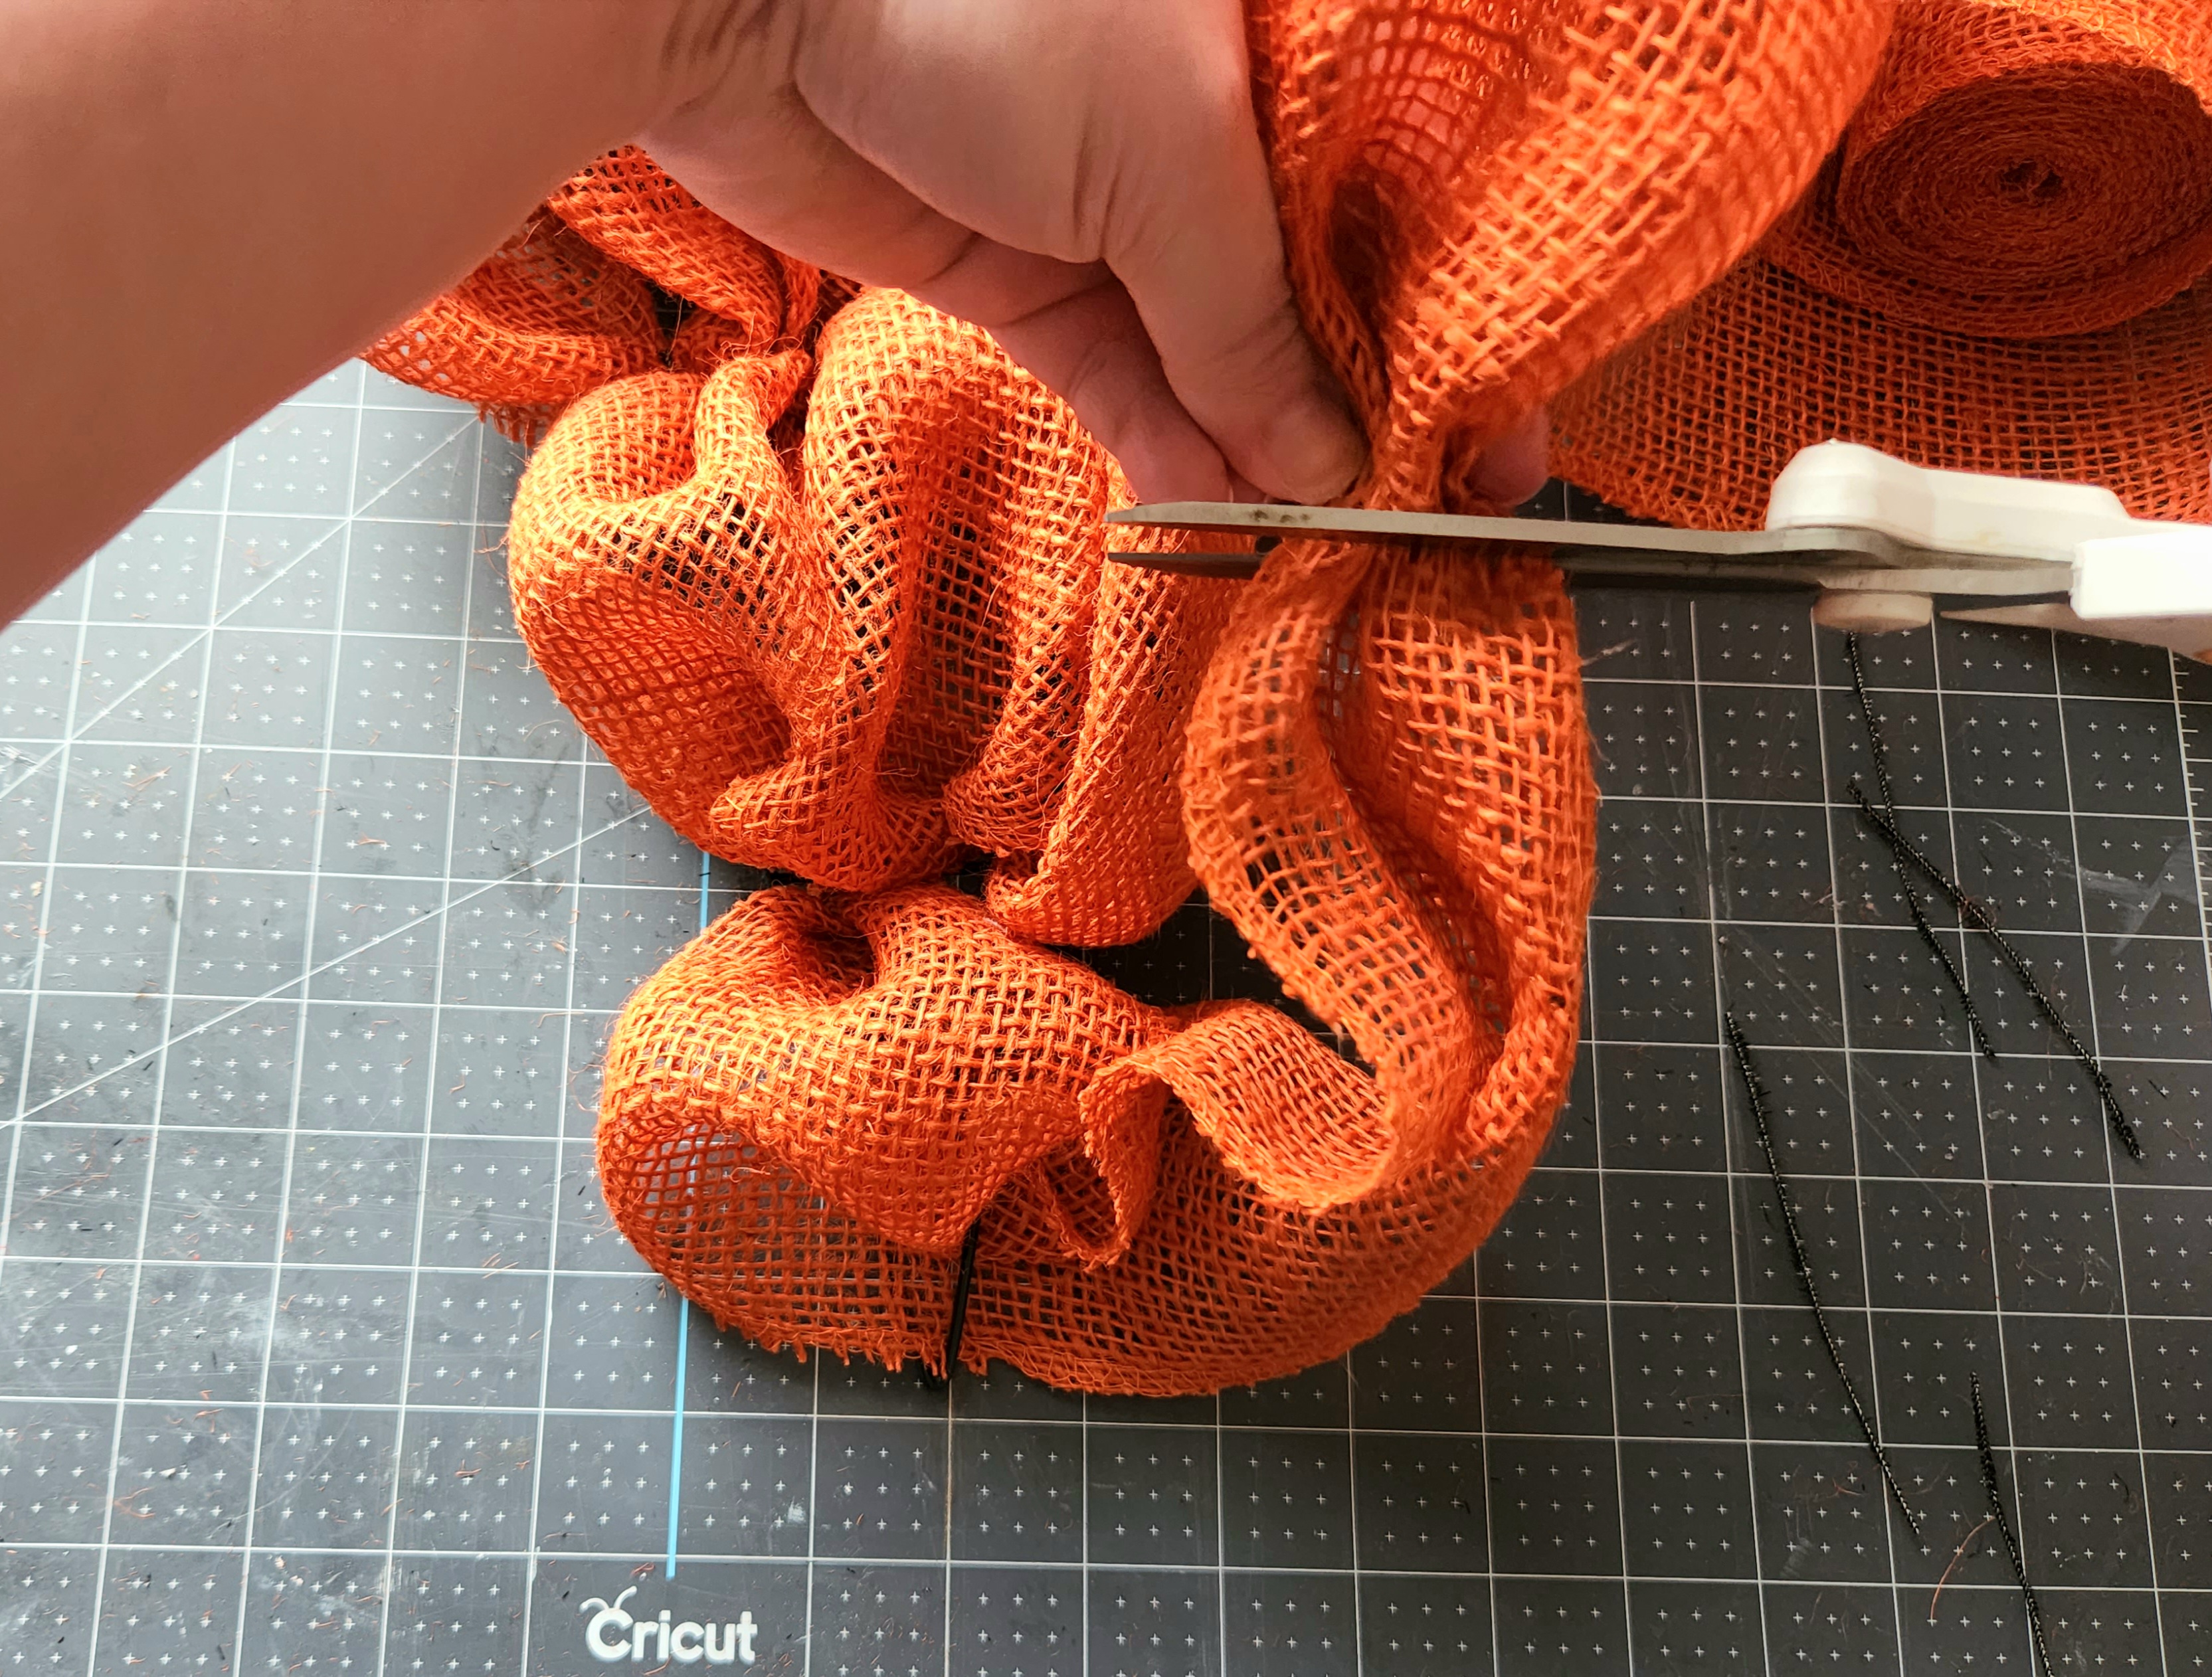
Starting a New Roll of Burlap
When you run out of burlap, start a new roll just like you did at the beginning. Gather the burlap and attach it to the wire where you’d like to begin. I was at the start of the fourth section when I ran out.

When you’re in the second to last section, you should add three rows of burlap.

Next, move to the last section which will contain two rows. Bring the burlap from the last middle wire up to the tip, then bring it back down to the middle wire, forming two bubbles. You won’t attach them yet; you just want to see how much burlap you’ll need. Cut the burlap so that you’ll have a few inches of extra space to attach it to the wire.
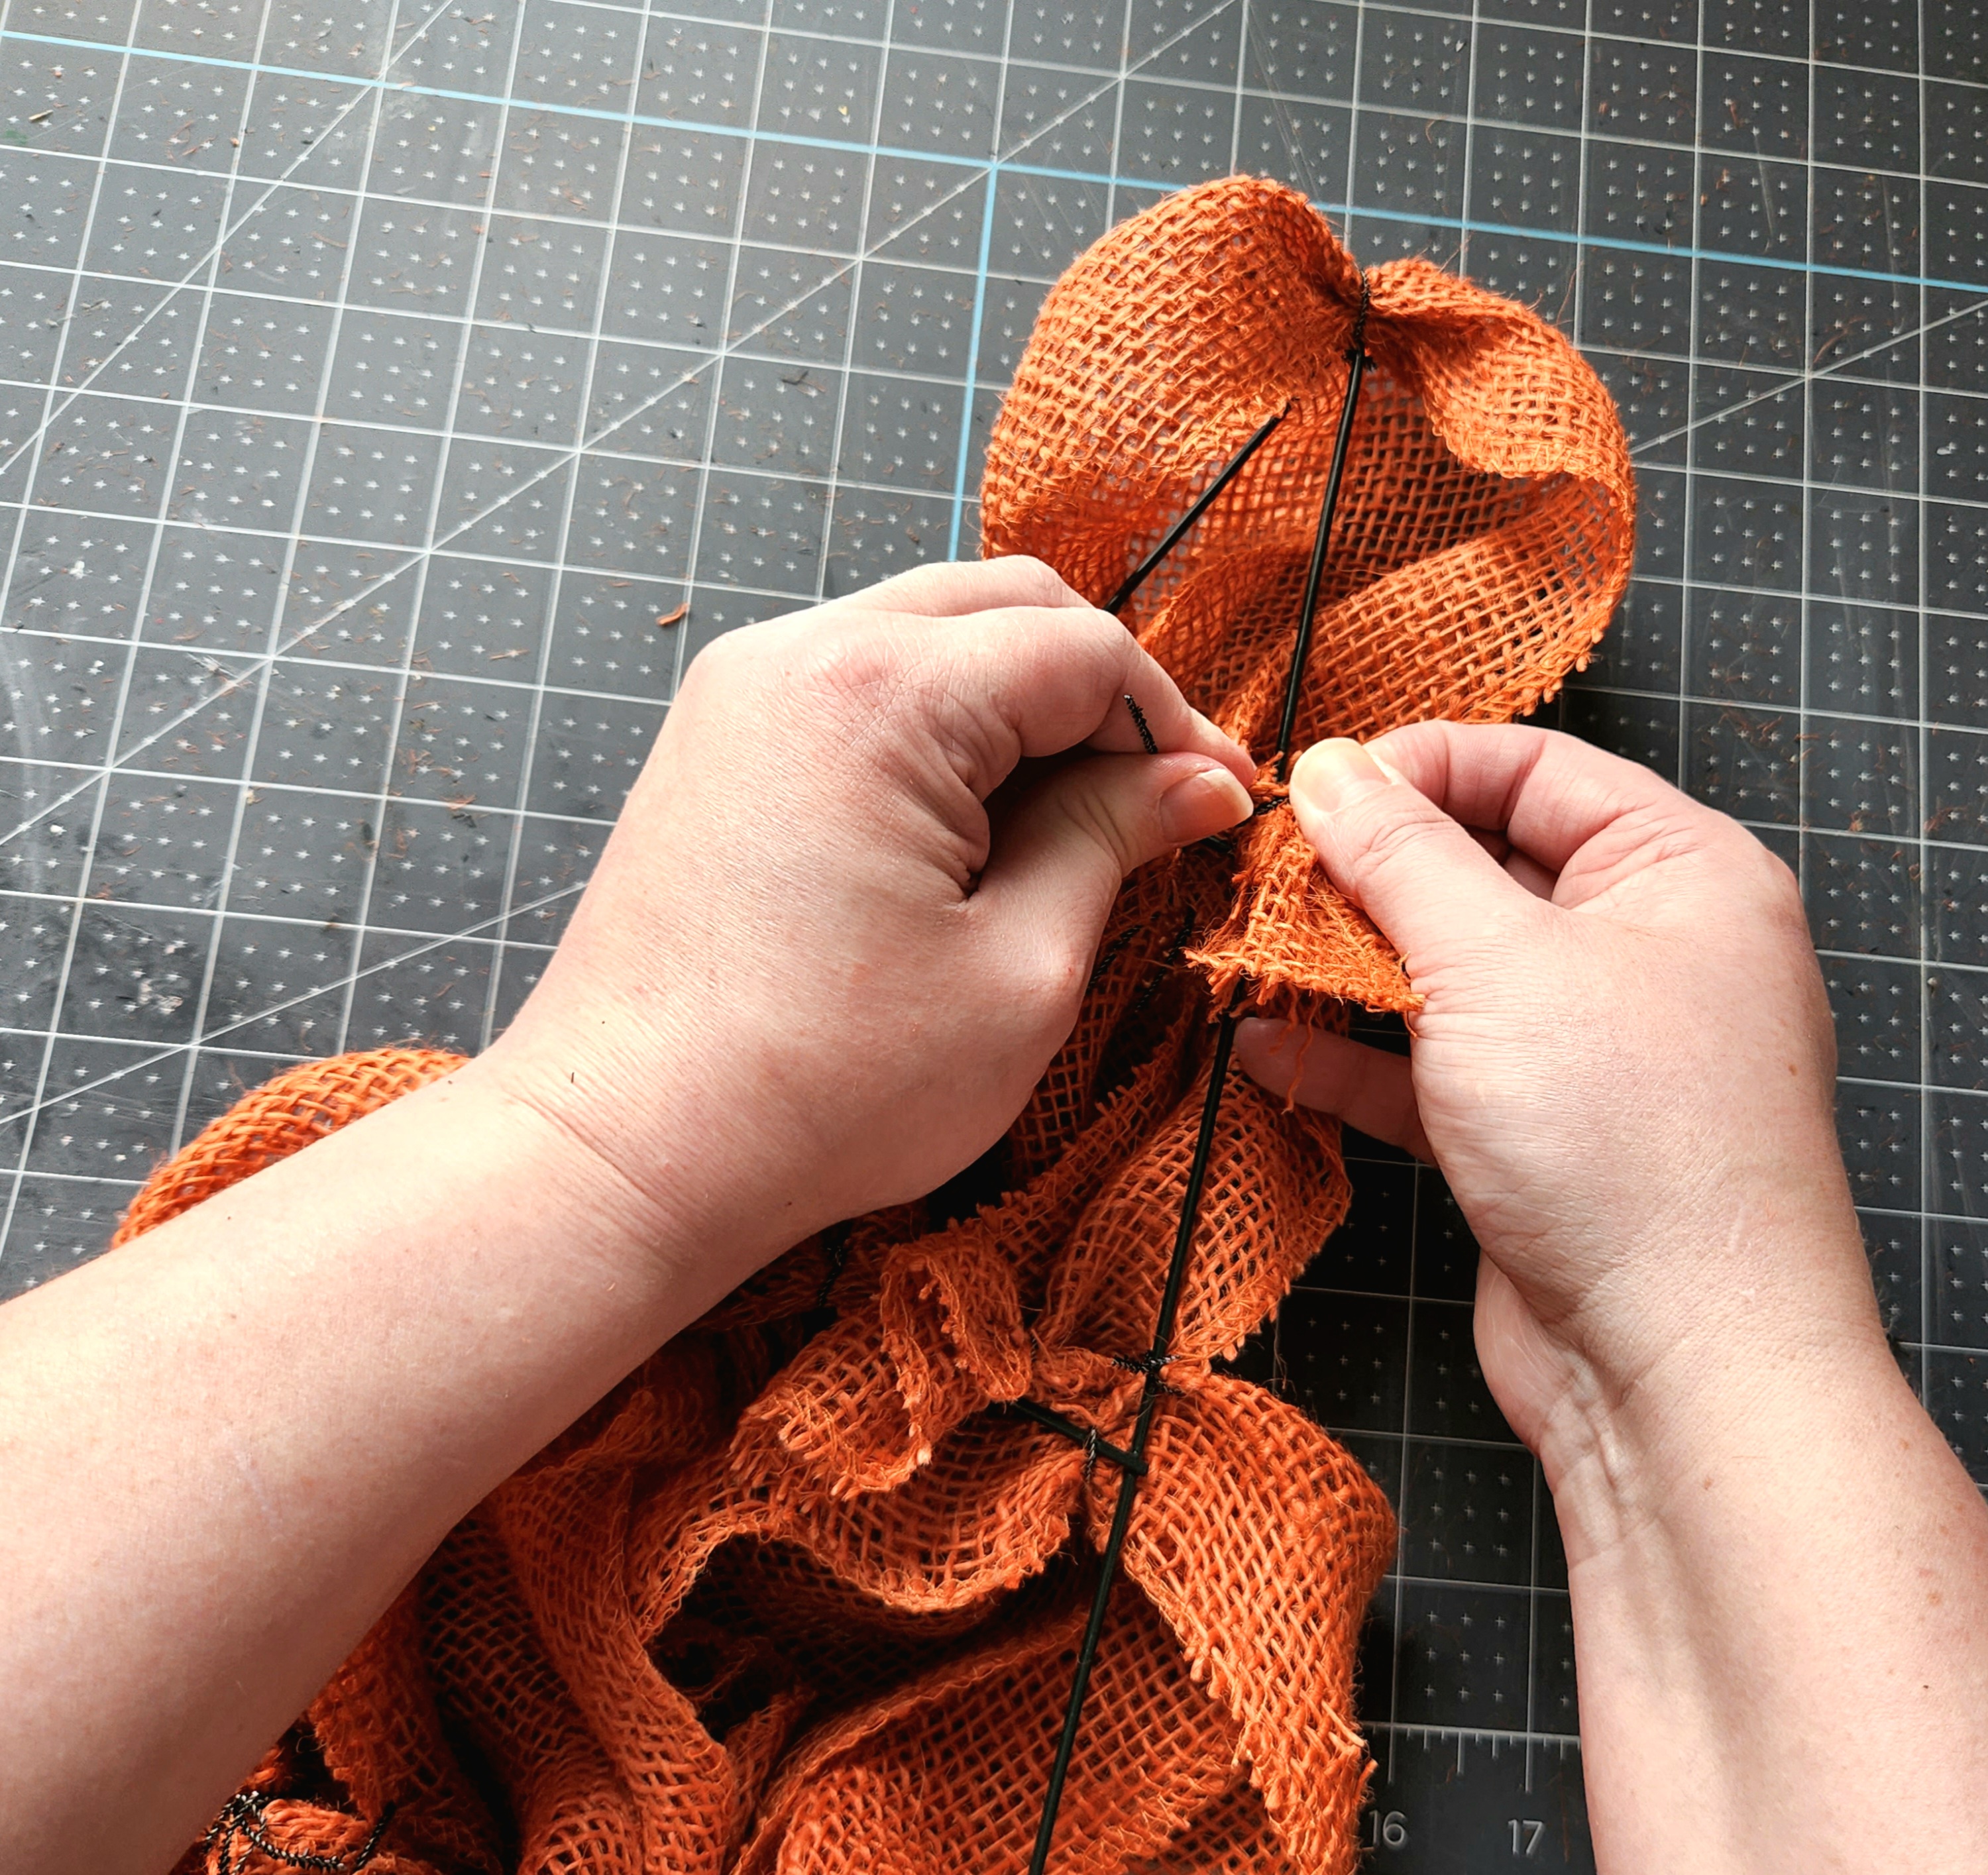
Attaching the Last of the Burlap
Create a bubble in the last section of the carrot, but this time bring the burlap over the wire instead of under it.


Spin the burlap back down and form the last bubble (in the front). Attach it to the last middle wire, completing the tip of the carrot.
Add Greenery to the Carrot Wreath
I used a bush of baby’s breath and a bush of eucalyptus. If you can find a bush of just wispy leaves that will work; just whatever greenery the store has in stock will work. I cut the stems apart and grouped them together with a pipe cleaner so they looked like greenery sprouting from the top of a carrot. You want them to kind of spill over. Attach the bunch to the back of the carrot on one of the wires. I used the second wire in the middle so that I didn’t break the wire I glued on off. (It ended up breaking off on one side off anyway, so I glued it back on over the bunch to better hold it in place). Add a dollop of hot glue over the bush and pipe cleaner for extra hold.


Create a Hanger
Form a loop with a pipe cleaner or floral wire that you can use to hang the carrot with. Since I was using the second middle wire for hanging, I used a full pipe cleaner to form a long hanger. Twist the pipe cleaner around the wire on the wreath form and place some hot glue on top for security.


Make & Add a Bow
Make a simple two loop bow using the 1.5″ ribbon and secure it with a pipe cleaner or floral wire. Leave the pipe cleaner long. I used a 1/2″ orange and white ribbon to cover it. If you’d like to make a larger bow with more loops, you can use this tutorial. That bow can be used on wreaths, lanterns, and other decor. If you have a difficult time holding on to the ribbon as you form loops, this loopy bow tutorial is so easy to do that even my 10-year-old son could do it!


Push the pipe cleaner through some of the burlap, wherever you’d like it to go, and twist the wire closed inside the back of the burlap. I placed mine just below the top. If your wire is long enough, you can move the burlap a bit and attach it to one of the wreath form wires.

You can stop here if you’re happy with your burlap carrot wreath the way it is. I had a cute “bunny bait” mason jar sign from DT that matched the ribbon, so I decided to add it as well, but before that, here’s what my wreath looked like:

Embellish & Add the Mason Jar Sign
I didn’t change too much of the Dollar Tree mason jar sign before adding it to my carrot. I removed the twine that was wrapped around the top and replaced it with the orange and white gingham ribbon folded in half.


Next, I added a bow made with the white and orange striped 1/2″ ribbon to the middle of the gingham ribbon.

Finally, you need to add something to attach the mason jar to the wreath with. Glue a pipe cleaner or wire to the back of it at the top and bottom.


All that’s left to do is attach it to the wreath! I placed mine just below the bow, but you can place yours wherever you’d prefer. Slide the burlap aside a bit and wrap the pipe cleaners around the wreath form’s wires.


The burlap carrot wreath is complete!
Now let’s see what we’ve got!

Remember to pin the image below or share this post with the buttons on the left side of the page so you can find it when you’re ready to start your project! Also, follow me on Pinterest for new ideas added weekly! Be sure that you never miss a great tutorial for decor like wreaths, signs and other home decor, free printables, crafts, and other fun posts! Enter your email address below to be notified of new posts! Use the buttons below to follow me on social media for other great content.

Shop this post:


Disclosure: I am a participant in the Amazon Services LLC Associates Program and the Dollar Tree Affiliate Program, affiliate programs that allow me to link to the products that you can use to make this project quickly and easily. If you purchase any of these products I may receive a very small commission at no cost to you! That commission helps me continue to bring these great decor DIYs, free printables, and all of the other goodies on this site to you. Thanks so much for your support!
Don’t go yet! There’s more to see!
There’s plenty more to see here on the blog! If you’re looking for something specific, use the search box in the sidebar to look it up. If not, you might enjoy these ideas. Don’t have time to read them all now? That’s ok, just click over to the posts using the pictures and pin them for later. You can also add Life as a LEO Wife to your favorites and check back for new ideas and free printables and SVGs every Wednesday, as well as link parties with tons of shared ideas on Sundays!


Follow me on Pinterest for new ideas added weekly!


This carrot wreath is such a cute idea! And I have always wondered how to make a mesh burlap wreath, so thank you for finally putting me in the know. I love the use of eucalyptus at the top too! Pinning this for later 🙂
Thank you! Usually, you can create a burlap wreath without having to use floral wire. With the round wreaths, it stays in on its own. With the more open wire forms like this one, wire is necessary (unfortunately!).
Really cute!! And so easy – Thanks for sharing at My Big Fat Menopausal Life’s Share the Wealth Party – hope to see you at the next one this week!
I’ll be there. Thank you!
Thanks for the shout-out, Niki. The carrot looks so cute done with burlap!
https://theapplestreetcottage.blogspot.com/2022/03/spring-carrotfrom-witch-hat.html
You’re welcome!