Welcome to another Under $10 on the 10th blog hop! I’m so glad that you’ve dropped by to join in on the fun. Each month on the 10th, I join up with some other wonderful bloggers, and we each create a project that can be made for less than $10. April’s theme is spring/Easter. What’s more spring-ish and Easter-y than a bunny?! So, I’m sharing a white cotton rope bunny tray that goes perfectly with farmhouse decor. After the tutorial, stick around to check out the projects shared by the other ladies in the hop.


Cotton Rope Bunny Tray Supplies:
All of the supplies come from Dollar Tree unless noted.*
- 3 packs of white cotton rope- DT has 2 types of white cotton rope, one thinner, one thicker. I used the thicker one that comes in a package of 6.4ft.
- stove eye cover or splatter screen
- hot glue gun & glue
- ribbon for a bow- I used a 1/2″ aqua ribbon from Walmart (97¢)
- fat quarter of fabric- I used 2 different ones, but 1 will do. I used a pink bunny print & blue & white buffalo check.)
- scissors
- thick wire (a wire clothes hanger or something similar)- I used two pieces of a witch hat wreath form leftover from upcycling one into a burlap carrot wreath.
- transparent tape
The three packs of rope and each quarter of fabric were $1.25 each so this project can be made for $6.25! I already had the ribbon, but if you need to buy it as well, you’ll still only pay $7.25 for it. That’s quite a deal!


Begin to Coil the Rope for the Tray
Making a rope tray is very easy. Last year I made a tray using Dollar Tree’s nautical rope in about 30 minutes. This project is just a little bit different because the white cotton rope is not as stiff as the nautical rope. Therefore, you will need a base to hold it up. You can use a DT splatter screen, a round pan, or a stove eye cover like I did.
When I began the project I didn’t realize it wouldn’t hold on it’s own, so I started the tray outside of the eye cover. You live, you learn, no biggie. In my pictures you’ll see that I’m making it without a base, just do what I do in the photos, but inside or on top of your base.
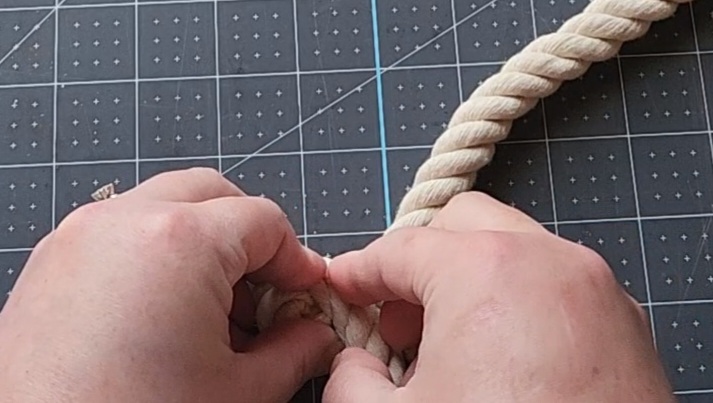
Place some hot glue on the end of the rope where the tape is. The tape is there to keep the rope from unraveling.

Roll the rope in on itself, forming a flat ball.
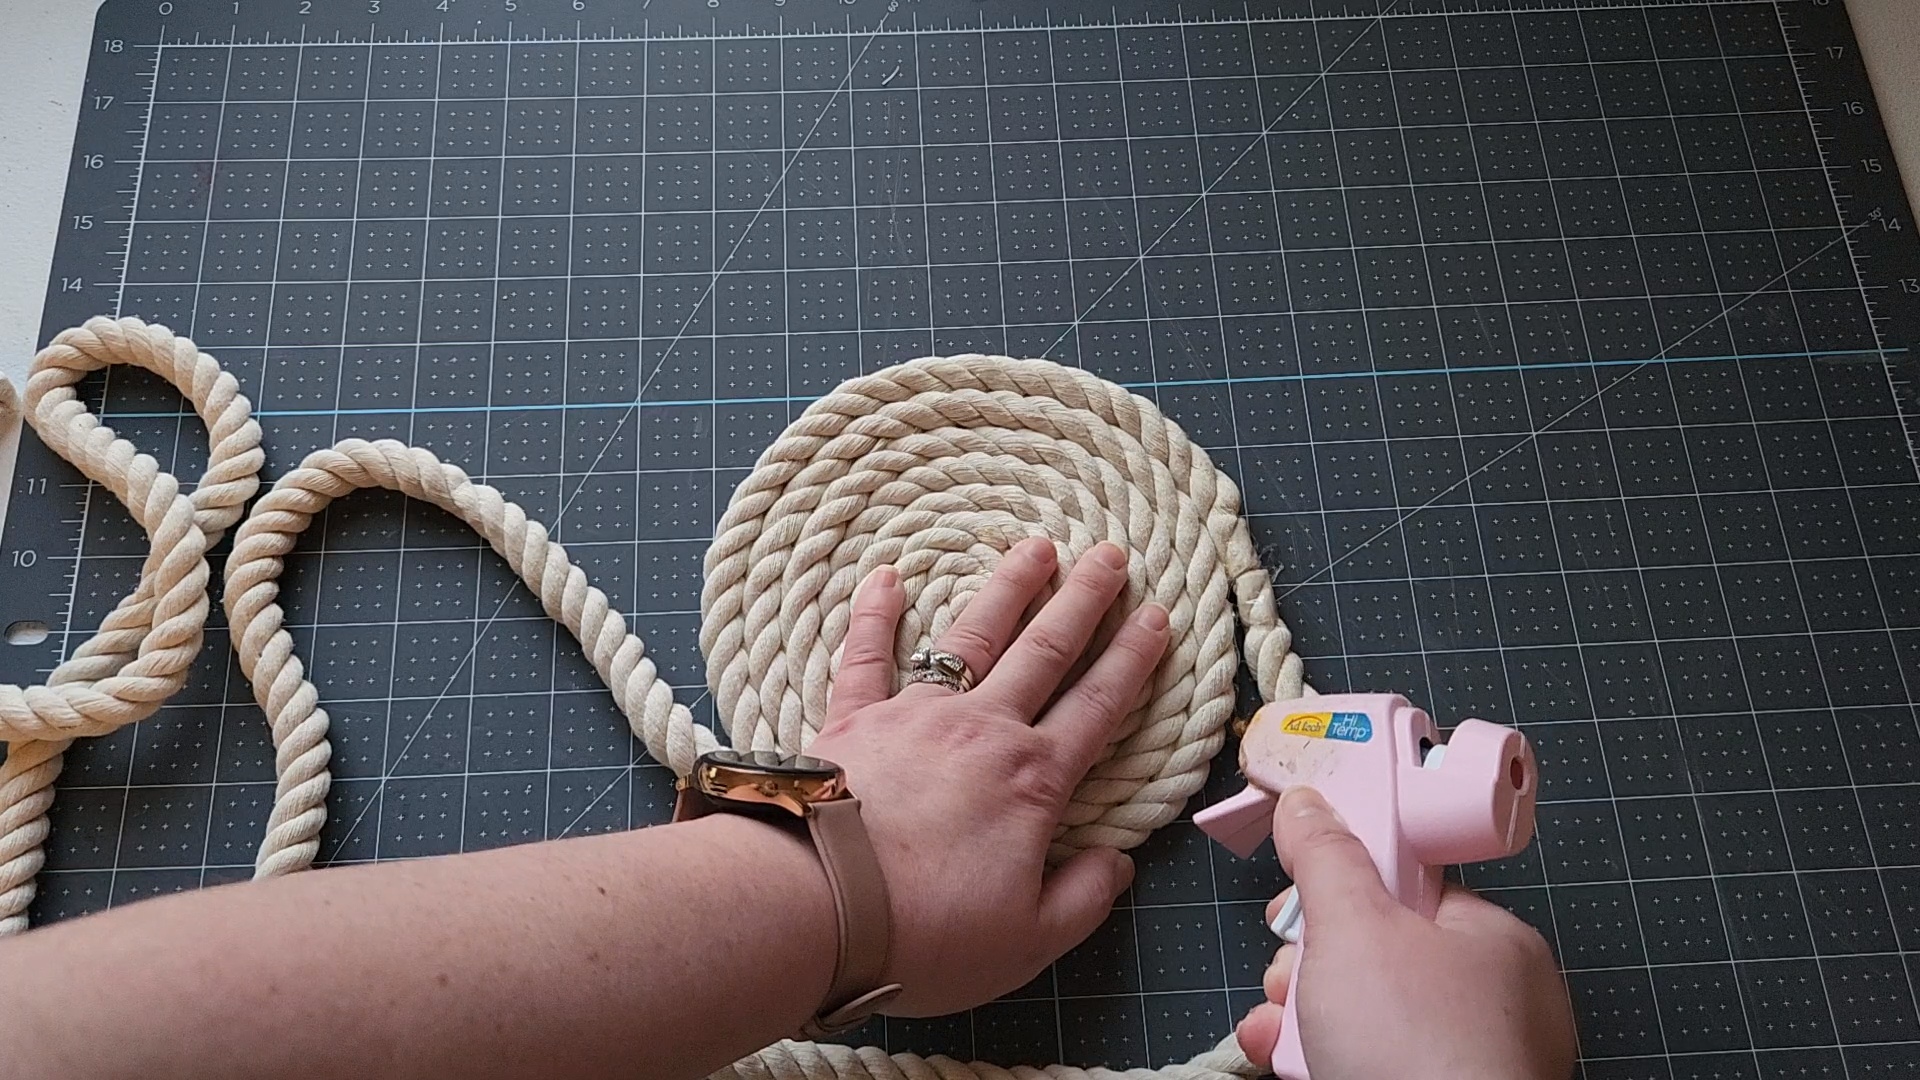
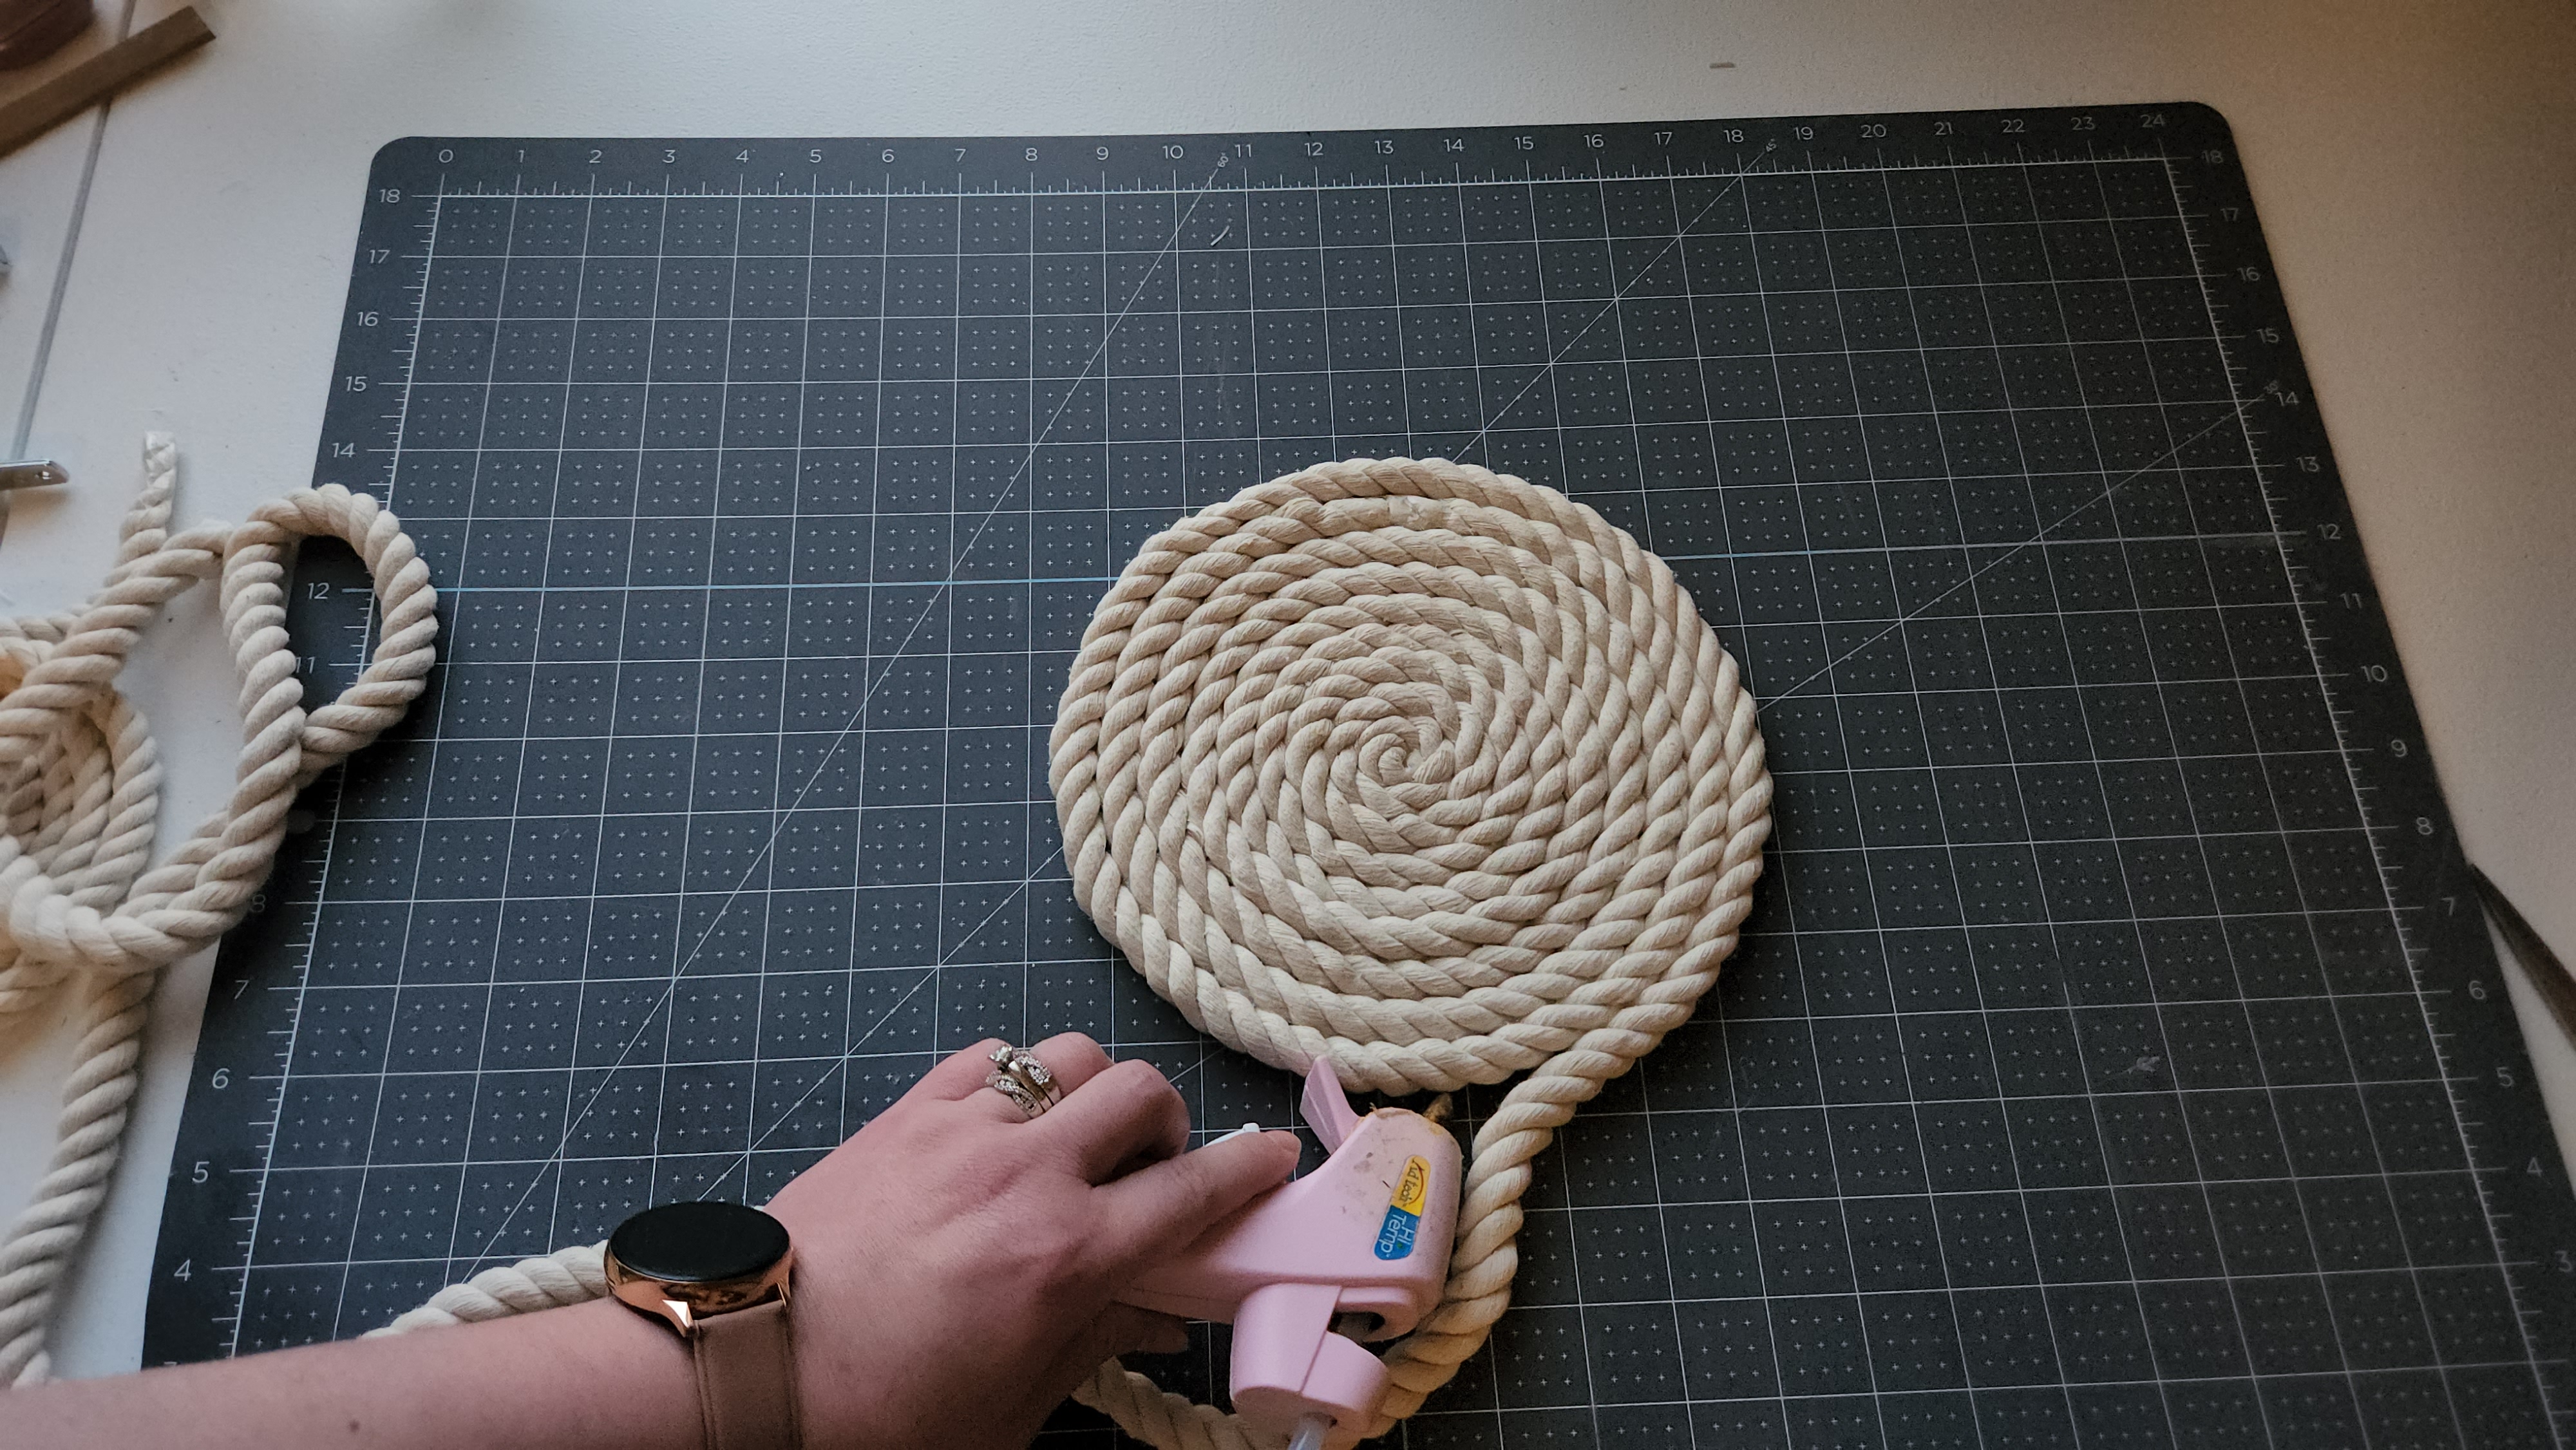
Squeeze hot glue on the outside of the rope ball and continue to roll the free rope around the forming flat ball.


Continue to glue and roll until you run out of rope or the base is full/covered. If you run out of rope before the tray is covered, add hot glue to the end of a new rope and press it right up against the end of the first one. Keep going in this manner until the pan or screen is covered.


You won’t need to do this, but since I didn’t start my bunny tray in my stove eye cover, I had to move it there at this point. I added hot glue to the inside of the cover and placed the formed tray inside.


Cover the Outer Rope Tray
I wanted the tray to seem to stand on its own, so I the stove eye needed to be covered a bit more. Add hot glue to the top edge of cover (or splatter screen, whatever you’re using) then press the rope onto it. Keep adding glue and rope until the entire thing is covered.


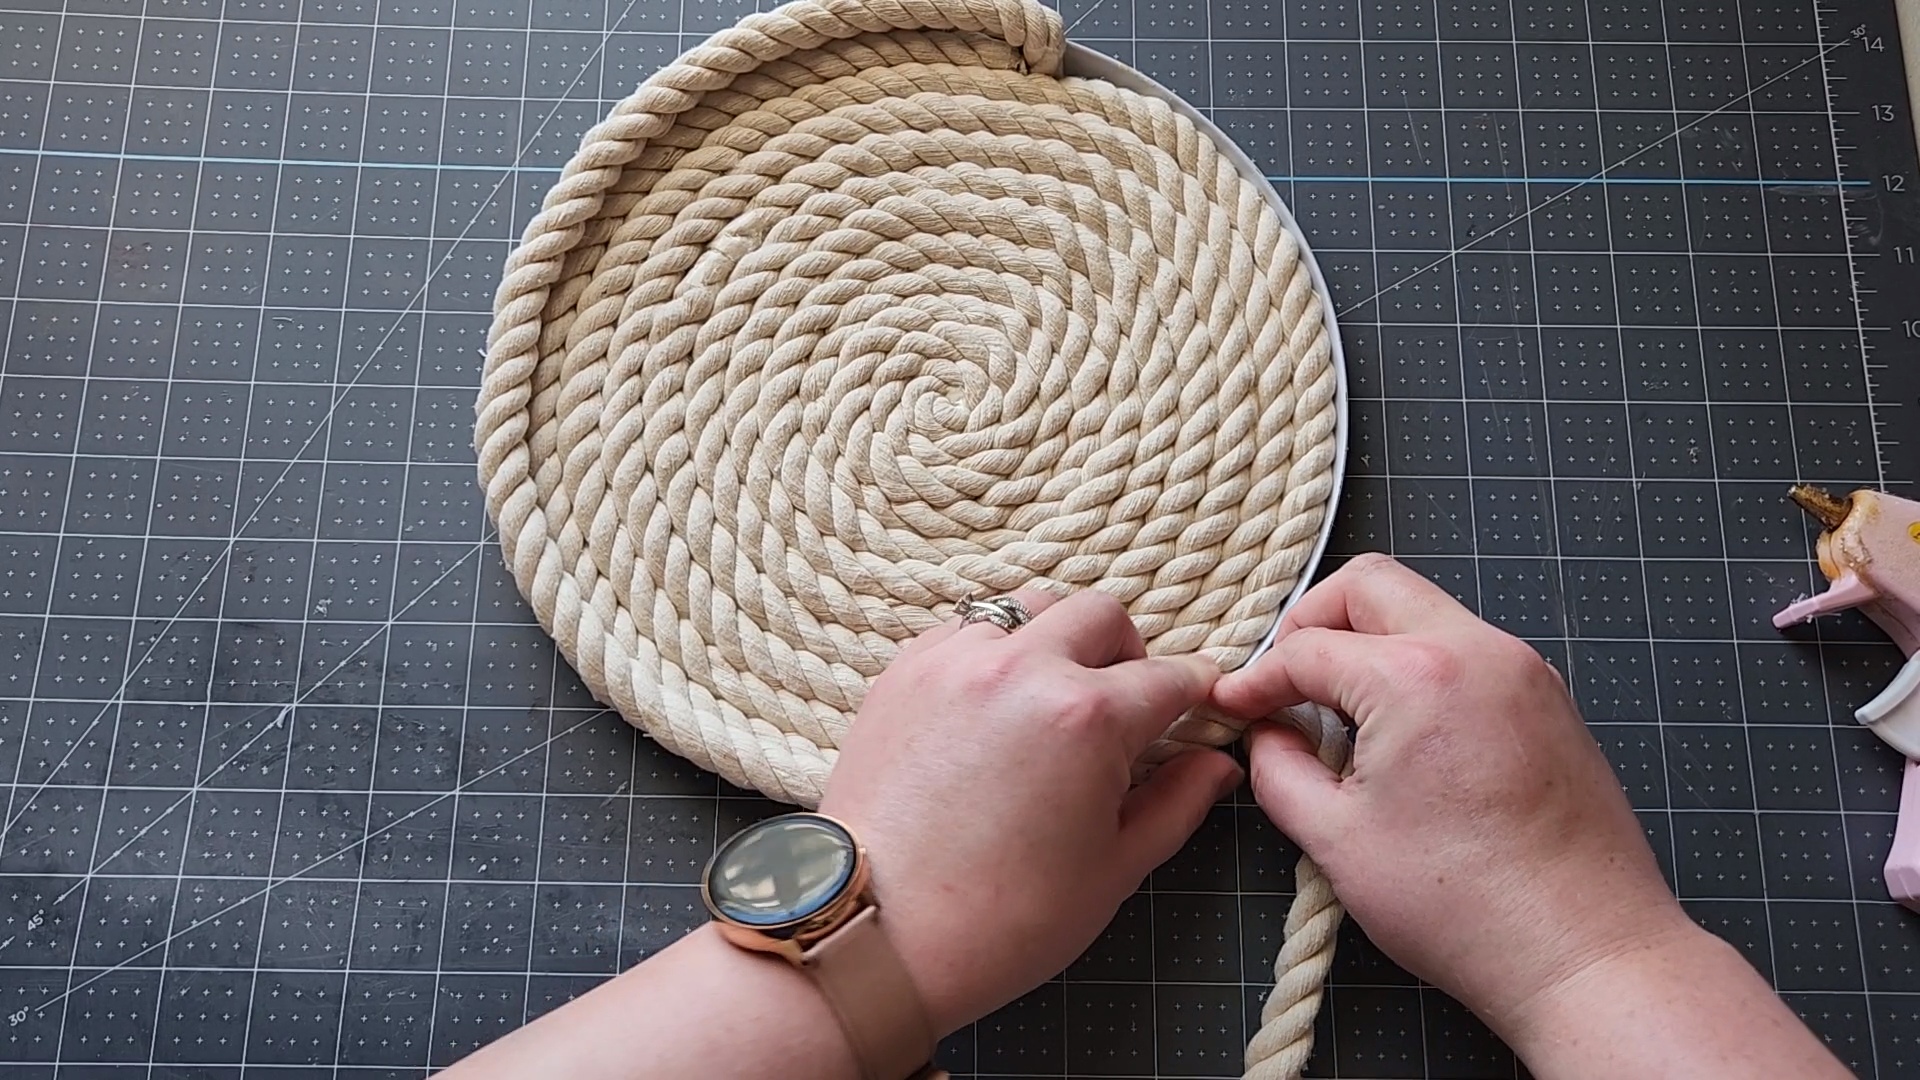

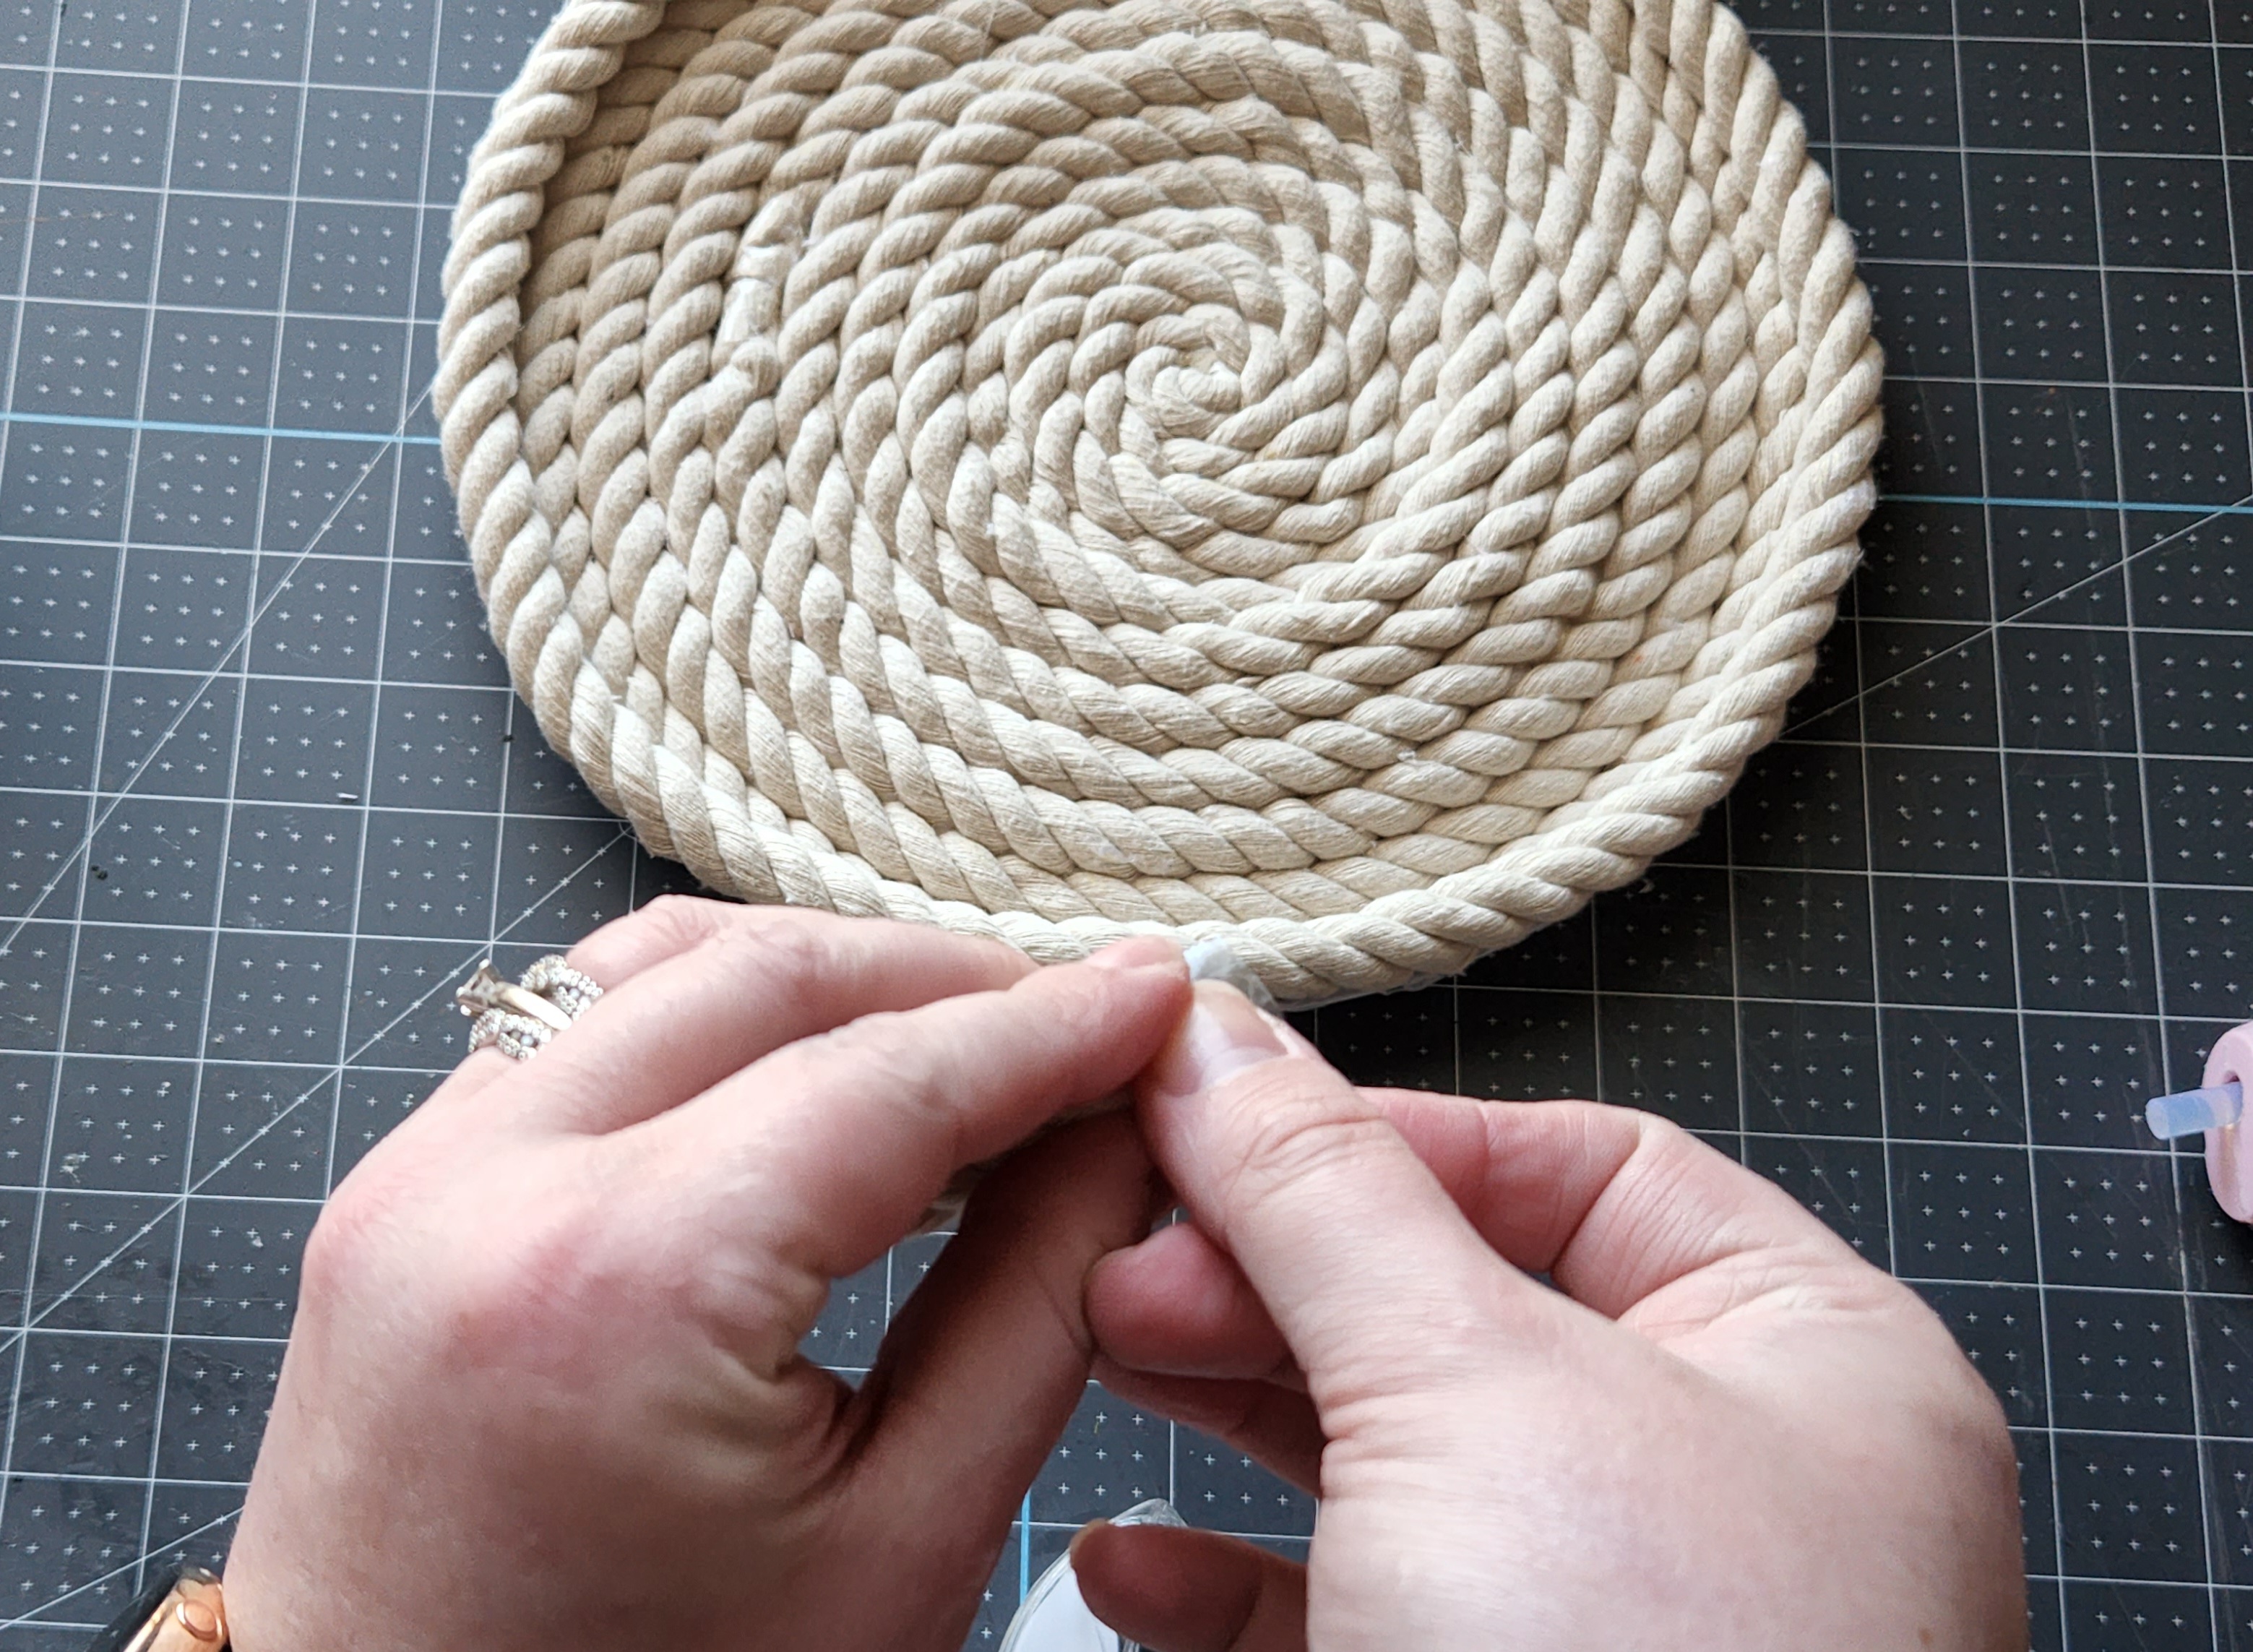
Cut the rope and cover it with tape so that it doesn’t fray. Then glue the end to the tray and against the rope where it started.


Form Bunny Ears
With the base of the tray made, it’s time to create bunny ears. You can use a good thick floral wire or a wire coat hanger. The coat hanger will probably hold up best. After I upcycled my witch hat wreath form into a carrot wreath, I had two triangle shaped wires leftover that had once formed either end of the hat’s brim. I thought those would make the perfect bunny ears.
Shape your wire into a point in the middle, then bend the ends out a bit, finally bending them back in a little, forming a not quite fully formed triangle at the other end. It’s probably easier if I just show you. This is how your ears should start:


I mistakenly thought I could glue the ears to the back of the tray, so I made the ends like this:

They are too thick to be glued to the back of the bunny rope tray, so you’ll need to mold the ends of the ears to sit against the round outside of the tray.

Cover the Bunny’s Ears
Go ahead and iron the fabric if need be.

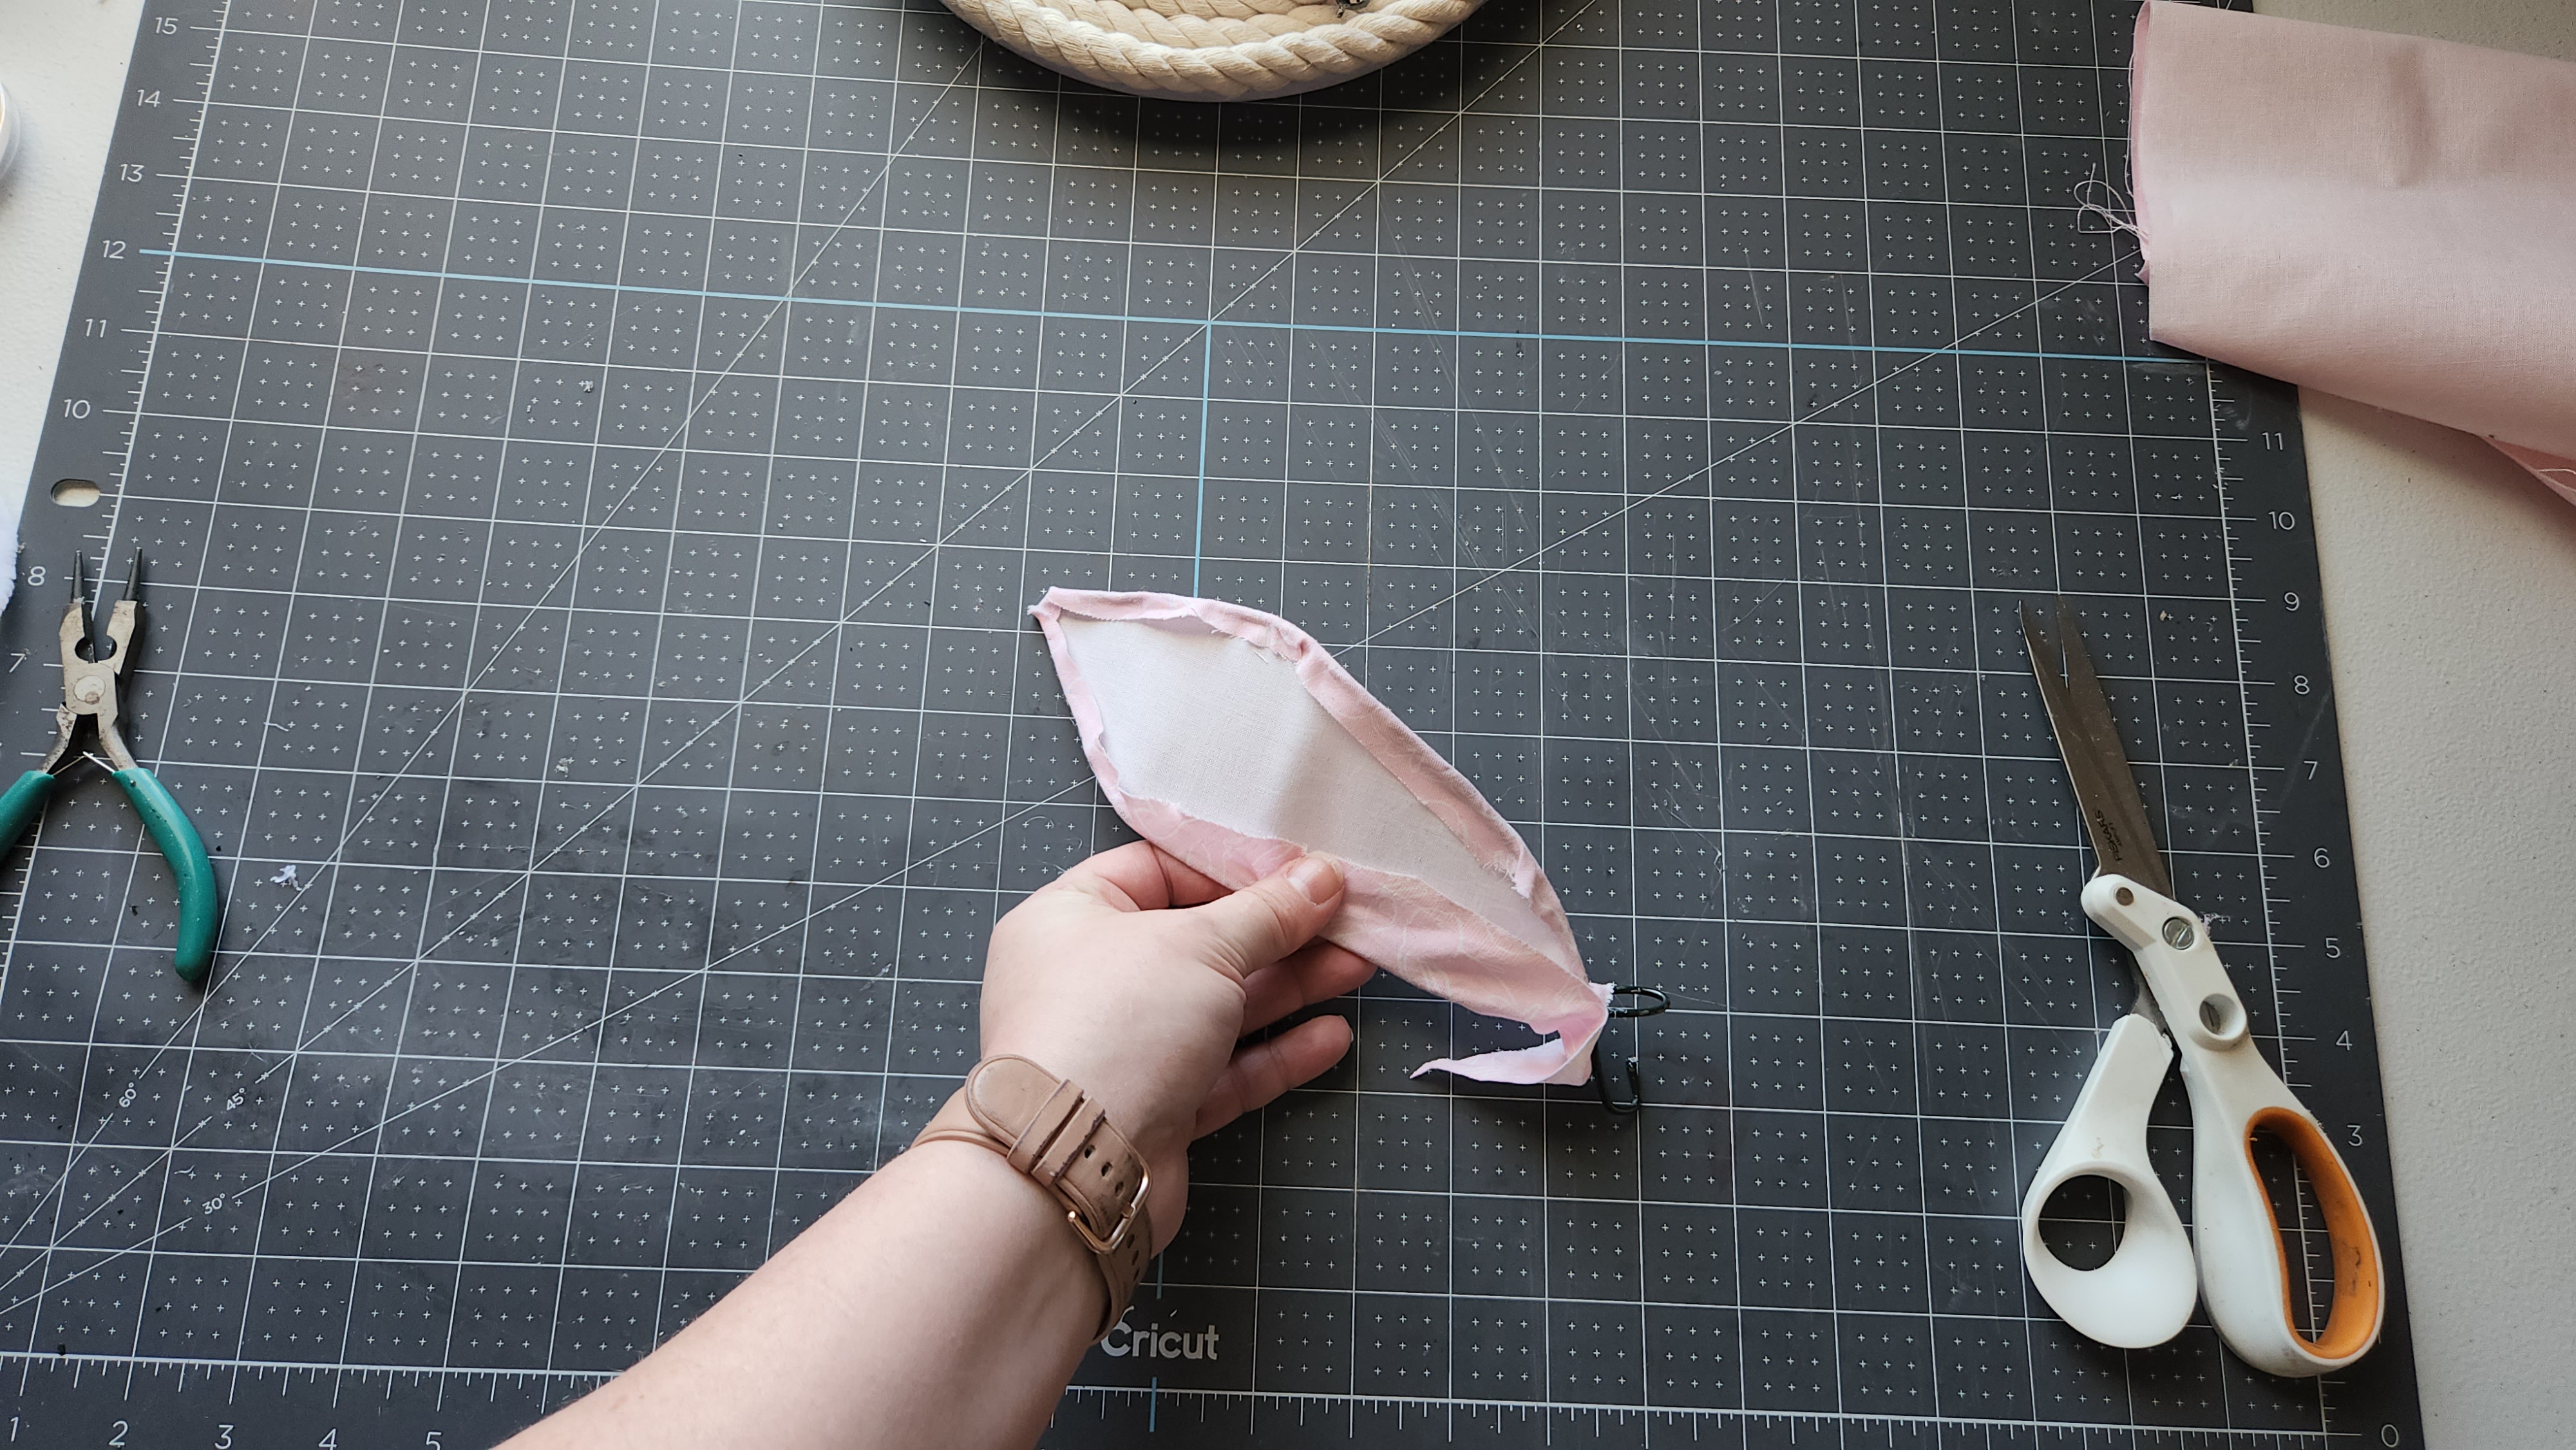
Lay the fabric facedown then place the bunny ear on top of it. (Ignore the fact that my ears are pointed at both ends. I had to horrendously fix this later by removing part of the fabric. AGHHH! Yours however will already be formed correctly so that won’t happen to you.)

Cut around the wire, leaving enough fabric to wrap around it and glue in place. Add hot glue to the end of the wire and wrap the fabric down on it.

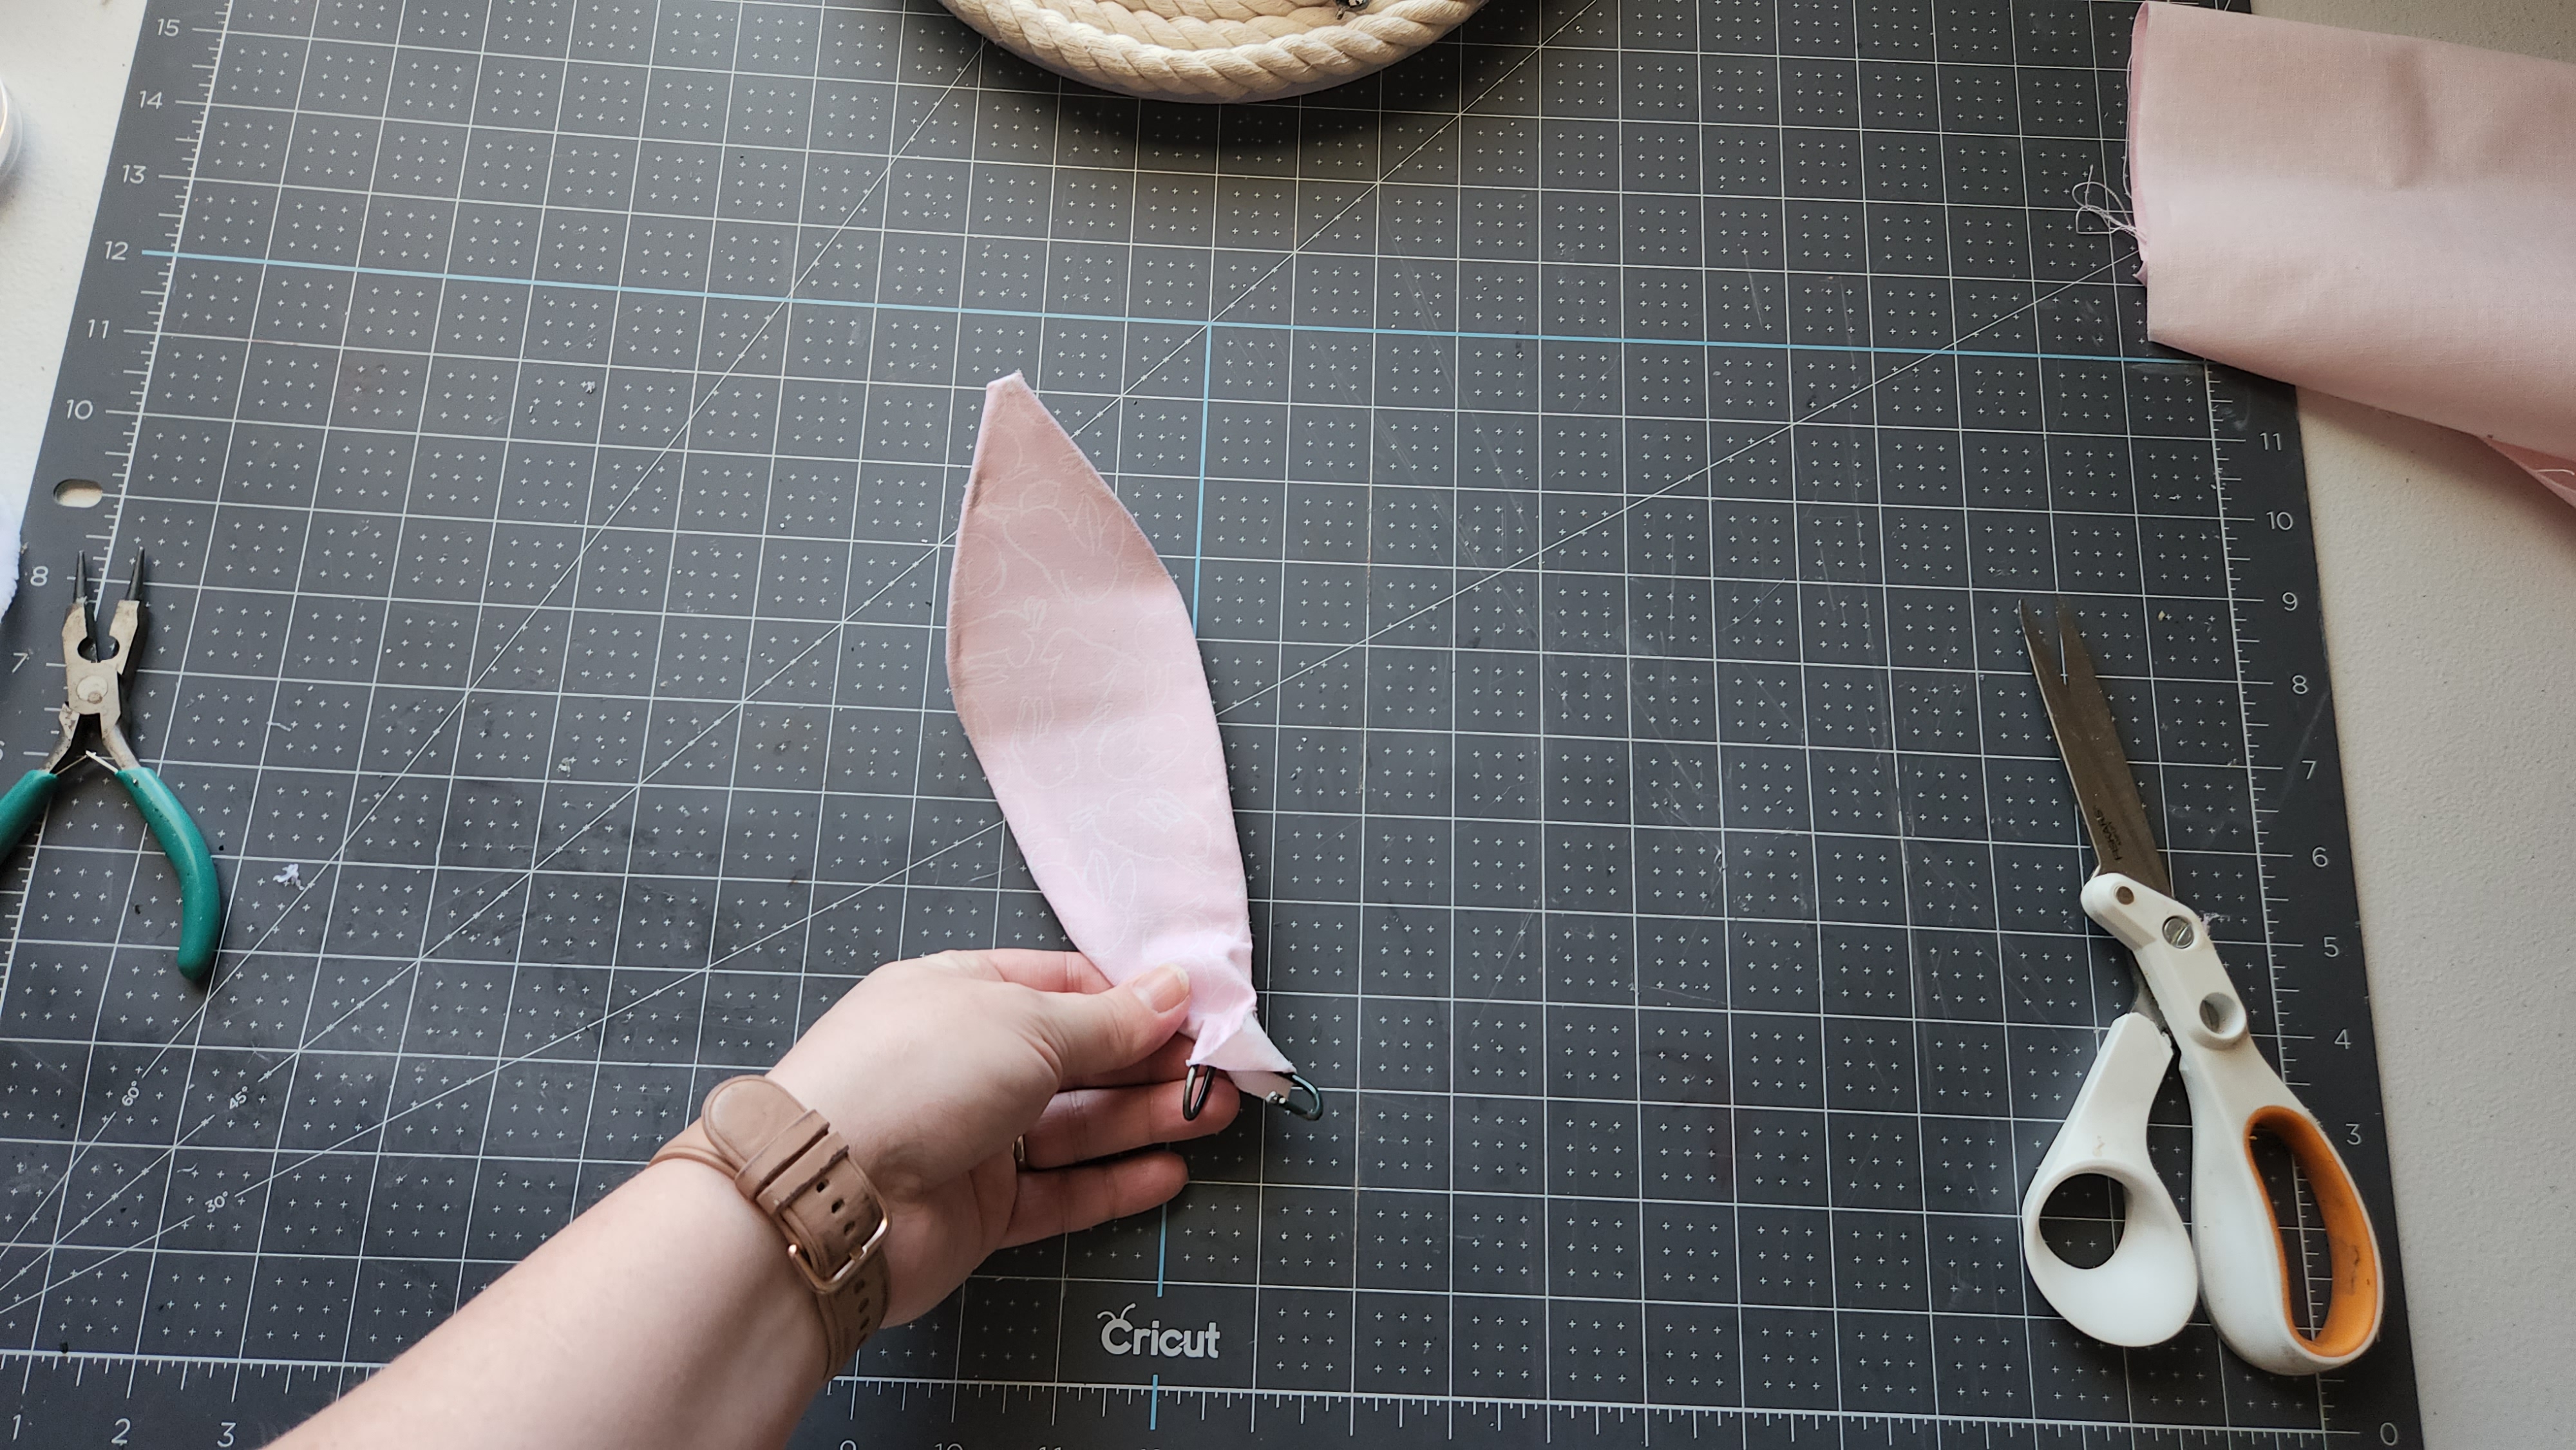
Continue adding glue to the wire and wrapping the fabric over it.


I slightly bent my second bunny ear so that it kind of points to the side. I like the character it gave to my little guy. If you do the same with yours, make sure you do it before you cover it in fabric otherwise the fabric will be too0 tight to allow it to bend.
With both ears now covered in fabric, it’s time to trim them with the rope. Add hot glue to the edge of the wires and press the rope on to it.

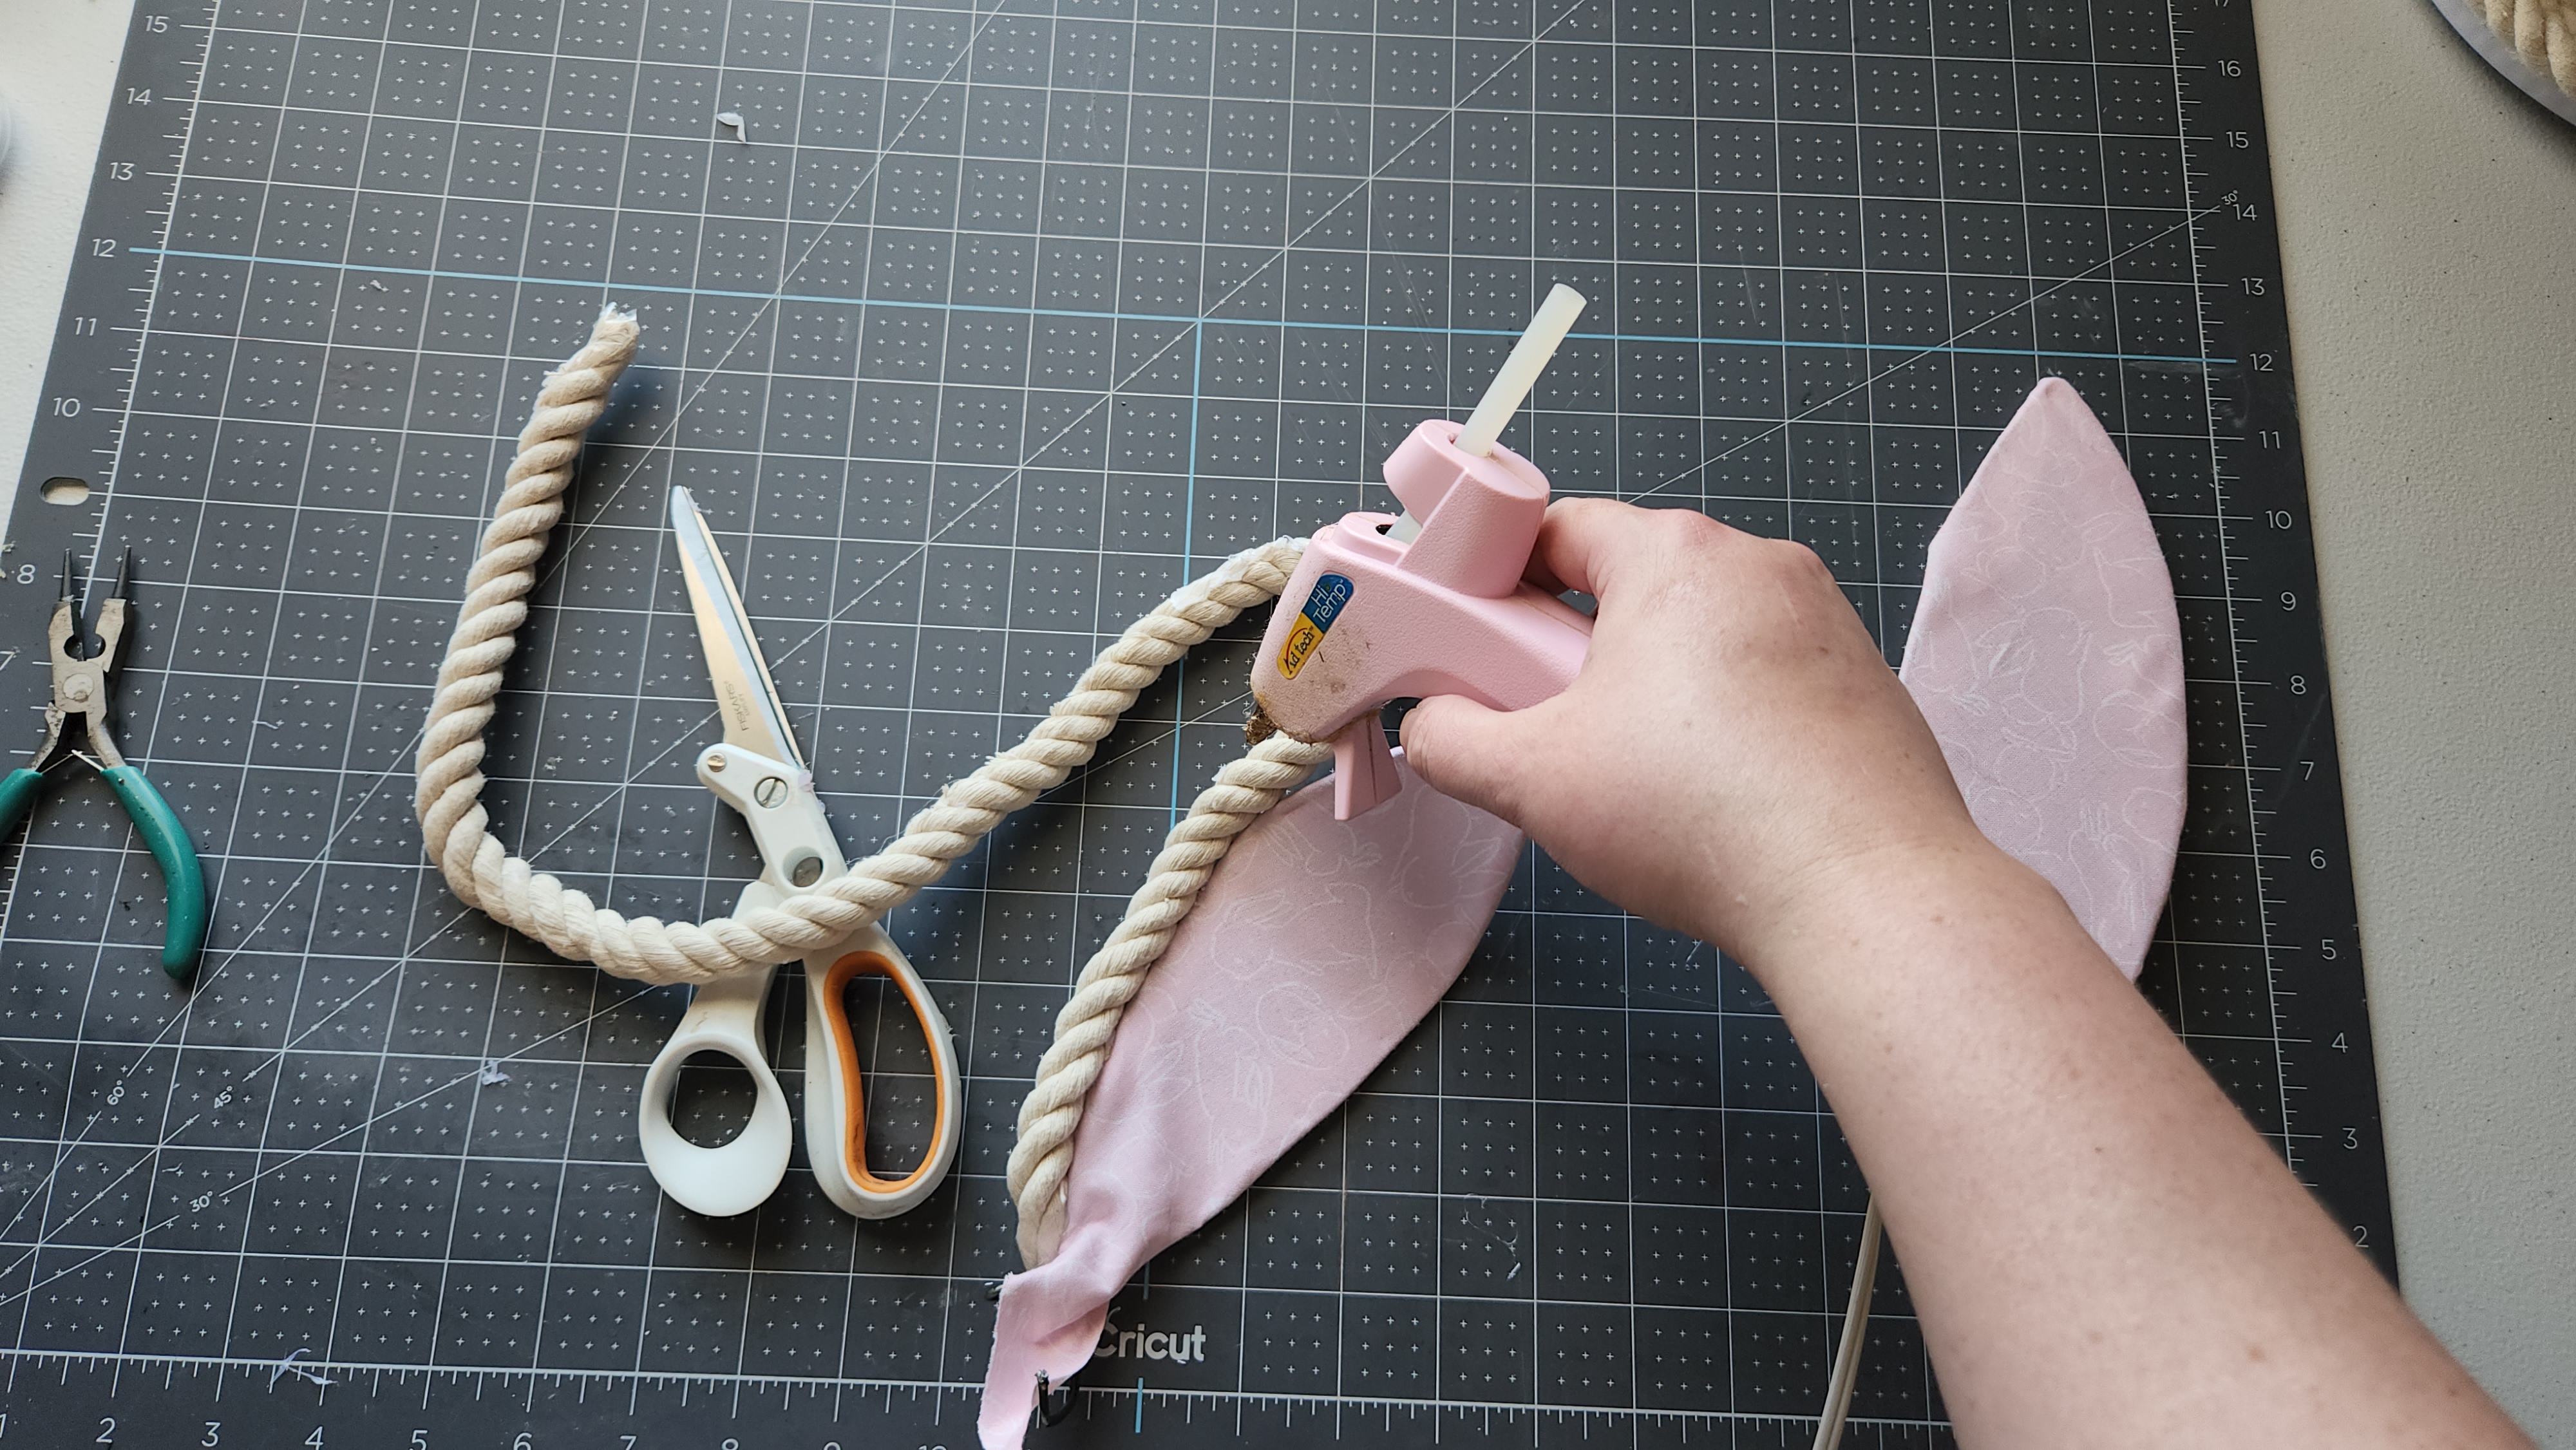

Cut off the excess rope and tape it so that it doesn’t fray. Then, glue it in place. Repeat these steps on the second ear.


Attach the Bunny Ears to the Rope Tray
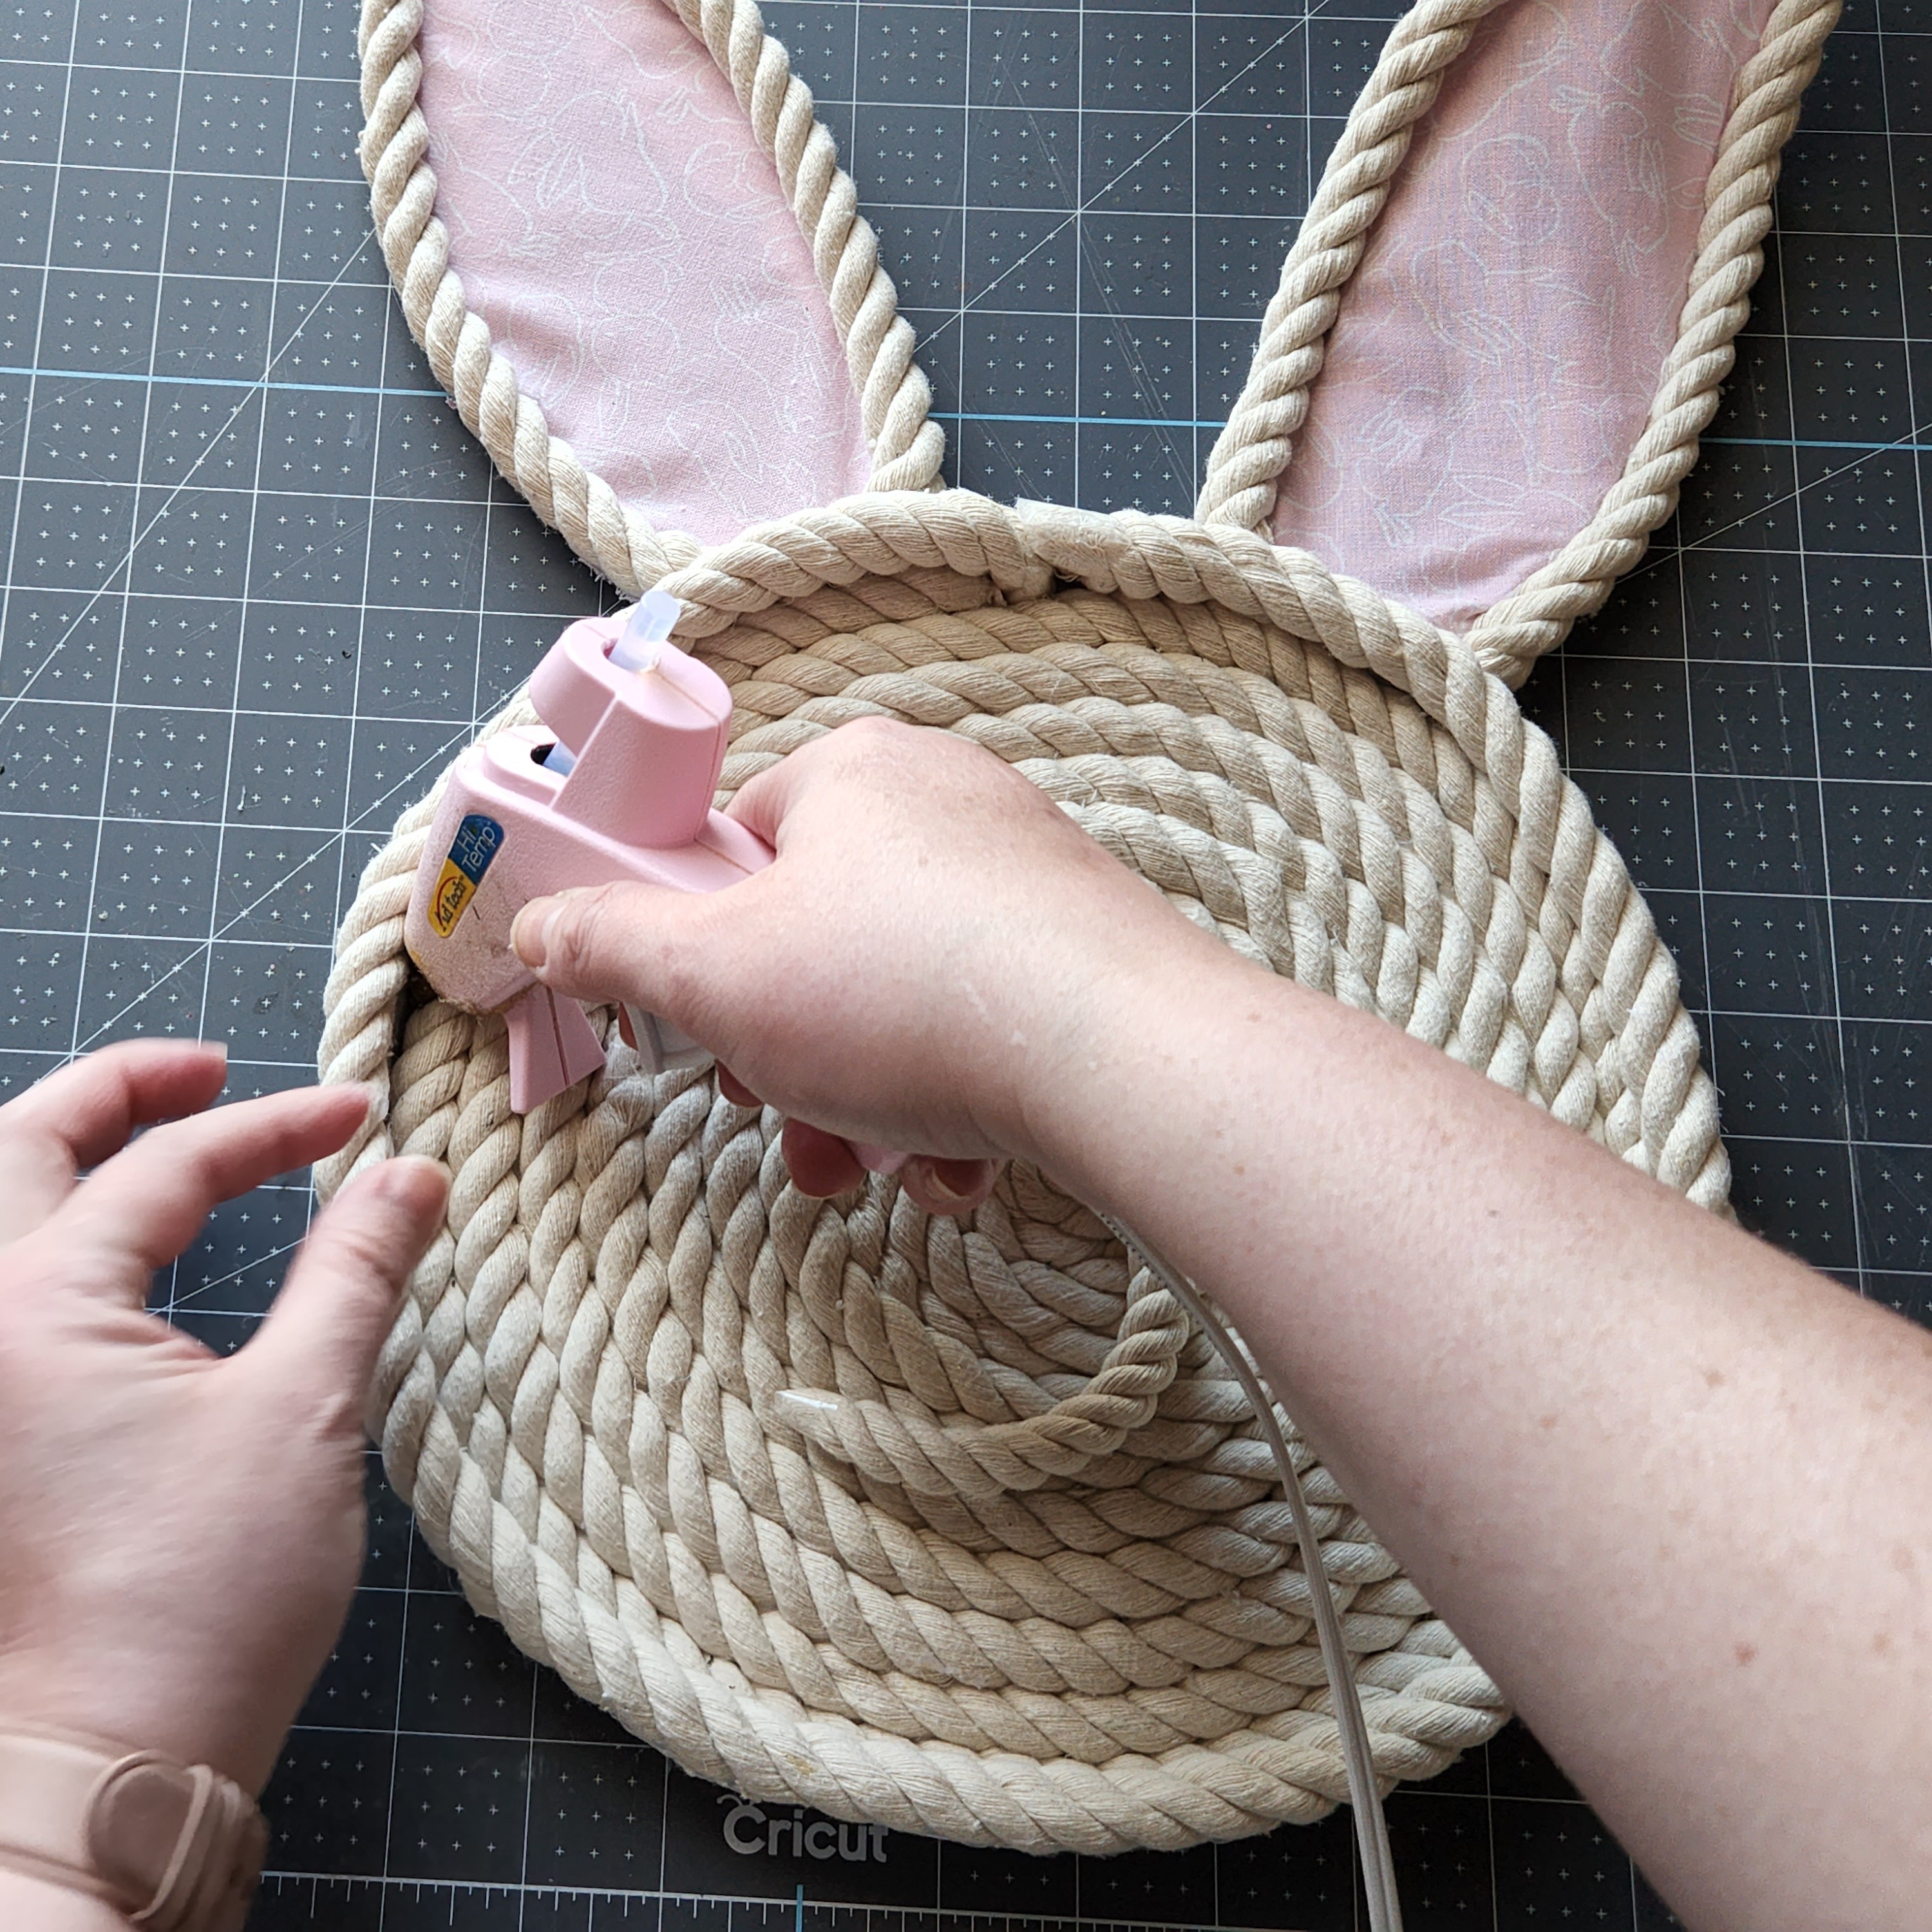
Squeeze a few lines of hot glue, as wide as one of the ears, on the top of the stove eye cover. I would suggest adding the glue just to the side of where the two ropes on the outside of the tray meet. That way you can cover the two pieces of tape with a bow later.

Place an ear on top of it and hold it in place for a few moments while the glue dries.
Leave about 2.5″ of blank space then add the second ear.


Add Rope Handles
Next, you’ll add two handles to carry the tray with. Measure and cut two pieces of 6″ rope. Again, tape off the ends.
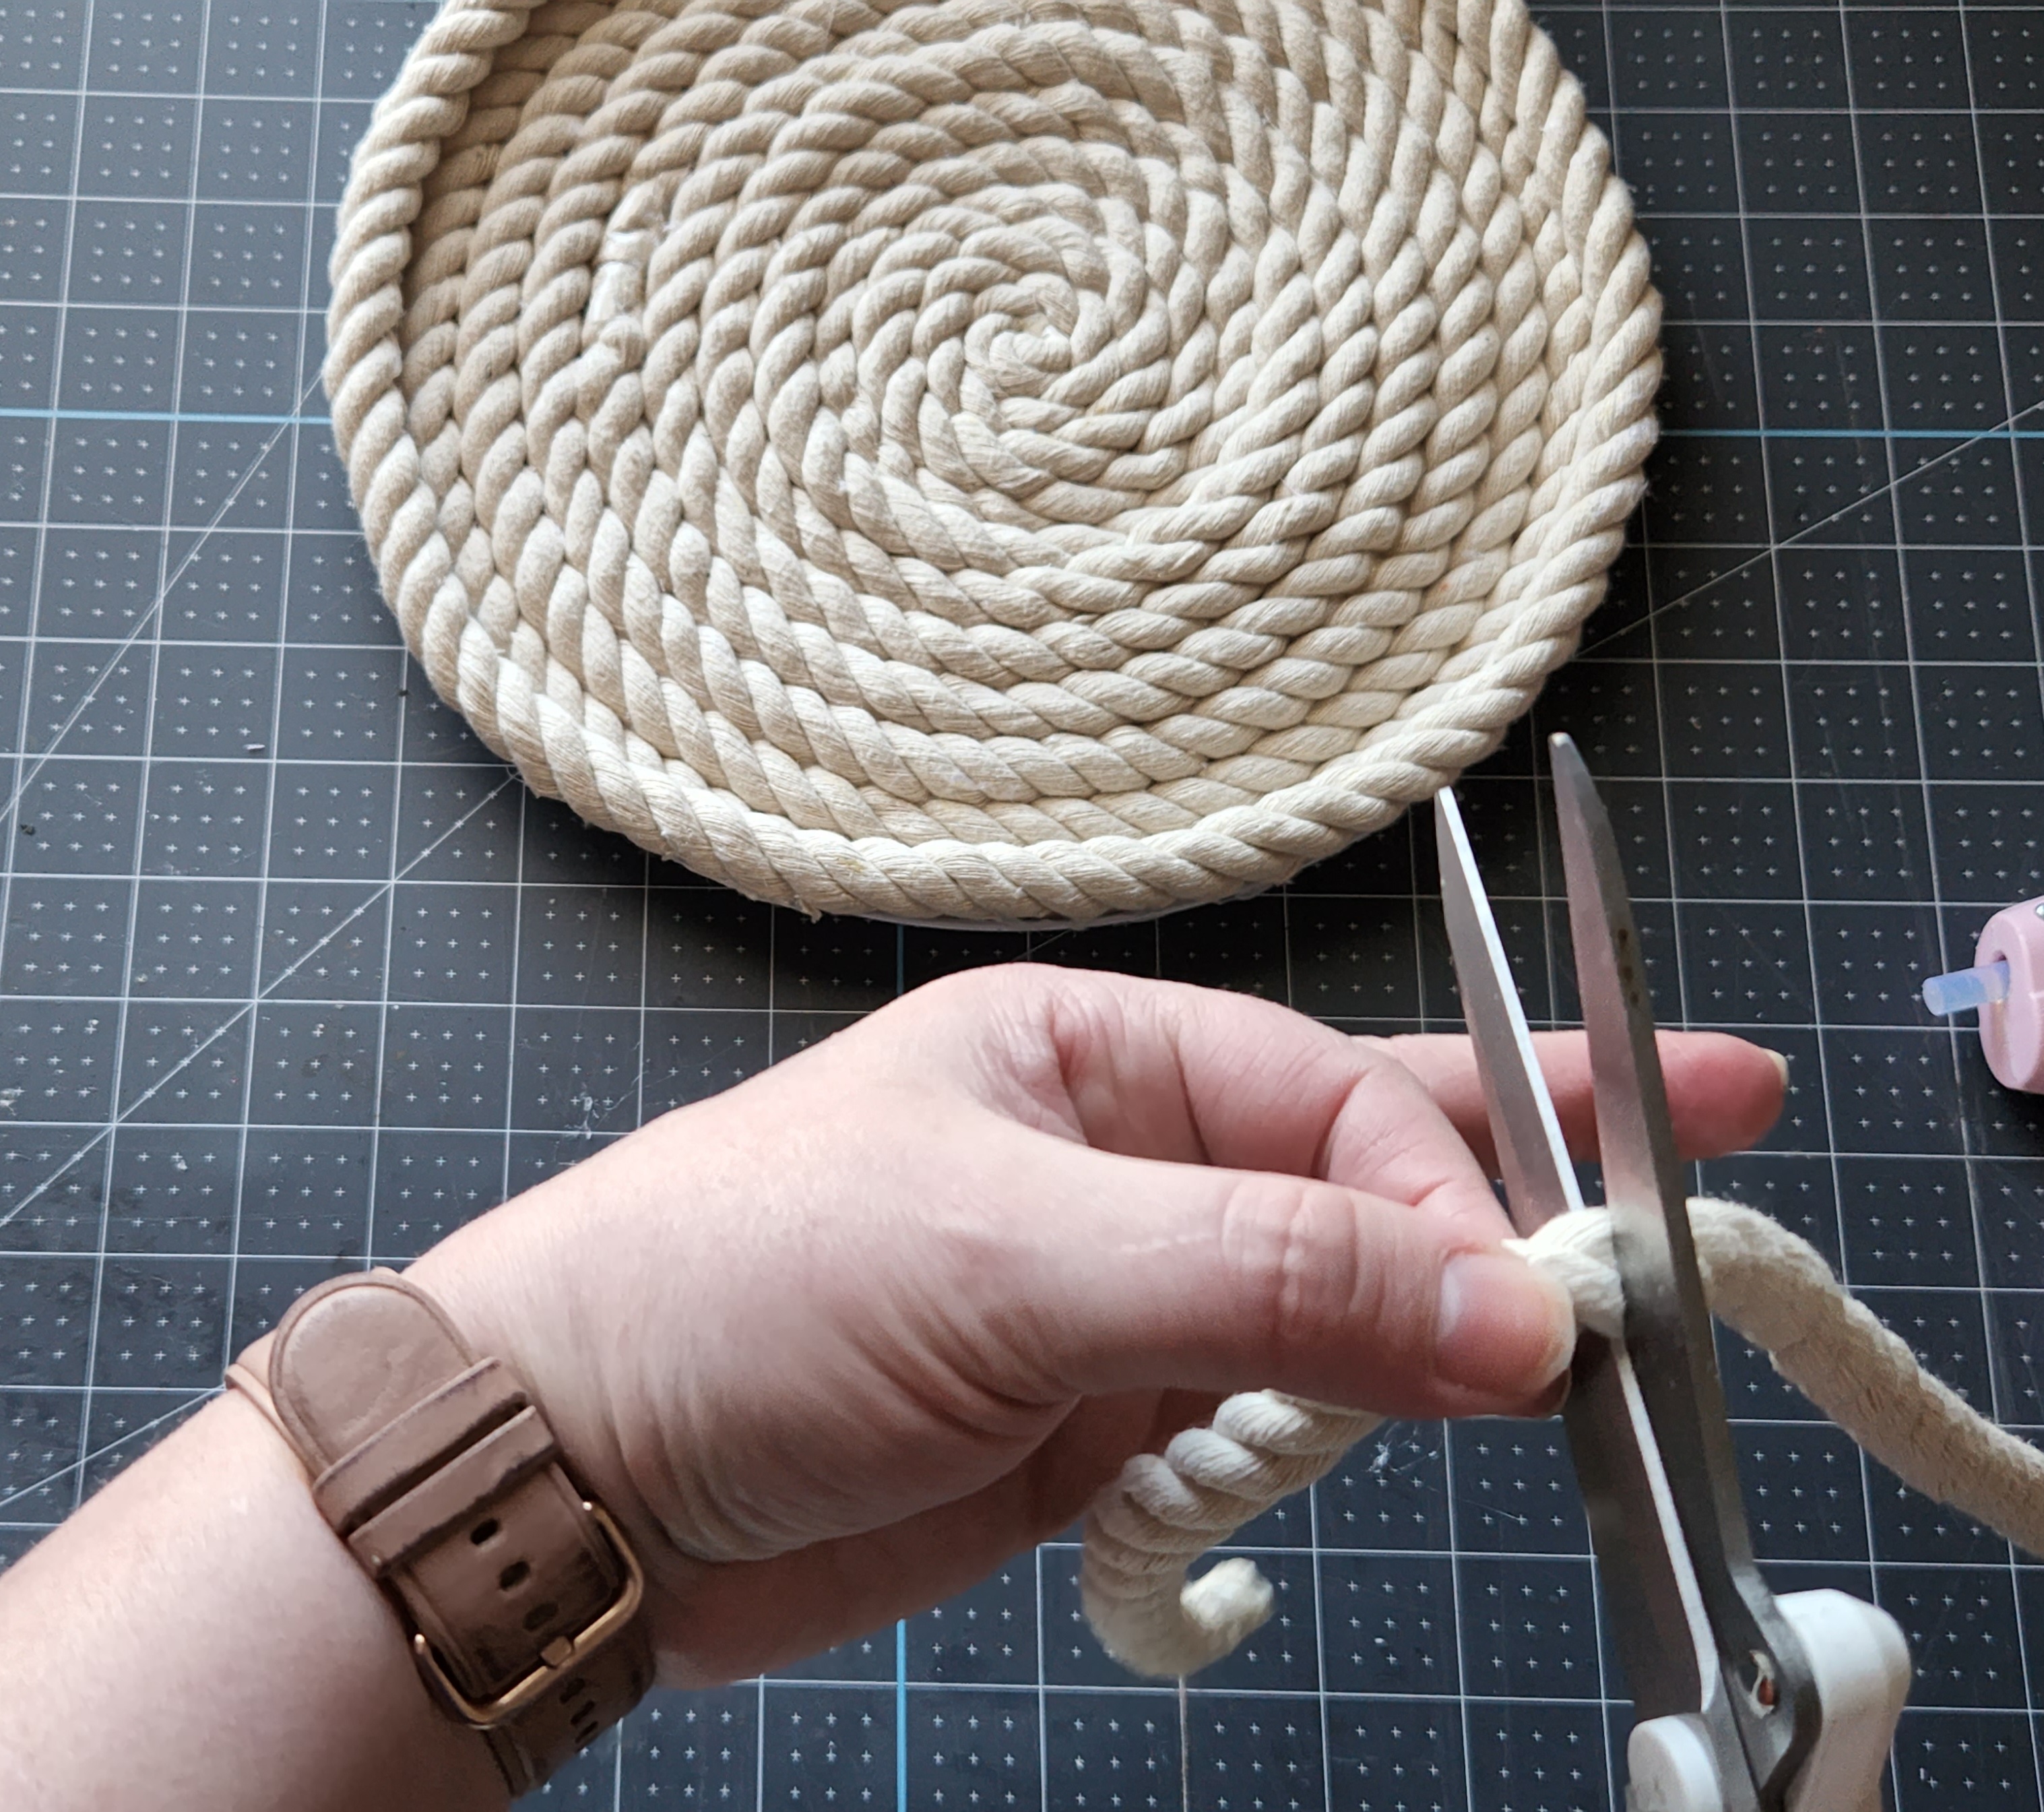

Shift the rope to the side a bit so that you can access the bottom of the eye cover, about 3.5″ from the outside of one of the ears. Squeeze hot glue into the bottom and place one end of a handle into the space.

Leave about 3″ and glue the other end of the handle in place.


Repeat the process on the opposite side, placing the second handle.


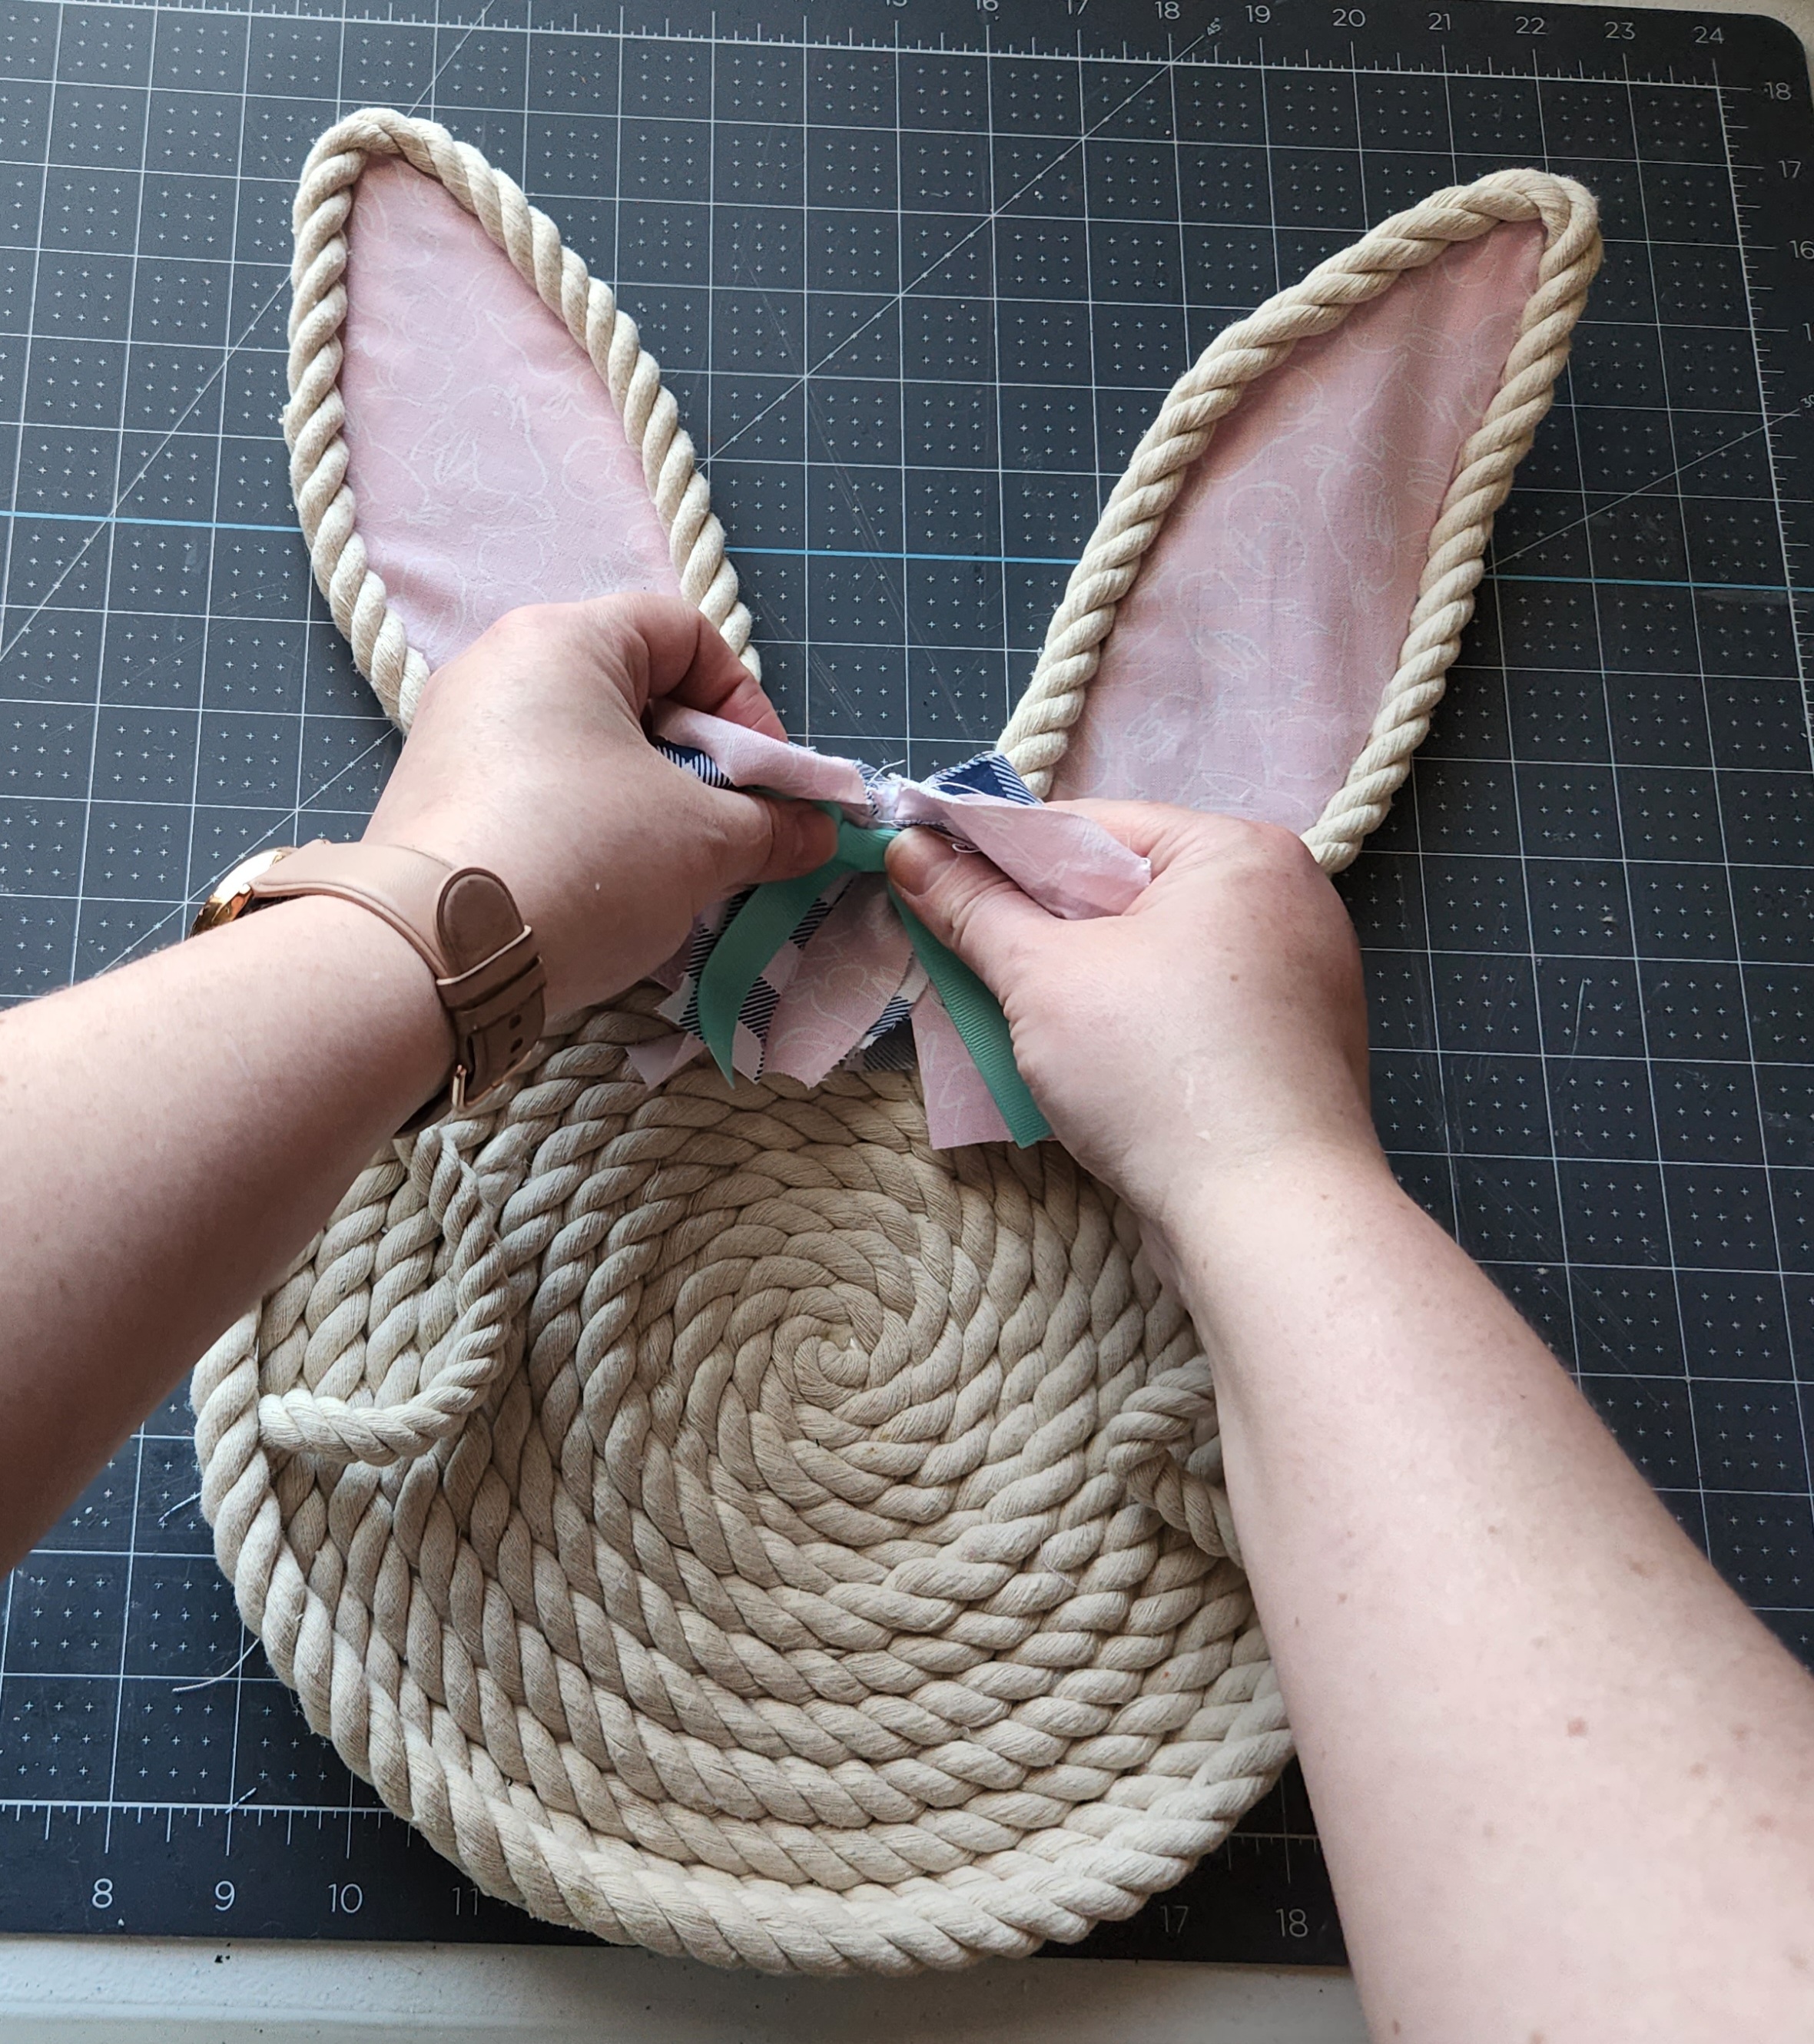
Make a Bow
Choose your favorite ribbon and make a bow for the top of the bunny. A simple two loop bow will look best. Or- you can do what I did and create a rag bow to match the fabric and/or patterns that you’ve used this season. This spring I’ve gone all out with buffalo check, so I felt I needed to add it to this piece as well. A few weeks ago I picked up some blue and white buffalo check fabric from Dollar Tree, so I used it for my bow.
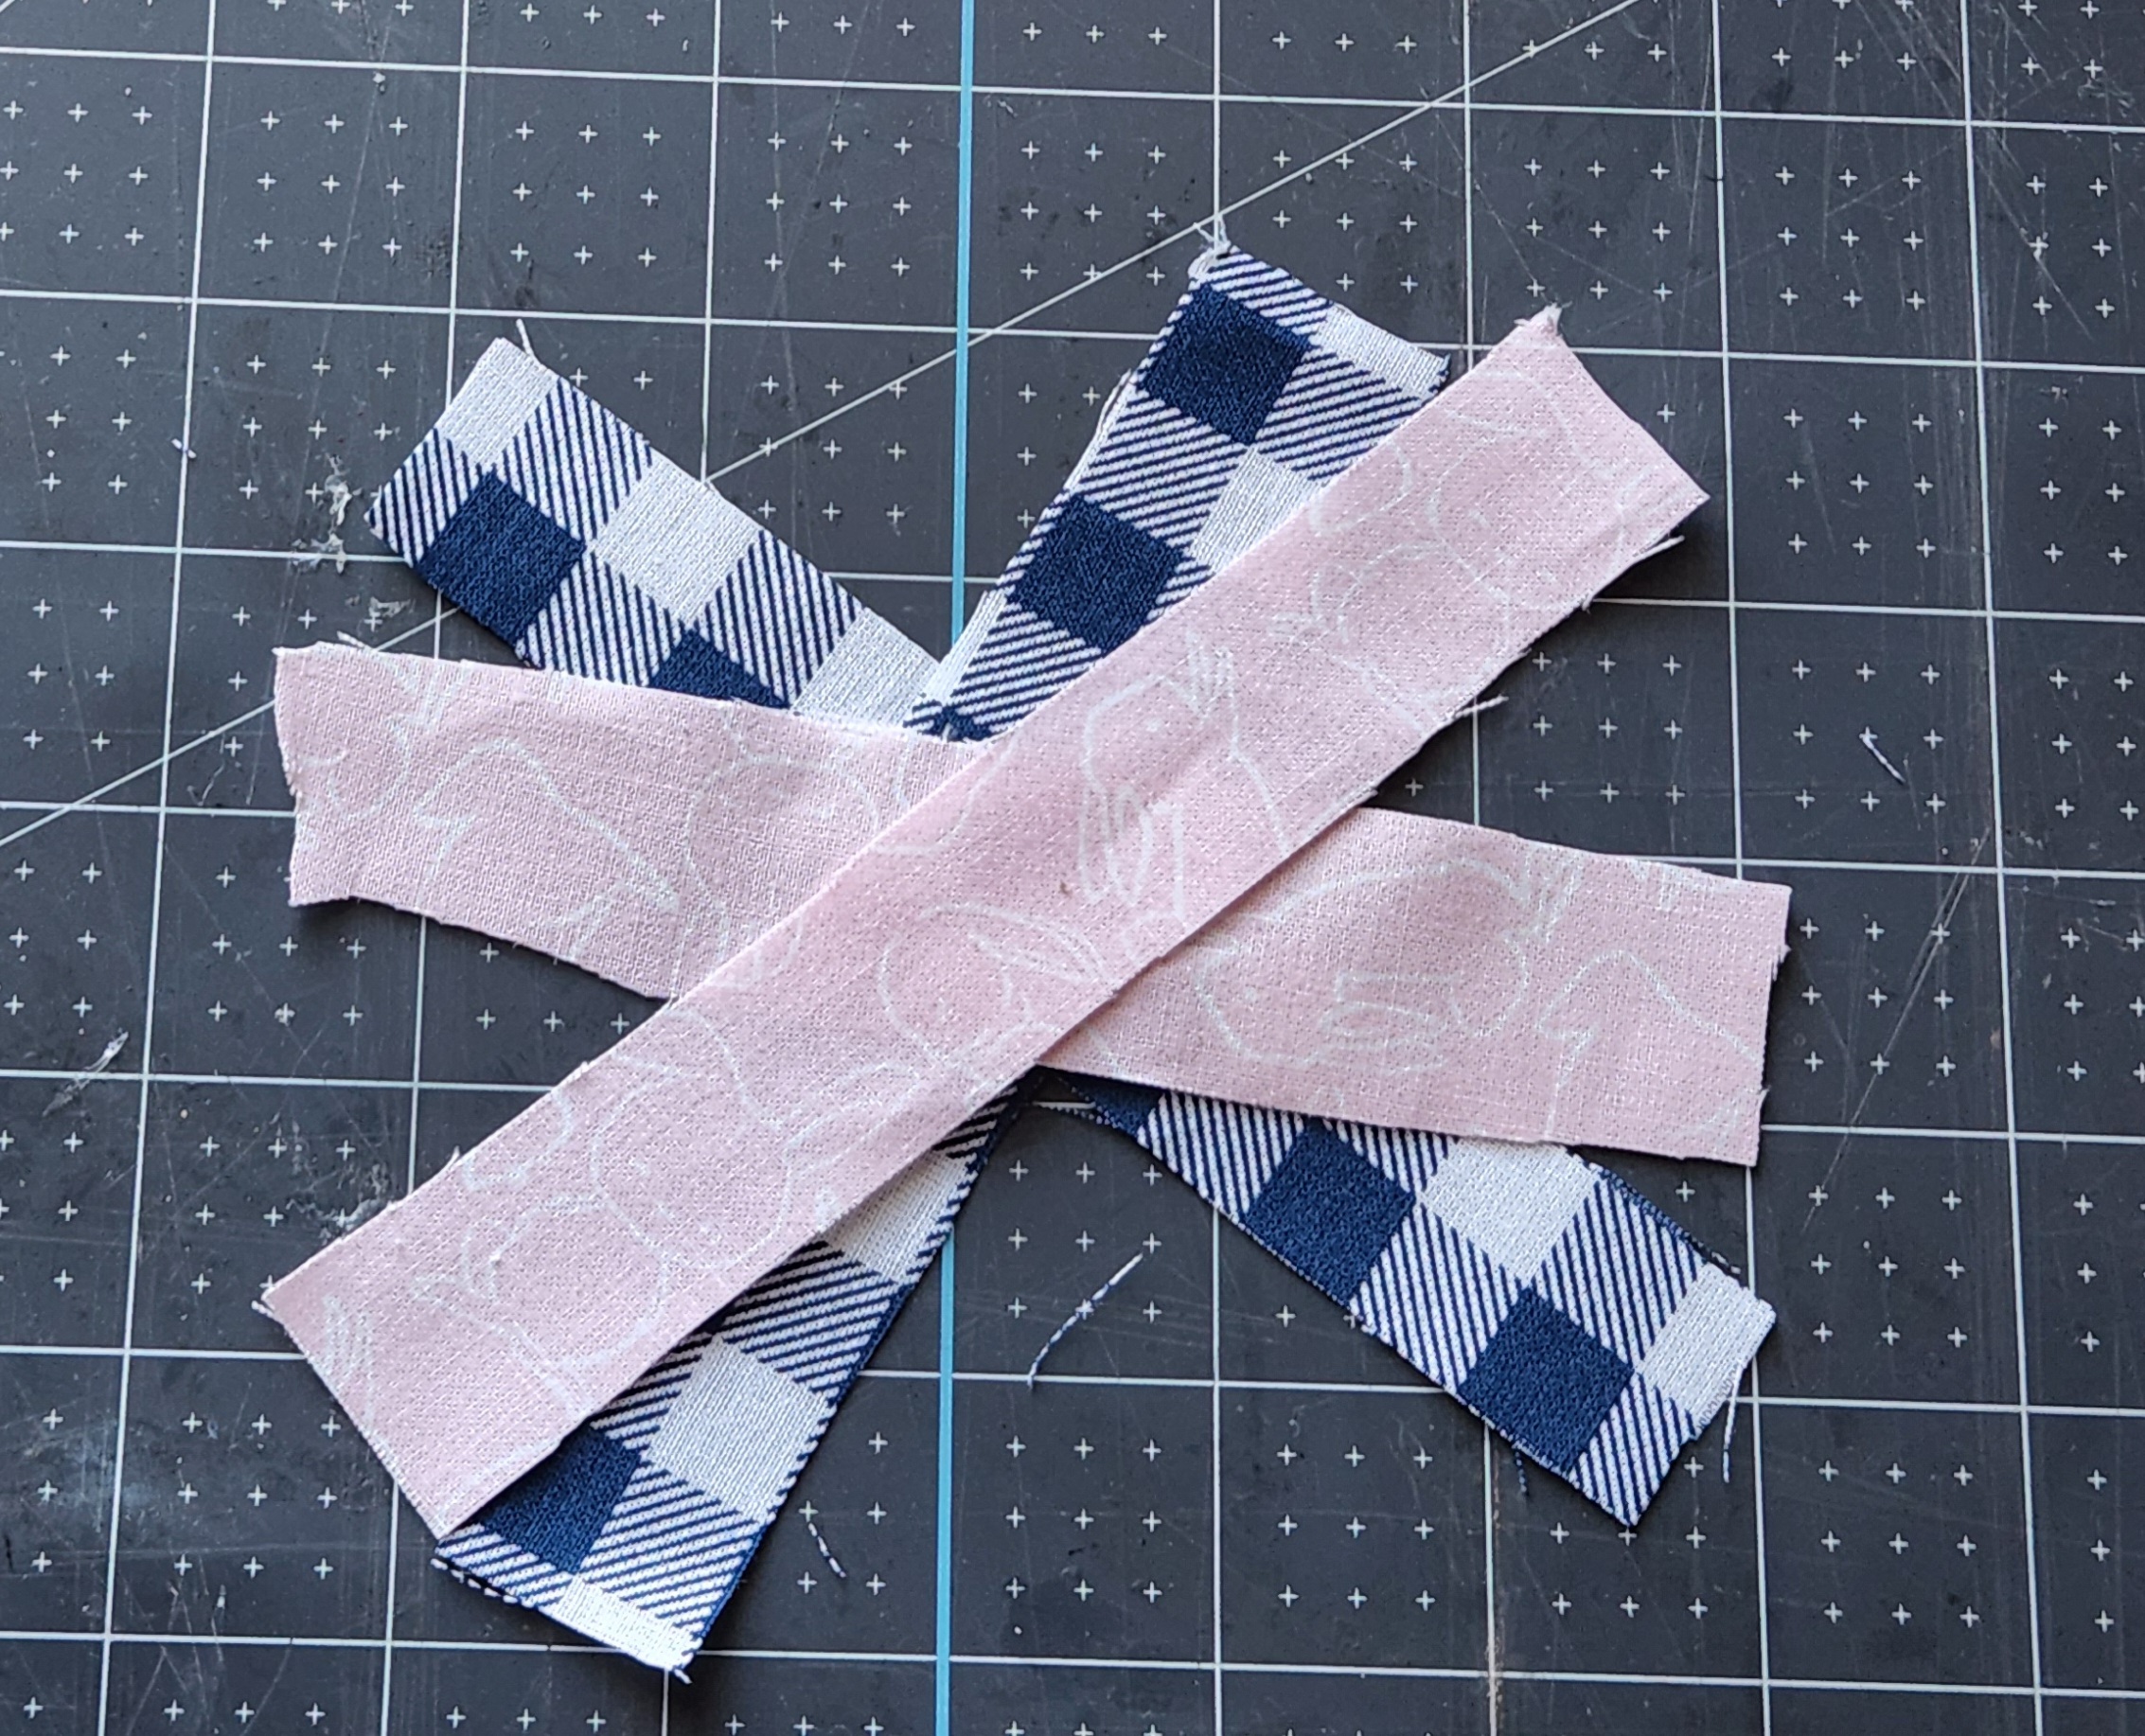
Cut about eight strips of fabric that are about 1″ by 6.” I used the buffalo check as well as the pink bunny fabric from the ears. If you’re only using one fabric, you’ll need sixteen strips.

Lay them out in a crisscross pattern, alternating prints.
Once you have all of the fabric laid out, secure it in the middle with a pipe cleaner or piece of floral wire.


I wanted to add the aqua color that I’ve used in my other spring decor, so I added a small two loop bow made with `1/2″ aqua ribbon. I glued it to the pipe cleaner with hot glue.

Add Bows
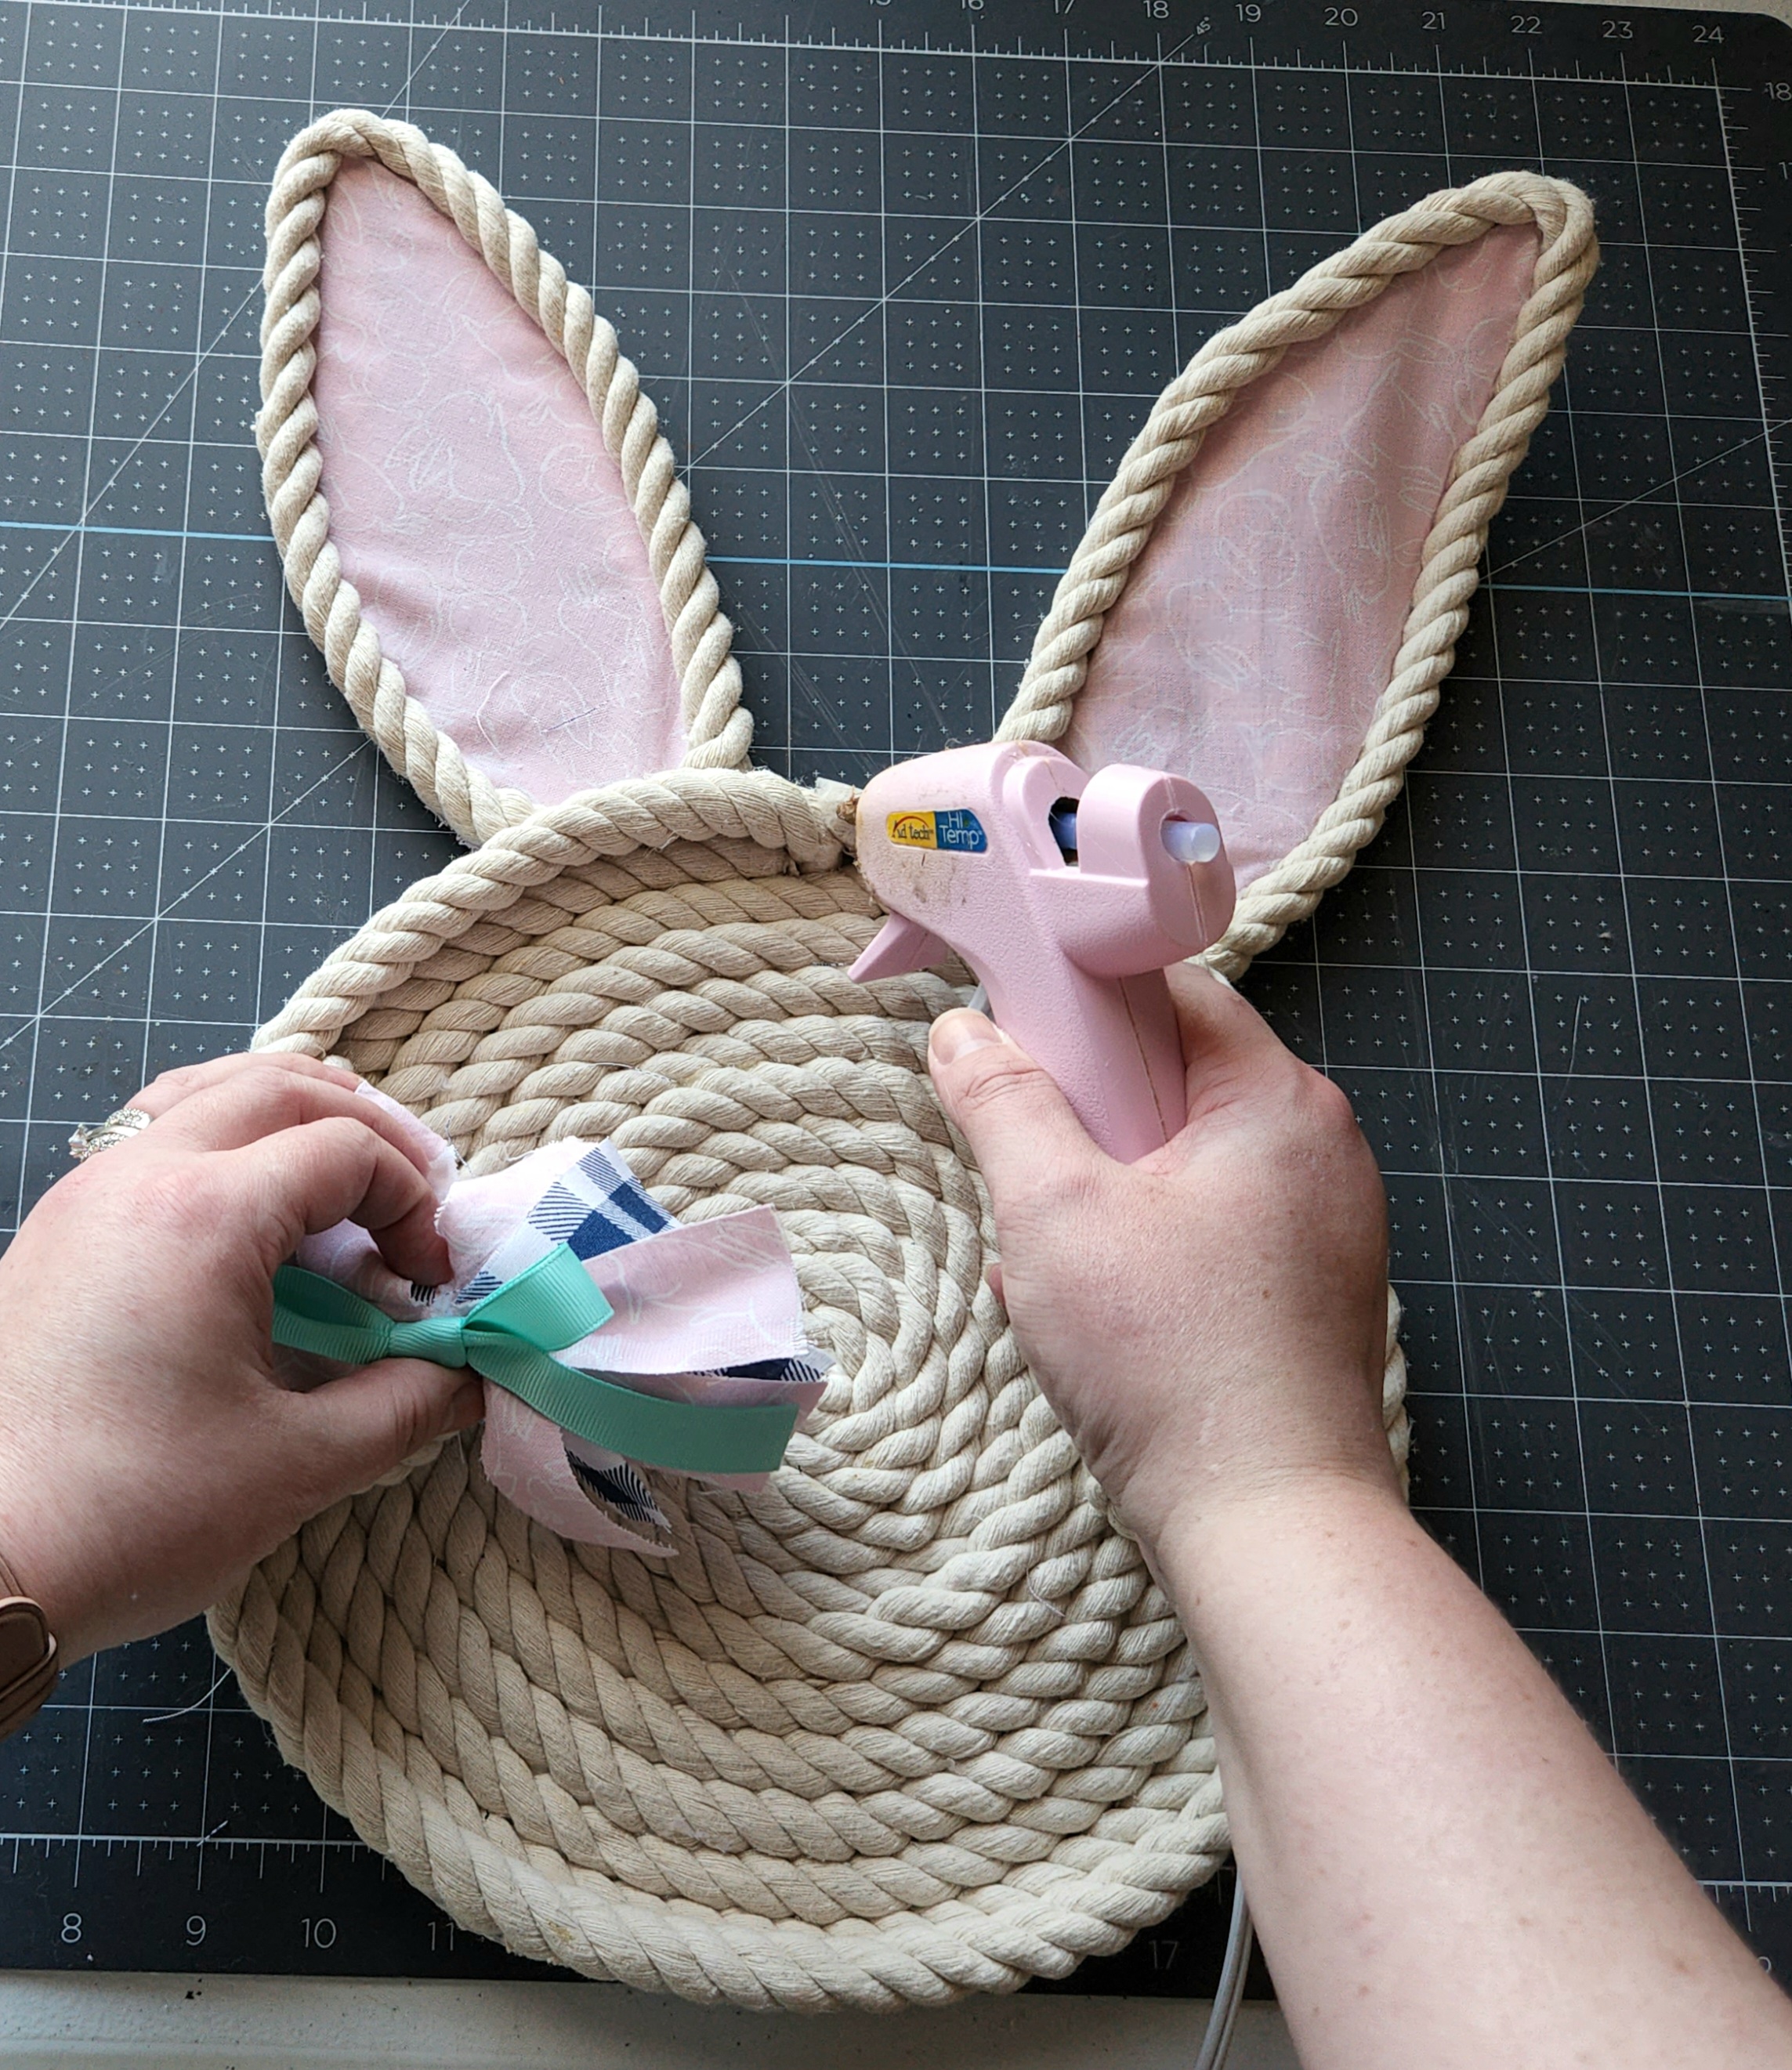
Squeeze hot glue on the back of the bow and place it on the outer rope, right between the bunny ears, thus covering the joining of the two rope ends.

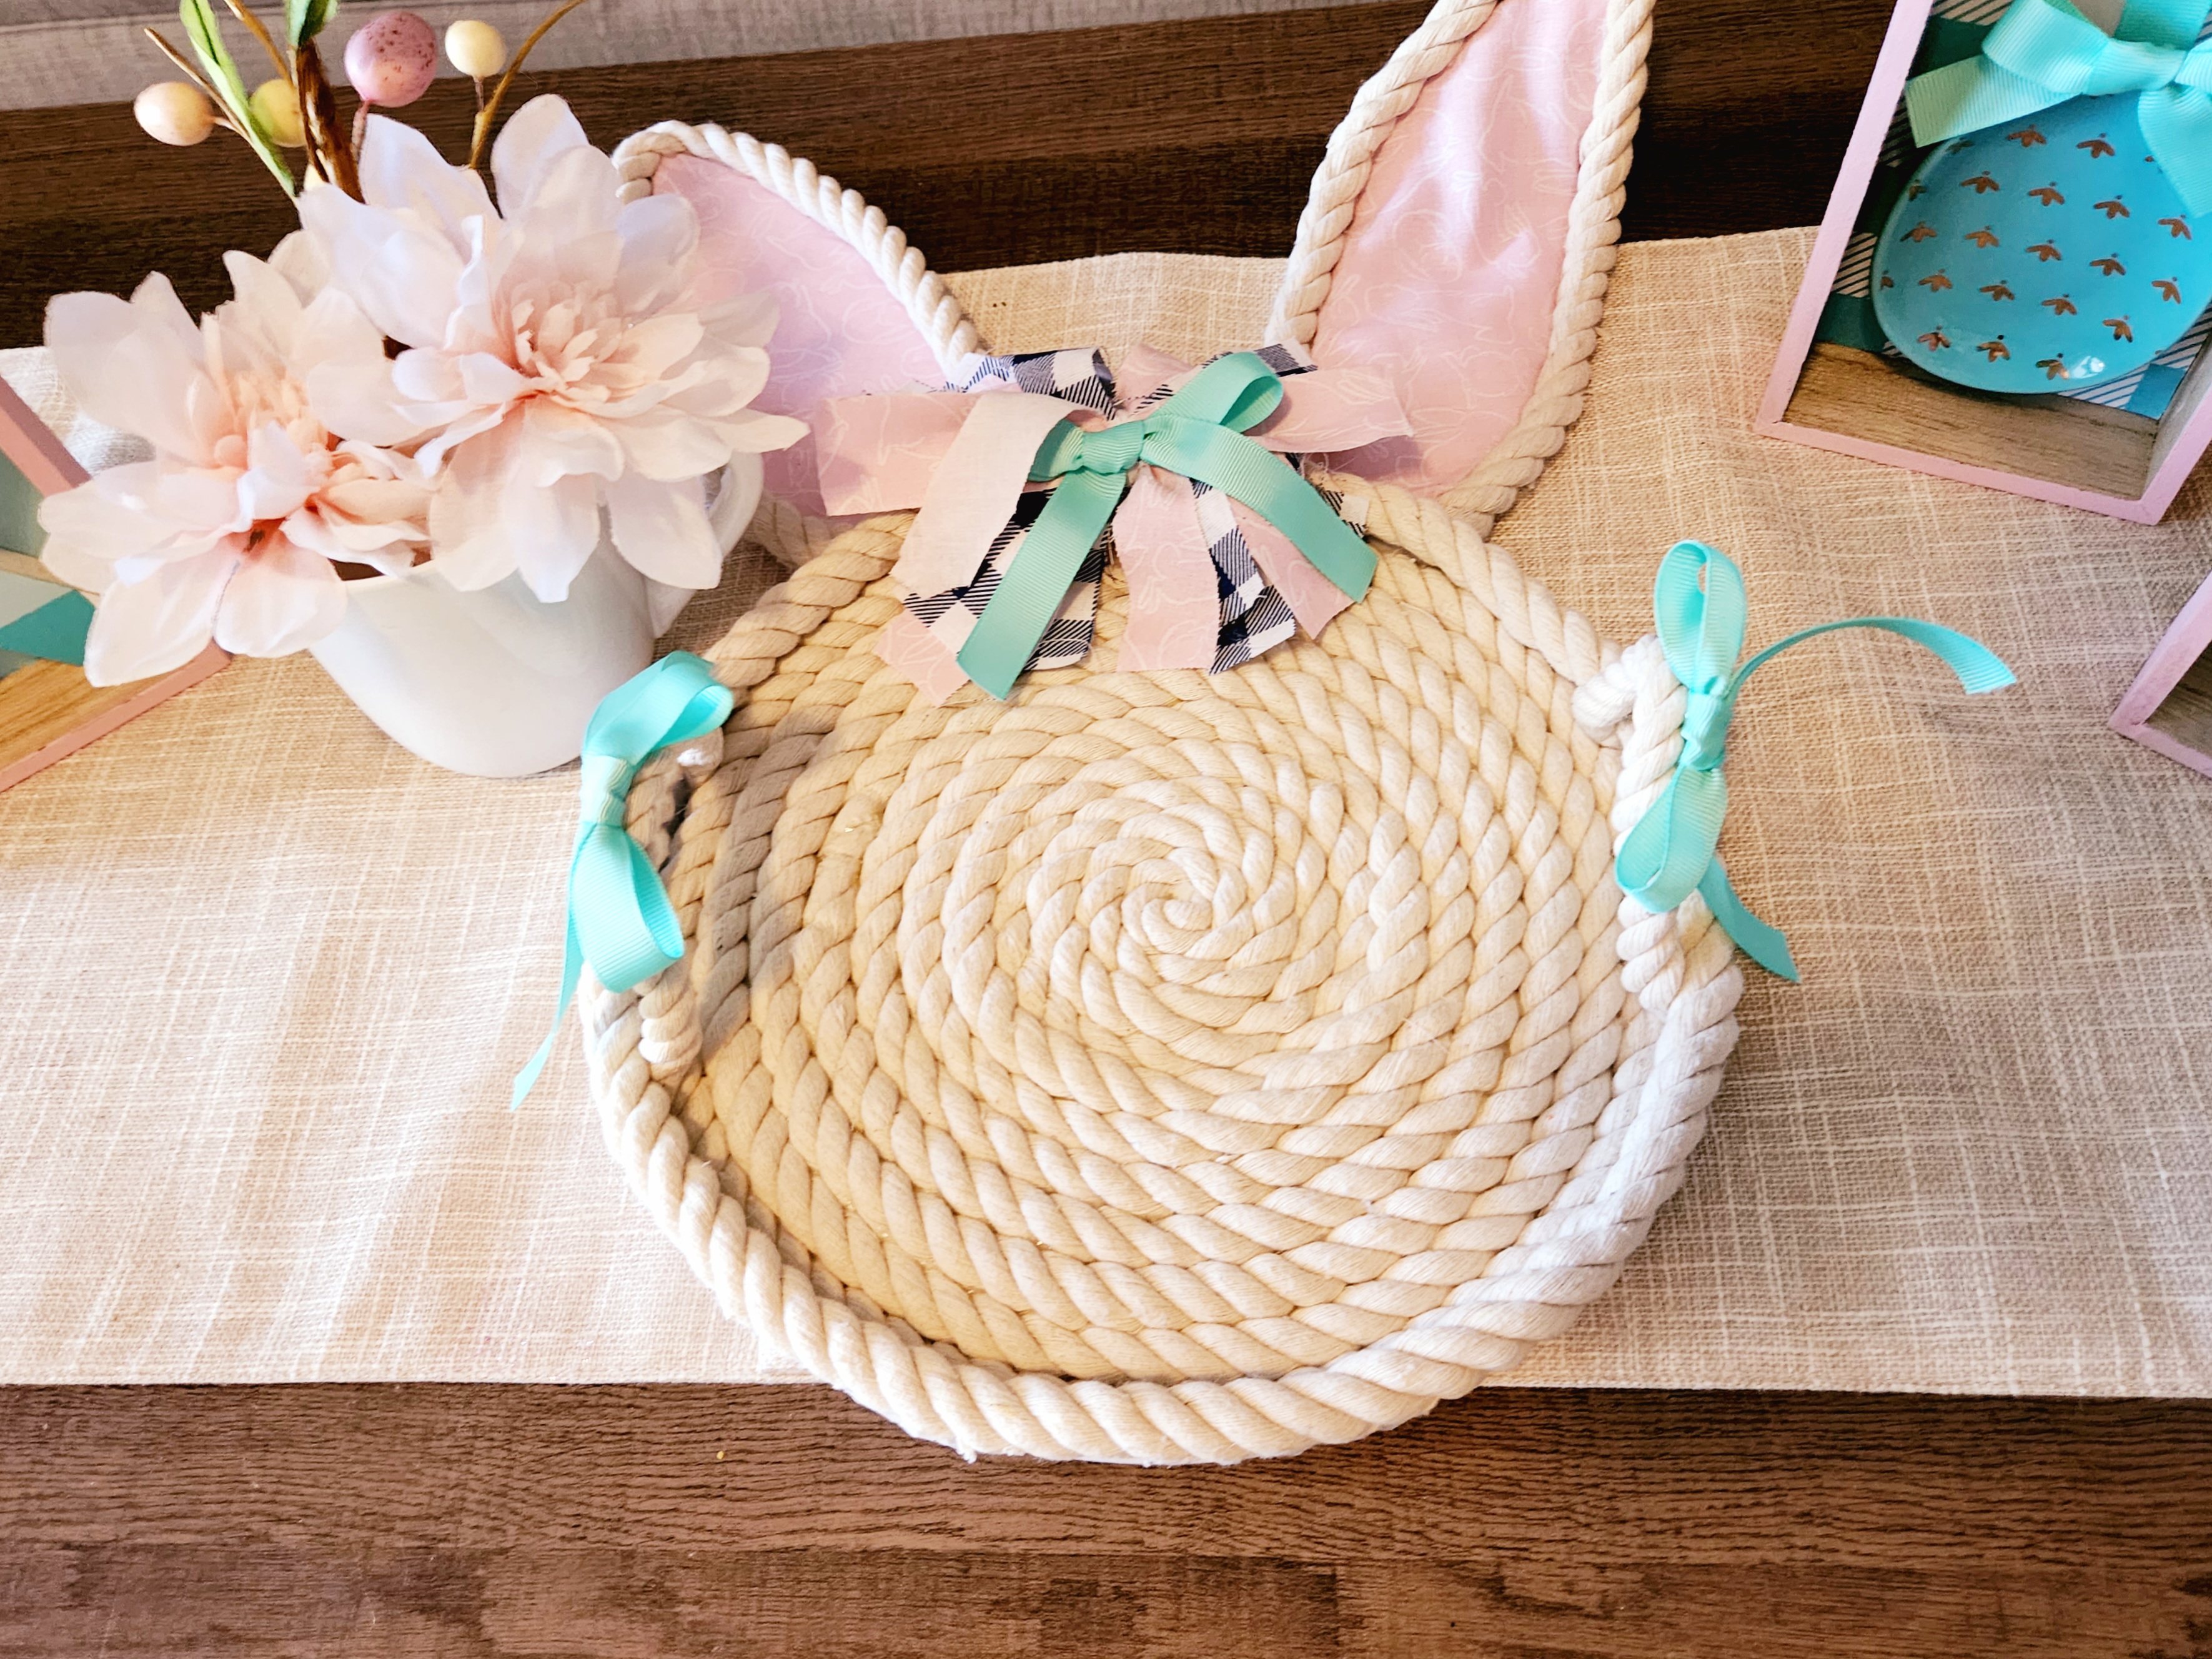
Finally, make two small bows using the 1/2″ ribbon. Place a dot of glue on the back, then place one on the middle of each rope handle.


Your bunny rope tray is ready for its place of honor!
Easy peasy right?! I love how my little fella turned out!


Remember to pin the image below or share this post with the buttons on the left side of the page so you can find it when you’re ready to start your project! Also, follow me on Pinterest for new ideas added weekly! Be sure that you never miss a great tutorial for decor like wreaths, signs and other home decor, free printables, crafts, and other fun posts! Enter your email address below to be notified of new posts! Use the buttons below to follow me on social media for other great content.

Don’t go yet! There’s more to see!
There’s plenty more to see here on the blog! If you’re looking for something specific, use the search box in the sidebar to look it up. If not, you might enjoy these ideas. Don’t have time to read them all now? That’s ok, just click over to the posts using the pictures and pin them for later. You can also add Life as a LEO Wife to your favorites and check back for new ideas and free printables and SVGs every Wednesday, as well as link parties with tons of shared ideas on Sundays!


Under $10 on the 10th
I know you can’t wait to see what the other lovely ladies in the hop have cooked up this month! I know I can’t!
Tammy – Patina & Paint (main blog)
Terrie – Decorating & More with Tip (main blog)
Allyson – Southern Sunflowers (main blog)
Simple Flowers Painted on Rocks
Corine – Junk to Gems (main blog)
Marsha – The Little Yellow Corner Store (main blog)
Follow me on Pinterest for new ideas added weekly! And don’t forget to link up to our weekly link parties on Sundays and Thursdays. Crafty Creators is open until Monday at 11:59 pm & Happiness is Homemade is open until Thursday, so there’s still time to get your posts added!


Niki, I love it! I just made a similar one but I love the way you made the ears, so much better than what I did. It is absolutely the cutest!
Thank you! I’m going to have to come check yours out!
How cute is this? I love it! And I have everything ( except the stove cover to make one) Our Dollar Tree doesn’t carry the stove covers. However, I think I can come up with something similar . So cute!!!!! Thanks so much for sharing!
Thank you! They usually have them on the wall in a two pack, one small & one large. It’s been a while since I bought them, so they may not see them anymore.
Niki your bunny tray is so creative. It would look so cute just leaning up on a shelf or countertop. Your tutorial was so easy to follow. Thanks for sharing. Happy Easter!
Thanks! Yes! I added it to the eye cover so that I could do just that!
Well, this is too adorable!! I just love how clever your sweet bunny tray is Niki! And to think you made it for considerably less than $10 is amazing! Super super cute and a great tutorial, thank you!
Thank you Jenna! It drove me nuts a few times, but I love it.
Niki, how sweet! I love your adorable tray. Such details too. You know, it is so cute, I could easily see making a few more and using them as chargers too. I can see all the smiles from your guests when they see all the goodies served from this unique and original tray for Easter. I am sure it is perfect to arrange all sorts of items on it for some stunning vignettes. Thank you for sharing all of the steps involved. Happy Easter!
If I can get enough rope, I may do that! It took me forever to make this one since I took it apart so many times, but I think the others would go a lot quicker.
Oh my, your bunny tray looks great and to think it didn’t cost you much to make. Your visual tutorial is excellent and easy to follow.
Thank you Allyson! I think the next one will be a LOT easier to make. I took this one apart a million times it felt like!
This is SO adorable NIki! Those woul dmake great chargers for a tablescape too!
Yes! That would be a great idea. I did that with some nautical rope trays that I made last year. If I can get enough rope, I may do a little tablescape with them. I don’t post most of my tablescapes, since I mostly do tutorials, but if I make that may of these trays, I’ll certainly do a post on that lol!
Love this Niki! Such a creative idea and it turned out gorgeous! Thanks for the detailed tutorial. Pinned! Happy Easter!
Thank you! I’m uploading another version tonight that I’m using as fun placemats for our Easter dinner tablescape. I couldn’t stop making them because I thought they were so cute!