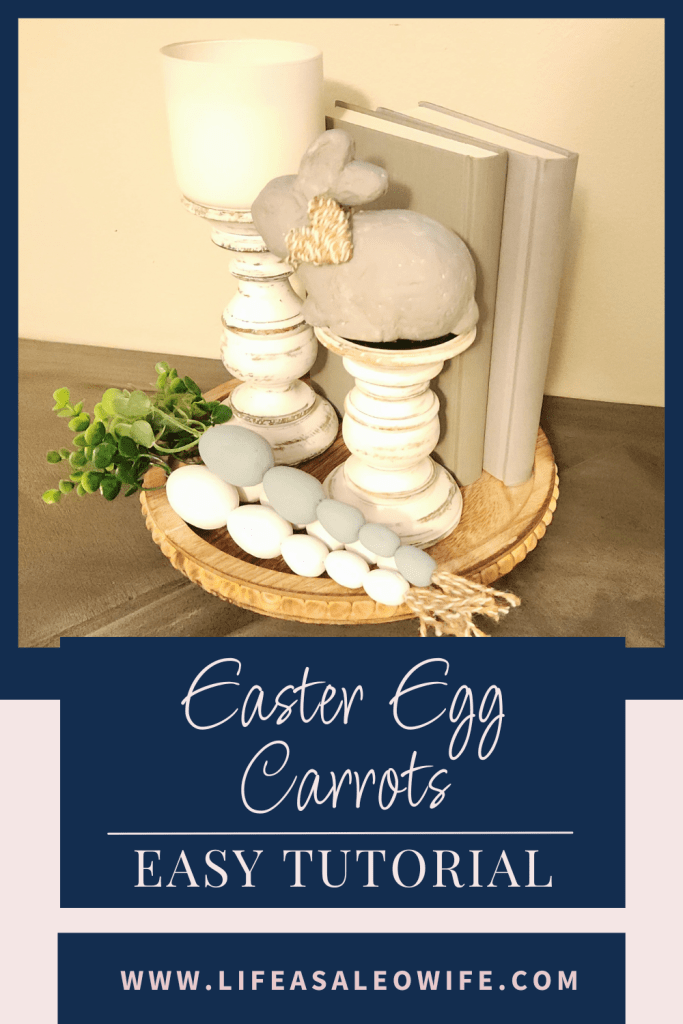
Hello my friends! Spring and Easter are barreling down the pike, so it’s time to prepare your decor for the season. Today I have an adorable combo decoration for both Easter and spring that I think you are going to love, DIY Easter egg carrots. That’s right, carrots made of Easter eggs! Let me show you how easy they are to make.

Today it’s time for our monthly Creative Craft Hop hosted by Sara of Birdz of a Feather. I am the first stop on the tour this time, so I will send you to the next spot at the end of this post, so make sure to read until the end! There are some amazing projects on the hop that you don’t want to miss, as always!
Supplies for DIY Easter Egg Carrots:
- styrofoam Easter eggs- You need several sizes. I used 1,” 1.5,” 2,” and 2.5″ styrofoam eggs.
- twine
- faux greenery- I used eucalyptus that had holes in the center to easily mount them on the wires at the top of the DIY Easter egg carrots.
- floral wire (individual pieces)- I believe that I used 20-gauge floral wire pieces.
- hot glue gun & glue
- paint brush
- matte or chalk paint- I used matte silver marlin and chalk paint in vintage pink and white.

Assemble the Ends of the Carrots
First, I formed the bottom of the DIY Easter egg carrots. You know how real carrots have the fibers that hang off the ends when they are pulled from the earth? That’s what I was going for here.
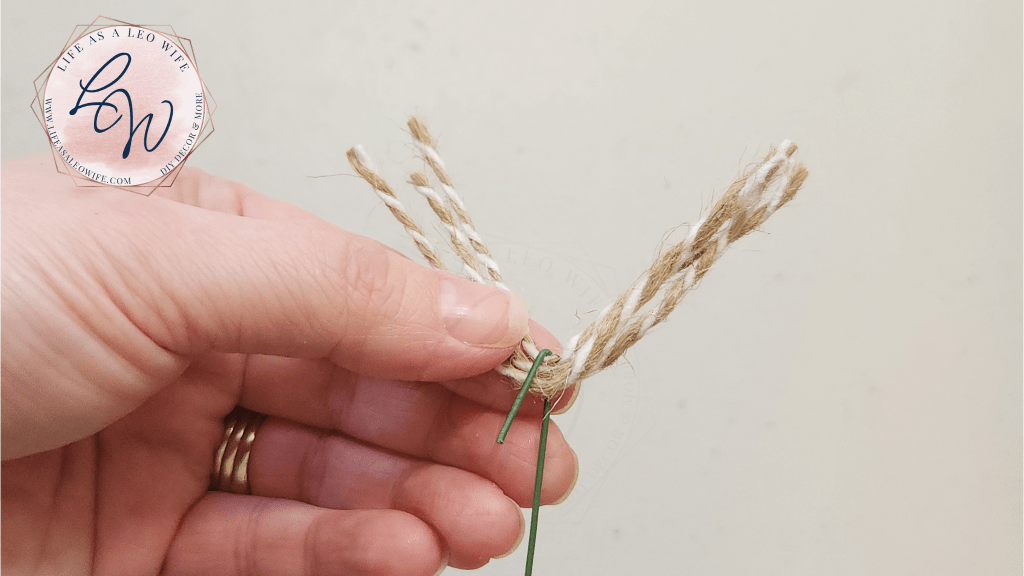
I cut 3″ pieces of twine that has white woven with the regular tan color. Once I figured out what size I needed by draping the twine over the hooked wire, I used the first piece to cut three 3″ pieces for each DIY Easter egg carrot- 15 pieces in total.

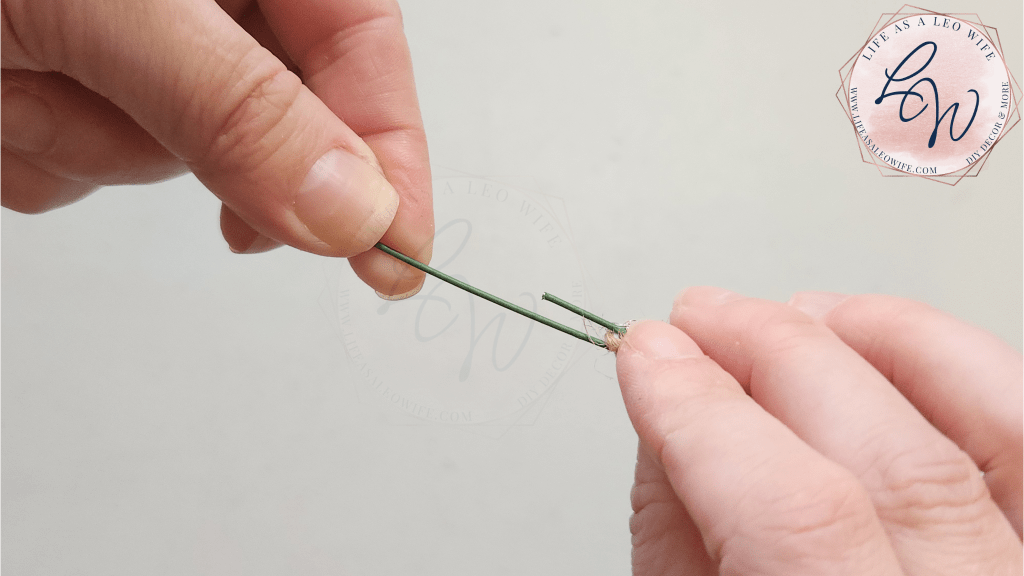
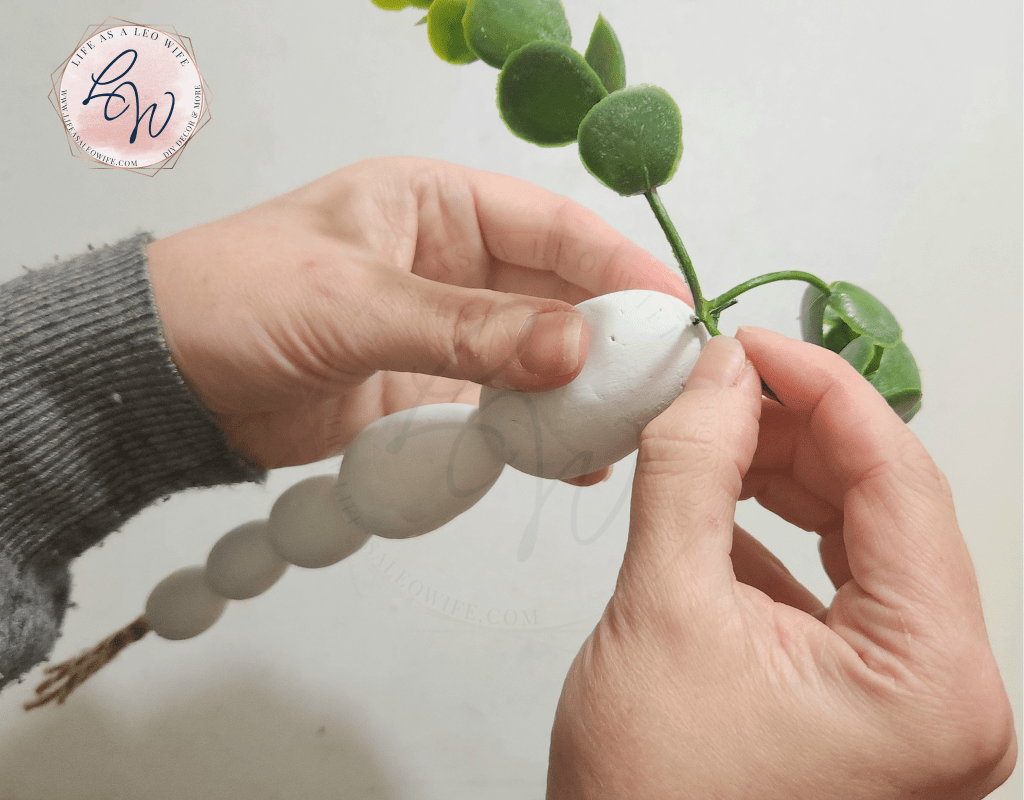
Next, I bent about 2.5-3″ of the wire up from the bottom back up to itself. I didn’t get a photo of doing this, but you can see it in the following pictures. I added a bit of hot glue to the bend and placed the center of 3 pieces of twine in it.

Place the Easter Eggs on the Wire
Now that the bottoms of the DIY Easter egg carrots are assembled, it’s time to put the body together.
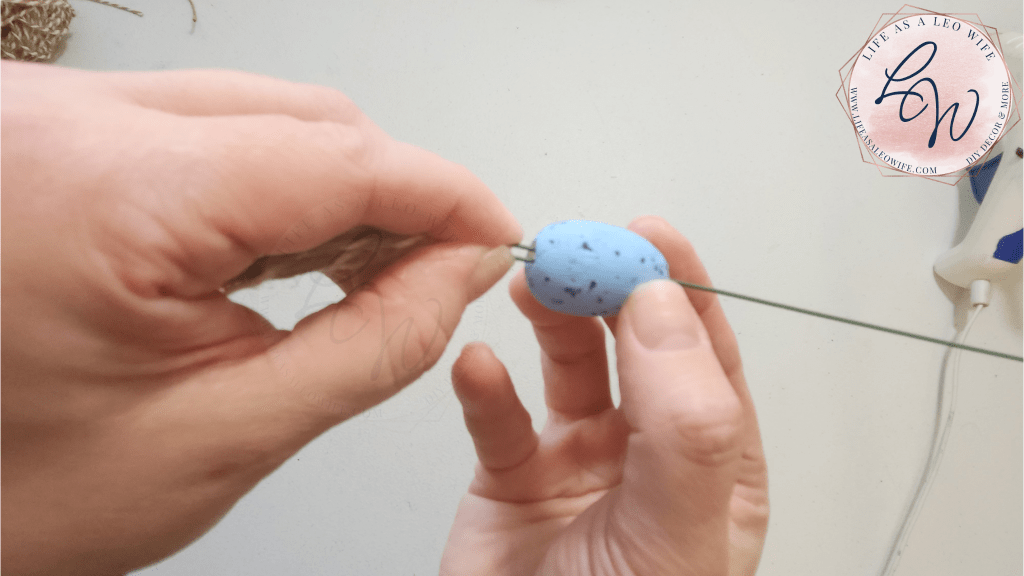
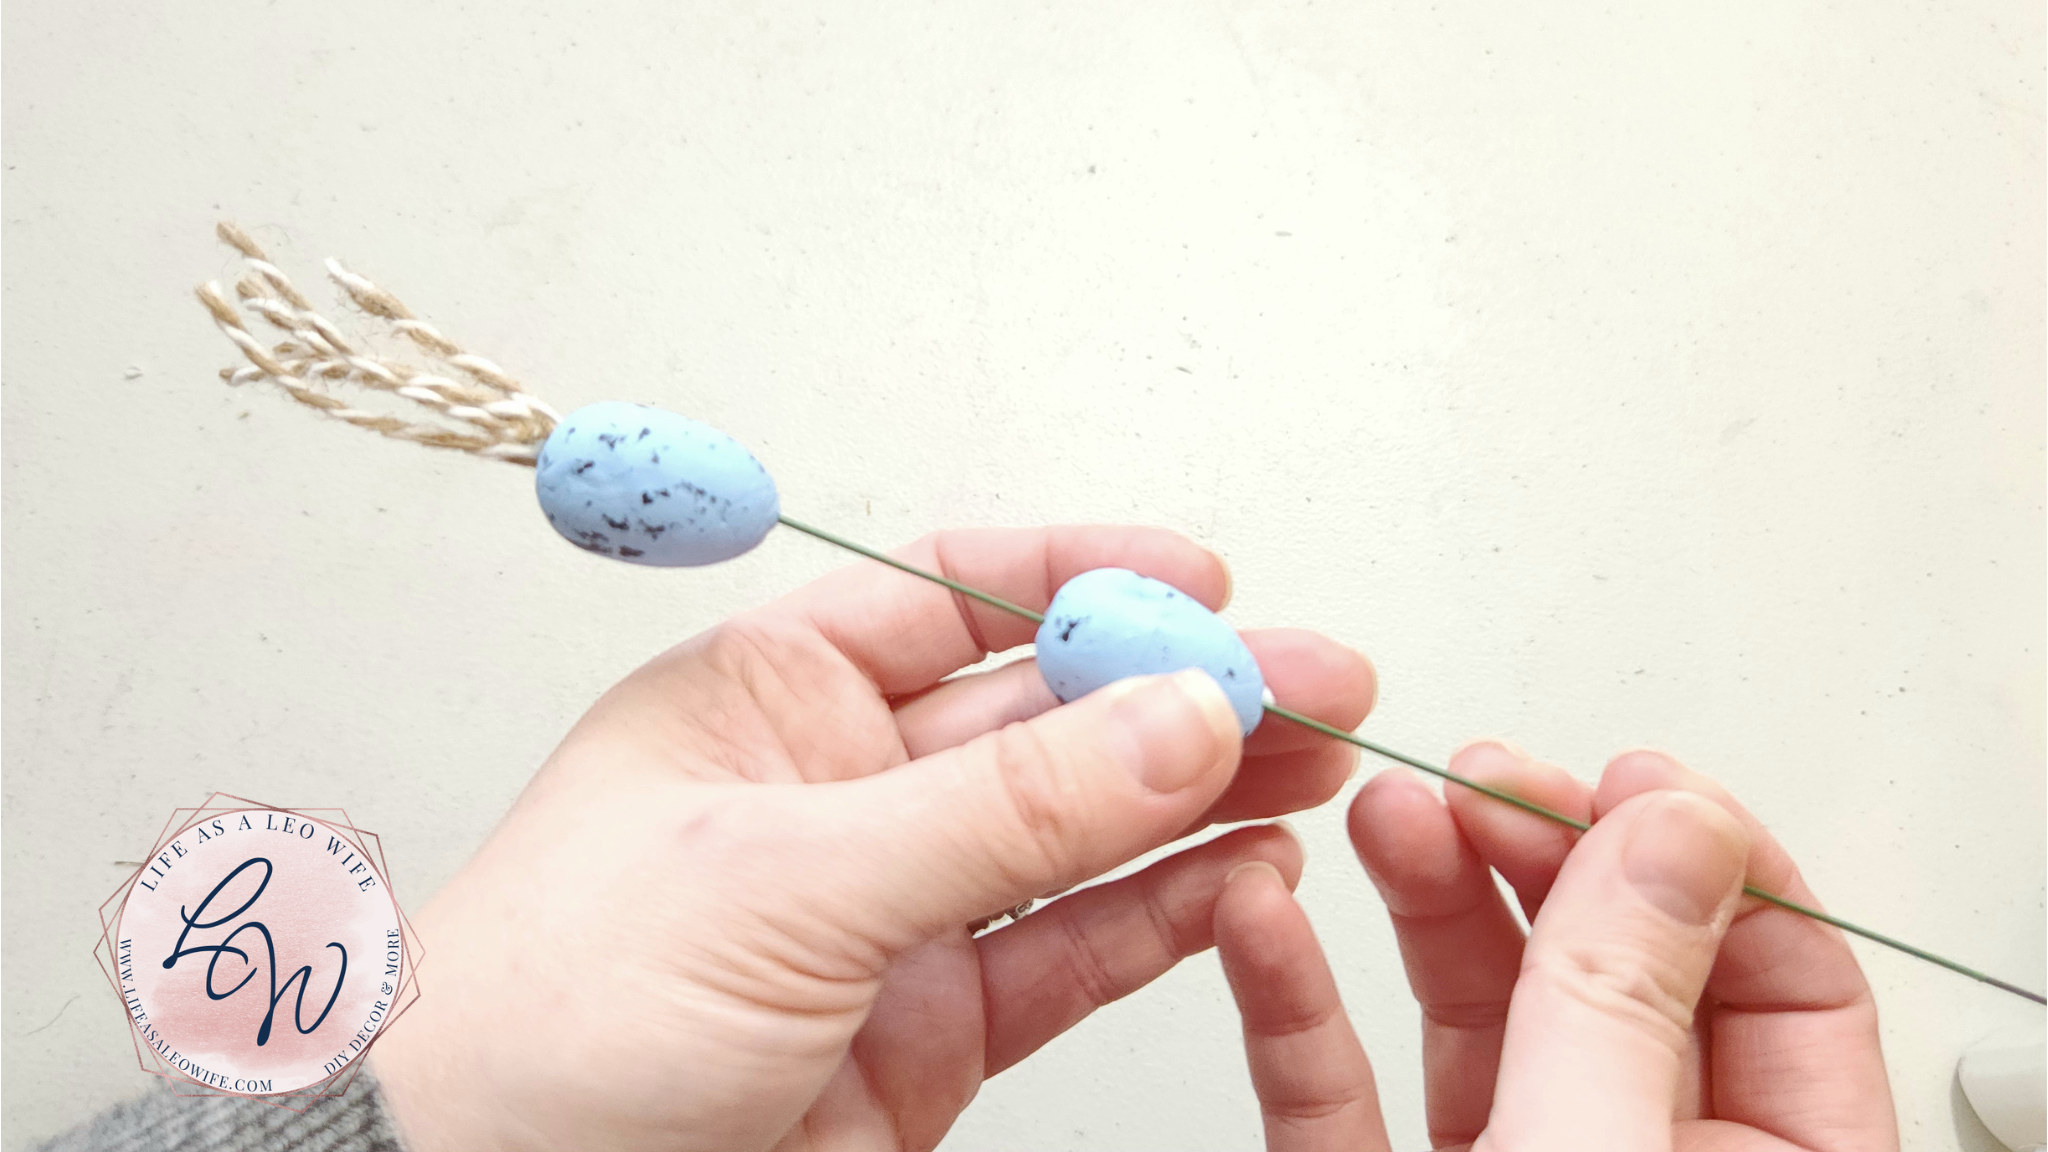
I used two of the 1″ eggs and one of the 1.5, 2, and 2.5″ Easter eggs for each of the DIY carrots. Start with the two 1″ eggs and push the wire through the center until they cover the bent wire and meet the twine. Since the eggs are styrofoam, it’s easy to push the wire through the center of them.
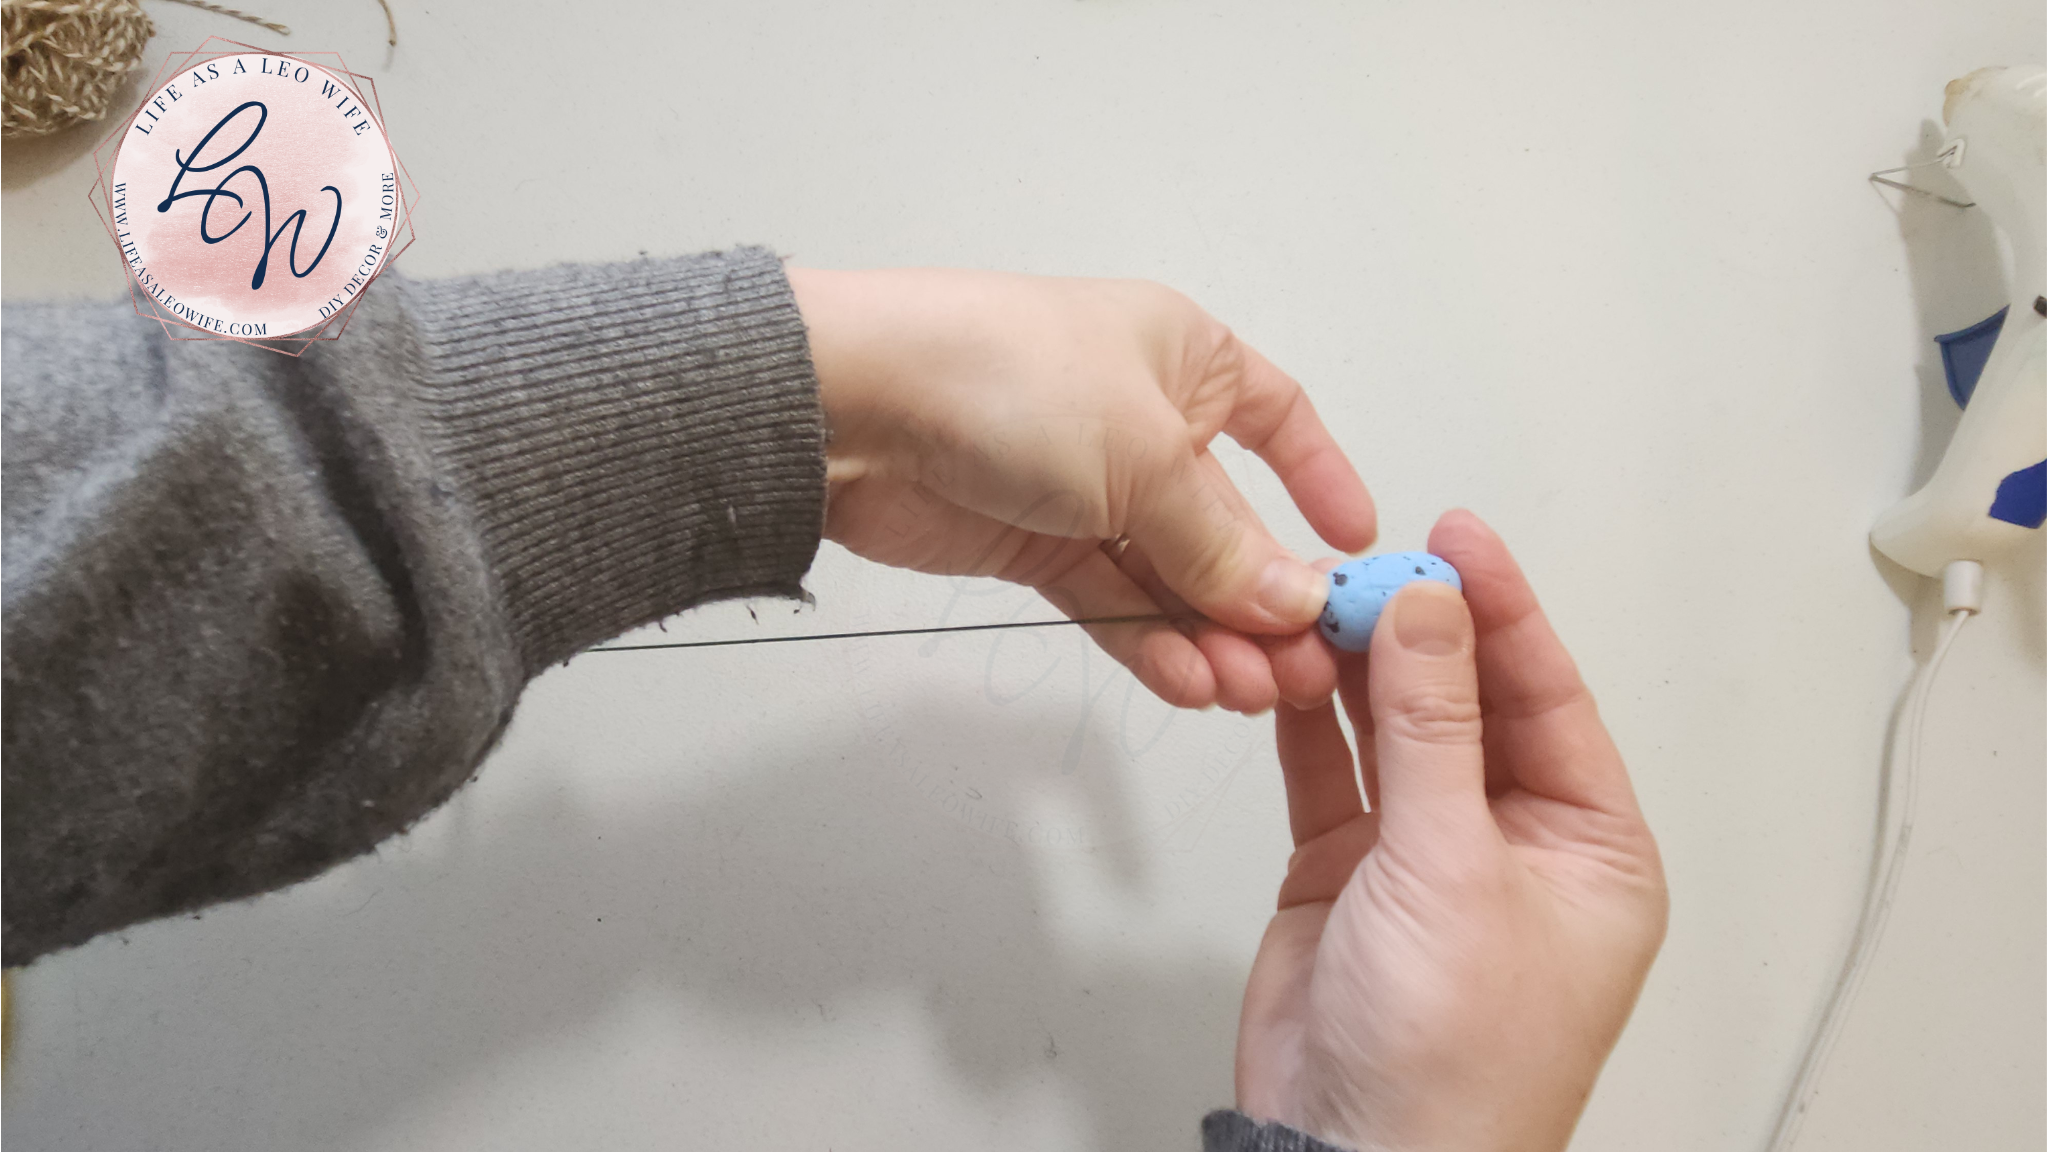
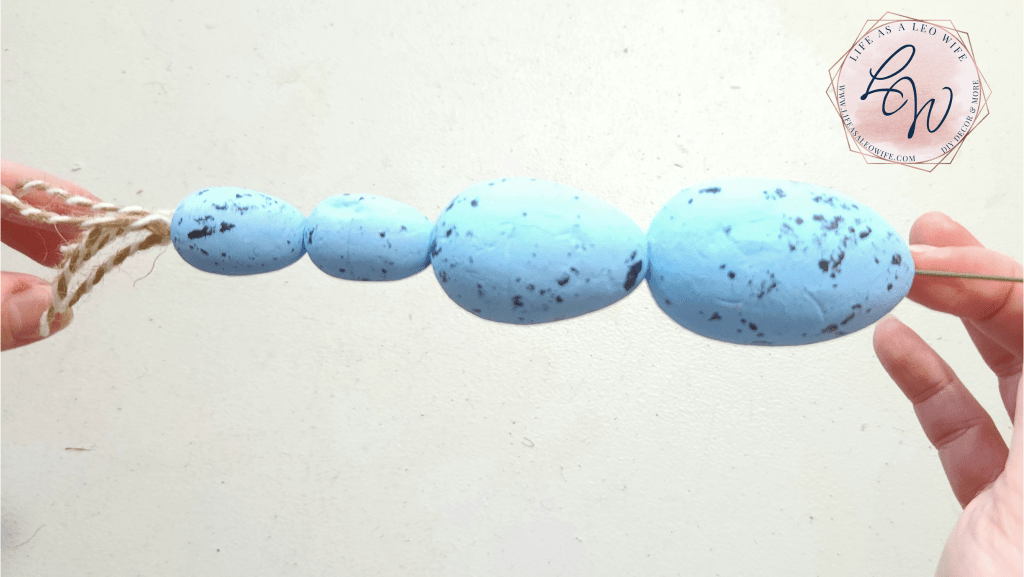
Then add the 1.5″, the 2″, and finally the 2.5″ egg at the top.
I accidentally added two of the 1″ eggs, the 2″ and the 2.5″, but I forgot the extra 1.5″ egg. So, I went back and added a second 1″ egg at the bottom of the carrots, but I did that after I took these photos.

Paint the DIY Easter Egg Carrots
You could choose to paint your eggs before you put them on the wire, but I found it easier to paint them once they were on it. That way I could turn them this way and that without getting my hands covered in paint.
The Easter eggs that I used were brightly colored and speckled, which just didn’t do it for me. I painted two of them a dusty blue (Folk Art’s silver marlin), Folk Art’s Vintage Victorian, which is pink, with a little white added to it, and finally, Waverly’s white.

Because the eggs were speckled with dark paint, I had to give my DIY Easter eggs a second coat of paint.

Add Greenery to Top of the Carrots
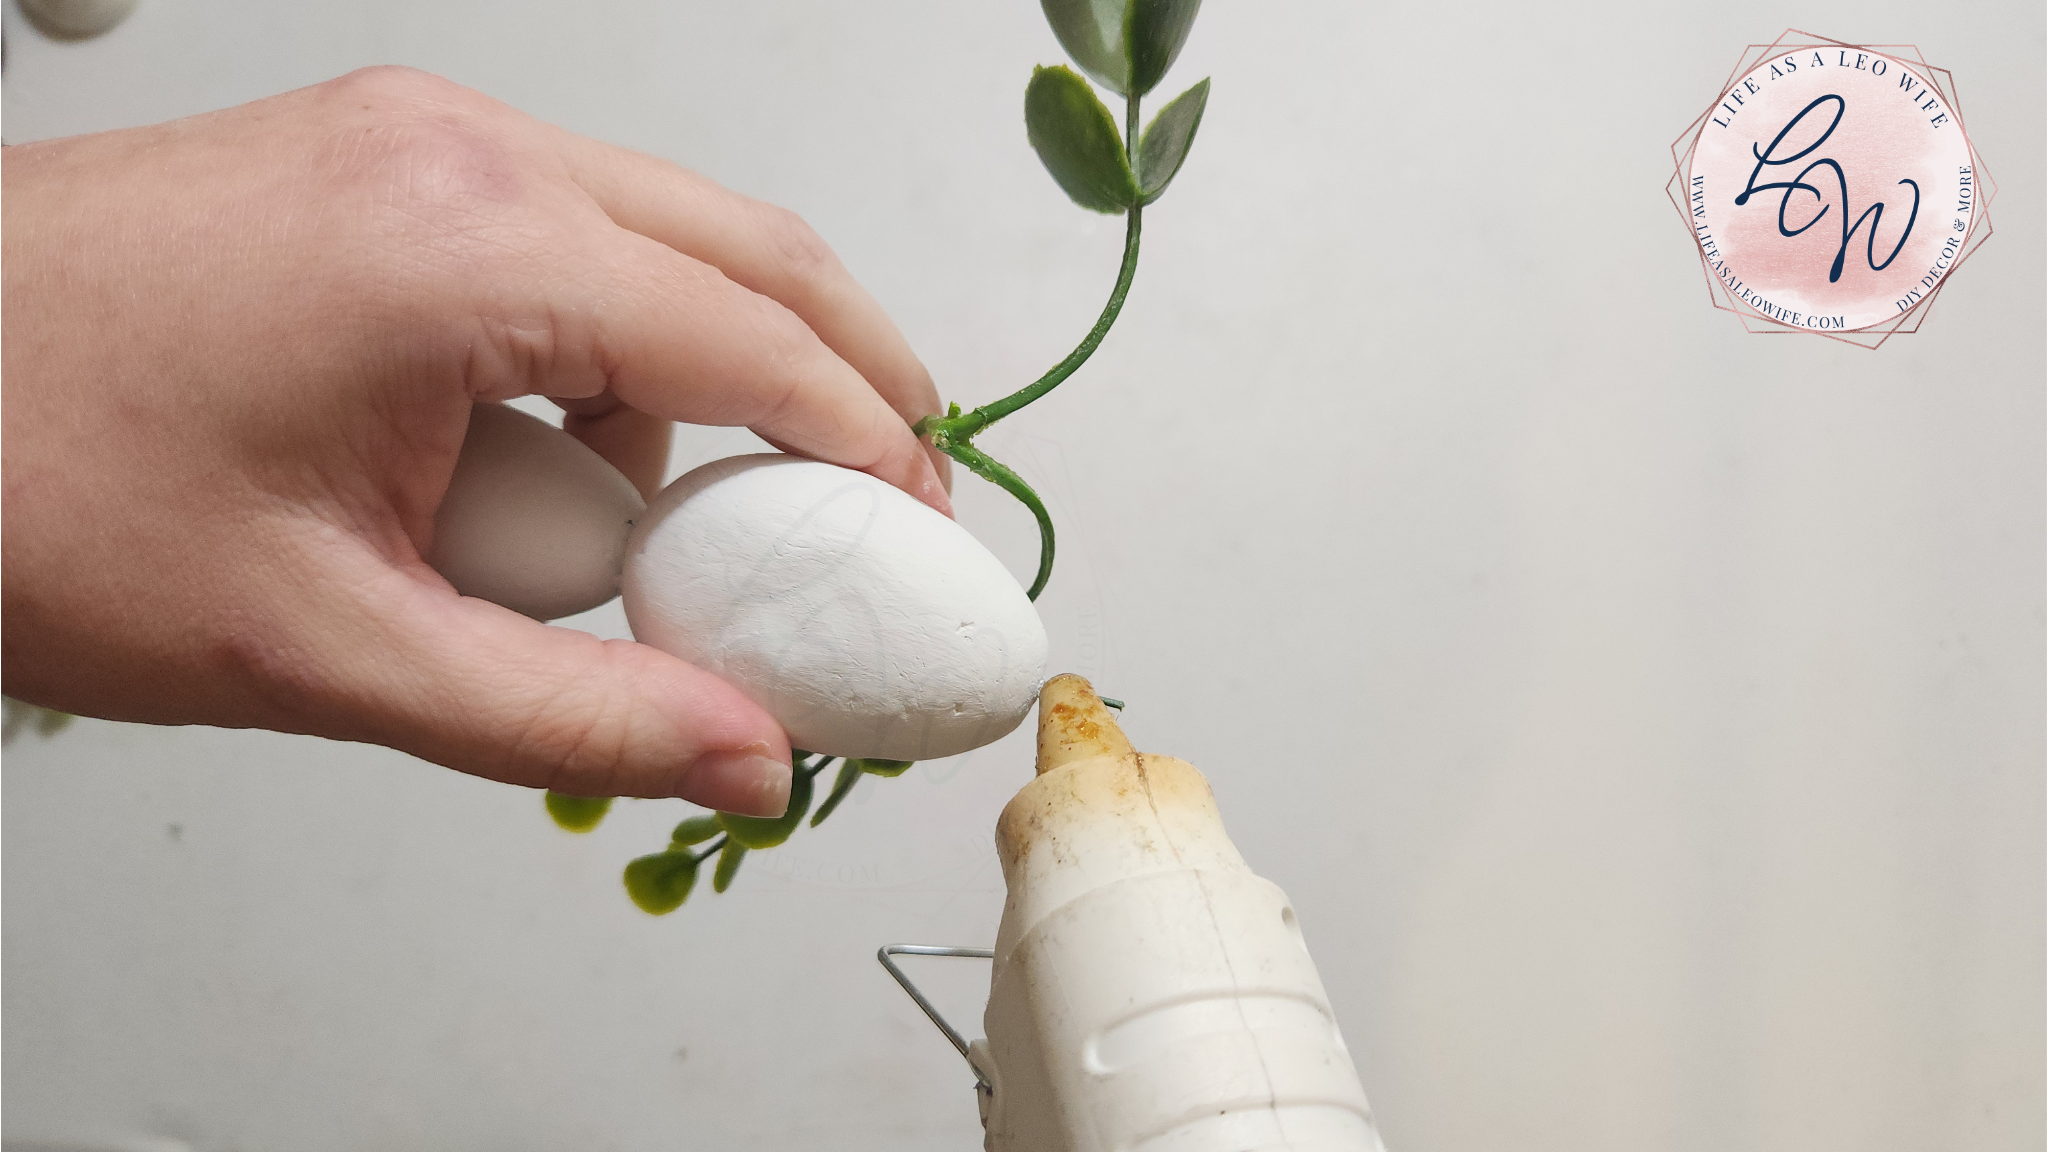
Once the DIY Easter egg carrots were dry, I topped them with pieces of eucalyptus that I pulled off of a branch. They each have three stem-like sections in each one, so they were perfect to add to the top of my carrots. I added hot glue to the floral wire and slid the greenery down to the top of the Easter egg.
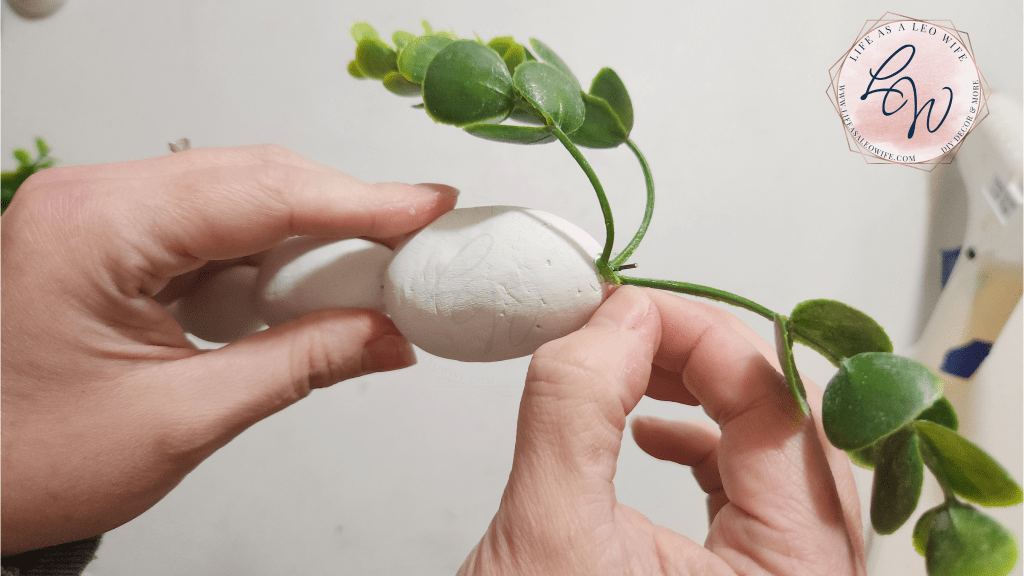
If you have a lot of extra wire at the top, you can trim it off with wire cutters. I haven’t done that yet, but I don’t have that much wire sticking out of each Easter egg carrot.
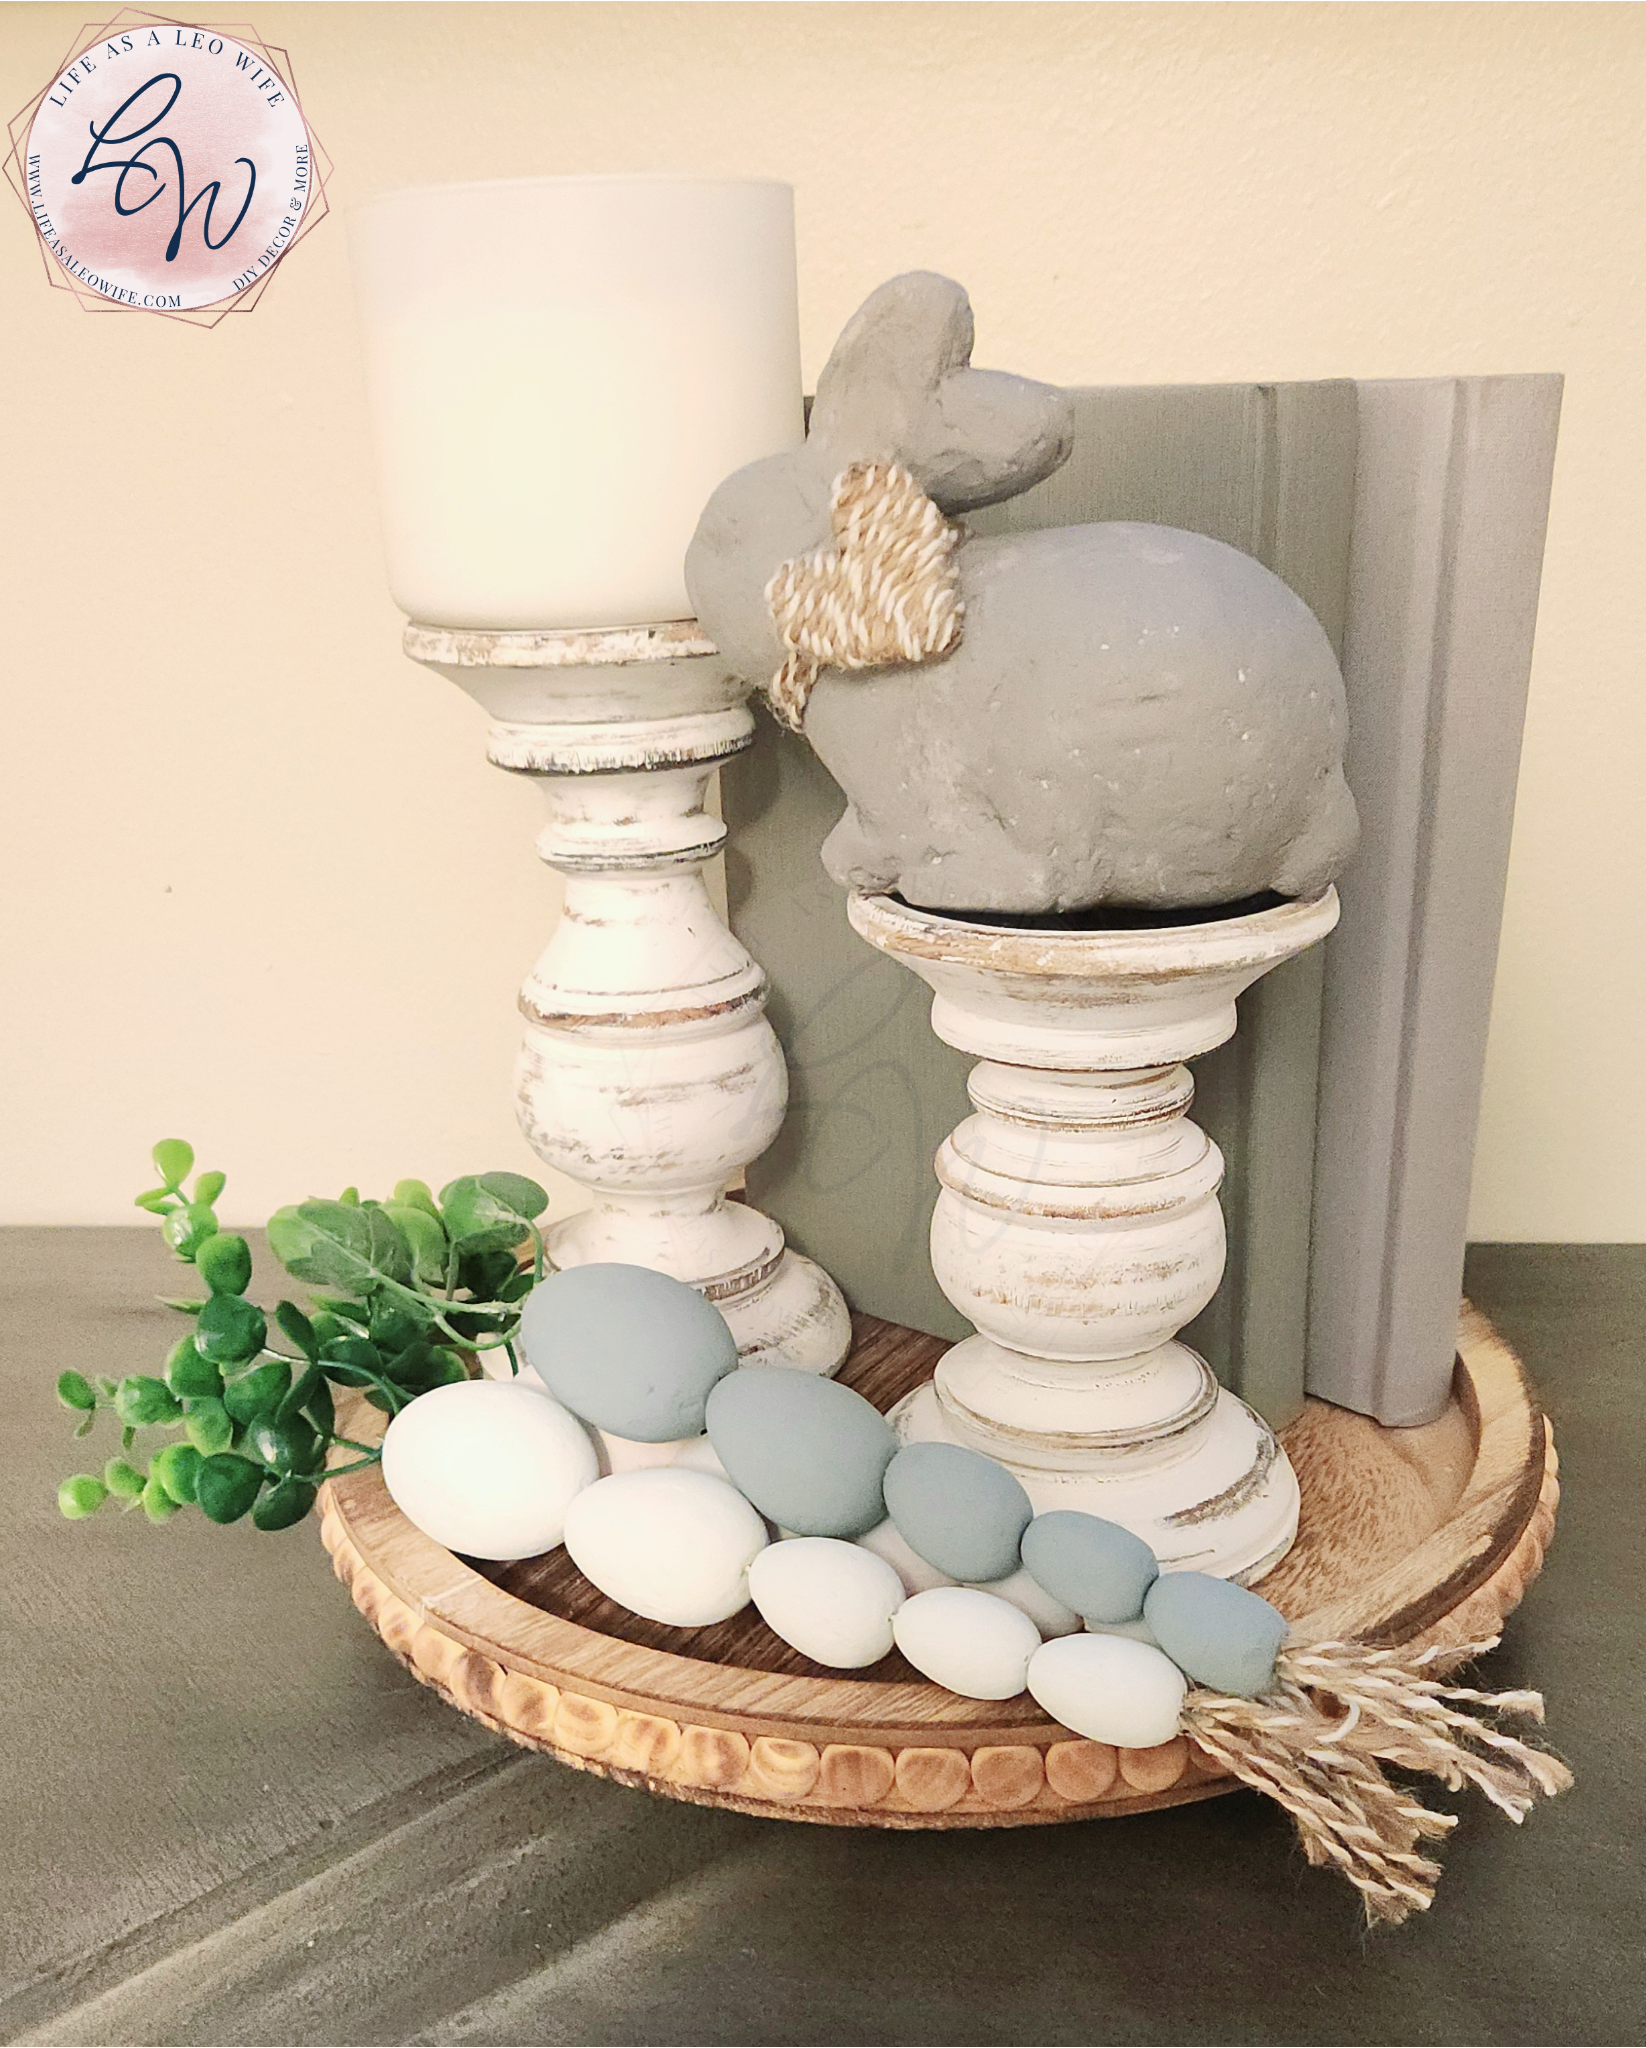
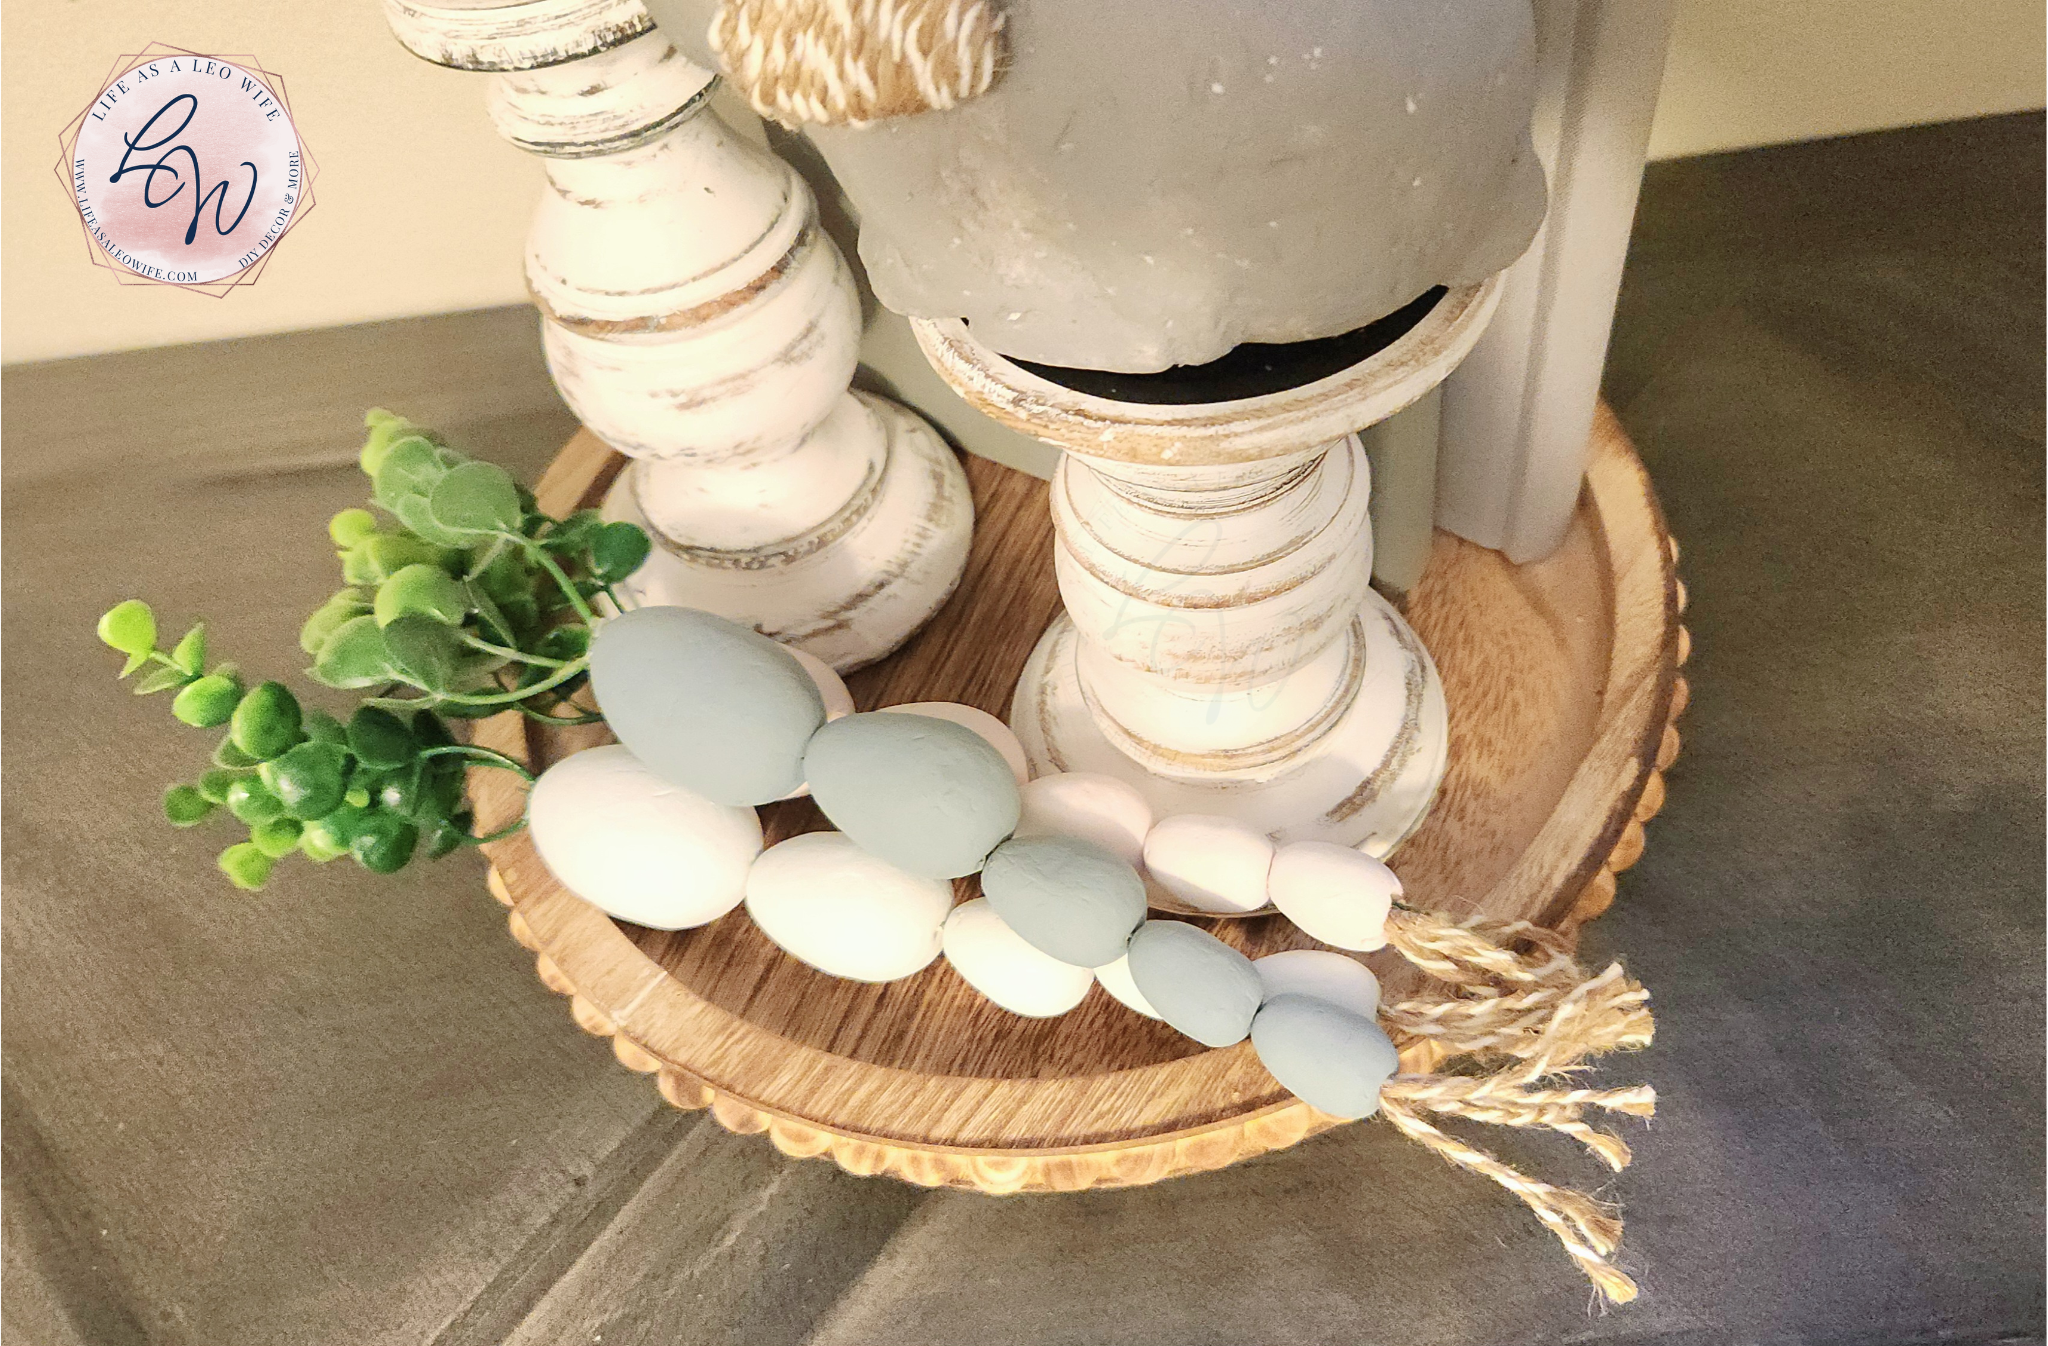
That’s it! My DIY Easter egg carrots are ready to display!
Remember this is a blog hop, so keep reading so that I can send you to the next stop on the tour!
Remember to pin the image below or share this post with the buttons on the left side of the page so you can find it when you’re ready to start your project! Also, follow me on Pinterest for new ideas added weekly! Be sure that you never miss a great tutorial for decor like wreaths, signs and other home decor, free printables, crafts, and other fun posts! Enter your email address below to be notified of new posts! Use the buttons below to follow me on social media for other great content.
Creative Craft Hop
Next up on our Creative Craft Hop is Cecilia at My Thrift Store Addiction. She has a reimagined bud vase stand to share with you that you are going to love!
Be sure to check out all of the projects on this month’s hop!
Easy Spring Carrot Craft for Cute Easter Decor
Quality Street Wrapper Suncatcher
St. Patrick’s Day Crafts for Adults
DIY Fabric Wrapped Canvas Art For Finished Cross Stitch
Don’t go yet! There’s more to see!
There’s plenty more to see here on the blog! If you’re looking for something specific, use the search box in the sidebar to look it up. If not, you might enjoy these ideas. Don’t have time to read them all now? That’s ok, just click over to the posts using the pictures and pin them for later. You can also add Life as a LEO Wife to your favorites and check back for new ideas and free printables and SVGs every Wednesday, as well as link parties with tons of shared ideas on Sundays!


This is such a fresh take on traditional Easter / carrot decor; it looks so high end Niki! Great transformation.
Thank you, Sara!
Very clever, Niki. you’d never guess they were styrofoam!
Thank you! Yes, once they were painted they look like regular plastic Easter eggs.
How cute is this idea, Niki! Who would have thought to use eggs to make carrots! So cool!
Thank you, Gail!
So cute and creative Niki! The Easter egg carrots look adorable with the sweet bunny in your Spring vignette! Love it~
Jenna
Thank you, Jenna!
Super Cute! Pinning so that I can make some this season. Great job.
Thank you, Tammy!
What a cute idea and such a fun way to craft with inexpensive plastic eggs! Blessings, Cecilia @ My Thrift Store Addiction
Thank you! I used styrofoam eggs, but plastic ones will work if people get the ones with the holes on the top and bottom of them.
These are adorable! I will be looking for some of these eggs on my next shopping trip. Thanks for joining the hop this month.
Thank you! If you can’t find styrofoam, I think the regular plastic will work if you can find the different sizes.
Wow, I certainly wasn’t expecting to see Easter egg carrots today! I love an original idea. And beautifully executed too.
Thank you so much, Rachel!
I love, love, love your Easter egg carrots ~ so pretty! They look great displayed in your vignette.
Thank you, Allyson!!