Concrete decor has become very popular. Today I’m going to show you how to DIY an affordable faux concrete bunny using a styrofoam bunny from Dollar Tree. It’s much lighter than concrete decor, easier to store, and much cheaper, not to mention easier to make. I shared this bunny on last week’s Easter vignette video, and I got so many requests for a tutorial, which I loved! Let’s get started!

It’s time for our monthly Sustainable Craft Challenge, hosted by Julie of Sum of Their Stories, where I join other bloggers to create something sustainable. That can either be something we’ve recycled, upcycled, or something that we’ve made using no new materials. For this project I’m using materials that I’ve had at least 3 years! Nothing new here, so it reduces my waste and consumption! There are so many holidays and seasons that come back to back at this time, so I’m going to show you how to add a cute little heart to your bunny so that you can use it for Valentine’s Day or even leave it on for Easter to show your love for Jesus and the coming spring season! Stick around after my project where I’ll send you on to see the other projects on our blog hop.

If you’re here looking for the hearts and heart decor, you can check out my wood bead heart shelf sitter that I created from some thrifted items. Using and upcycling thrift store items is a great way to be sustainable! You are rescuing items that might otherwise be disposed of, and you’re not purchasing anything new!
DIY Faux Concrete Bunny Supplies:
- styrofoam bunny from Dollar Tree
- lightweight spackle- I got mine from Walmart, but Dollar Tree carries it too.
- gloves or a spreader to apply the spackle
- sandpaper
- gray chalk paint
- paint brush

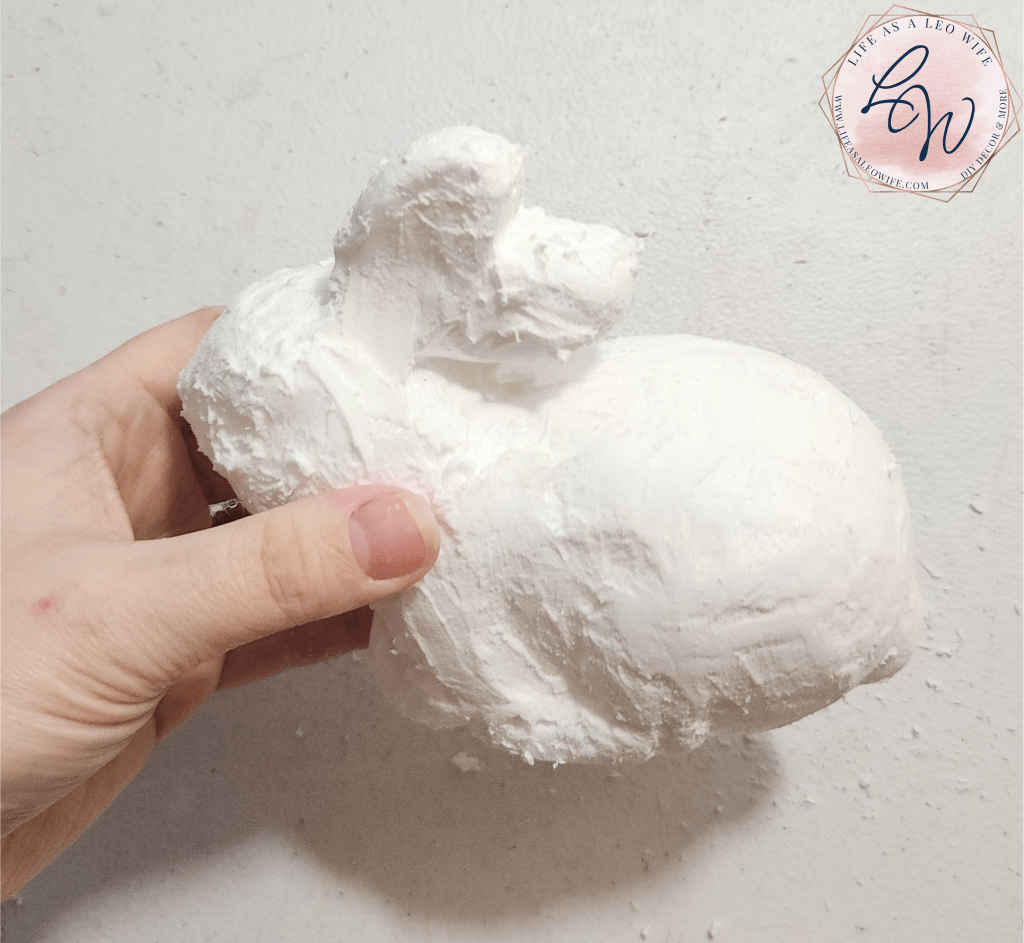
Apply Spackle to Bunny
Use a spreader or gloved hands to apply lightweight spackling to the styrofoam bunny. Please use gloves if you use your hands! I didn’t because I didn’t have any gloves on hand, and it began to sting my hands when it started to dry. Then the next day, my skin began to peel off around the nails and the pads of my fingers where the spackle dried.


Continue until the bunny is completely covered.
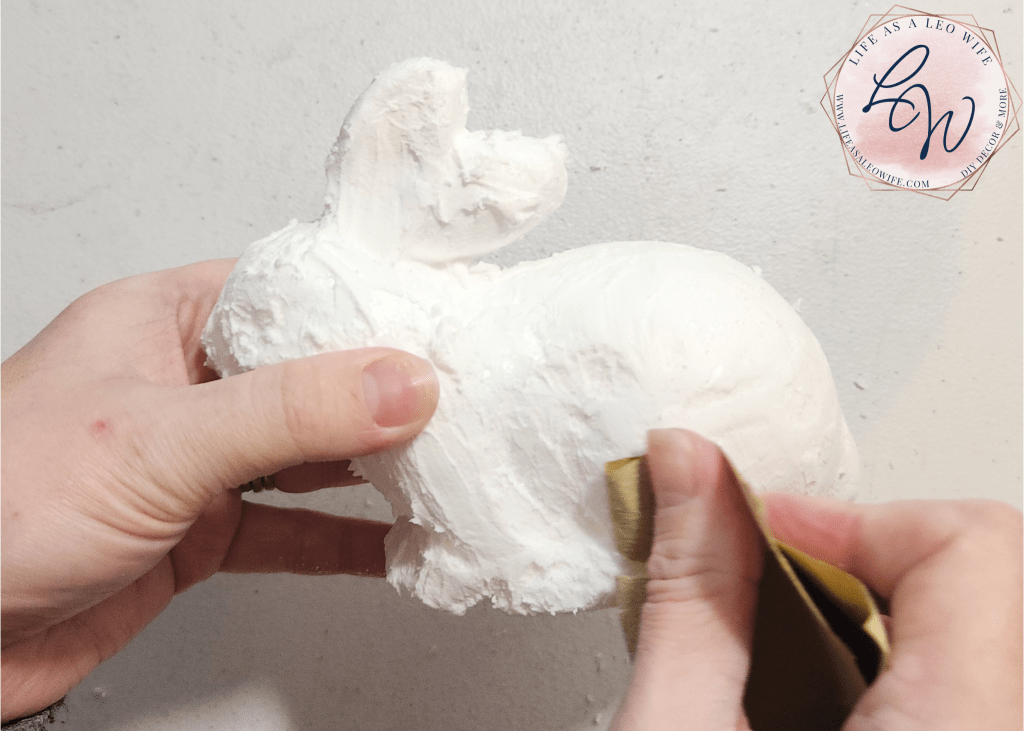
Allow the bunny to dry overnight.
Once it’s dry, sand off the rough spots until it’s mostly smooth. You don’t have to make it completely smooth since concrete usually has some dips here and there.
Paint the Bunny to Create a Faux Concrete Look
The next step in creating a faux concrete bunny is to paint it in a concrete-like banner. I used Waverly’s chalk paint in Elephant Gray and dabbed the gray paint onto the bunny.
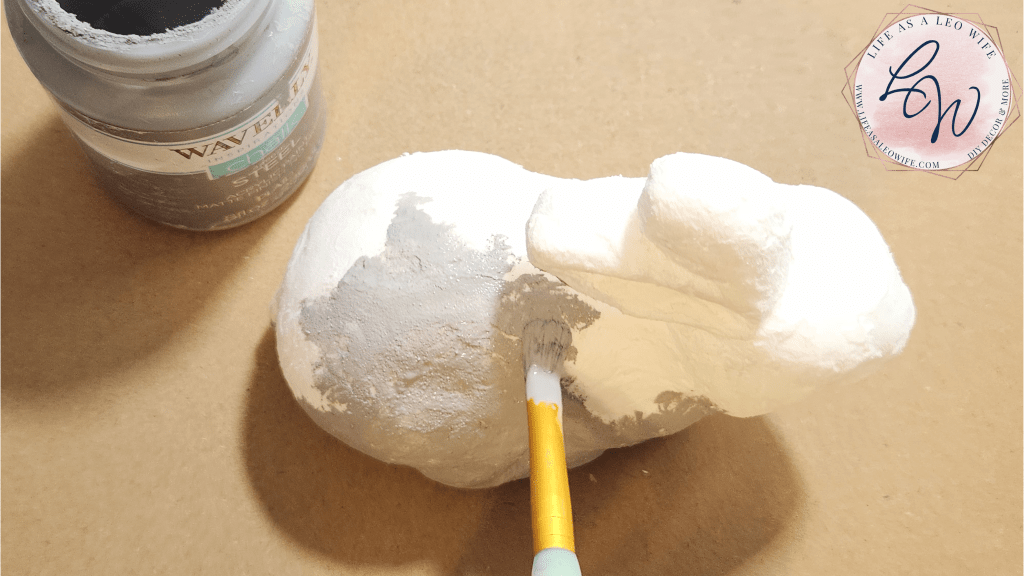
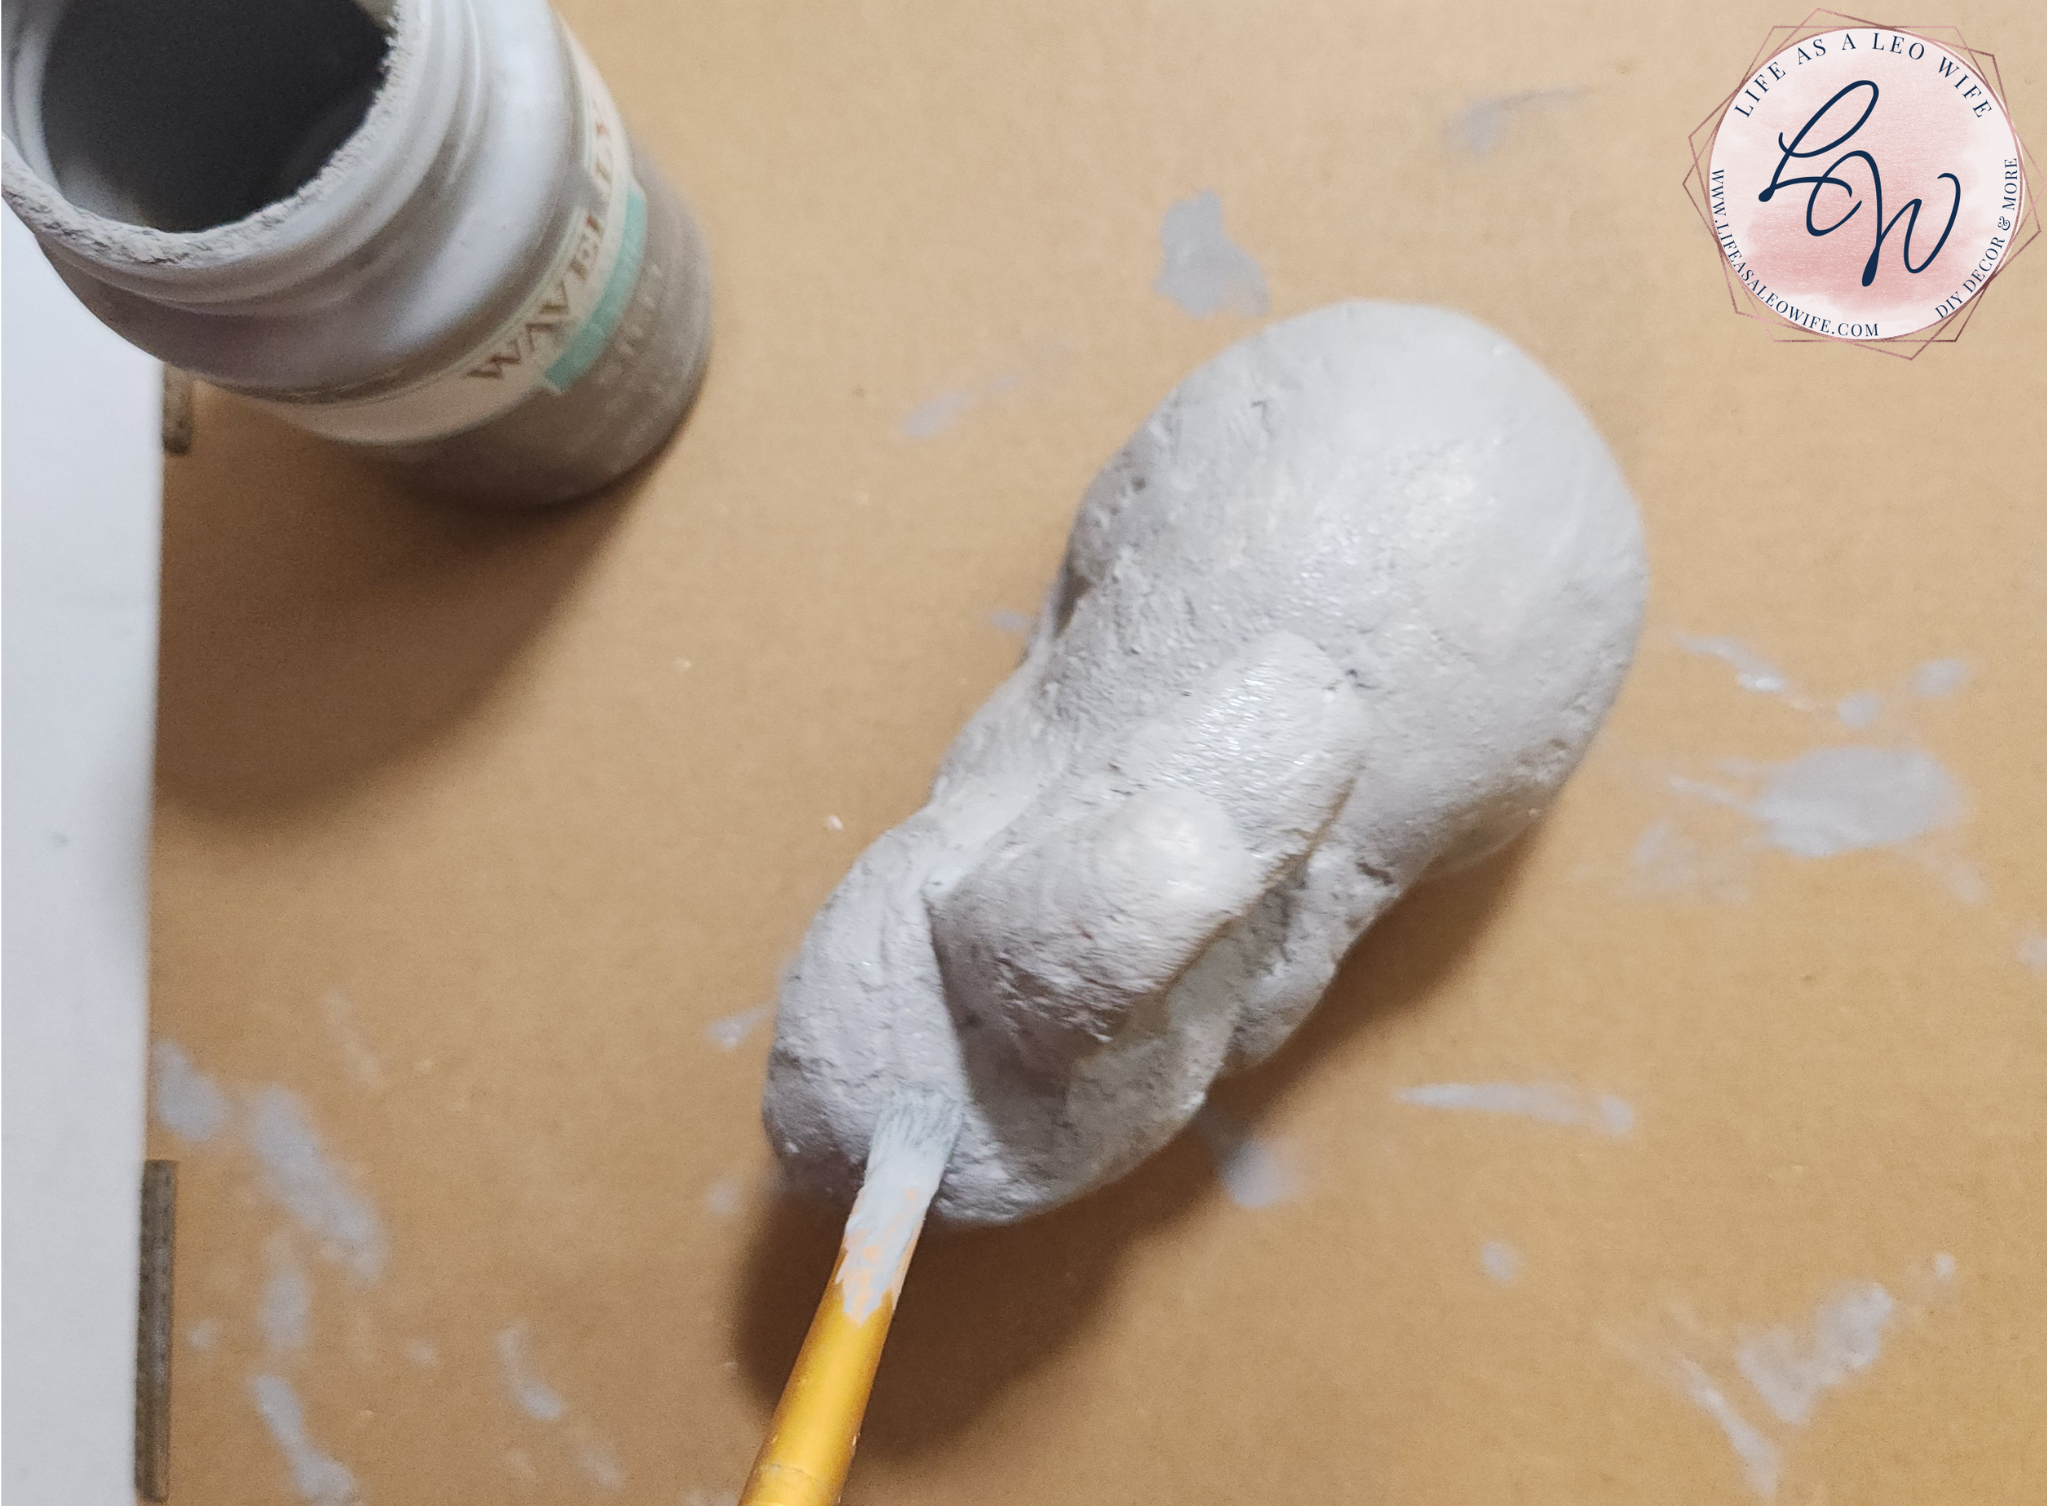
There’s no need to put a second coat of paint on. Concrete has some areas of a powdery-white look on them, so that is what you want with your DIY faux concrete bunny.
Add Embellishments to Finish Up the Faux Concrete Bunny
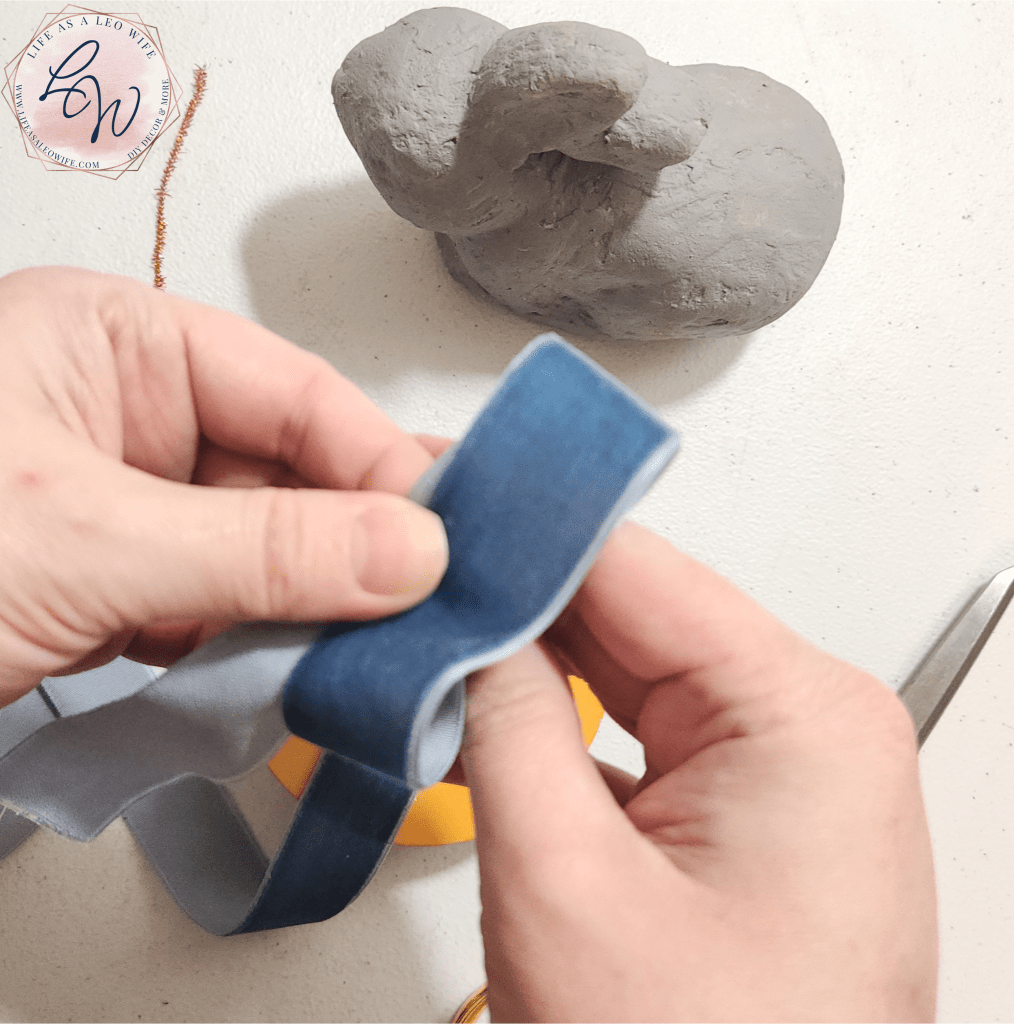
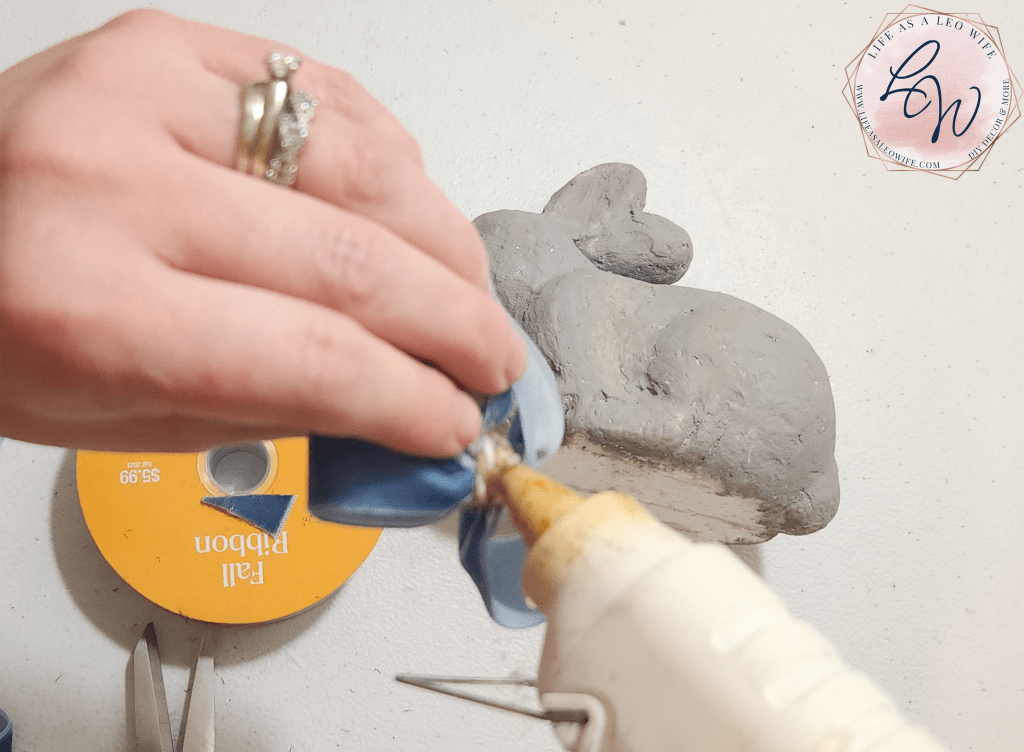
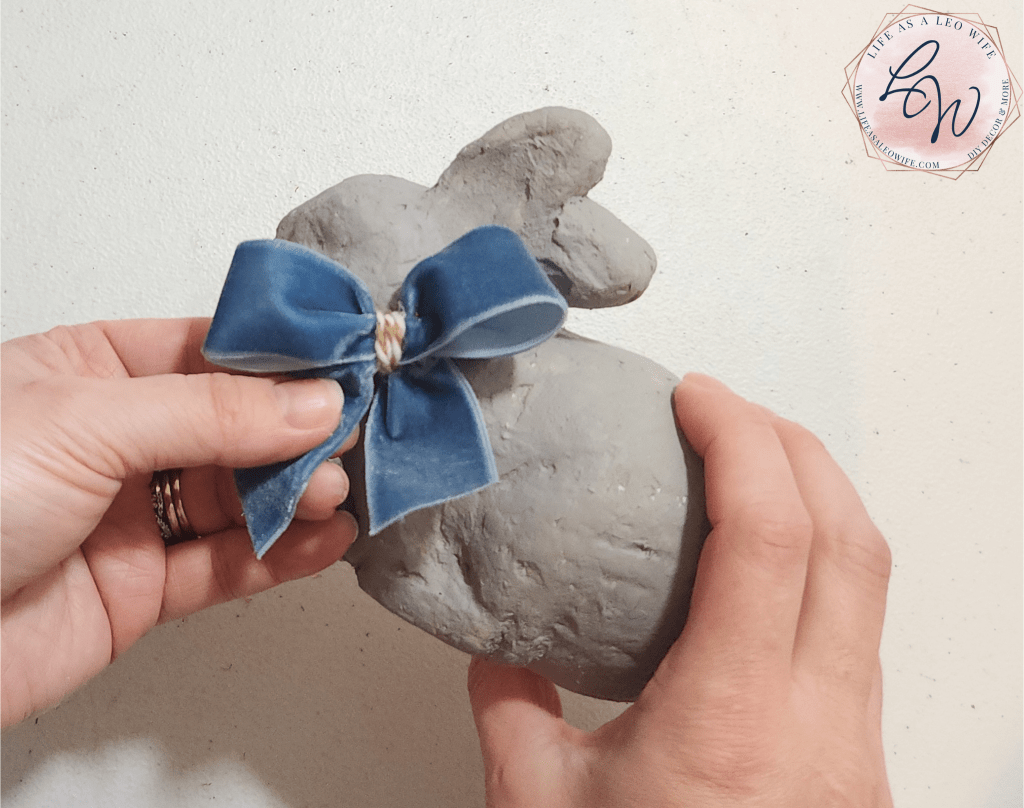
To finish up my bunny, I decided to add a simple bow. You could tie a velvet bow around the neck of your bunny if it is standing. However, mine is sitting, so I couldn’t get the ribbon to lay flat around the neck.
Instead, I made a simple, small bow with light blue velvet. To cover the pipe cleaner around the middle, I glued tan and white twine around it.
Heart Embellishment
I also added a second DIY embellishment so that I can use this faux concrete bunny for Valentine’s Day. This Sustainable Craft Challenge theme is hearts, so I thought adding a heart to his collar would be cute. Since I couldn’t find any of my heart gems, I thought creating a twine heart would be cute and would match my farmhouse decor.
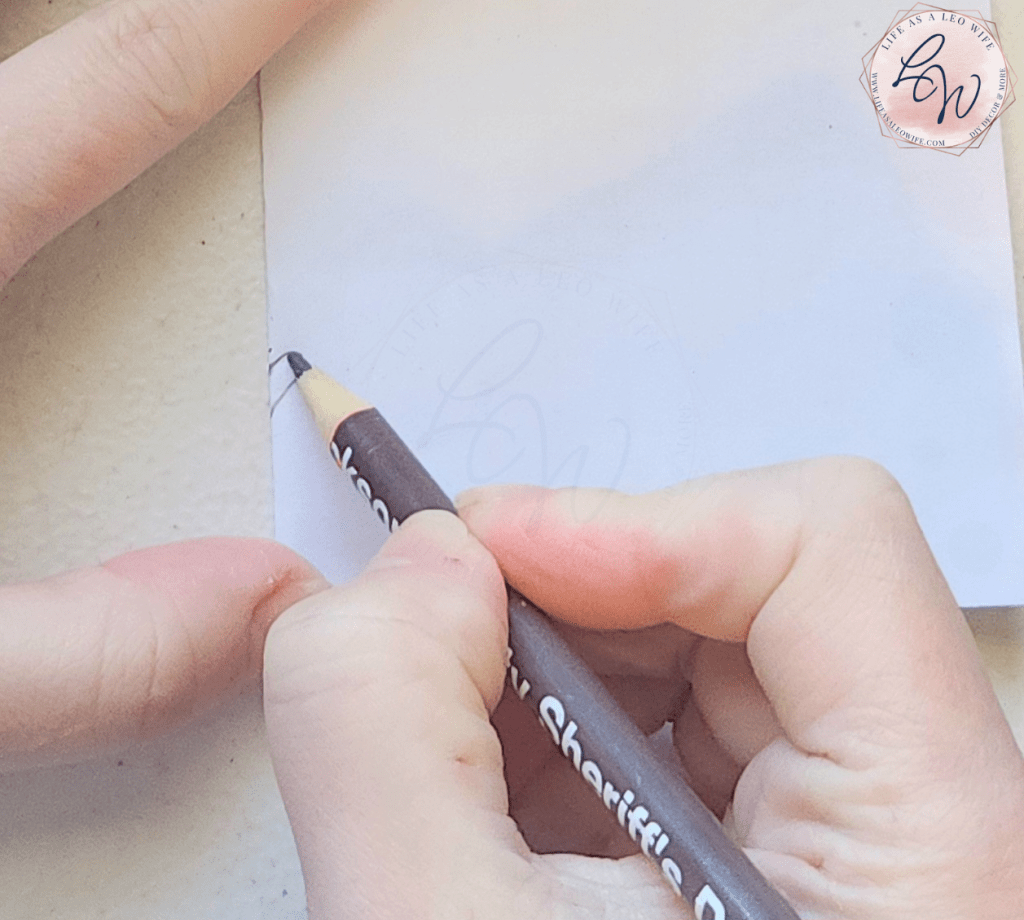
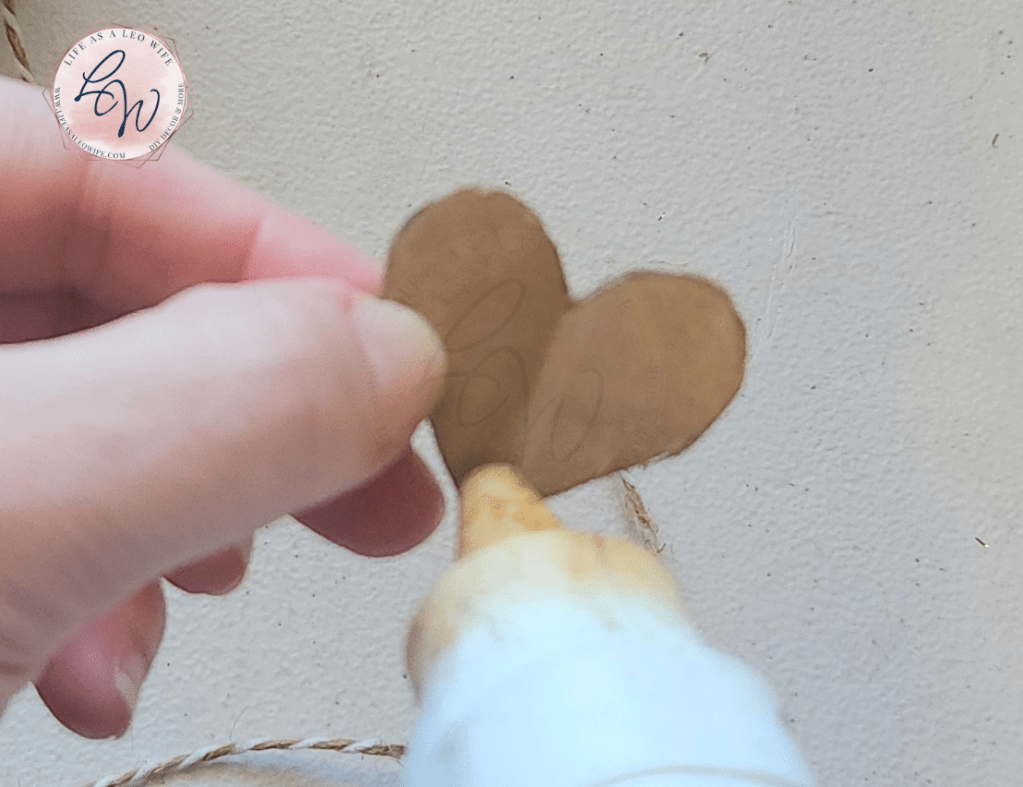
To make a twine heart, you need to create a cardboard base. First fold a piece of paper in half and draw half a heart along the folded edge. Then cut the half heart out and you will have a perfectly even heart. Next, trace the heart onto a piece of cardboard and cut it out. I used the flap of an Amazon box for this.


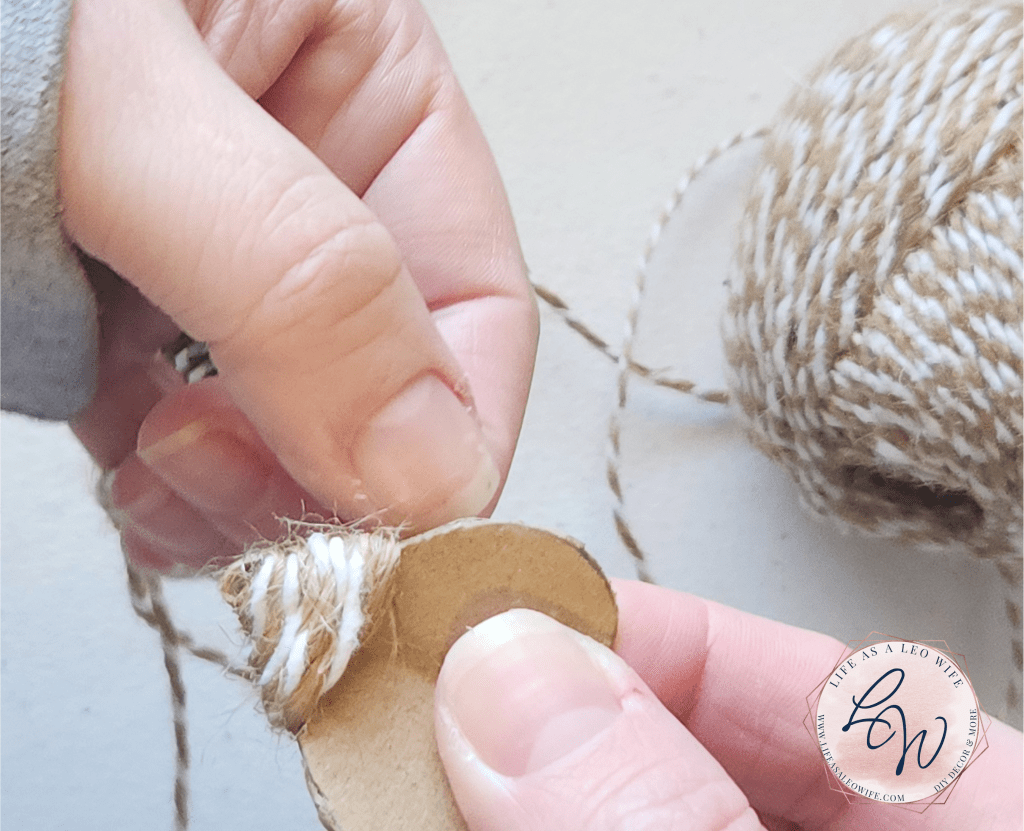
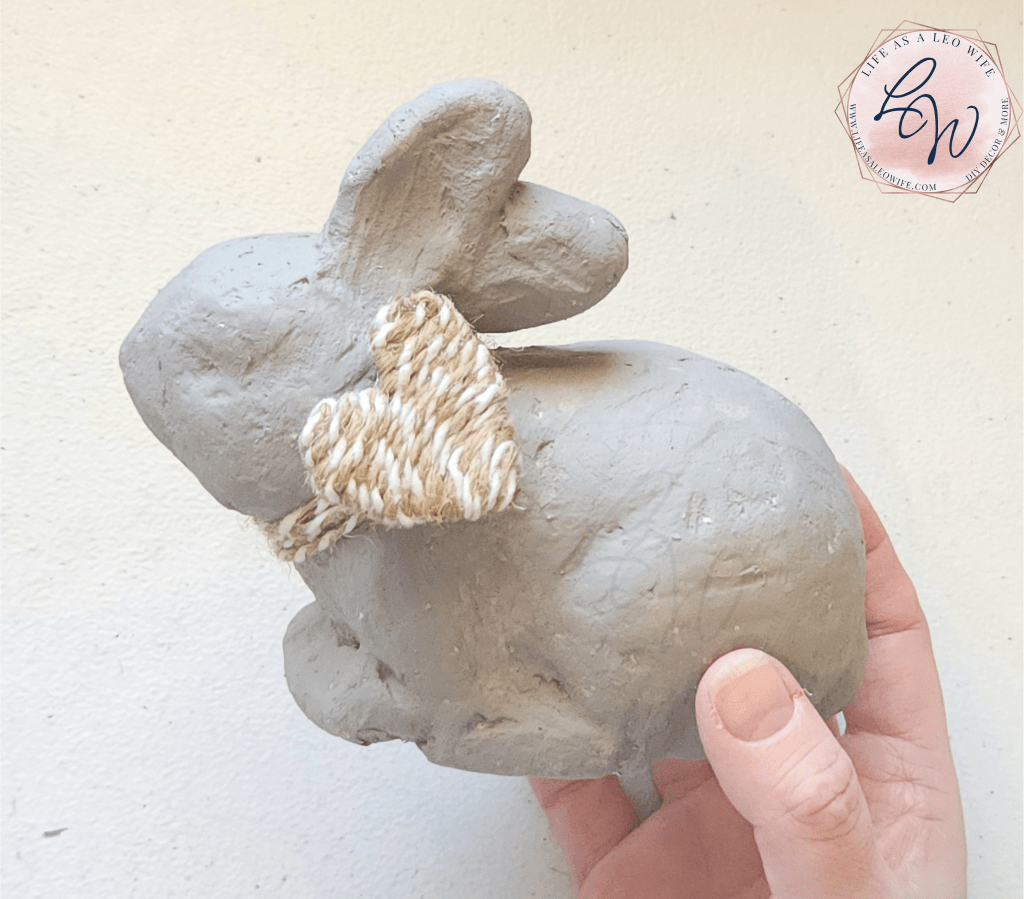
Now it’s time to wrap the DIY cardboard heart in the twine or ribbon that you want to use on your faux concrete bunny.


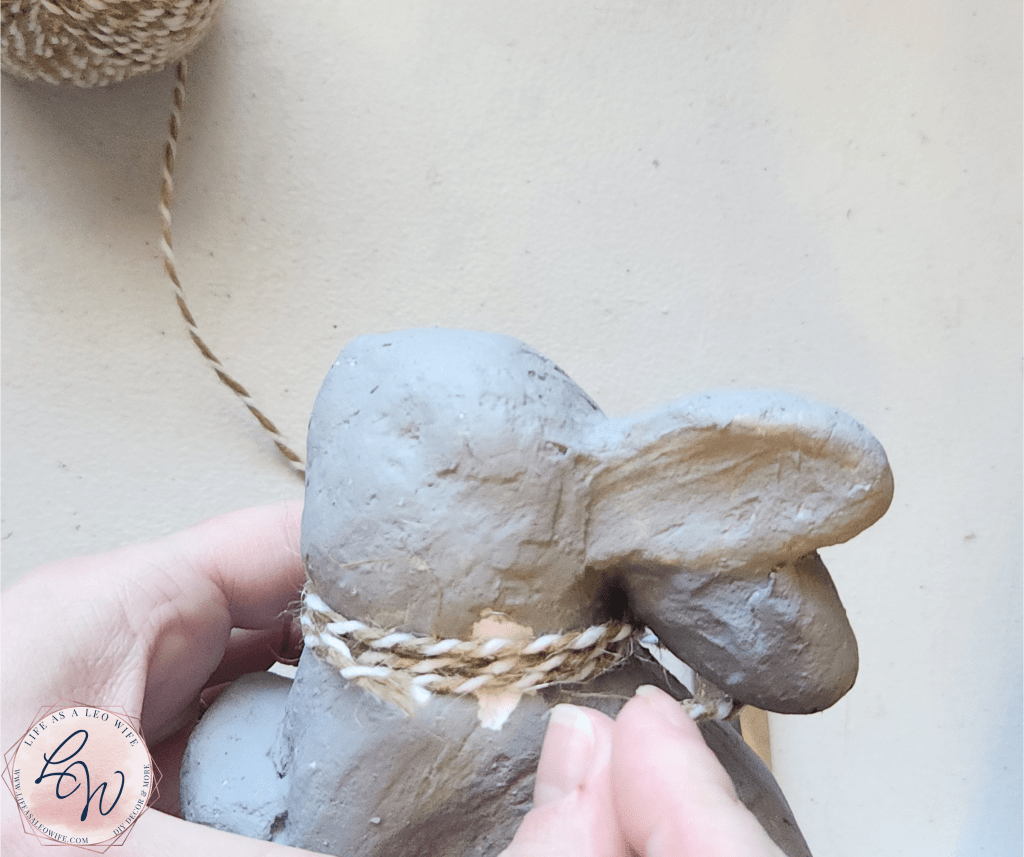
When I removed the bow from my faux concrete bunny, it took off some of the paint. I will have to fix that, and I didn’t want the heart to cause the same issue. So I wrapped twine around the neck of the bunny, then added hot glue to the ends of the twine and pinched them together. That way they are glued to each other and not the bunny. I then added hot glue to the back of the heart and attached it to the twine.
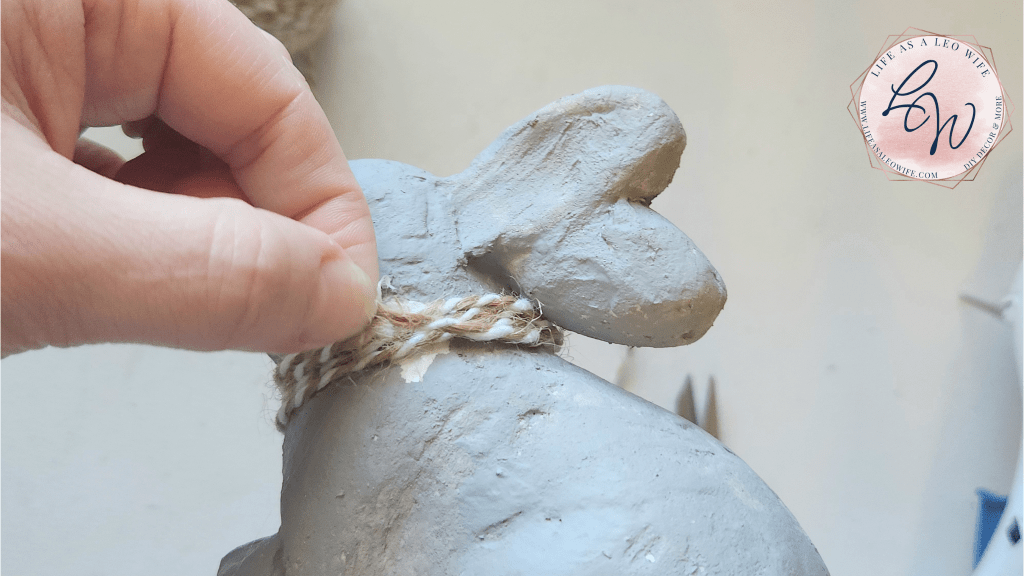
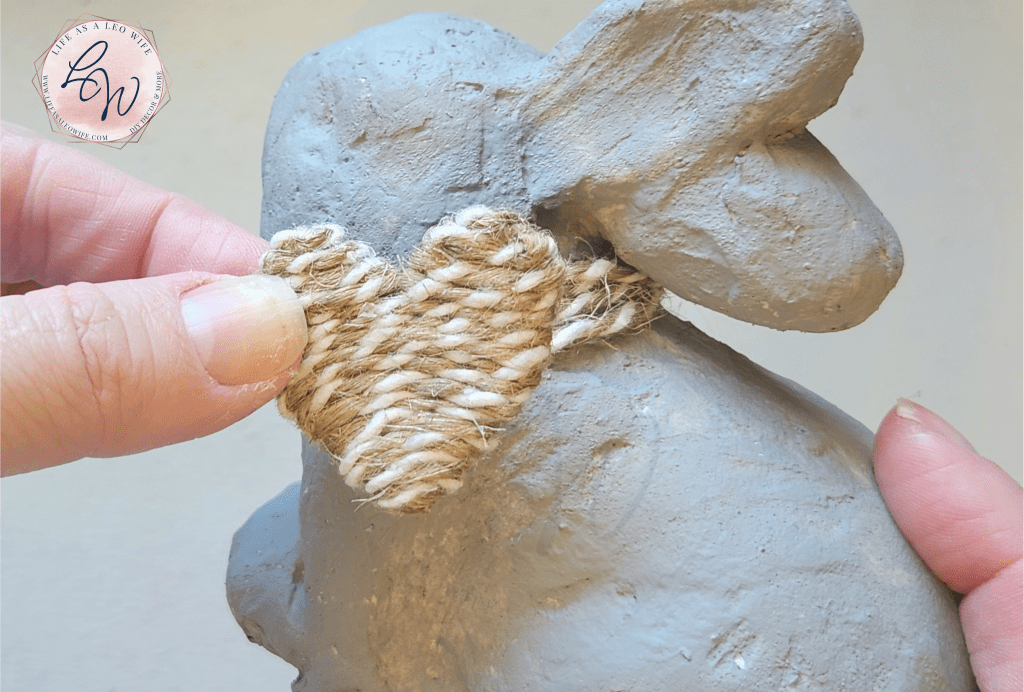
DIY heart embellishment on the faux concrete bunny complete!
Remember that this is a blog hop, so keep reading so I can send you to the next stop on the tour!
DIY Faux Concrete Bunny Video Tutorial
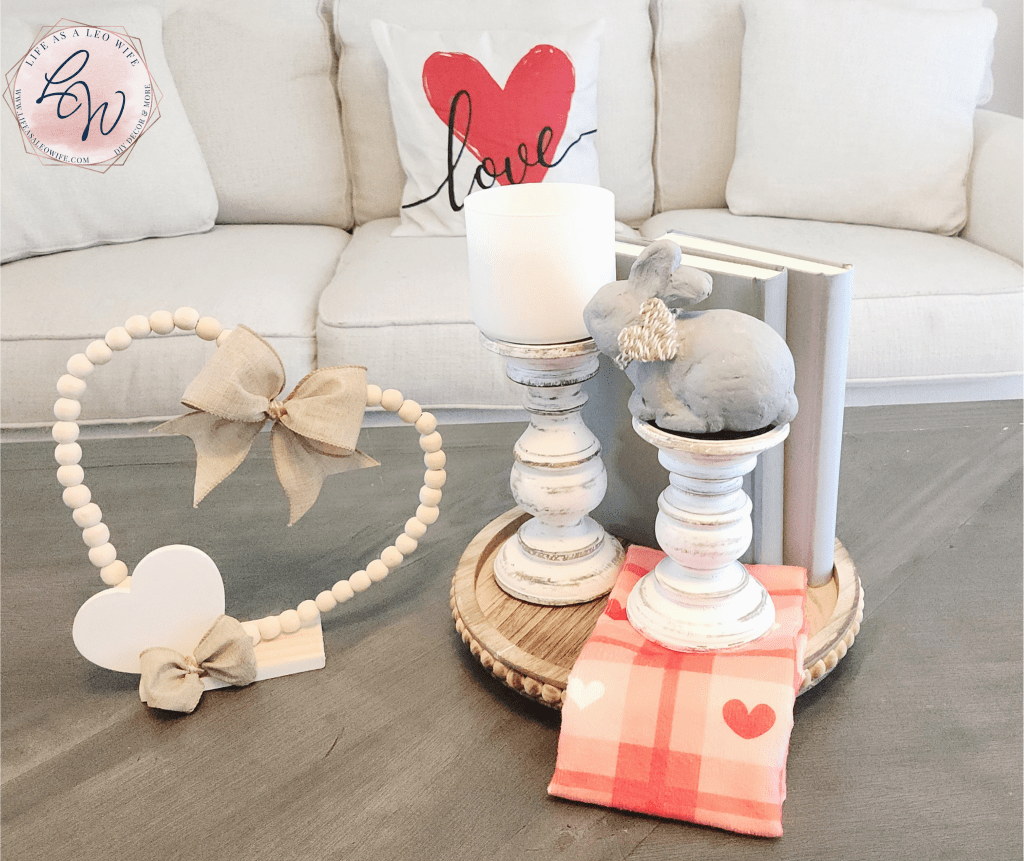
Faux Concrete Bunny Video Tutorial by Niki KlineHere is my completed bunny on my Easter tray vignette…
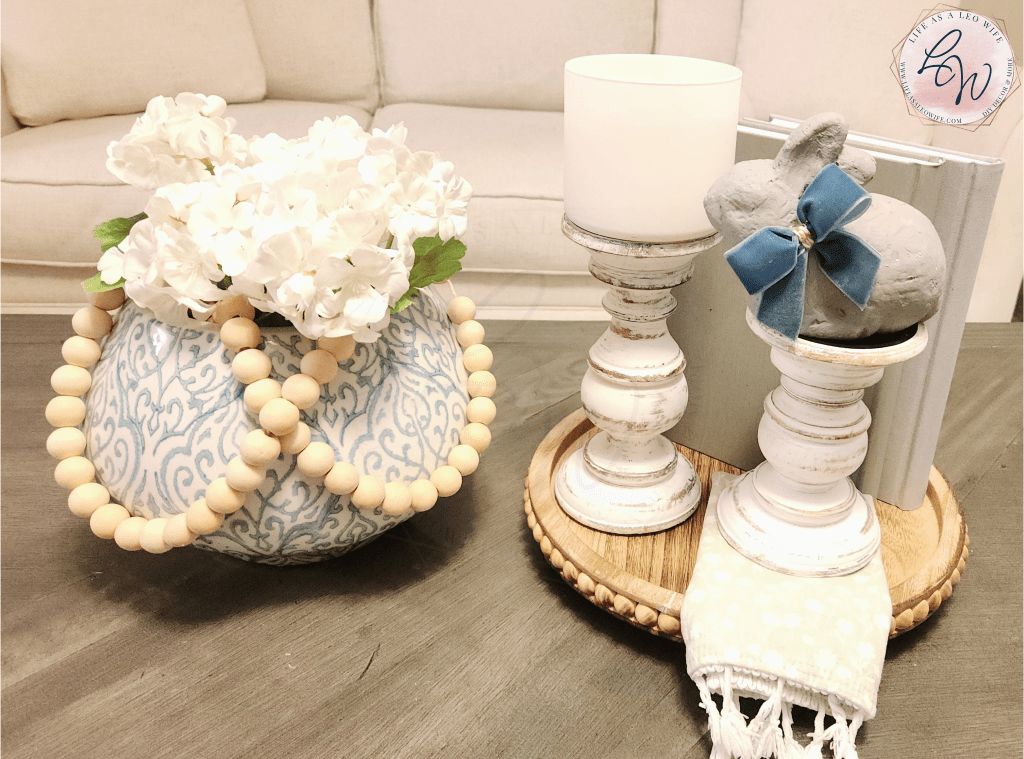
and in my Valentine’s vignette.
Sustainable Craft Challenge Blog Hop
Sum of Their Stories | Scrap Fabric Hearts
Decor Craft Design | DIY Valentine Heart Sign Upcycled Pistachio Shells
Our Good Life | DIY Hearts Machine
Purple Hues and Me | Soda Bottle Heart Shaped Box
Christine’s Crafts | Small Crochet Hearts
Sew Crafty Crochet | Crochet Patchwork Heart
Old Rock Farmhouse | Doodle Hearts Collage
Mimi – A Great Name for Grandma | DIY Valentine Rag Wreath Heart
Remember to pin the image below or share this post with the buttons on the left side of the page so you can find it when you’re ready to start your project! Also, follow me on Pinterest for new ideas added weekly! Be sure that you never miss a great tutorial for decor like wreaths, signs and other home decor, free printables, crafts, and other fun posts! Enter your email address below to be notified of new posts! Use the buttons below to follow me on social media for other great content.

Don’t go yet! There’s more to see!
There’s plenty more to see here on the blog! If you’re looking for something specific, use the search box in the sidebar to look it up. If not, you might enjoy these ideas. Don’t have time to read them all now? That’s ok, just click over to the posts using the pictures and pin them for later. You can also add Life as a LEO Wife to your favorites and check back for new ideas and free printables and SVGs every Wednesday, as well as link parties with tons of shared ideas on Sundays!


That is one cool way of making a faux concrete bunny! It certainly looks real!
Thank you, Gail!
Your little bunny is super cute and he looks so expensive. I love him with his heart collar for valentines but the fact a quick change of collar could make him work for other spring decor too makes him so versatile. Fab!
Thank you, Julie!
Your faux concrete bunny is absolutely adorable. I have yet to paint with the chalk paint so I believe I will now give it a try. I also love your idea of wrapping a piece of board in twine. A cute finishing touch!
Thank you, Shelly! I love chalk paint, and cardboard is such an inexpensive way to make cute decor embellishments.
Your bunny is so cute! I love the heart embellishment, and the blue bow looks nice as well.
Thank you T’Onna!
This is adorable. You would never know that it was not concrete! The heart just makes this adorable! Thank you for sharing all the details.
Thank you so much Christine!
Bunnies are just the sweetest and perfect or Spring! I love how you transformed the Styrofoam rabbit! ‘So pretty! Thank you for the tutorial! -Marci @ Old Rock Farmhouse
Thank you, Marci!