
Back at the beginning of August my local Dollar Tree had already put out their fall wreath forms. I picked up like 5 more pumpkin wreaths and they had new forms that I hadn’t seen before, a wire witch hat. I got three of those, not really sure what I was going to do with them. They had a bunch of deco mesh, so I grabbed several of those too. Finally a few days ago I started my Dollar Tree witch hat wreath, and today I’m going to share that tutorial with you.
Looking for more ways to use those Dollar Tree witch hat wreath forms? You will love this burlap witch hat wreath and this burlap carrot wreath!
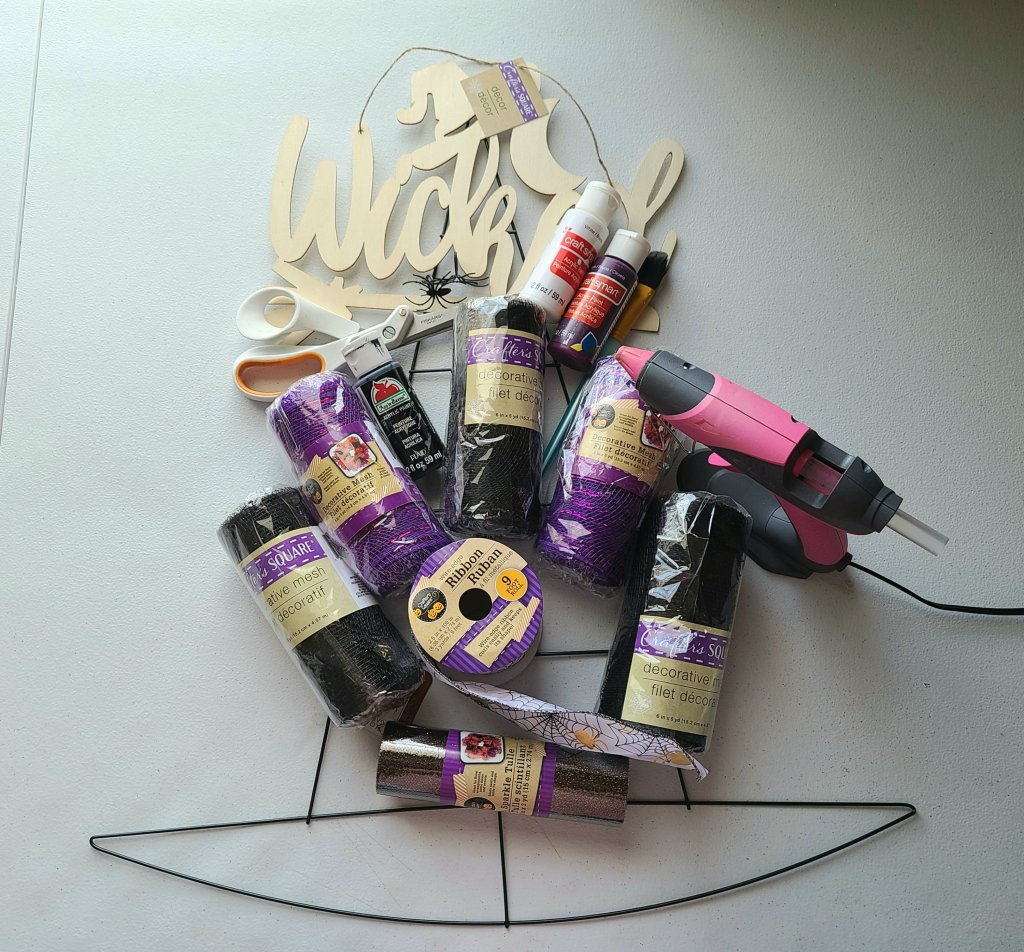
For the Dollar Tree witch hat wreath you need:
- witch hat wire wreath form
- 3 5″ wide 5yd packs of black deco mesh
- 3 5″ wide 5yd packs of purple deco mesh
- pipe cleaners- Black is easiest to work with since they blend in.
- hot glue gun & glue
- wood “Wicked” sign
- acrylic paint for the sign & paint brushes
- 2.5″ wired ribbon or other material for the triangle part of the hat
- optional- other ribbon to add to the brim of the hat
Paint the “Wicked” Sign
You want to start by painting the wood sign. That way it can dry while you’re working on the rest of the wreath. There are several Halloween style wood signs at Dollar Tree that you could use, but I liked this one the best for a witch hat wreath. They do have a cauldron with witch legs and shoes sticking out that could be cute also.
Since I was using a lot of black in the wreath (I mean obviously, witch hats are black!), I wanted the sign to not have much black. To match the purple deco mesh, I painted the word wicked purple. I actually mixed a few different purple acrylic paints together to create the color you see. The broom handle I painted brown and brushed in a few streaks of black and brown mixed together to make it look like wood. The straw of the broom I painted light brown made with a mixture of a few colors, then added streaks of gold, yellow, and brown mixes to look like separate straw pieces. Then I made added a stripe of brown about an inch from where the straw meets the broom handle to depict the place where the straw is attach. The moon I painted a yellowish gold.

Note about the hat on the sign:
I did initially paint the hat black, but once I added the sign to the wreath, it blended in with the black sequin ribbon too much. I went back over it with a little gray chalk paint. The paint had settled in the container which left an oily residue on the top. I had shaken the bottle, but not good enough I guess. I dipped the brush in the darker bits of paint to use. In some sections the oil did get on the hat, and pulled a little gray off the black base coat. I really liked it, so I brushed more over the entire hat. It made it look like it was aged, and I really liked it. At the end of the post you’ll see several pictures of the sign at different stages in the painting process of the hat. You can decide how you’d like yours.
Also- I did go back and fill the holes where the twine went through to hang it. I used Dollar Tree lightweight spackle. You can check out this DIY farmhouse-style fall farm truck centerpiece tutorial to see exactly how to do it.

Wrap the Triangle Section
A few years ago I picked up a pack of black 2.5″ wired ribbon with sequins on it. I think I got that pack from Michael’s, but right now they have some at Dollar Tree. Use the hot glue to attach the ribbon, or other material like burlap or even the deco mesh, and wrap the entire triangle section of the hat with it. Due to the plastic type material of the ribbon I used I had to wrap it one section at a time. If you have a fabric type ribbon, you’ll be able to guide it down without having to cut it and glue it one piece at a time. Just wrap it around the hat in a diagonally downward fashion.


Attach Pipe Cleaners
Now that the form is wrapped, it’s time to add the pipe cleaners to the bottom section. These will hold the deco mesh on the form. Cut 7 of them in half. If you leave them whole, they will be much too long and stick out of the mesh. Cut another one in half to use as a hanger. Form a loop with it and twist the ends together. Turn your form over, place hot glue on the twisted section of the loop, and press it on the back of the ribbon covering the top of the hat. Place the bottom about 4″ from the tip of it.

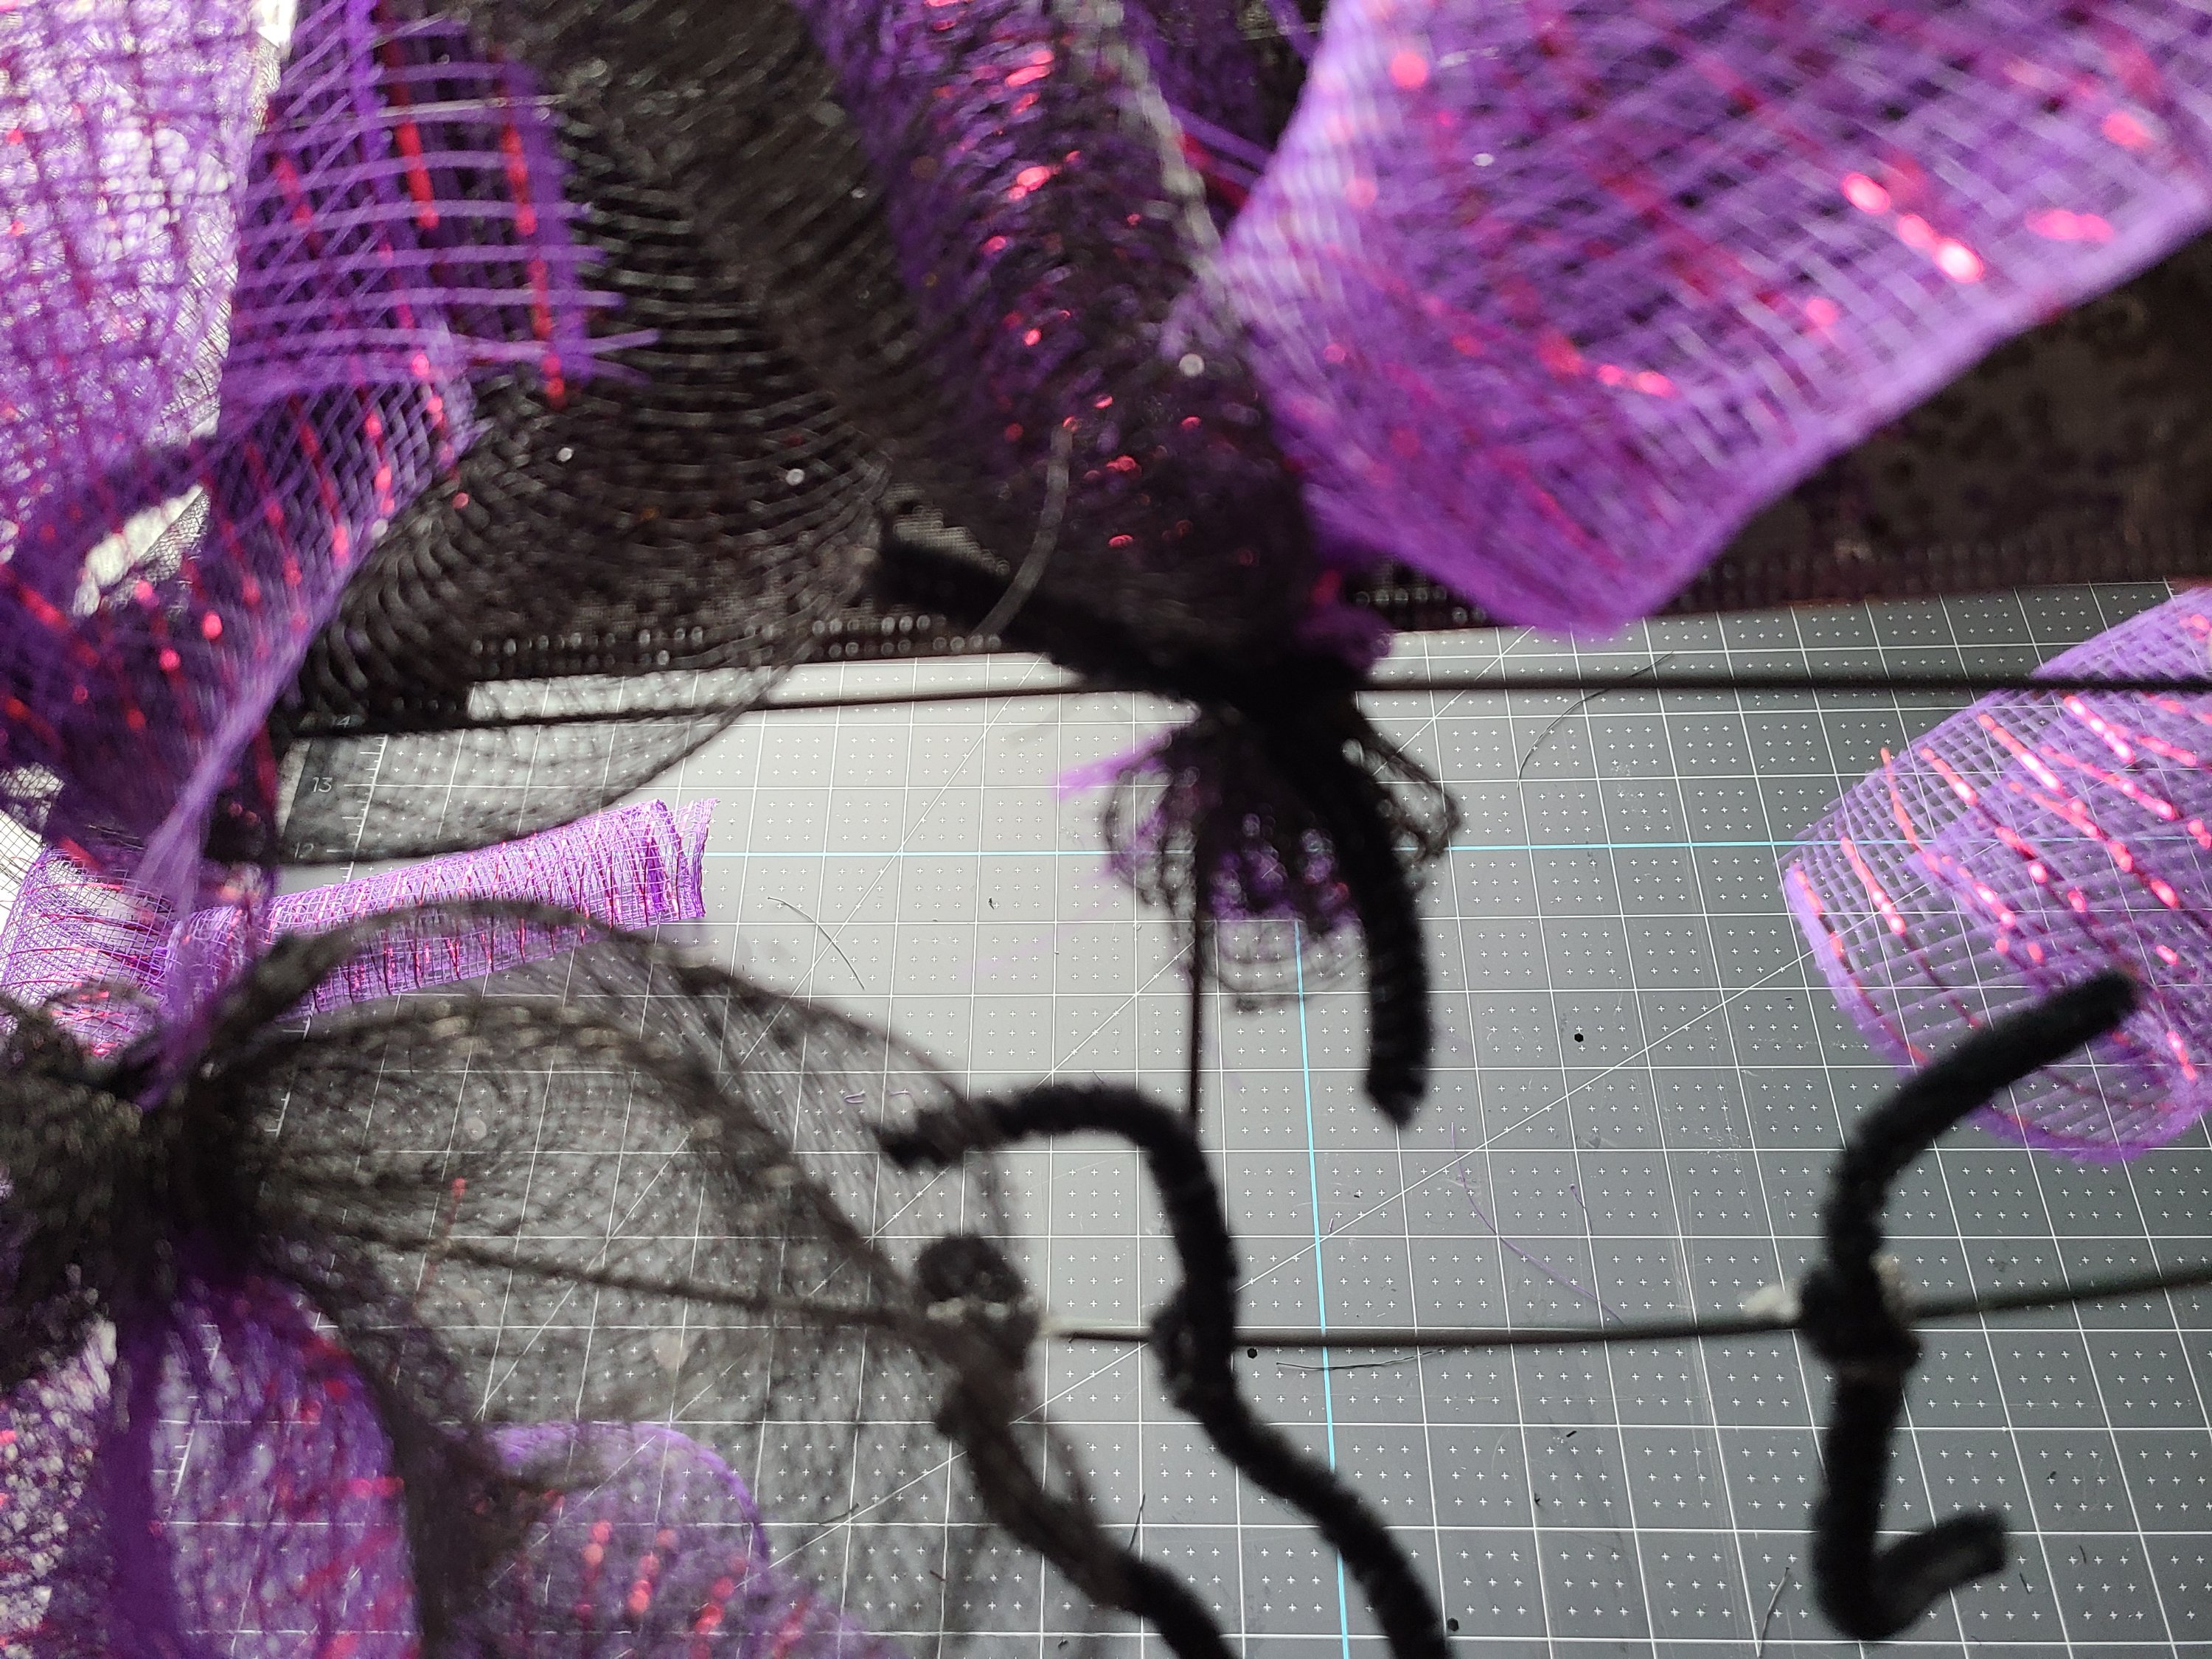
To attach them to the form, fold them in half, place the middle under and around the wire, and twist them about twice around the wire form to secure them on. Add a bit of hot glue on the pipe cleaner right before you twist so they don’t slide around. I added 14 (seven whole ones cut in half) to the form. You can see where I placed them below. I did end up adding one more on each side at the bottom in between the ends and the next one you see below.


If you can’t quite see the pipe cleaners, I’ll try to explain where they are. There is one on each end at the points, one on each crossbar at the top and bottom, one on each site where the brim meets the triangle at the top, then three on each side at the bottom between the crossbar and the side tips.
Cut the Deco Mesh
For this wreath you will be creating deco mesh spirals. I like to add my deco mesh on top of each other and make one cut on both colors. I use a rotary cutter on a self-healing cutting mat, and that saves so much time and makes it so much easier.
Roll out your deco mesh, either one at a time or both on top of each other, and cut 8″ pieces. I tried other lengths, but 8″ worked the best. I used 2 spirals of each color for every pipe cleaner on the form. So you will cut 28 of each color. My cutting mat is 24″ long, so to save time I rolled the deco mesh all the way out across it, and made cuts at the 16″, 8″, and 0″ points. That gave me six pieces, three each, for every “roll out” (my homies). Ok, that joke dates me a little. If you don’t get it, it’s a song from my very early teen years. I might have been a pre-teen actually.

Next it’s time to roll the deco mesh pieces into “spirals.” When you cut them from the roll, they will naturally kinda roll themselves. Some you can leave like that, but some you will need to make a little tighter because they will be wide. Lay the piece out, then roll one edge in toward the middle, then all the way to the other edge. Go ahead and spiral them all and you will end up with two piles like these.


Attach Deco Mesh to the Dollar Tree Witch Hat Wreath Form
I tried several ways of adding the spirals of mesh to the form. First I took two black ones and pinched the ends and put them end to end in my finger, then took two purple, put them end to end, crisscrossed those over the back in the middle, then placed them in a pipe cleaner and twisted it closed. It was basically two long lines of deco mesh crossed over each other in the middle. This worked and filled out the wreath, but I didn’t like how far they went past the end of the brim of the hat. You can do it this way if you want a really wide brim. It will extend the wreath about 7″ past the bottom wire.
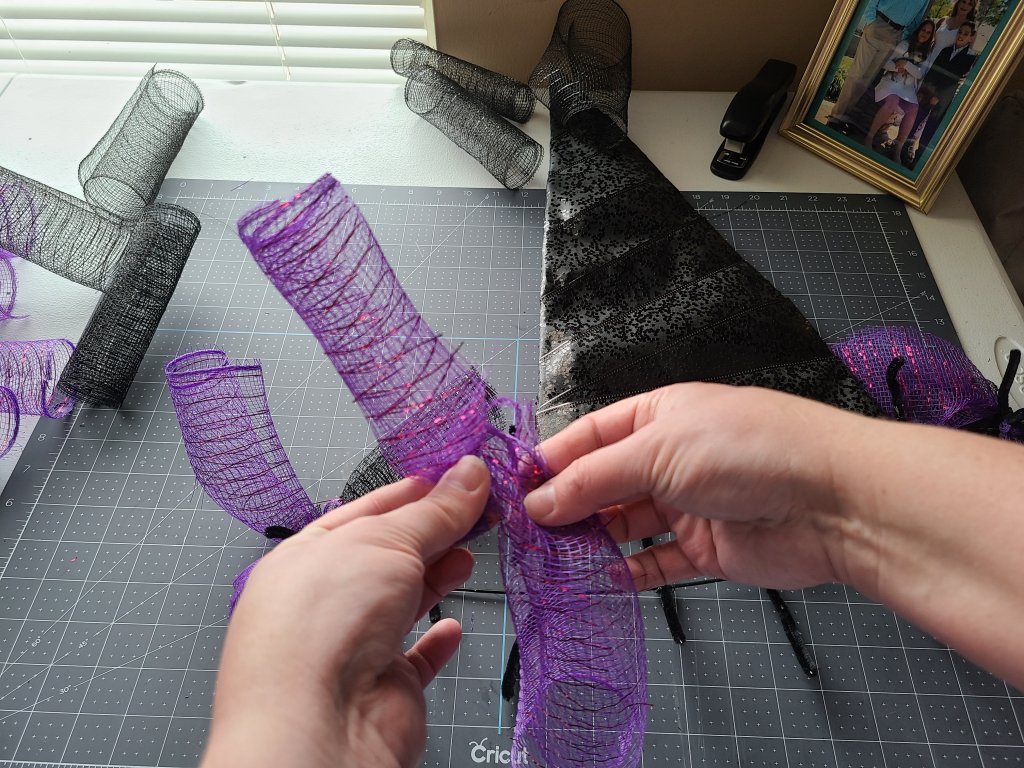

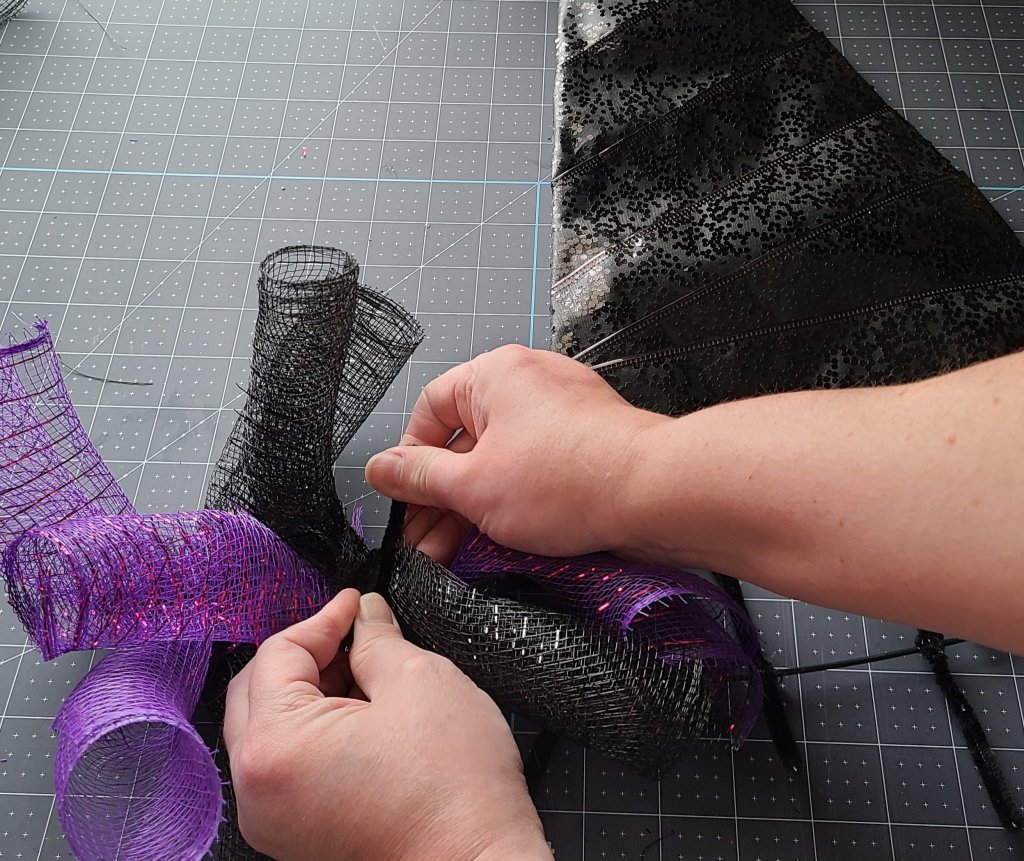
The best way to add them is in a way that makes them all go up toward the tip of the hat. Gather two spirals of each color, pinching them at the bottoms, and place them together. Stagger the colors a bit, like black, purple, black, purple, in your hand.

Put the bunch in a pipe cleaner with the pinched end section extending out the back of the wreath. Twist the pipe cleaner closed around the ends. Do this for all 14 pipe cleaners.
Add Ribbons
This part is optional. I ran out of the Dollar Tree ribbon I had during the project, so you will see I had to cut some pieces very small, and you can barely see them. I am going to go see if they have another roll of the white spider ribbon, and if they do, I will add more. Since I wanted to get this tutorial out to you so that you can get your wreath made for October, I’m sharing it despite that. I will update with pictures if they have that ribbon. If not, I may remove it all together or add other ribbon. I added some extra gold ribbon to the wreath for now.
You can either add a single piece of ribbon in each place that you want, but I liked adding mine folded into a skinny loop. I think it looks better with the spirals of deco mesh. First I cut about16″ pieces to fold in half thinking it would extend to the length of the spirals and look good, but it didn’t. It looked too stark in contrast and out of place. So I ended up cutting about 8″ to 10″ pieces. Cut your ribbon, then fold it loosely. You don’t want wide loops like in a bow. You want thinner loops. Pinch both ends at the bottom, add them to the pipe cleaner then twist them closed. I didn’t get a picture adding the ribbon because I had already but away my tripod. Sorry about that, but add them just like the deco mesh.

Adjust & Fluff the Dollar Tree Witch Hat Wreath
Now that your wreath is assembled, you will notice that it’s not quite orderly. When I first finished, some of the mesh was pointing down, making the brim too wide. There were also sections that looked a little bare. If you have that going on, don’t worry, you an fix it. Hang your wreath from something because fixing it is a lot easier that way. I usually use a nail on the wall in my craft room. It’s there for that very purpose. That, and for taking pics of the wreaths.
Go through the wreath adjust (gently) pieces of the mesh to places that seem bare. Move them this way and that as you go so they are evenly distributed through the brim. Fluff any that have been pushed flat. Do that with your ribbon as well if you added any. To fix the bottom, use the palm of your hand and flat fingers to push the mesh upward. The pipe cleaners will adjust and keep it up usually. If it doesn’t right away, just keep working at it.


I’m going to give you a little cheat here. Shhh… don’t tell anyone! If your spirals refuse to cooperate and keep falling down, you can use a piece of pipe cleaner to hold some of them together and hold them up. Cut a black one in four pieces. Slip one through the unruly mesh pieces, about 2 to 3″ from the end. You usually want to go through about three or four, a few at the bottom, them through one or two in the middle. You will be pushing both ends through different spirals until you’re in the middle of the wreath. With the pipe cleaner just about full, twist it closed. Make sure you do this to pieces that are naturally near each other.


You probably won’t have to do this, and if you do it will usually only be once or twice. The more wreaths you do, the more you’ll know where and how to adjust the spirals while adding them.
Add the Sign
You’re almost finished! It’s time to add the wood sign to the wreath. You can add it anywhere you like, to the mesh, at the top, or even add it above and hang the wreath from it. I added mine to the main section of the hat. I angled mine a little. You can do that or just have it straight. Add hot glue to the back, some on the broom handle and some on the hat on the wood. Now press it down, making sure it’s exactly where you want it. I had my wreath hanging while I glued it on so that I could see just what it would look like. With the material of my ribbon I knew it would not be forgiving if I needed to remove the sign.

Your Dollar Tree witch hat wreath is now complete!
Your witch hat is ready to hang! Here are a few pictures in various stages. I was tweaking things, so feel free to continue to fix and add things at any time!


I hope that you have enjoyed this tutorial and that it inspires you to make your own Dollar Tree witch hat wreath! Like I mentioned at the beginning of the post, you might also like to check out my burlap witch hat wreath which has more of a farmhouse style look. You can also use these wreath forms to make carrot wreaths!
Remember to pin the image below or share this post with the buttons on the left side of the page so you can find it when you’re ready to start your project! Also, follow me on Pinterest for new ideas added weekly! Be sure that you never miss a great tutorial for decor like wreaths, signs and other home decor, free printables, crafts, and other fun posts! Enter your email address below to be notified of new posts! Use the buttons below to follow me on social media for other great content.

Don’t go yet! There’s more to see!
There’s plenty more to see here on the blog! If you’re looking for something specific, use the search box in the sidebar to look it up. If not, you might enjoy these ideas. Don’t have time to read them all now? That’s ok, just click over to the posts using the pictures and pin them for later. You can also add Life as a LEO Wife to your favorites and check back for new ideas and free printables and SVGs every Wednesday, as well as link parties with tons of shared ideas on Sundays!


Here are some fall decor posts that you may enjoy:


Such a great wreath.
Thank you! I was hoping it wasn’t all too dark, with all the dark colors!
This came together so well, super cute!
Thank you!
I like the colors, matches the mesh pumpkin! Thanks so much for linking up at the Unlimited Link Party 34. Pinned!
Yes! I think I’ll maybe make the black and purple witch theme my Halloween balcony decor!
That’s cute! How fun!
Thank you!
This is so cool! I love the color combo of black and purple. Thanks for sharing at Vintage Charm. Pinned! xo Kathleen
Thank you! I’m glad you stopped by!
I love this – Pinned to make next year!! Thanks for sharing at My Big Fat Menopausal Life’s Share the Wealth Party! Hope to see you at the next one too. Happy Halloween!
Thank you! I’m glad you like it!
Visiting again to say thanks so much for linking up at the Unlimited Link Party 83. Shared.
CONGRATS Niki! Your post is FEATURED at the Unlimited Link Party 84!
I’m honored! Thank you!