Get ready to unleash your creativity and bring a touch of charm to your space with beautiful DIY rolled paper flowers. Today I’m going to walk you through how to make these stunning paper flowers using your Cricut and my free cut files, 6 styles of flowers and several styles of leaf stems. Let’s get into it!

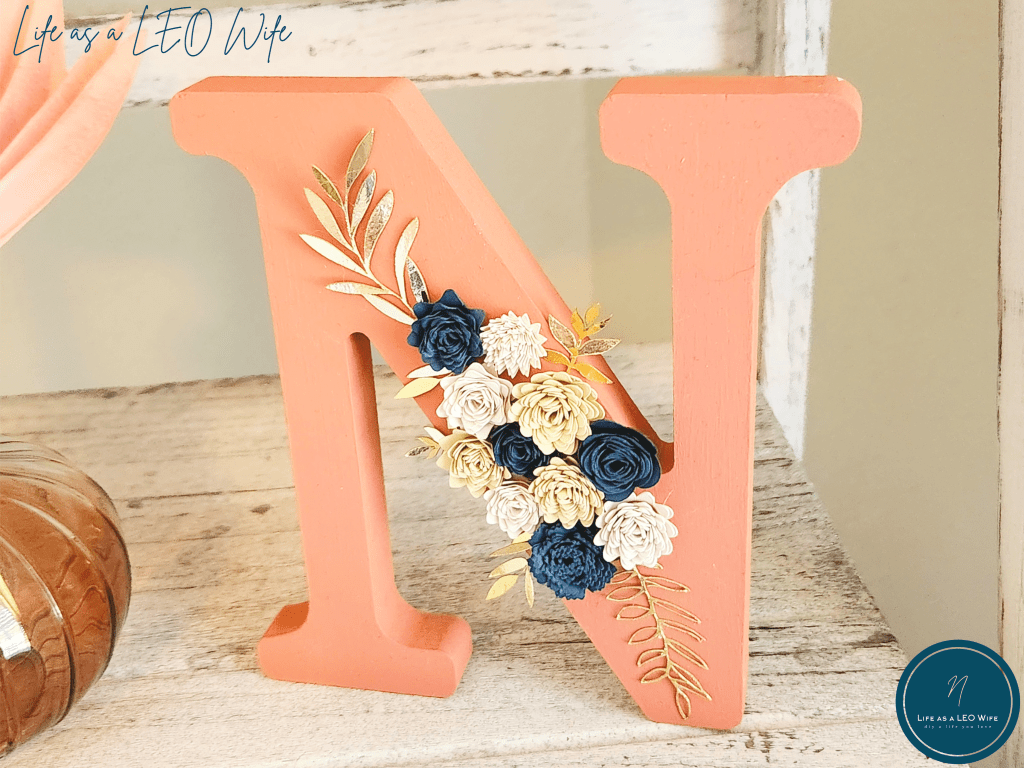
Over the past few weeks I’ve use these rolled paper flowers on several projects, my wood mason jar sign and our floral wood letters. I thought today that I would give you a full tutorial on the flowers alone and give you all 6 styles of flowers and the leaves and stems in one post. So, here. we. go!
DIY Rolled Paper Flower Supplies:
- paper flower templates
- cardstock
- Cricut
- standard grip cutting mat
First download my free rolled paper flower cut files.
For personal use only. All of my free printables & cut files are copyrighted material. Feel free to download these free designs and print them or use on your Cricut projects for your own use at home. They are not for commercial use, not to be placed on items for sale. That helps me keep these printables, SVGs, and PNGs coming to you for free! Another note: you will not my logo overlay on your downloaded design. It is there to keep people from downloading the images straight from Google, or others from stealing them to use on their site. Thanks for understanding! Feel free to share this post for your friends and family to make their own projects with this design!
Remember, my logo wont appear on the downloaded version of these flowers.
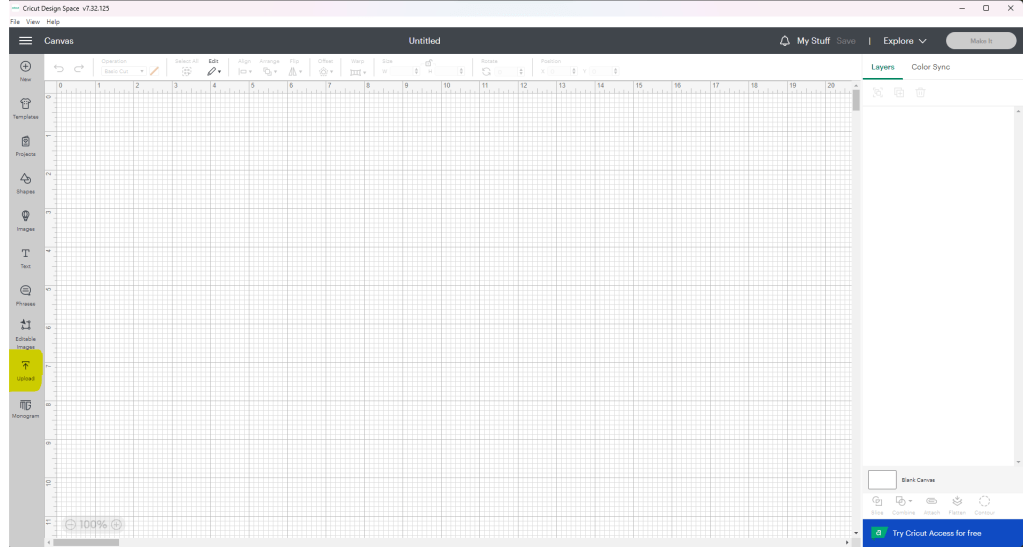
Upload the files to Design Space.
Open Design Space and create a new project.

A new project page will open, then click “upload” on the left side of the page.
Next, click “upload image” which is toward the left side.

Click “browse” in the center of the page.

Find the one of the DIY rolled paper flower files that you downloaded and select it.

Choose “simple” from the three options. That means that it’s a simple image with a dark object on it and a light background, easy to differentiate and cut.

If the image doesn’t have a checked background showing that it’s transparent, click anywhere in the blank space around the flowers, not on the flowers themselves. That will make sure that only rolled paper flowers will appear on the image when you go to cut it. Then click “apply & continue” at the bottom right of the page.

Finally, give your image a name, add tags that will help you find it later (like flowers, blooms, spring, etc.), and click cut image which is the image on the far left. Then click “upload.”

That will take you back to the uploaded images screen where you can go through the process again for the second flower cut file and then again for the leaves.
Once they are all uploaded, click all three to add them to your project page.
Cut the DIY rolled paper flowers.
If you would like to size the flowers individually so that you can make them larger without the Cricut warning you that the image is too large, you can slice them apart. If you would like me to do a tutorial on this, just let me know. In the mean time there are plenty of tutorials on how to do it. Basically you would place a square or other shape over one of the rolled paper flowers then select it and flower file and click “slice” from the bottom right corner.
Size the flowers and leaves to your liking, and click “make it” to head to the cut screen.

Set the Cricut dial to “cardstock.” Then click the green “continue” button at the bottom of the page.

Place cardstock on a standard grip cutting mat, place the mat under the tabs on your Cricut, and press the flashing arrow while putting a little pressure on the end of the mat. Then click the flashing cut button.
The machine will cut your paper and when it is finished, press the flashing arrow. Remove the paper flowers and rest of the cardstock from the mat and repeat until you have the number of flowers that you need.
Roll the paper flowers to form blooming beauties!
Place the tip of a wood skewer on the end of the spiral cut paper flower, pushing the paper around the wood.
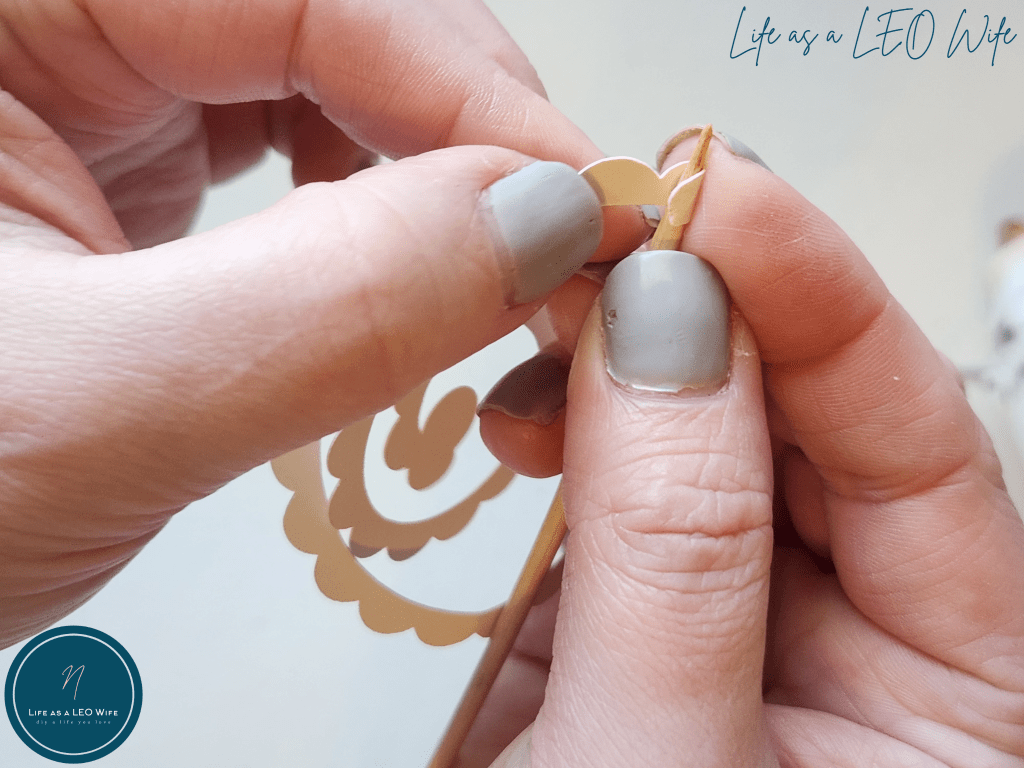
Hold the paper spiral close to the skewer, and keeping your finger on the back of the skewer and paper, twist the skewer, rolling the flower inward.

Once you have the flower rolled a bit, it’s ok if the flower slips off the skewer. Keep rolling with your fingers if need be.

Continue rolling the flower until you get to the circle at the end of the spiral. Add hot glue on it and place the circle on the bottom of the rolled paper flower.
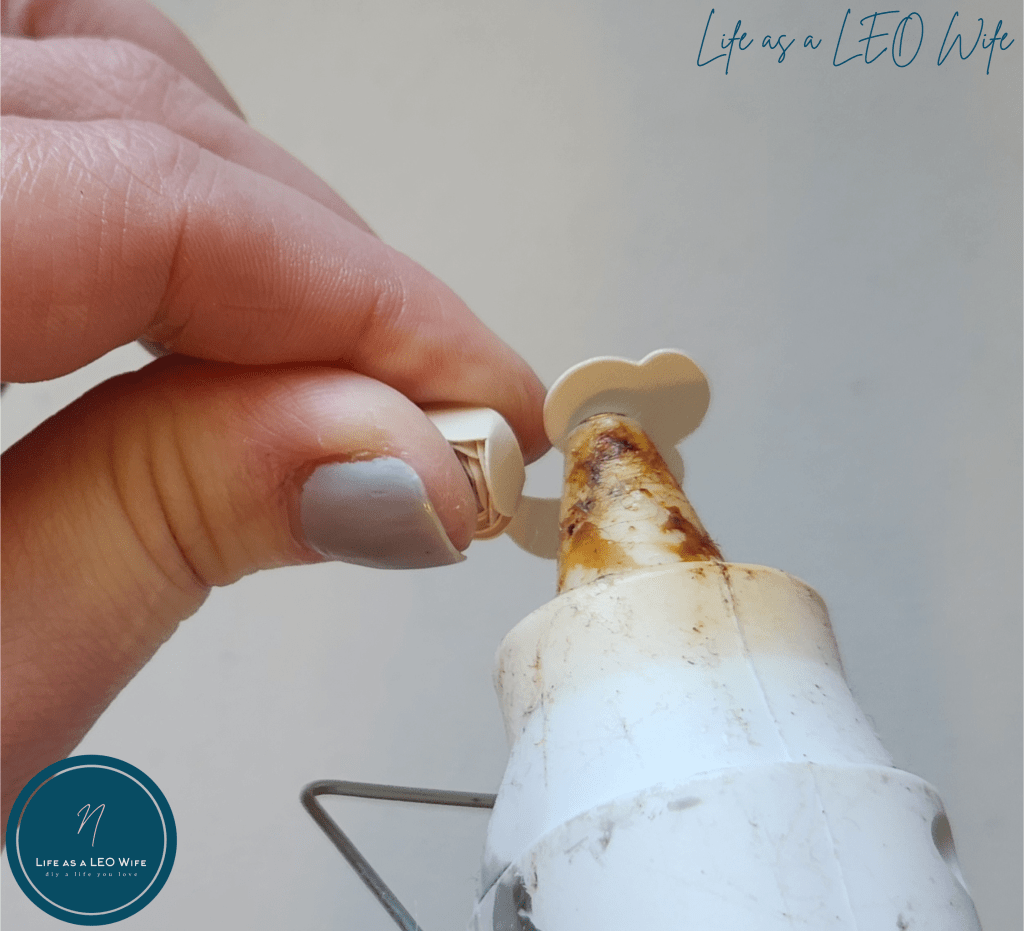

Repeat the process for the other flowers. All of the DIY paper flower styles are rolled in the exact same manner.
Video Tutorial
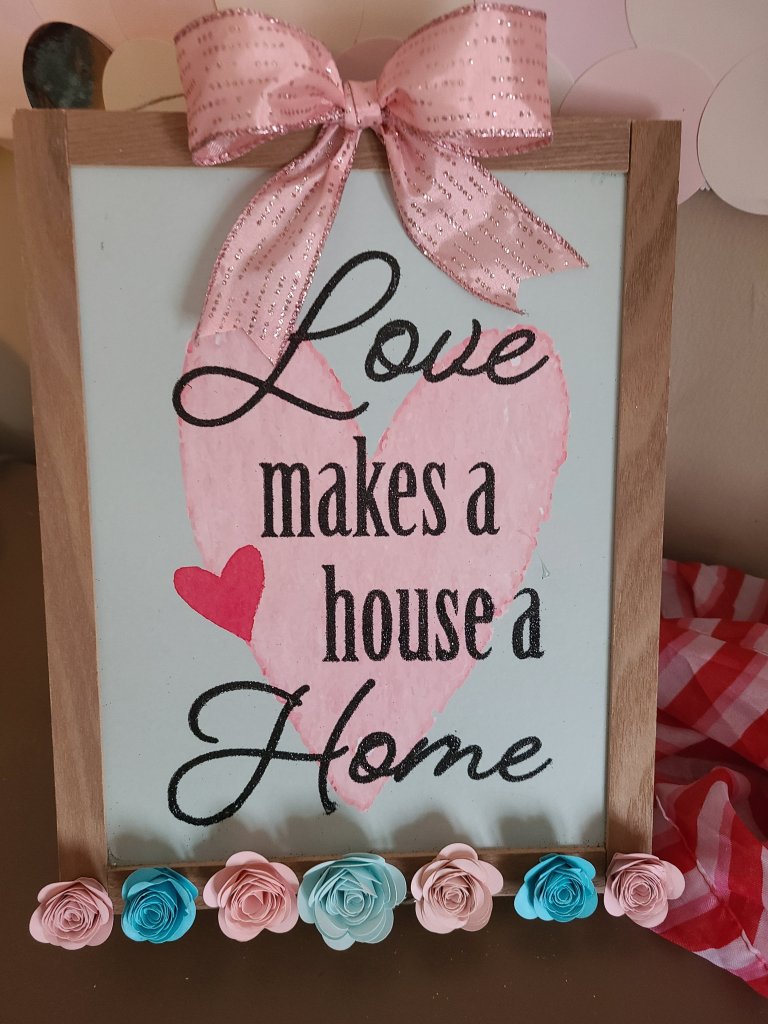
Now use your beautiful DIY rolled paper flowers to decorate all the things!
I hope that you get tons of use from my free paper flower designs! Here are a few ways that I have used DIY rolled paper flowers in the past.


Remember to pin the image below or share this post with the buttons on the left side of the page so you can find it when you’re ready to start your project! Also, follow me on Pinterest for new ideas added weekly! Be sure that you never miss a great tutorial for decor like wreaths, signs and other home decor, free printables, crafts, and other fun posts! Enter your email address below to be notified of new posts! Use the buttons below to follow me on social media for other great content.

Don’t go yet! There’s more to see!
There’s plenty more to see here on the blog! If you’re looking for something specific, use the search box in the sidebar to look it up. If not, you might enjoy these ideas. Don’t have time to read them all now? That’s ok, just click over to the posts using the pictures and pin them for later. You can also add Life as a LEO Wife to your favorites and check back for new ideas and free printables and SVGs every Wednesday, as well as link parties with tons of shared ideas on Sundays!


These are so darn cute Niki! I have had a Cricut for a while and have yet to create something with it! I am going to give this a try.
Thank you! I need to do more with mine. Now I want a Maker, but it would still only get used a few times a month probably lol!