Hello and welcome! I’m so glad you’re here today because I’ve got a wonderful project to share with you. Today we’re going to make a faux leather photo keychain using a Cricut. This keychain is so easy to make, and I’m going to walk you through it step-by-step so that even if you’ve just unboxed your new Cricut you can make it! By the way, these make amazing DIY gifts and will cost you well under $5 to make. You can make at least five or six of them for that price!

I’m sure that you, as my fellow Dollar Tree fans, have seen the faux leather there. I have been skeptical as to if it would work in my Cricut because their vinyl doesn’t play well with it. Not the case with the faux leather! You have no idea how excited I am about that! It went through easily, and I’m pretty happy with the quality for the price. I’m going back to buy every color they have!
Faux Leather Photo Keychain Supplies:
- faux leather: I used white from Dollar Tree. This is a great set of metallic faux leather from Amazon. Now that I know what my Cricut can do with leather, I’ll be on an ordering spree!
- Cricut (optional, you could use scissors and print my templates) The first gen Cricut Maker is now cheaper than the Explore Air 3 that I used.
- cutting mat (standard grip or stronger) I use these from Amazon, and they work amazingly for so cheap!)
- hot glue gun & glue
- Beacon Quick Grip (or E6000)
- key ring
- HTV (optional)
- scissors
Disclosure: I am a participant in the Amazon Services LLC Associates Program and the Dollar Tree Affiliate Program, affiliate programs that allow me to link to the products that you can use to make this project quickly and easily. If you purchase any of these products I may receive a very small commission at no cost to you! That commission helps me continue to bring these great decor DIYs, free printables, and all of the other goodies on this site to you. Thanks so much for your support!
Download my free keychain and bow templates.
For personal use only. All of my free printables & cut files are copyrighted material. Feel free to download these free designs and print them or use on your Cricut projects for your own use at home. They are not for commercial use, not to be placed on items for sale. That helps me keep these printables, SVGs, and PNGs coming to you for free! Another note: you will not my logo overlay on your downloaded design. It is there to keep people from downloading the images straight from Google, or others from stealing them to use on their site. Thanks for understanding! Feel free to share this post for your friends and family to make their own projects with this design!
Download the files and upload them to Design Space. If you don’t know how to upload your own images to Design Space, check out this tutorial that will walk you through it.
This is the bow template. You can choose which set of tails that you want to use from it.
I used this dotted circle around the name on the back of one of my faux leather photo keychains.
If you don’t have a Cricut, you can still make your own photo keychains with faux leather! I created the photo keychain and bow templates on regular size paper that you can download below and print. The instructions are on the paper, and you can follow the tutorial for assembling the bow and keychain once you’ve cut everything.
Upload the cut files to Design Space.
Once you’ve got your files uploaded, resize the pieces if the software changes the size. The height of the keychain should be 6.372″ tall. The bow is 3″ wide.
If you don’t want to go through the trouble of uploading all of the pieces and sizing them correctly, you can use my already prepared photo keychain design in Design Space. Delete whichever set of tails that you don’t want to use on your bow so you don’t waste your materials.
Cut the photo keychain on faux leather.
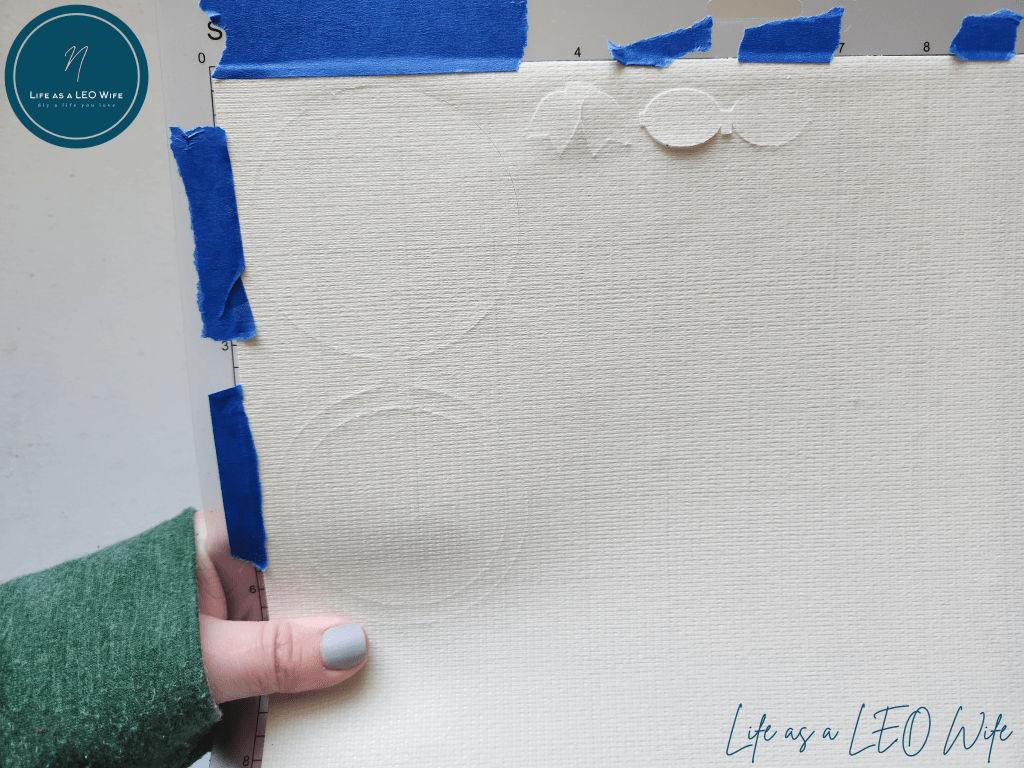
Place the faux leather facedown on a cutting mat that’s at least standard grip. I placed a few pieces of painter’s tape around the edges because my cutting mat isn’t as sticky as I would like. Come on Amazon with my order!

Click the green “make it” button in the top right corner of Design Space which will take you to the cut screen. (For my veteran Cricut users this is all routine for you, but I wanted to share this step-by-step for my Cricut beginners!)

Turn the Cricut dial to “custom” so that you can select faux leather as your material.

Next, click “continue.” Both sets of bow tails are still on the mat, but yours won’t be. Delete whichever one you don’t want.

Click “browse materials” and type faux leather in the search box. Choose the paper thin faux leather.


Finally click continue one more time and your machine will cut the faux leather photo keychain and bow.

When it’s finished, eject the mat with the flashing arrow button. This is what you’ll have. I was so ecstatic that my Cricut easily and properly cut Dollar Tree’s faux leather. There’s a whole new world opening to me. Woohoo!
Assemble the faux leather bow.
When I cut my photo keychain and bow, I thought that I would use the vertical tails. However, when I put the keychain together, it made my son look like he was wearing a bow with the tails extending on top of the picture. He was like, “Mom. Mom. No. Just no. Take it off. I’m not a girl.” In that exact cadence!
We tossed around a few ideas: adding the bow on the back, placing it at the bottom on the front, and moving the bow up as far as possible on the front and moving the tails to the sides of the bow. I went with option 3. He wasn’t over the moon about it. I mean he wanted option 4, no bow, but he was more okay with it. Since the bow was already cut, I just pulled the already glued tails up a bit and glued them more side to side.
Now, assemble the pieces of your bow. You can use hot glue or Quick Grip. Place a dot on each tab on the sides of the bow and fold them back. Glue the tails on the back, then glue the tab on the front around the back over the other glued pieces.

You can leave the bow like it is, or you can add the little vertical piece to the center. I think it looks much cuter with it on. I used a pick to push the tab in place once the glue was on so it didn’t burn the you-know-what out of me!

Aren’t they absolutely adorable?! You can resize this template and cut them on fabric, ribbon, or paper to make all kinds of bows. Even hair bows! You’re welcome! I would love to see what you do with my templates.
Assemble the faux leather photo keychain.
I put my first photo keychain together, and it seemed really, really flimsy. I didn’t use a piece of plastic over the photo or anything since this was a project that I wanted to try and just used had everything on hand.
So, to make it sturdier (I mean you know all the mess we throw in our purses!), I added a piece of cardboard.
Trace one of the circles on a piece of scrap cardboard and cut it out. You’ll need to trim a bit off of the edges so that it’s not the exact same size as the keychain. You want to be able to push the edges together firmly. I pinched the edges of the cardboard down so that the corrugated section would flatten out.


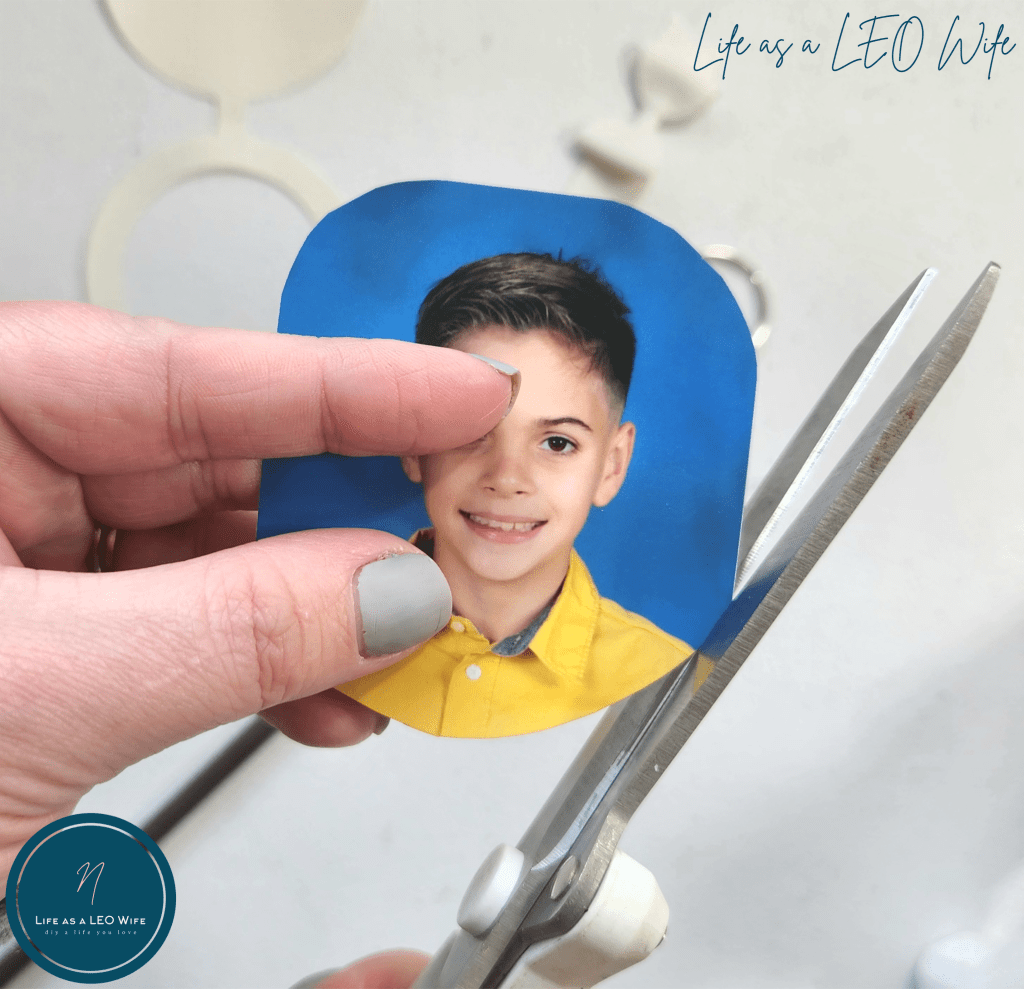
Next, place one of the faux leather circles on top of the photo you want to use in your keychain and trace around it. Cut it out, then again trim it down so it’s just a bit smaller than the keychain.

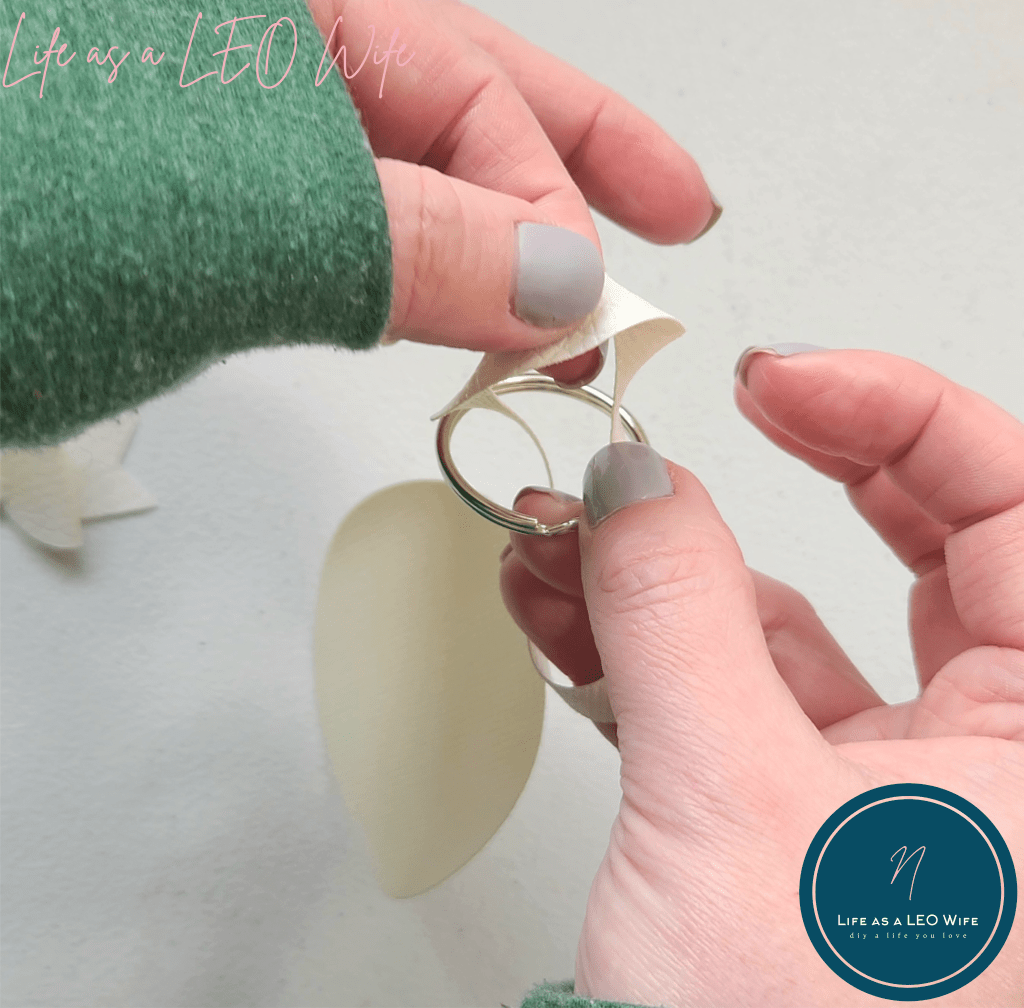
Pull a keyring through the photo keychain to the center.

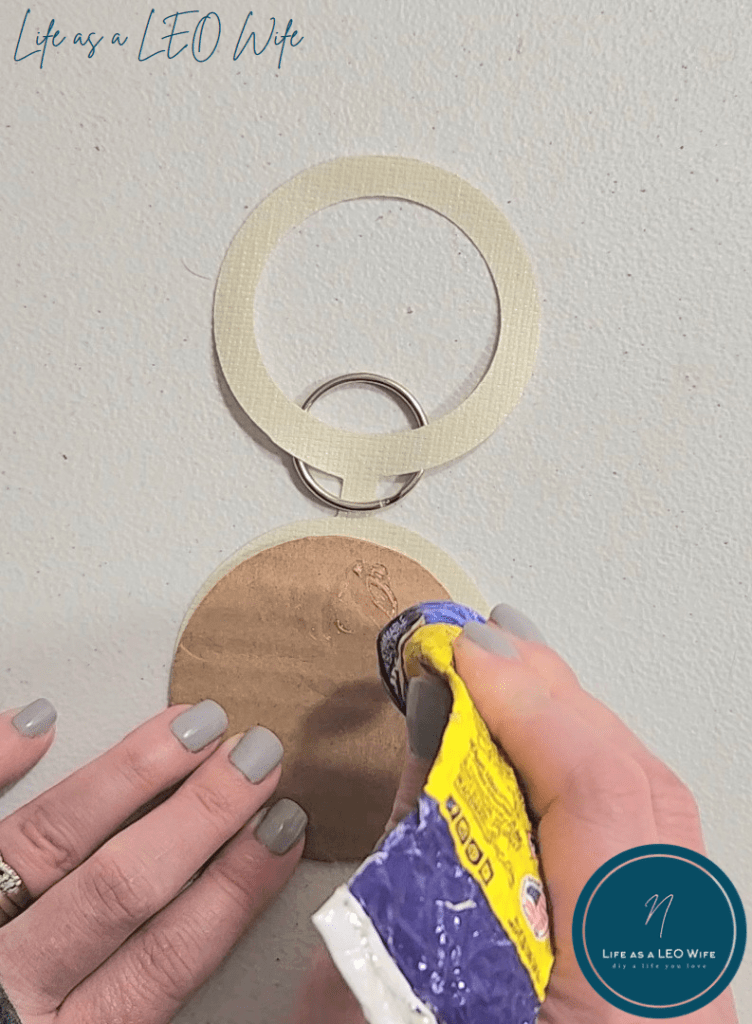
Add Quick Grip to the back of the cardboard circle and place it on the bottom section of the keychain.

Repeat the process with the photo, centering it.

Add glue to the top ring and center it on top of the photo.


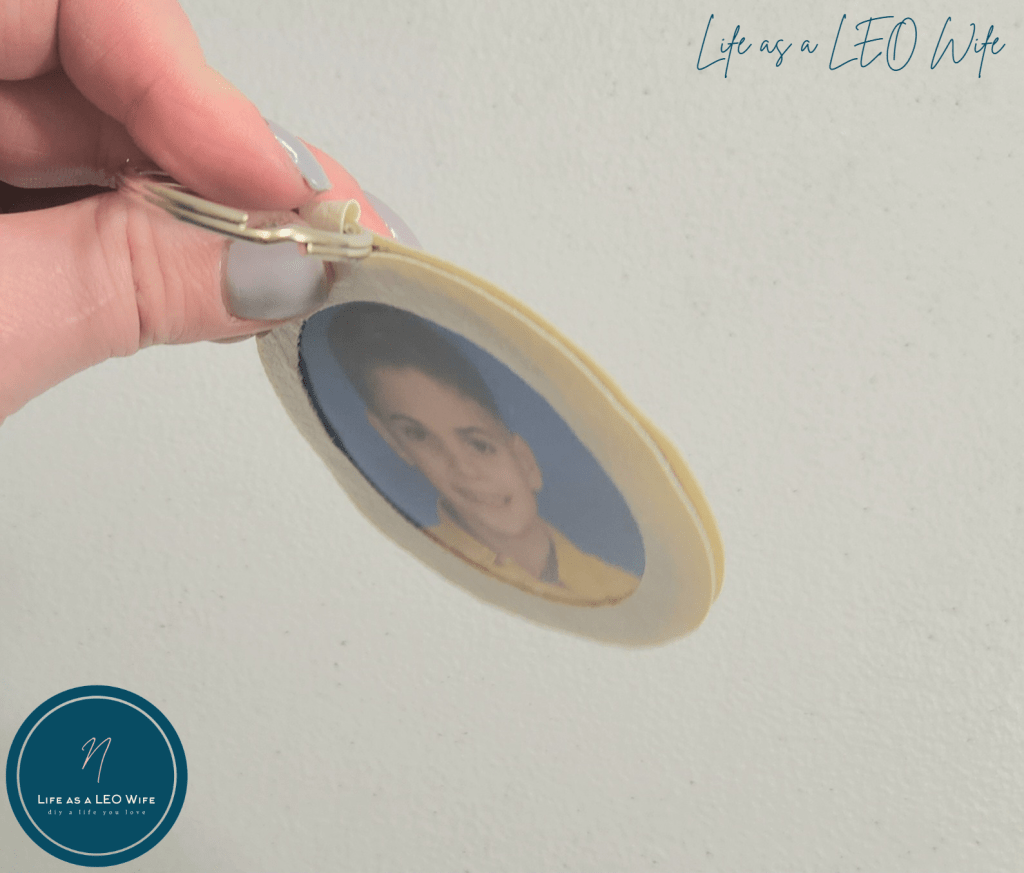
If the edges aren’t completely flat, like in this photo, pinch them together tightly and it will flatten out.
Finally, top the faux leather photo keychain with the bow. You could add it to the bottom if you used the horizontal tails or place it on the back (top or bottom). I used Quick Grip to keep it from coming off easily.


Lastly, personalize the photo keychain.
I made two, one to give to my son’s grandmother and one to give to mine. I didn’t want the back to be plain and wanted them to be a little personalized, so I added HTV to them. (Don’t look JoJo & Granny!)
On the first one, I added the name my son calls his grandmother in a script font and placed the dot circle that I shared above around it. I let him choose the color that he wanted her to have, blue glitter HTV. Her birthday is this weekend, so he wants to give it to her then.
On the one for my grandmother, I made a split monogram with her last initial and placed Granny in the center. I don’t think anyone in the family has called her by her name, or even mom, since I, the first grandchild, was born! I was in the gifted and talented program when I was in school. Granny got her master’s when I was in 4th grade, and she moved from a regular 4th grad teacher to become our school’s Wing’s teacher. It was too hard for me to remember to call her by her last name, so everyone in the class began calling her Granny! So, of course, I had to put Granny!
Cut the HTV, remember to mirror the image before cutting, and place the shiny side down on the cutting mat.
Weed the design and center it on the back of the faux leather photo keychain. Put a piece of wax paper over it and iron it, pressing down firmly, for about 15-20 seconds. Do not let the iron go over the little piece of faux leather that holds the keyring. It will stretch it and cause it to thin. Some glitter escaped the design, so I wiped it with a towel.

That’s it! Your faux leather photo keychains are complete! I just love them!


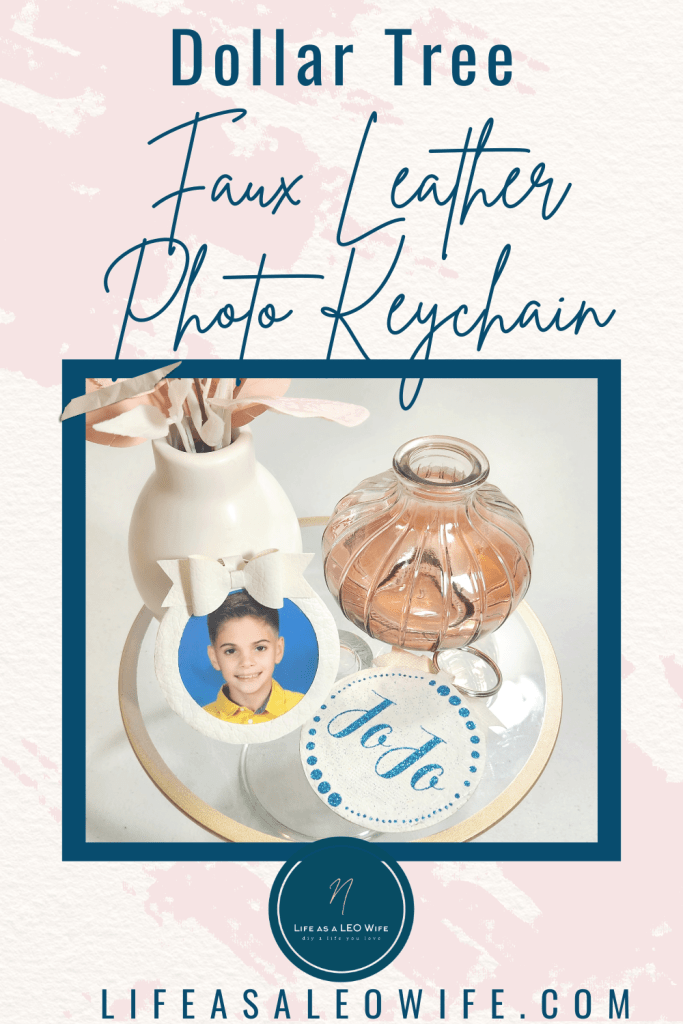
You can’t see the pink HTV very well in the photos, but it’s very visible in person. I set my faux leather photo keychains up on my new items in this vignette. It all looked so cute that I had to share them with you!


Shop this post:


Remember to pin the image below or share this post with the buttons on the left side of the page so you can find it when you’re ready to start your project! Also, follow me on Pinterest for new ideas added weekly! Be sure that you never miss a great tutorial for decor like wreaths, signs and other home decor, free printables, crafts, and other fun posts! Enter your email address below to be notified of new posts! Use the buttons below to follow me on social media for other great content.
Don’t go yet! There’s more to see!
There’s plenty more to see here on the blog! If you’re looking for something specific, use the search box in the sidebar to look it up. If not, you might enjoy these ideas. Don’t have time to read them all now? That’s ok, just click over to the posts using the pictures and pin them for later. You can also add Life as a LEO Wife to your favorites and check back for new ideas and free printables and SVGs every Wednesday, as well as link parties with tons of shared ideas on Sundays!


How cute! Thanks so much for linking up at the #UnlimitedLinkParty 115. Pinned.
Thanks Dee!
I love how your keychains turned out. You do such lovely work. I am so happy you shared this tutorial. I purchased a Cricut Air 3 November of 2022 and I’m still getting the hang of it. I’m still kind of nervous sometimes and get frustrated when I’ve completely messed something up. But! I’ve come a long way and enjoy learning the proper way to use it and make things.
I really appreciate you sharing this tutorial with Sweet Tea & Friends Link Up this month my friend.
Thank you, Paula! I got my Cricut about 7 years ago, and I still haven’t used all of the features yet! It’s still just as good now though, so it was worth the money. I have the Air 3 as well, but I’ve been considering the Maker 3. Though what I really, really want is a Glowforge!
I never heard of the Glowforge. I’m going to have to check it out for sure.
Visiting again to say thanks so much for linking up at the #UnlimitedLinkParty 116. Pinned.
Thank you!