Hello friends! I’m so happy you’re here today because it’s time for our monthly Creative Craft Hop. If you’re coming over from Carol at Blue Sky at Home, welcome! Let’s get right to it. I am going crazy waiting to close and move into our new home! When we move in, I want to have a brand-new, never before used wreath to don our door. I’ve had a round piece of wood for a while, so I thought this was the perfect time to break it out. Fast-forward two hours later when I finally found that piece of wood and it was time to get started on my round wood door hanger! In this post I’m going to show you how to make your own, saving yourself around $50, and I’m giving you several free SVGs that you can use on yours!
Guess what?! You can make your own round wood door hanger even if you don’t have a Cricut! Download the free design that you like best from this post, then check out my winter door hanger tutorial where I show you how to make one without a Cricut!


Don’t have a Cricut or other cutting machine? That’s ok! You can still make your own round wood door hanger! Check out my tutorial for how to do that here!
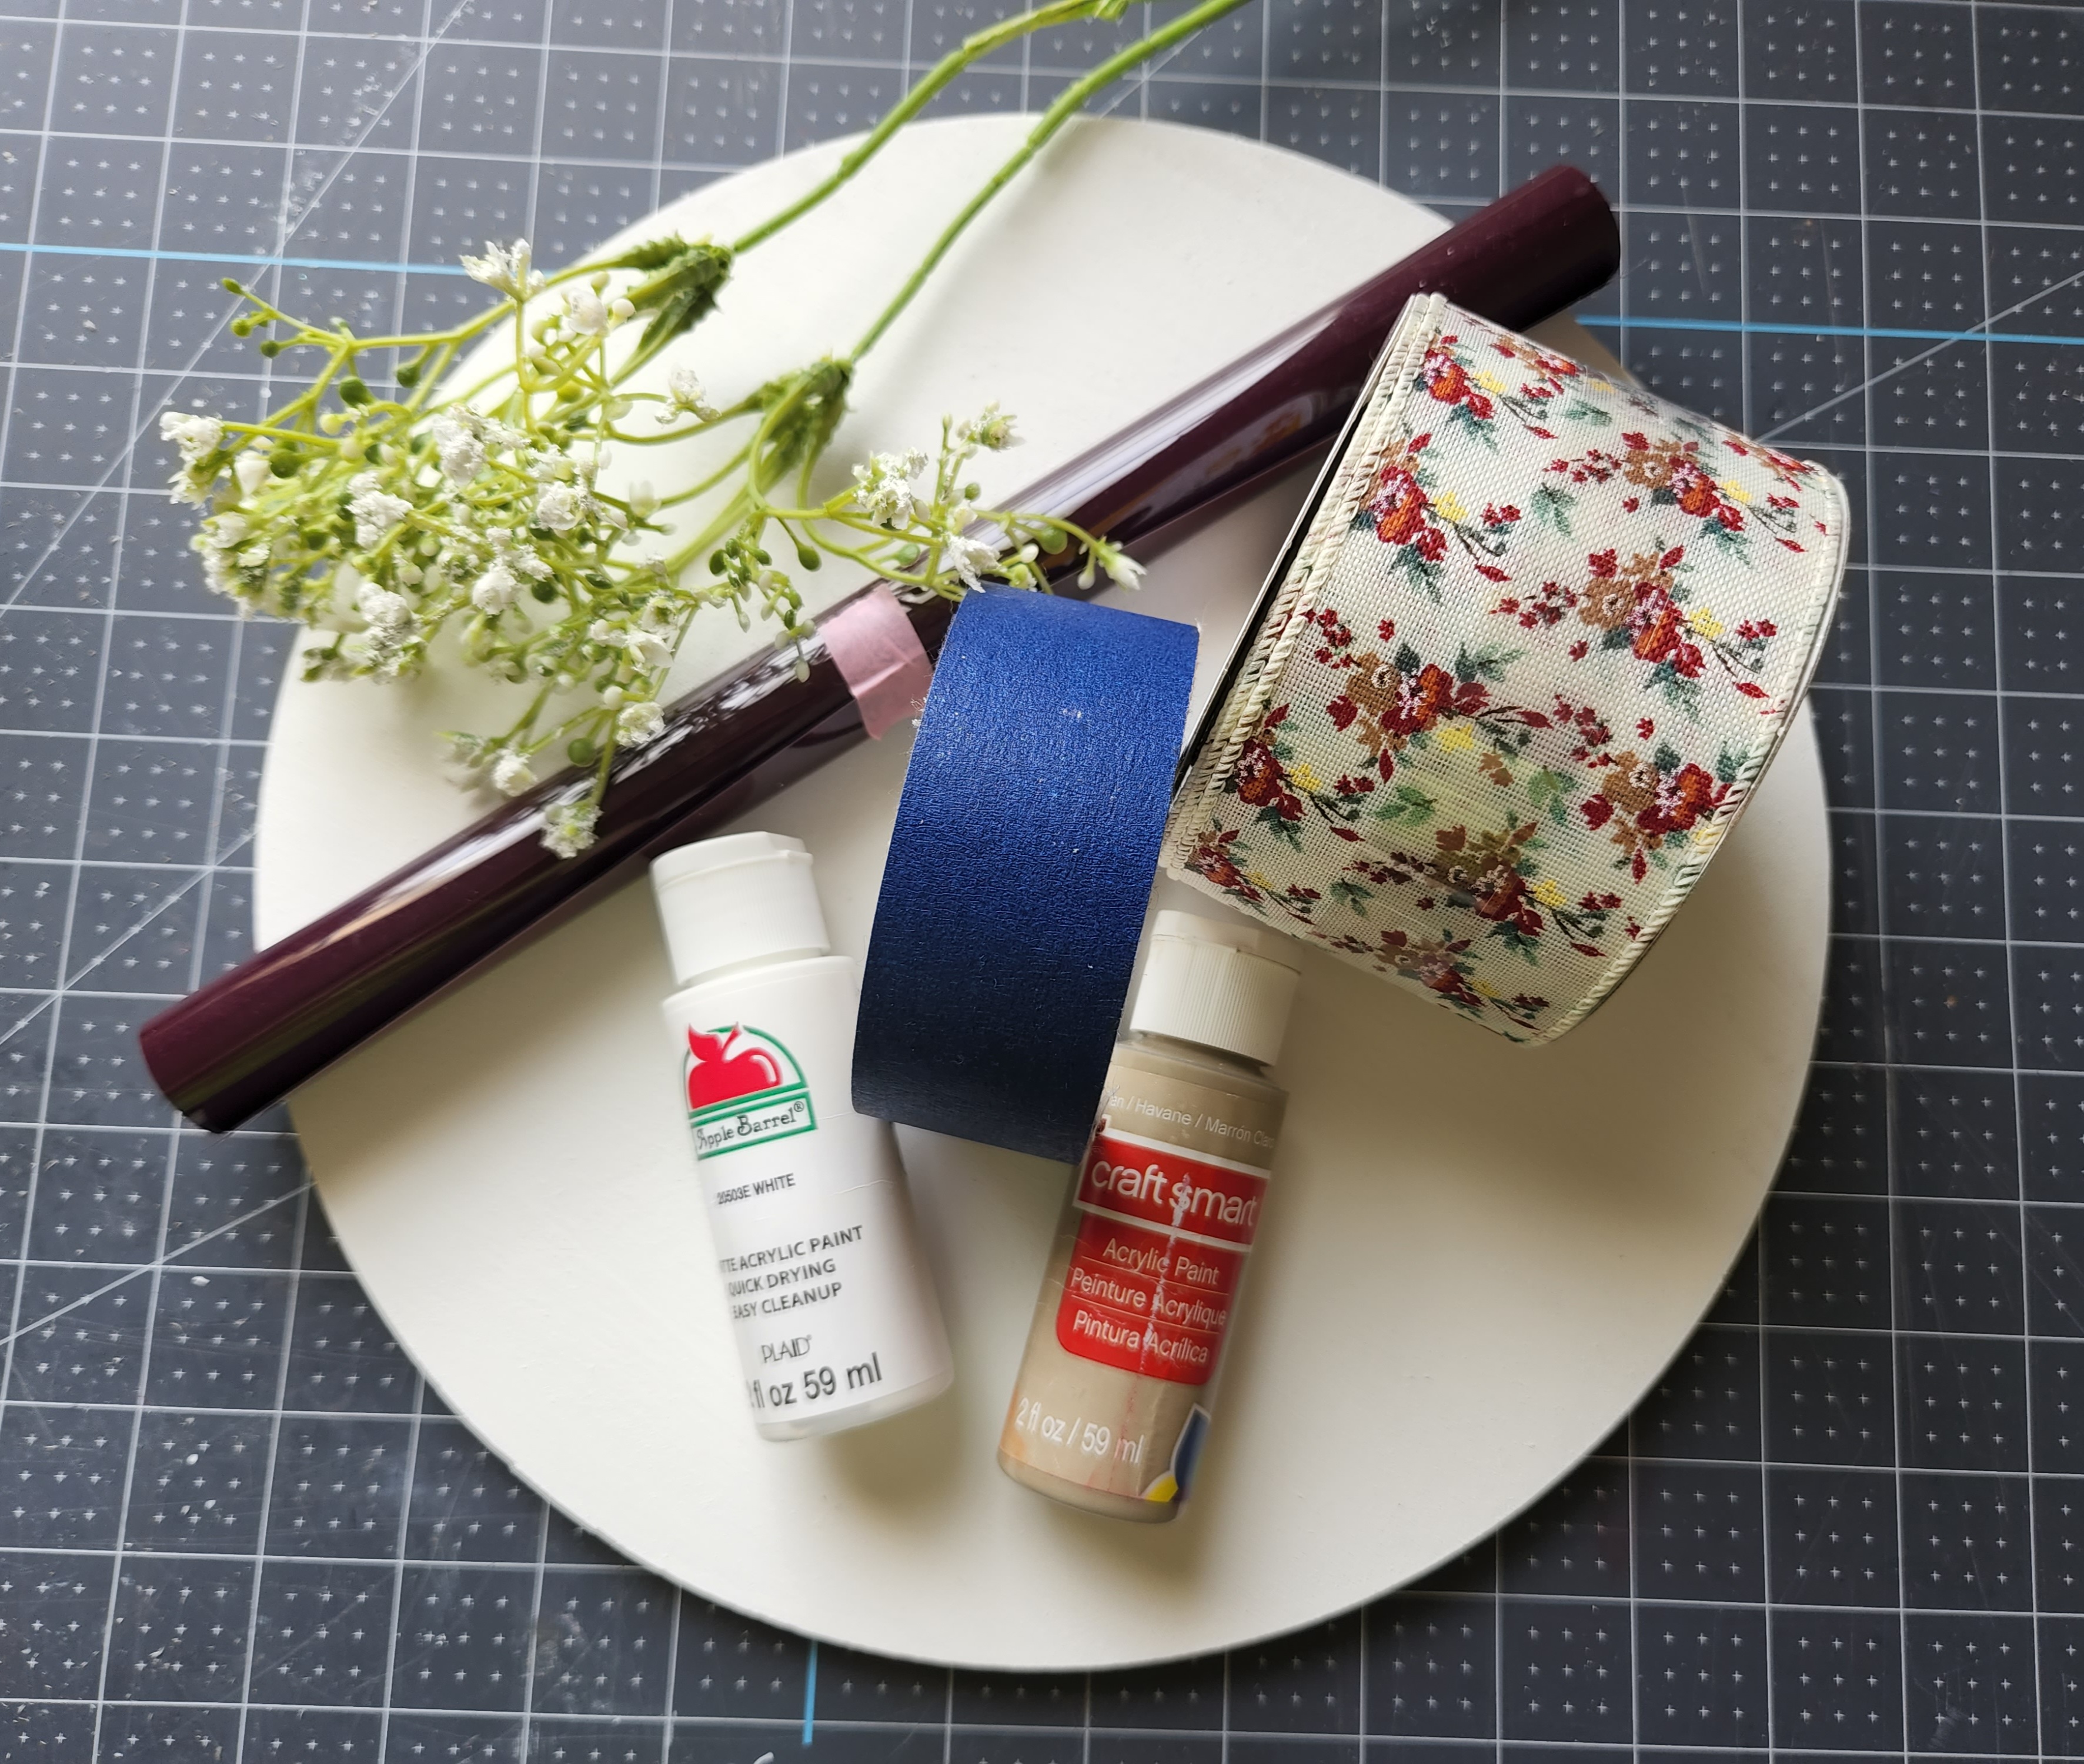
Round Wood Door Hanger Supplies:
- 12″ wood circle (or larger)
- wood stain or paint- I used two colors of acrylic paint, white and berry wine.
- paint brush
- painter’s tape (if you’re using more than one color)
- my free SVG or other design or stencil
- HTV or outdoor vinyl- I used HTV in a berry wine color.
- wax paper & iron (if using HTV)
- scissors
- 2.5″ wired ribbon- I used 2, one floral and one aqua and white plaid print.
- pipe cleaner or floral wire
- nautical or white cotton rope for hanging or
- picture hanging kit
- sandpaper (optional)
If you’d like the same look of a round door hanger but would like a more affordable option (or an easier to find option), check out my tutorial for a round Christmas sign. You will be shocked at what you can use to get a very similar look!
Paint the Wood Door Hanger
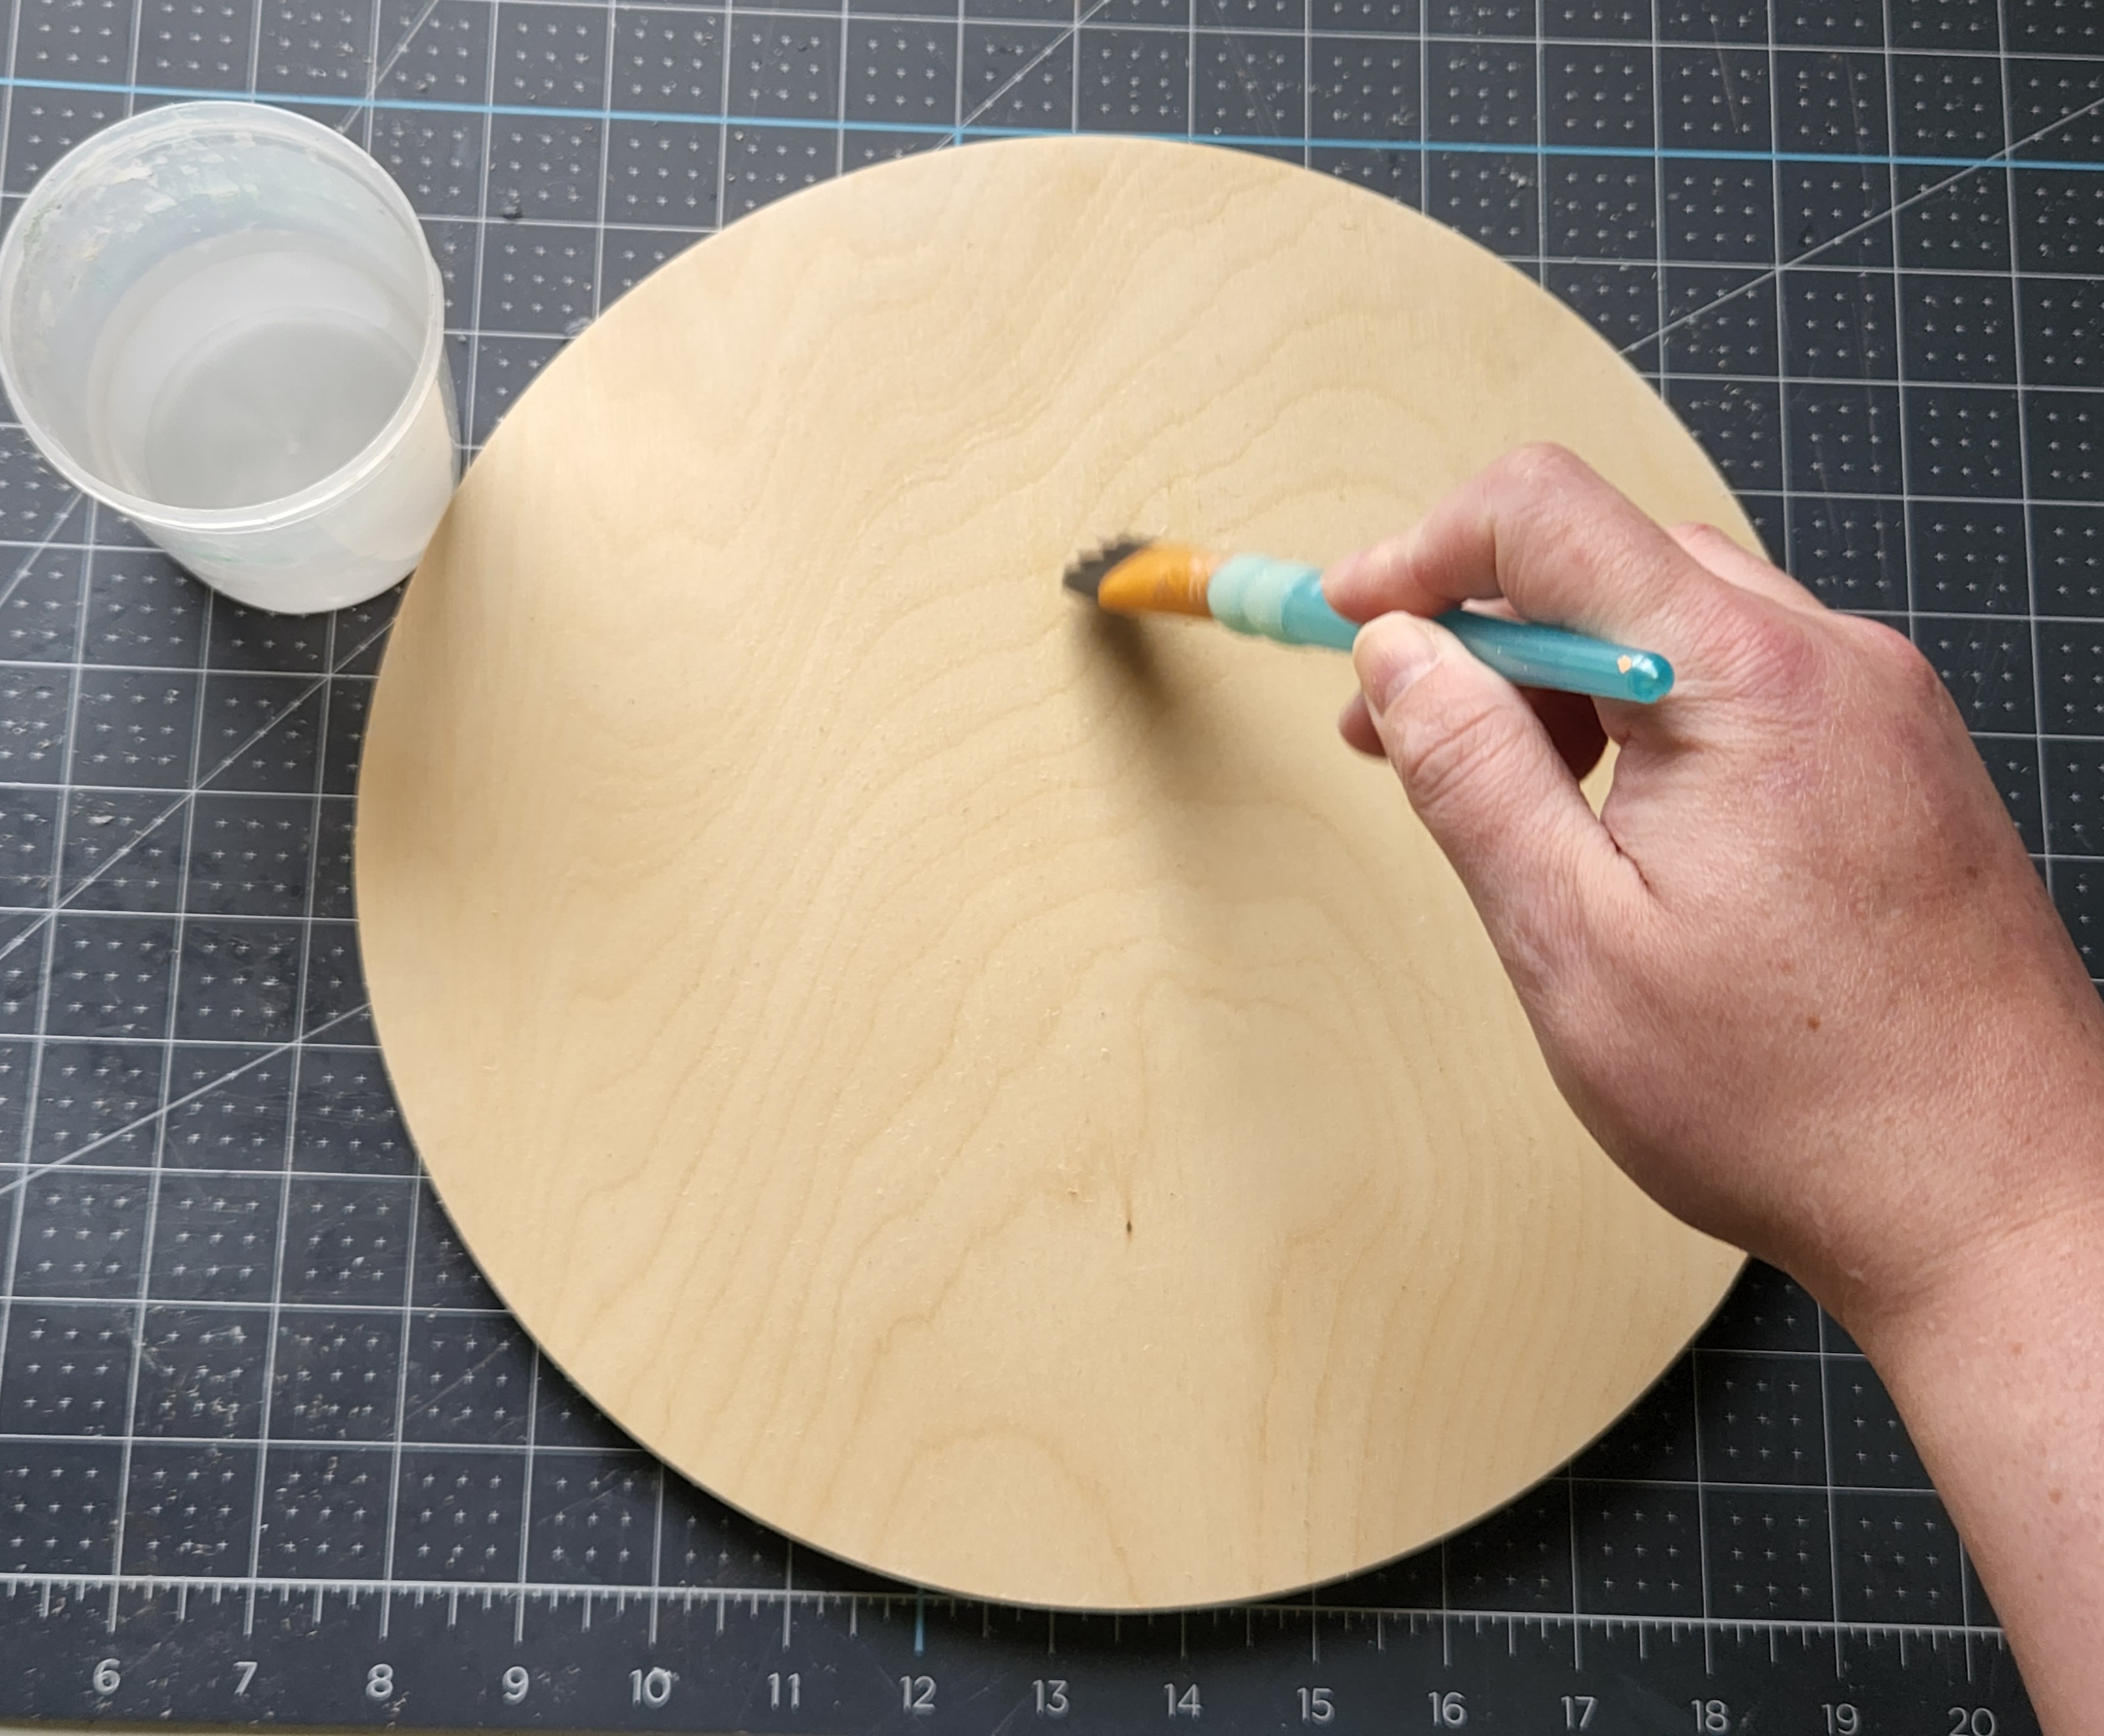
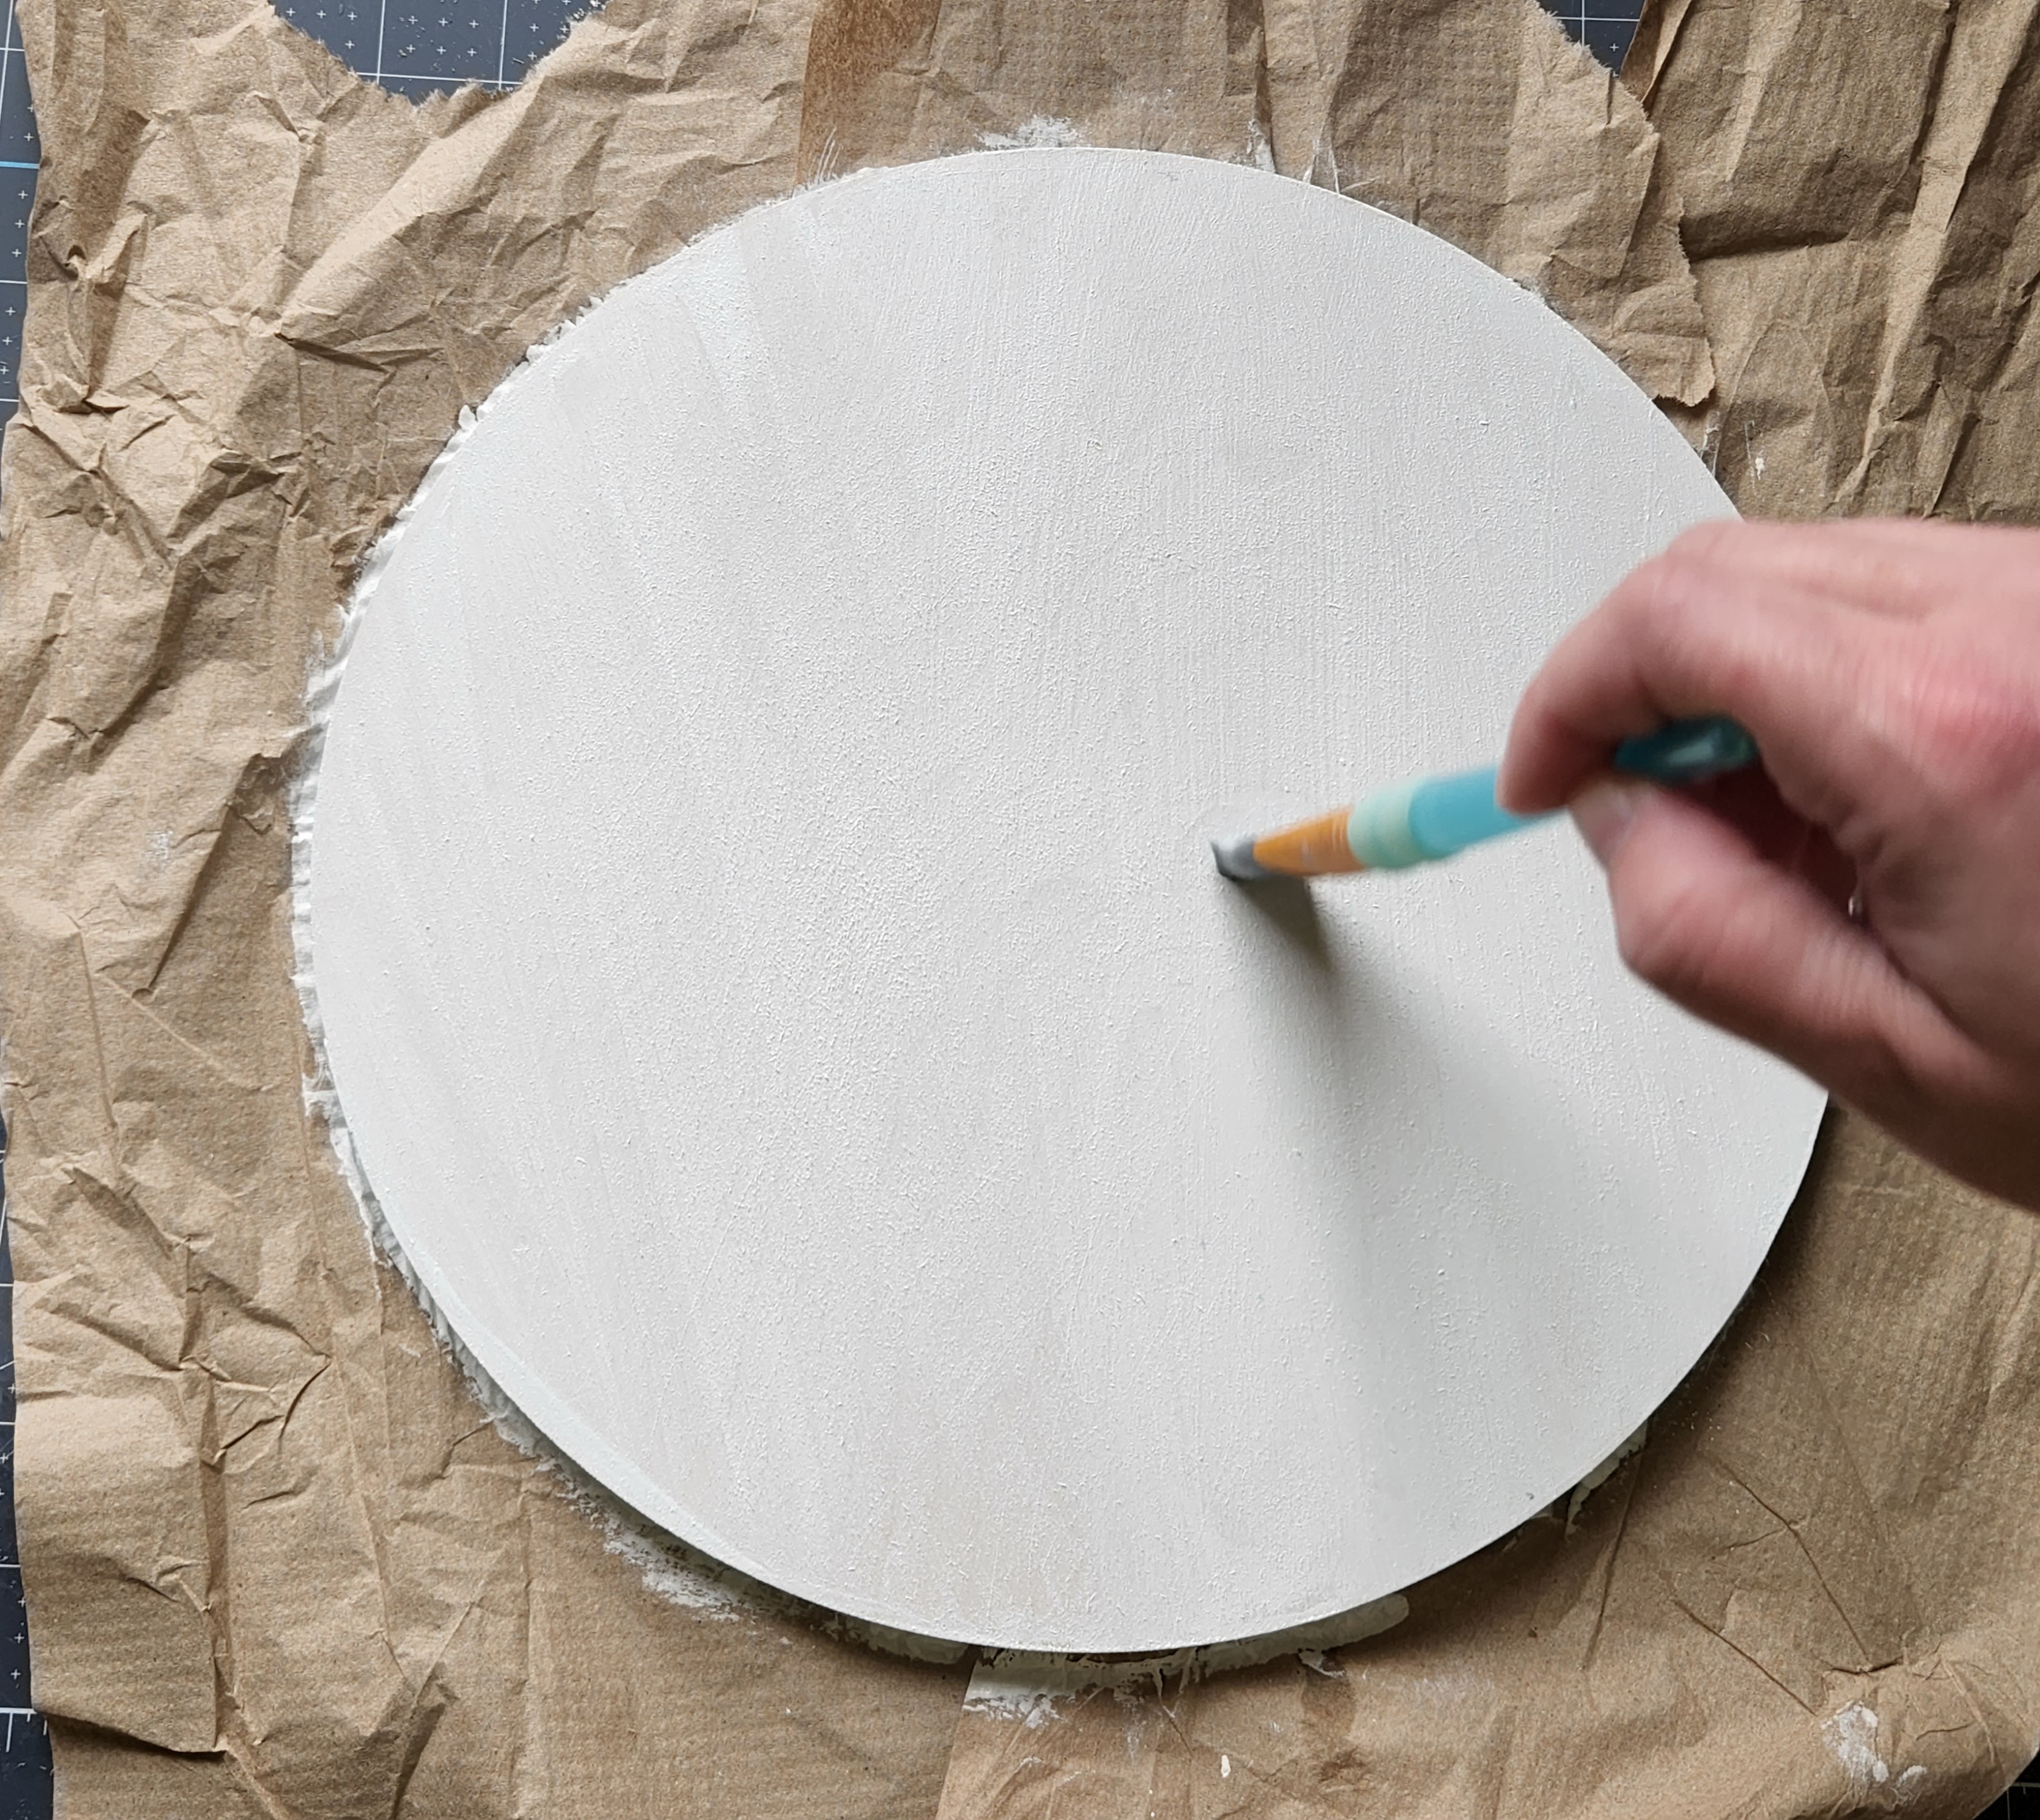
If the surface of your wood circle is rough, sand it until it’s smooth. Next paint or stain your wood. I used acrylic paint on mine, though I would’ve preferred an indoor/outdoor flat paint. What I had on hand did work however, so use what you have. Staying in budget is so important with today’s economy!
Sometimes acrylic paint doesn’t go on wood very smoothly, but you can fix that by wetting the wood. Use a paint brush and brush a little water across the surface of it.
Add some paint to the surface of the wood and paint the entire front and the edge.
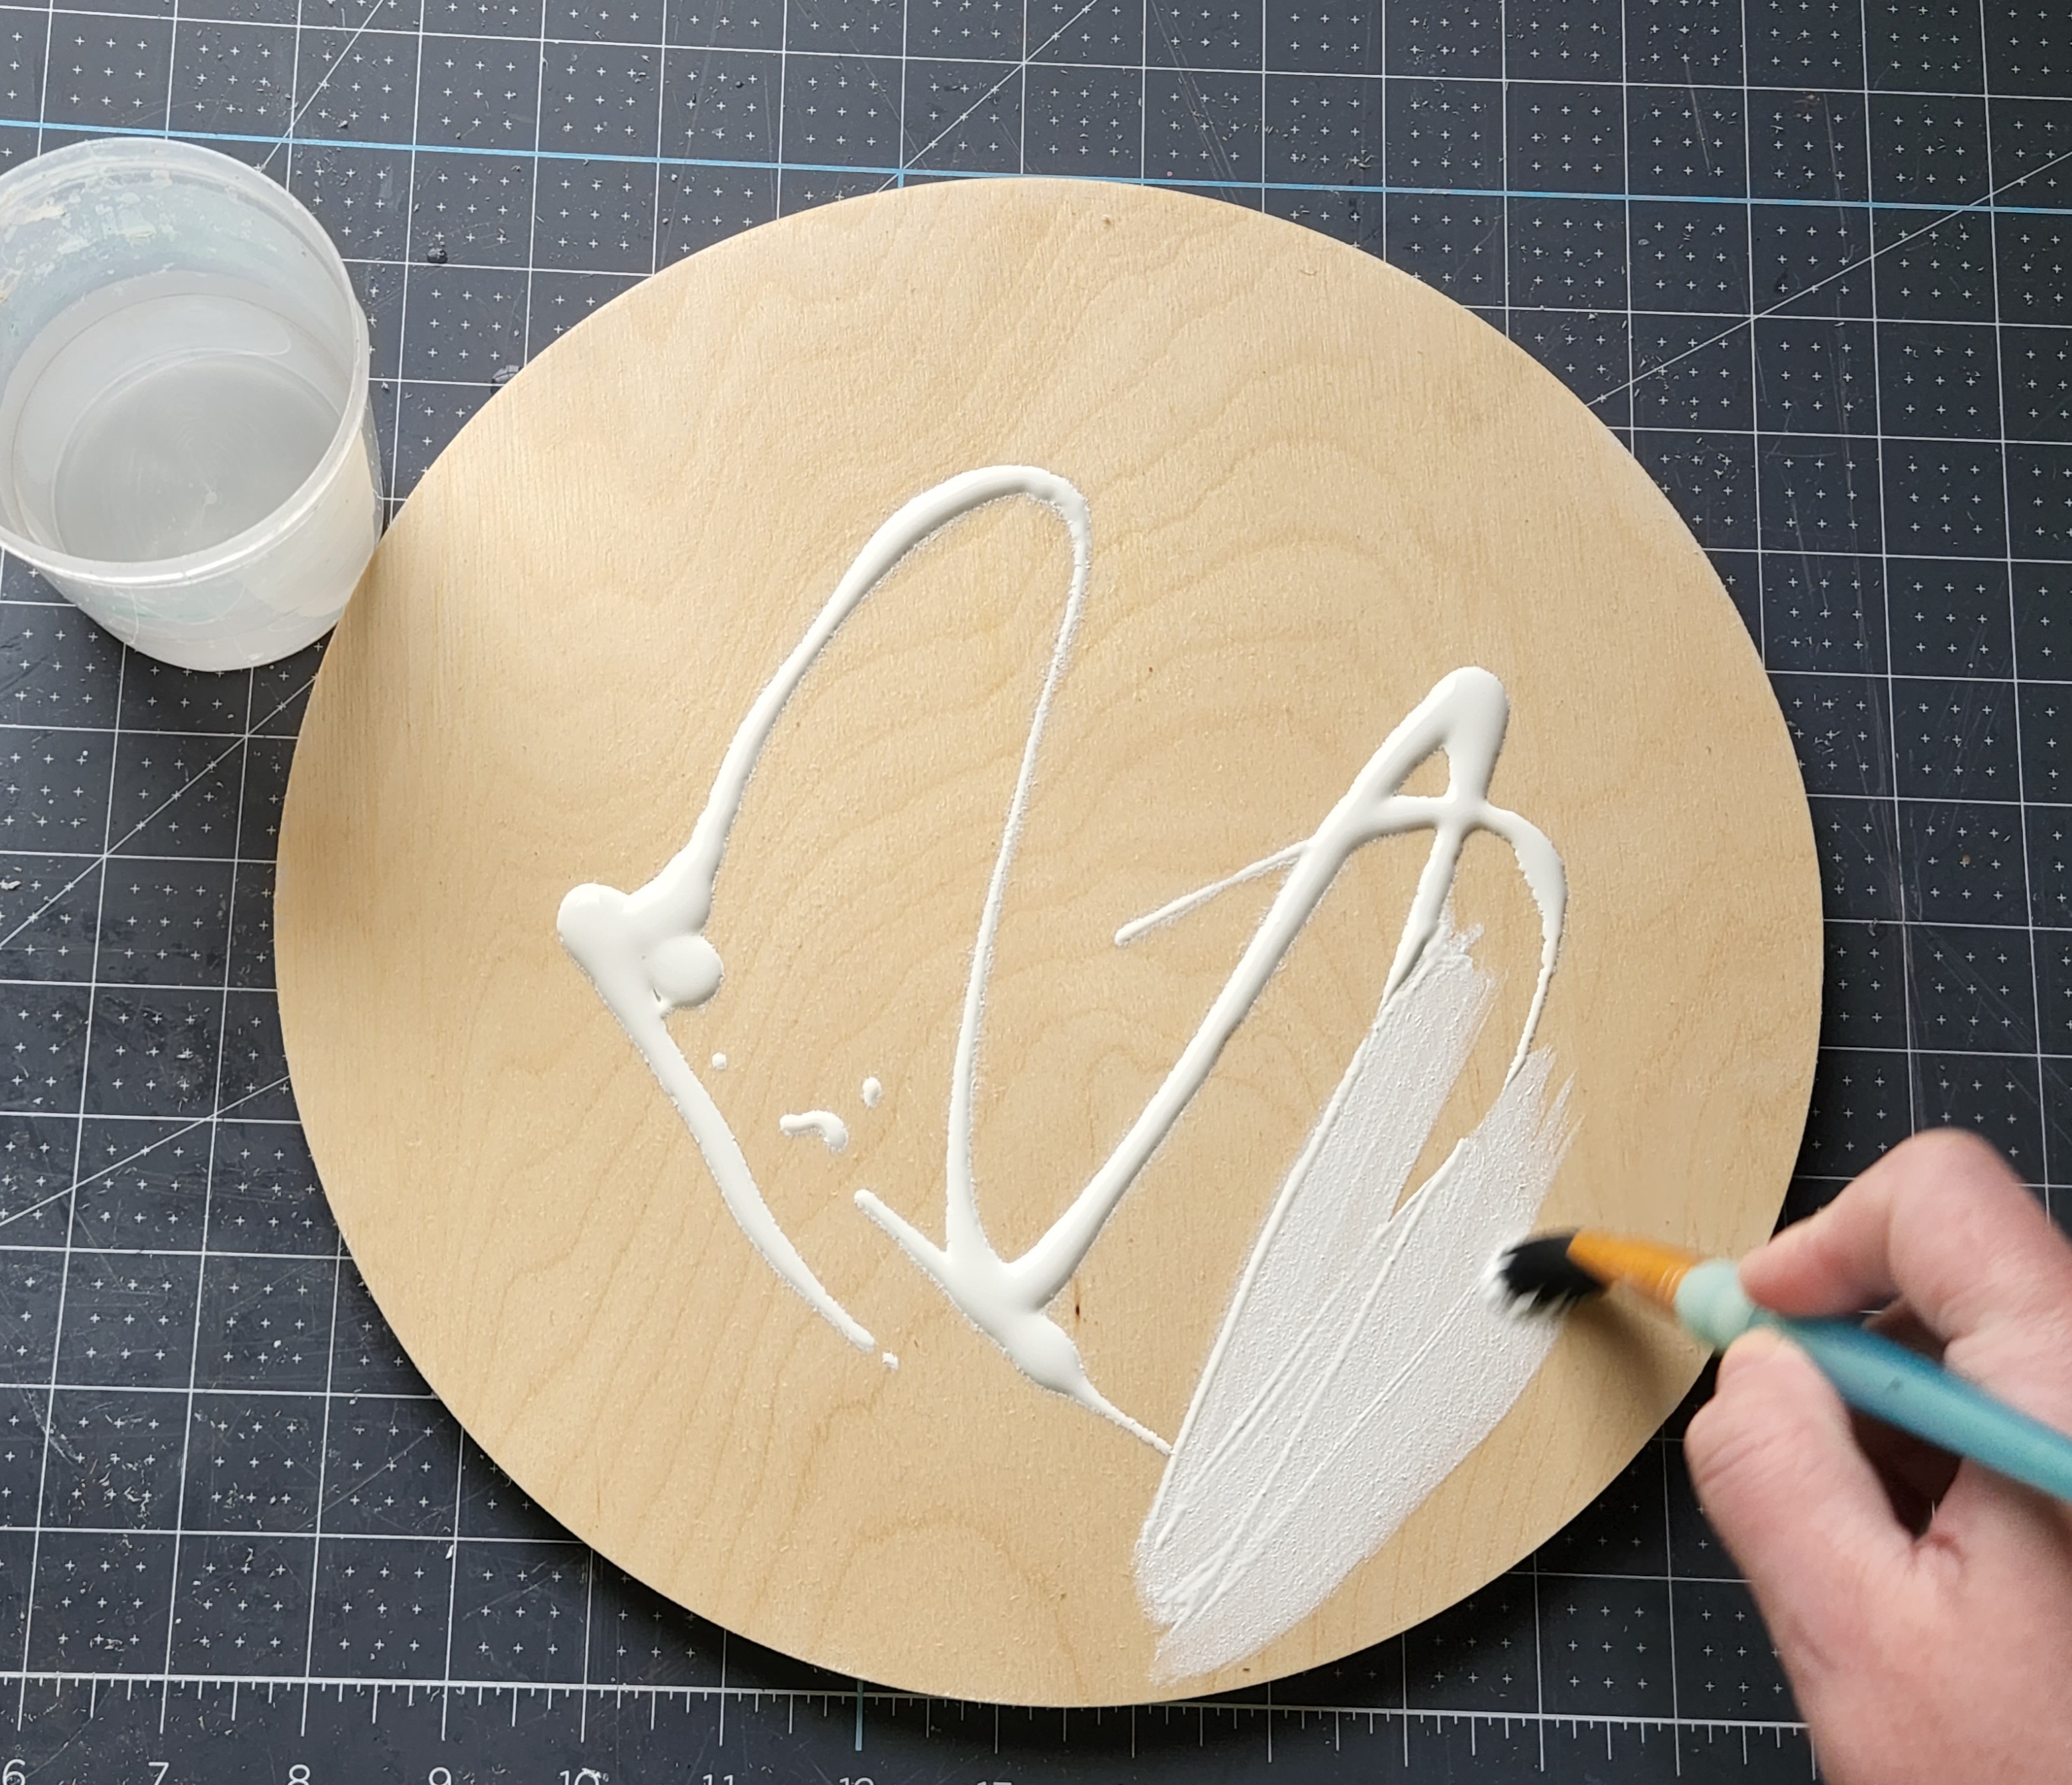
Allow the paint to dry, then add another coat. Repeat until you’re happy with the coverage. I needed three coats to completely cover mine.
Add Blocks of Color to the Door Hanger
I decided I wanted a little more color on my round wood door hanger and not have it solid white. So, I broke out my painter’s tape and got to work.
With a 12″ wood circle, 3″ sections of color at the top and bottom look good. You can add as many stripes as you like, but I just went with color on each end. A grid cutting mat is very helpful with this step. Line the wood up with the horizontal measuring line at the bottom so that you can see the lines on either side of the wood. Tear off a piece of tape wide enough to cover the entire circle then place it across the 3″ line. Being able to see the line on either side of the wood will keep the tape straight across. Tear another piece off and place it across the 9″ line.

Paint whatever color you’d like on both ends of the circle. I used a berry wine, which is a deep plum color. It only took two coats of paint with this darker color.

Cut the Vinyl
While the paint dries, cut the vinyl with your cutting machine. I had heat transfer vinyl (HTV) that matched my berry wine paint, so I used it instead of outdoor vinyl. Outdoor vinyl probably would’ve been easier because I had an extremely hard time getting and keeping the HTV on with the white acrylic paint that I used. You could also use any kind of vinyl, make a stencil, then paint the stencil on the wood. If you need to know how to do that with your Cricut, check out this tutorial.
I used to have a Cricut Access subscription, but I’ve become pretty good at making my own SVGs. I found myself using my own designs way more than the subscription, so I cancelled it. Today I’m sharing the simple “Welcome” SVG that I used, as well as two more options. As with all of my free printables and SVGs, the ones that I’m sharing today are for personal use only. Please don’t share, sell, or place them on items to sell. That helps me keep these coming to you for free! If you’d like to share them, please use the social media share buttons at the end of the post or direct your friends straight here to the blog.
I made these SVGs on a 12×12 background, but when you upload them to your cutting machine software, you can size them up or down. When you upload them, you may have to weld the image. I noticed when I upload, the word is together, but in the right sidebar I can see the letters separately. Just click “weld,” then cut.
Welcome SVG
For personal use only. All of my free printables & cut files are copyrighted material. Feel free to download these free designs and print them or use on your Cricut projects for your own use at home. They are not for commercial use, not to be placed on items for sale. That helps me keep these printables, SVGs, and PNGs coming to you for free! Another note: you will not my logo overlay on your downloaded design. It is there to keep people from downloading the images straight from Google, or others from stealing them to use on their site. Thanks for understanding! Feel free to share this post for your friends and family to make their own projects with this design!
If you are going to use your Cricut, you can download either the SVG file or the PNG. Both work the same way. If you don’t have a cutting machine, download the PNG which you can print on regular 8.5×11 paper. Then check out my winter door hanger tutorial where I will walk you through making your own wood door hanger. There’s a full video tutorial as well!
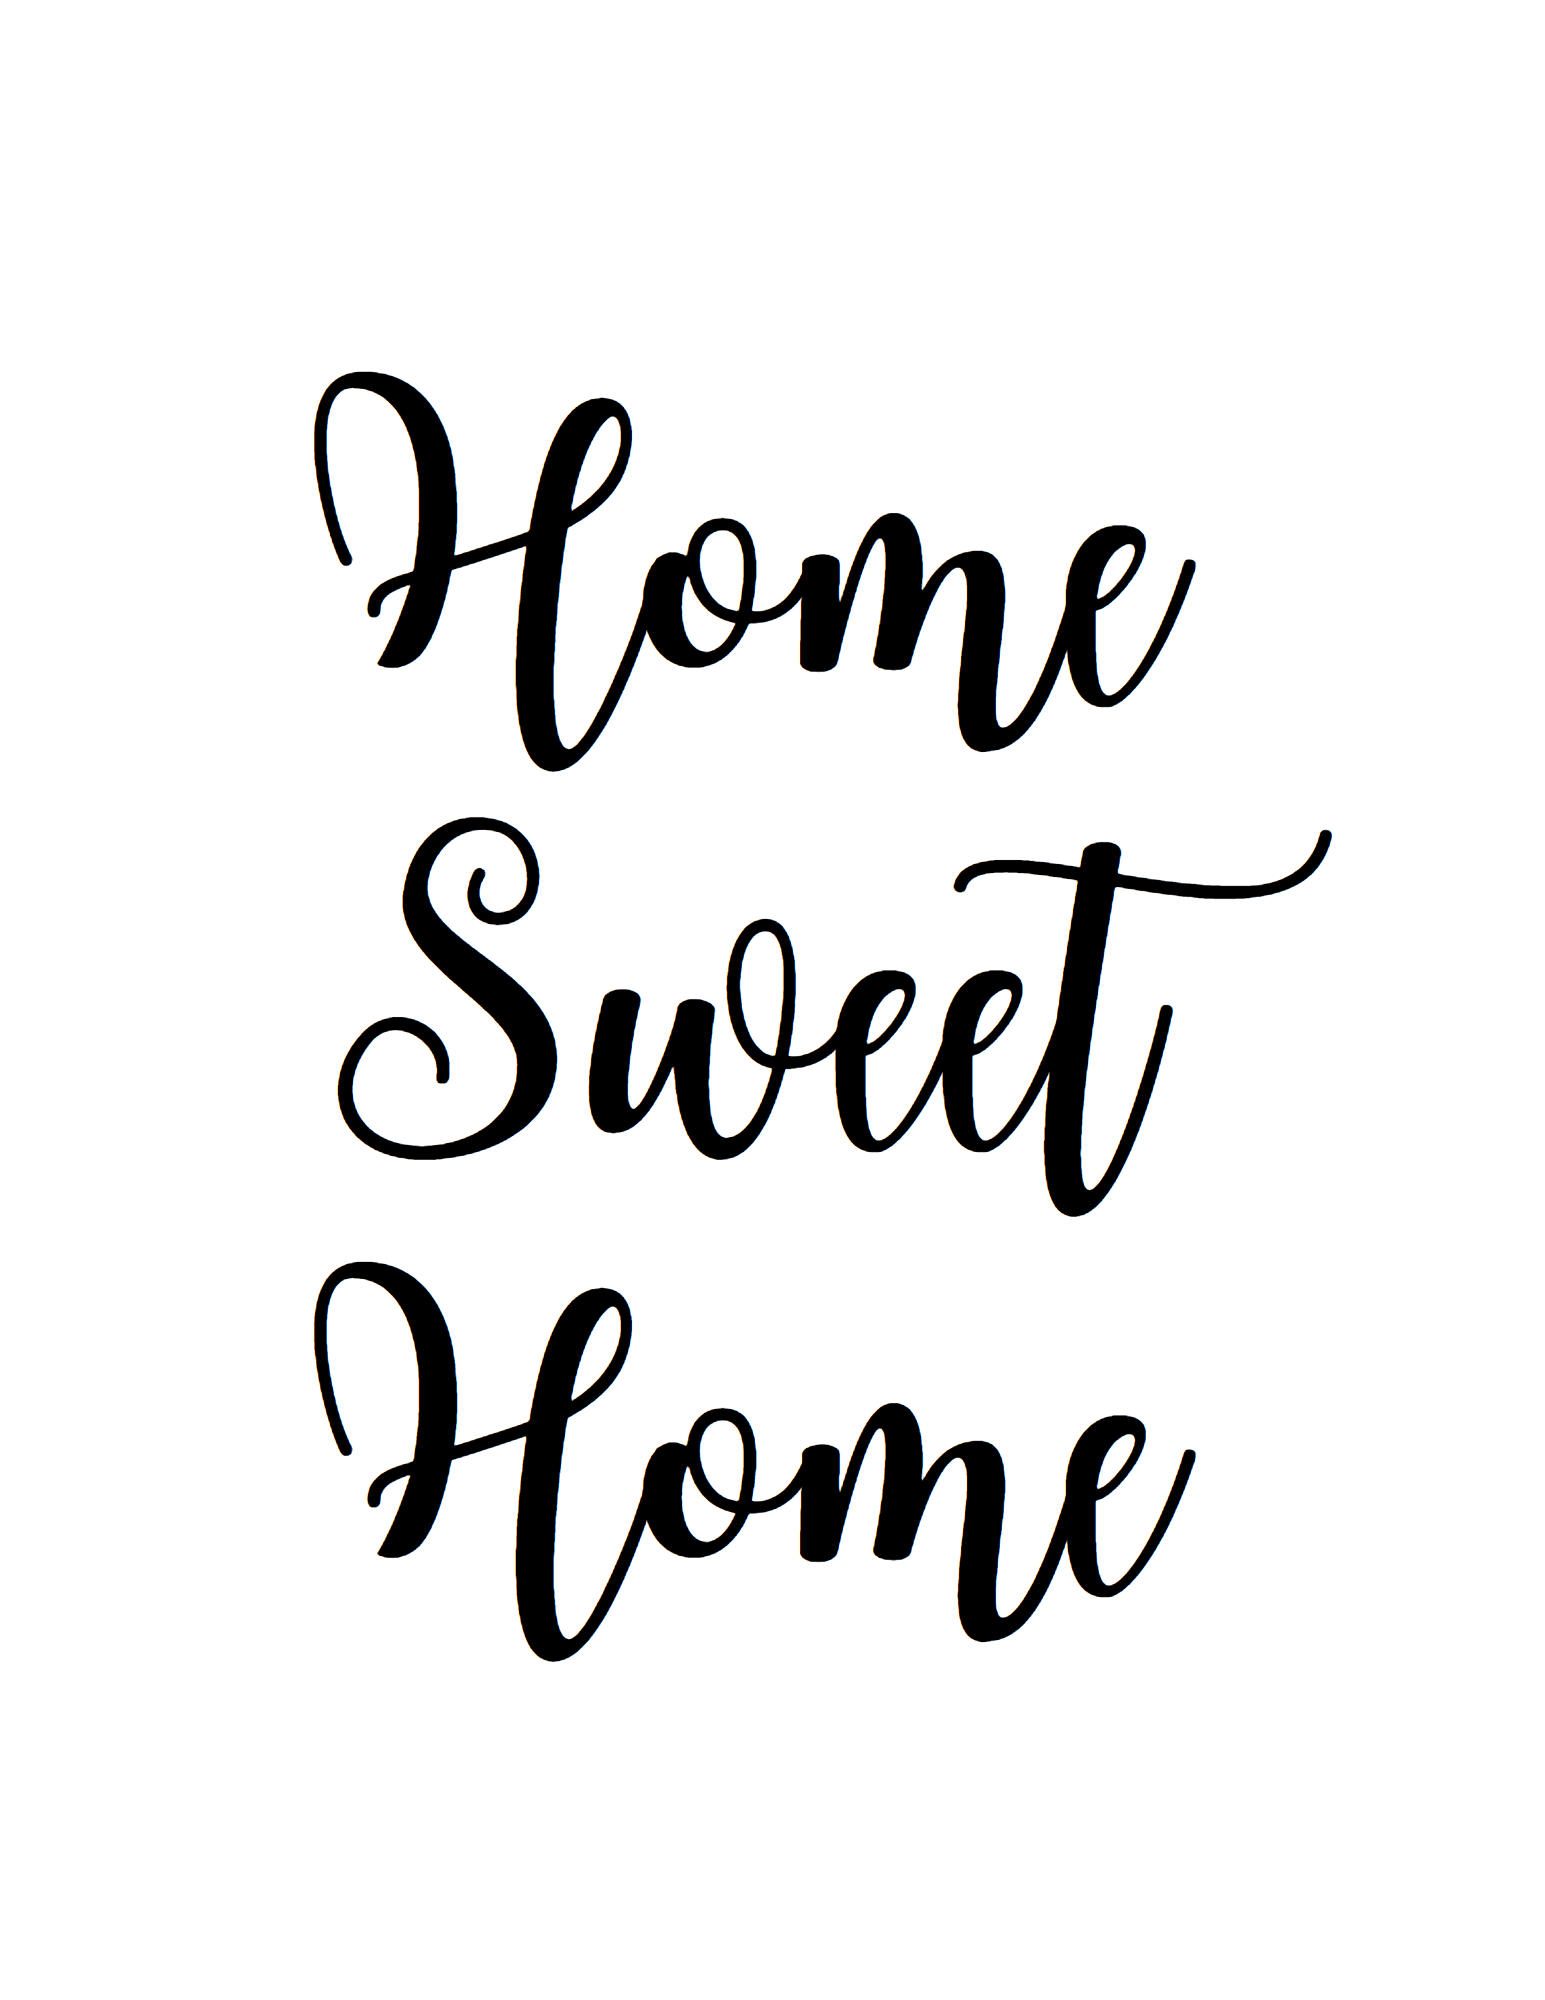
Home Sweet Home SVG
Remember that my logo will not appear on your downloaded design.
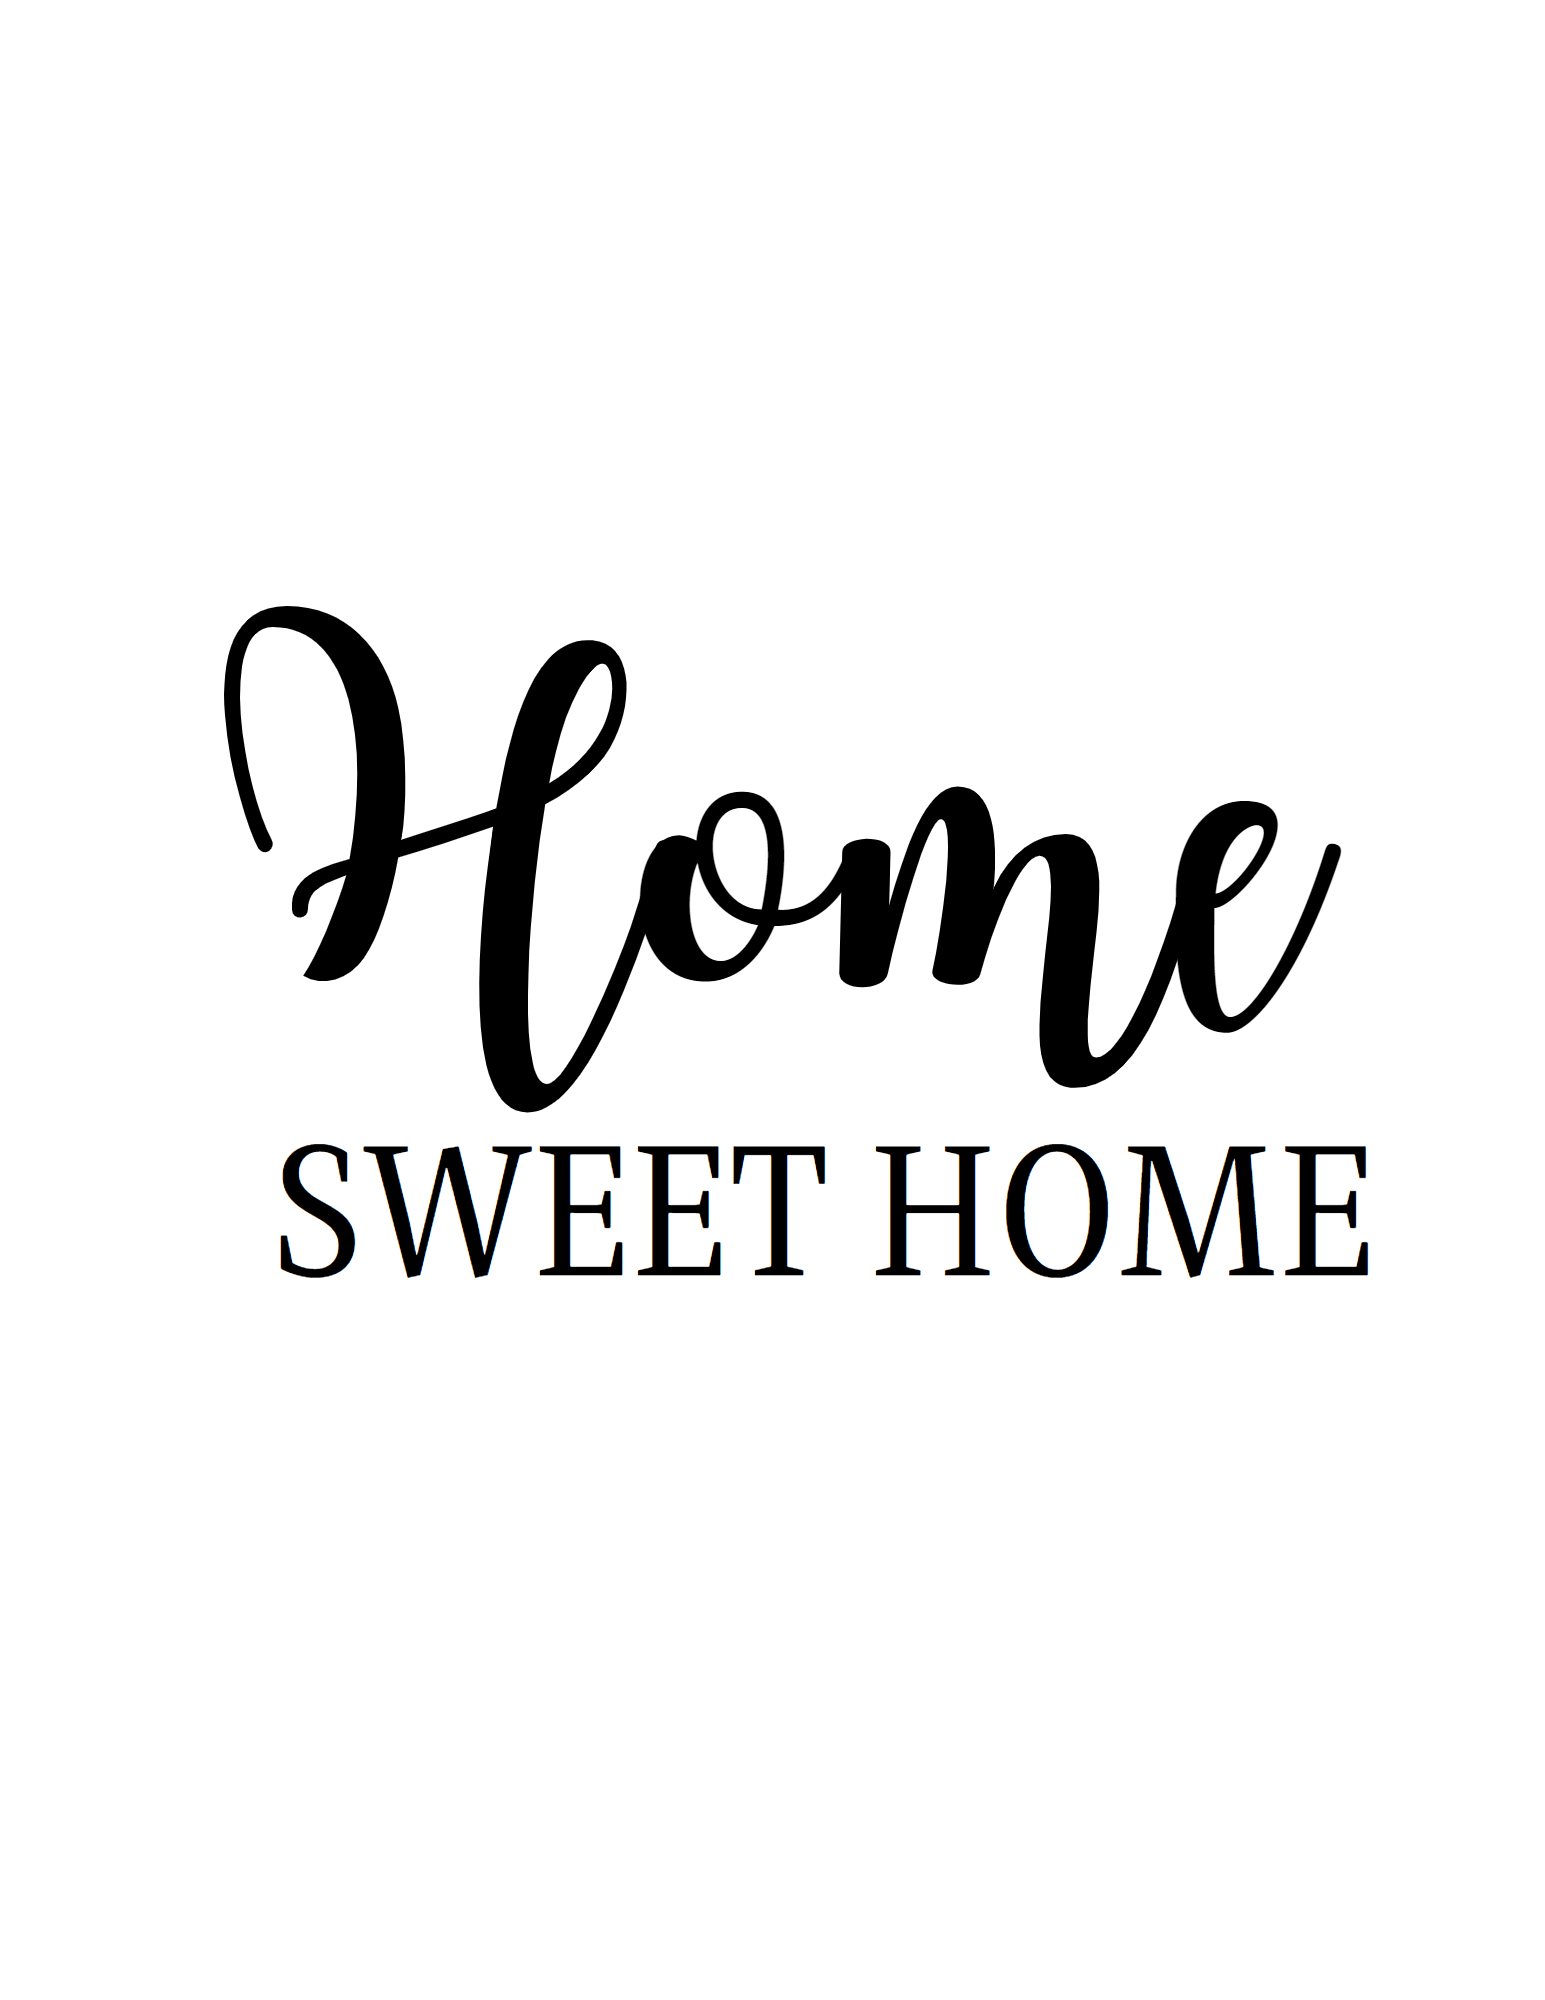
Home Sweet Home in 2 Fonts
This design has a script font with a simple serif font underneath.
Add Vinyl to the Round Wood Door Hanger
Trim the excess vinyl from around the design once it’s cut then weed it.

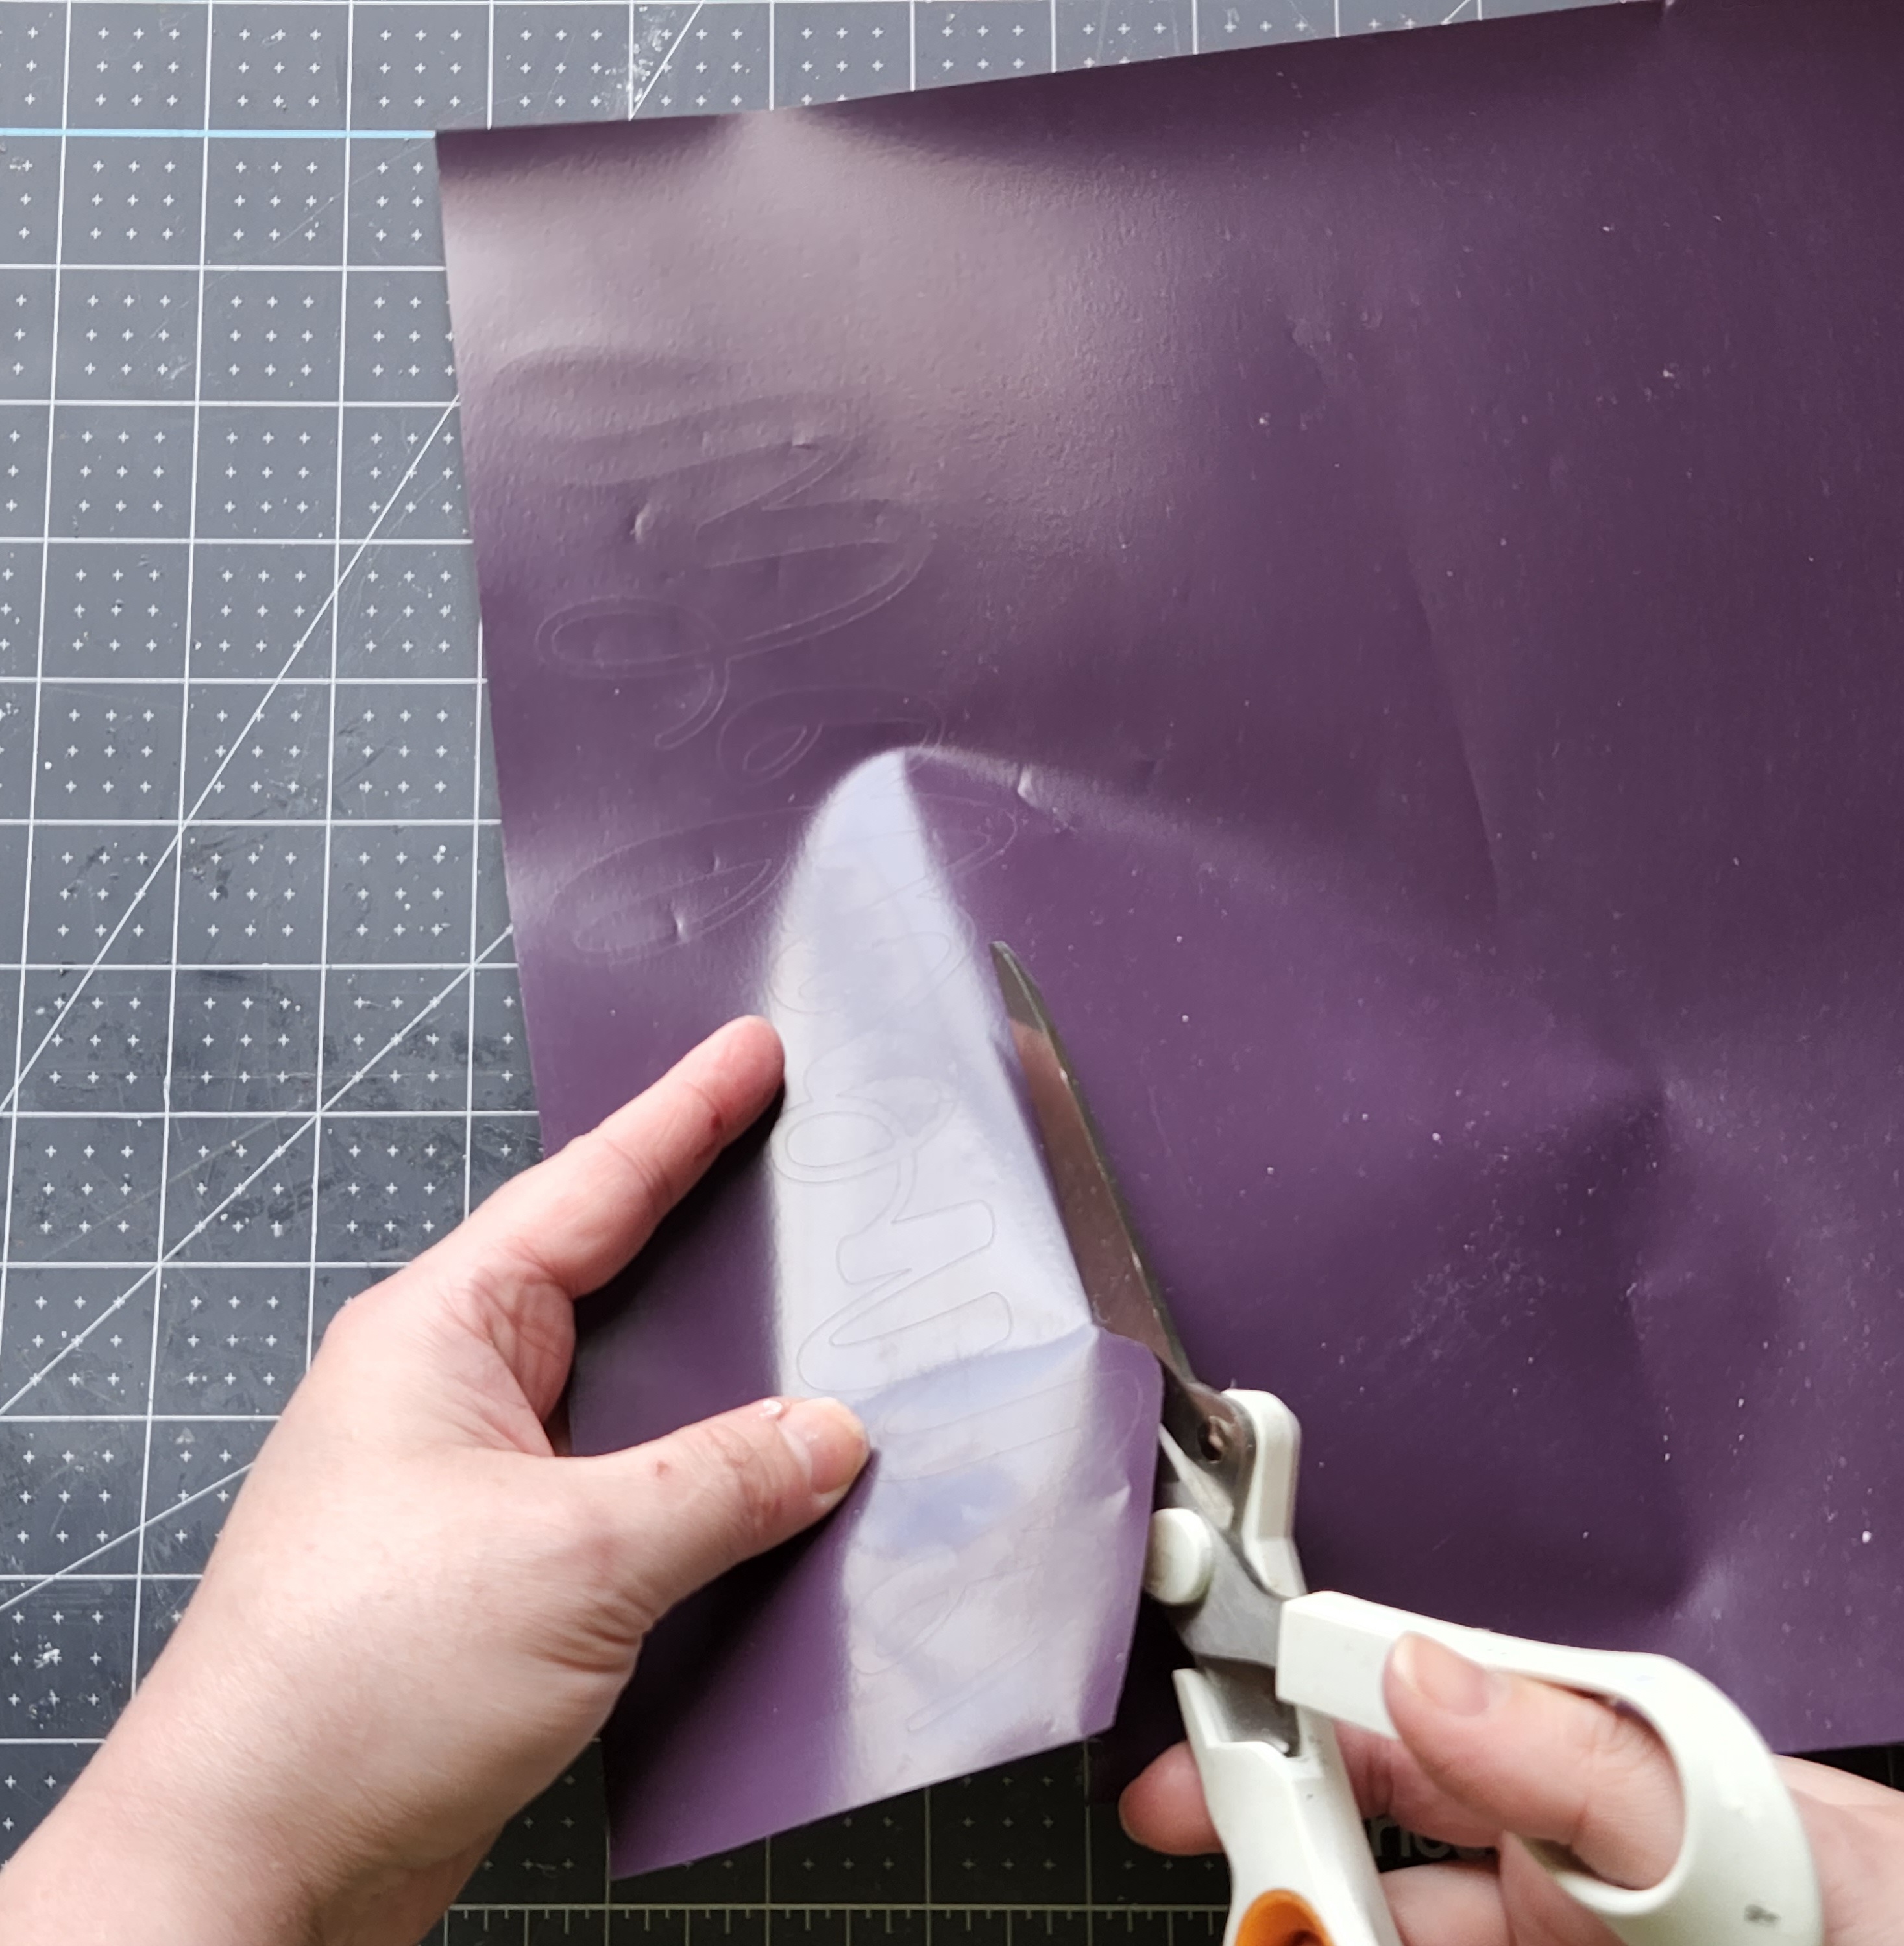
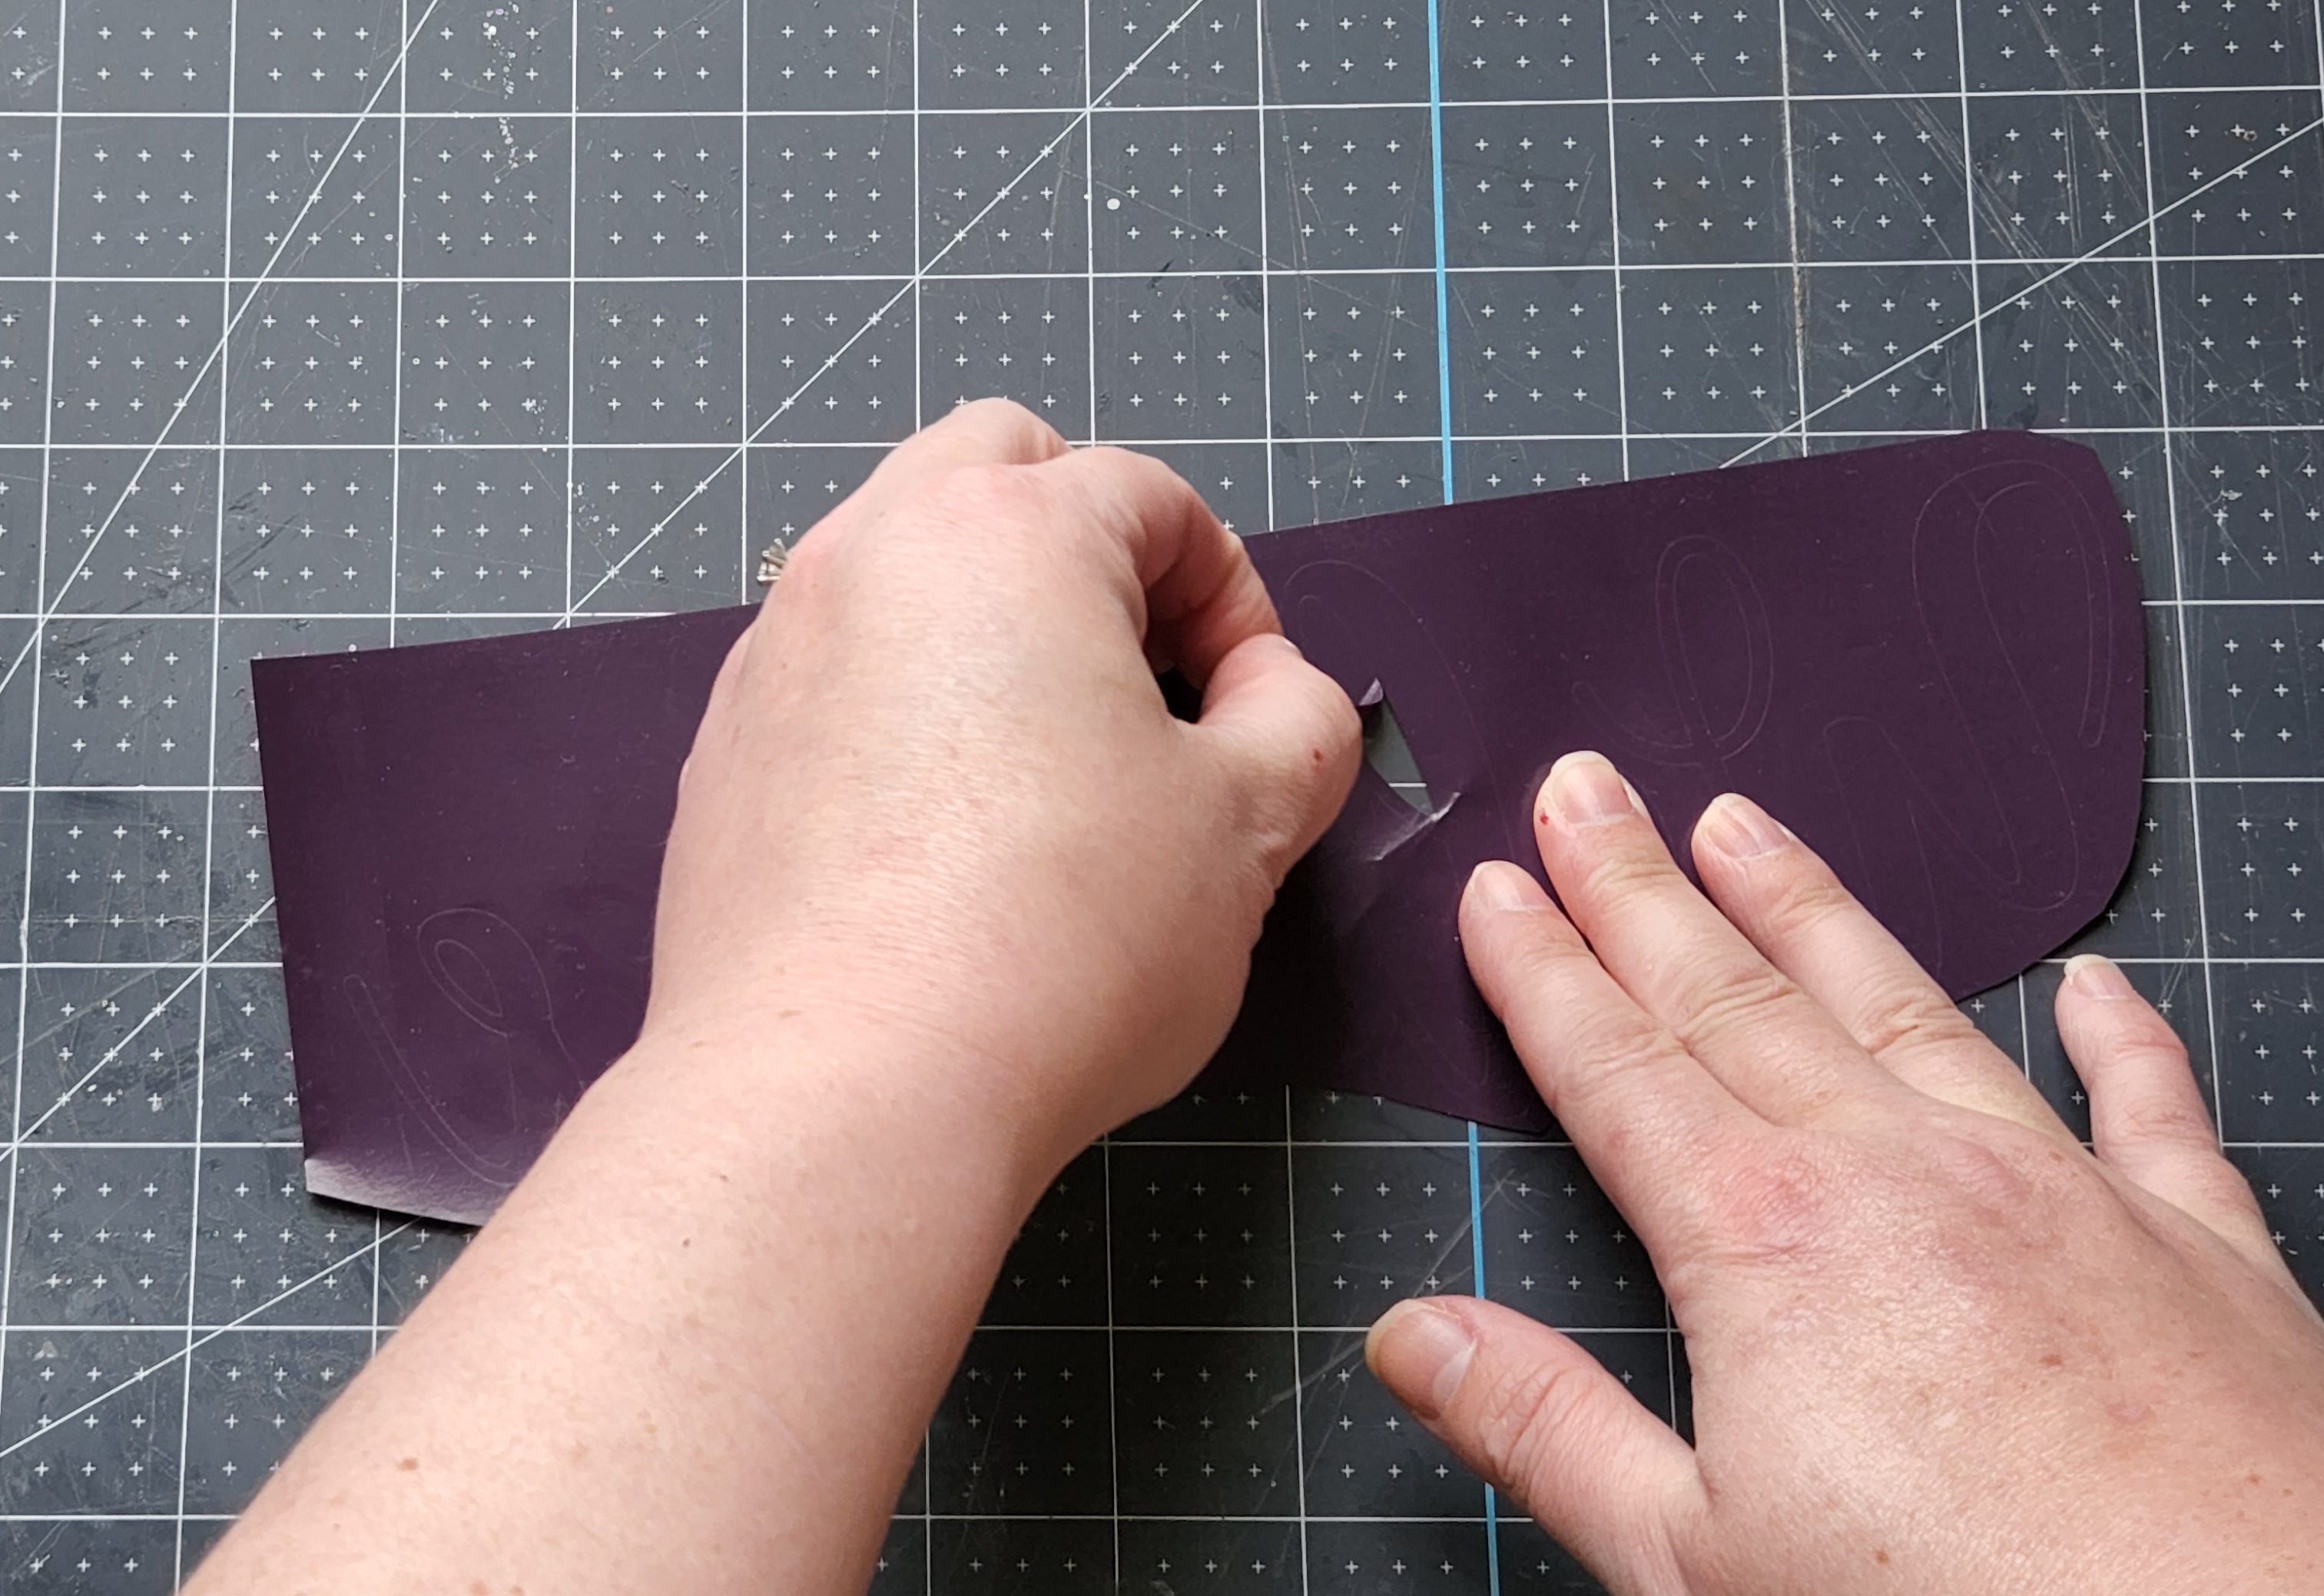
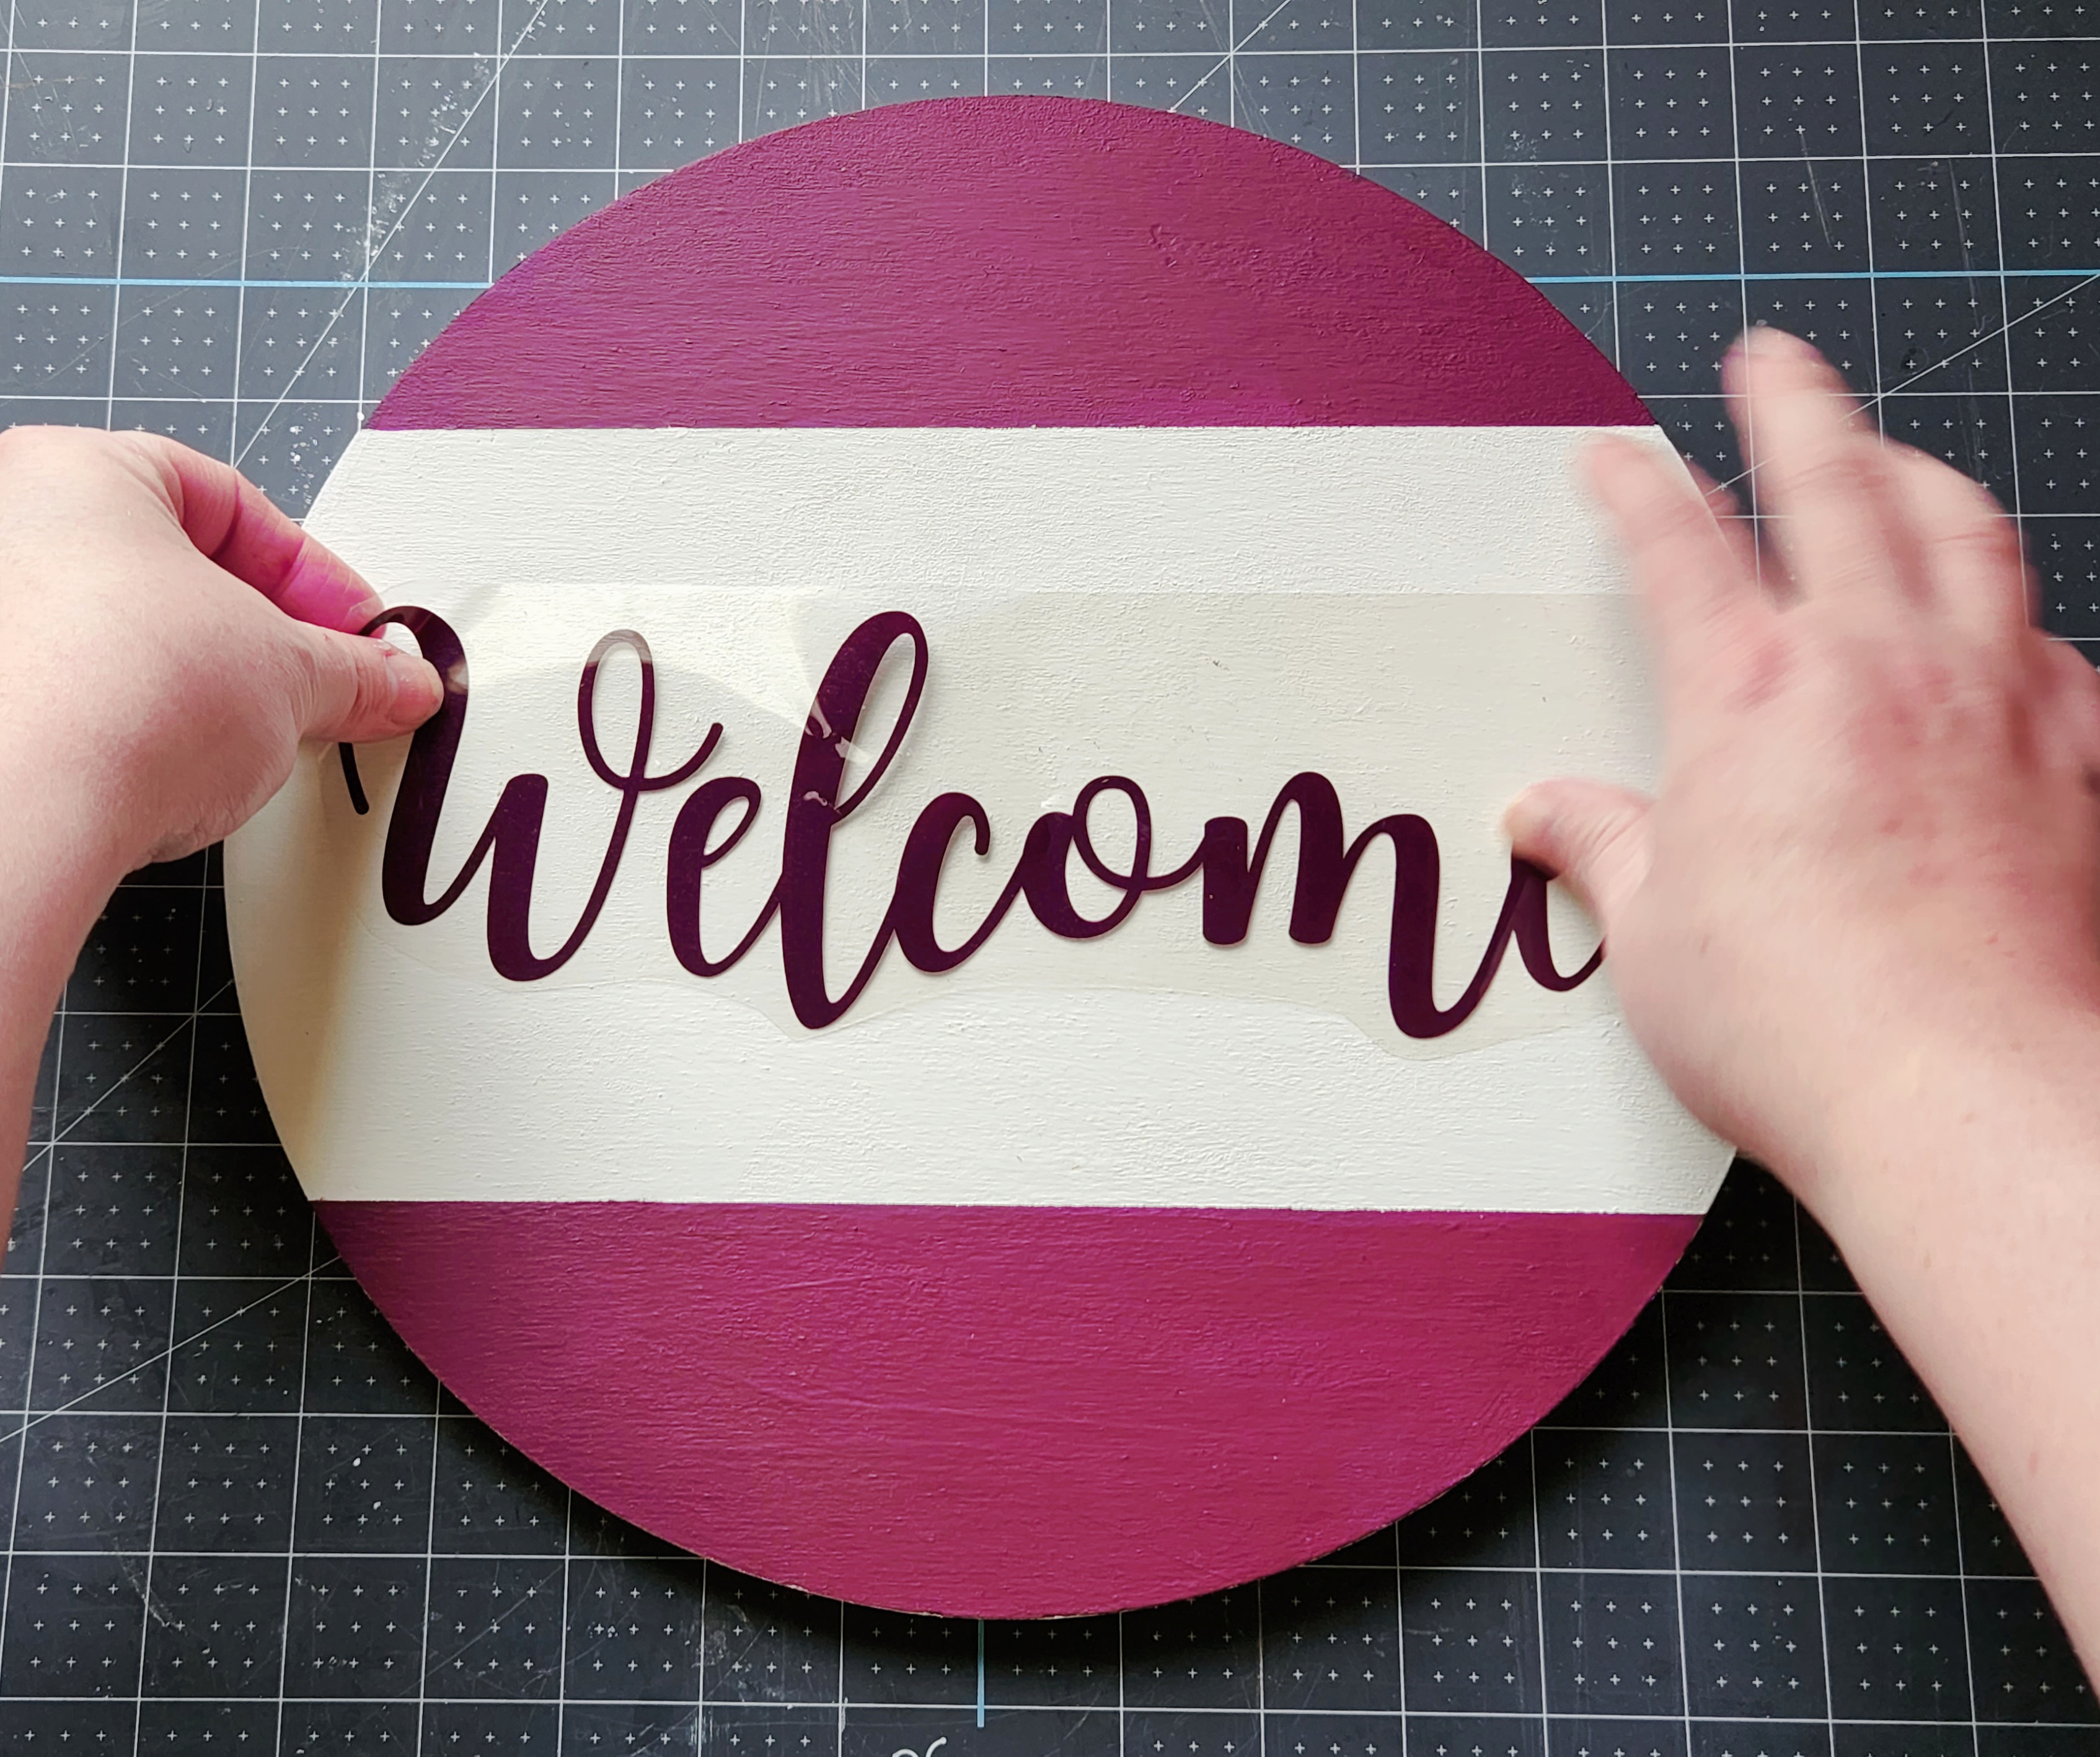
If you’re using outdoor vinyl, place transfer tape on the design and transfer it onto the center of the wood sign. If you’re using HTV like me, center the design on the wood circle.
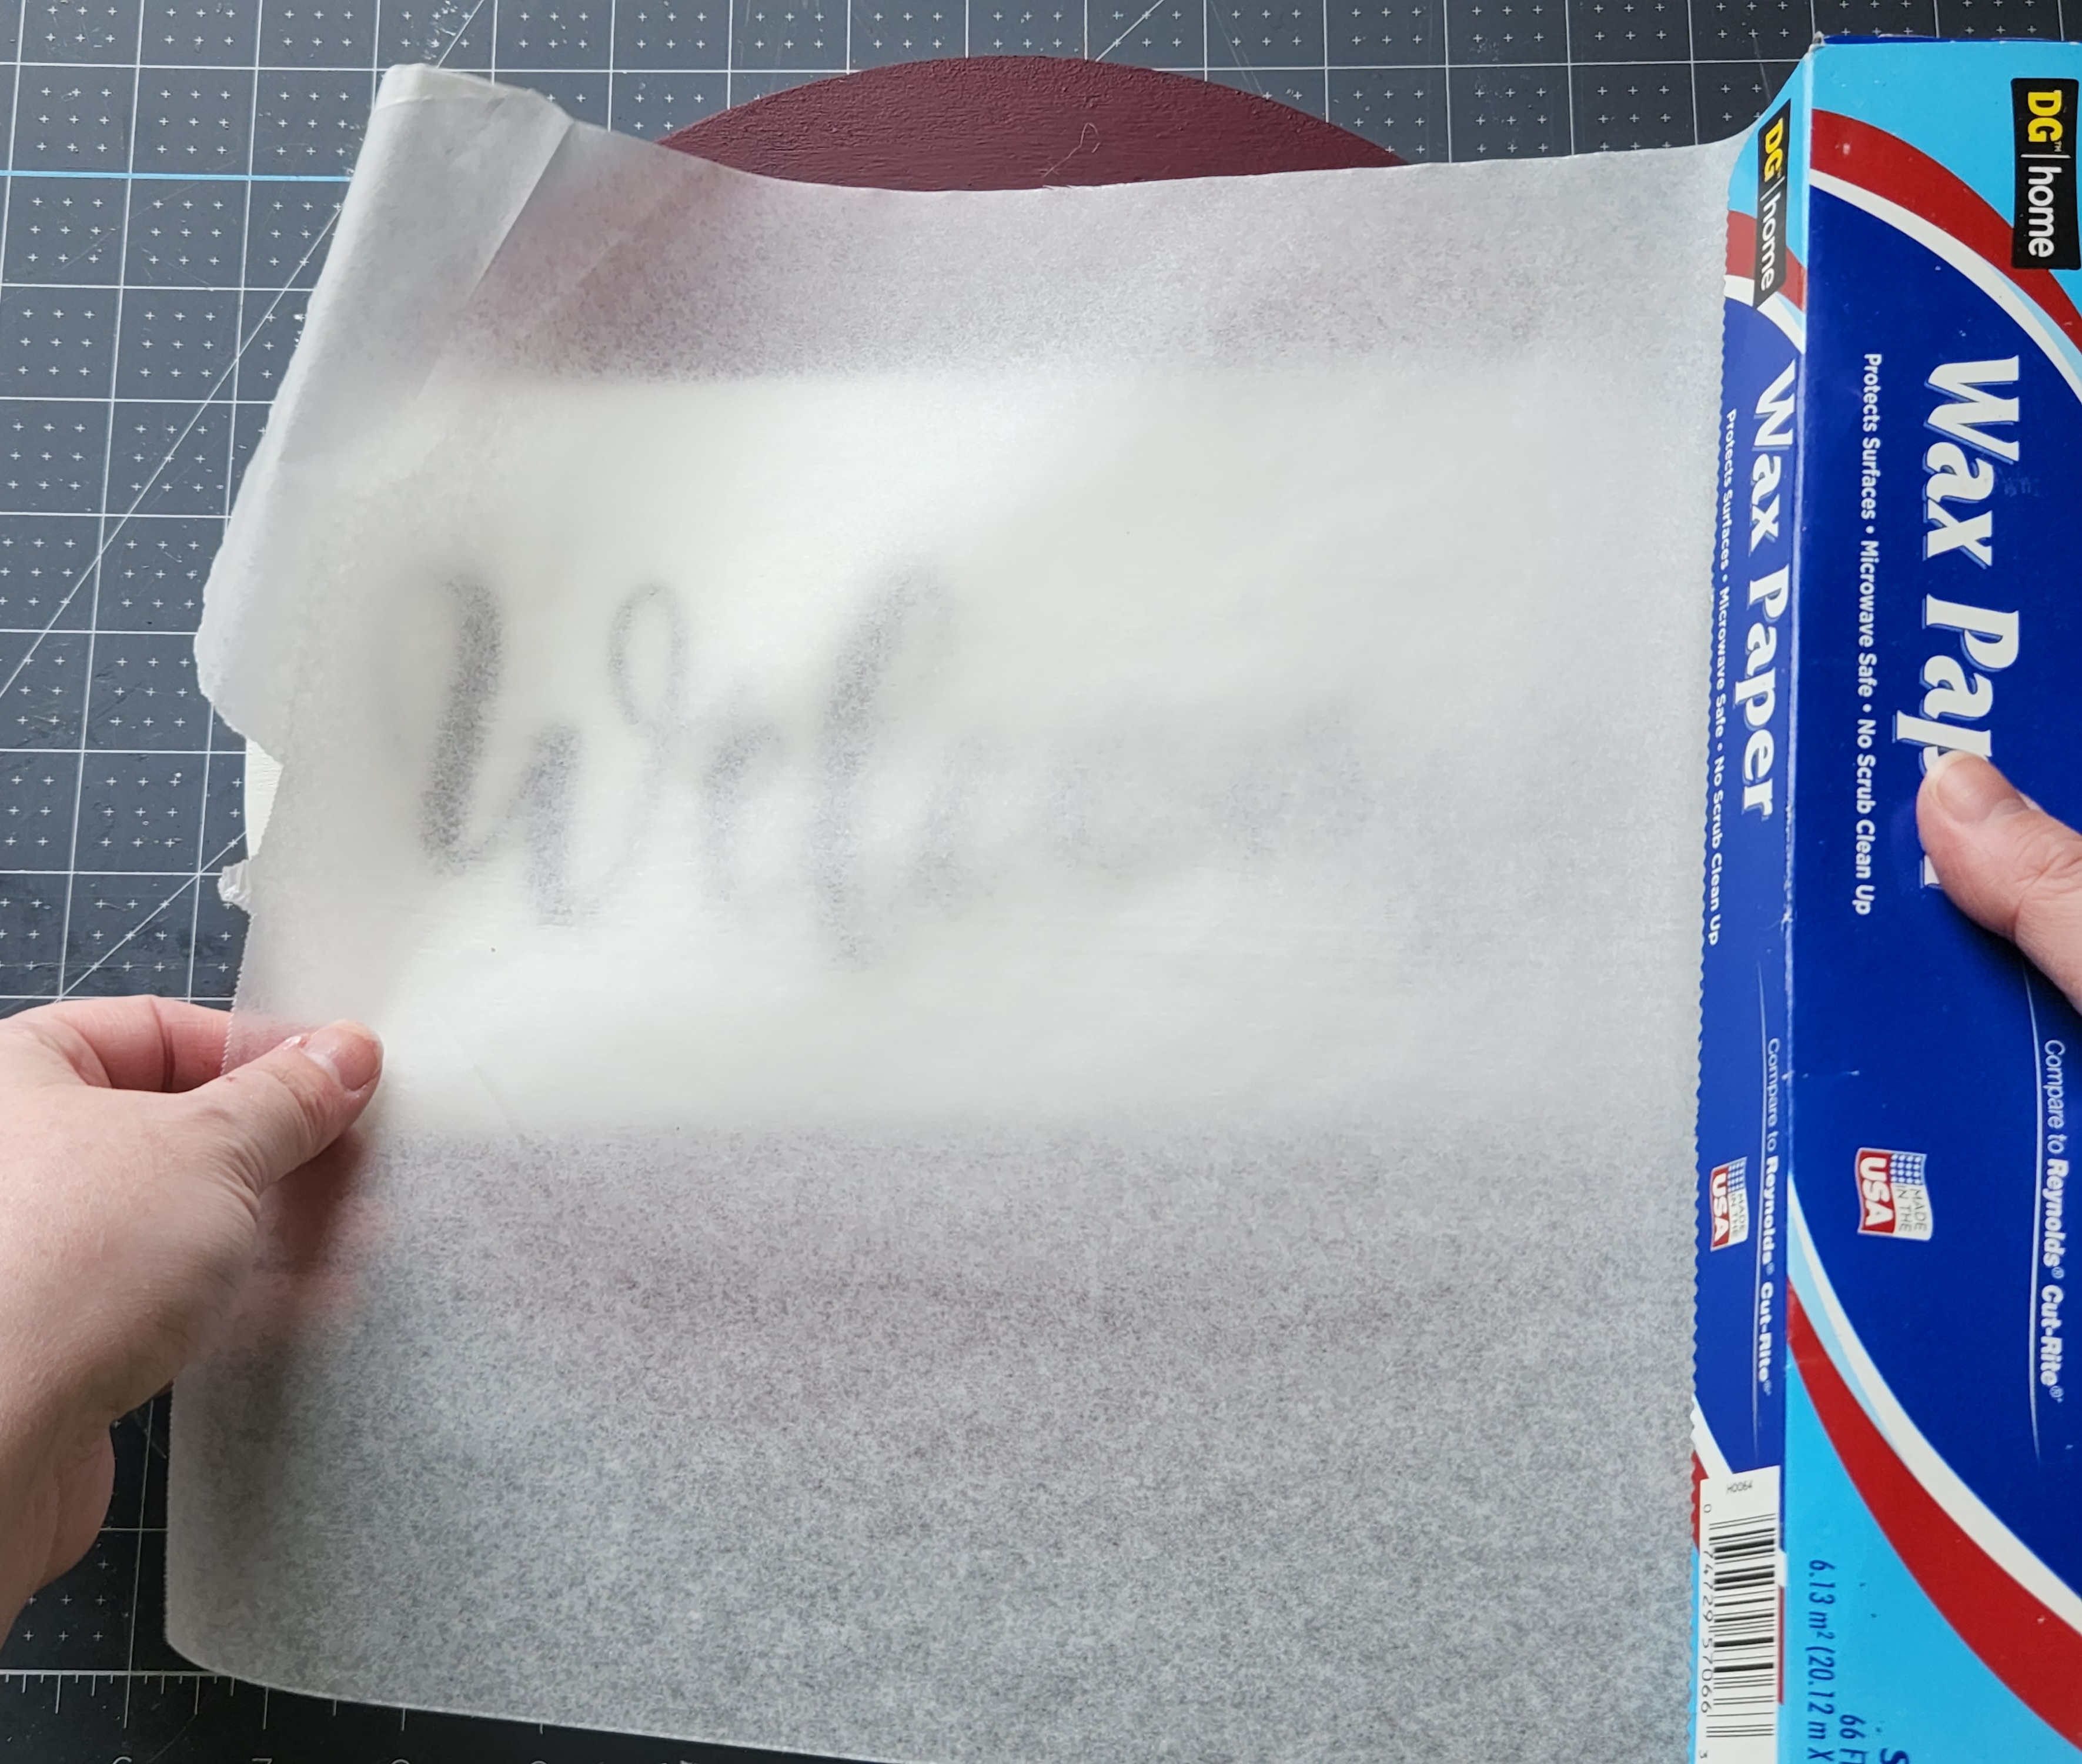
Tear off a piece of wax paper large enough to cover the HTV on the wood. If you’re using regular vinyl, go over the design with a credit card or scraper to move it from the transfer paper, securing it on the wood.
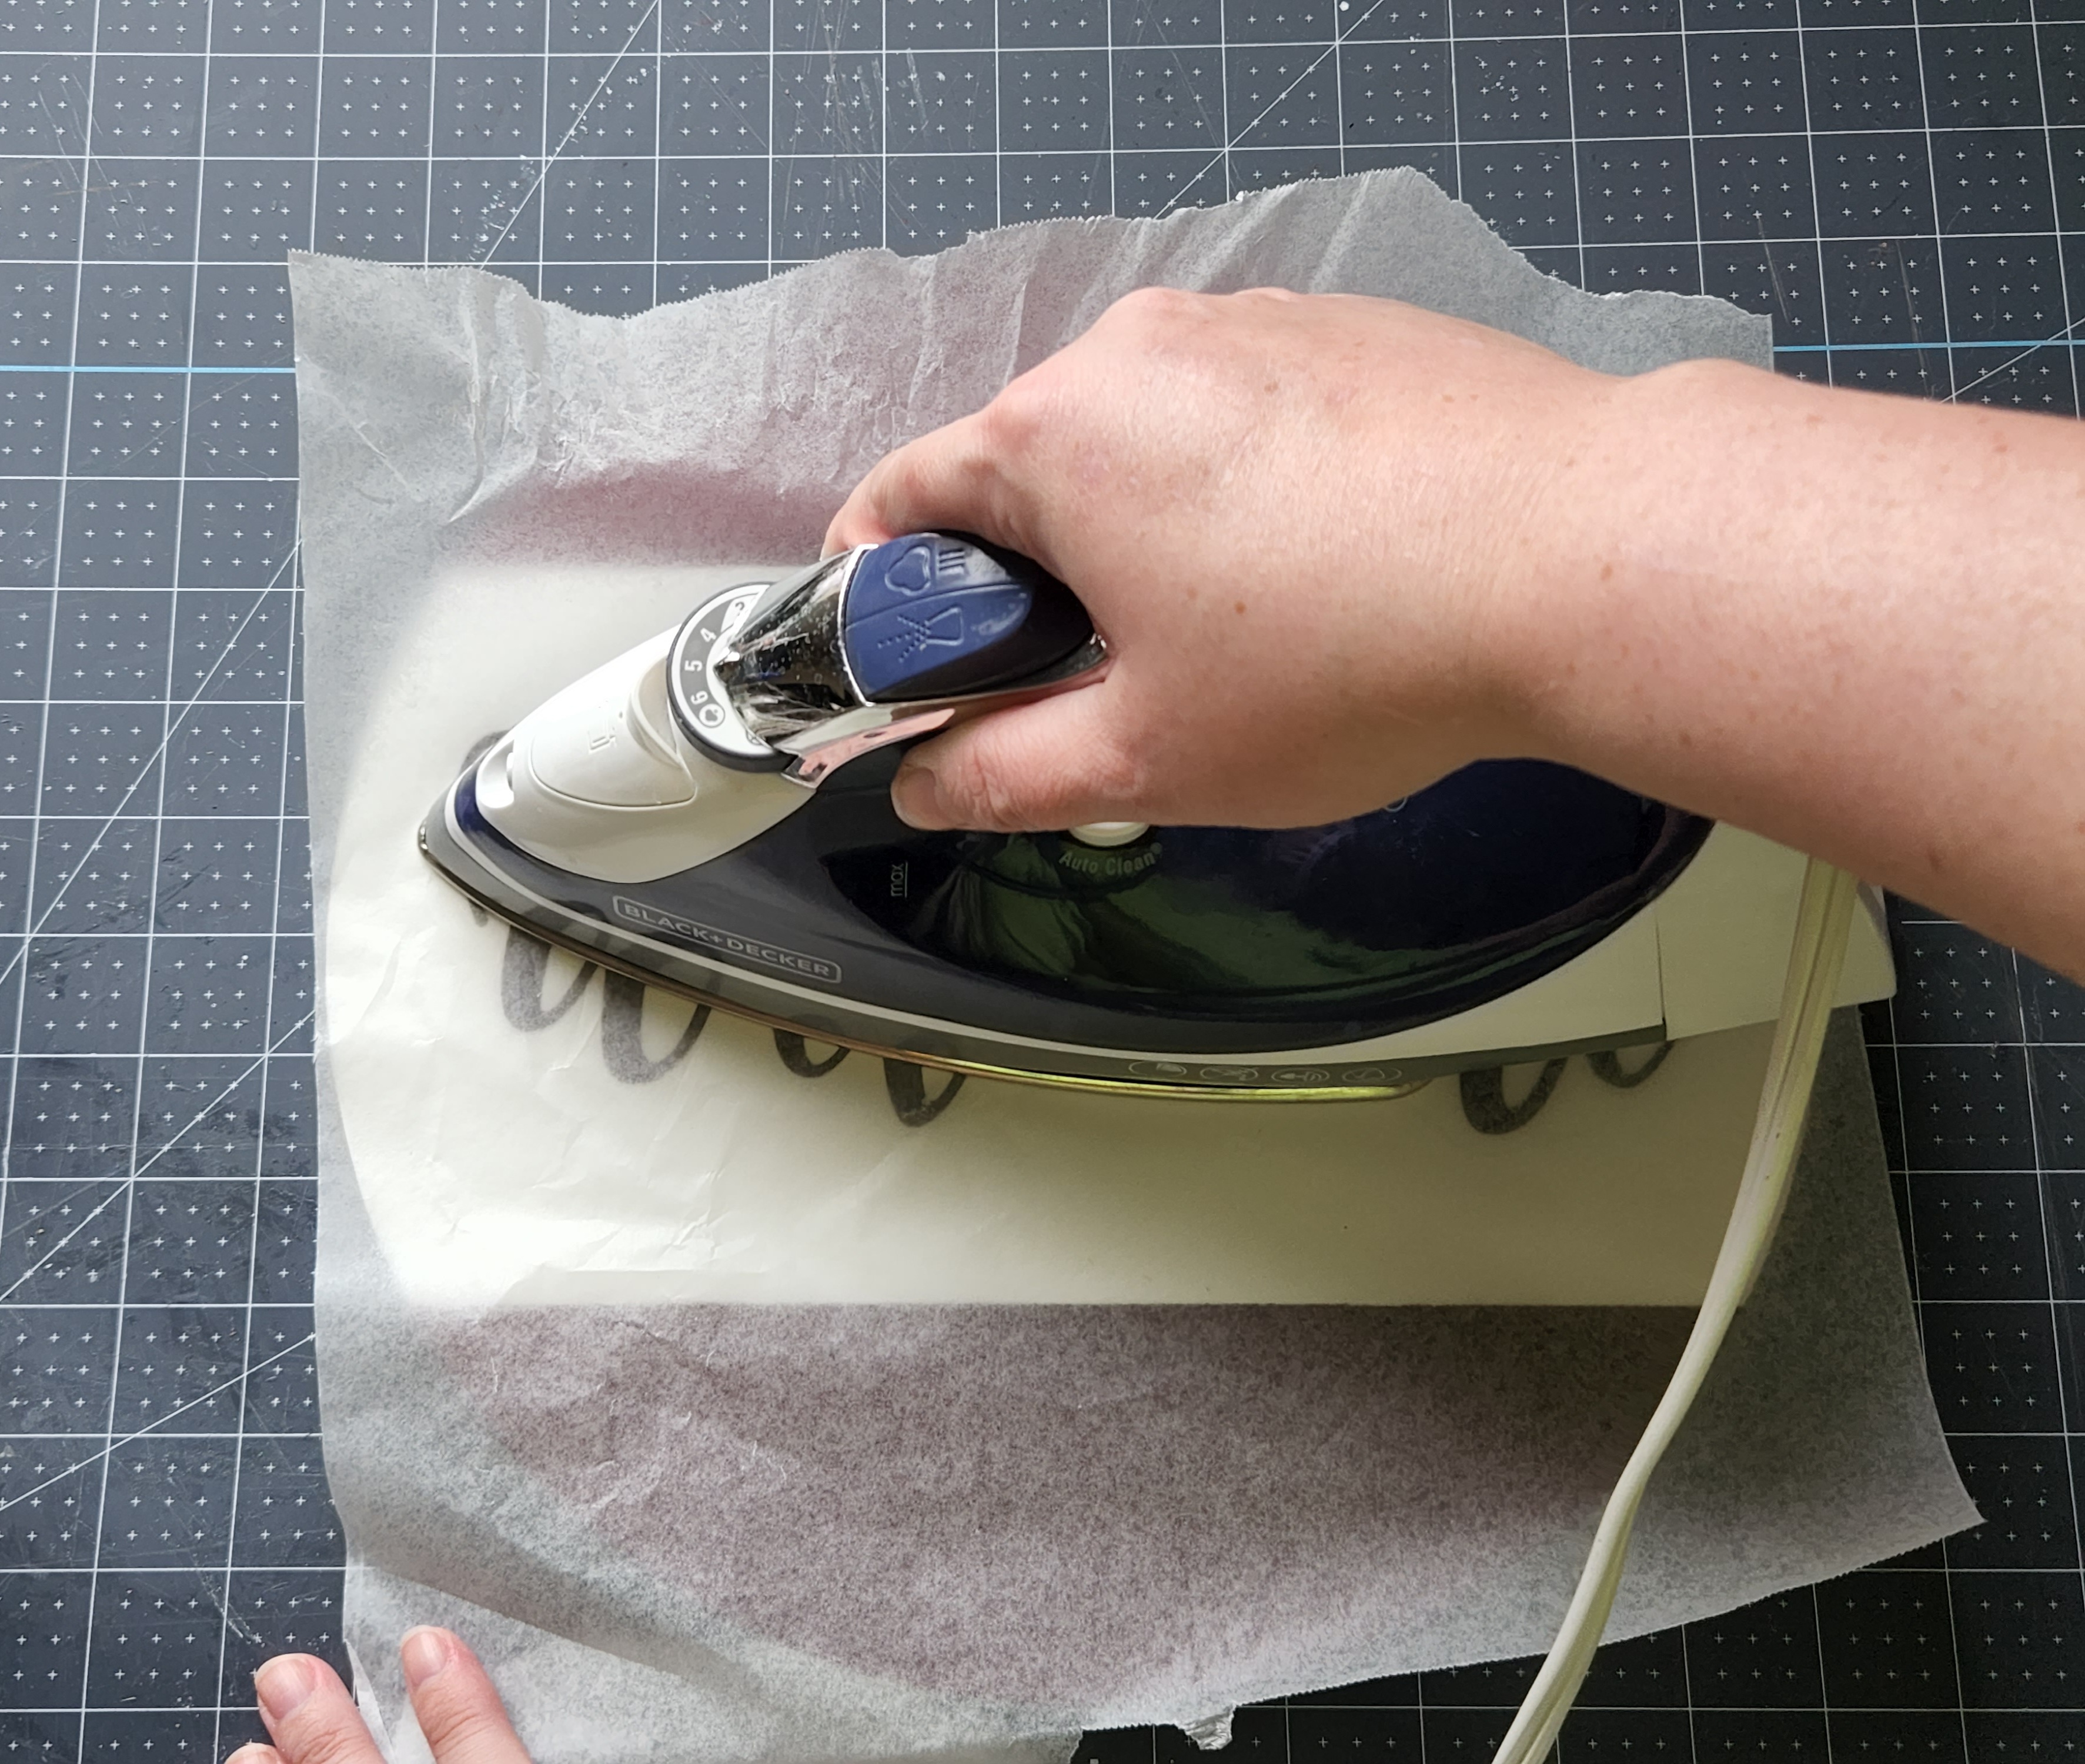
Go over the design, covered by wax paper, with an iron on medium-high heat for about 30 seconds.
Once the design is securely on the wood, remove the sticky transfer paper. I didn’t get a photo of this step, but I think you get it.

Add a Hanger
There are several things you can use to hang your door hanger from. You can get a picture hanging kit and secure it to the back of the wood. Floral wire or a pipe cleaner is another way to go, just be sure it’s attached well so that the wood doesn’t fall off and bust. That would suck!
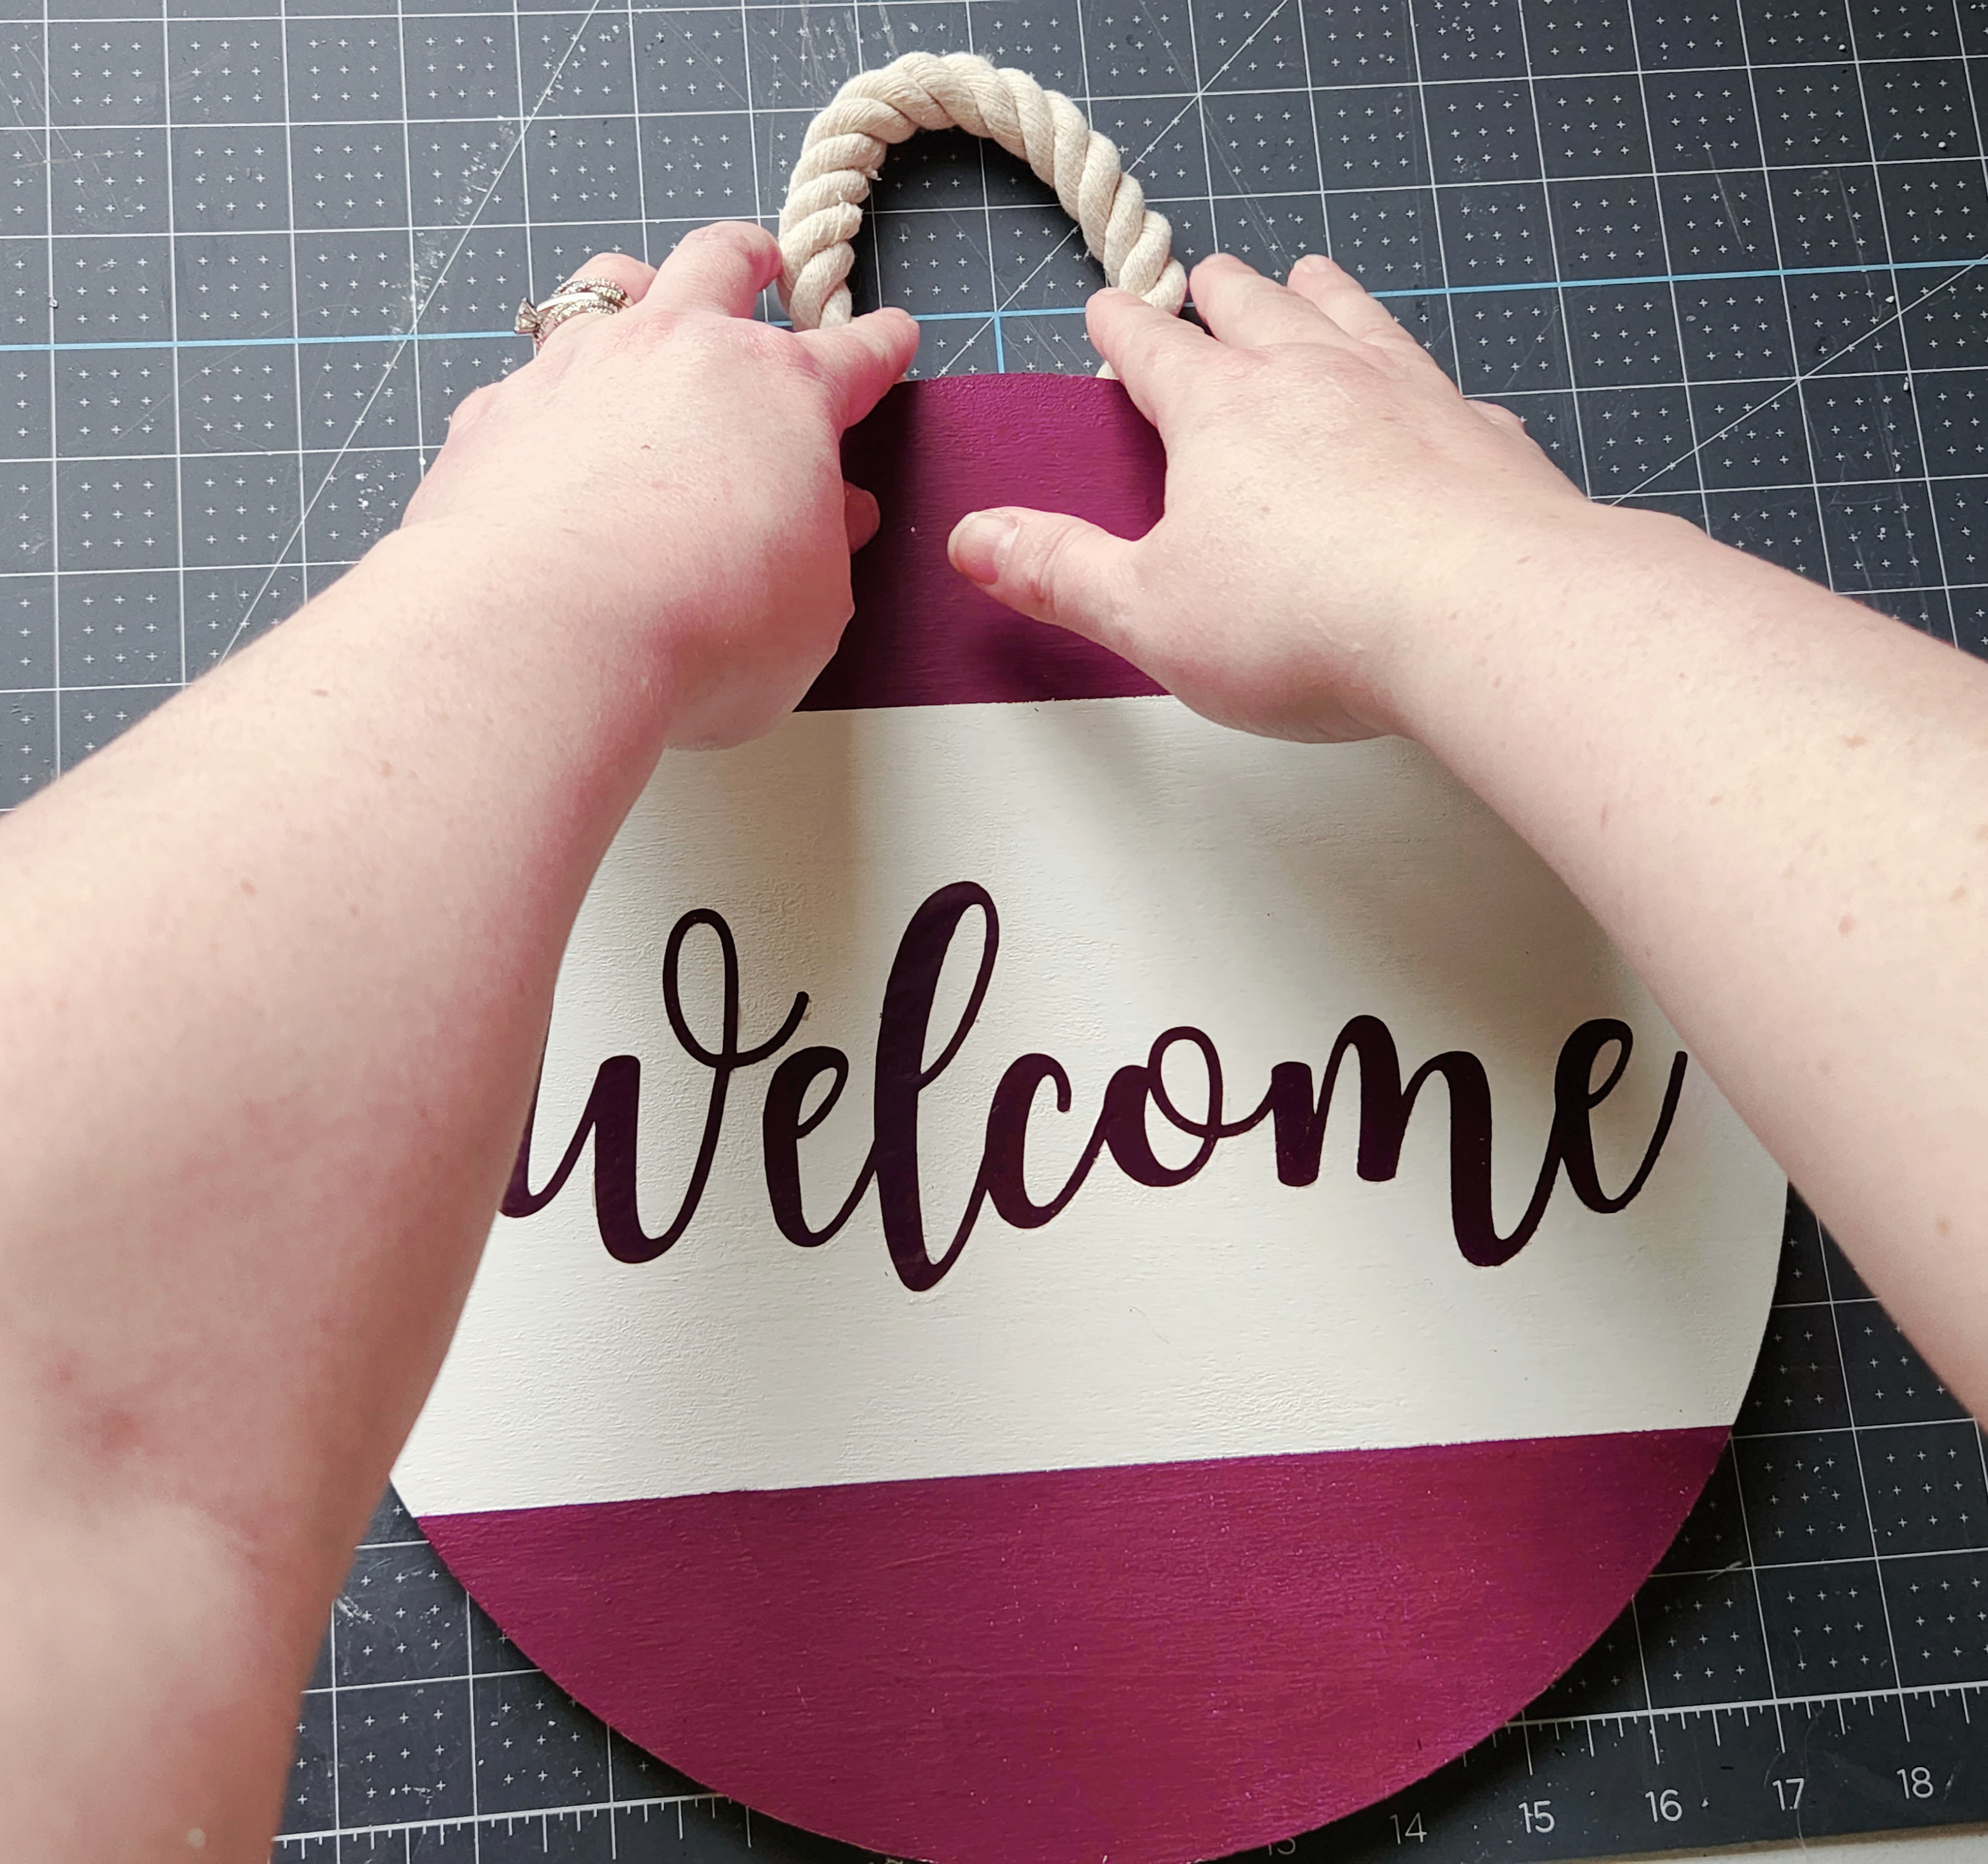
I chose to add a piece of white cotton rope from Dollar Tree as a hanger. Cut about 4″ of the rope, then add hot glue (a lot lol) to the back, top center of the door hanger. Place the rope on top of it, holding it for a bit until it dries. If you have a staple gun, add a staple on each side of the rope. I was out of staples, so I’ll have to add them later!
Add a Bow
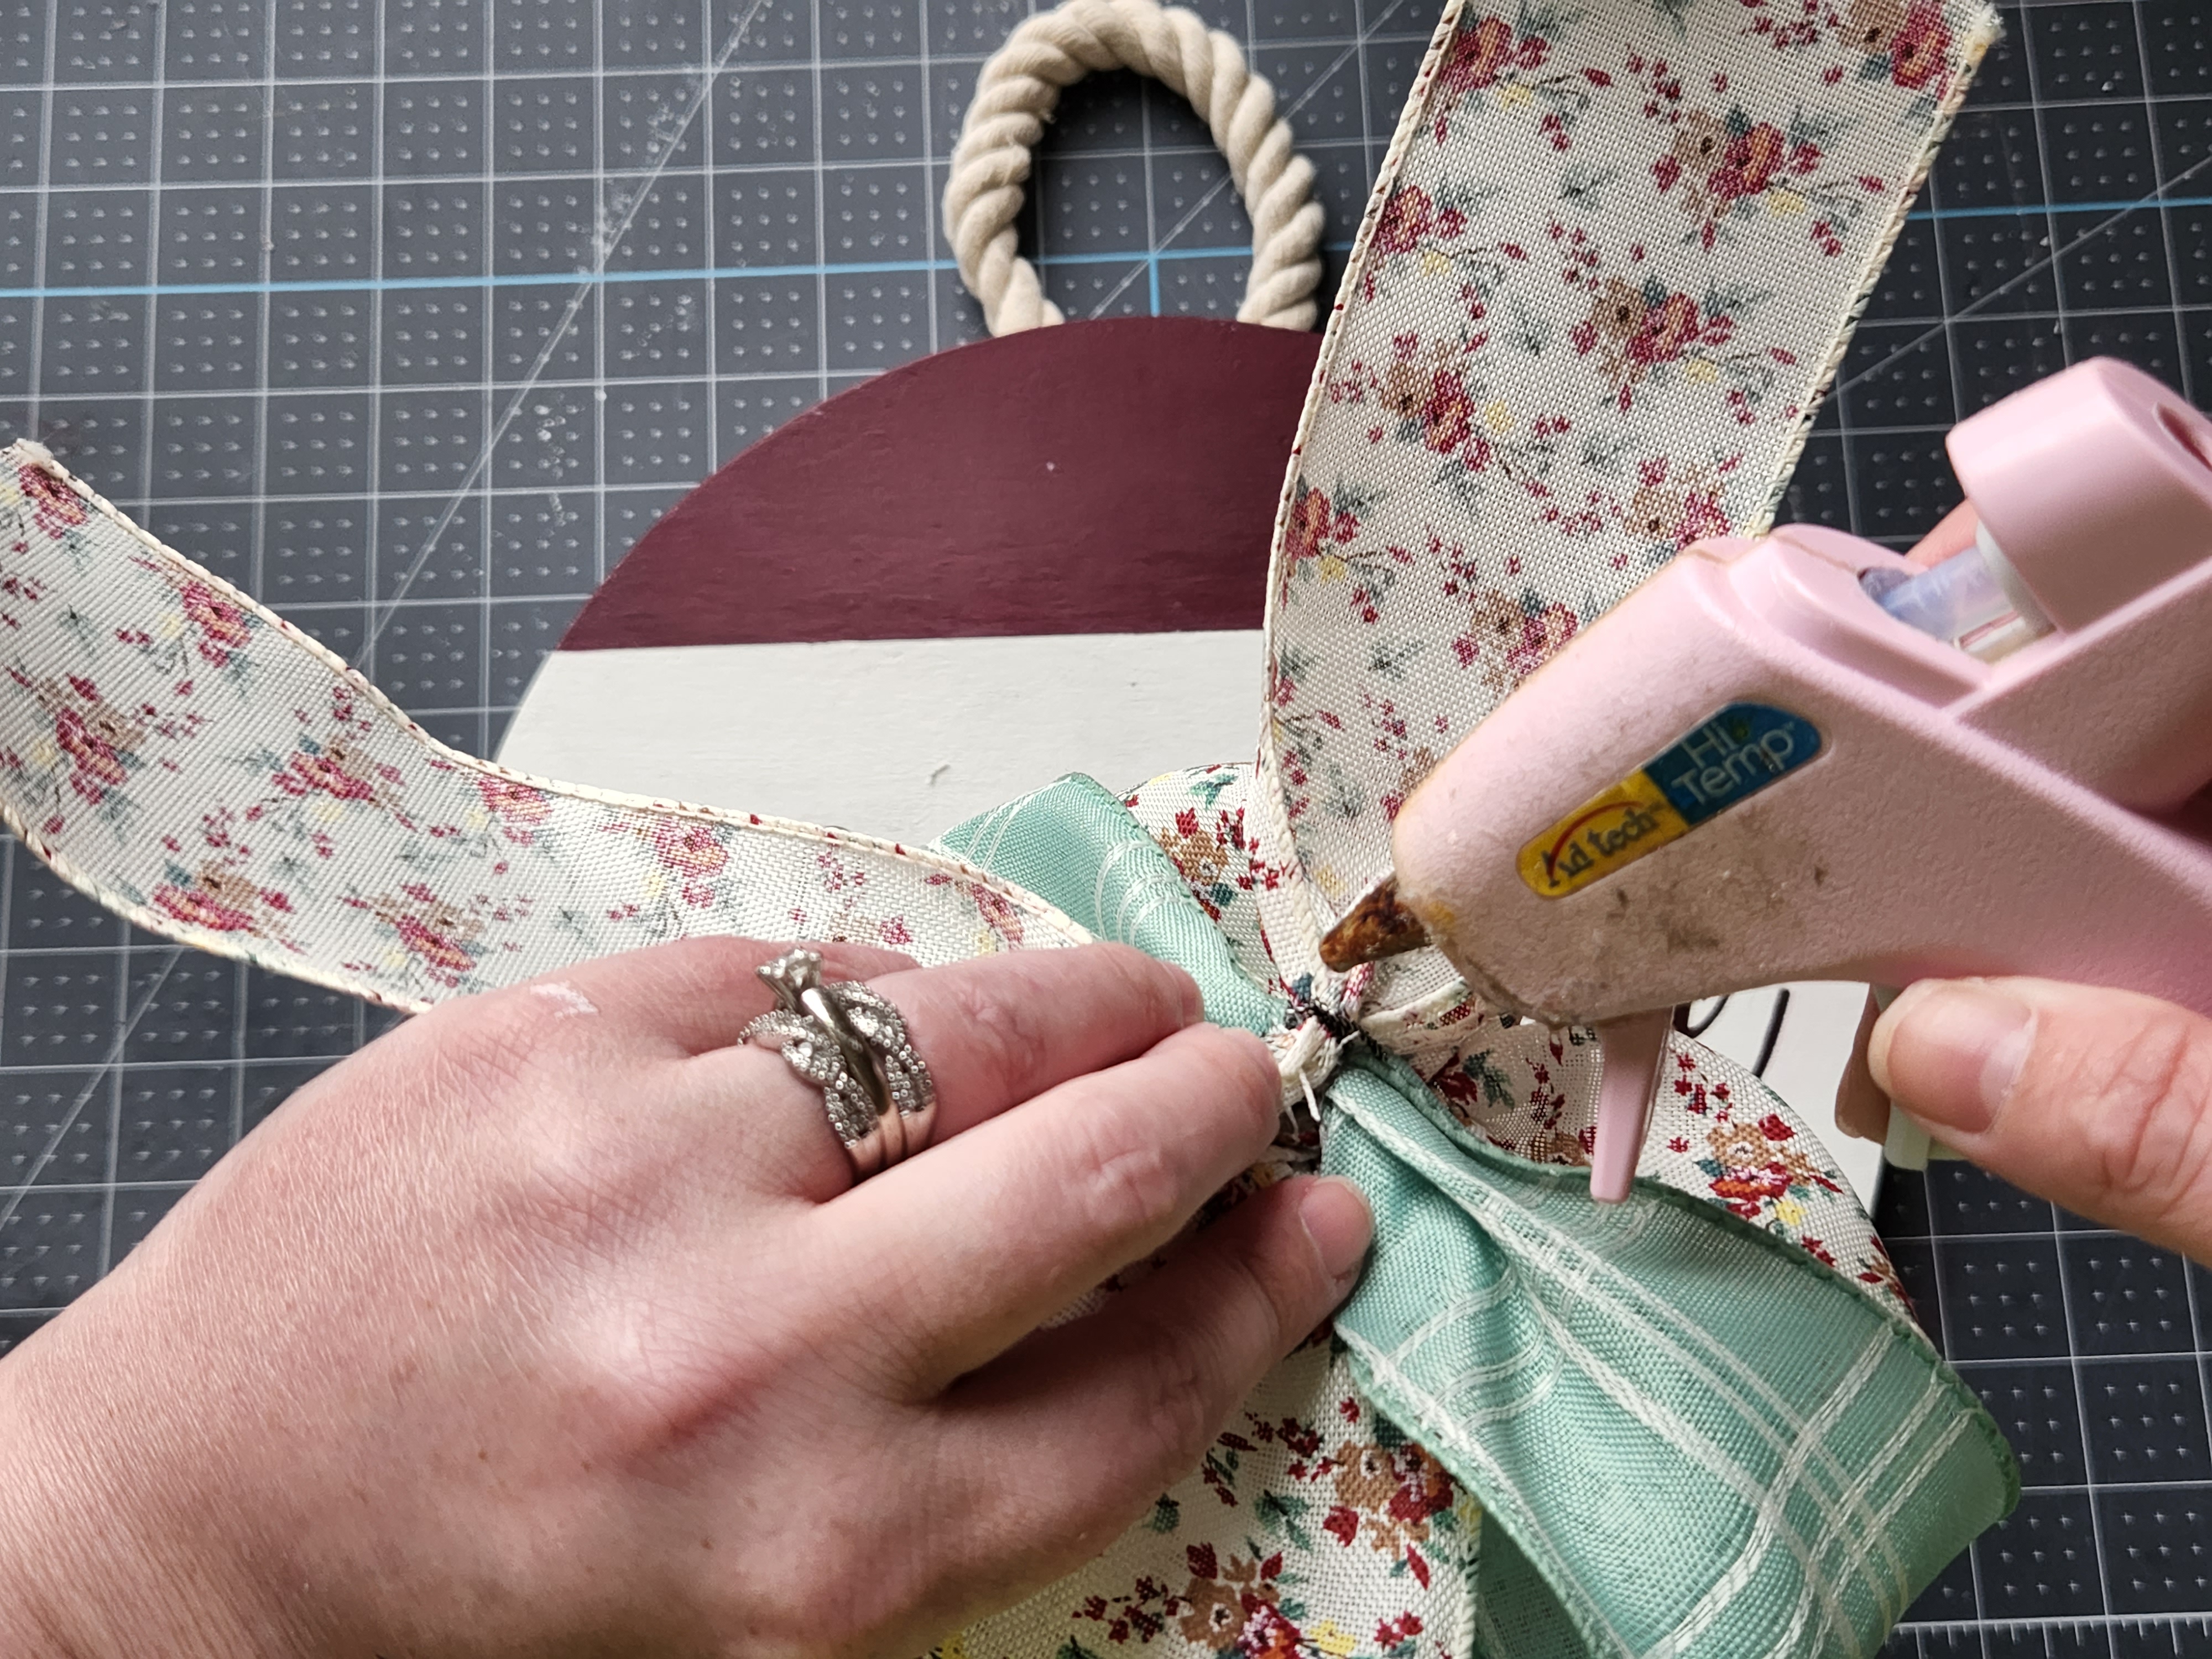
I made seven-loop bow with two different prints of 2.5″ wired ribbons. If you need a tutorial for creating a simple loopy bow, you can check out this one. Not good at holding onto all that ribbon? Use this tutorial where I show you how to combine separate loops together, so you don’t have to keep twisting and turning the ribbon over and over. It’s so easy my son could do it!
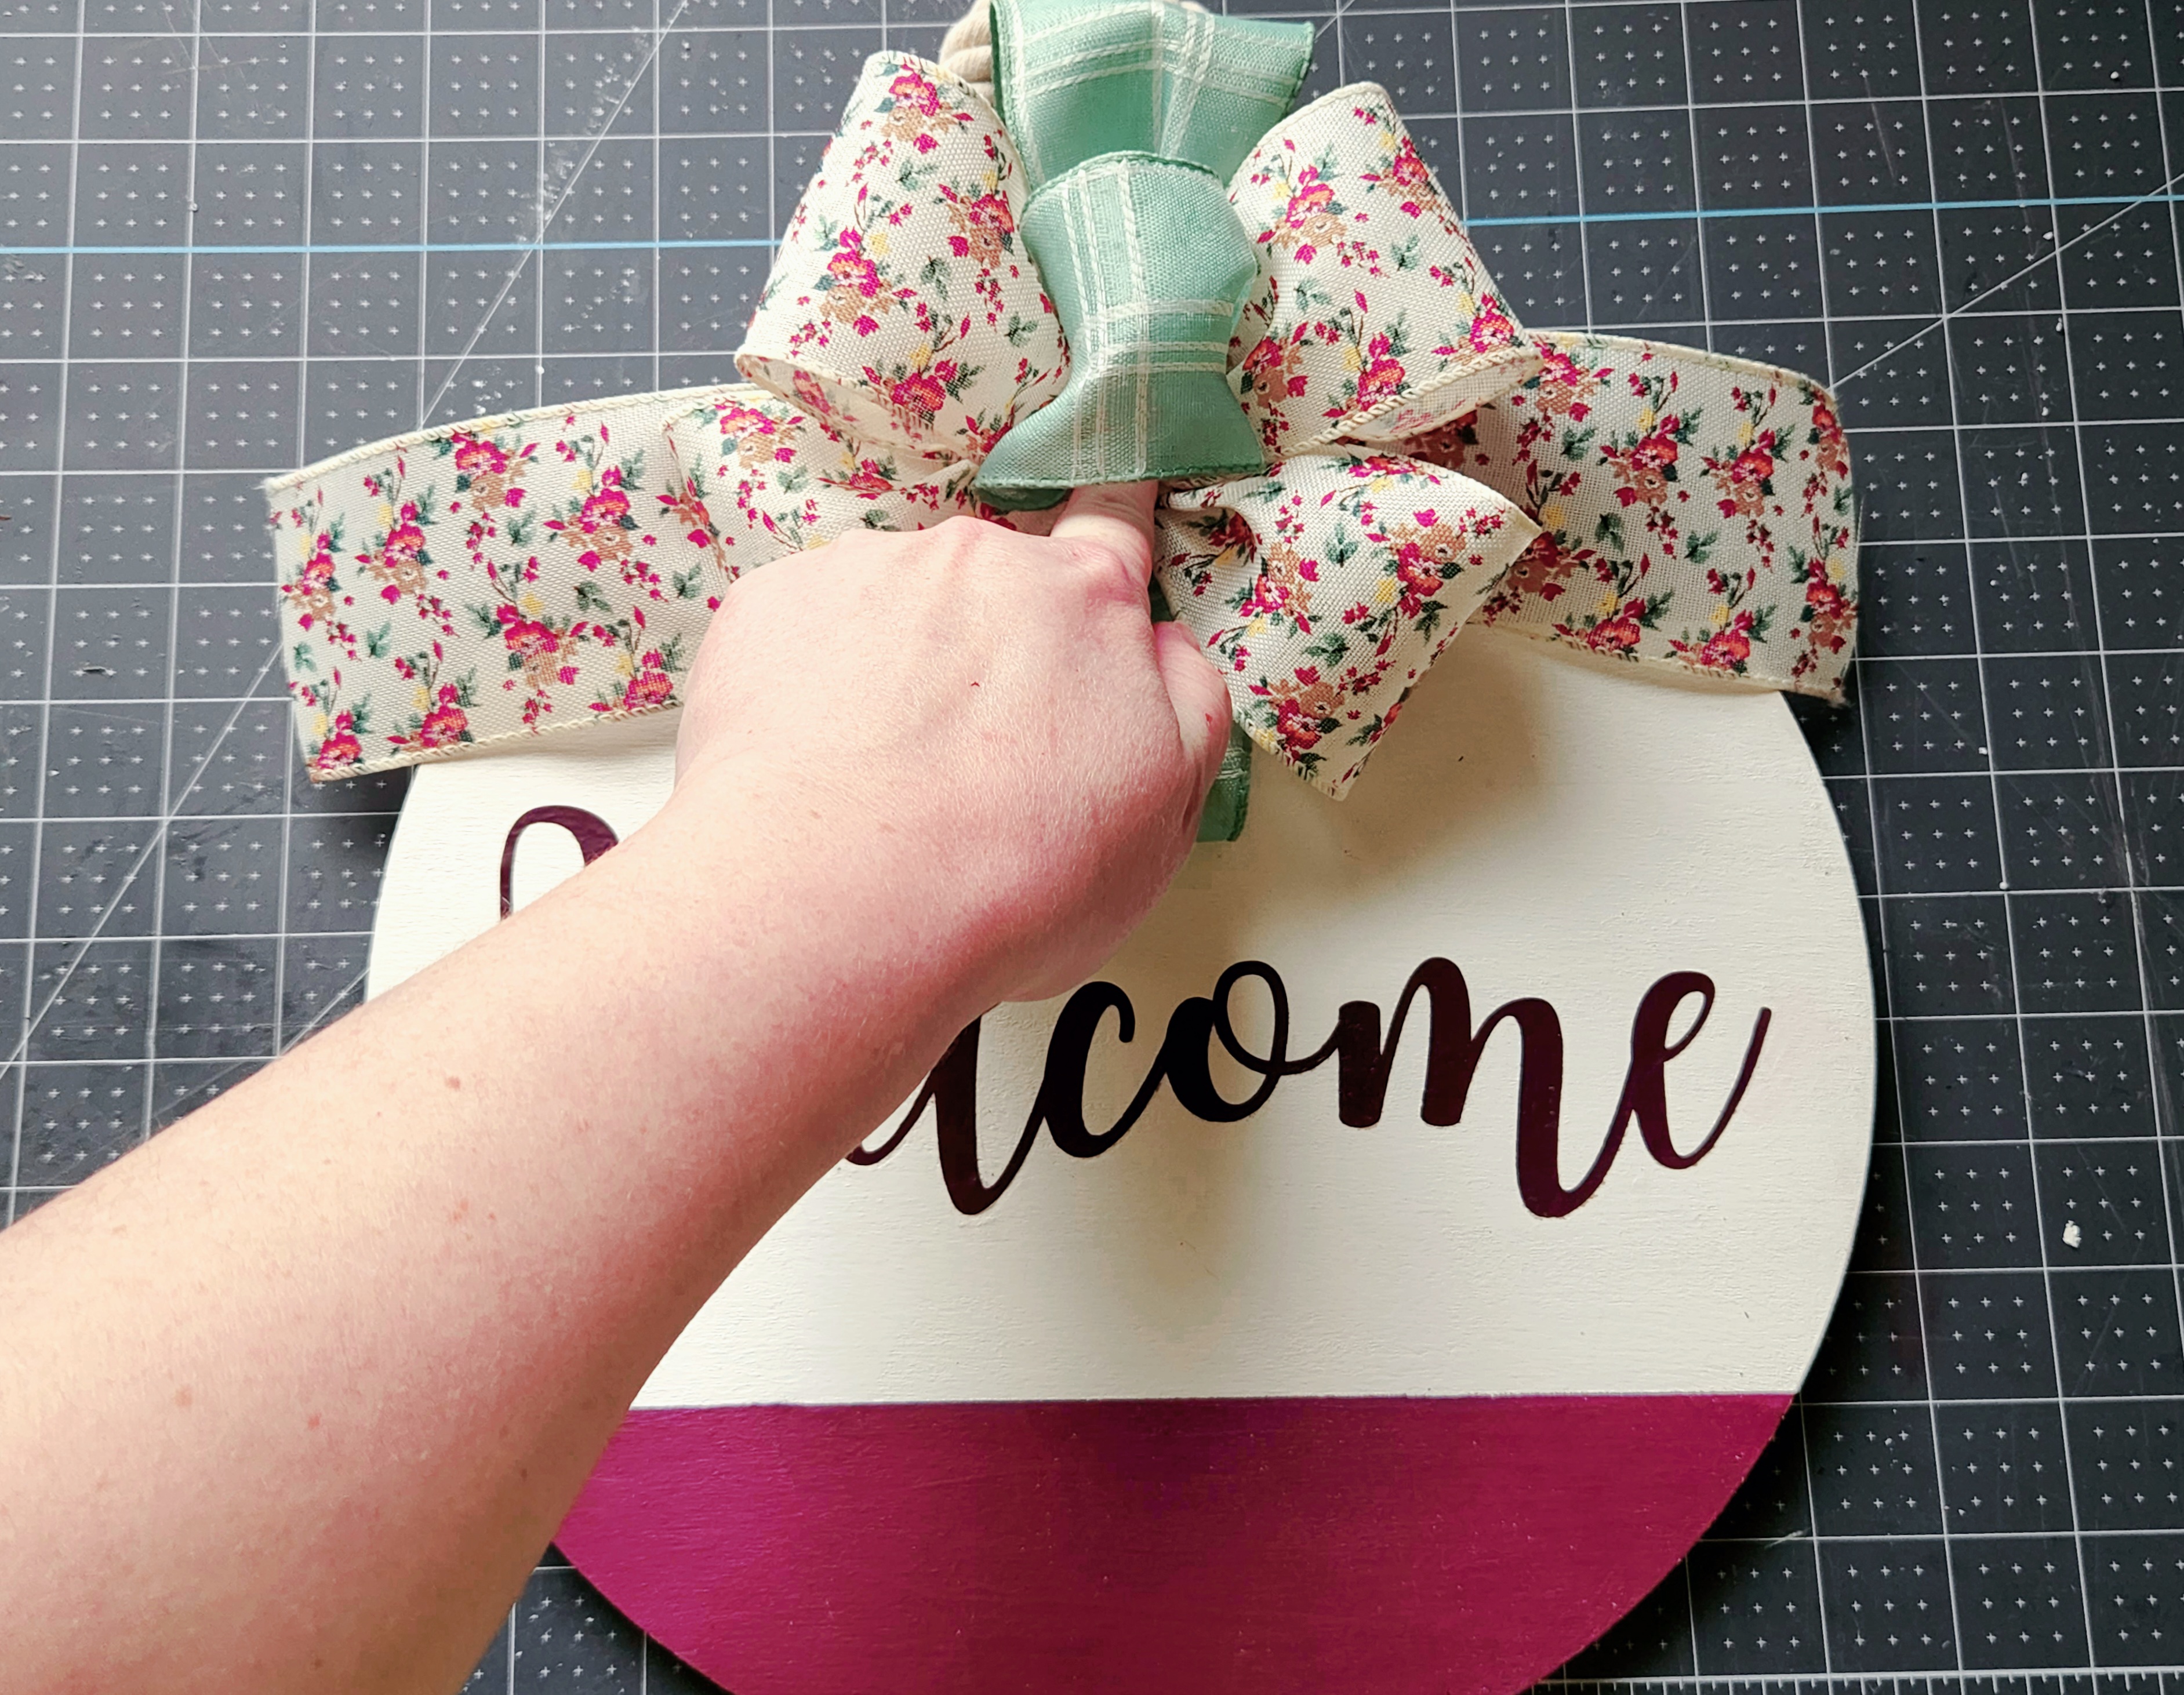
Once your bow is made, the final step is to add it to the door hanger. Squeeze hot glue on the back of the bow and place it at the top center of the wood. If you’d like to add greenery under and to the sides of the bow, you can check out my fall pizza pan wreath tutorial where I do just that.
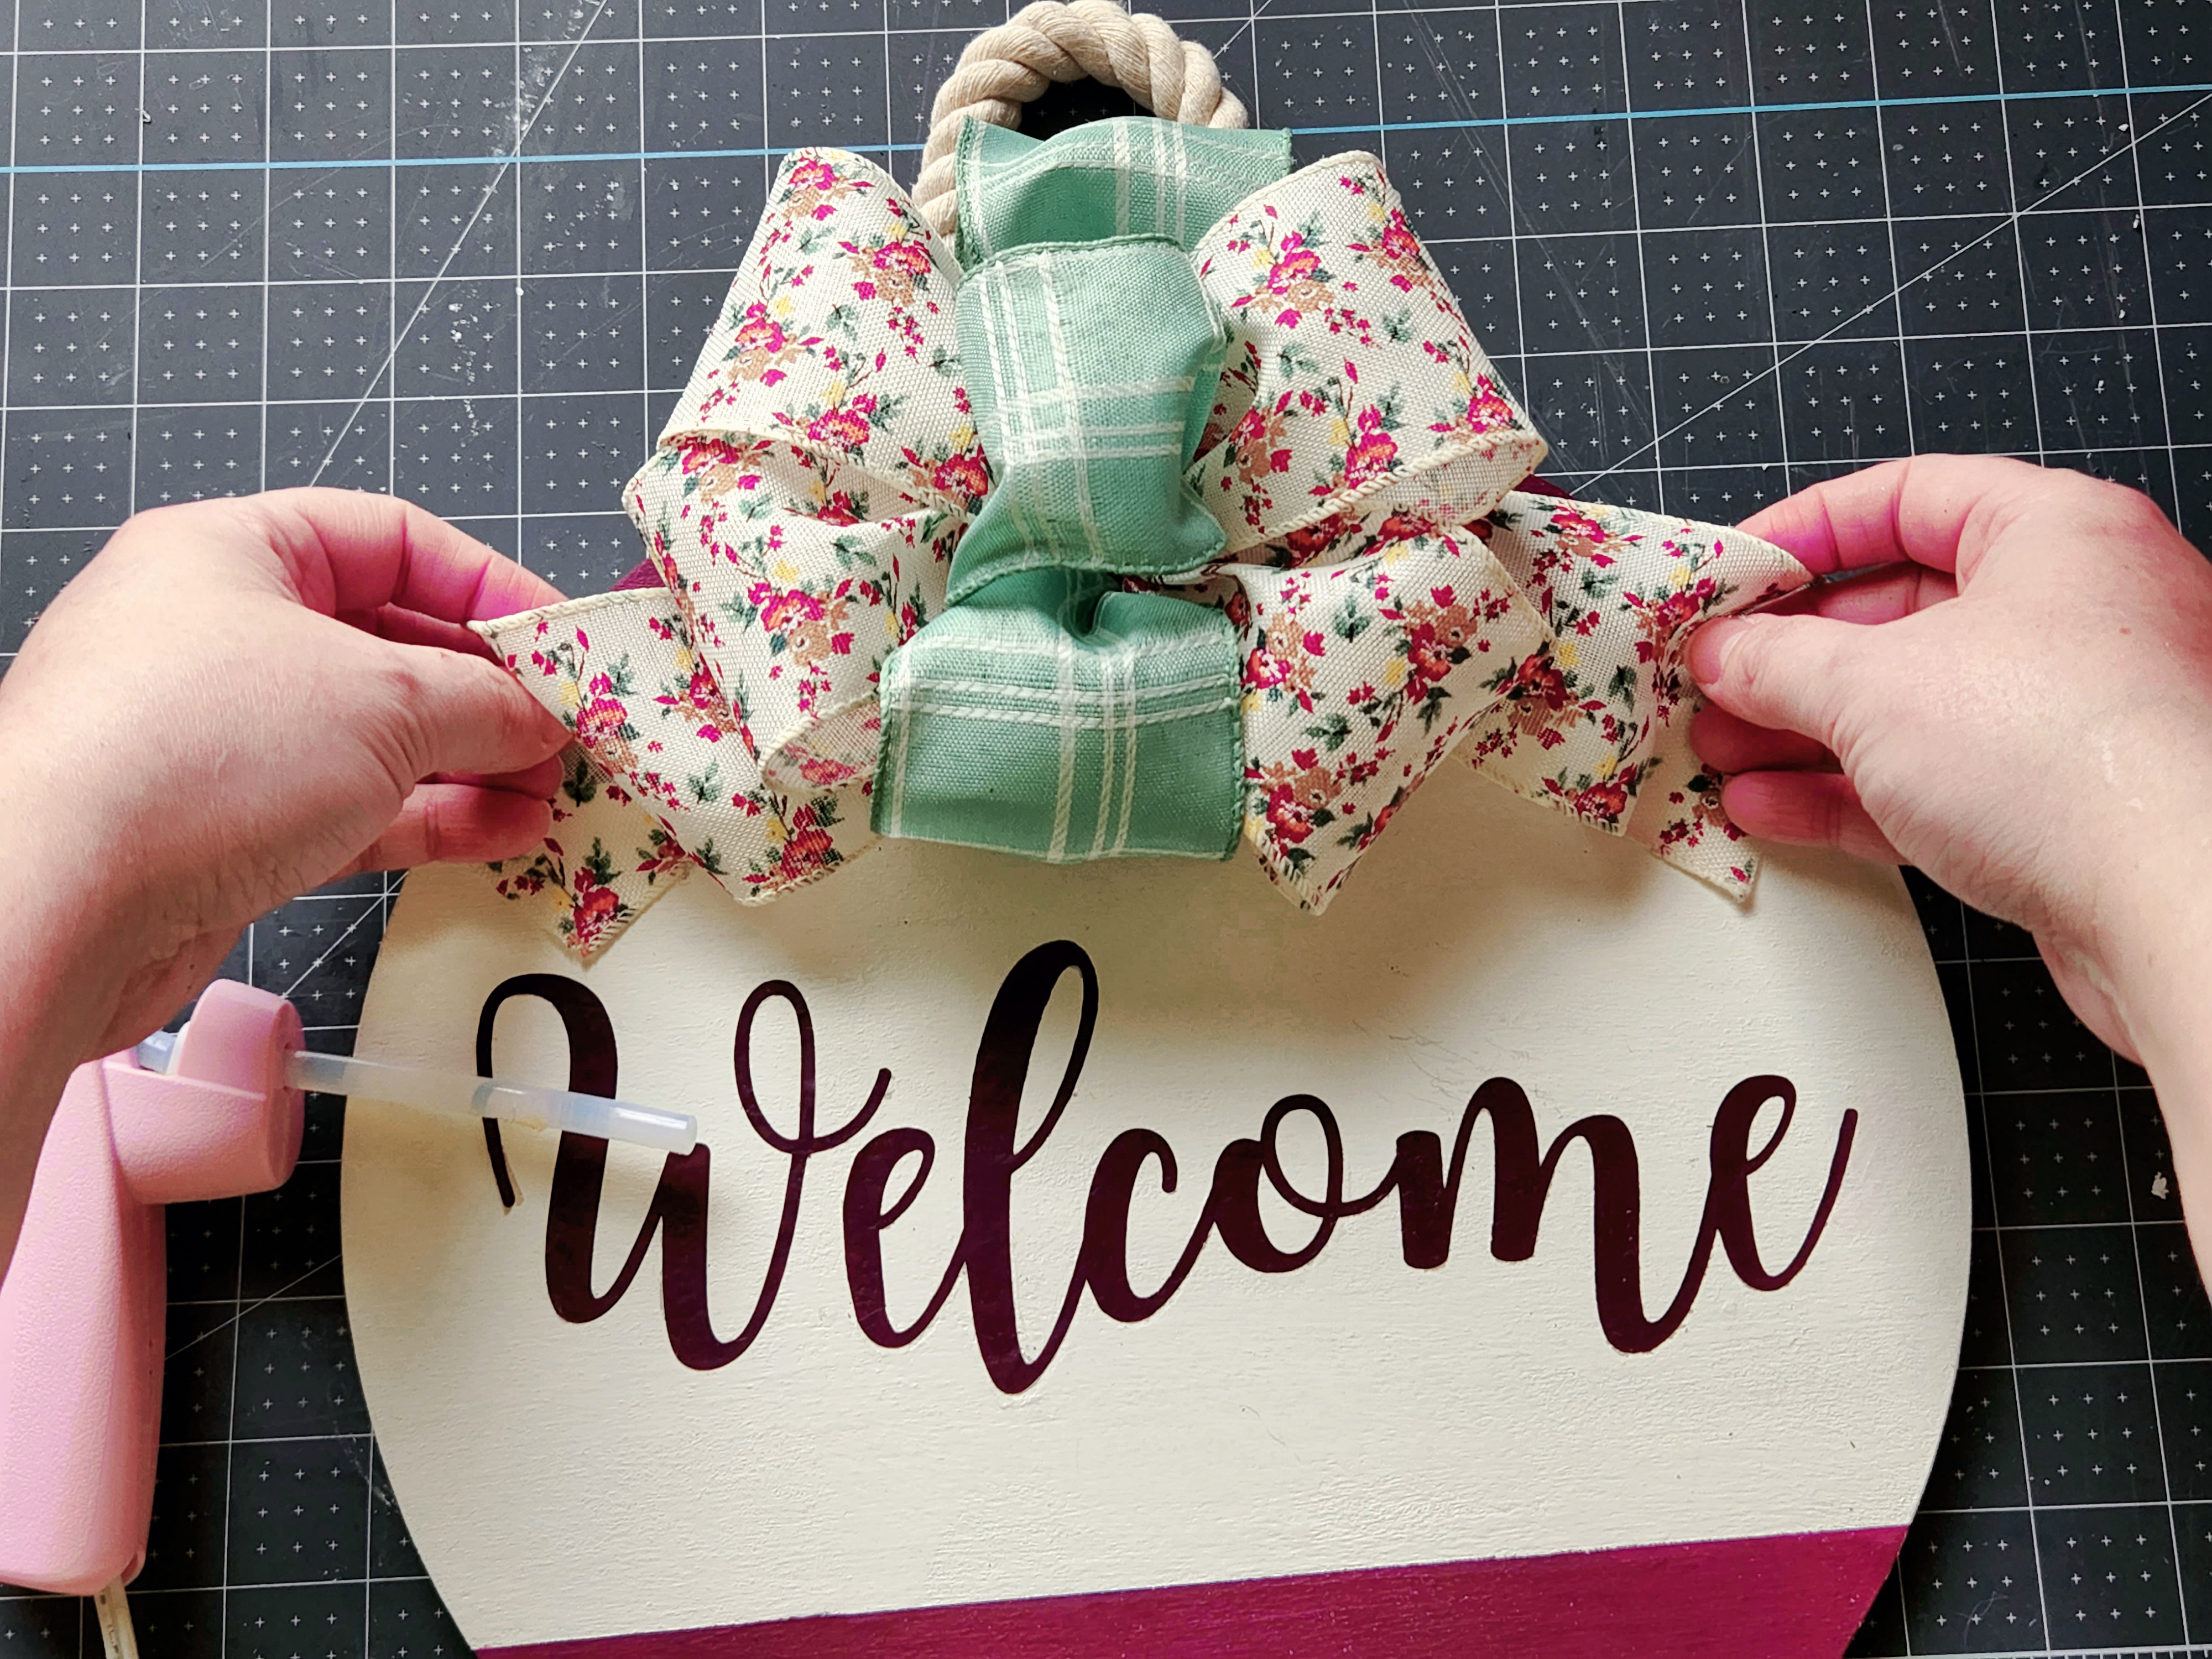
You can cut dovetails on the ends of your bow, but I decided to create a bit of a ripple with mine. I didn’t cut long enough tails to do multiple ripples like I did in the fall pizza pan wreath, so I created one on each tail. To do this, simply place a finger on the back of each tail and bend the wire back around your finger. I added a little hot glue to hold it in place later, but I didn’t get a photo of that.

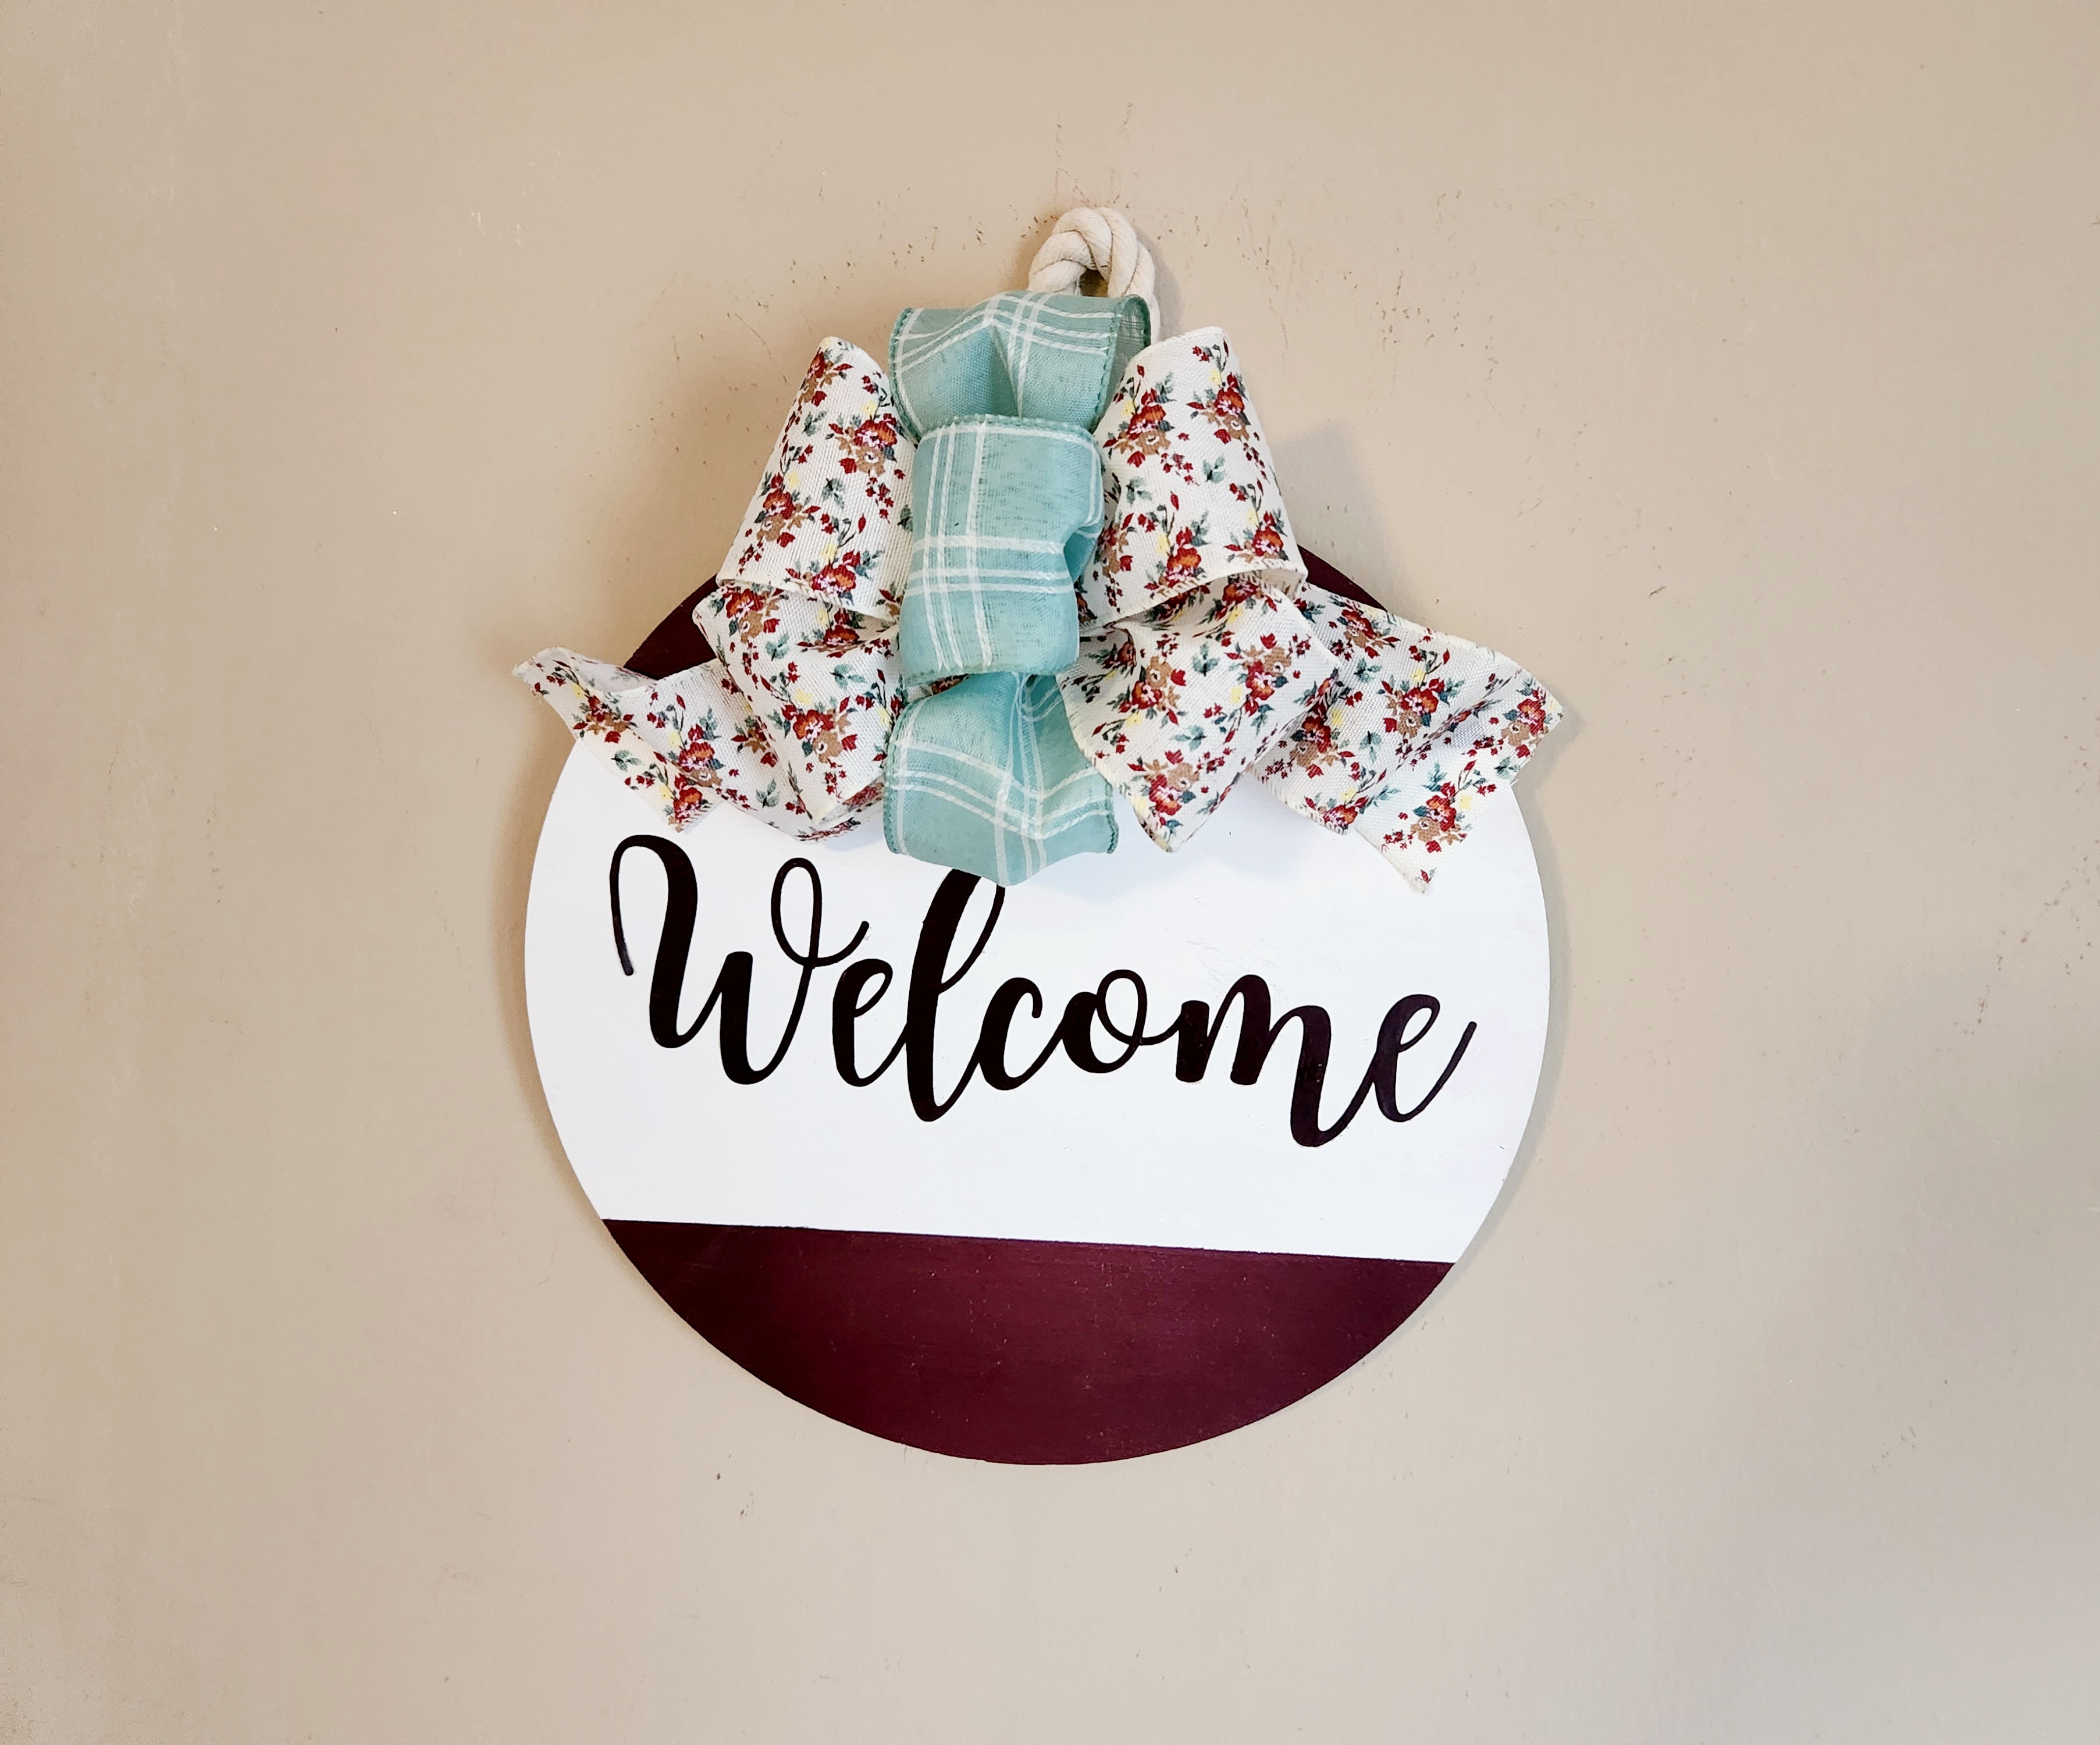
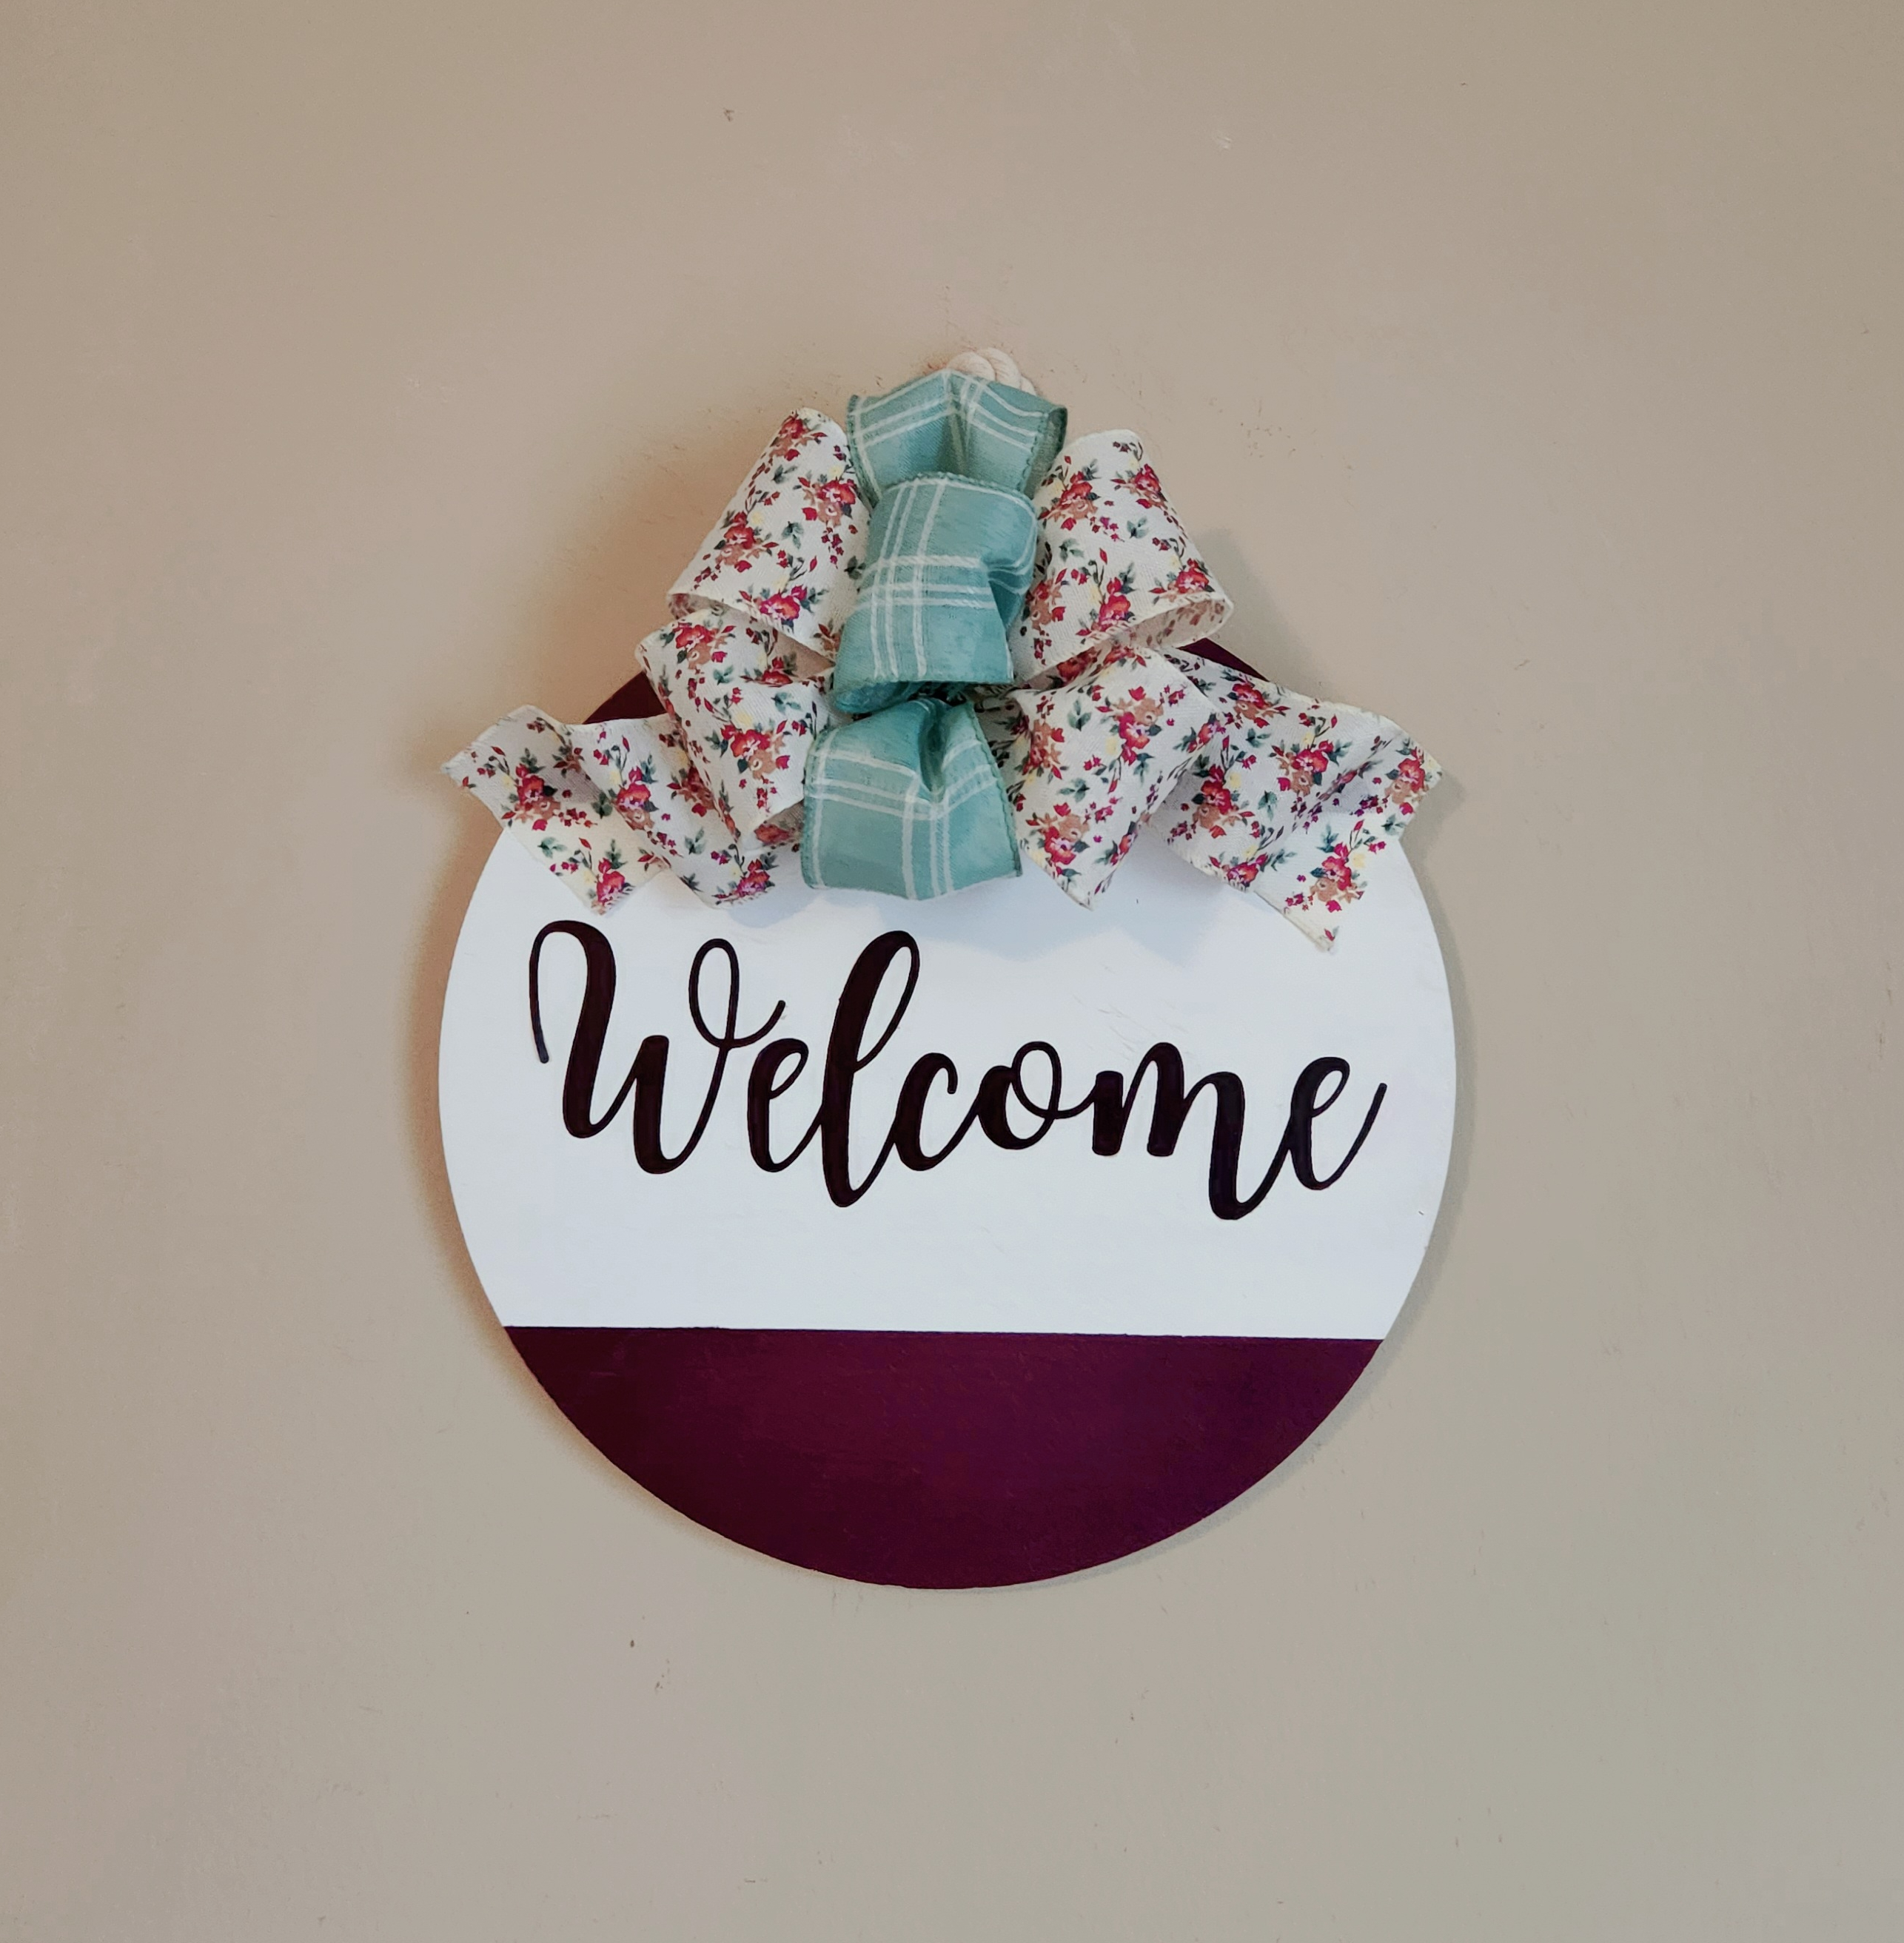
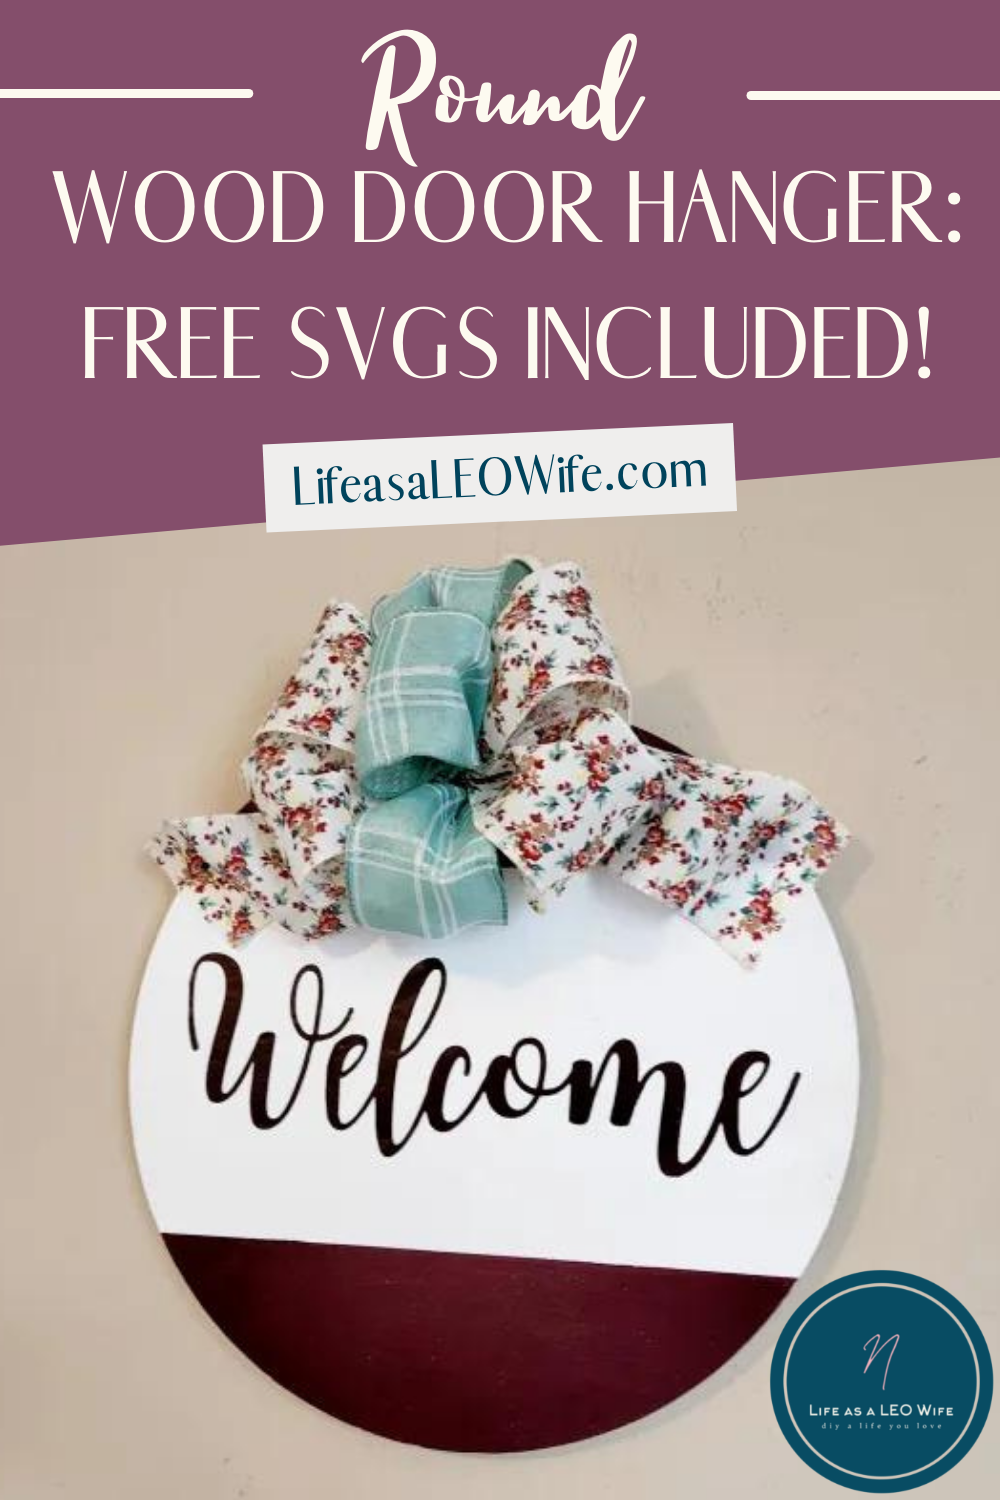
Your round wood door hanger is ready to hang!
That’s it! Your gorgeous door hanger is ready to go. I just love how my door hanger turned out, and I can’t wait to hang it on our new robin’s egg blue door!


I hope you enjoyed this tutorial because I enjoyed making it for you! Remember to pin or share this post so that you can get back to it when you’re ready to make your door hanger or download the SVGs.
Before we get to the craft hop, I’d like to invite you to follow me on social media using the buttons at the top of the post or in the sidebar. If you do, you won’t miss out on what’s going on here on the blog! I have some free printables, SVGs, and DIY Mother’s Day gift ideas scheduled, so to make sure you don’t miss them! Enter your email address below, and you’ll get an email when I add a new tutorial, printable, or link party. That will remind you to link up every week!
Follow me on Pinterest for new ideas added weekly! Oh, and don’t forget to link up on Crafty Creators Link Party before you go!
On to the Creative Craft Hop!
You’re in for a treat with all of these wonderful projects shared by very talented bloggers! Every third Thursday of the month we join together and share our latest craft DIY tutorial on Creative Craft Hop. This month it is hosted by Donna from Modern on Monticello.
Next up on the blog hop is Terrie from Decorate & More with Tip. She’s sharing a tutorial for a Dollar Tree Wooden Link Chain. After visiting her, make sure to check out the posts from these amazing ladies! (As in all my blog hops, you’ll find the bloggers’ home page linked to their names and the project linked on the right.)
Terrie from Decorate & More with Tip | Dollar Tree Wooden Link Chain
Ann from Apple Street Cottage | Homemade Lavender Soap
Gail from Purple Hues & Me | Handwoven Wood Veneer Candle
Donna from Modern on Monticello | DIY Fabric Scrap Wreath
Tammy from Patina & Paint | Easiest & Cheapest Cake Stand
Jenna from The Painted Apron | Upcycled Plastic Cannister
Cecilia from My Thrift Store Addiction | DIY Fabric-Lined Piano Bench
Carol from Blue Sky at Home | Easy Homemade Mother’s Day Gifts
Thank you for visiting us today. I hope you’ve found several of your next DIY projects! Be sure to pin this post and any others you like so you can get back to them when you’re ready to get crafty.
If you enjoyed this post, you might like these:


Niki this is so cute and for some reason I never would have thought to use HTV instead of vinyl on wood. But NOW that I know I can think of a ton of things to use it on. Thanks so much for sharing. Love the sign!
Thank you! Yes! I just randomly try it on things, and I’ve yet to find anything that it doesn’t work on. Yet… I had a difficult time getting it to stick on the acrylic paint, but it’s cheap paint. I’ve had problems with other acrylic paint sticking to this particular white paint, so I’m just about positive it’s the paint and not the HTV.
Wow! I love your new home wreath, Niki! It’s going to look great on your door! I’m sure the neighbors will be impressed! Thanks for sharing the idea of wetting the wood first when painting with acrylics. I’ve had that problem before! And congrats on your new home! That’s so exciting!
Thank you! I hope it matches the door ok. When my son saw the new door (which the previous owners painted a robin’s egg/Tiffany blue), he said, “Well, that’s gotta go. That’s hideous.” I told him I liked it, but we’ll see how I feel once we move in lol!
Very pretty, Niki. I still have a couple of wood rounds that I found at a yard sale that need attention. Fingers crossed you close on your new house soon!
Thank you! I can’t wait to get in!
So sweet and pretty Niki! Your are ready to welcome guests in your new home! I hope the transition and move go smoothly, and I know you are inspired to create many new things for your new house!
Jenna
Thank you! Yes, I can’t wait. I’m dreading the moving of boxes and furniture, but ready to be in the house!
What a cute idea and it’s so fun for the front door! Blessings, Cecilia
Thank you! I can’t wait to hang it. A week and a half seems like a lifetime. I feel like a child on Christmas Eve lol!
Niki the welcome sign looks amazing. Love the bow with the color you picked out for your sign. I never knew to iron on the vinyl. Love the idea. Thanks for sharing.
Thank you! I was surprised you could use HTV on wood or paint, but I just gotta try it on everything! Of course I try a small piece first because HTV can get expensive lol!
I just love making door hangers like these and you have inspired me to go and try a new one. Thanks for the free download and for sharing this time around on the link party.
Thank you! Can’t wait to see yours!
Niki, what a cute sign. I like your combination of paint, vinyl decal and a pretty bow. Great instructions.
Thank you Carol!