Designing Devotion: Peace on Earth
I was putting away my Thanksgiving and fall decorations, and I realized that I didn’t have something large to put where my Thanksgiving DIY scroll was. I thought about making a new scroll for Christmas, but I wanted to use some buffalo check fabric that I got from Dollar Tree. So I thought a round Christmas sign would be perfect for that location. Many of the round door hangers/signs/wreaths, whatever you want to call them, are wood and are selling for $50-$60 on Etsy. They are usually wood and are about 12″. I needed a large one, so I got creative and customized an 18″ one for myself.
This is a Designing Devotion post. I write these posts occasionally in which I give you a design tutorial followed by a devotional on a topic that matches it. Today’s topic is Peace on Earth which is the image that I put on this sign. Read to the end of the post for the devotional.
I made this round Christmas sign to match my farmhouse buffalo check decor. Check out my bubble burlap or ribbon candy cane wreath tutorial and my small buffalo check wreaths for cabinets, chairs, or other small places. This Christmas picture or card holder is made using a hula hoop and is perfect to use on a large wall. It has a touch of buffalo check as well.
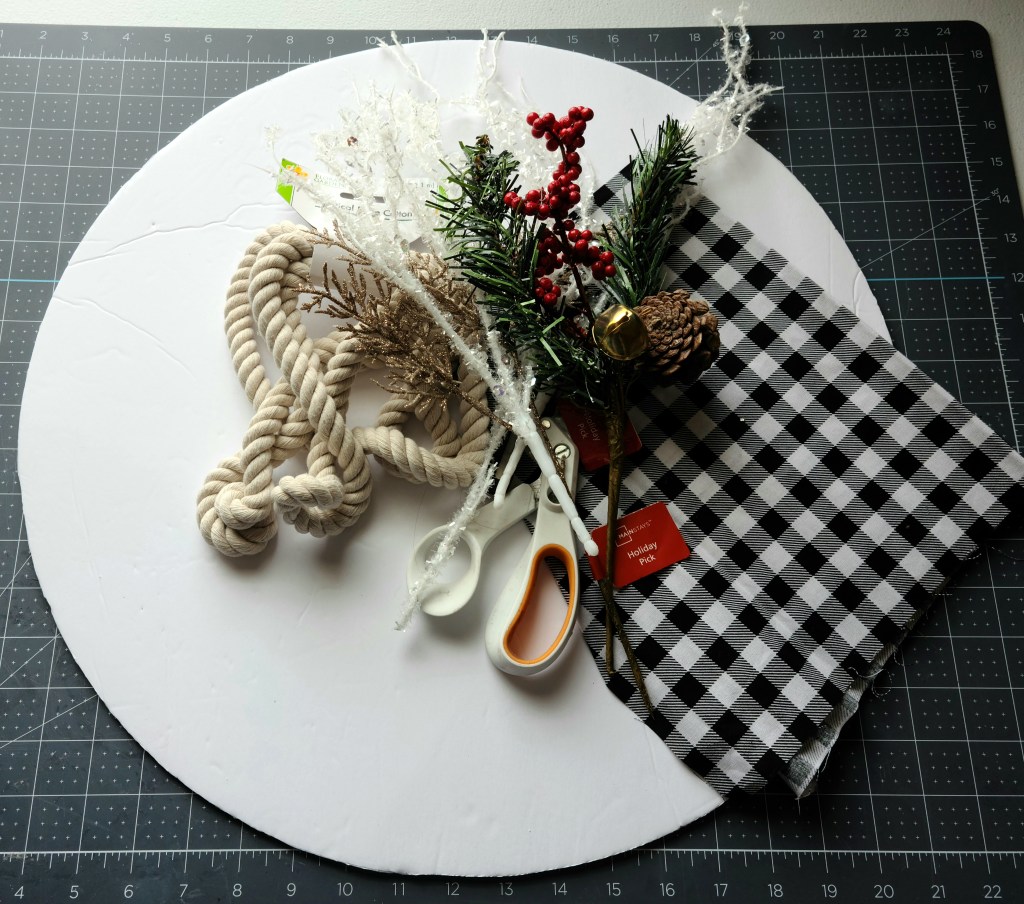
Supplies to Make a Round Christmas Sign:
Everything I used came from Dollar Tree except the HTV (from a local U-Haul store) two picks I used at the top of the sign which came from Walmart. They were $.97 each.
- foam board
- Exacto knife (or other utility knife)
- fabric- I used a fat quarter and it covered about 19″ with a little extra.
- cotton rope
- hot glue gun & glue
- floral stems & picks
- pack of garland ties
- large red & black buffalo check bow
- regular vinyl or
- heat transfer vinyl, wax paper, and iron or
- stencil and paint
Trace & Cut the Foam Board
I wanted to create a sign that fit into the space above the table I use to decorate each season like a mantel. That spot is about 24″ wide, so I wanted a round Christmas sign that was about 18″ around. I had an 18″ hoop wreath, so I used to trace for my sign. Find something round that is the size you want your door/wall hanger to be. I used a large Pyrex glass bowl to trace to create the form for my nautical rope wreath, so you can use anything.
Trace a Circle on the Board
Lay your circular item on top of the foam board. I brought my hoop wreath as close to the edge as possible so I can use the rest of the board for another project. Trace around the circle with a pencil. Ignore the smooshed Halloween bow that’s still on my hoop wreath, ha! I noticed that if you press down firmly with the pencil as you trace, that helps the utility knife easily glide in the track that it leaves.


Cut the Circle
Once the object is traced on to the board, remove it. Use an Exacto or other utility knife, and cut the board along the pencil line circle. Be careful because those blades are sharp and easily cut through skin. I got my thumb good a few weeks ago. It was in a spot that as it healed and I would bend my thumb, it would bust back open. No fun!

When you’ve cut the entire thing, you’ll have a large circle like this.

If you have some jagged edges like I did, use scissors to trim those pieces off. Do this carefully so that you don’t end up with an uneven circle.

Cover the Round Christmas Sign
Now it’s time to place the fabric on the sign. I used the same fabric from Dollar Tree that I used on my no sew Christmas trees and the upcycled snowman to a JOY sign.
For my 18″ sign I was able to use one fat quarter of buffalo check fabric from Dollar Tree. If yours is an inch or so bigger, you might need a little more. Should you need to use more than one piece of fabric, you’ll need to find a way to cover the seam on the front of the sign.
Glue the Fabric on the Circle
Go ahead and iron the fabric if needed. Lay it upside down on your workspace. Make sure it’s nice, flat, and even, without wrinkles. Add a bit of hot glue on the top edge (on the back) of the foam circle then fold and press the edge of the fabric down on it.


Put more hot glue along the edge of the foam on one of the sides. In order to keep the fabric straight and looking nice on the front, pull it taunt then press it down on the hot glue. I use a rubber fingertip cover when using hot glue to keep my fingers from getting burned because I’ve done that so many times. I highly recommend them!


Pull the fabric taunt and glue the bottom edge followed by the side you’ve yet to glue. With all four “sided” glued, continue to glue the fabric around the edges of the sign.


Trim Fabric
When you’ve finished gluing the fabric on, you can trim off the excess. I trimmed as close to the glue as I could so I can use the extra pieces on a later project.

Add a Design to the Round Christmas Sign
With the fabric on the round Christmas sign it’s time to add the embellishments to it. There are several ways to place a design on your sign. You can cut one using a cutting machine using heat transfer or regular vinyl. Another option is to use a stencil, either for letters, pictures, or both, and paint it on the sign. Dollar Tree has adorable stencil wheels with pretty swirls, dots, and other borders. You can paint words on the fabric with the letter stencils then paint the borders around the words. For example, Oh Holy Night with swirls around it. A final option would be to print a design on wax paper, cut around it, then use it as a stencil to paint it.
Attaching the HTV Design
I used heat transfer vinyl, a gold glitter and a hunter green piece, to cut a design with my Cricut. I wish I had had a red piece, but I was out, so I used what I had. If I had to do it over again I would definitely use a solid design, not the open lettering and the small branch. I only had a little bit of vinyl, so I had to do what I had to do. I certainly didn’t want to spend extra cash at Christmas! I’m a Cricut Access subscriber so I chose an image that is free with the subscription that says “Peace on Earth” with a fir tree branch above it. It fit perfectly with the farmhouse Christmas section that I have going on in the area where I hung the sign. Cut the design, weed it, then center it on the sign.


Tear off a piece of wax paper that’s wide enough to cover your entire design then place it over the fabric.

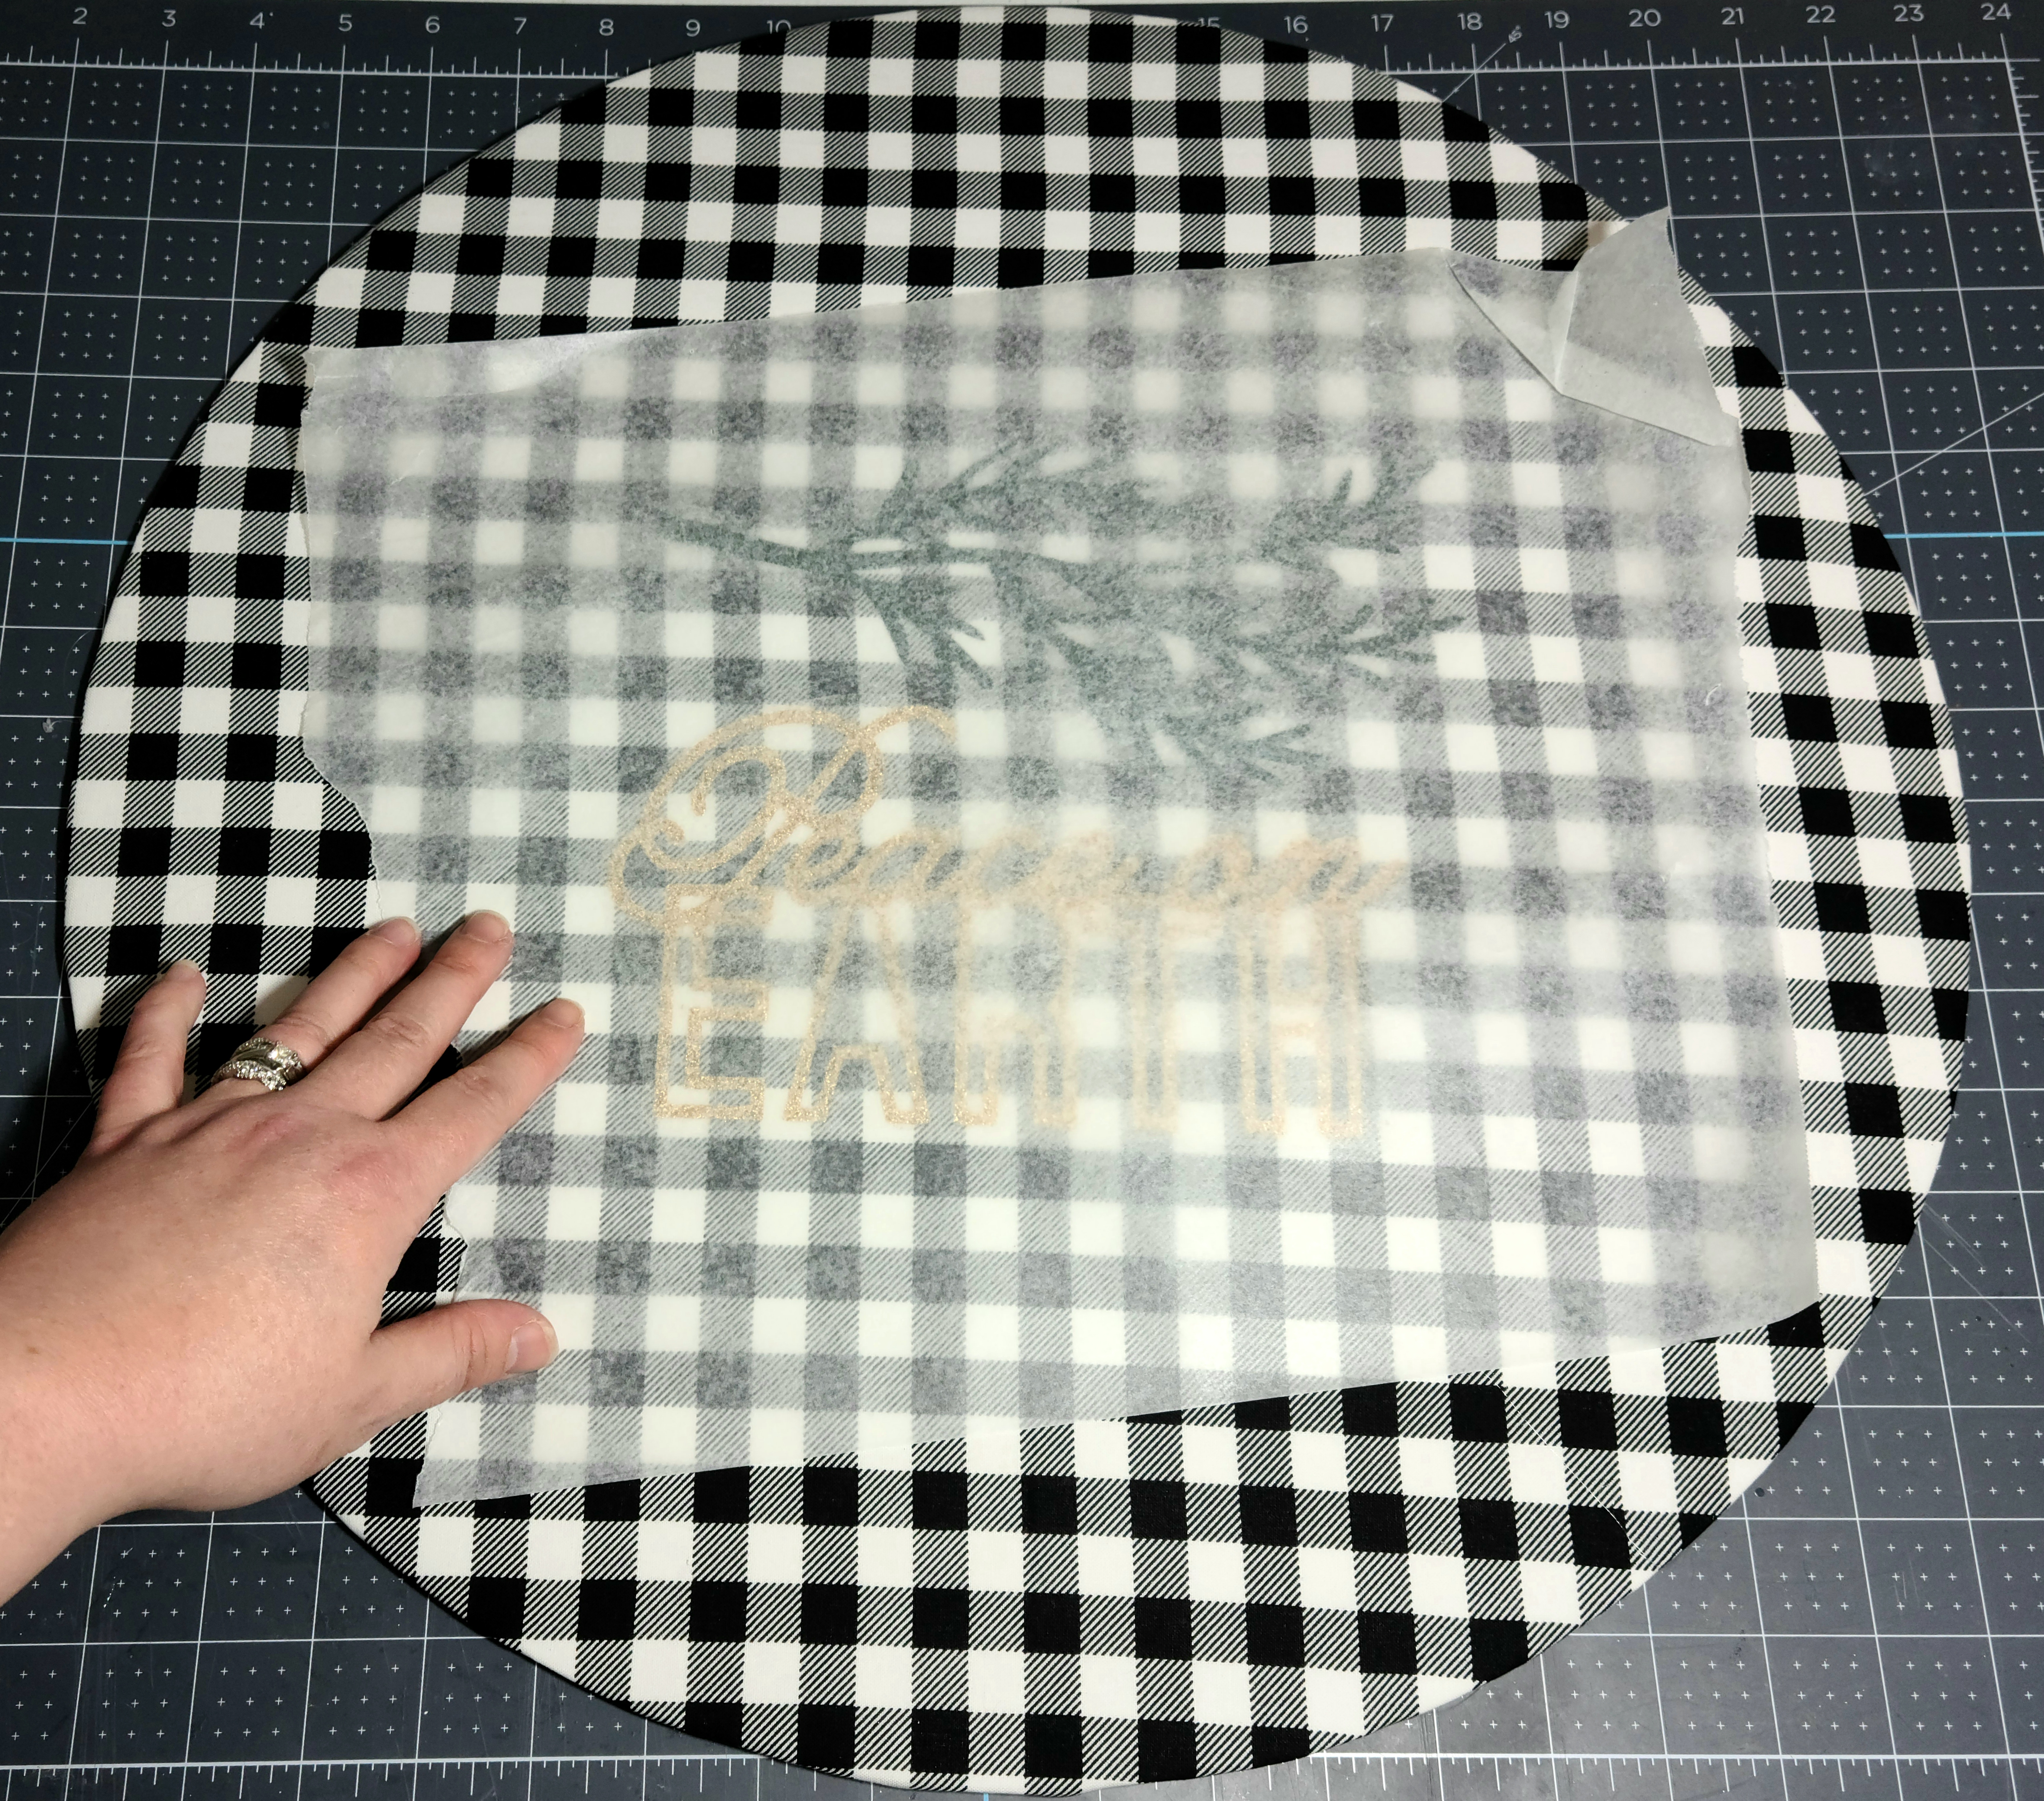
Heat your iron to medium-high then begin ironing over the HTV. Press firmly as you go, and go over everything for about 45 seconds. Makes sure not to leave the iron in one spot too long. Keep it moving so the foam doesn’t melt. I didn’t have an issue with this at all, but I can’t say for sure that it would never happen. The foam is covered by paper so it should be safe, just don’t leave it unattended lol. The reason that I didn’t iron the design on first was because I’ve done a similar project in the past and found it very hard to center after. It was actually the JOY sign I shared earlier.

Place the Cotton Rope Around the Round Christmas Sign
I did these next steps a little backwards. I wasn’t quite sure if I wanted to put the white rope on my sign, so I added the greenery and the bow first. My advice is if you think you’ll want the rope on at all, add it first. It wasn’t hard to add it last, but I was a little afraid I’d break the bow off and mark up my fabric in some way while I was moving it this way and that.
Add hot glue on the very outside edge of the circle. You want it on the front of the sign and not on the width edge. The reason for this is that if you have made the circle uneven at any point, it will make that very obvious. I started at the bottom because the bow hid the place where the two ends of the rope met.


Continue around the sign adding glue to the edge (on the front) of the sign and pressing the rope on top.


When you get back to where you started adding the rope, cut the rope and glue the end on the sign. I did add a piece of tape around the cut end of the rope to keep it from unraveling. I didn’t get a picture of that, but it’s very easy. Just tear off a piece tape and wrap it around the end. If you look at the beginning of the rope you’ll see that there’s tape there as well. Just copy that end.


Add Floral Picks
I used two holiday picks from Walmart and two white poinsettias (from DT) on the top of my round Christmas sign. Lay your picks or flowers on top of each other and move them around until you like the way it looks. In my case I took two picks that had two faux fir stems, a branch of red berries, a pinecone, and a gold jingle bell and laid the two ends on top of each other with the tops extending in each direction.

I trimmed the wire ends then wrapped a pipe cleaner around them to attach them together in the middle. After I got this on my sign I felt like it needed a few more fir pieces, so I glued some garland ties to the sign. It would’ve been easier if I had added them to the picks at this point. If you have a similar set of picks, and would like to have them fuller, go ahead and attach the ties now. You can get a pack of 12 at Dollar Tree. I’ve used them quite a bit and I wish I would’ve bought more at the time because I can’t find them anymore.


Add hot glue to the back of your branches, then press them to the top of the round Christmas sign.

To cover the section where the picks or branches are attached, add some flowers, ornaments, or other greenery. Add hot glue to the back of the flowers (in my case) then place them over the wires.


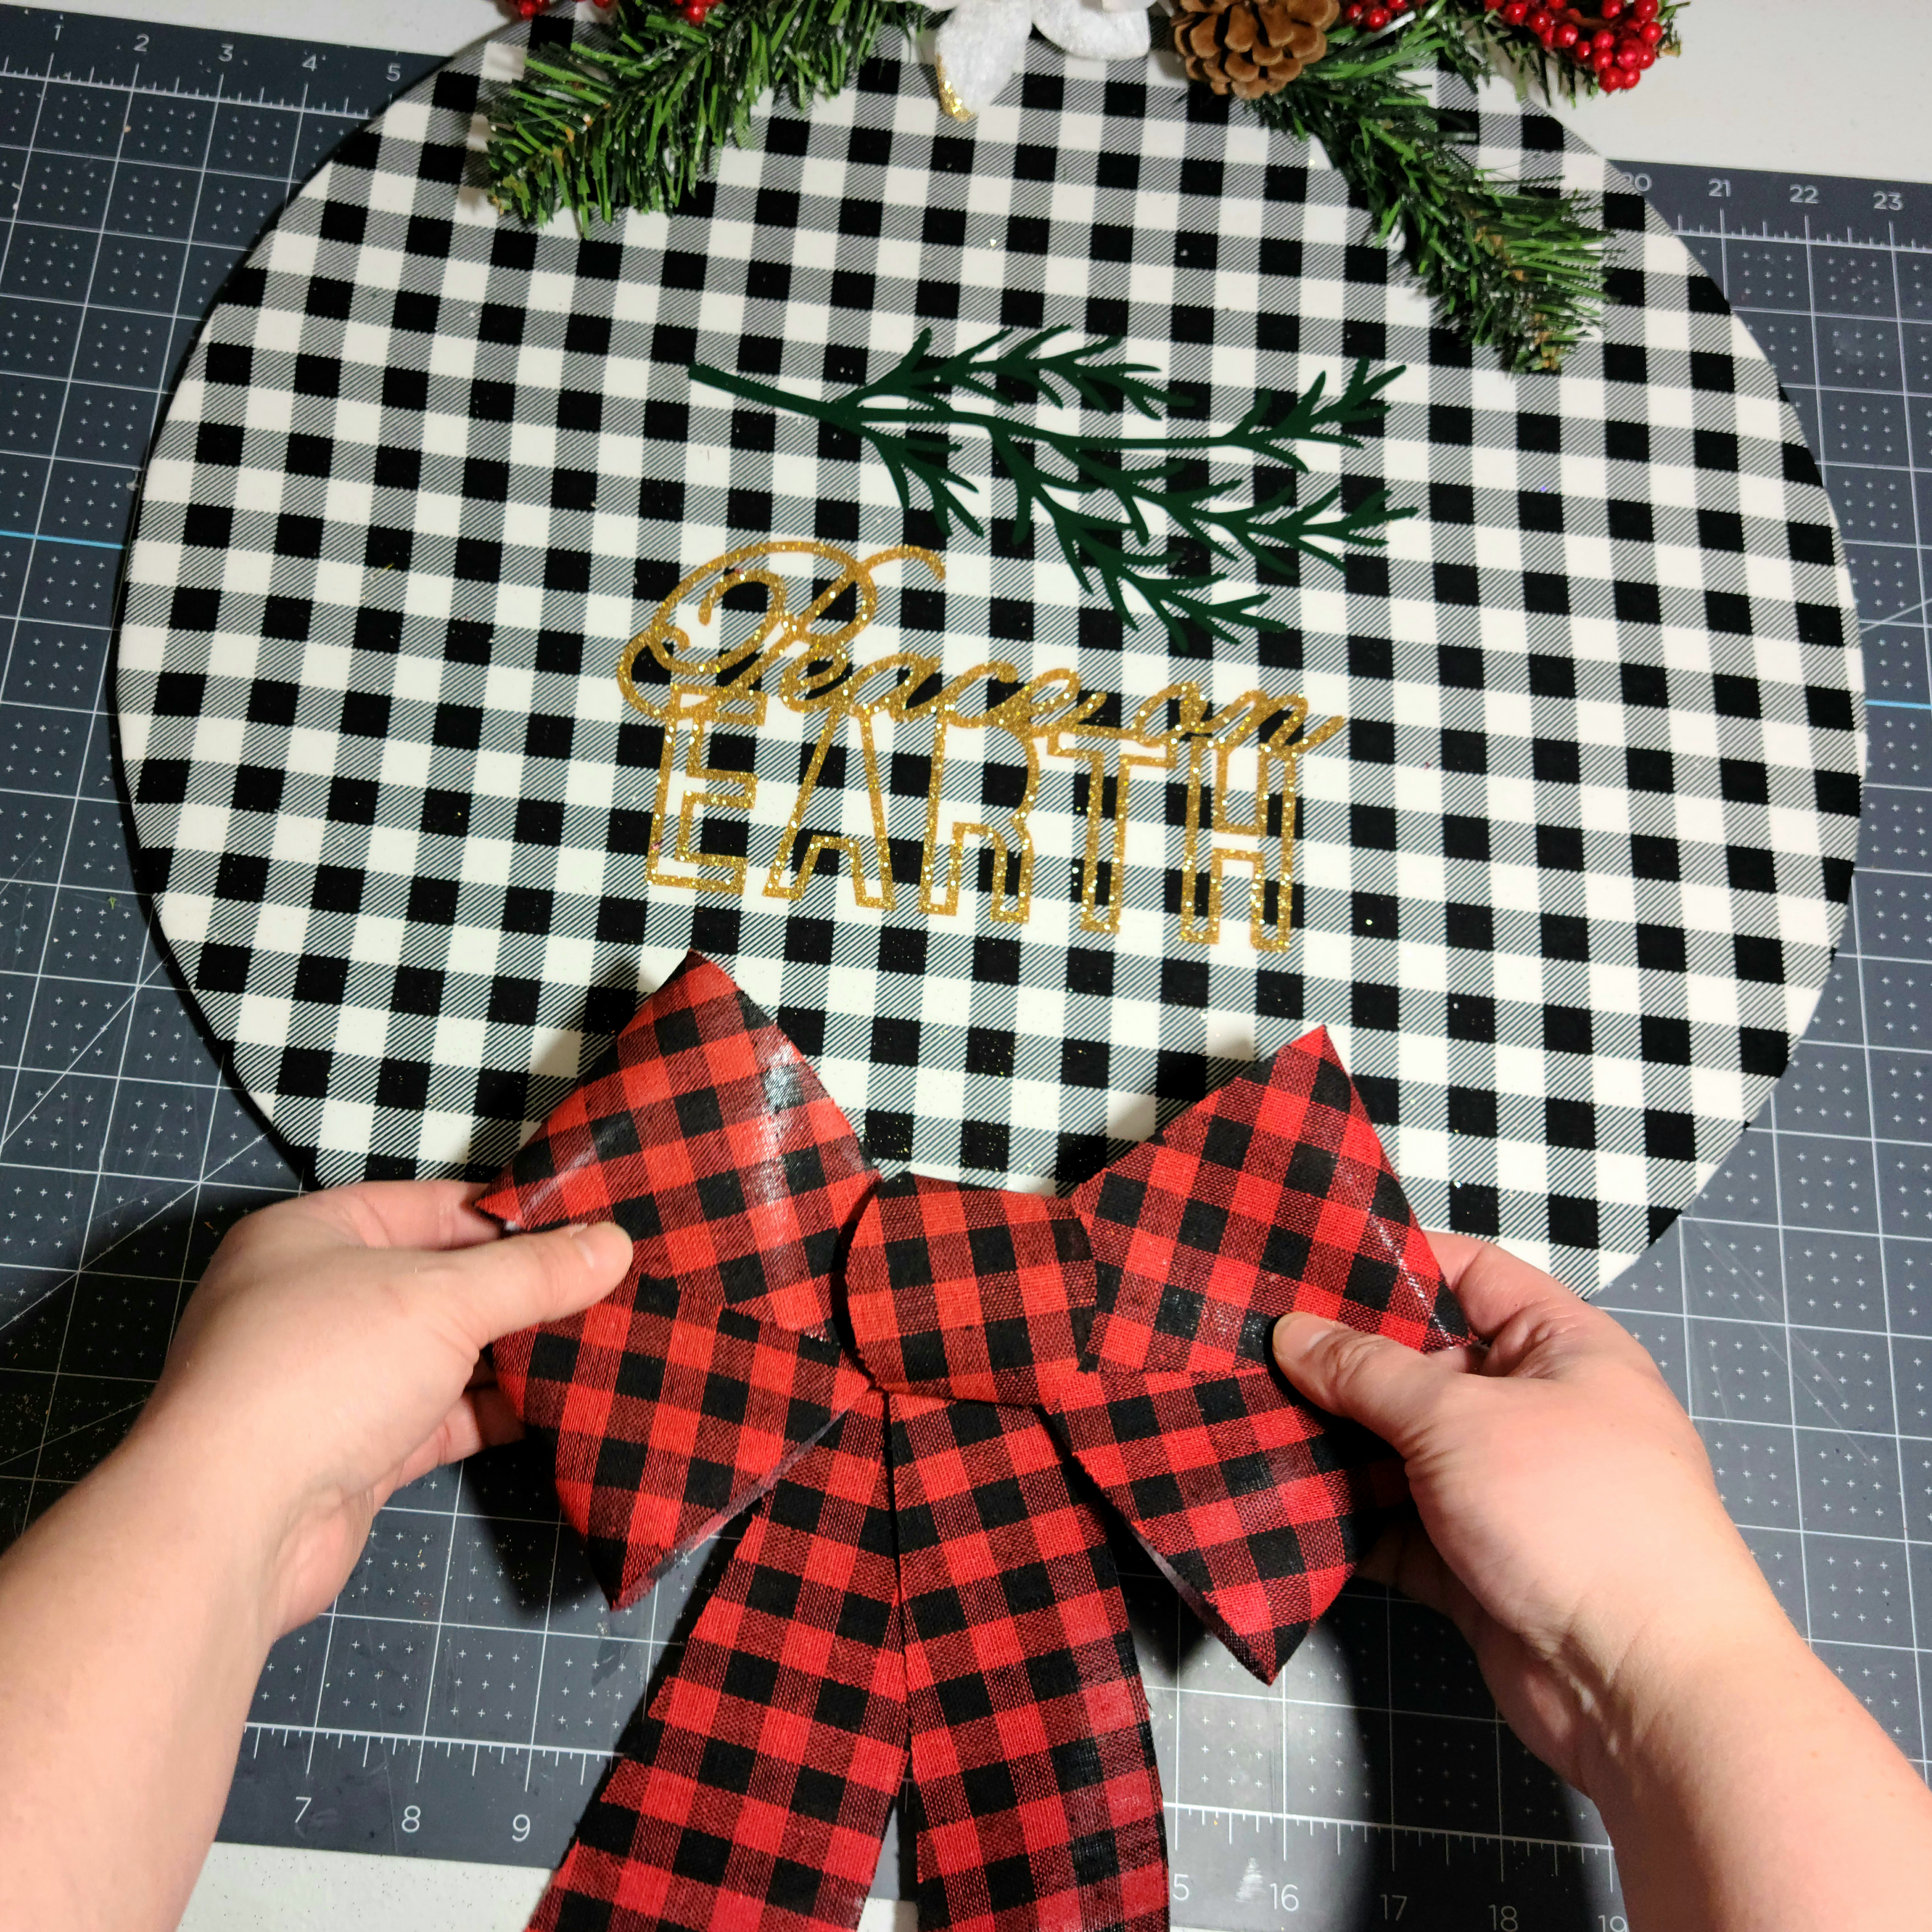
Glue on the Bow
I used a pre-made bow from Dollar Tree. They have two different packs, a two-pack of smaller bows and one large one. I used the large red and black buffalo check bow. It’s about 10″ wide. You can make your own bow or use a pre-made, whichever way you want to go. If you want to make one, you can use this super easy bow tutorial where you use individual pieces of ribbon to form the loops (I’ve told you before, but it’s so easy my 10 year-old son unwillingly made one lol) or this easy bow tutorial. Add glue to the back of the bow and place it at the bottom of the sign. You want the tails hanging off of the sign and have them covering the place where the ends of the rope meet.

Attach a Hanger
Finally you need to add a way to hang the sign. Take your sign to where you want to hang it, and hold it up to see where you need to add the hanger. That’s what’s great about making your own wall art. You can add your hanger where you need it and not have to move the nail and put multiple holes in the wall. Make a mark where you’d like the wire to be. Use a piece of floral wire or pipe cleaner and cut about 4″ off. Twist the two ends together to form a loop. Then place hot glue on the section that’s twisted and press it on the sign with the mark you made in the middle of the loop.

So what had happened was- (my 80’s and 90’s babies out there will get this)- I accidentally pushed the nail through my sign when I was trying to make a small impression in the foam. I planned to put the loop around the impression in the foam so I’d have it at the exact right spot to hang in the location on the wall perfectly. I pushed too far and it popped though. It wasn’t a problem at all though because the fabric covered it. I did take it down and add a loop, but I didn’t need to. When I put it back up, I just hung it on the hole. You can do the same if you covered your sign with fabric and not paper.
The round Christmas sign is ready for its place of honor!
That’s it! How easy and budget-friendly is that? I used about $8 in material to make an 18″ piece of wall art. The words and the branch on my sign look dark in the photos, but in person they pop and you can see the detail. Here are a few shots of my round Christmas sign.


Remember to pin the image below or share this post with the buttons on the left side of the page so you can find it when you’re ready to start your project! Also, follow me on Pinterest for new ideas added weekly! Be sure that you never miss a great tutorial for decor like wreaths, signs and other home decor, free printables, crafts, and other fun posts! Enter your email address below to be notified of new posts! Use the buttons below to follow me on social media for other great content.

Don’t go yet! There’s more to see!
There’s plenty more to see here on the blog! If you’re looking for something specific, use the search box in the sidebar to look it up. If not, you might enjoy these ideas. Don’t have time to read them all now? That’s ok, just click over to the posts using the pictures and pin them for later. You can also add Life as a LEO Wife to your favorites and check back for new ideas and free printables and SVGs every Wednesday, as well as link parties with tons of shared ideas on Sundays!
Looking for a large decor piece, but not a round sign? Check out my tutorial for making a DIY scroll. I made mine for Thanksgiving, but you can customize it for any time of year.


Devotion: Peace on Earth
In the book of Isaiah, the prophet speaks of the coming Savior, the Messiah. Isaiah 9:6 is probably a familiar verse to you, especially this time of year. The ESV says, “For to us a child is born, to us a son is given; and the government shall be upon his shoulder, and his name shall be called Wonderful Counselor, Mighty God, Everlasting Father, Prince of Peace.” Jesus was born and brought His Peace into the world with Him. Christmas is a time of joyful anticipation, waiting for Christmas Day and celebrating the birth of our Lord and Savior. It should also be a time of joyful anticipation for His Second Coming when He will usher in peace for the entire world.

At the Second Coming Jesus will return the earth to its original state of complete rightness. All evil will be defeated, and He will usher in the perfect peace described in Isaiah 9:7, “Of the increase of his government and of peace there will be no end, on the throne of David and over his kingdom, to establish it and to uphold it with justice and righteousness from this time forth and forevermore. The zeal of the Lord of hosts will do this.” There will be no war; weapons will be melted down to use as tools because there will be no need for them. All nations will look to Him to settle disputes, and He will give perfect judgements and justice.
Live like He’s coming today.
Use this advent season to live a life that shows you are ready for His coming. Forget the gifts and the rush, rush, rush of this time of year for a while, and share love and peace with everyone you come in contact with. Smile, show kindness in the face of rudeness, and when you think you’ve given all you can, go one step farther. God will hold you up with His righteous right hand for you to do so. Take time at some point every day to read the Bible with your family. Isaiah 26:3 says, “You keep him in perfect peace whose mind is stayed on you, because he trusts you.” God will keep you in perfect peace when your mind is steadily on Him and when you give Him your complete trust knowing that He will provide your every need. Reading His Word together will keep Him on your minds.

God Bless & Merry Christmas!
Follow me on Pinterest for new ideas weekly!
Another idea you might like is this set of Dollar Tree Christmas houses. I love them!


Niki,
Love this!! You can also use an embroidery hoop if you have any!! Thanks for sharing!!
Hugs,
Deb
Thank you! I do have some. I think the large one I have is only about 12″ or so.
So pretty and fashion forward, with the gingham! Hope to see you in #WowOnWednesday today
Thank you! See you there!