This post will be going up on Thanksgiving Day, so I wanted to say Happy Thanksgiving! I hope that you have a wonderful day with your family and friends, and that this kicks off a fantastic holiday season. Now let’s get on with the post! You’ve seen all of the Dollar Tree wood houses everywhere I’m sure. I finally found a few at a store nearby, and I was so excited. So today I will be sharing a tutorial for making a Dollar Tree Christmas house. Actually I’m going to share a set of three with you. Two of the houses are the solid wood block house shapes and the other is the shadowbox house.
To make a Dollar Tree Christmas house you need:
- wood houses- I used two solid and one shadowbox.
- white spray or acrylic paint- I used spray paint.
- 2.5″ wired ribbon- I used a maroon glitter from Michael’s, but I saw 2.5″ glitter ribbon in silver, red, green, white, and gold at DT.
- large reindeer ornament- I used a silver one.
- hot glue or craft glue
- silver vinyl or stencil & paint
- or this tutorial for transferring an image using a pencil & your printer

Paint the Houses
The solid houses from Dollar Tree come with some weird foam flowers with felt leaves underneath them. They’re super ugly. I was able to pull the foam flowers off easily, but that felt was horrible to get off. It was stuck, and I do mean stuck! It didn’t come off, so I just flipped it over and spray painted the back of those babies. I did lightly sand over where the price tag sticker was to remove any discoloration from the residue. The house that is a shadowbox had bright colored stripes on it. The spray paint easily covered them surprisingly.
Add Ribbon to the Dollar Tree Christmas House
Once the houses are dry you can start to embellish them. I used a 2.5″ maroon glitter wired ribbon. Dollar Tree got in beautiful Christmas place settings that are white with silver snowflakes. I happened to show up at the store as the shipment came in, so they had the dinner plates, salad plates, bowls, and stemless wine glasses. I bought four sets, but I’m thinking I may go get two more for guests. Maroon goes perfectly with the silver snowflakes, so I’m using it in my dining room this Christmas.
Cut the Ribbon
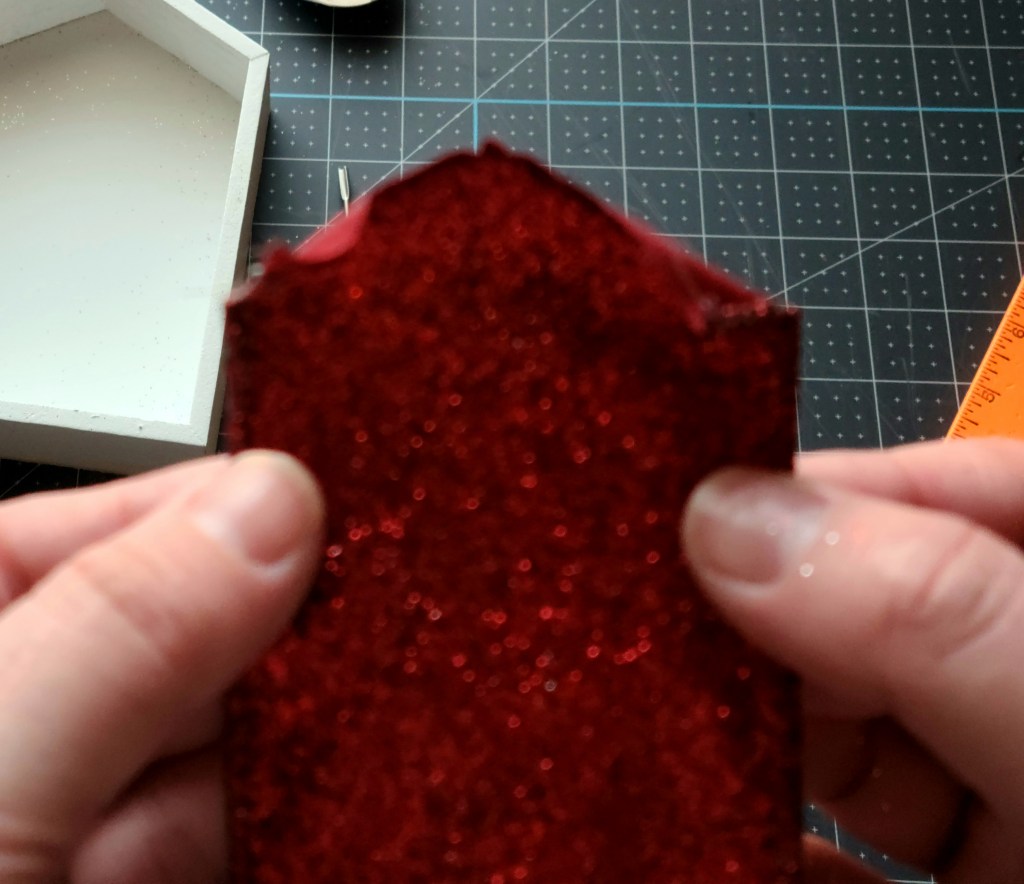
You can use non-wired ribbon on the shadowbox house, but it’s going to be more difficult than using wired. Lay your shadow box house down on its back. Unroll some ribbon and center it with the point of the house. Press the ribbon into the house so that the ribbon goes into the point and the ribbon folds into it. That will create lines and creases in the end of the ribbon to cut along.
Lay the ribbon down the inside of the house vertically then let it go across the inside bottom and over the bottom lip. Then cut the ribbon to fit. Once you have the right size ribbon, press the top end back into the point at the top.

Take the ribbon out of the house and you will see lines where it folded into the tip of the house.
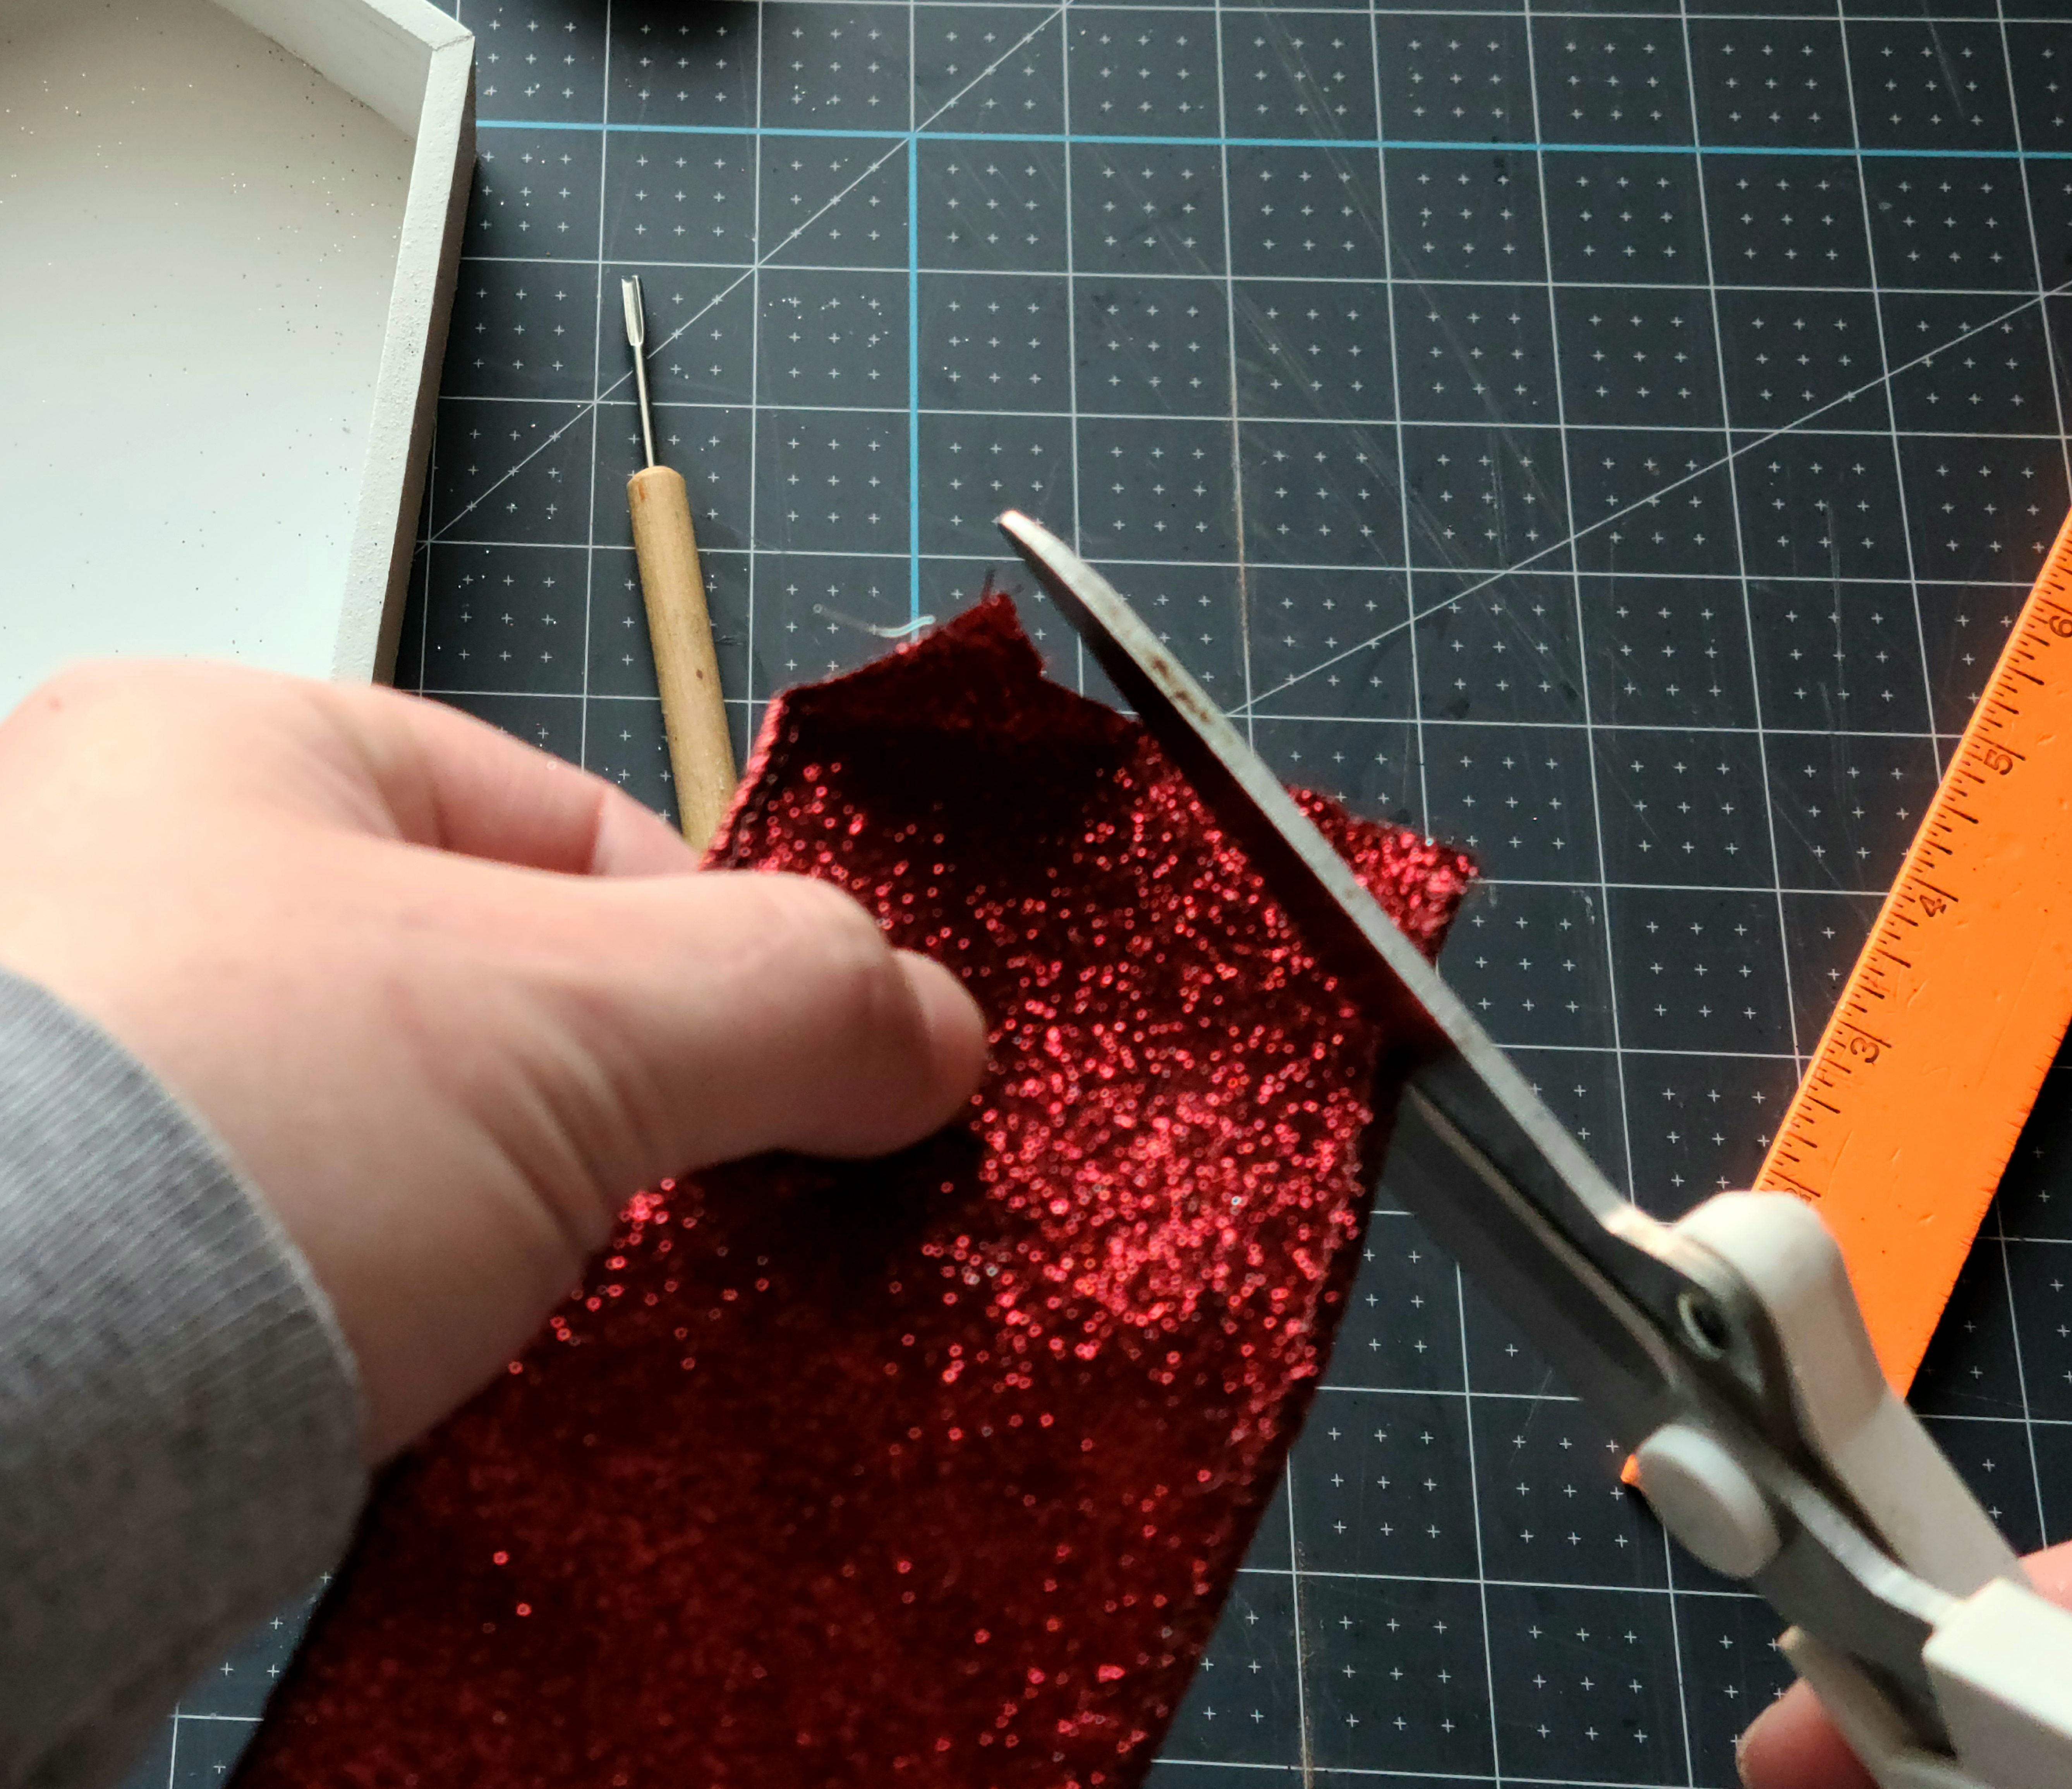
Use your scissors and cut along the lines to form that point so you can glue the ribbon into the house in the right shape.


Glue the Ribbon in the Shadowbox Dollar Tree Christmas House
When the end is cut into a triangle you can glue it into the house. I used hot glue first, but it showed through. The glitter reflected the light so you could see where the ribbon was higher with the hot glue dried on the back. If may not show through non-glitter ribbon, but I can’t say that for sure, so I recommend using craft glue like Aileen’s Tacky Glue.
Add glue to the back of the ribbon, then lay it inside the house. In the pictures I’m using the hot glue, but I removed the ribbon and pulled the hot glue off. I didn’t get a second set of picutres using the Tacky Glue but it’s the same process.

Put glue on the middle section of the ribbon then press it into the house. Make sure to keep it centered as you go. I used a ruler to make sure that I had an equal amount of space from the ribbon to the edge on each side.

Now sit the house up, add hot glue on the ribbon, and press it on to the inside bottom and on the lip on the front, bottom of the house.

When the ribbon is fully attached it should look like this:

Place the Reindeer Inside the House
I used a silver glittered reindeer ornament for the shadowbox house to compliment my silver snowflake tablescape. Dollar Tree has several large ornaments that you can use to fit in with your Christmas decor. The pretty church ornaments that you see everywhere are too large though, as are the large stars of Bethlehem.
Place hot glue on each foot (or hoof, ha) of the reindeer. Move quickly so that it doesn’t dry before you can put it in. Center the ornament then press it down into the house and hold it still and upright while it dries.


This is what your finished shadowbox Dollar Tree Christmas house will look like.

Add a Design to the Solid Dollar Tree Christmas Houses
I made a set of three Christmas houses, and two of those are solid so I couldn’t place anything inside them like I did with the first. I decided to use silver vinyl and cut a design with my Cricut. If you don’t have a cutting machine you could use stencils to paint a design like a nativity or Christmas-y words or songs like Oh Holy Night. Another option is to find a design you like, or create one in a program like Word or PicMonkey. Then print it out and use my tutorial from this post to add it to the wood house.

Cut & Weed the Silver Vinyl
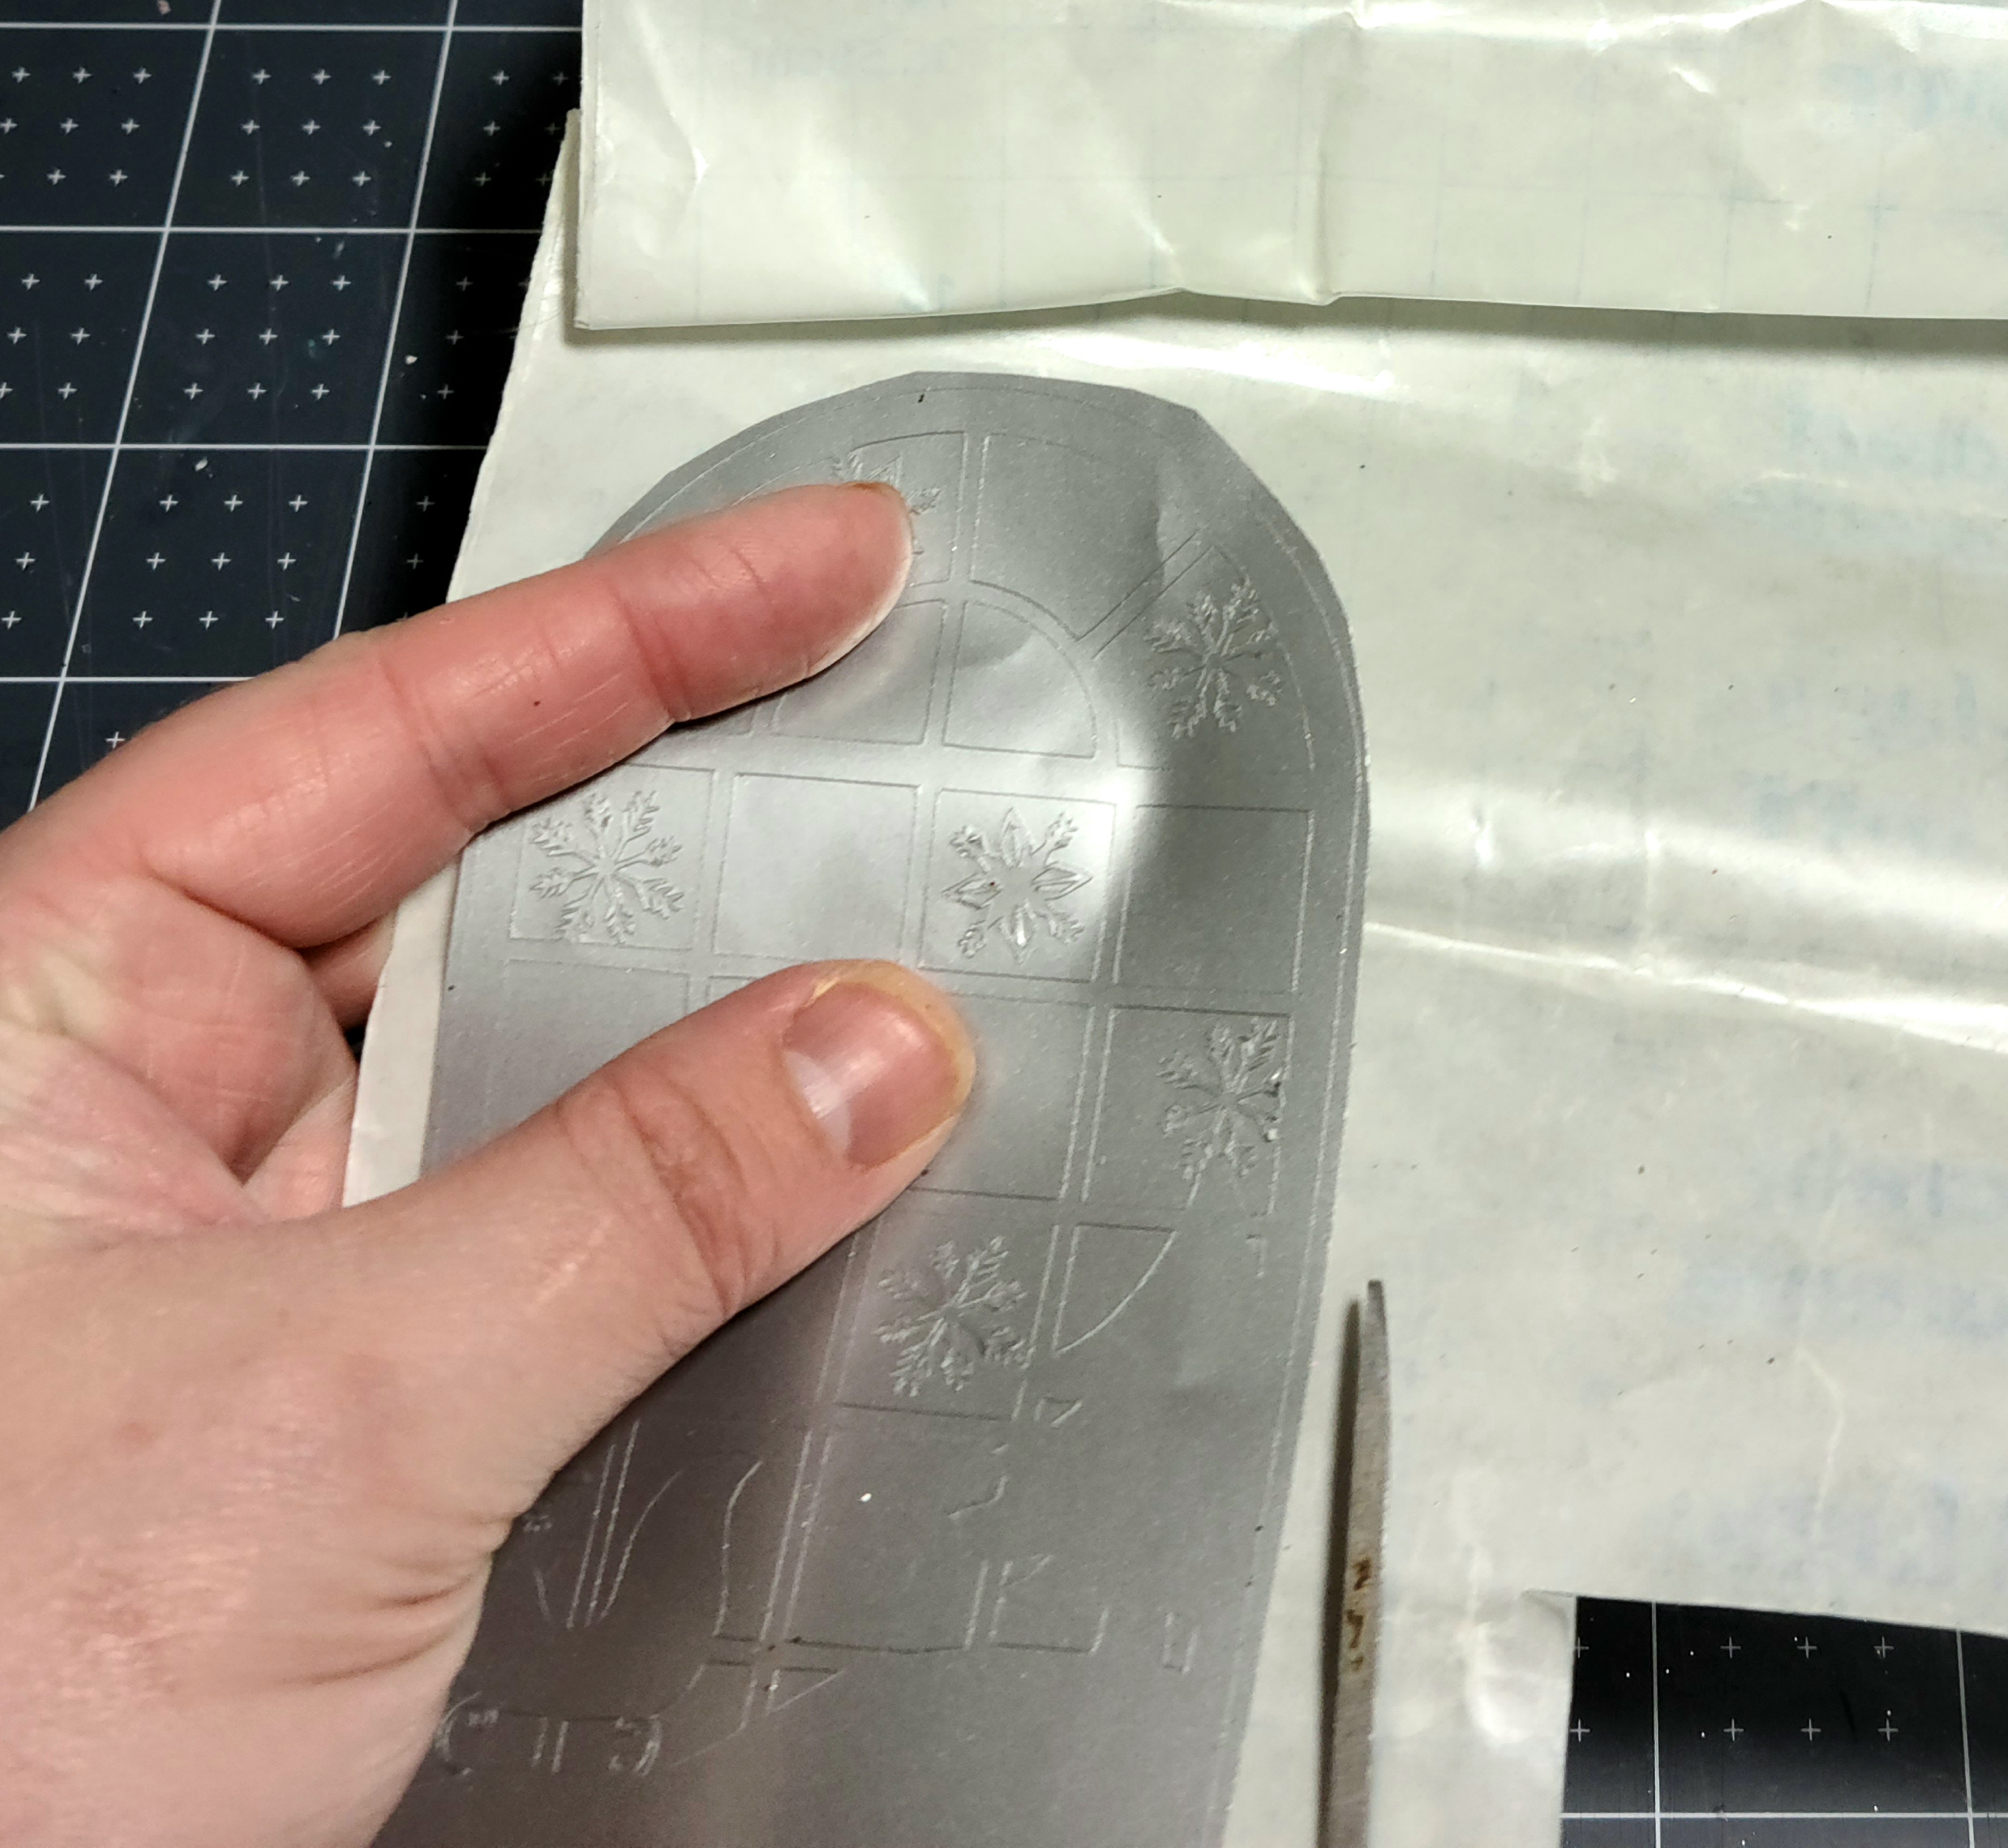
I found several images that were perfect for wood Christmas houses in Cricut Design Space. They are large picture windows overlooking snow covered landscapes with reindeer on one and a sleigh on the other. I have the Cricut Access subscription and they were included in it. I cut the designs on silver metallic vinyl.

Weed the design by removing the negative pieces of vinyl.

Place the Design on the Wood
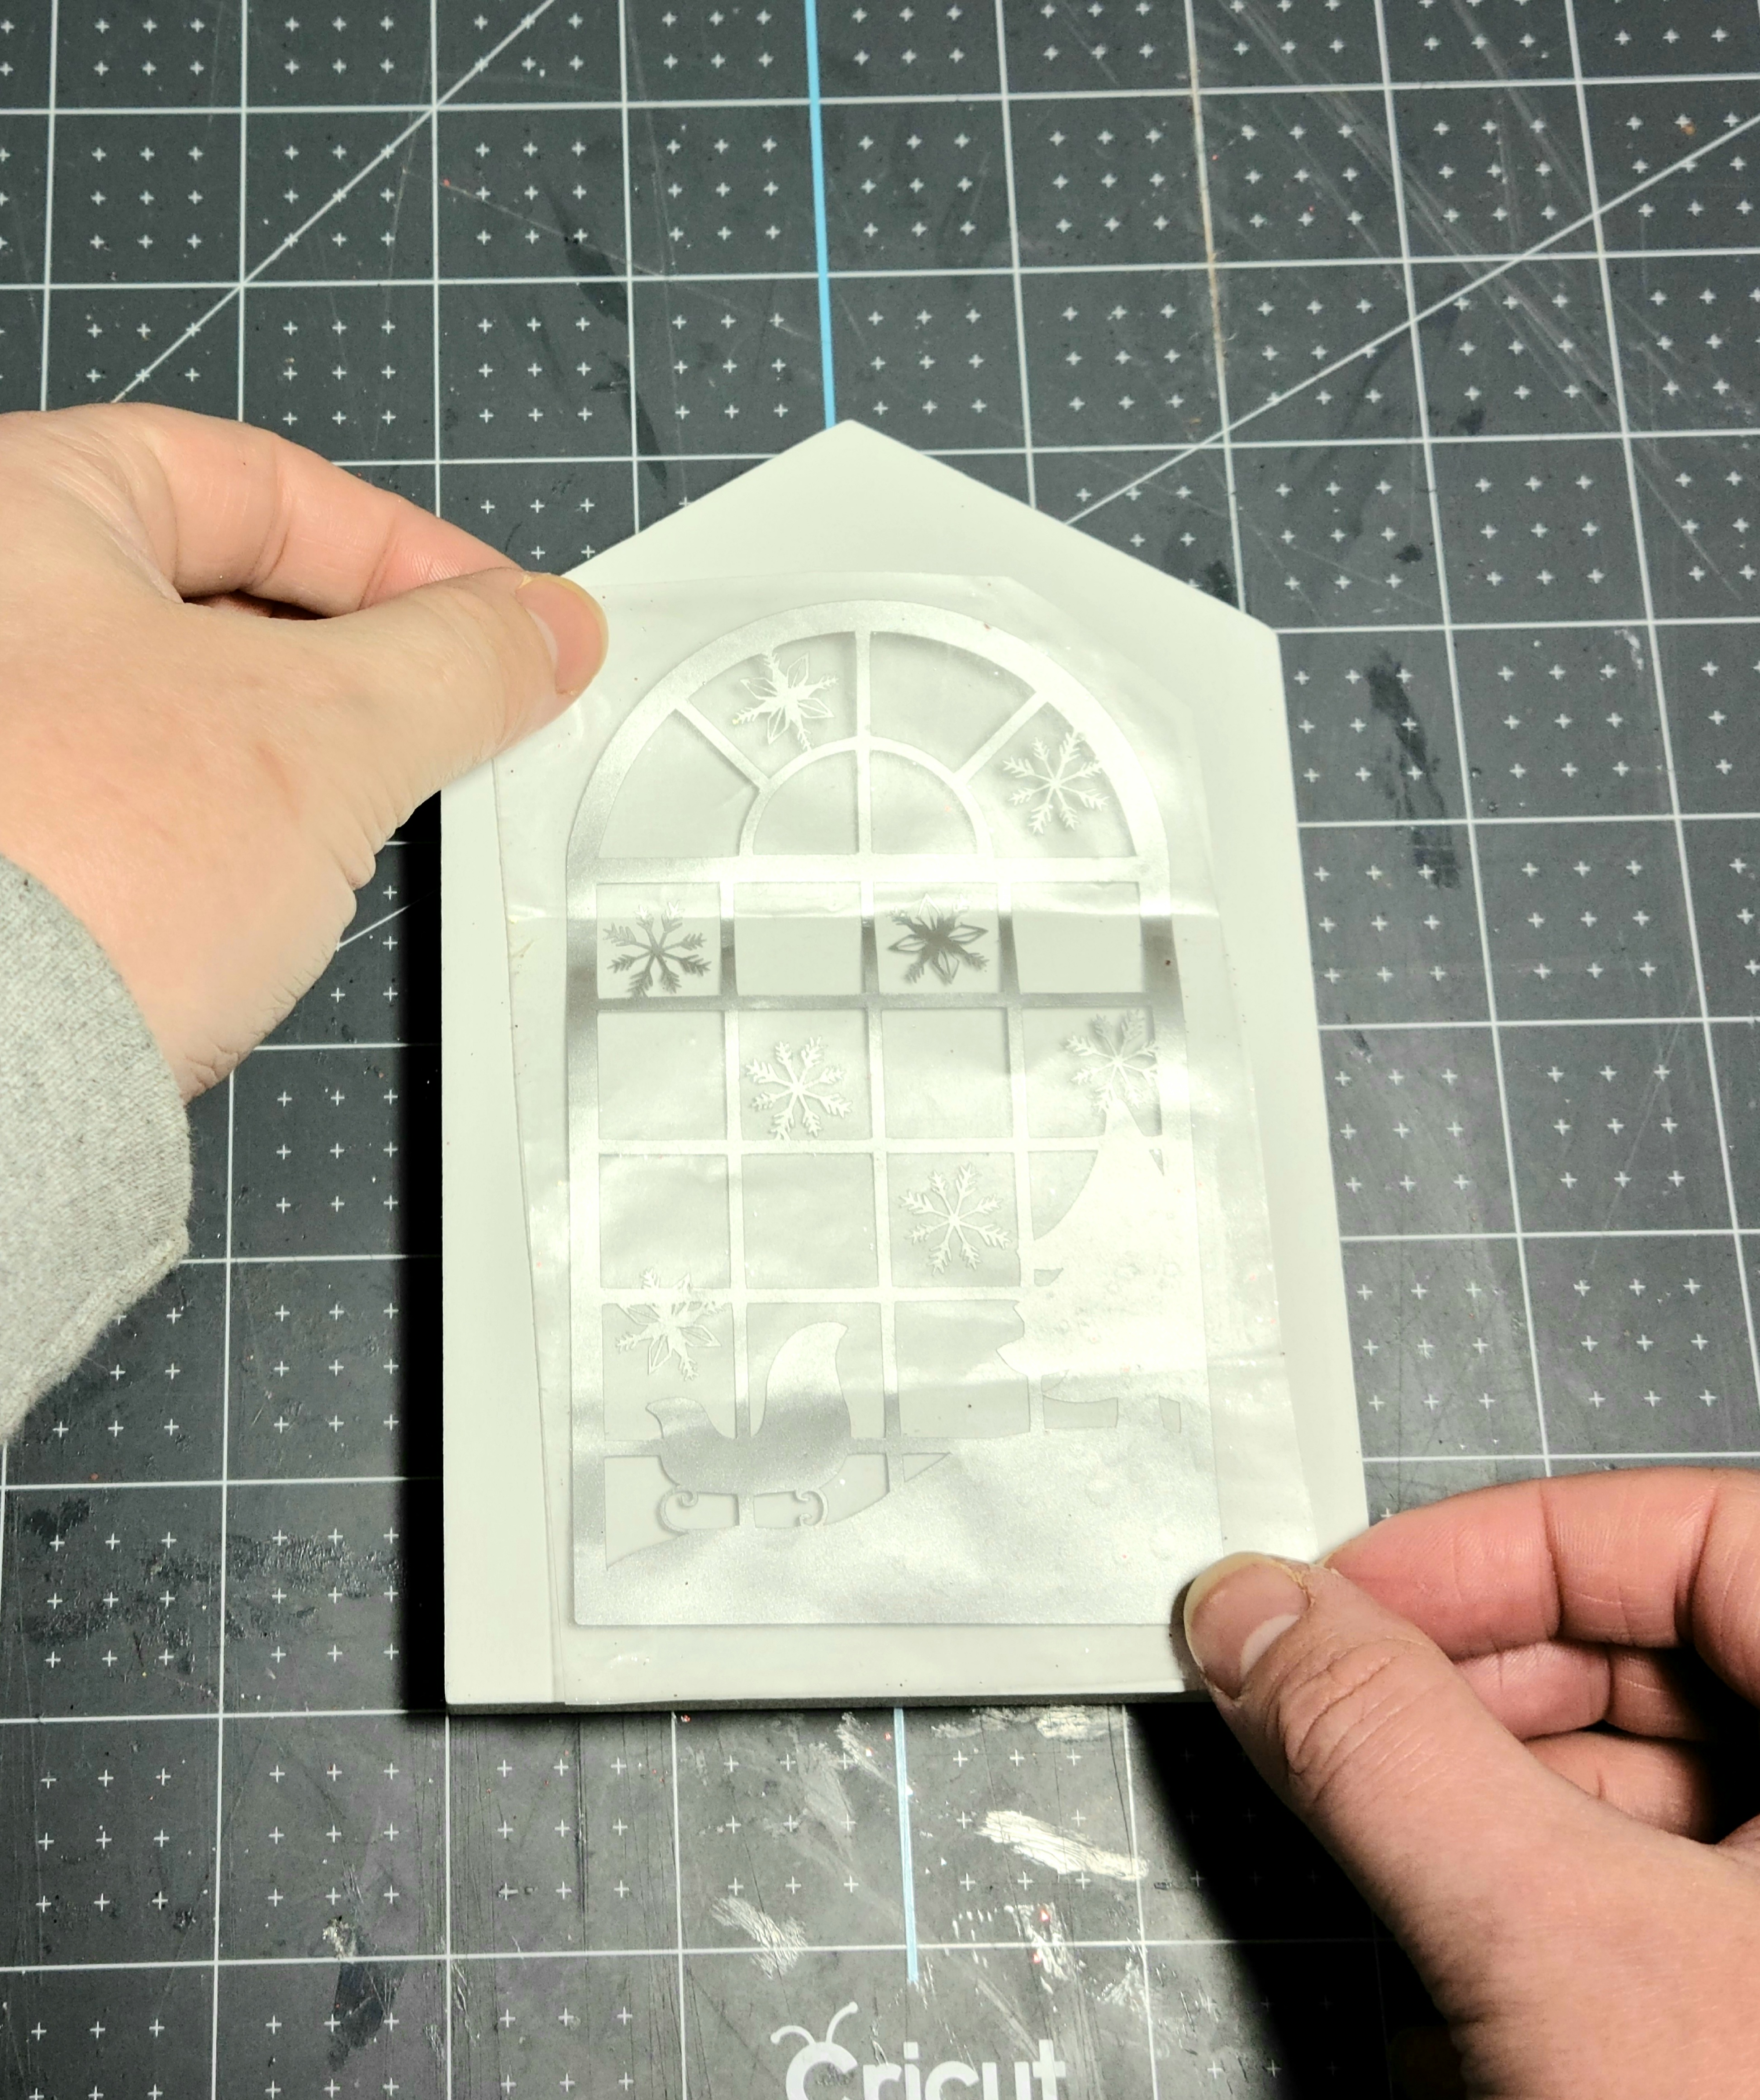
I use contact paper in place of transfer tape because it so so much cheaper. I’ve been using the same three rolls for about six years. I’ve given you this tip before, but you can use the same piece of contact paper for an entire project. You don’t have to cut a new piece for each piece of vinyl in the design. For example I used one piece for both houses.
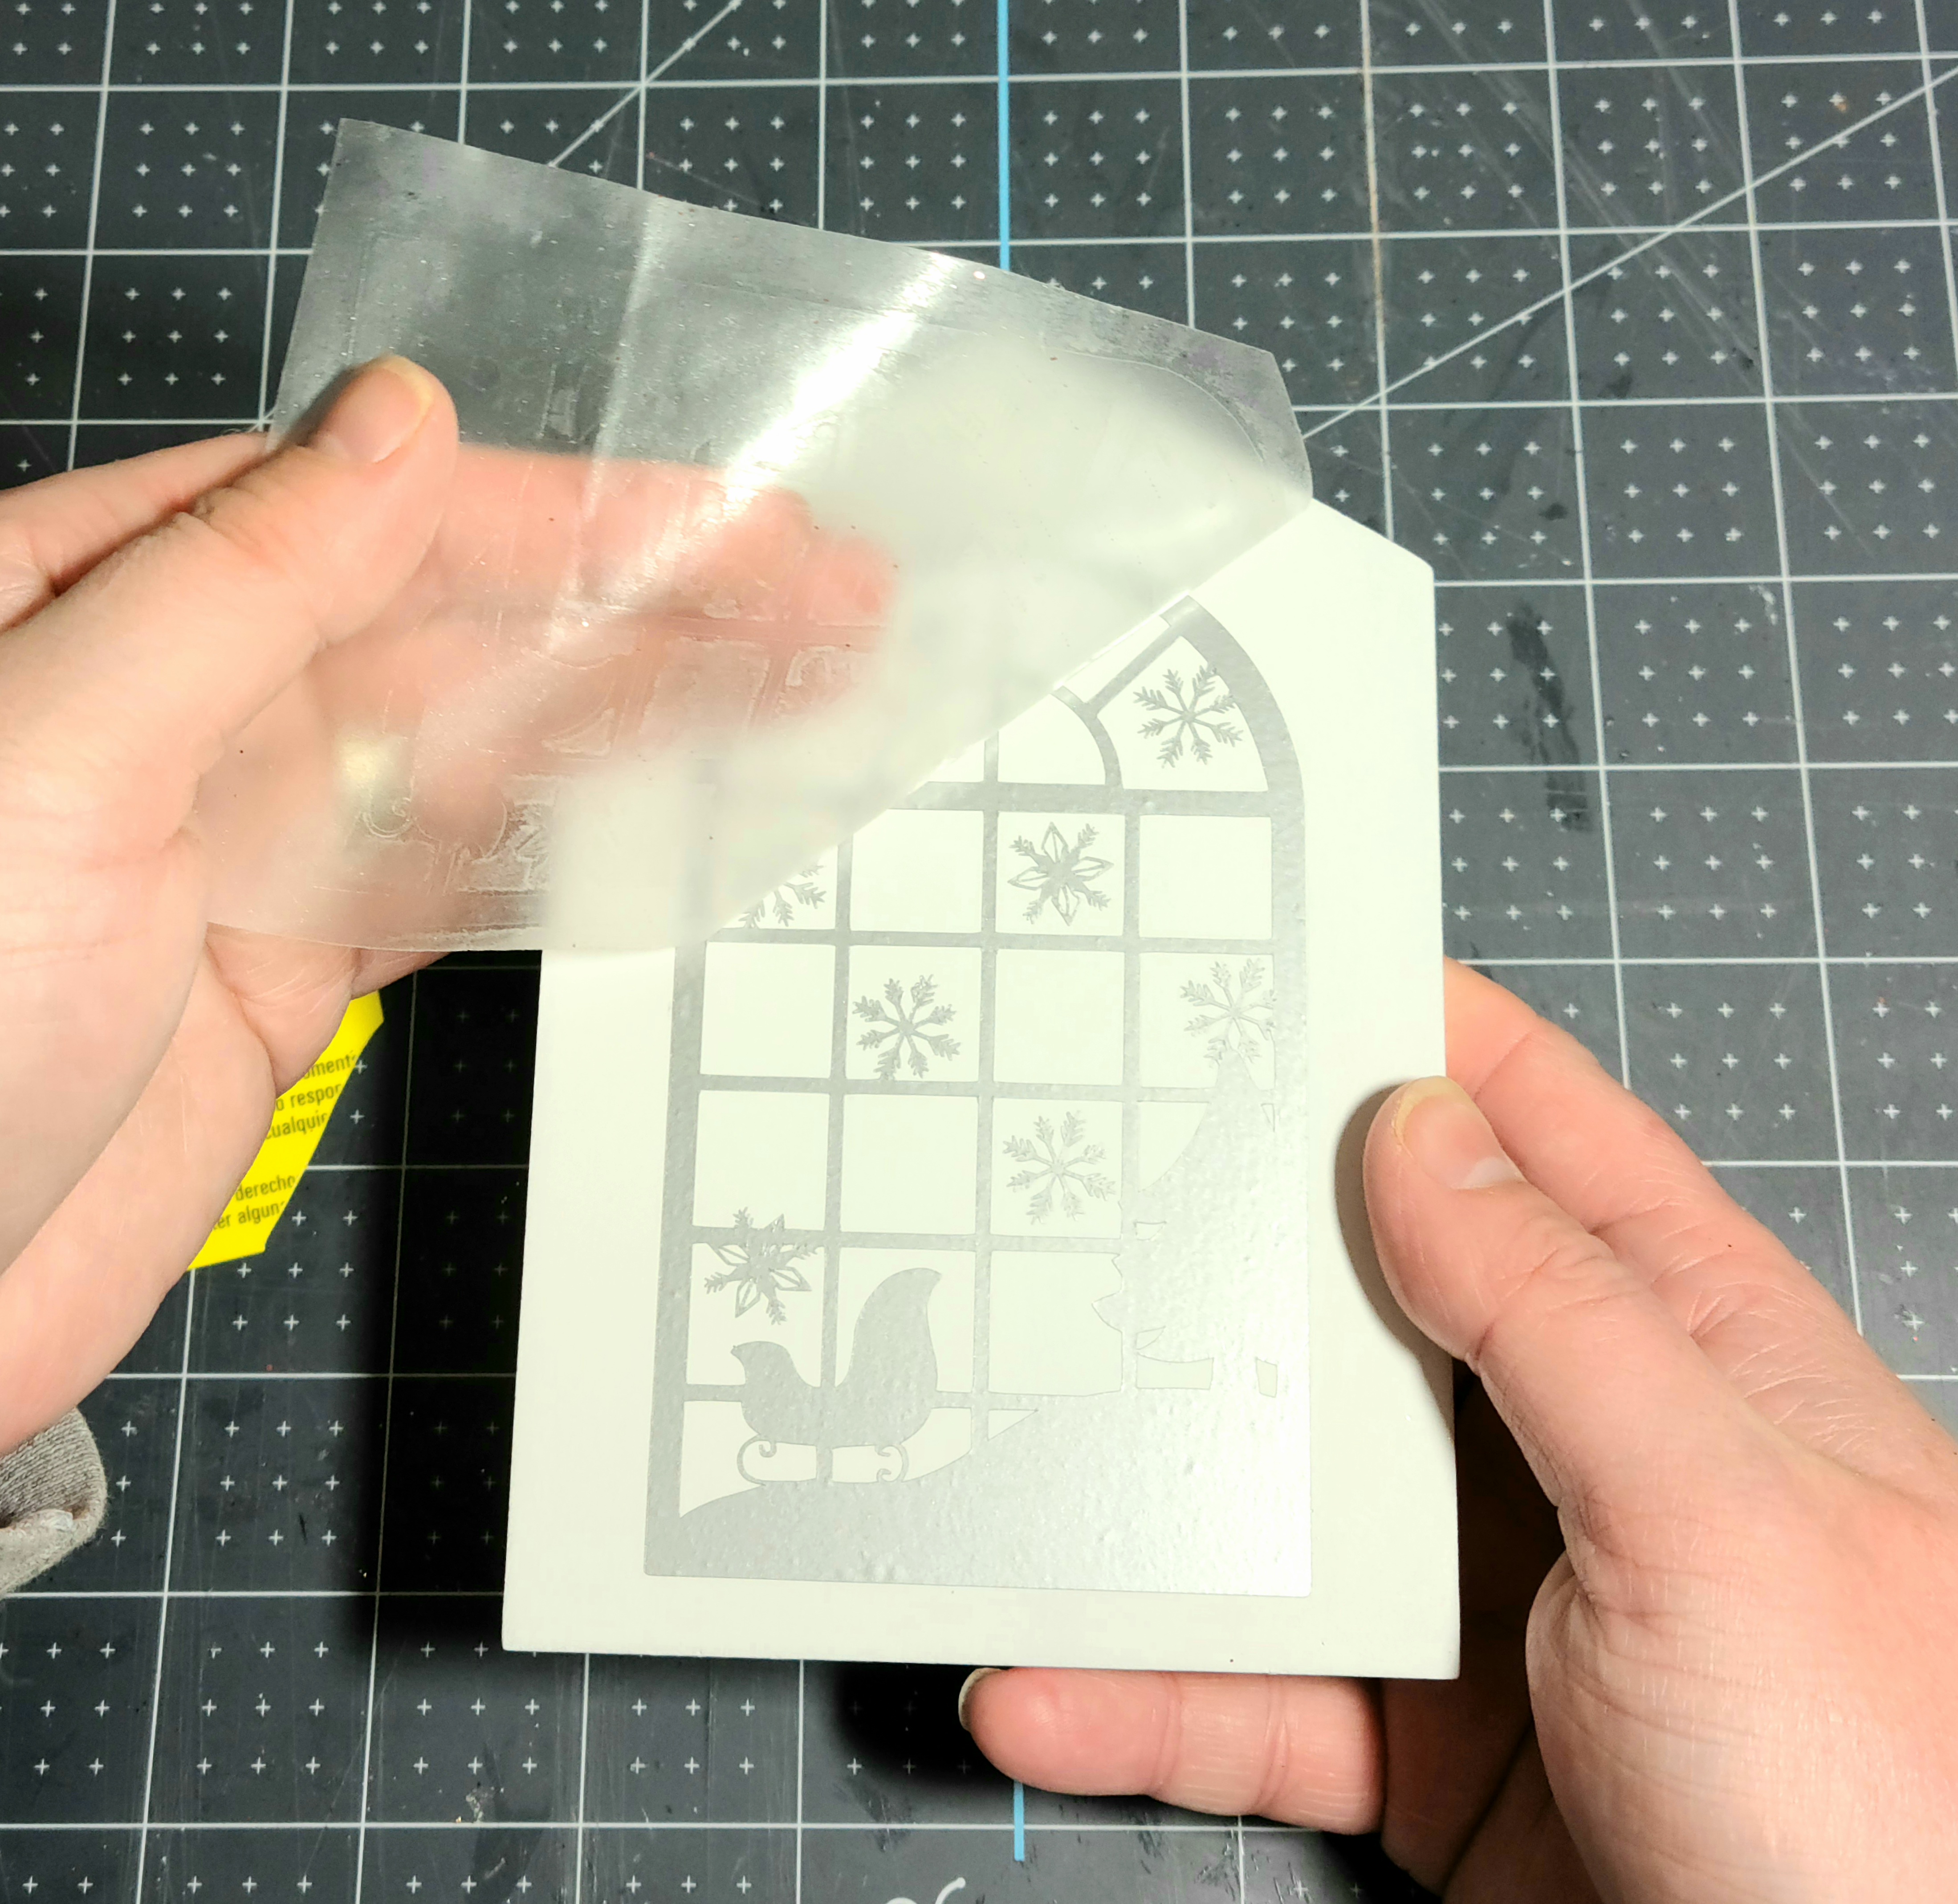
Place the piece of contact paper over the design and use a credit card or other scraping tool to trace over the vinyl. This will adhere the contact paper to the vinyl. When you’ve gone over the entire design, remove the backing from the vinyl. If it’s not completely stuck on the contact paper, go over it again with the card.


Center the design on the house then trace over it with the credit card or other tool to place it on the wood. My window design is 4.6″ tall, so I placed the bottom of it .4″ from the bottom of the house.

Now remove the contact paper from the wood house. If part of the design didn’t transfer, go over it again with the card.
To make sure I had the two designs in the exact same spot on both of my houses, I used a ruler and placed two dots on the second wood house about 1″ from each side to mark where the bottom of the design should be.

I repeated the same steps on the second Dollar Tree Christmas house.


The Dollar Tree Christmas house set is complete!
I just love the way my houses turned out. They were going to be placed on a shelving unit in my dining room, but I’m now considering placing them in a Christmas centerpiece on the table. Here are a few pictures of my set of three.


I hope that you enjoyed this tutorial. If you make a set of houses, I would love to see them. You can follow me on social media using the buttons in the sidebar and tag me in the photos. I have more Christmas tutorials and free printables planned, so follow me on your favorite platform so you don’t miss them! To make sure you see every new post, enter your email address below, and you’ll be notified when I add a new one. If you have seen my Christmas wish list to Santa and you would like a similar set to use with your spouse, make sure you sign up. I have an adorable flirty set on the way for you!
Get new content delivered directly to your inbox.
You might enjoy these Christmas posts.


There’s plenty more home decor tutorials around here so take a look around before you go. I’m sure you will find something you love!
If you like Christmas and other seasonal decor, follow me on Pinterest. I add new posts weekly


Very cute tutorial!
Thank you!