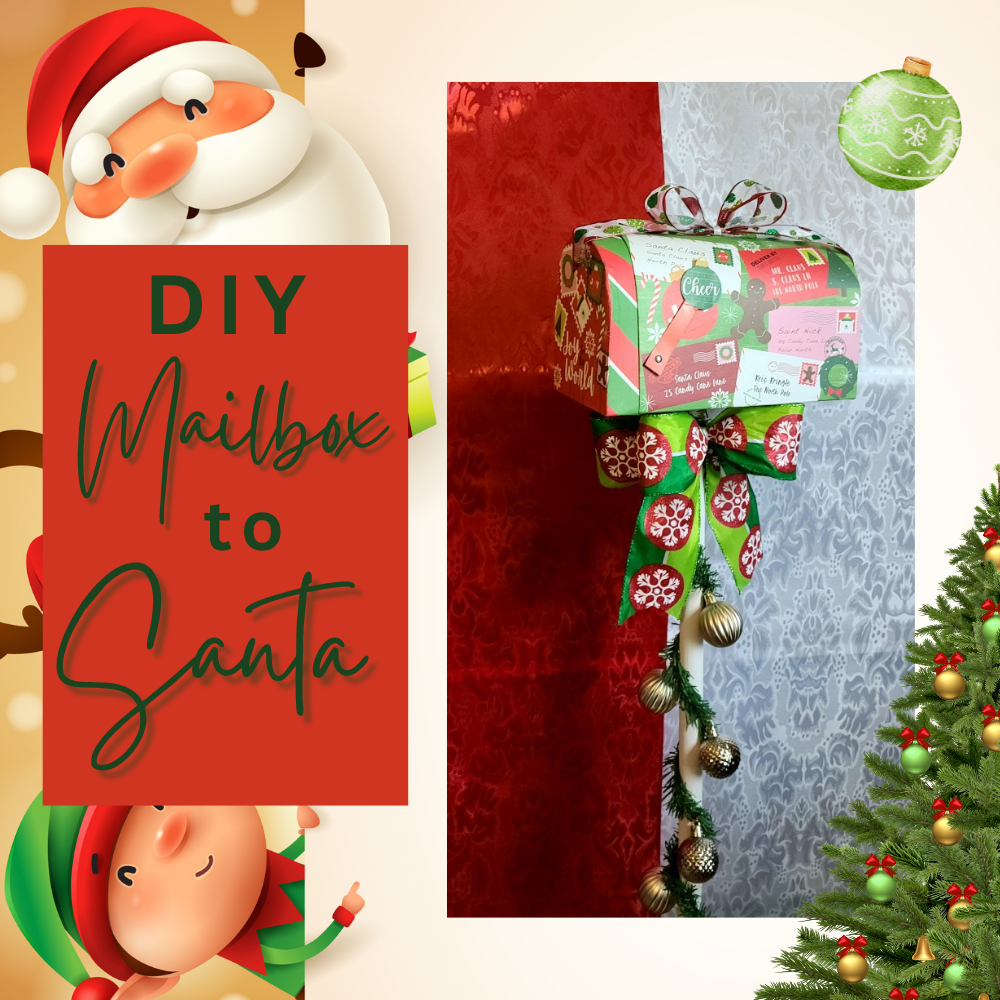
How do your kids send their letters to Santa? Mine place them in a special mailbox. I don’t want to send them in the real mail because I want to keep their sweet baby handwriting and watch how they’ve grown over time. A few years ago my son wanted a Christmas mailbox that was at Michael’s for $49.99. We ended up getting it (on sale), but that would not happen right now with the economy and our crazy medical bills. This year we needed another one, but I wasn’t going to pay a lot, so I came up with this Dollar Tree Christmas mailbox to Santa. You can make it for $3 in basic supplies. Plus, it’s a a full-size mailbox, not a mini table-top one!
Free Printables to Put in Your Mailbox
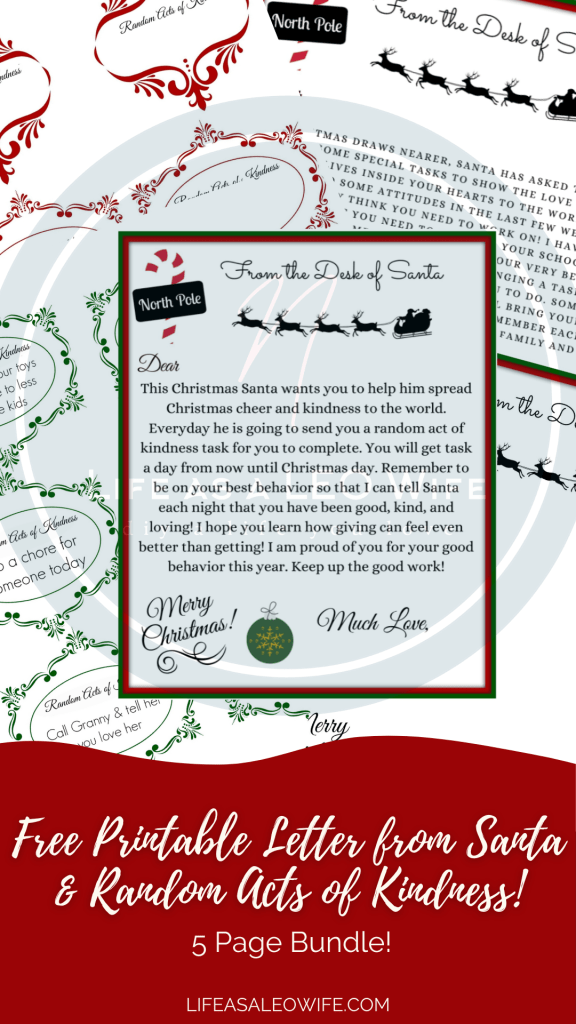
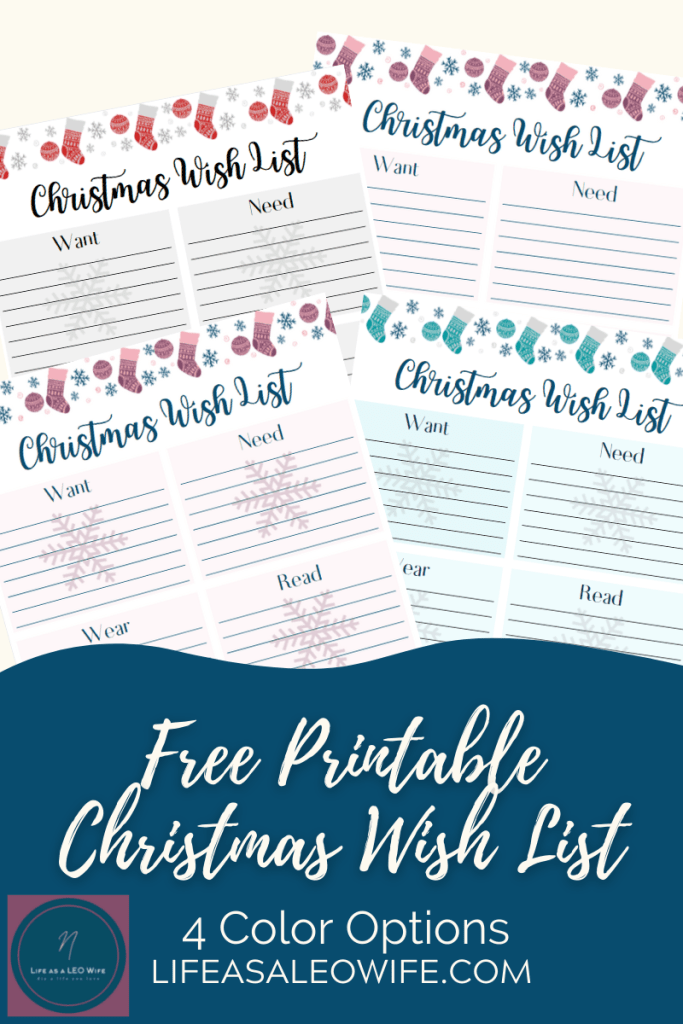
Make sure you print my free Christmas printables to fill your mailbox! Your kids will love this letter from Santa or the Elf on the Shelf and the random acts of kindness that come from Santa each day. I also made free printable letters to Santa. There are four options for you to choose from, so you’re bound to find one you and your kids love. Let’s not leave out mom and dad! Christmas is a magical time, but it can also be a very romantic time. This set of letters is for you and your Santa Baby to fill out to let each other know what you want for Christmas. I also made these Christmas wish lists for you to print and have your loved ones fill out so you can get them a gift they’ll love and won’t just sit around cluttering up their house or worse, has to be returned to the store!


Supplies needed to make a Dollar Tree Christmas mailbox:
- Christmas mailbox
- two plungers with wood handles
- pack of Christmas garland ties
- small Christmas ball ornaments
- E6000 or other super glue
- hot glue gun
- 2.5″ wired ribbon- I used a huge spool from Michael’s that I got about three years ago during a 50% off sale for $5. Dollar Tree does have Christmas themed ribbon in this size right now as well as solid color ones.
- 1.5″ wired ribbon (optional)- I used a roll from Michael’s that was $3 during that same sale.
- white spray or acrylic paint (or other color of your choice)
- hand-held saw
- sandpaper
All of the supplies can be bought from Dollar Tree, including the saw and sandpaper. I used a Kobalt saw I had on hand, but I’ve bought and used the small hacksaw available at Dollar Tree. It works perfectly for a small project like this. E6000 comes in a small tube at larger Dollar Trees, but they also sell Super Glue Epoxy that will work for this if you only want to make one stop and you don’t have any E6000 at home.


Prepare the Wood
The plungers from Dollar Tree come in two parts. The wood handle is usually on one shelf and the rubber bottom on a separate shelf underneath or beside it. Make sure you get at least one of the plungers. They aren’t an extra $1, they are just separated for shipping and storage options. You will only use one of the rubber plungers. Go ahead and remove the barcode sticker from both handles.
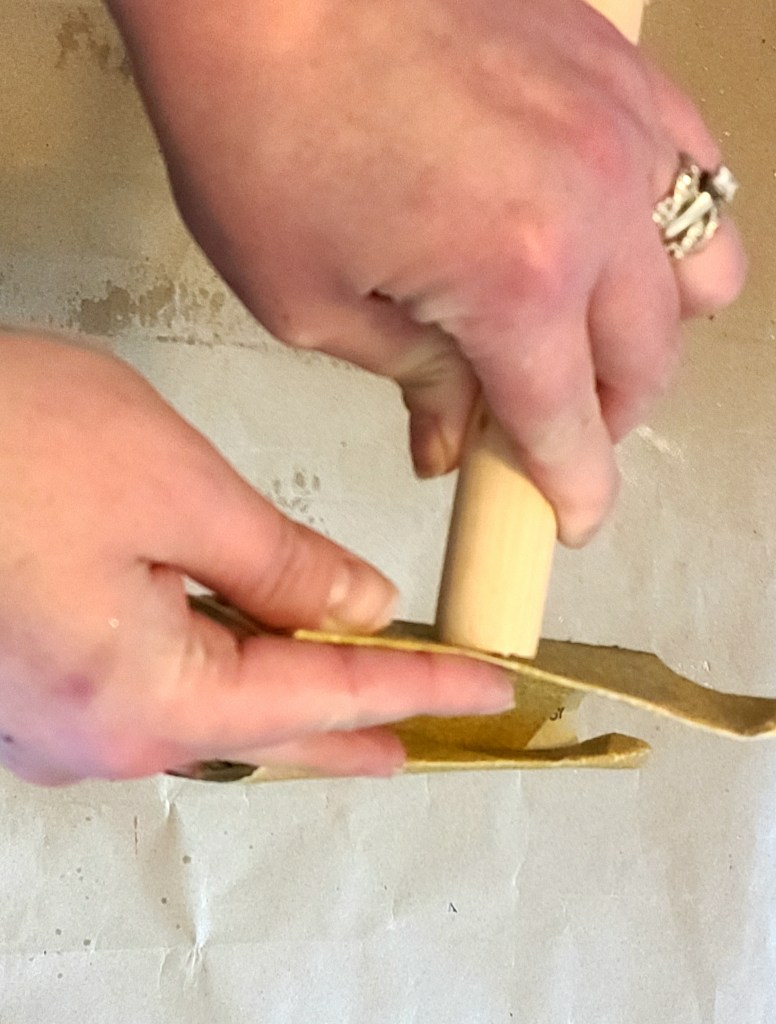
The ends of the wood handles are rounded. Since you need to glue them together, you will need to saw the tips off. Use the handheld saw (or table saw or other electric saw) and cut the rounded sections off both wood pieces. If you have a power sander you can probably flatten it without even having to cut.
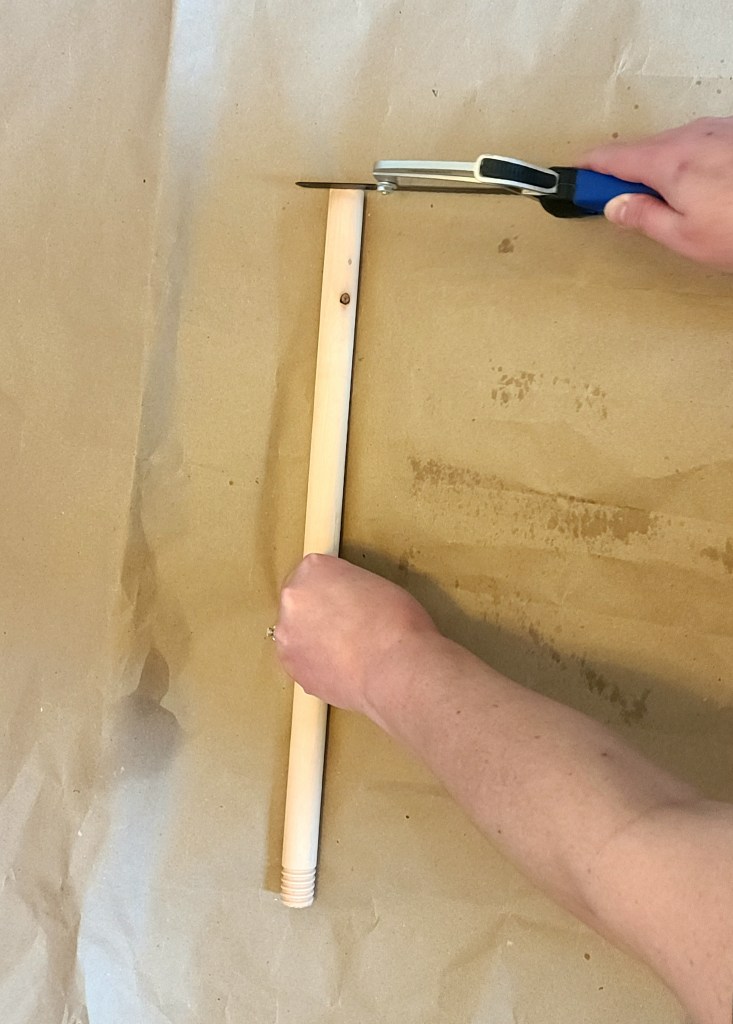
Due to the fact that I don’t have a vise or something else to hold the wood still while I was sawing, the end of my wood handles ended up a little jagged🤣! I don’t use a saw very often, so I have a cheap Kobalt saw that was less than $5. That probably didn’t help the jagged situation, ha!

Having a jagged end isn’t a big problem though. All you need to do is sand the ends with sandpaper to smooth them. You can also sand the section where the sticker was if it’s still sticky. You don’t have to worry if the ends are slightly slanted if you use E6000. It self-levels. If you aren’t using a self-leveling glue, you’ll need to make sure the ends are perfectly level. Otherwise the mailbox pole will be tilted. Also, Super Glue may leave a small gap between the two handles. Spackle can fill the gap if you end up with one.
Glue the Handles Together
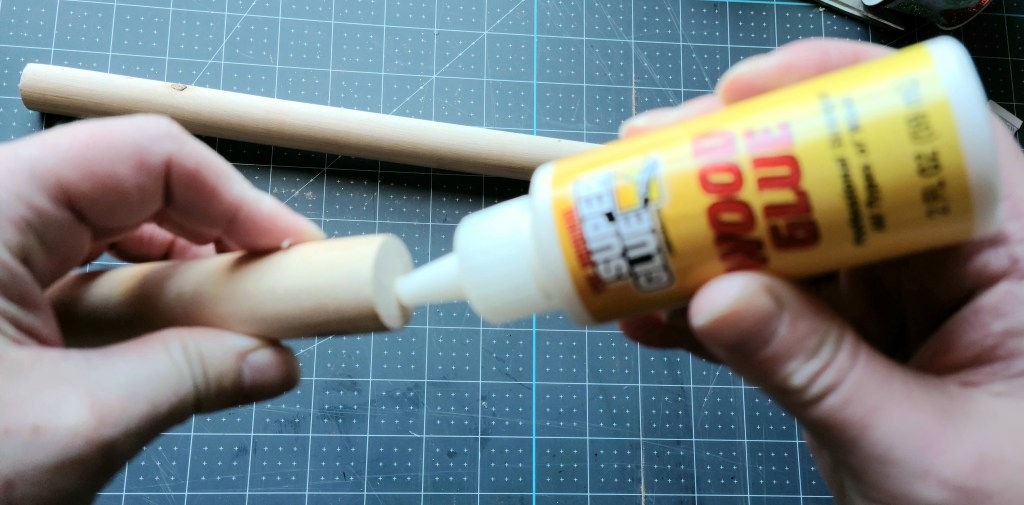
Next put E6000 on the end of one of the wood handles. In this picture I am using Super Glue’s wood glue, but that did not work! Not even a little bit. I tried about seven times with it. That brand may work if you’re gluing wood that will easily sit up and dry together, but since the “pole” of the Dollar Tree Christmas mailbox will have to lay down and have no weight on top, it didn’t work at all. Add the E6000 or other glue to the end just like I did below.
Add hot glue to the other handle on the end that you sawed flat, not the end with the spiral to screw it on the plunger.

Press the two wood handles together and hold them that way until the hot glue has a chance to dry. Then screw on one of the plungers to the end of the pole. You may have to try a few times until it threads correctly and stands straight.

Paint the Pole of the Dollar Tree Christmas Mailbox
Now spray paint the new pole and the rubber plunger. I used white paint, but you can use any color that you want. You can use acrylic paint if you don’t have any spray paint on hand. Just make sure that you have one that is for all surfaces.

Add the Garland Ties to the Pole
Take three garland ties out of the pack. You’ll use these to decorate the pole. Overlap the end of one with the end of another, and twist them around each other. Then add another on the end of that.

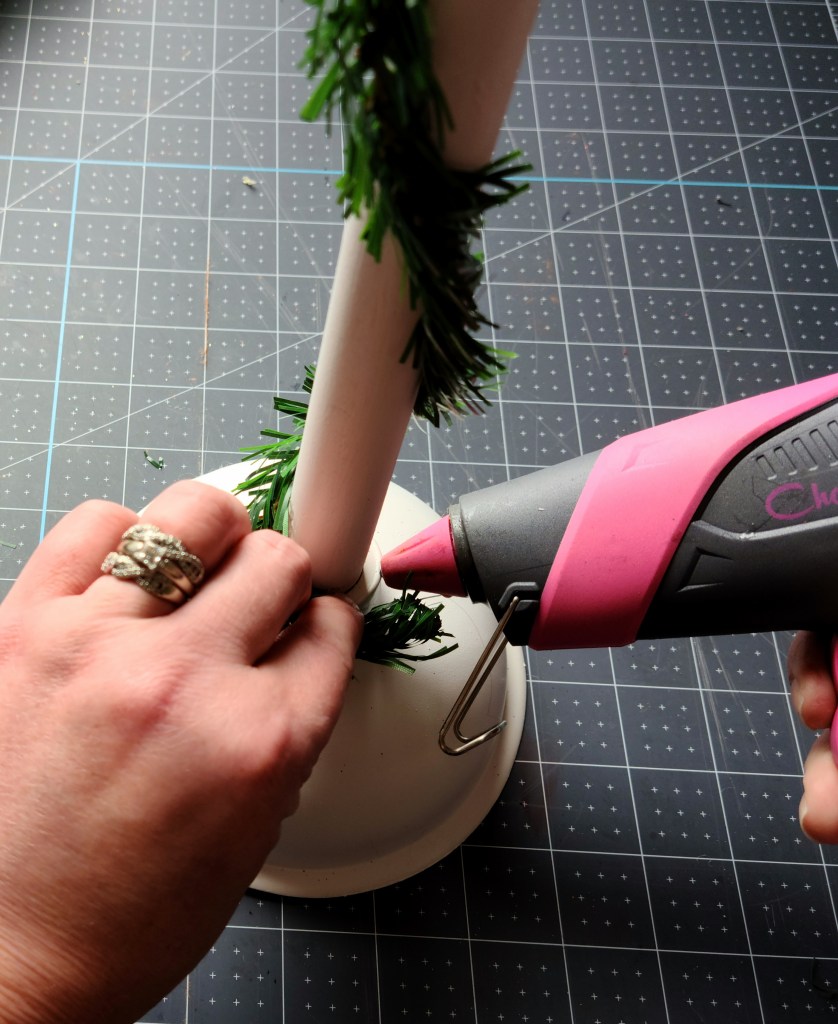
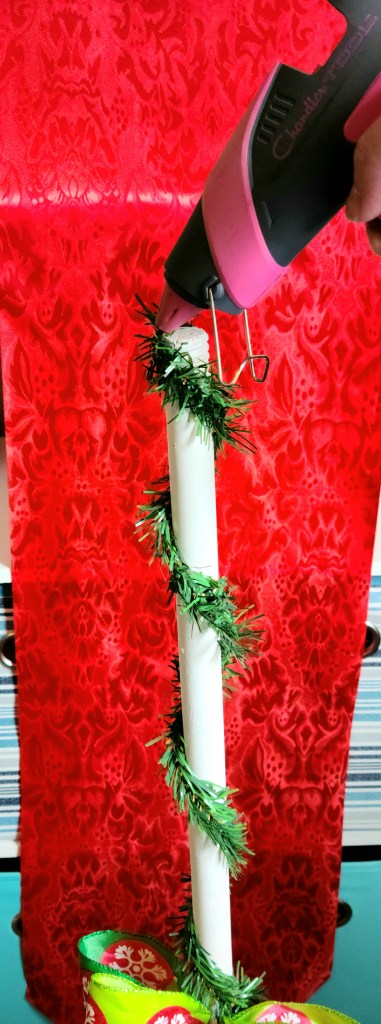
Add a bit of hot glue to the top of the painted pole then press the end of the garland of ties on it.

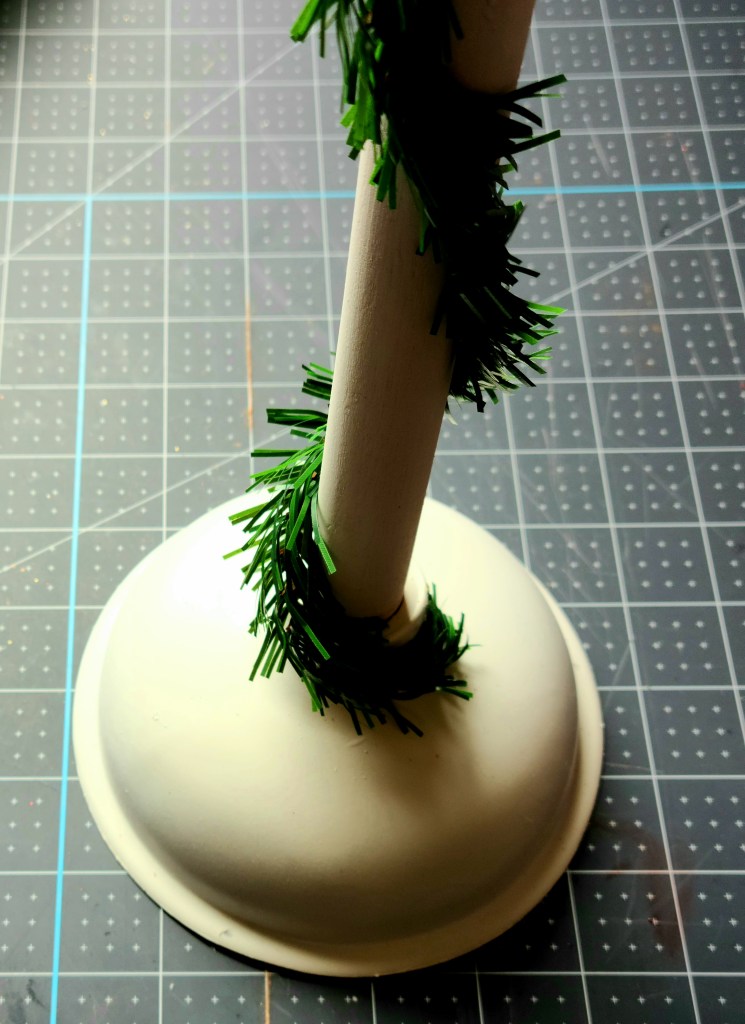
Wrap the garland around the pole. This will help you cover the middle of the pole where the two wood handles are glued together. Plus it looks more Christmas-y. It is optional though. Now add a dot of hot glue on the rubber plunger where the garland ends. Press the garland on it until it dries.
Glue the Mailbox to the Pole
Now it’s time to put the mailbox together. Add hot glue to the top of the pole. You can add the E6000 if you’d like. My mailbox has stayed fine without it.
Press the mailbox on top of the glue and hold it a second while it dries.

Add Bows to the Dollar Tree Christmas Mailbox
I made two bows for my mailbox. Make a regular four-loop bow. I made mine with the two back loops just a little bit larger than the front two. You can make your bow as big as you’d like, but just for reference, mine is 7″ wide with 7″ tails. If you’d like to make a fancier bow, check out this tutorial for a very easy loopy bow (my 10 year old son made one, it’s that easy!). This tutorial is another easy bow, but just a little bit more advanced. Add a piece of floral wire or a pipe cleaner to the back to attach it to the mailbox.

Next I made a simple two-loop bow that’s 4.5″ wide with 6″ tails. Cut a dove-tail (V) at the ends of the tails.
Bow & Ornament Placement
There are several places that you can add the bows. At first I placed my larger bow in the middle where the two wood pieces connect.

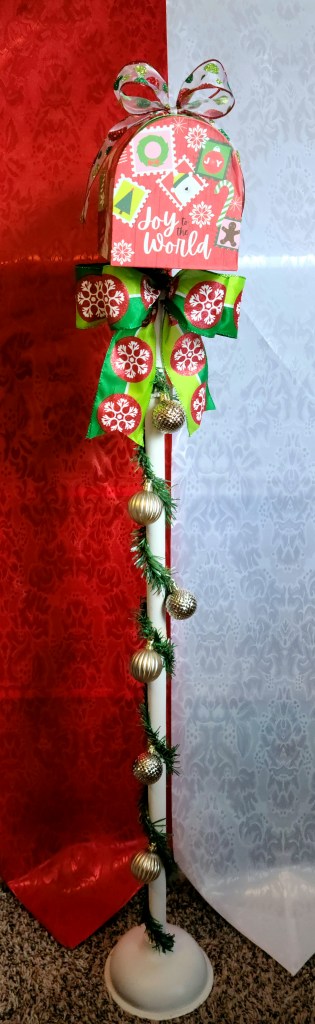
Then I changed my mind and added it where it faced the front with the door of the mailbox and the smaller bow on top, also facing forward. Place hooks or floral wire on the ball ornaments and hang them along the garland. I placed two on each ring of the garland.
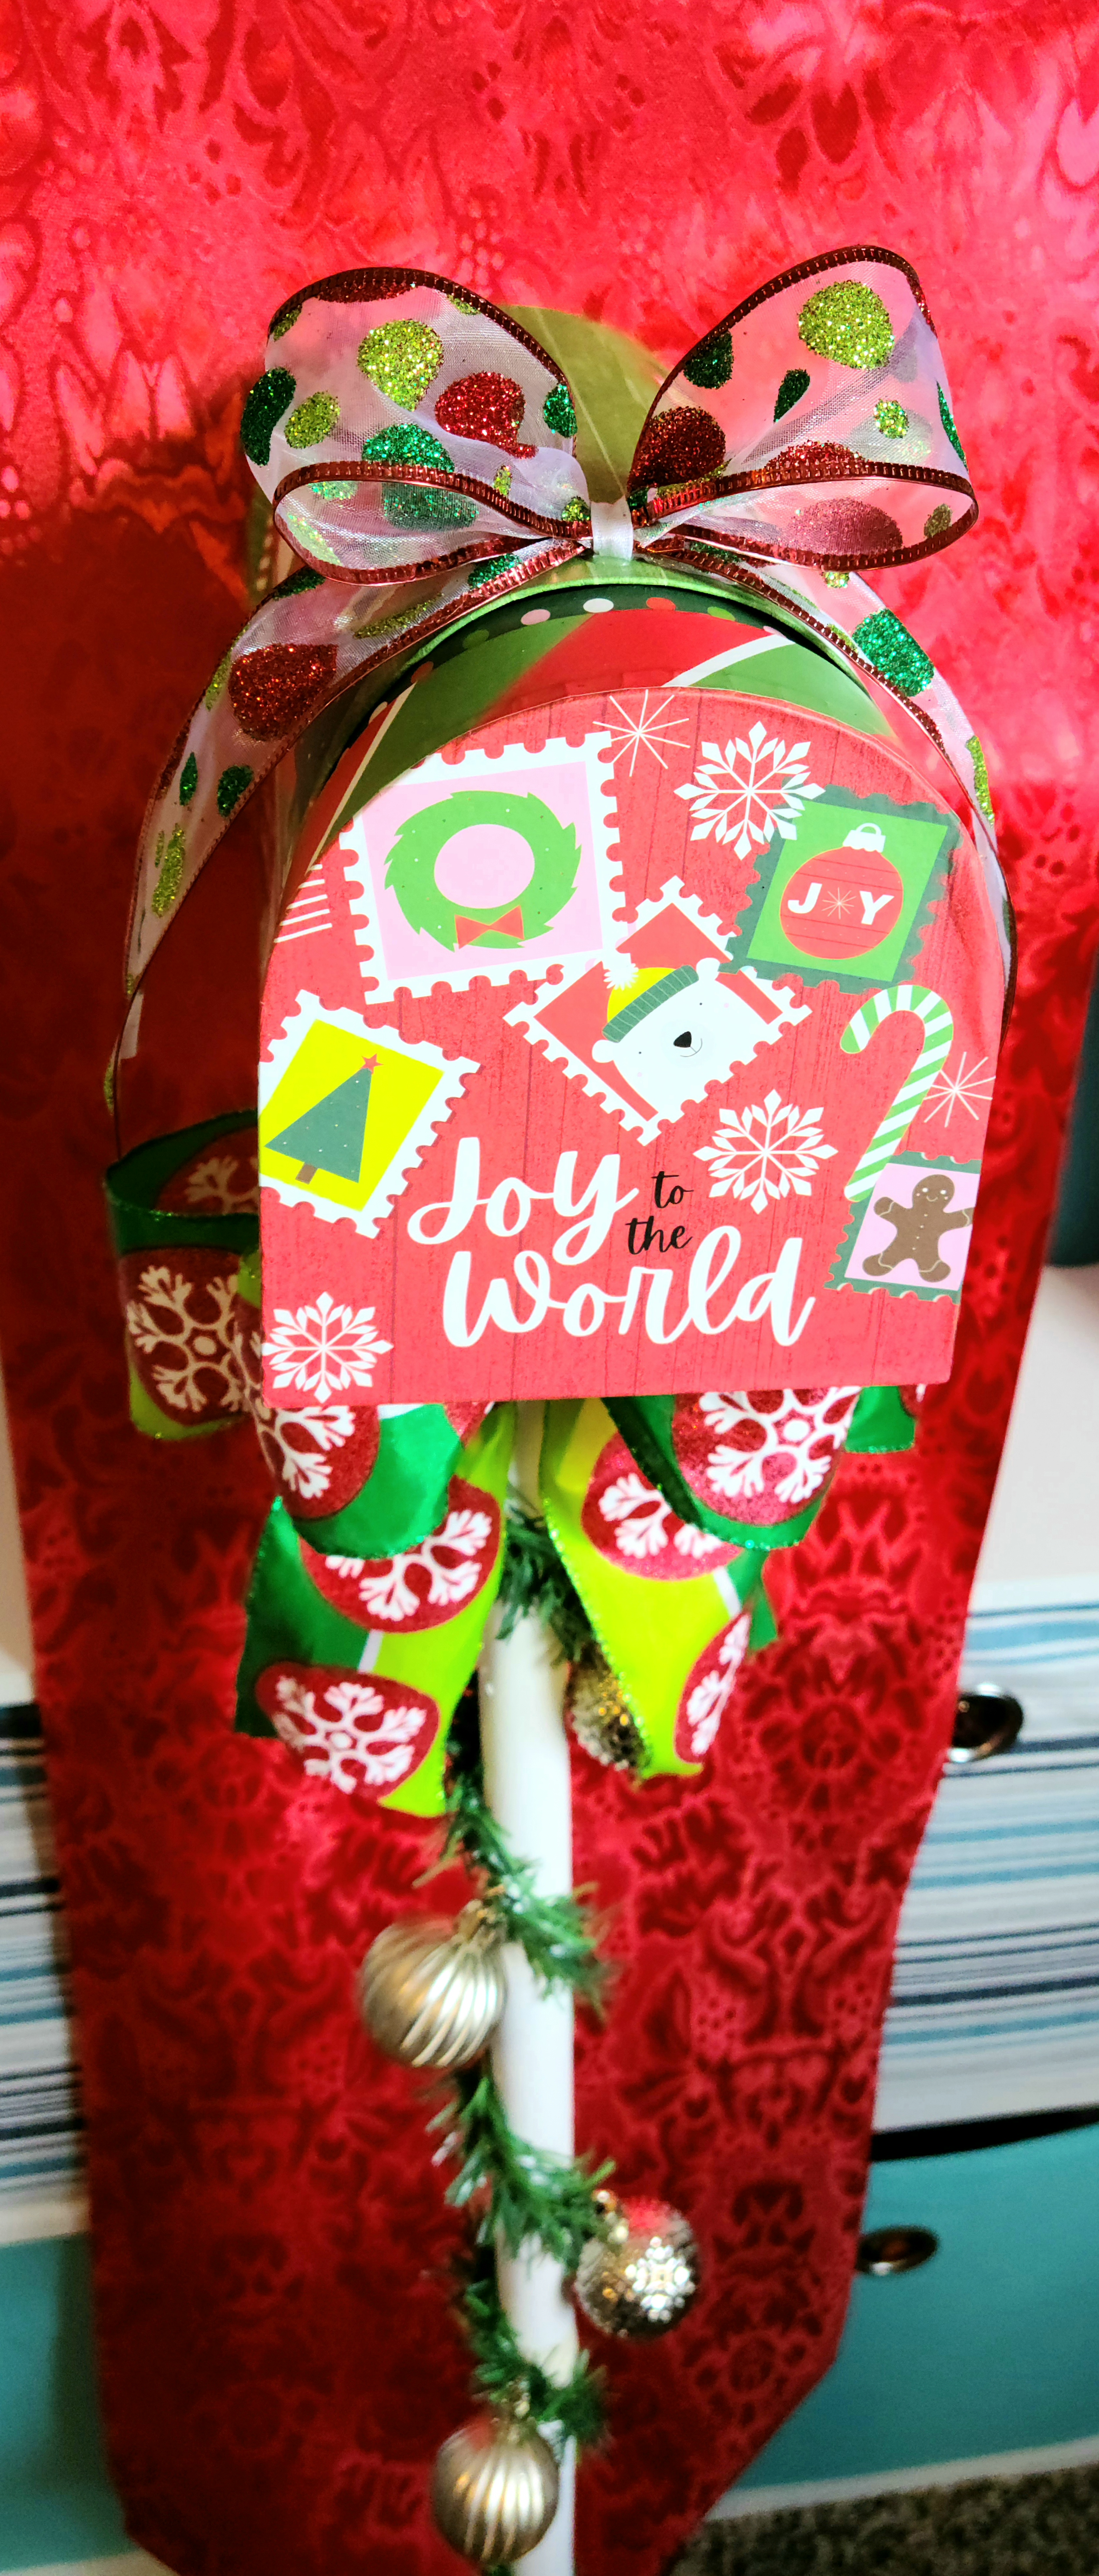
Another option is to have the mailbox sideways with the bows facing forward from there. I wrapped the large bow around the pole, facing forward under the “flag.” Then I added a dot of hot glue on the back of the small bow and glued it in the middle of the mailbox (on top) with the tails extending down the length of it. I have left it like this… for now, ha!

That’s it! Your adorable Dollar Tree Christmas mailbox is finished!
You can make this as fun and child-like or as elegant as you’d like. If you’re a grandparent or aunt who wants a fun item to create magic for the kiddos in your life, but they aren’t at your house all of the time, you can make one to fit into your own Christmas decor. Dollar Tree does have a few mailboxes that are more adult-like, but you could also spray paint one metallic or another solid color. Then add ornaments and ribbon to fit. How fun would it be to have a special letter from the North Pole with tasks to complete for Santa waiting whenever the kids visit?! I think I will make one for my son’s grandmother and my in-laws, and I’ll update this post with photos when I do.
Here are a few photos of my Dollar Tree Christmas mailbox with the different bow positions.


Remember to pin the image below or share this post with the buttons on the left side of the page so you can find it when you’re ready to start your project! Also, follow me on Pinterest for new ideas added weekly! Be sure that you never miss a great tutorial for decor like wreaths, signs and other home decor, free printables, crafts, and other fun posts! Enter your email address below to be notified of new posts! Use the buttons below to follow me on social media for other great content.

Don’t go yet! There’s more to see!
There’s plenty more to see here on the blog! If you’re looking for something specific, use the search box in the sidebar to look it up. If not, you might enjoy these ideas. Don’t have time to read them all now? That’s ok, just click over to the posts using the pictures and pin them for later. You can also add Life as a LEO Wife to your favorites and check back for new ideas and free printables and SVGs every Wednesday, as well as link parties with tons of shared ideas on Sundays!


I love this mailbox! I love mailbox crafts, and this one is fabulous! I love the ornaments and the bow! Pinning!
Thank you!