
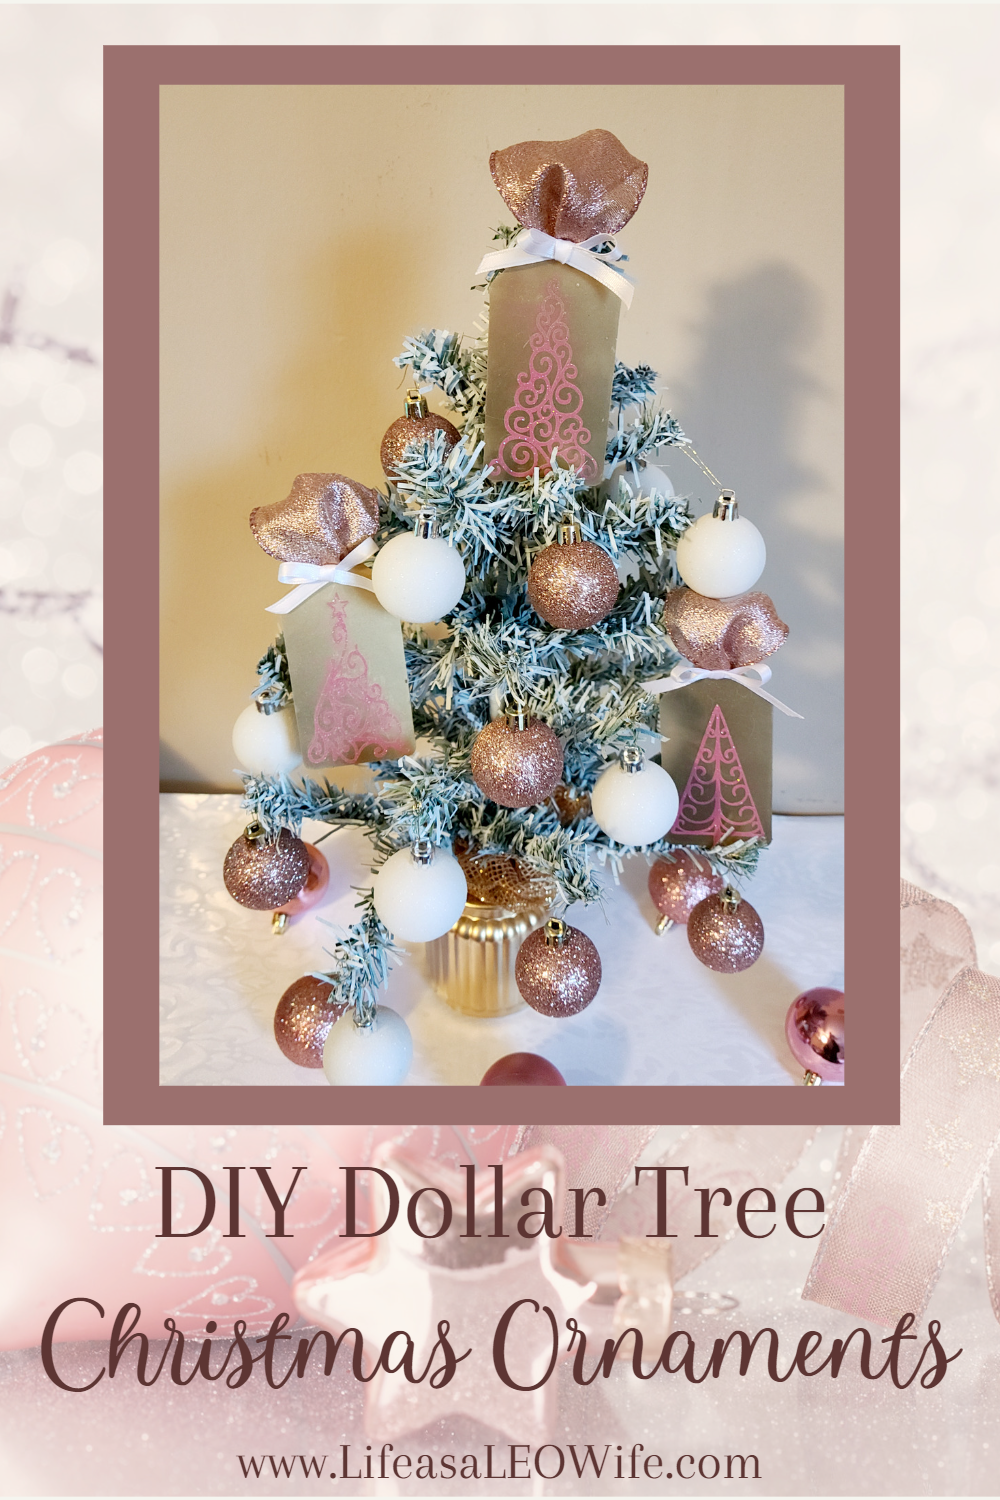
Can you believe that it’s already time to get our Christmas decorations ready? This year has flown by for our family, as I’m sure it has for most. It’s also a year when Christmas budgets are going to be a lot tighter than most. I have decorations for our guest bathroom already, but I wanted to also do our master bathroom this December. We can’t shell out for extra decor, so I’ve started making some to match the existing colors, blush pink, gold, and white. I shared this budget-friendly large 2′ Christmas sign and this gorgeous Christmas ornament wreath that can be made for under $15 last week. Today I’m going to share a tutorial for making DIY Dollar Tree ornaments that I’ll be hanging on the mini Christmas tree in our bathroom.
It’s the 10th which means it time for our $10 on the 10th blog hop. I’m joining up with a few ladies to share DIY tutorials for ornaments. (You might remember Tammie & Terrie’s adorable fall tutorials from my DIY pumpkin topiary post last month. They are so talented!) Each one of our projects costs you less than $10, hence the title, Under $10 on the 10th. Stick around after this tutorial to see all of the beautiful ornaments being shared in the hop. Head over to their sites and let them know I sent you!

To make these DIY Dollar Tree Christmas ornaments you need:
- 3 pack of metal tags (DT)
- ribbon – I used 2.5″ wired metallic pink ribbon from Michael’s. It was $4.99 last year, and I used a 50% off coupon. I ended up paying $2.50 for it. A thinner ribbon would be easier, and they have Christmas print 1/4″ ribbon at DT right now. If my ribbon didn’t match my bathroom already, I’d go with the thinner one.
- 1/4″ (or smaller) white ribbon (DT or Walmart for $.50 (optional))
- white vinyl (DT) or pink glitter vinyl (I use a local Uhaul shop that sells 12×12 sheets for $.99)
- stencils (DT) with white acrylic paint (DT or Walmart for $.50) or
- sticker letters (DT)
- spray paint ($6.99 at Hobby Lobby, $3.50 w/ coupon (optional)) or acrylic paint
If I had to purchase everything I used in this project, I’d have paid $9 including spray paint. I only bought the metal tags. You can make this project with all Dollar Tree supplies for as little as $4.

Paint the Tags
The metal tags come in a three pack from Dollar Tree and are galvanized metal. They are perfect the way they are if you’d like a farmhouse look. Since I was making my DIY Dollar Tree ornaments for a small Christmas tree in my master bath, I wanted them to match. I gave them a quick coat of Rustoleam Metallic gold spray paint on both sides. You can use acrylic paint as well, just make sure it says “for all surfaces” on the bottle. You can get regular acrylic for $.50 or metallic for $.98 at Walmart.

Add a Design to the DIY Dollar Tree Christmas Ornaments
You can add anything you want to your DIY Dollar Tree ornament. The Rae Dunn look is big right now. There are several vinyl stickers at Dollar Tree right now that has that font. You can cut the letters apart, and put them on the tags when they’re dry. A nice script font is also great at Christmas. You can add words like, “peace,” “joy,” or “love.” Another option is Christmas song titles like, “Oh Holy Night.” A lot of stencils and rub-on transfers are available in Christmas-y styles right now. If you use rub-ons, again, you can cut them apart to create words you like.
Go ahead and add your paint by stencil or your stickers now.
I chose to use my Cricut. If you don’t have one, but would like to create your own design, you can use this tutorial for adding designs using your printer and a pencil. If you use your cutting machine you can keep this a cheap project by using Dollar Tree vinyl. They have it now; can you believe it? I wanted pink glitter vinyl, so I visited my local Uhaul store that sells iron-on and regular vinyl. Their 12×12 sheets are $.99. Even if you’re not using a Cricut, read over this next section anyway to see how to center your design on the tag.
Transfer the Designs
I originally wanted different nativity scenes, like a shepherd, a wise man, and Jesus in a manger, but none of those were thin enough. I wanted vertical ornaments, so the design needed to be 3-3.25″ tall by 2″ wide. So, instead I went with Christmas trees in different designs using my Cricut Access subscription. Go ahead and cut and weed your designs.

I use contact paper from Dollar Tree to transfer my designs. I’ve used the same $1 roll for years. I cut one piece and use it for an entire project instead of wasting pieces, cutting a new one for each new piece of vinyl. That’s just a little money saving tip for you.

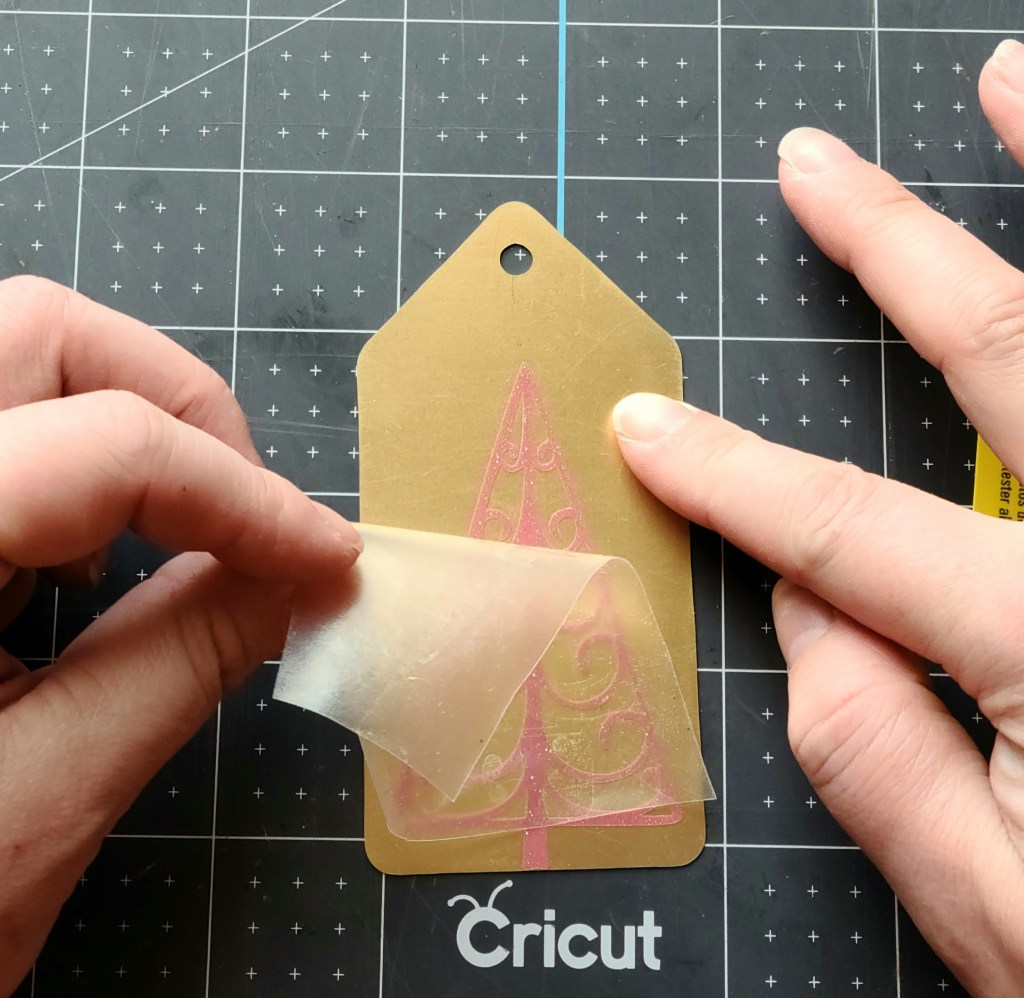
Place the contact paper over the vinyl and use a credit card or other scraper to trace over the vinyl on the paper.

When the design is on the transfer paper securely, remove the backing. I have a cutting mat with a measured grid on it, and in the center is a blue line marking it. I placed the middle of the tag on that blue line. It was easy to do because the tag is 2″ wide, so I lined it up along the two inch marks on each side of the blue line. If you don’t have a grid mat, you can use a ruler to mark the middle which will be at the 1″ line on it. Center your design along that mark and place it on the tag.

Now trace over the design with your credit card again. This time you will be transferring it to the tag.

Remove the contact paper slowly. If any of the image sticks to the contact paper, place it back down and go over it again with the card.
Add a Ribbon Hanger
Now it’s time to add a hanger. The tags do come with twine if you’re going for a farmhouse look. I used a 2.5″ wired metallic ribbon in blush pink because it matches my bedroom, and I already had it. You can use any kind or size you’d like.
Cut a 6″ piece off of the spool, and stick about .5″ through the hole in the tag. Mine stayed pretty easily because it’s wide.


Place a dot of hot glue on the back of the tag, just under the hole and press the end of the ribbon on top of it.


Now you will bring the other end of the ribbon over the top to meet the piece that you just glued down. Since I had a really wide ribbon, I used a tiny piece of floral wire and wrapped it around the end before I brought it around to the back. That kept everything in one small spot, therefore making it easier to glue on.

Place a dot of hot glue right on top of the original ribbon that’s now glued on the back.

Next press the free end of the ribbon on top of the hot glue. Carefully! That glue will certainly burn through ribbon! Usually I use little rubber tips on my fingers because I’m tired of blisters!

You now have a hanger for your ornament, and a beautiful one at that!

Add a Bow for Embellishment
When I finished my Christmas ornament, I felt it still needed something. So I decided to make a tiny bow with 1/4″ white ribbon. This is optional, you can just leave it as is. Make a simple bow about 1.75″ wide at the loops. The tails should extend past the tag about 1/16″ or so. I didn’t really measure that, I just kind of eyed it. Add a dot of glue to the back, and press it right over the hole that you fed the first ribbon through.


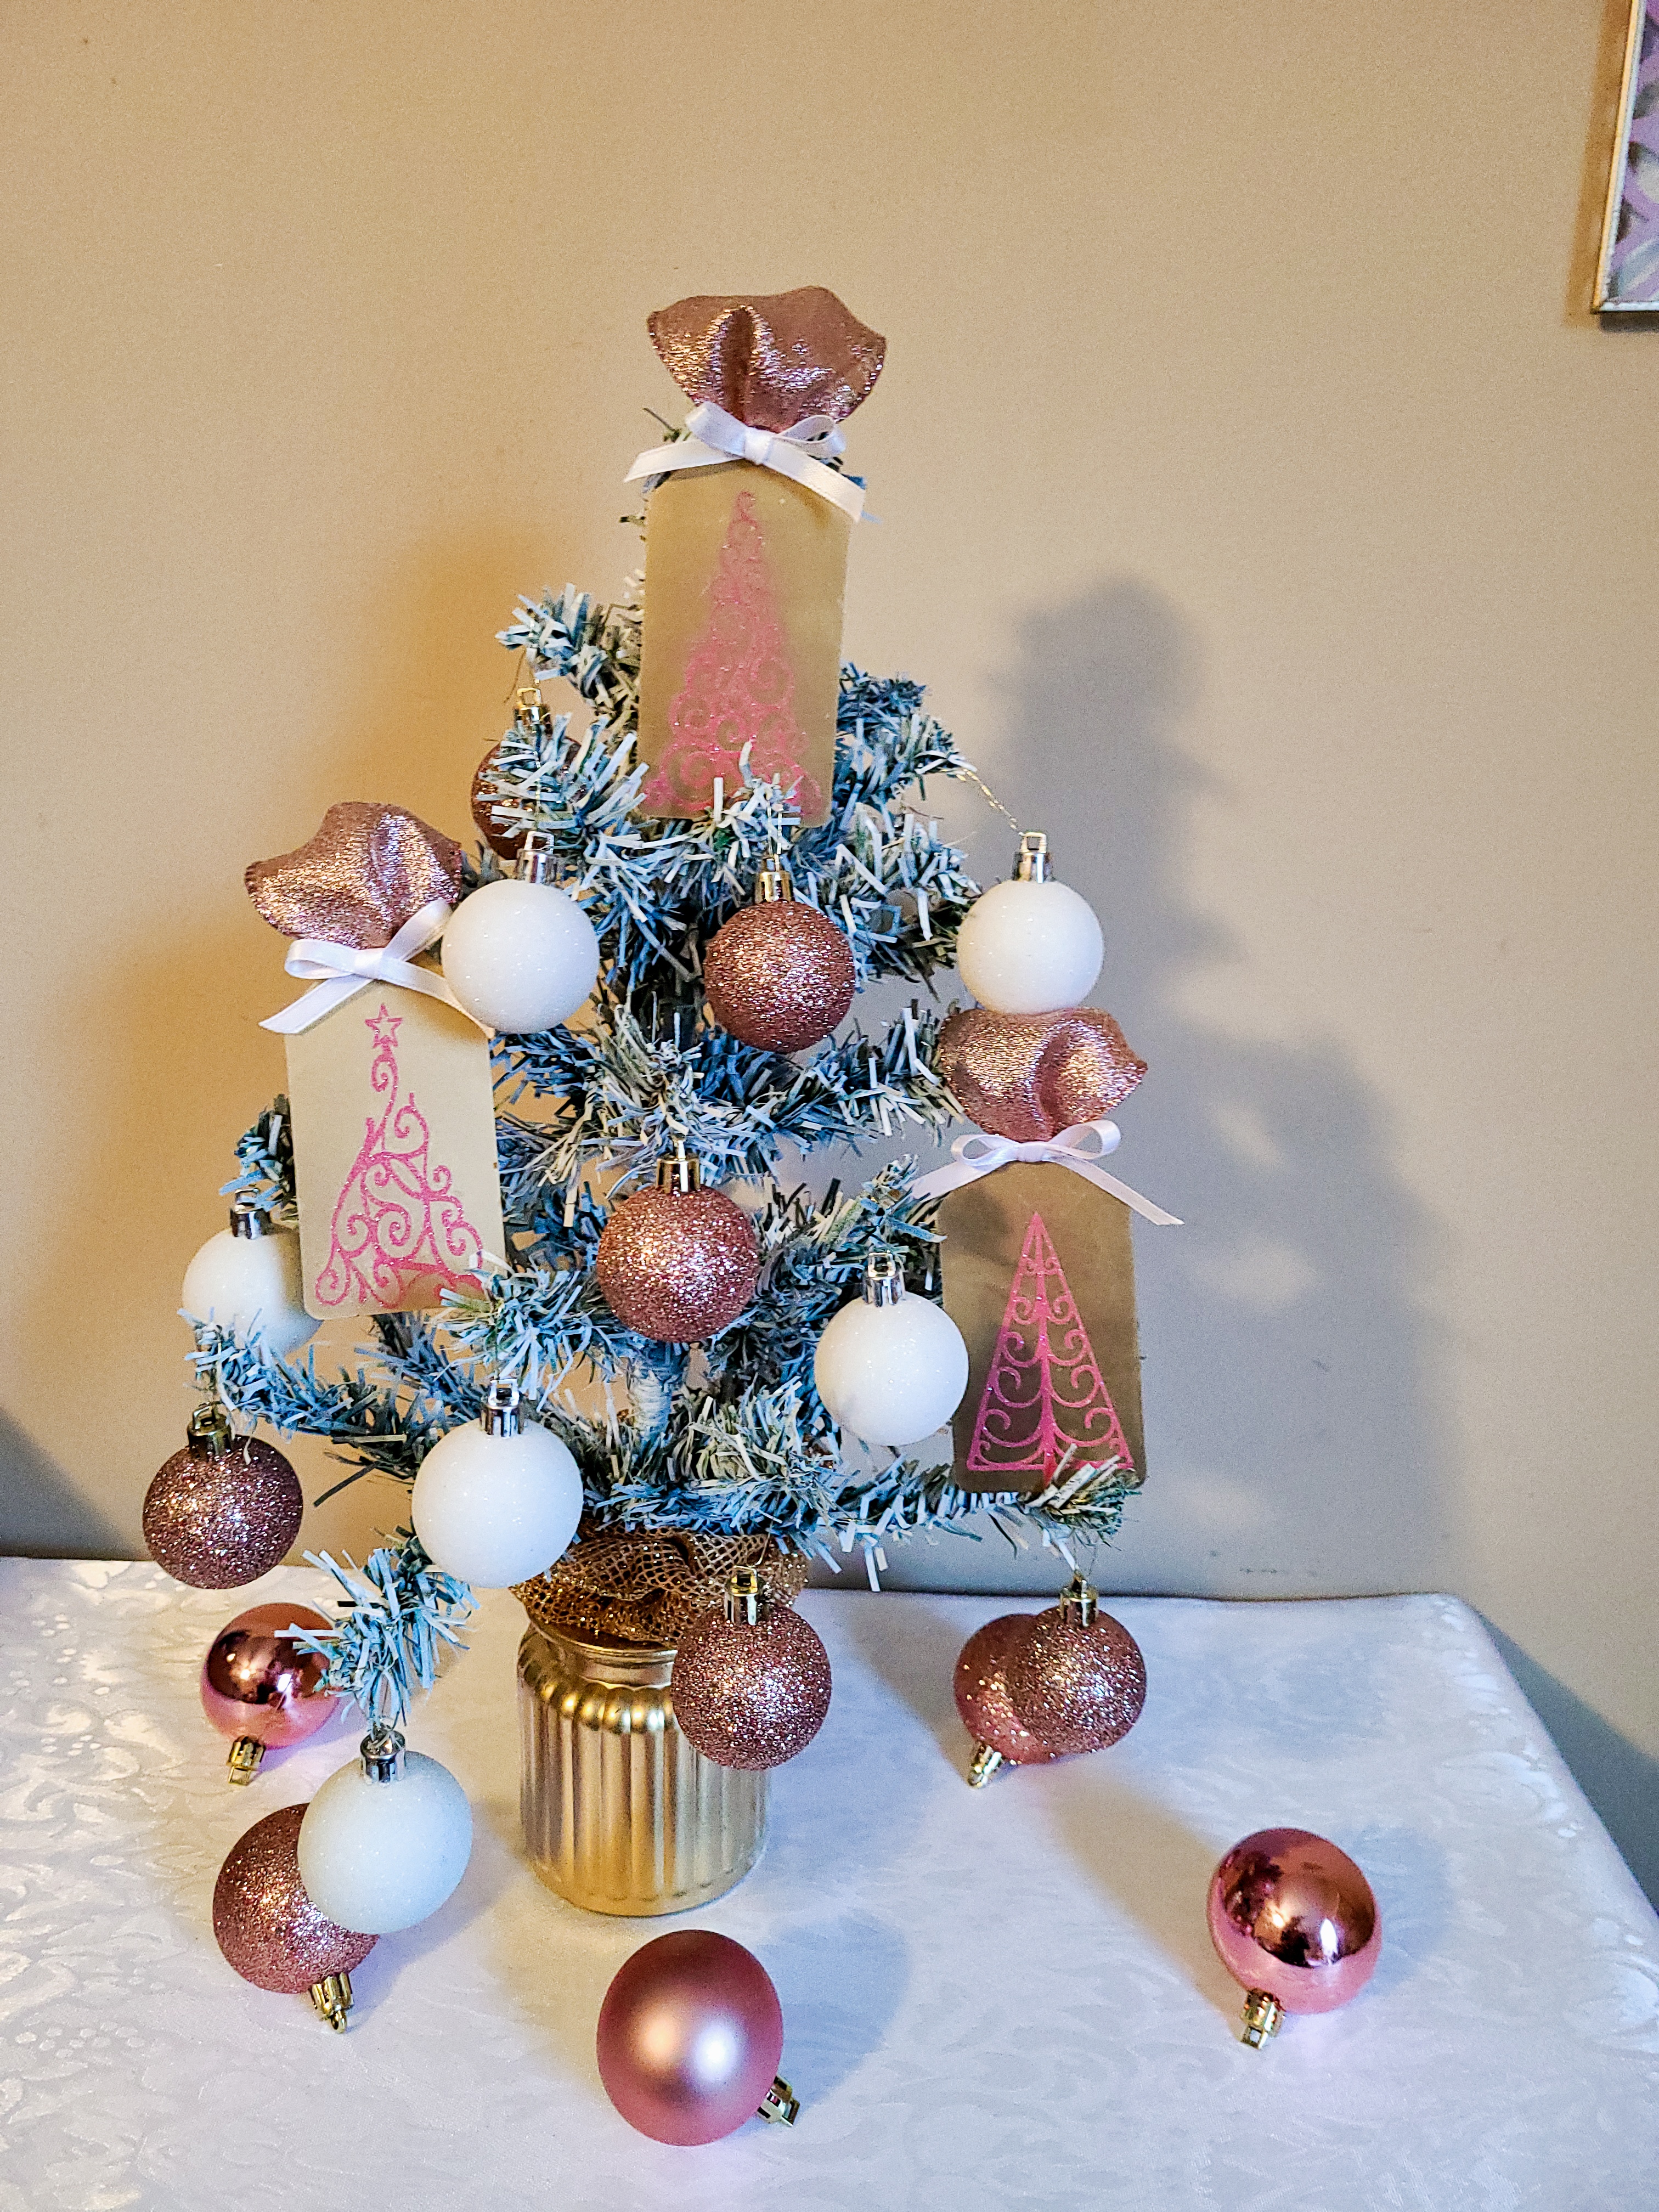
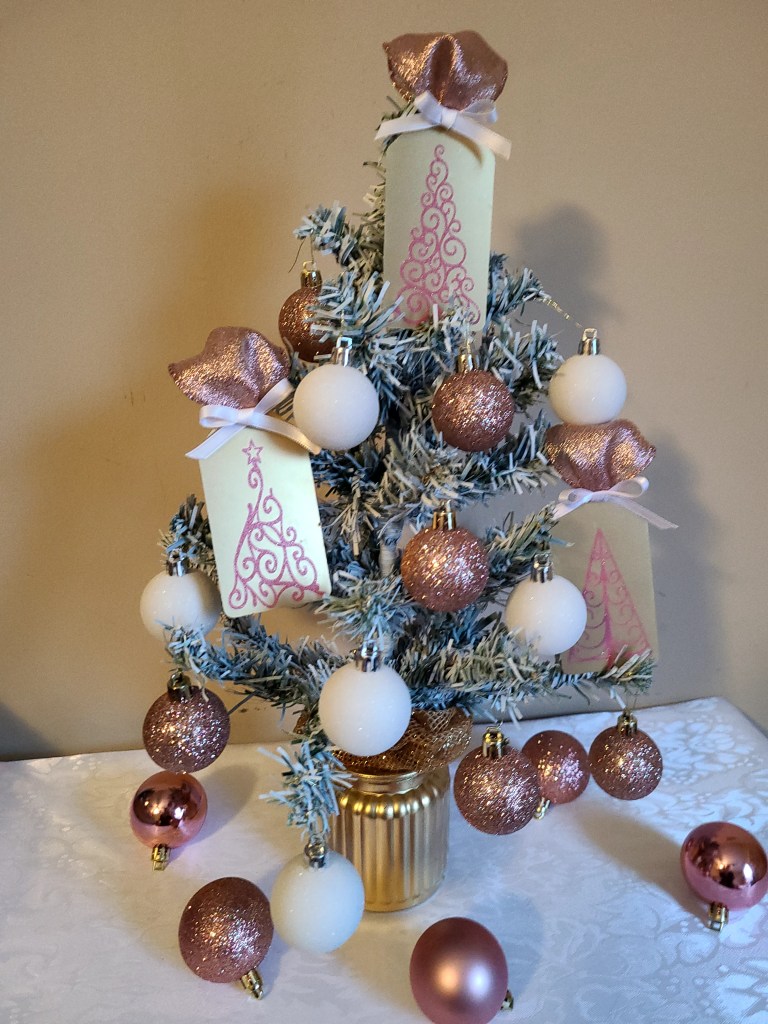
I used the entire pack of tags and made three DIY Dollar Tree ornaments with different Christmas trees on each one.

Making your DIY Dollar Tree ornaments is that easy!
I just love the way these turned out. Can you believe that you can make three ornaments for a few bucks? You can’t beat that. I added them to a small artificial Christmas tree that I bought from Dollar Tree. I spray painted it white to match my bathroom and added some pink and white ornaments along with these beautiful tag ornaments. Here’s the result.

Remember to pin the image below or share this post with the buttons on the left side of the page so you can find it when you’re ready to start your project! Also, follow me on Pinterest for new ideas added weekly! Be sure that you never miss a great tutorial for decor like wreaths, signs and other home decor, free printables, crafts, and other fun posts! Enter your email address below to be notified of new posts! Use the buttons below to follow me on social media for other great content.
$10 on the 10th Blog Hop

This month’s theme is Christmas ornaments, as I’m sure you’ve guessed. Take a look at what the other bloggers in this month’s hop have come up with for you!
Patti – Pandora’s Box (main blog link)
Gift Wrapping Idea (tutorial link)
Ann – The Apple Street Cottage


These are absolutely beautiful! I love the idea of the nativity on them, but your trees turned out so pretty. Thanks for the tip on reusing the contact paper to transfer. Why have I not thought about that? I was this many years old when…. Great job! Thanks for sharing. I can’t wait to try this.
Thank you Tammy! I’m such a miser that I tried reusing the same piece of contact paper the first time I used vinyl. That got passed on from my dad lol.
Cute project – my duaghters have cricuts, so i will pass this idea on to them! The tree is adorable!
Thank you! I’m going to do a few more with stencils and stickers so that everyone can see how they look without a Cricut.
Cute ornament! I love my Cricut Maker too – so many ways to use it. btw…head back to your dollar store, I got some pink glitter vinyl there last week!
I’ll have to check it out! I went Sunday, so I may have to check another DT location. They have a bigger one about 20 minutes from my house. That one probably has it. Thanks for letting me know!
Niki these are so pretty on your tree. I am loving the color as well. So creative….love the Dollar Tree!
Thank you Terrie! I think the cheap little $1 tree looks so much better white with these ornaments.
Your color scheme is very pretty and I love the unique ornaments you made. Great Dollar Tree craft idea!
Thank you Allyson!