
Welcome friends! I absolutely love this time of year. Decorating for Christmas is so much fun, and today I’m going to show you how to make a piece that will take center stage in your holiday decor. It can double as a Christmas card holder and a picture holder.
Don’t you love all of those pictures that your kids or grandkids have taken with Santa over the years? Many times, they get put into a folder or on an ornament and don’t get the attention they deserve. With this decoration you’ll be able to enjoy the cuteness all season long!

Our Sustainable Pinterest Challenge hosted by Julie from Sum of Their Stories is here, and this month’s theme is Christmas. Every month I team up with some talented bloggers from around the world the world to bring you a project based on a Pinterest idea with a sustainable element. My sustainable element this month was a hula hoop that was my daughter’s when she was little. The outer plastic was peeling off and it was going to go in the trash. It was rescued and got new life as a Christmas card/picture holder! I based my project on a lovely YouTuber’s idea (sorry she didn’t have an image alone of the project only the video). Her name is Wendy from White Sparrow Living. She’s a sister in Christ, so I have to show her some love!
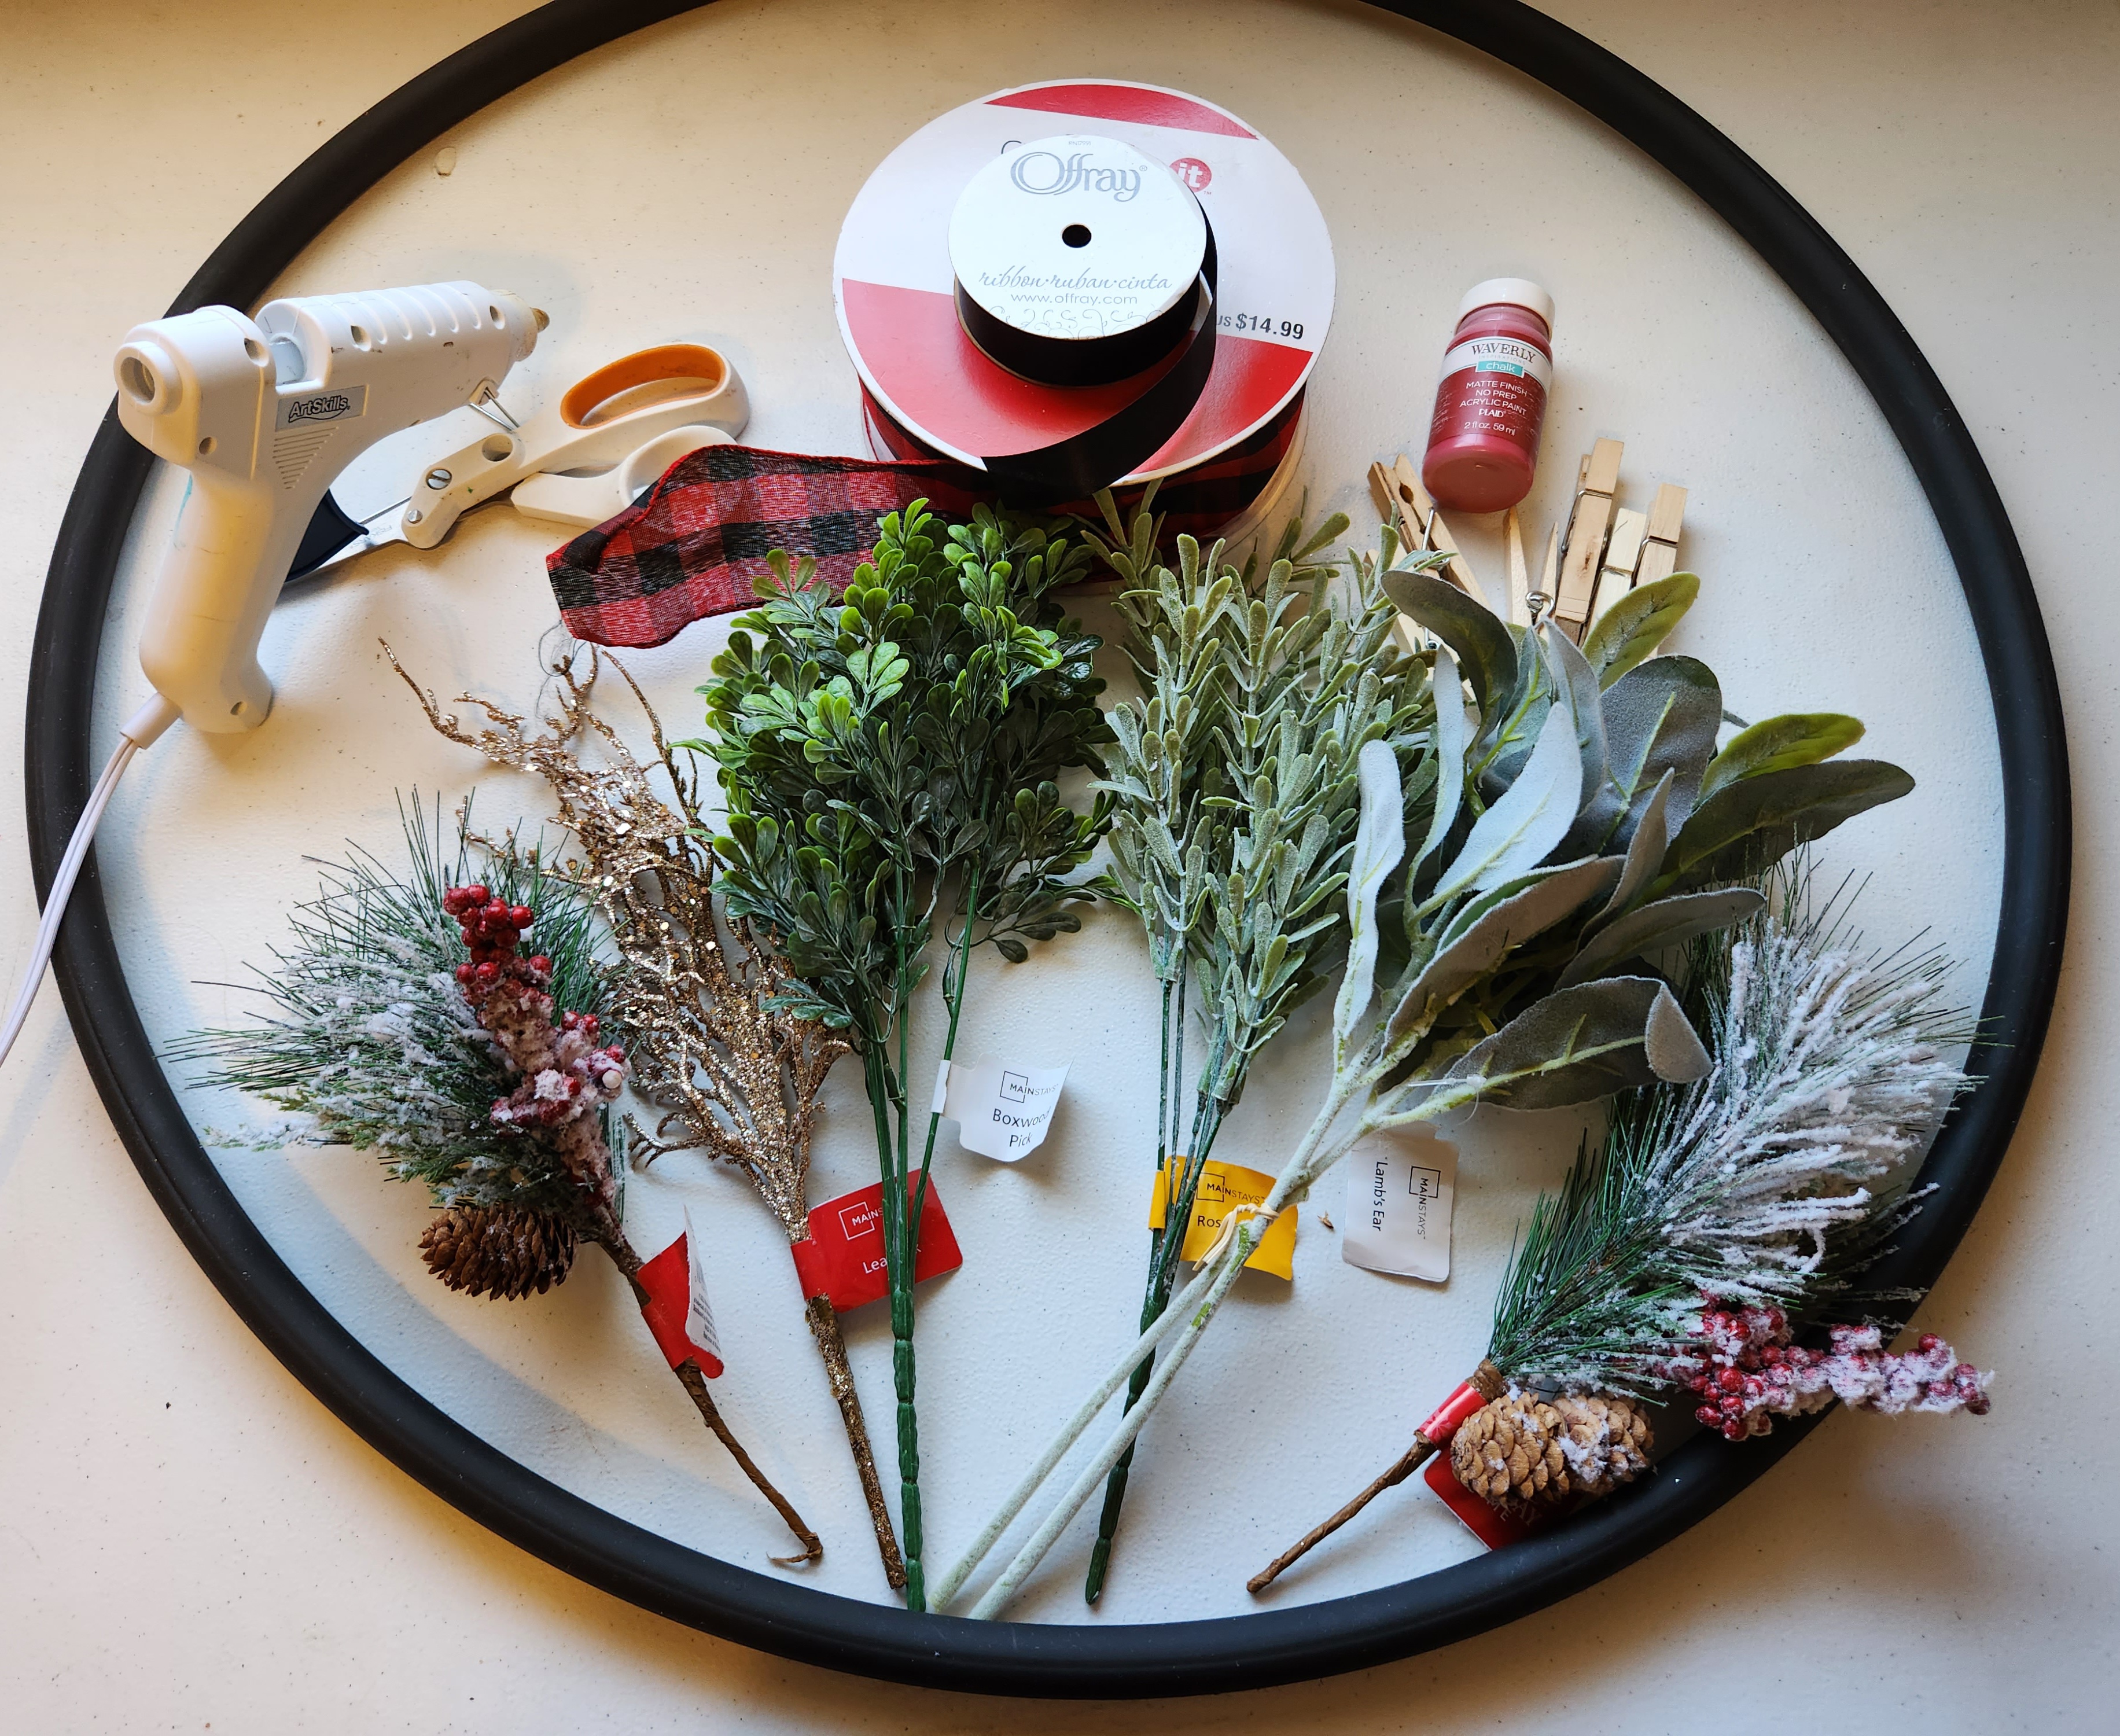
Supplies for a Christmas card holder:
- small hula hoop
- 7/8″ ribbon (I used black.)
- 2.5″ ribbon (I used red and black buffalo check.)
- spray paint in a color coordinating with the ribbon (I used black.)
- spray paint clear coat sealant (optional)
- hot glue
- clothes pins (mini ones would work best)
- paint for clothes pins
- greenery
- Christmas picks


Paint the hula hoop.
First spray paint the hula hoop. I used black and put on two coats, but it really only needed one.

It’s smart to go ahead and use a spray sealant to keep the paint from chipping during use and then storage.
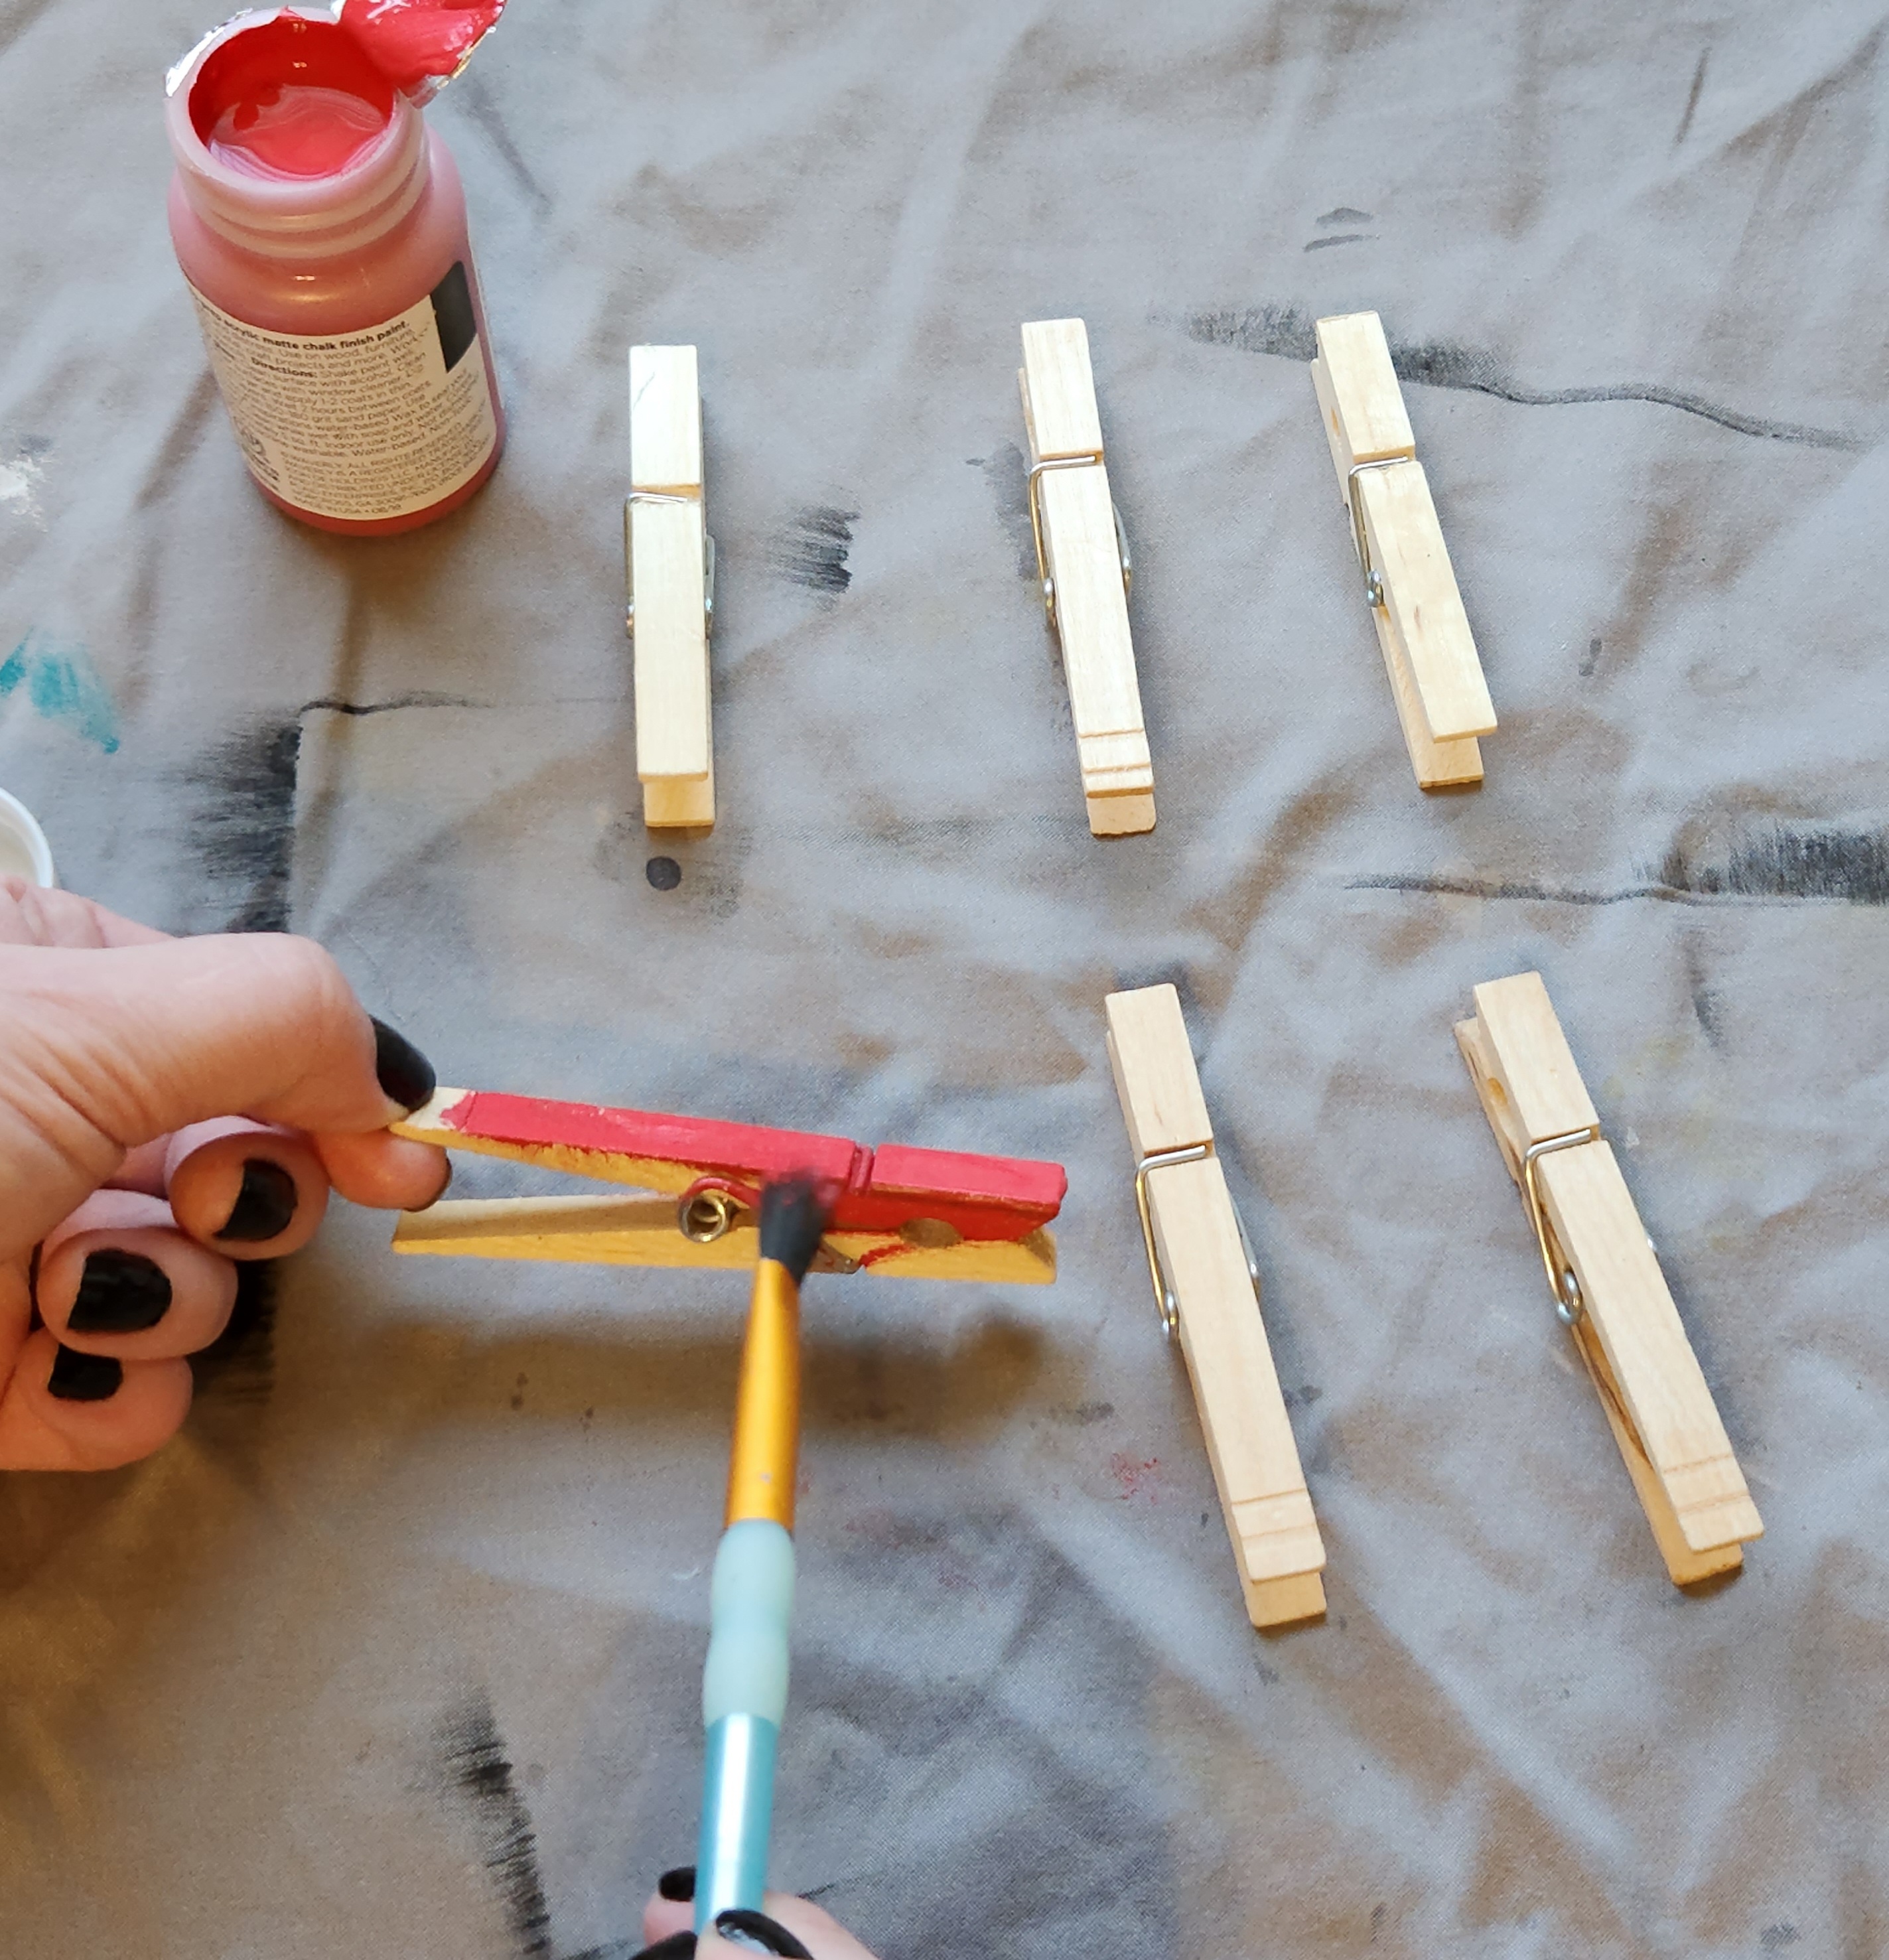
Paint the clothes pins.
I used Waverly chalk paint in Crimson to paint regular size clothes pins. That color matches my red and black buffalo check ribbon perfectly. Once I put them on the ribbon, I realized that mini clothes pins or clips would work better as they won’t pull down as much with their weight. Once I find mine, I will use them.
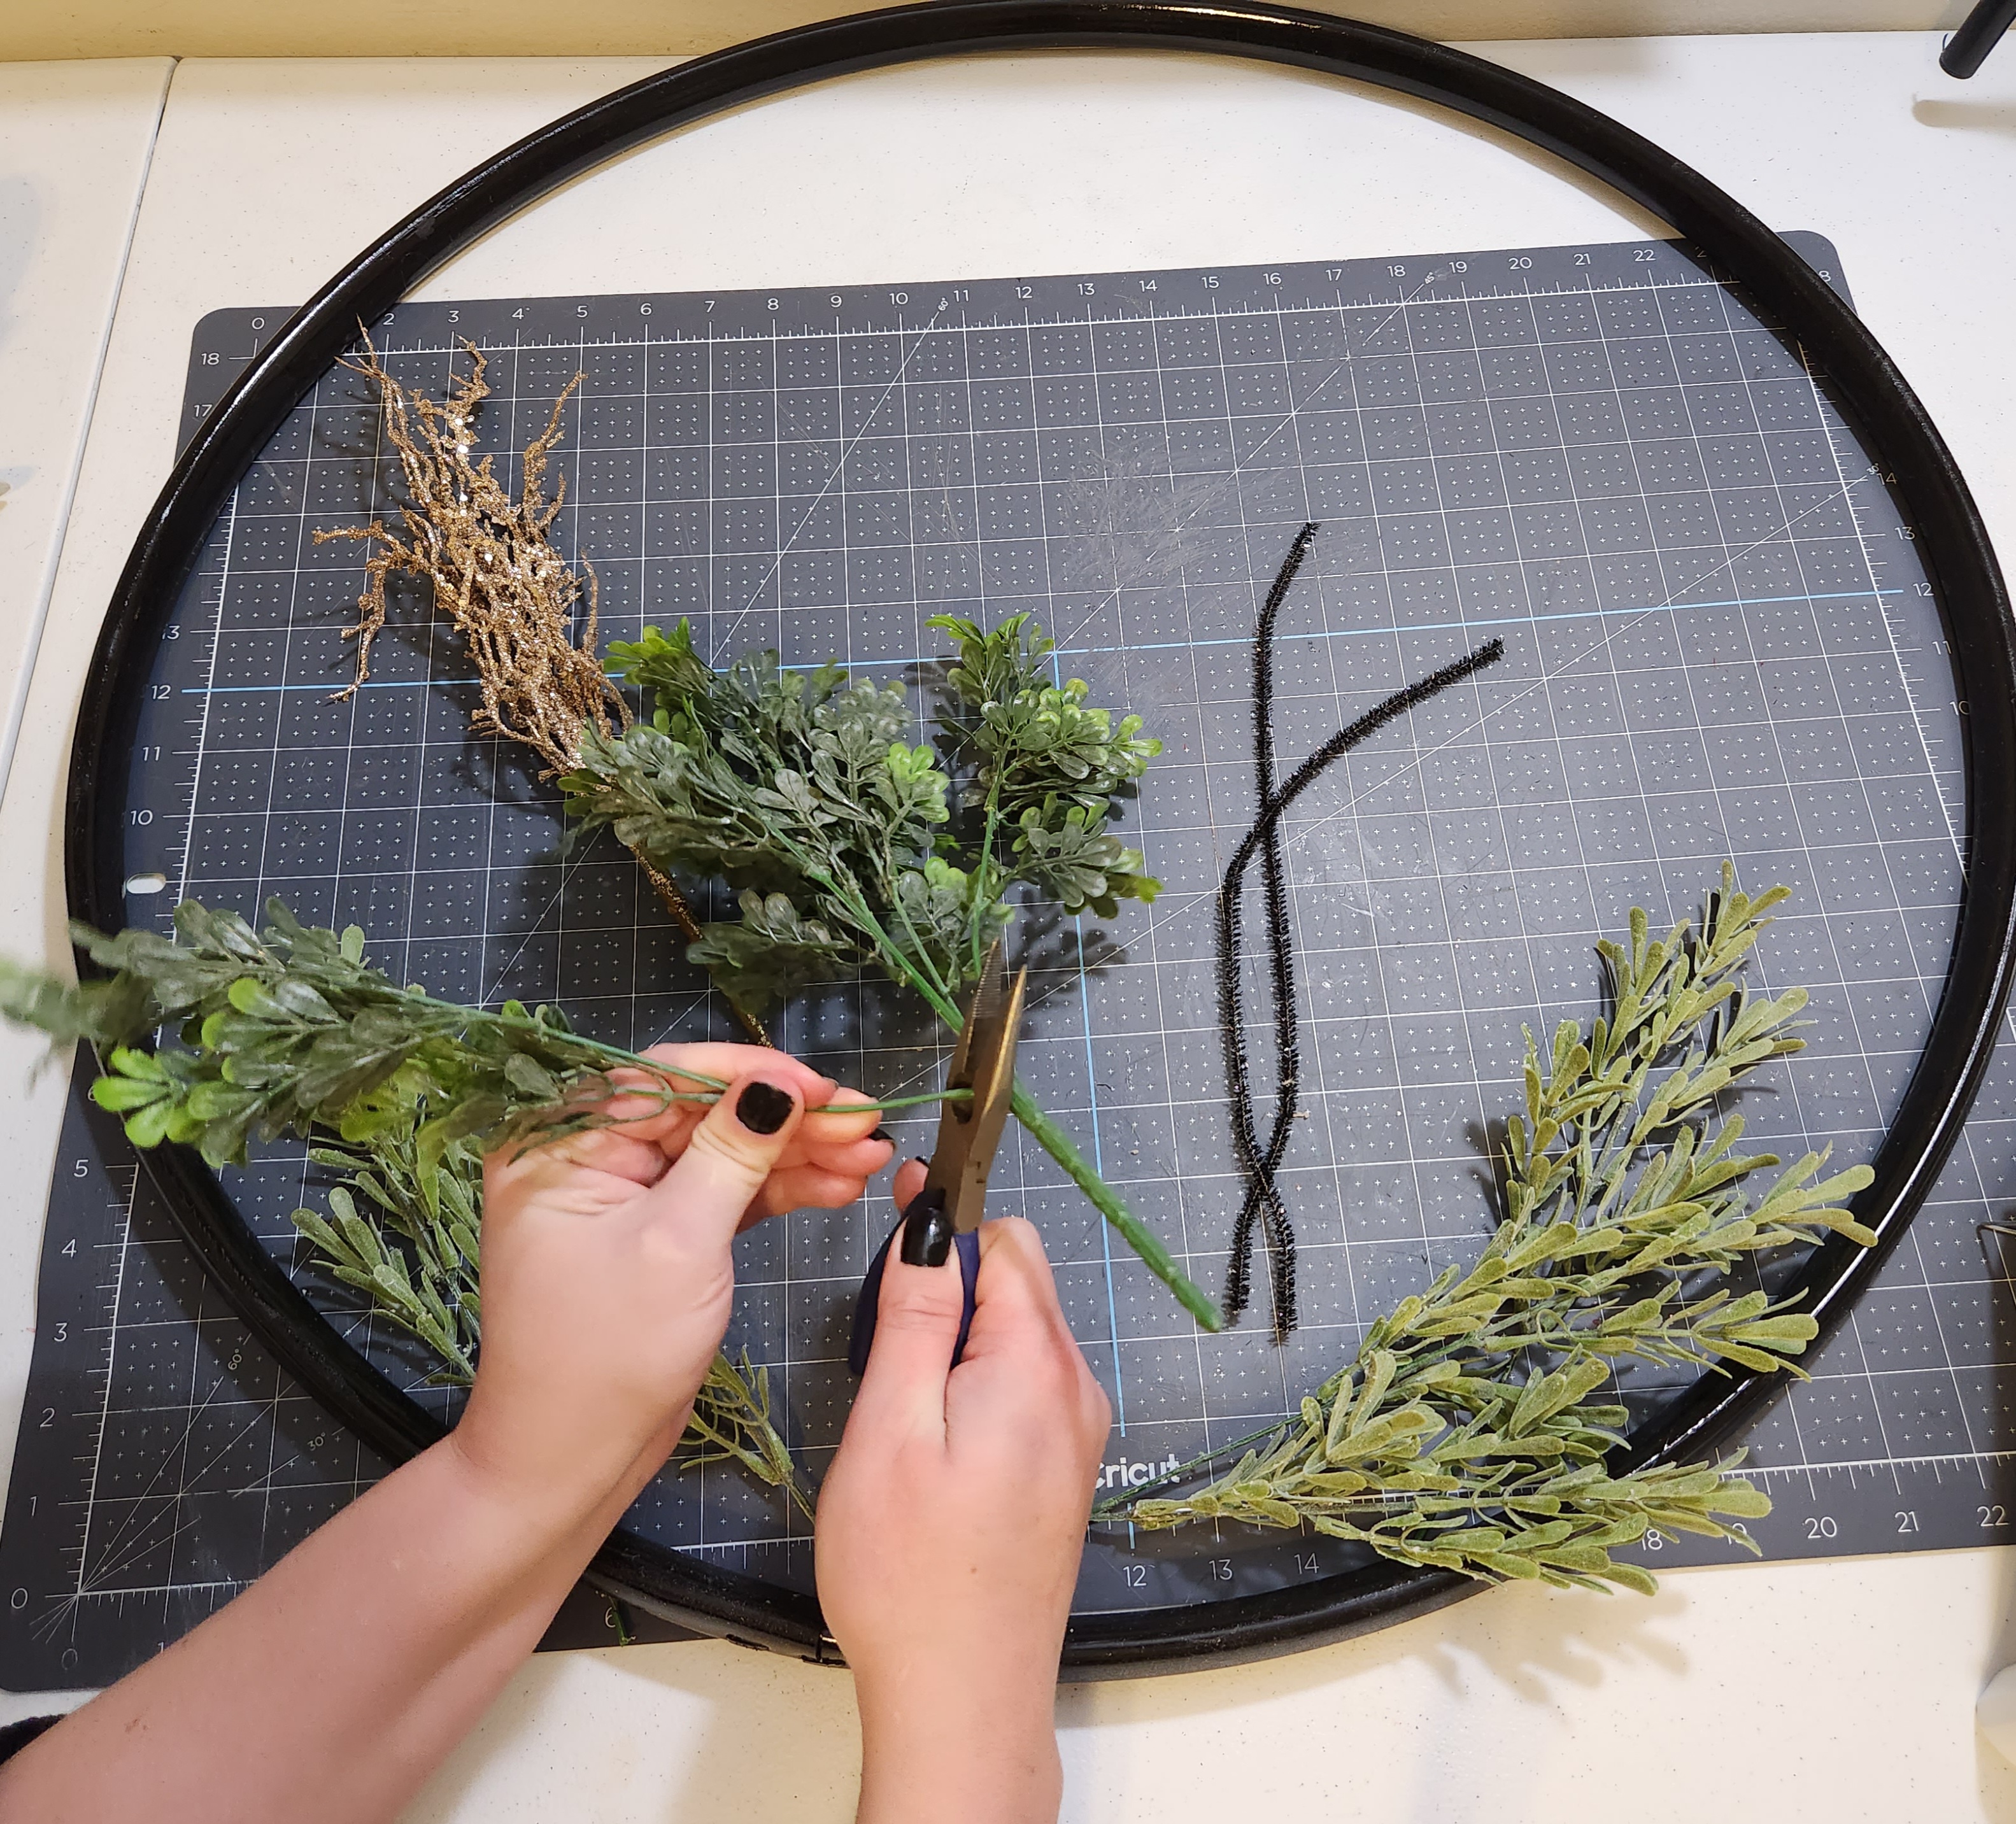
Add greenery to the hula hoop.
I used two bunches of rosemary stems, boxwood stems, and two flocked fir picks with pinecones and berries on them. Cut the bunches into individual stems.
Next place them to the left and right of the bottom center, extending up about 12″ or so. I alternated between rosemary and boxwood. Simply add hot glue to the back of the stem and place it on the hula hoop. I did pull off some of the leaf bunches to add to any spot that looked sparse.

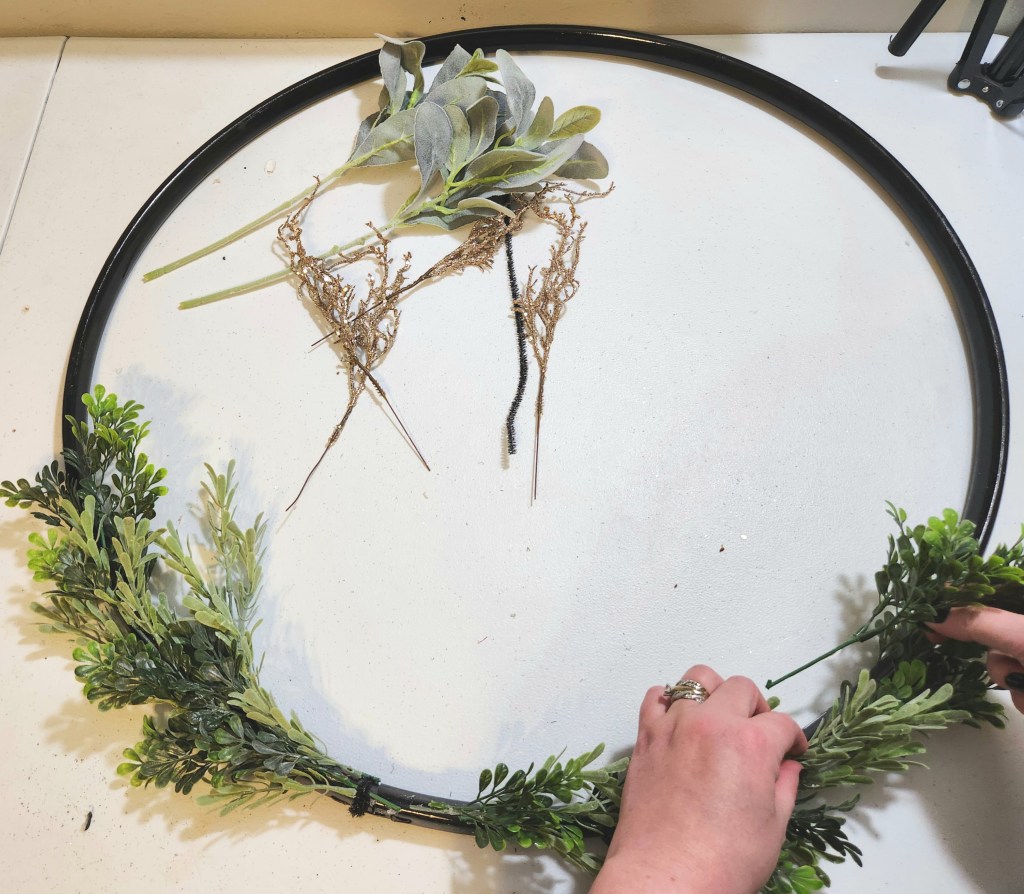

Then add the fir closest to the center. I used a pipe cleaner to attach the picks because they were pretty heavy. Leave a place for a bow in the middle.

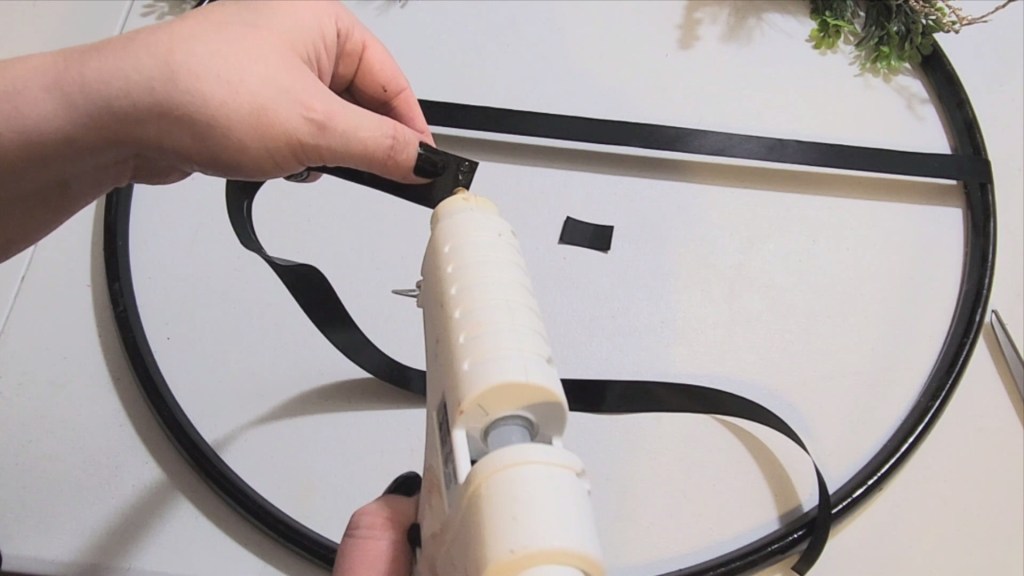
Place Ribbons on the Christmas Card Holder
I added the ribbons that will hold my pictures after I added the greenery so that I could place them in the right places. Roll out some ribbon and stretch it across the hoop and cut it to the appropriate length. Add hot glue to the end, then wrap it around the hoop so the glue ends up on the back. My first ribbon is about 3″ above the spot where the greenery ends. Glue the other end to the opposite side, making sure to pull it tight! If you don’t make it tight, tight, it will droop with the weight of the pictures and clips.

Cut a second length of ribbon and glue both ends to the hoop 6″ or more above the first. You can place the ribbons where you need them based on what you’re going to hang.


Make & Add a Bow
I made a simple six loop bow. Secure yours in the center with a long pipe cleaner and don’t cut any of it off.

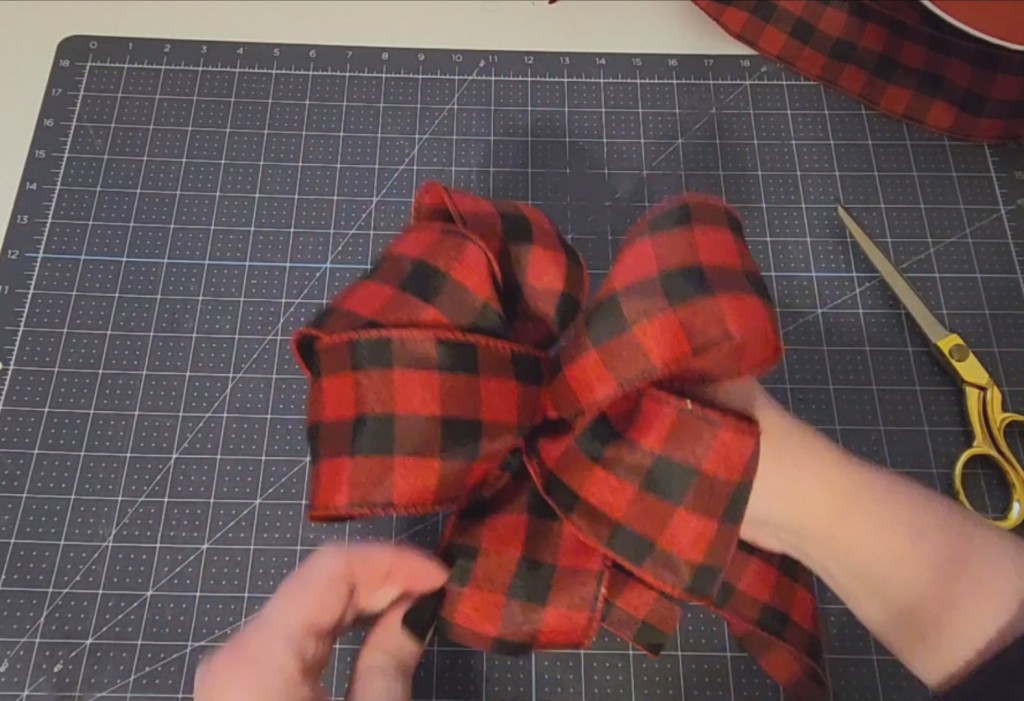
Then I used my super sneaky trick and glued on a separate loop to add a center. All you do is cut about a 6″ piece of ribbon, pinch the two ends together creating a loop, then wrap a tiny piece of pipe cleaner around the end. Add hot glue to the bottom and place it in the center of the fluffed out bow. Dove tail the ends of the ribbon.


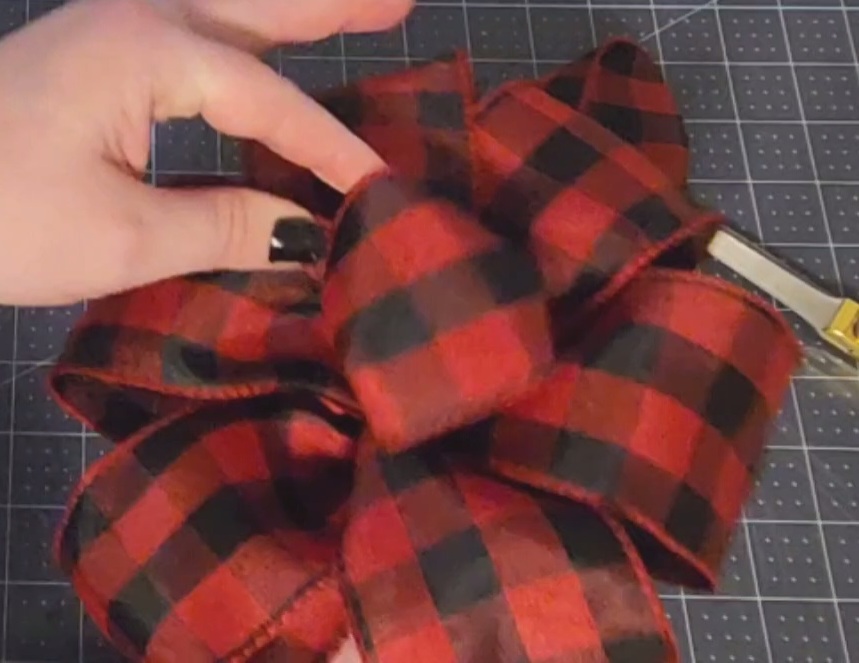
See? You don’t have to be a bow pro to make a pretty one! A video of me making the bow will be in the video tutorial at the end of the post. If you need an easier bow, use this tutorial where you can use separate loops to form one bow!

Attach the bow in the bottom center of the Christmas picture holder.

Video Tutorial
Here’s a quick video tutorial to help you if you learn best by watching. I know I’m probably one of the only wierdos in the world who learns best by reading! The video is sped up, so play it at half speed if need be. I kept the bow making section at only double speed so that you could see it better. The rest I figured you’d get the gist of by seeing it quickly. As always, forgive the quality. I’m not a videographer, lol!
That’s it! Your showstopping Christmas card/picture holder is complete!
I absolutely love how this turned out! It’s place of honor this Christmas will be above our couch where my Pottery Barn dupe decorative mirror set usually hangs.

Remember to pin the image below or share this post with the buttons on the left side of the page so you can find it when you’re ready to start your project! Also, follow me on Pinterest for new ideas added weekly! Be sure that you never miss a great tutorial for decor like wreaths, signs and other home decor, free printables, crafts, and other fun posts! Enter your email address below to be notified of new posts! Use the buttons below to follow me on social media for other great content.

On to our Sustainable Pinterest Challenge!

You are going to love the Christmas projects that the talented ladies on this hop have to share with you! I hope that you’ll visit each one and show them some love.
The link to their main blog page is on the left, and the link to their posts will be on the right with the title of their posts.
Julie – Sum of Their Stories | How to Make Festive Gift Tags from Old Business Cards
Gail – Purple Hues and Me | Glitter Foam Christmas Tree Ornaments
Julie – Treasures Made from Yarn | Knitted Gift Bag
T’onna – Sew Crafty Crochet | Easy Upcycled Crochet Christmas
Mel – Decor Craft Design | DIY Christmas Can Holder
Christine – Christine’s Crafts | Easy Kids Crafts Christmas Tree Decoration
Vicky – Vicky Myers Creations | DIY Candy Christmas Decoration
Donna – Modern on Monticello | DIY Toilet Roll Gnomes
Allyson – Southern Sunflowers | Christmas Burlap and Denim Wreath
Ann – The Apple Street Cottage | Vintage Satin Ornament
Jo – A Rose Tinted World | How to make a Toilet Roll DIY Advent Calendar
Don’t go yet! There’s more to see!
There’s plenty more to see here on the blog! If you’re looking for something specific, use the search box in the sidebar to look it up. If not, you might enjoy these ideas. Don’t have time to read them all now? That’s ok, just click over to the posts using the pictures and pin them for later. You can also add Life as a LEO Wife to your favorites and check back for new ideas and free printables and SVGs every Wednesday, as well as link parties with tons of shared ideas on Sundays!


Such a cute project! What a fun way to use a hula hoop!
Thank you! I love how big it is.
It’s a beautiful Christmas wreath, I like that you add photos, very personal. And great use of an old hula hoop too!
Thank you Mel!
This is a great project. It is so easy to personalise it for any decor!
Yes it is! I love that!
Very clever, Niki. This would also be a great way to display Christmas cards!
Yes, if I get any this year they may go on there. I have another little thing that they usually go on. I get a few from older relatives some years, but with a new house they probably won’t know my address!
I love this idea and it looks awesome, Niki! It can also double as a year round decorative photo display piece with a little tweaking for each season!
For sure! Thank you!
That’s a great way to use an old battered hoola hoop and give it a new purpose. In our old house I would attach cards to a strip of crepe paper but since we moved (7 years ago!!) and no longer have a good space to hang them I’ve not done anything special with them, they just get put on every surface and blow over when the door is opened. This looks like a much better solution!
Thank you! I don’t get many Christmas cards, usually a few from older family members, so I love that I can display family Christmas photos!
OMG did I just see a yarn wreath flash by on your post slide show! Was that yours or from a link party? Wait until you see my 10 on the 10th project ~ LOL. Your upcycled hoop is such a wonderful idea for displaying cards and photos ~ it turned out great!
Thank you! The yarn wreath was mine. Great minds think alike I guess lol!
This is such a great way to upcycle a hula hoop! I’m always looking for different ways to display Christmas cards, and I really like this!
Thanks T’onna!
Such a great idea to use a hula hoop – very effective. Love the tip re managing weight with a pipe cleaner
Thank you!
Very cute and clever Niki!
Thank you!
I haven’t displayed Christmas cards in years but your posts has got me thinking about creating something to do just that this year. Thanks for the inspiration.
I don’t either! That’s why I’m using this for Christmas pics. Every year we get Santa pics, but I don’t have them all displayed every year. Those things are expensive so they’re going on this this Christmas!
What a fabulous practical decoration! A great way to use your greeting cards to help decorate your room too!
Thank you!