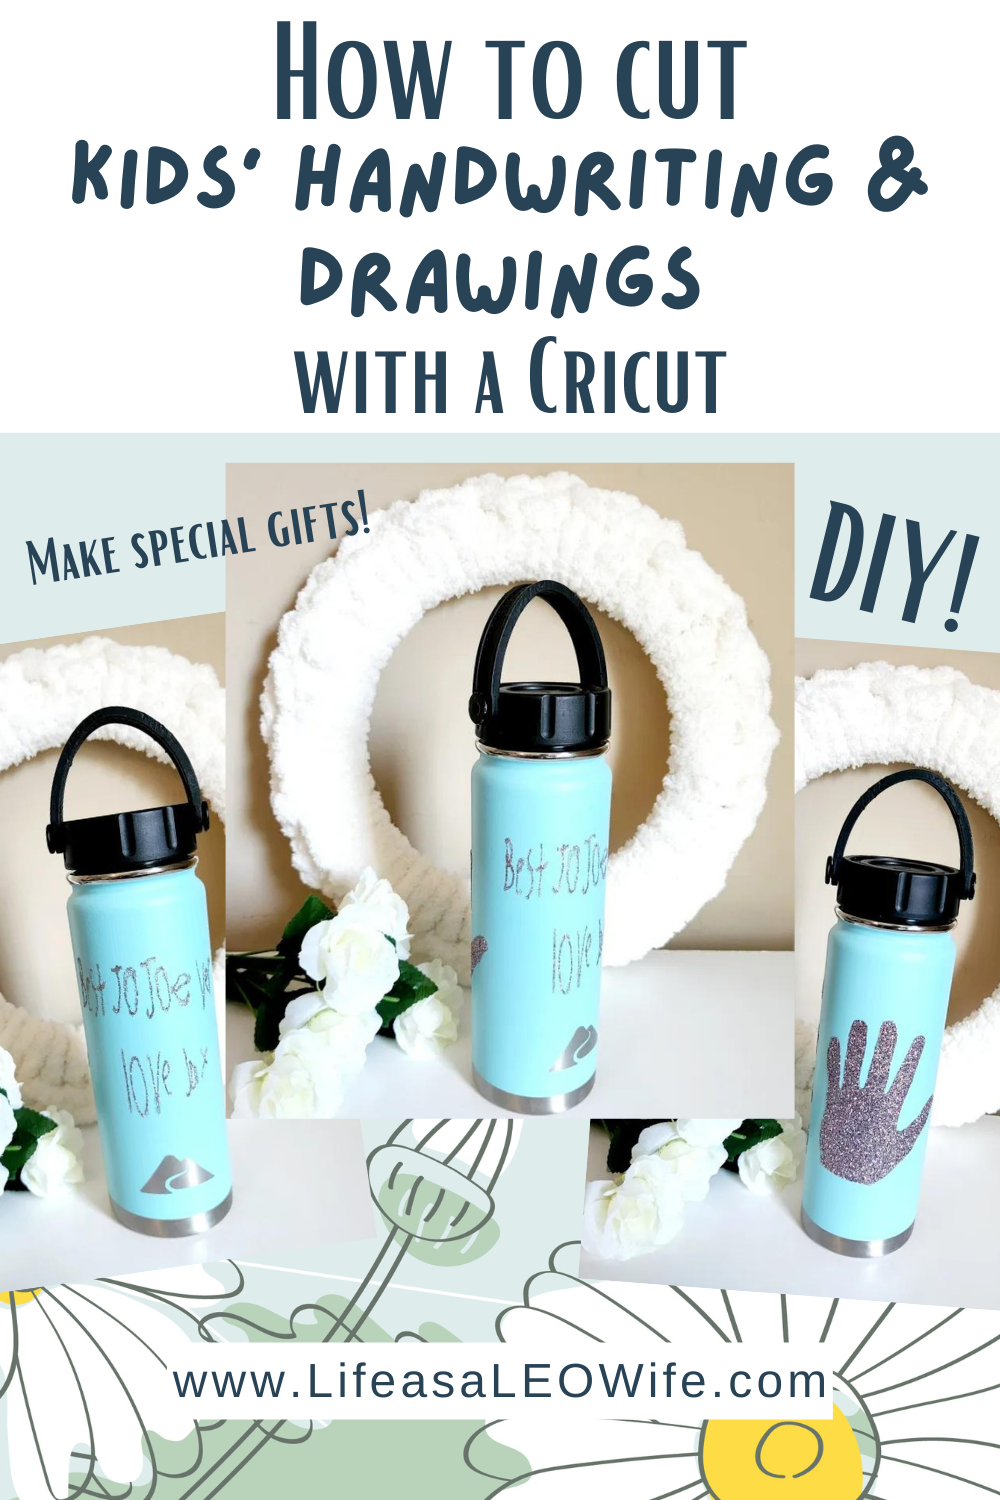
Welcome to the blog today! I apologize for missing a post on Tuesday. I was incredibly sick, and I tried to work through it. My wonderful husband eventually succeeded in putting me to bed with medications, liquids, and emesis bags. I’m just about back to full strength today, which I’m very happy about because I just couldn’t wait to share this special DIY gift idea with you. My former mother-in-law’s birthday is today, and I wanted to create a special combination birthday/Mother’s Day gift for her with my son’s handwriting on it. I wanted something that would last, yet she could use. So, I figured out a way to upload and cut a child’s handwriting with my Cricut. Today I’ll be sharing that tutorial with you!

As I thought about the gift for my son’s grandmother, I knew I wanted it to be sentimental because she is one of the sweetest and most caring people in the world. It also needed to be affordable because we’re buying a new house and everything that goes with that, the economy is bad, and I have a huge pile of medical bills. I finally decided to make her a tumbler with a sweet note from my son on it. The technique of cutting your child’s handwriting with a Cricut or other cutting machine is the perfect combination of those two needs! You can use this technique on a huge variety of “blanks,” like a phone case, coffee mug, keychain, car tag, sign, wine glass, t-shirt, canvas, etc. The possibilities are endless!
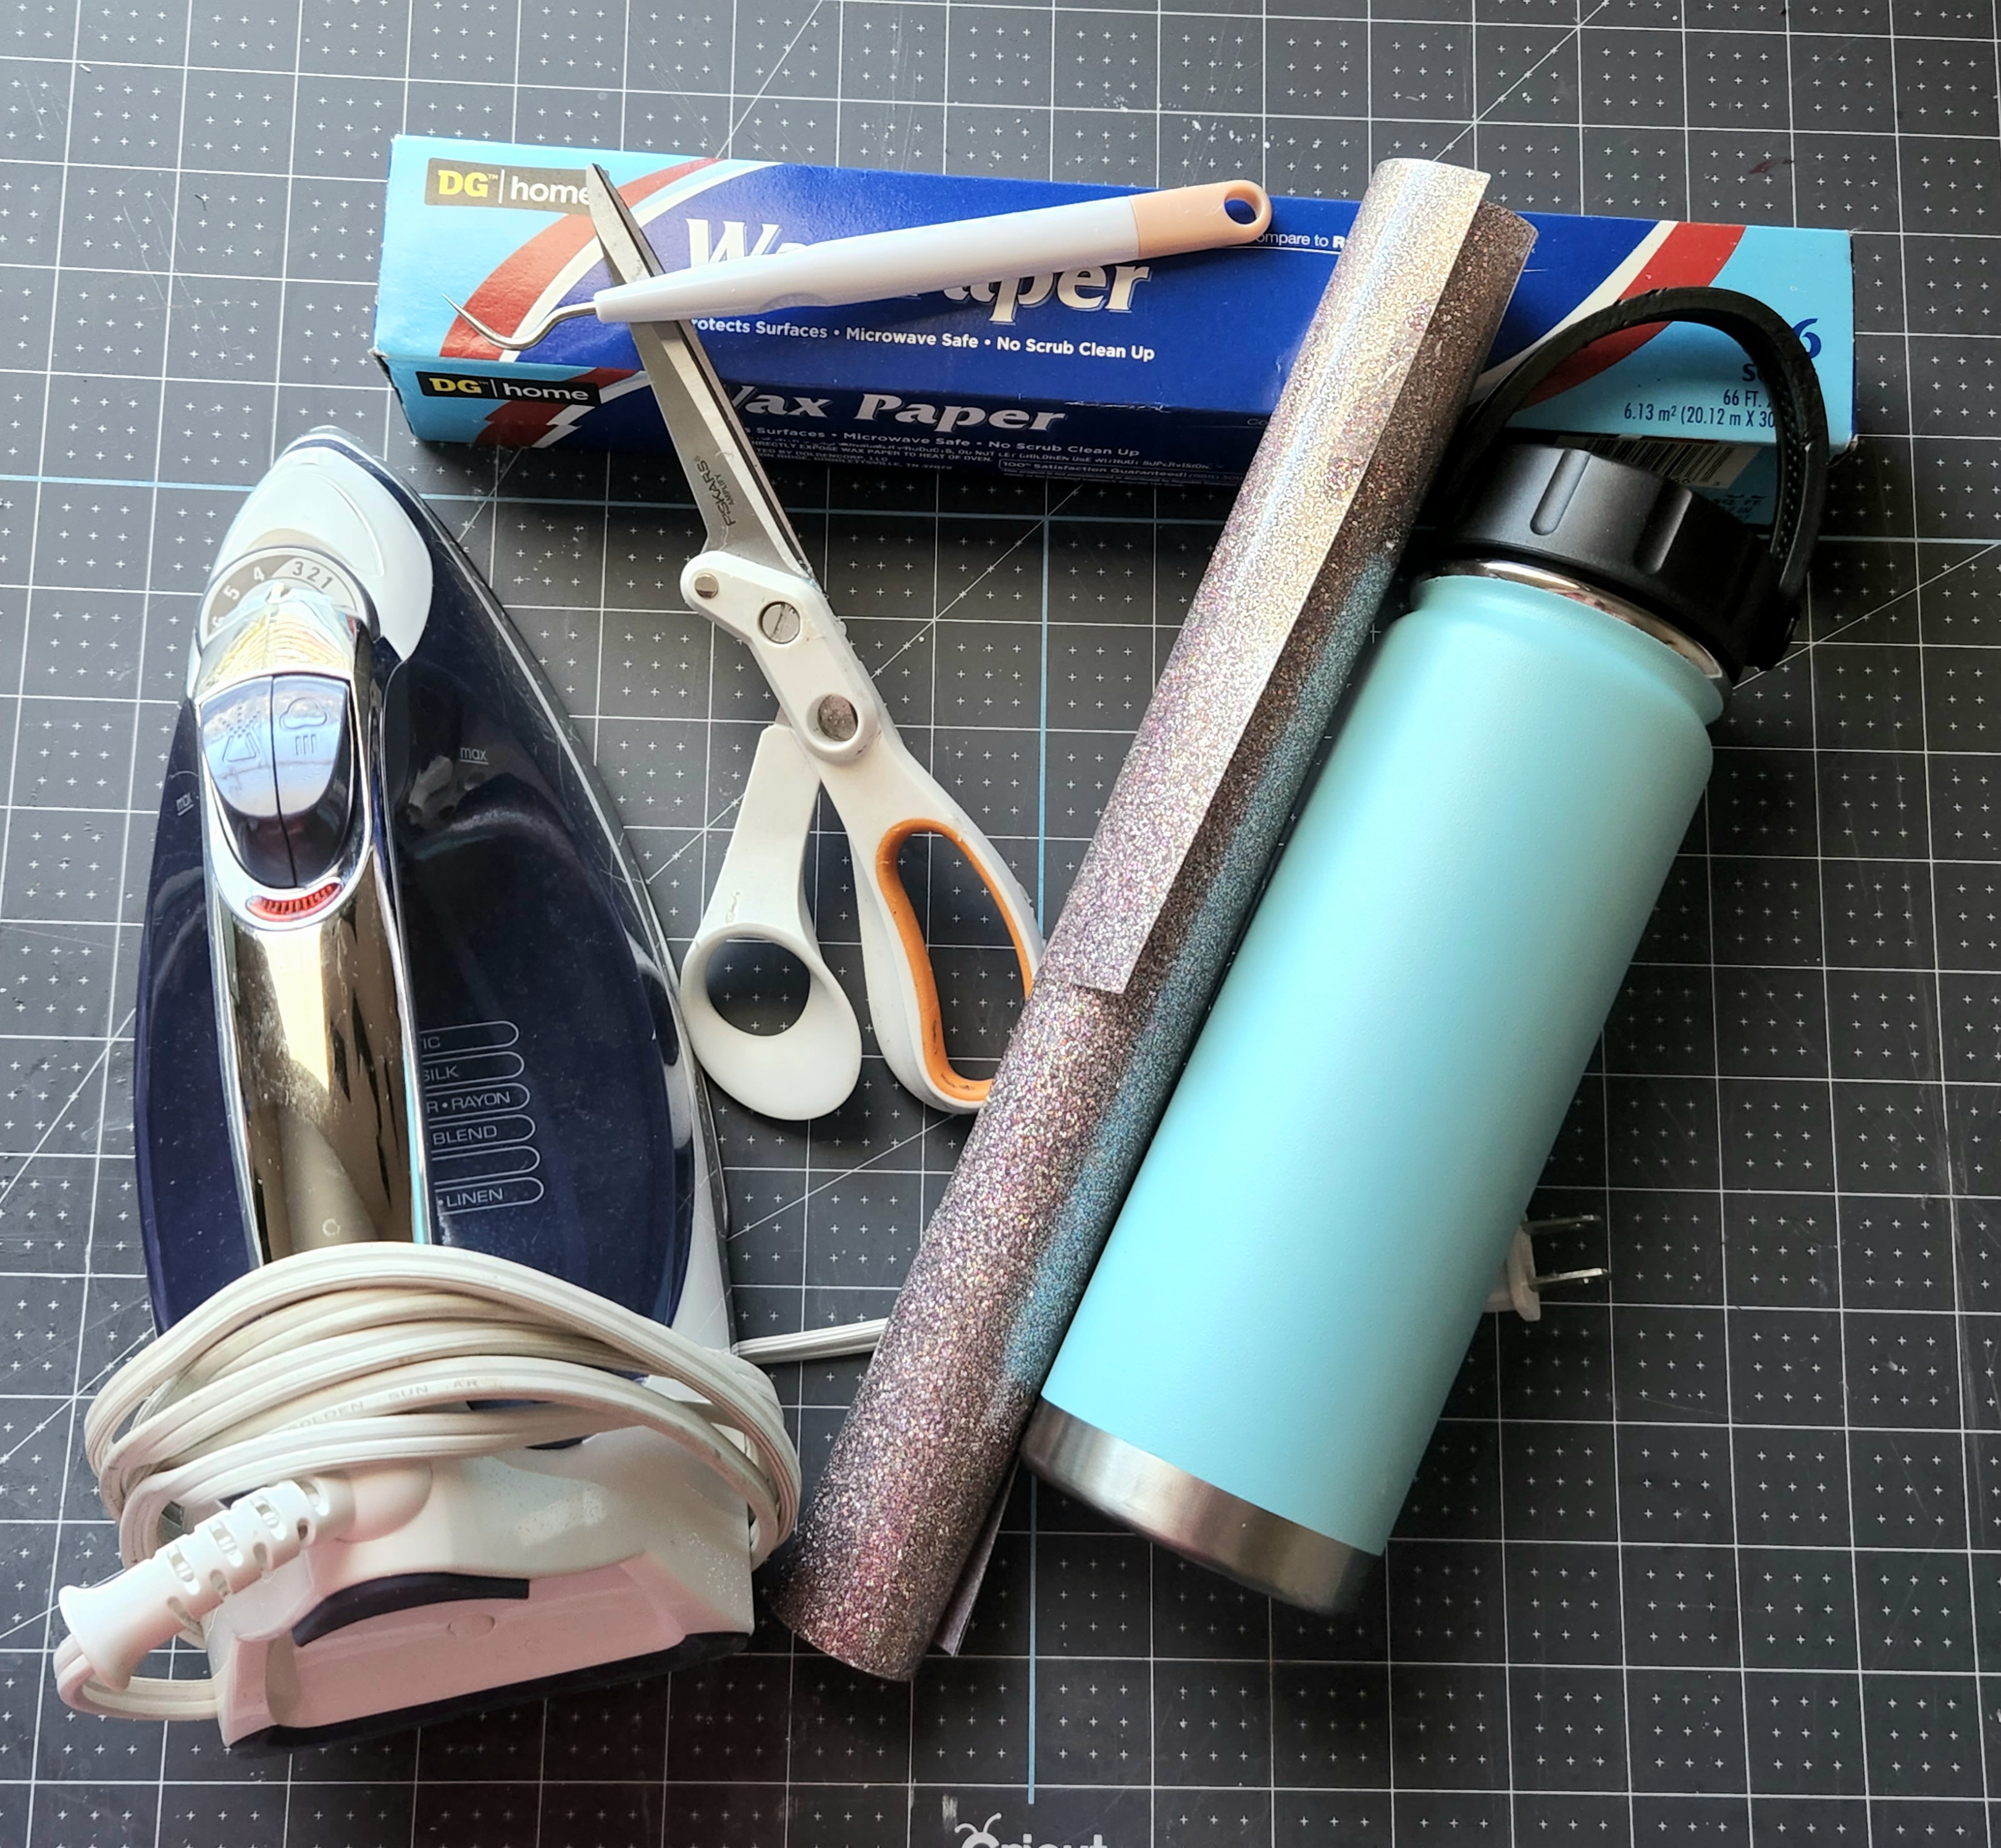
To cut a child’s handwriting with a Cricut you need:
- paper for your child to draw on
- marker to draw with- My son used a Sharpie, but a washable marker will work.
- Cricut or another cutting machine
- smartphone or camera
- Canva (free app)
- HTV or vinyl- I used HTV in a color called “unicorn glitter.”
- item to use the design on- I used a tumbler, but you could use canvas, wood plaque (like my DIY round wood wreath), a Dollar Tree sign (like a circle in my DIY Mother’s Day door hanger w/ free SVG or other shape), or even just cut the vinyl to use as a car decal.
- transfer tape for regular vinyl or
- wax paper and an iron for HTV
- scissors
- weeding tools & scraper or credit card (for regular vinyl)
Create a Note or Drawing
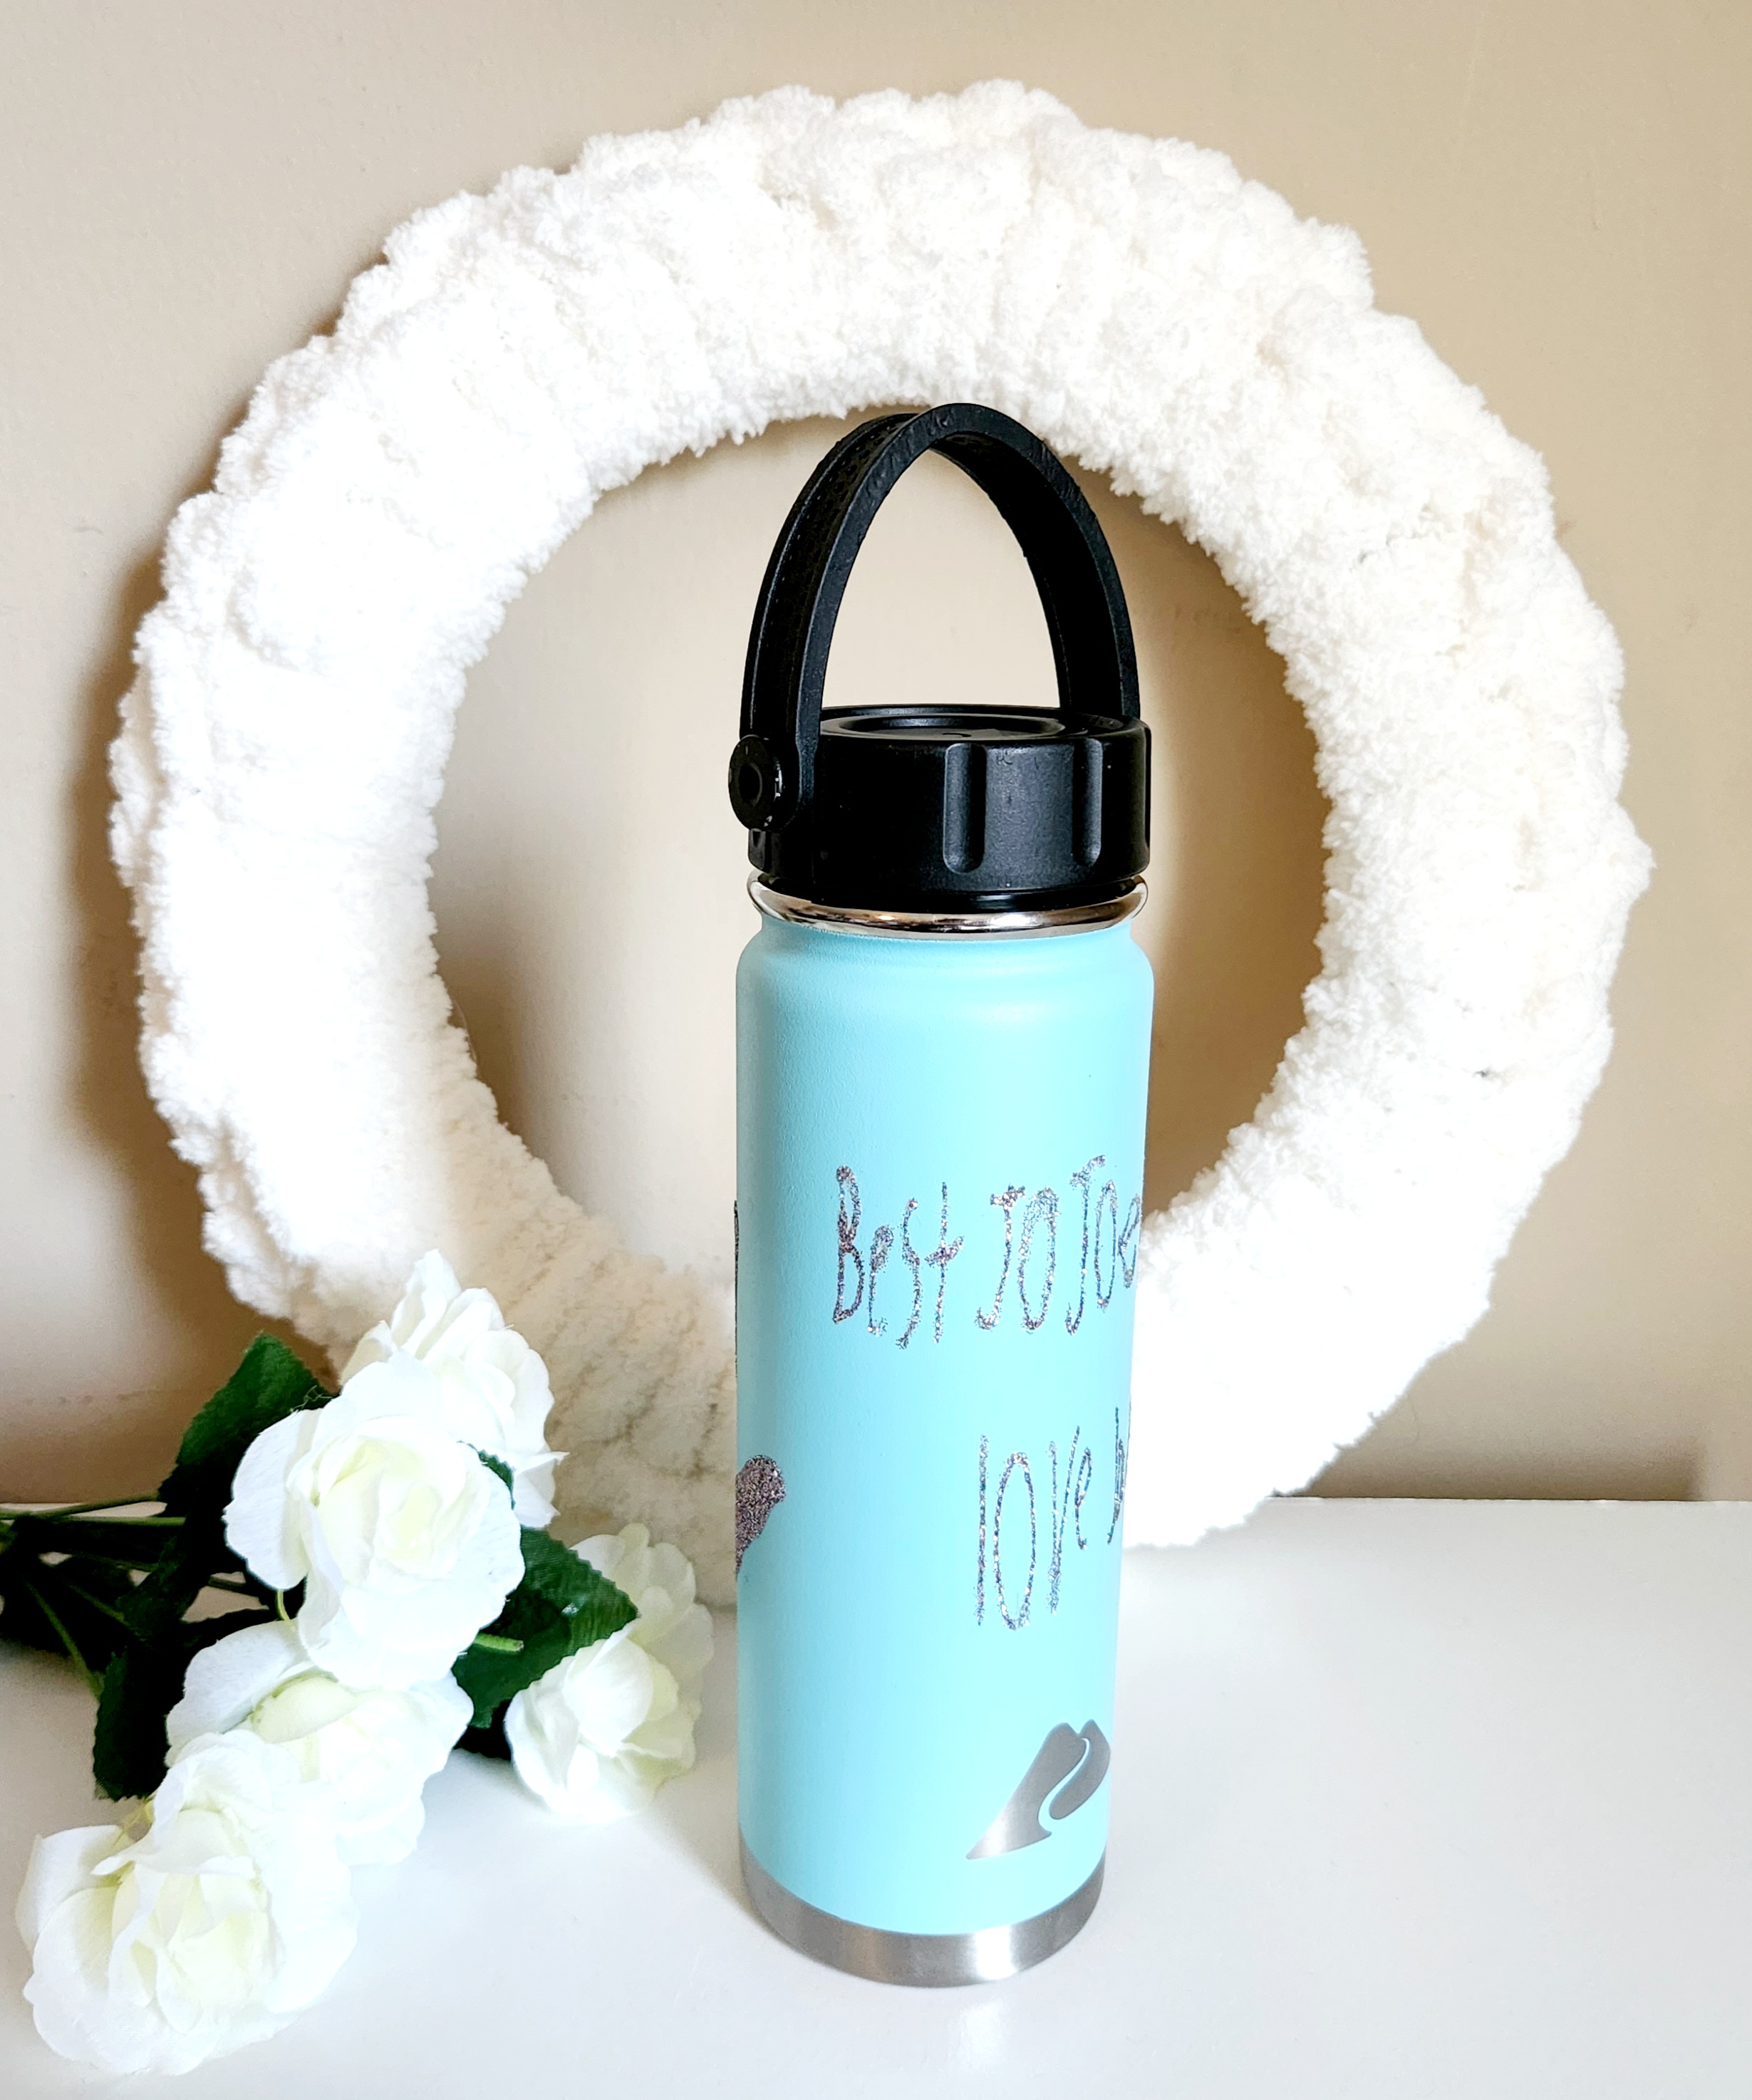
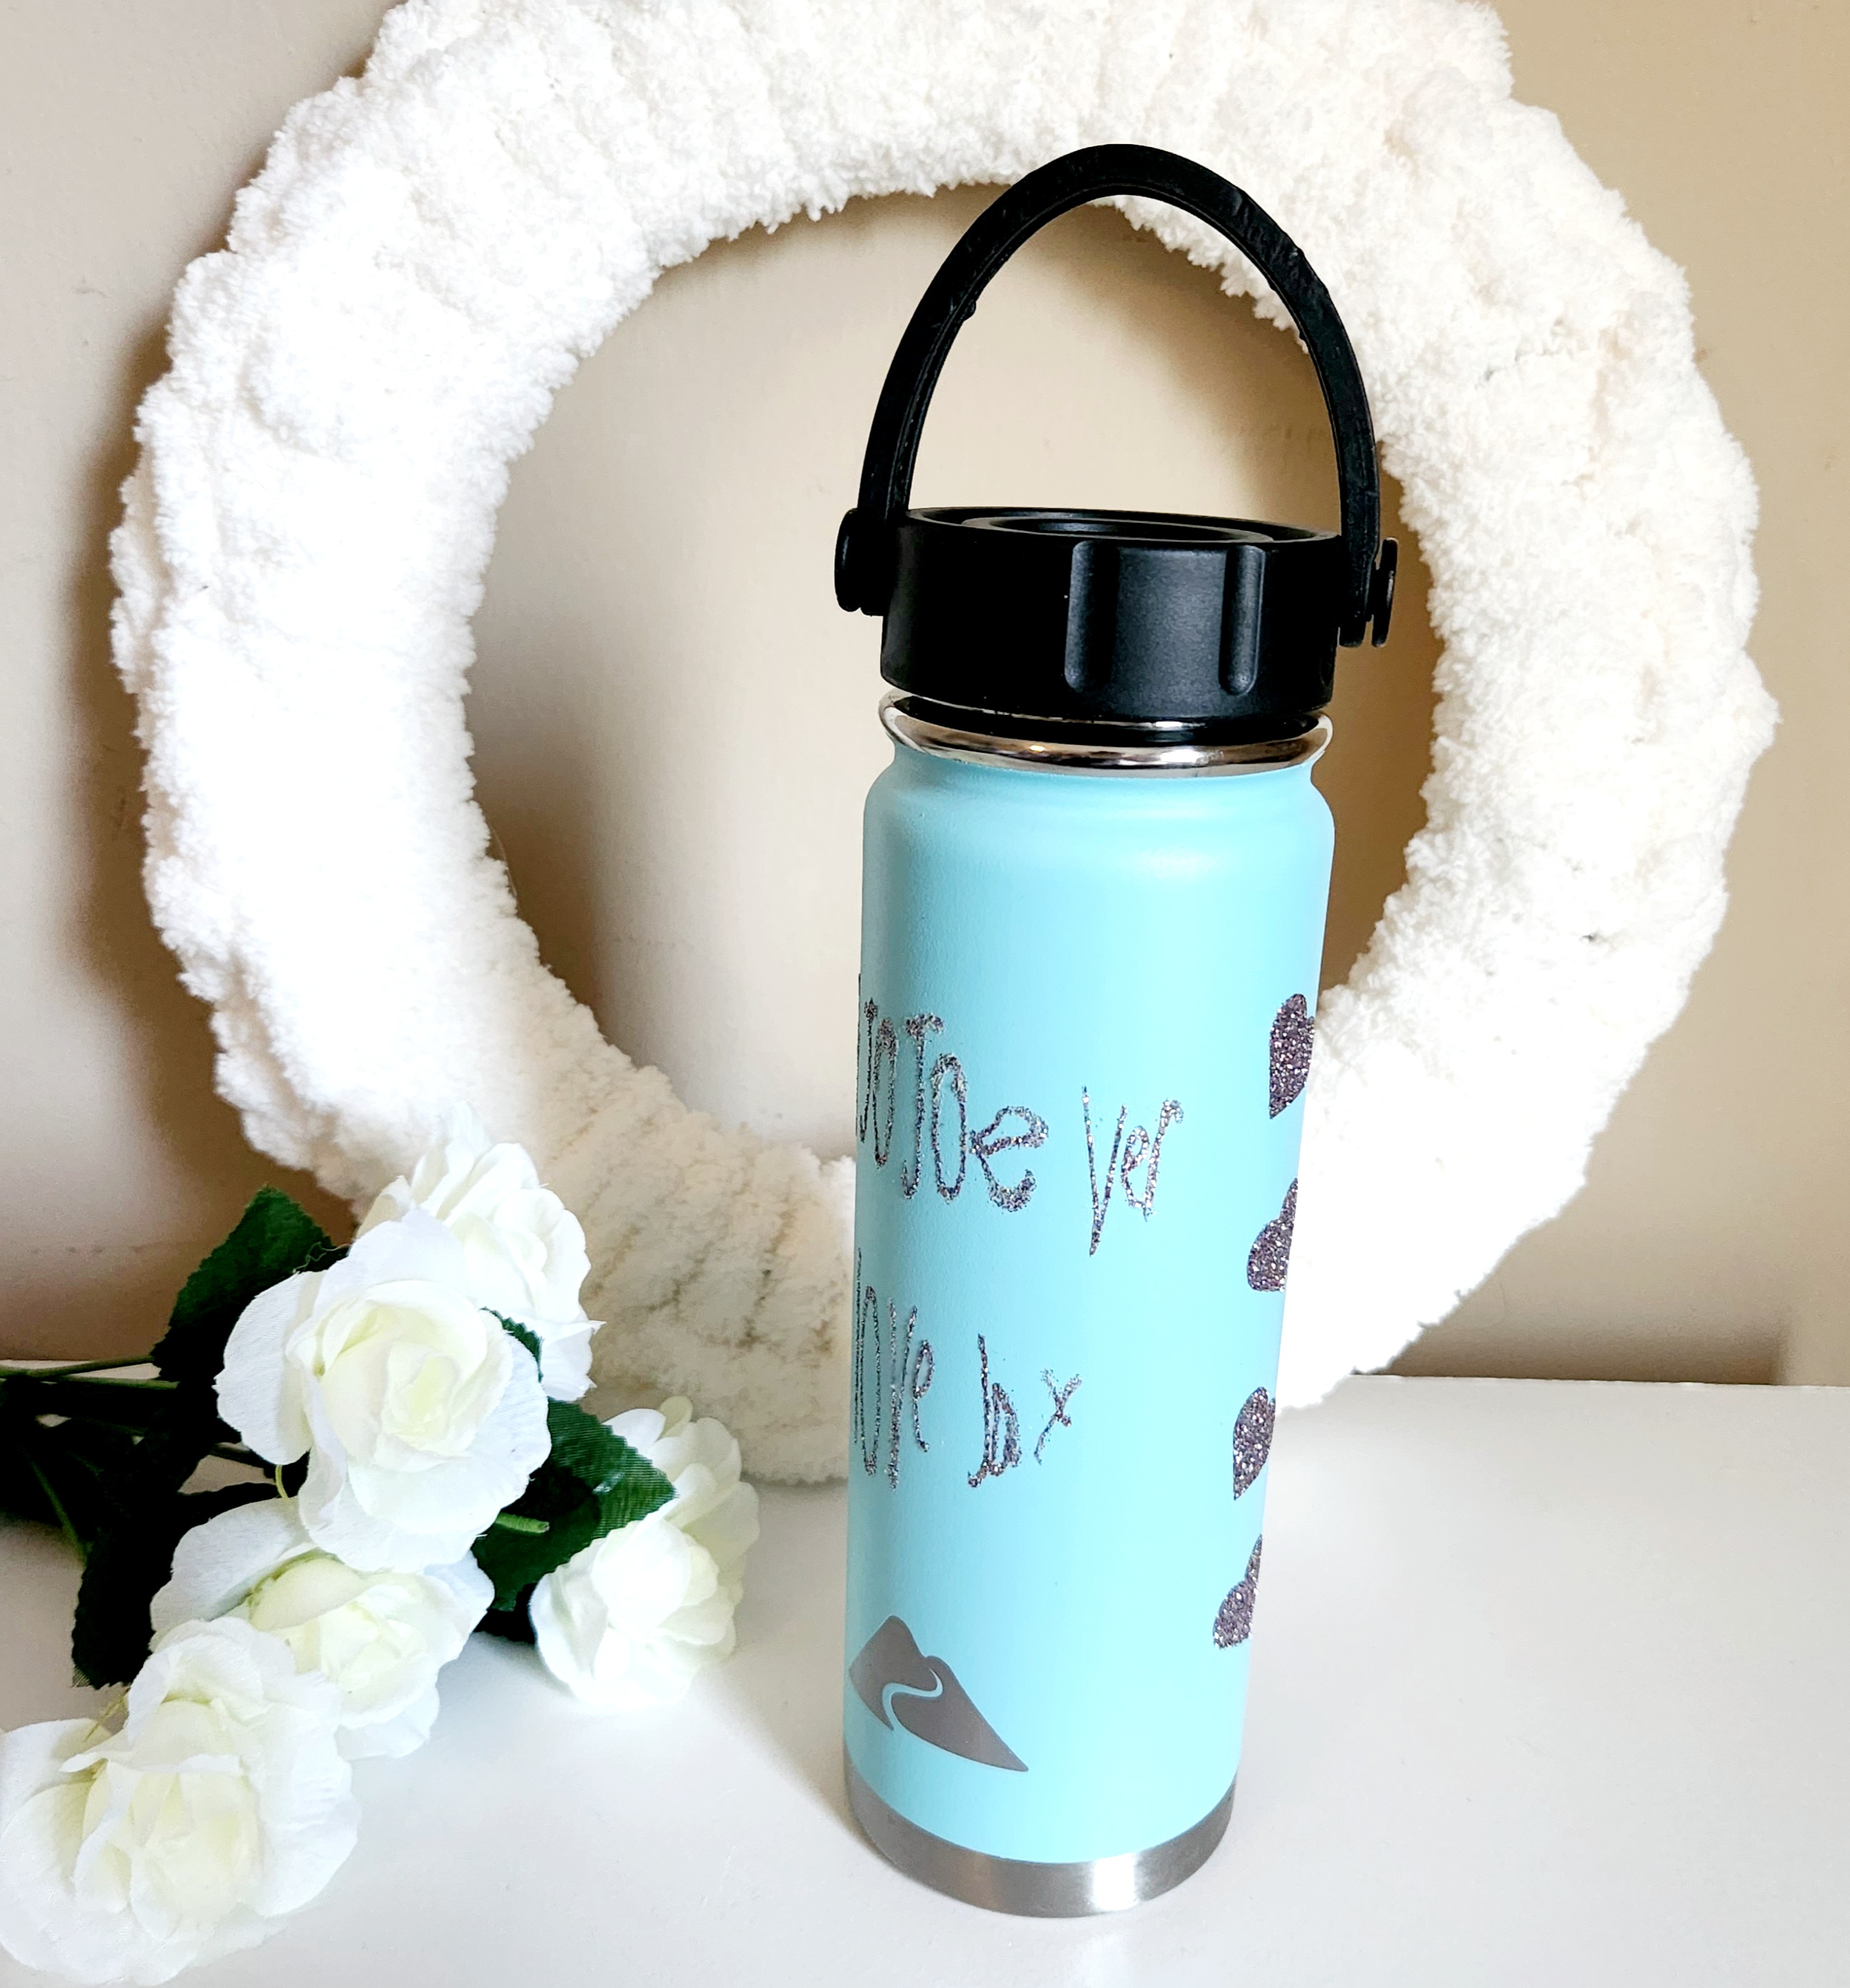
The first step in this process is to have your child create a note or picture that you’d like to use on your gift. My son isn’t a child who likes to write or draw so this was like pulling teeth lol! He wrote simply, “Best JoJo ever, love Jax,” then traced his hand below that. That was his idea because he told me that JoJo likes to have his handprints as he grows. He said he puts them on a specific mirror in her house whenever he visits, and she still has the ones from when he was a just big enough to walk to the mirror (she cleans around the handprints, so sweet)! It seems like he may have inherited her sentimentality!
This is his drawing:

Upload Your Child’s Handwriting to Canva
Download Canva
If you don’t already have Canva, you can download it for free here. I am a Canva affiliate so if you get the Pro plan, I get a small commission at no additional cost to you. It is an amazing app and website that you can use for yourself or your business. You can use it to edit photos, create social media posts, gifts (like mugs, shirts, etc), flyers, invitations, printables for home decor and so much more! I stopped using Cricut Access and began using Canva for all of the designs I create with my Cricut since you can do so much more with it than just make designs to use on products. However, you don’t need to subscribe to the Pro version to do this project. You only need the free app and/or website. Create a new account and log in.
Take a Picture of Your Child’s Handwriting
Take a picture of the drawing or note that your child wrote. Try to get only the paper in it, not the table, floor, or whatever it’s laying on. You can reference the picture above to see the one I took of my son’s note. Go into your photos and edit anything that’s in the photo that you don’t want to show, cutting out any excess white space.
Upload the Photo to Canva
I use a Samsung Galaxy S22. I’m sure that most of you have iPhones, but I absolutely hate them. Since I worked at AT&T when the iPhone and other smartphones came out, I was exposed and learned to use them all. To me the Galaxies have more options (like backing out of things page by page instead of all at once and being able to skip ads in games and videos that you can’t on iPhones) and I find that the camera seems to be a generation ahead of iPhones (again, to me). So, I’m going to show you how to do it with an Android, but I’m sure you know how to share a picture to an app with an Apple device. It would be like sharing to Instagram.
Click the share button in the photo and choose “Canva.”


I know that this seems like a lot of steps, but it’s not. I’m really breaking it down for you. You probably don’t need instructions on how to share a photo, but I want to make this super easy for you! It’s simply have your child write a note or draw a picture, take a photo of it, then upload that photo to an app.
Edit the Photo in Canva
Once you have clicked “Canva,” uploading the photo to the app, it will pop open in the app. (Remember you already need to have created an account in Canva and be signed in.) You will reach a screen where you can size your project. Click “custom size” then a box will open. Next, click in the size box and choose “in.” in the dropdown box and type 8×12 (or another dimension that fits your design). I chose that size because 12″ is as large as you can go with a design in Cricut Design Space and my photo wasn’t square, so it didn’t need to be 12×12. Then click “create.” It will look like this:

From this point I like to use my computer, so click save your image once it opens in the new size.

To continue in Canva instead of going to the website right away, follow these steps:
I find it a lot easier to use my computer for the next steps before moving to Design Space, but you can do this in Canva. Click the up-arrow button in the upper right corner which is the “share to” button.

Next click on “download.”

Cricut Design Space will allow you to upload images as SVGs or PNGs. I had an issue uploading my design as an SVG (I’ve never had an issue with it in the past), as I kept getting an error in Design Space that said, “part of this design isn’t compatible.” So, I shifted course and uploaded the design as a PNG. However, you can choose whichever option is best for you. Once you choose the file type, check the box next to “transparent background.” If you download as a PNG, it will automatically change to the correct pixel size for you. Finally, click download.


If you have the Cricut app, you can then go into your downloads and upload the design you just created to Cricut Design Space. If you don’t have the app or you like to do a lot of tweaking with your design, switch to the computer at this point. This is the reason that I went ahead and went to the computer before downloading the design. That also allowed me to download the design to my computer, making sure it’s safe and that saved space on my phone.
Go to the Canva Website to Download
Now open the web browser that you like to use and go to Canva’s website and log in to your account if you haven’t already. Your design will be waiting there for you under “Your Projects” which will show on the home page. Click the design and open it.

Next, you need to remove the background of the note or drawing. You can do that in Canva, but it requires a Pro plan. You can sign up for free for 14 days then cancel or upload to Cricut Design Space and remove the background there. I’m not sure if it will be as crisp, as I had issues with clarity uploading directly to Design Space (as you’ll read later). I think since you’ve uploaded from Canvas, however, you shouldn’t have the messy edges like if you upload directly. Click on “edit image” then “BG remover” on the left side of the screen.

You will be left with only your child’s writing and no paper behind it. (One other note I just thought of- you may be able to remove the background of the photo with your phone’s camera editor if you have a newer phone. I checked and I can. It’s not as clean and easy as Canva, but it is possible.)

Finally, click share in the upper right corner, select “download,” and choose the image type that you want to download (SVG or PNG), then click the “transparent background” box. In the photo below I chose to leave it image as a PNG because I had issues with Design Space taking the design as an SVG for some reason, as I mentioned above. However, you can choose either one. If you have problems with one in Design Space, then download the other, easy peasy.

Alternate Instructions (I may do a complete post on this later.)
If you don’t want to use Canva, you can use the Cricut Design Space app to upload your photo straight to your blank canvas. However, when I did this, my son’s note came out with very jagged edges. The design wasn’t at all clean. It looked very bad. This was in the software, not when cutting the image, so I don’t think having a brand-new Cricut will help.
If you must do it this way, simply follow the steps of taking the photo, then share it, but choose “Cricut” instead of Canva. When you are in the Cricut app, it will open with your design on the screen. Click around the image and inside the letters to remove the background. (You can’t tell how jagged the edges are on this screen, but it became very noticeable once the design was on the canvas.)

Next name your image, add tags, and choose the cut option before clicking save.

Upload Your Child’s Handwriting to Cricut
Now it’s time to work in Design Space, the step before you cut a child’s handwriting with a Cricut. Open your Cricut software and upload your design to it. If you need instructions on how to do this, check out my tutorial on how to make a stencil with a Cricut. Once uploaded, select it to add it to the canvas.
Measure your blank, the tumbler in my case, to see what size you need to cut your child’s handwriting with your Cricut.

Change the size of your child’s handwriting to fit whatever you are going to put it on. I sliced my design so that I could cut the hand and the handwriting separately. I made his note about 3″ tall and the handprint I had to resize to about 4″ tall to fit the tumbler (unfortunately). It’s still the shape of his hand even if I had to make it a little bit smaller. It might have fit, but it would’ve taken up the entire length of the tumbler just about. (He came home and saw it today and decided he wants to try to write neater and put his fingers closer together on a new drawing. I warned him before to write neat, but it was like pulling teeth as I said lol. He wants a redo lol! I may oblige; we’ll see!)

After I cut his handwriting, I cut some hearts to add to the blank space on the tumbler. When I placed the handprint on the tumbler it ended up leaving one space a little more blank than the other side, so I improvised, and it turned out cute! So never give up on your projects. There’s usually something you can tweak to make it look better.
Cut Your Child’s Handwriting with the Cricut
I used HTV for my tumbler. Remember, if you’re also using it, to turn “mirror” on and place the vinyl on the cutting mat with the shiny side down. If you’re using regular vinyl you don’t have to worry about this step.
Cut the design from any excess vinyl (I save all of my scraps that are over an inch or so), then weed it. This is what I was left with.

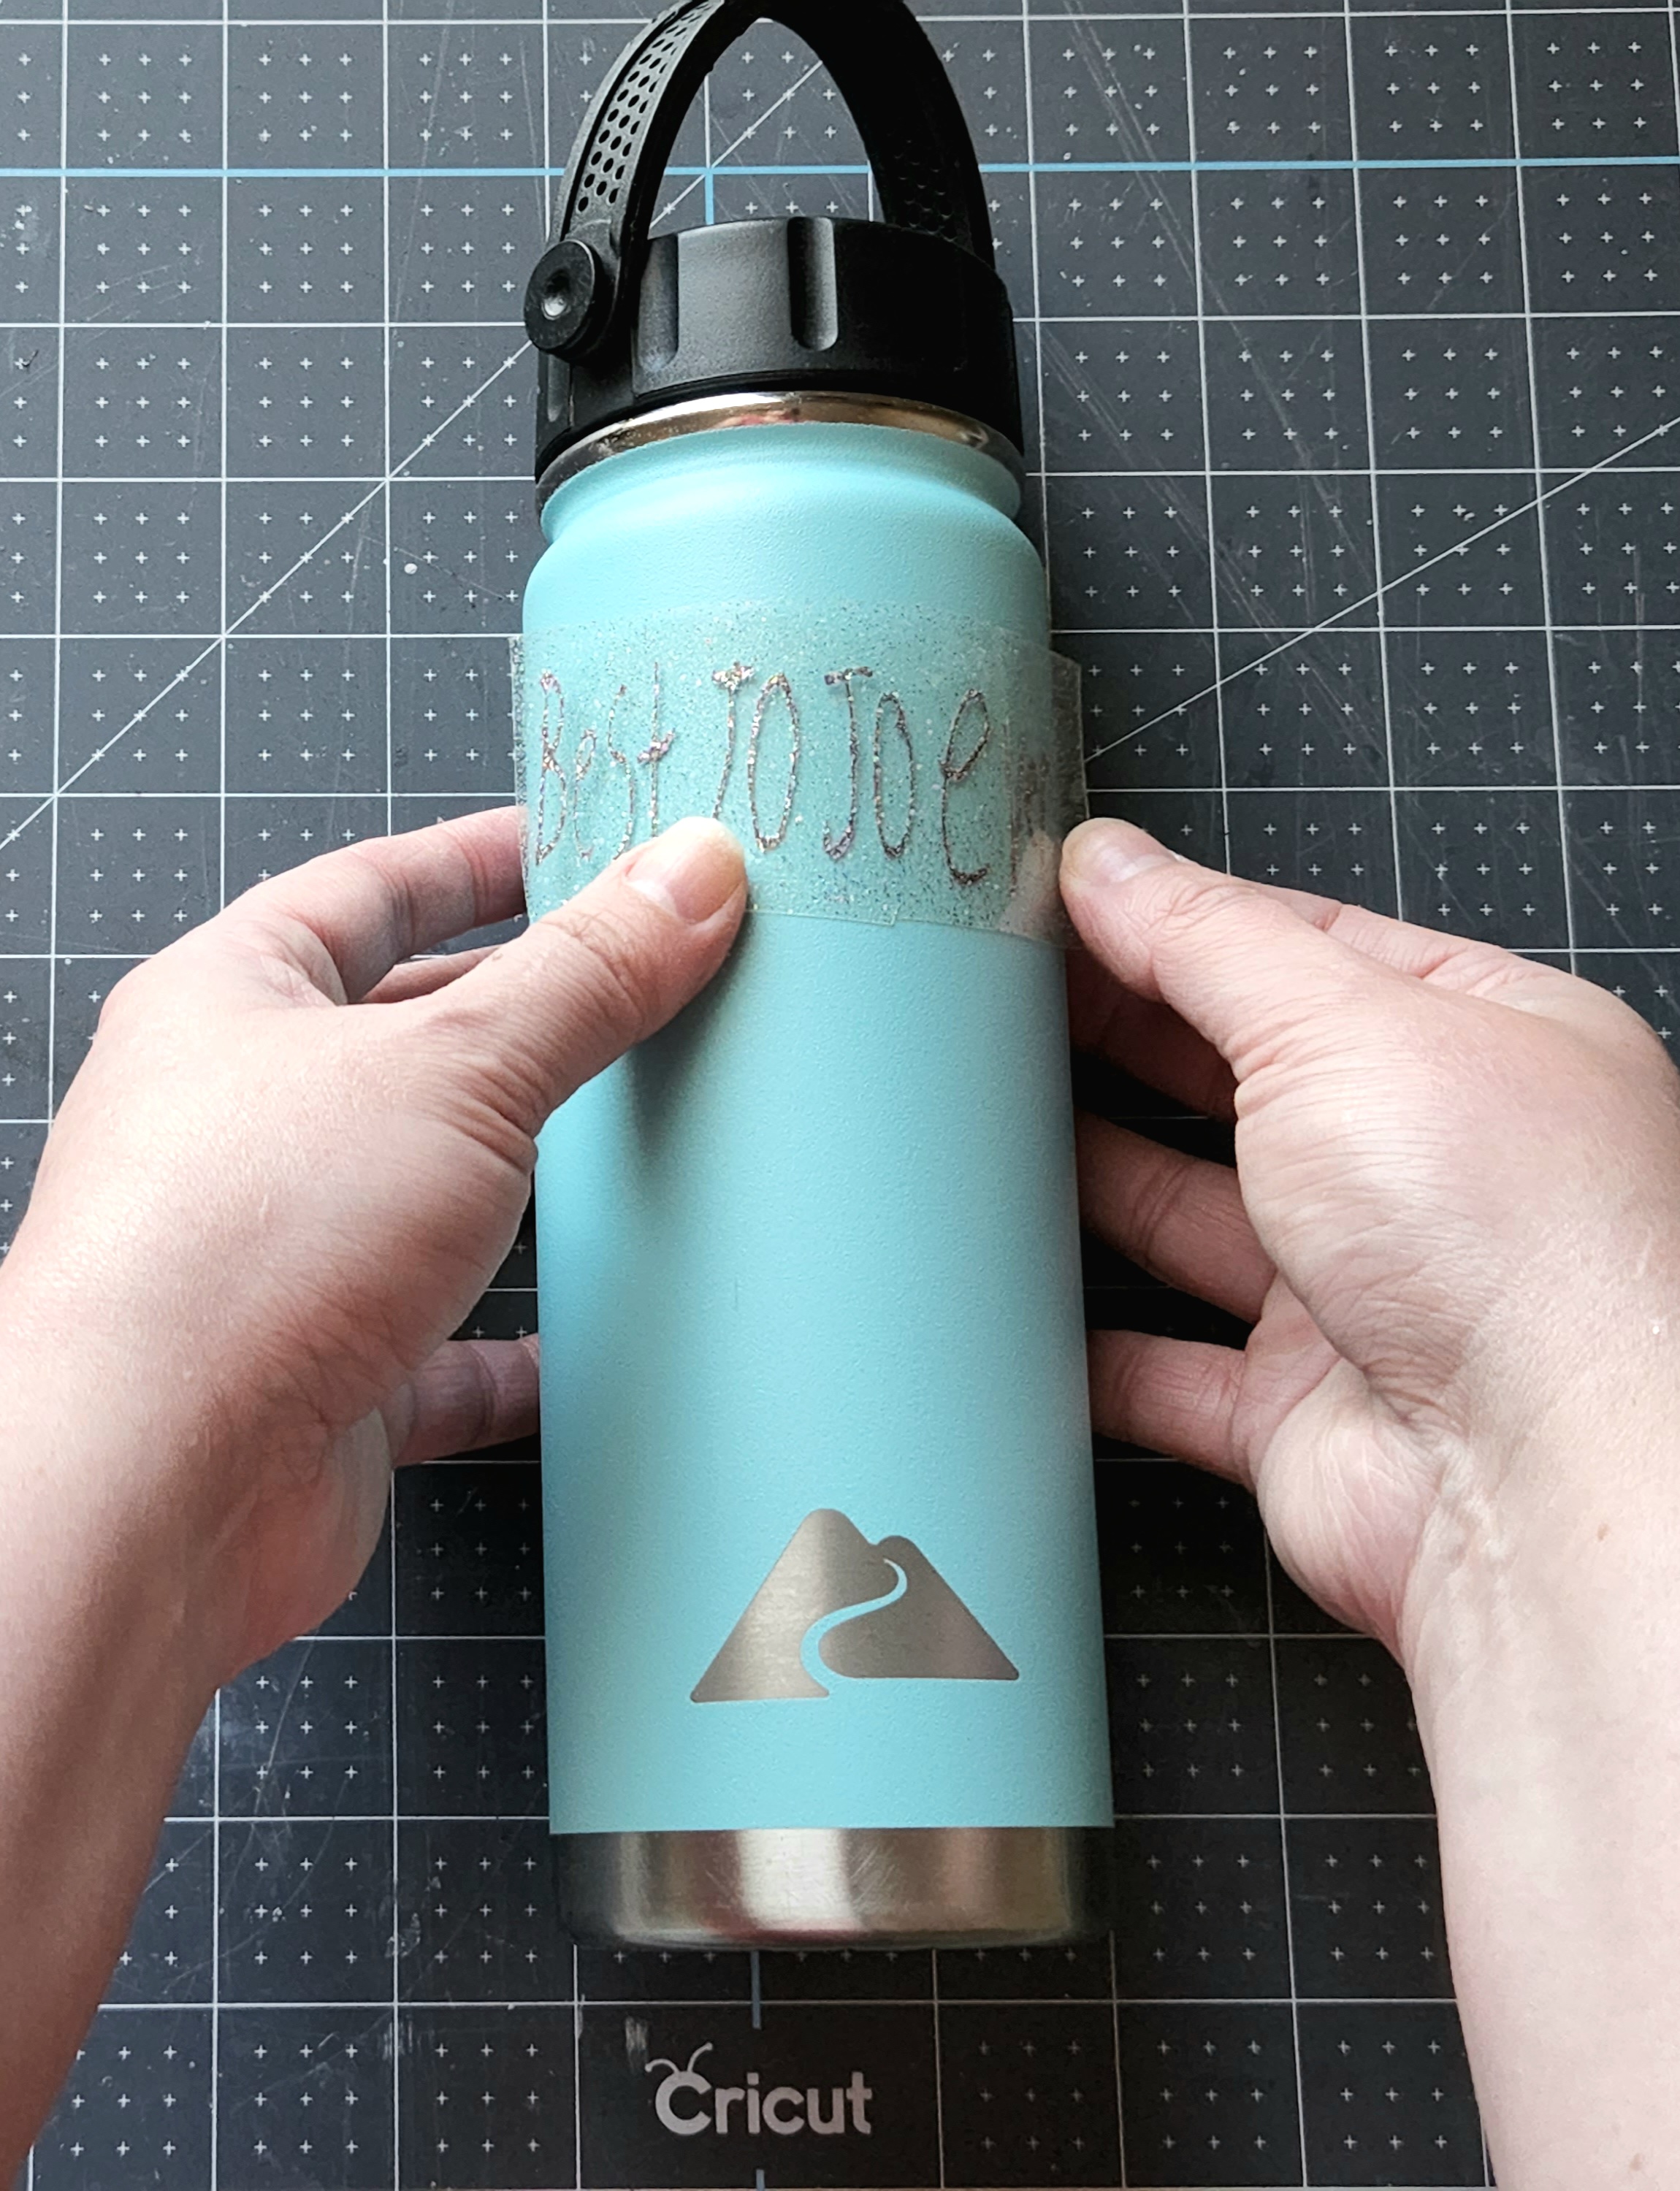
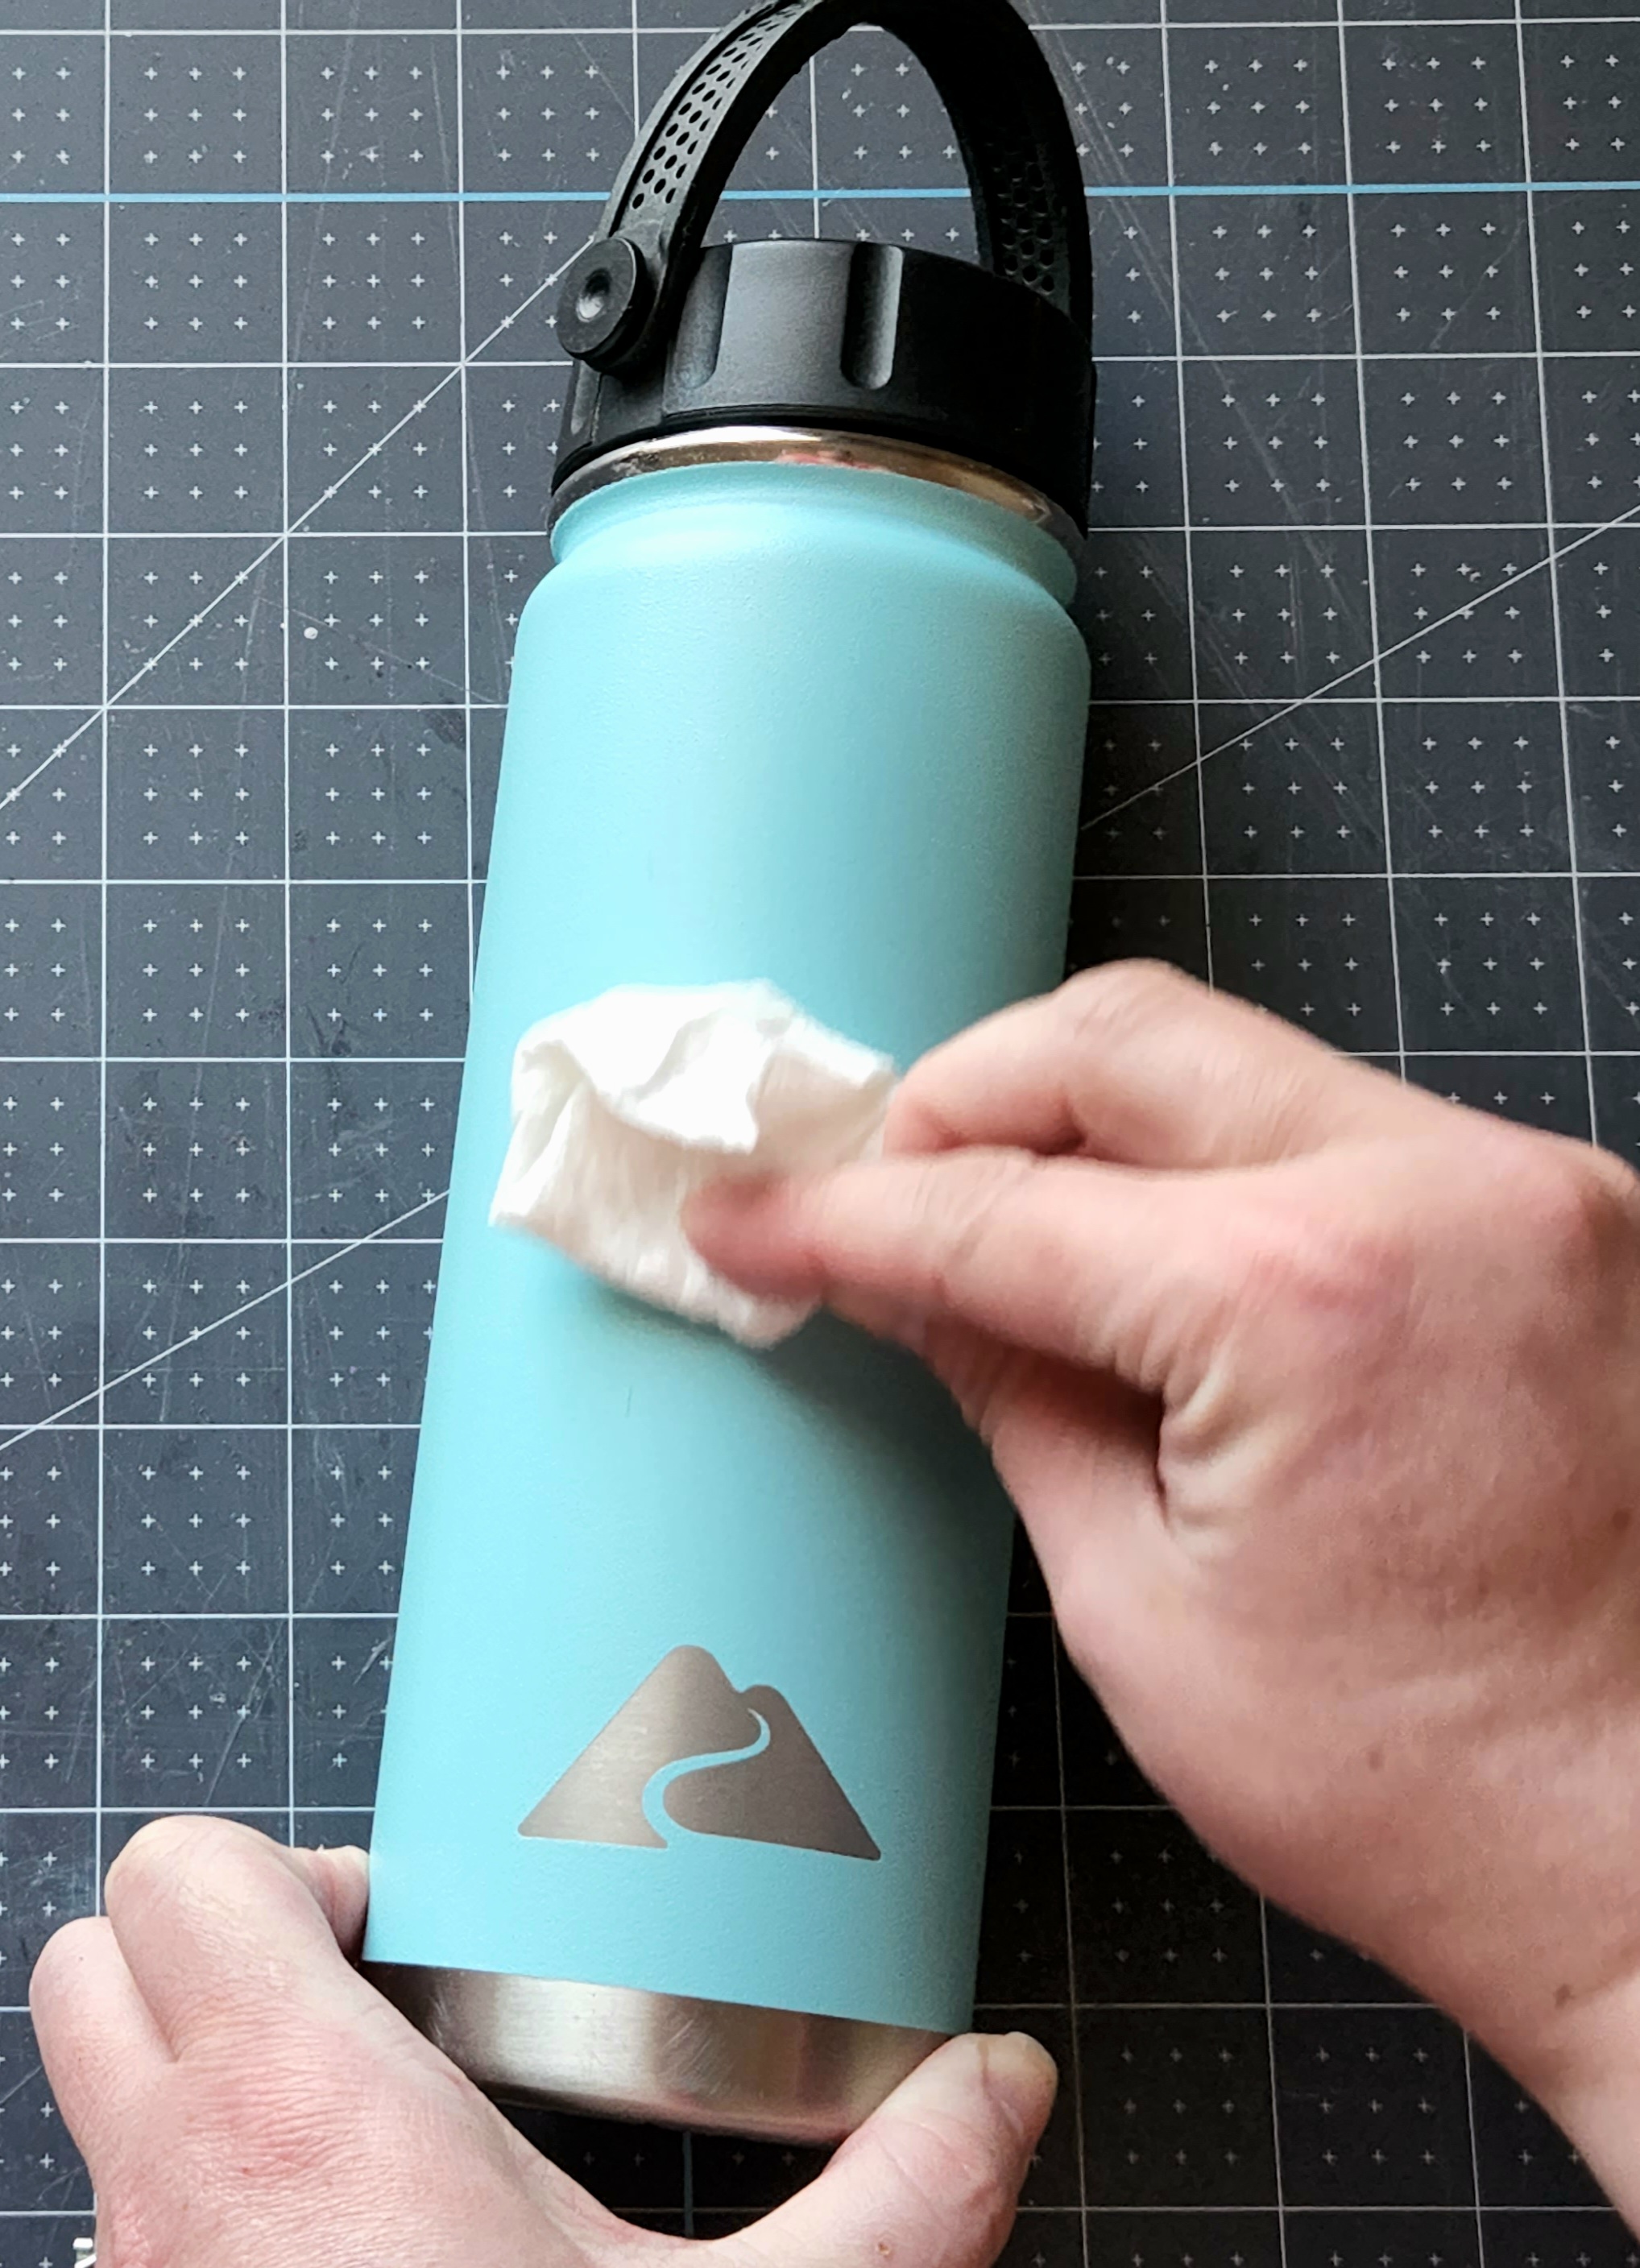
Apply the Design to Your Item
You know how to do the next part. Apply your child’s handwriting or drawing that you cut with a Cricut to the item that you’re gifting.


That’s it! You’ve made a special gift by learning how to cut a child’s handwriting with a Cricut!
I know my son’s grandmother is going to love her gift. I plan to add some more items to a basket to make this a combination Mother’s Day/birthday gift. Here are some pictures of her tumbler (sorry JoJo for the sneak peak of your gift!!):


I hope that you enjoyed this tutorial, and you make wonderful gifts for your family and friends! I would love to see what you make with it, so follow me on social media using the buttons at the top or in the sidebar to follow me. Then tag me in your pictures. I love seeing the twists you guys put on my tutorials! Remember to pin the picture below and share this tutorial using the buttons at the end of the post so you can get back to it when you’re ready to use it. Your friends and family will love you for sharing (and so will I)!
I have a few more DIY Mother’s Day gift ideas and printables on the way along with some home decor DIYs and end of the year teacher’s gift ideas and printables. Make sure you don’t miss them by following me on social media and by entering your email address below. Following on both makes sure that my posts don’t get lost in your timelines!
More Gift Ideas & Decor Ideas
There are lots of things to discover here on the blog, so I hope that you’ll stick around! If you’re looking for something specific, you can use the search box in the sidebar. If you’re not, you might like these ideas:


Follow me on Pinterest for new ideas added weekly!


This is such a fabulous idea! Thank you so much for the tutorial. Pinned.
You’re welcome! Thanks for pinning!!
Hi Niki, your Cricut project is such a wonderful idea! It’s my weekly bonus feature on my blog tomorrow at “Happiness is Homemade.”
Thank you! My son’s grandmother loved it!