Mother’s Day is right around the corner. I still can’t believe that this year is flying by so fast! I’m trying to get my Mother’s Day gifts ready before our big move because Lord knows I will never be able to find them in time to package and gift them once we do. Today I’m going to show you how to turn a Dollar Tree sign/door hanger into a beautiful DIY Mother’s Day gift. I’m also sharing the SVG that I used on my door hanger.

There is no Cricut required to make this project! Just download my free image, then use the carbon copy method to apply the design to your Mother’s Day sign. Those instructions are available in my winter door hanger tutorial.
DIY Mother’s Day Gift Supplies:
- round sign from Dollar Tree
- vinyl or HTV- I used black and cream outdoor vinyl.
- scissors
- transfer tape for vinyl or wax paper for HTV
- paint- I used cream and black acrylic paint.
- painter’s tape
- 2.5″ ribbon
- pipe cleaner or floral wire
- my free SVG


If you’re looking for a tutorial and SVG to use on your own wood door hanger (where I used HTV instead of outdoor vinyl), check out my tutorial from Thursday.

Paint the Sign
First untie and remove the jute rope hanger from the sign. I used the back of my sign so that my mom can flip it over and use the Valentine’s Day side if she wants. Plus, it’s easier to cover! Paint the back of your sign in your choice of color. It took three coats of paint to cover my sign.

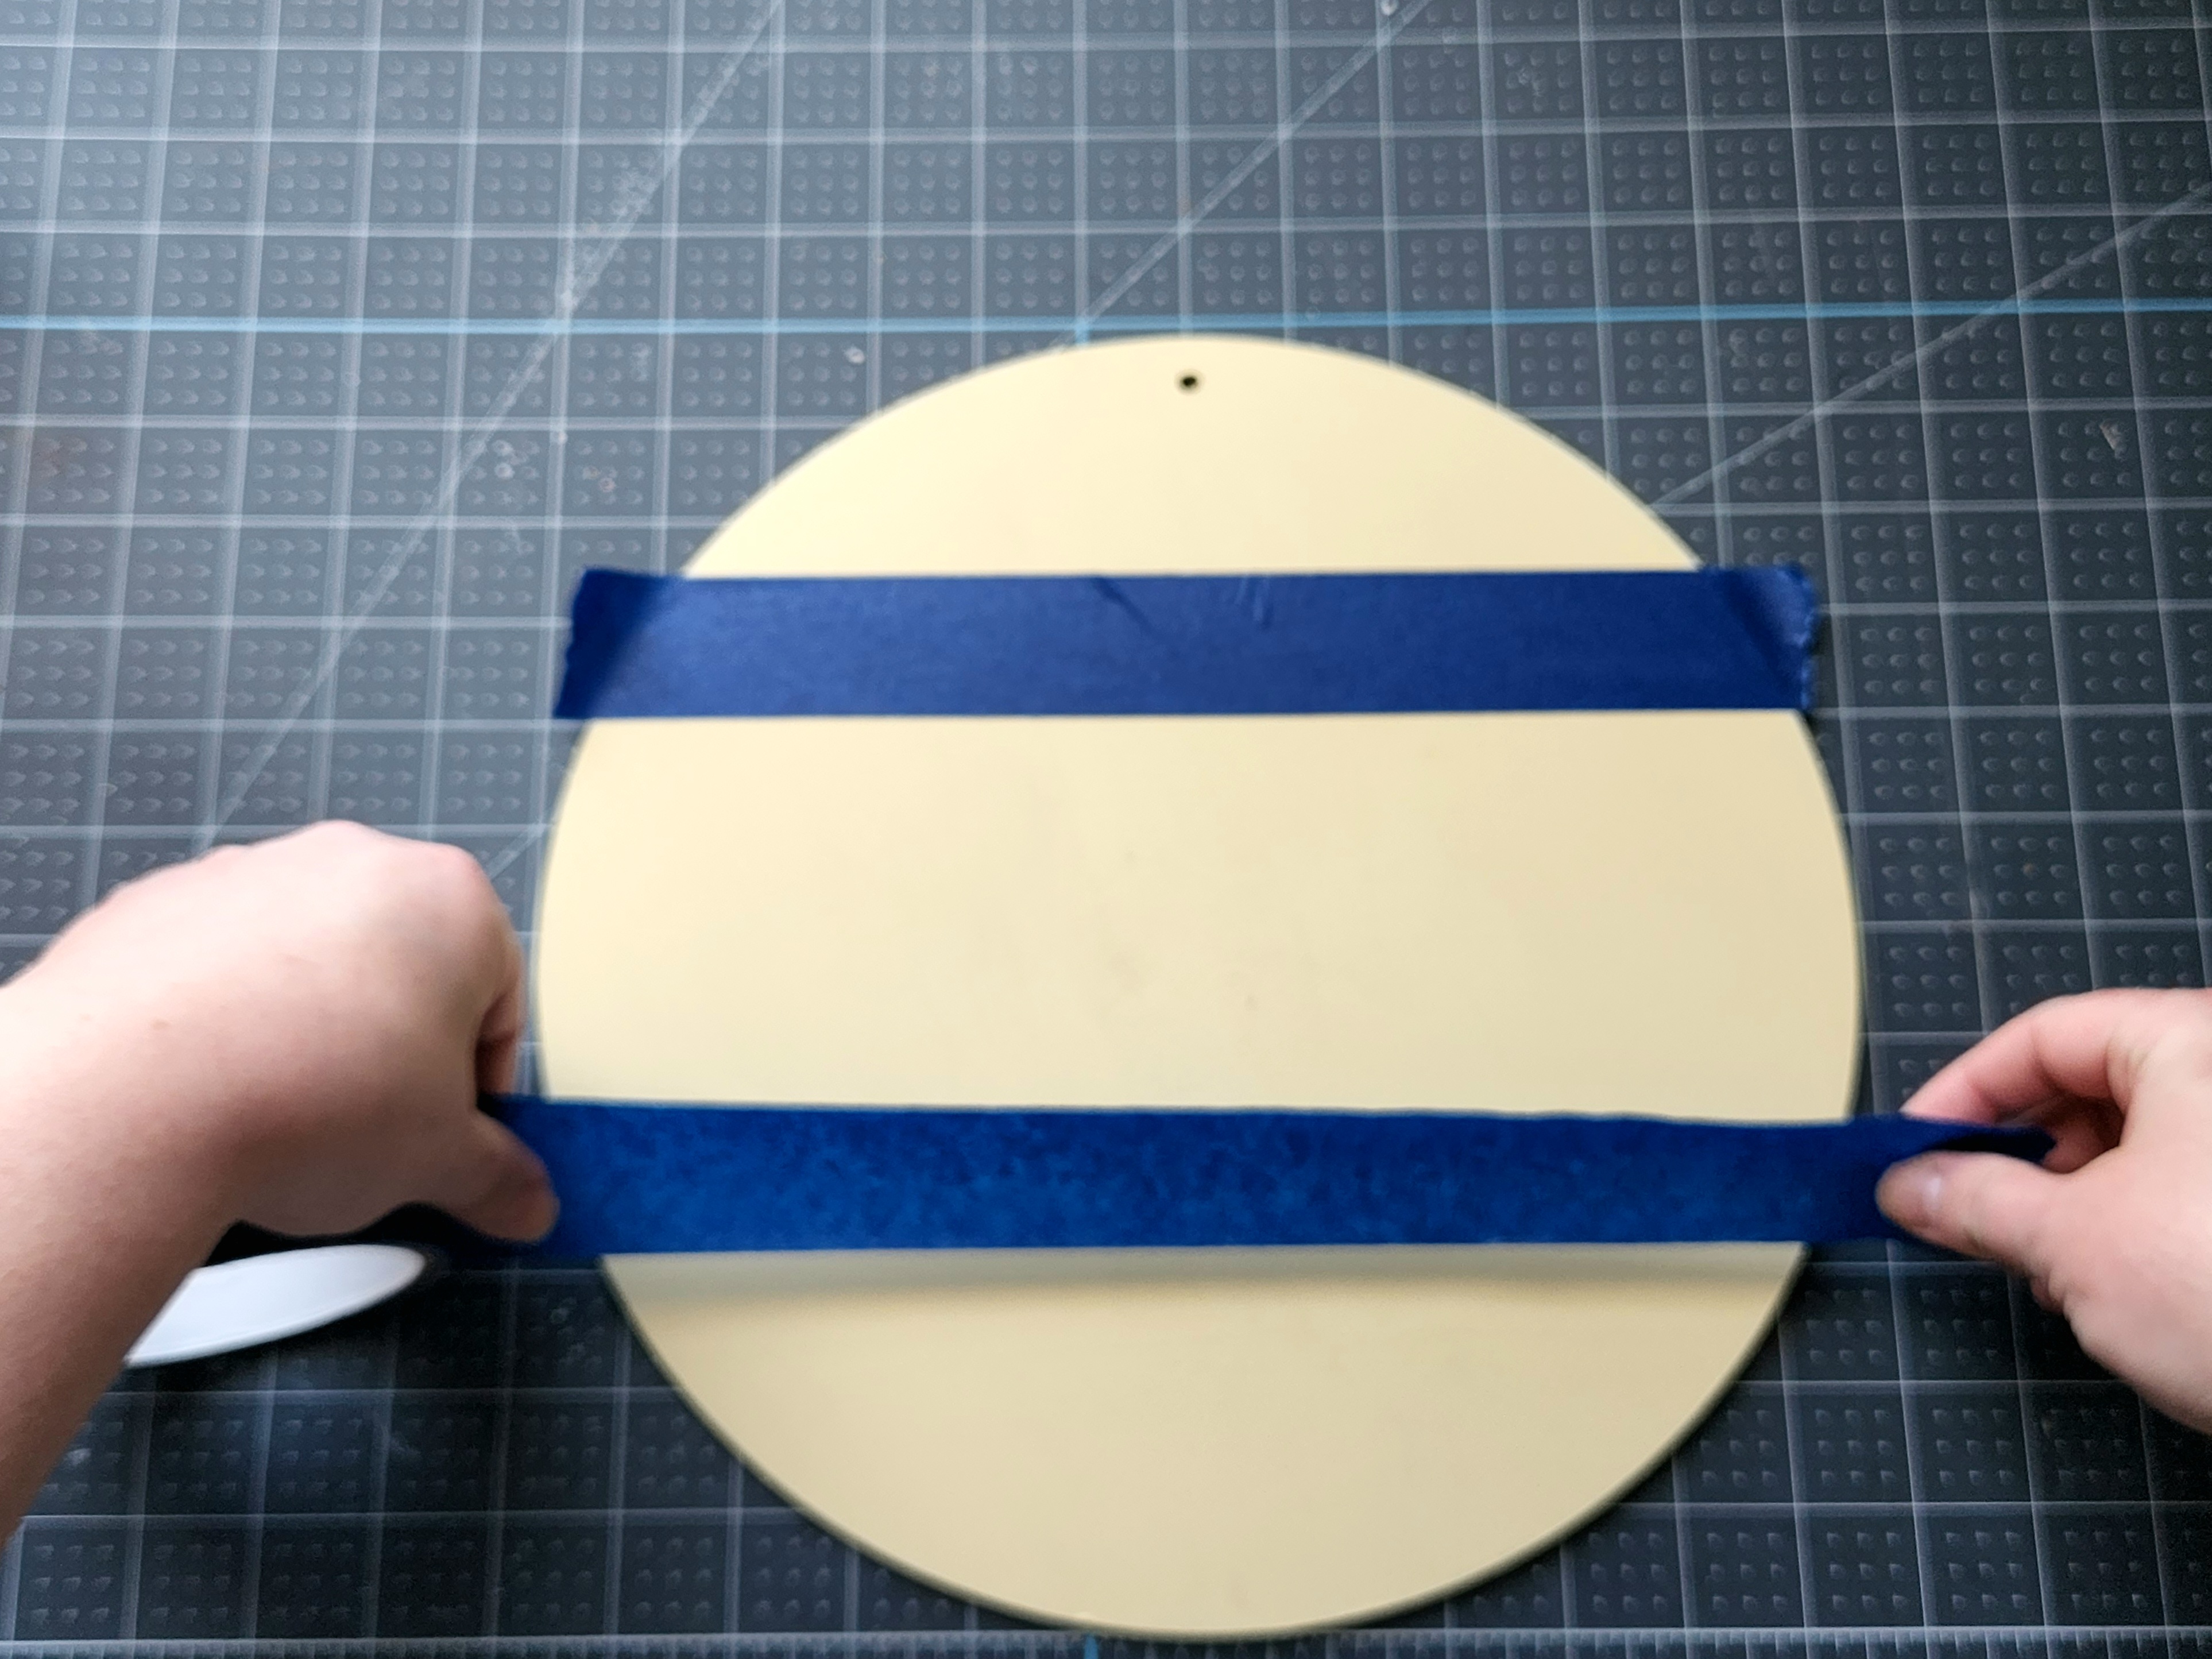
I initially planned to keep my sign one color, but once I saw it all plain and cream, I decided to do what I did on my earlier wood door hanger, and painted blocks. On this sign I decided to make my bottom section a little wider than the top. I did this because I felt like I wanted a little more color that I had showing on my previous sign. Using painter’s tape and a grid cutting mat or ruler, Place a piece of painter’s tape 3″ from the top of the sign. You want the top edge of the tape at the 3″ line, not the bottom of the tape.

Now place another piece 4″ from the bottom of the sign. This time the bottom of the tape will be at the 4″ mark so that 4″ of the sign will be painted.
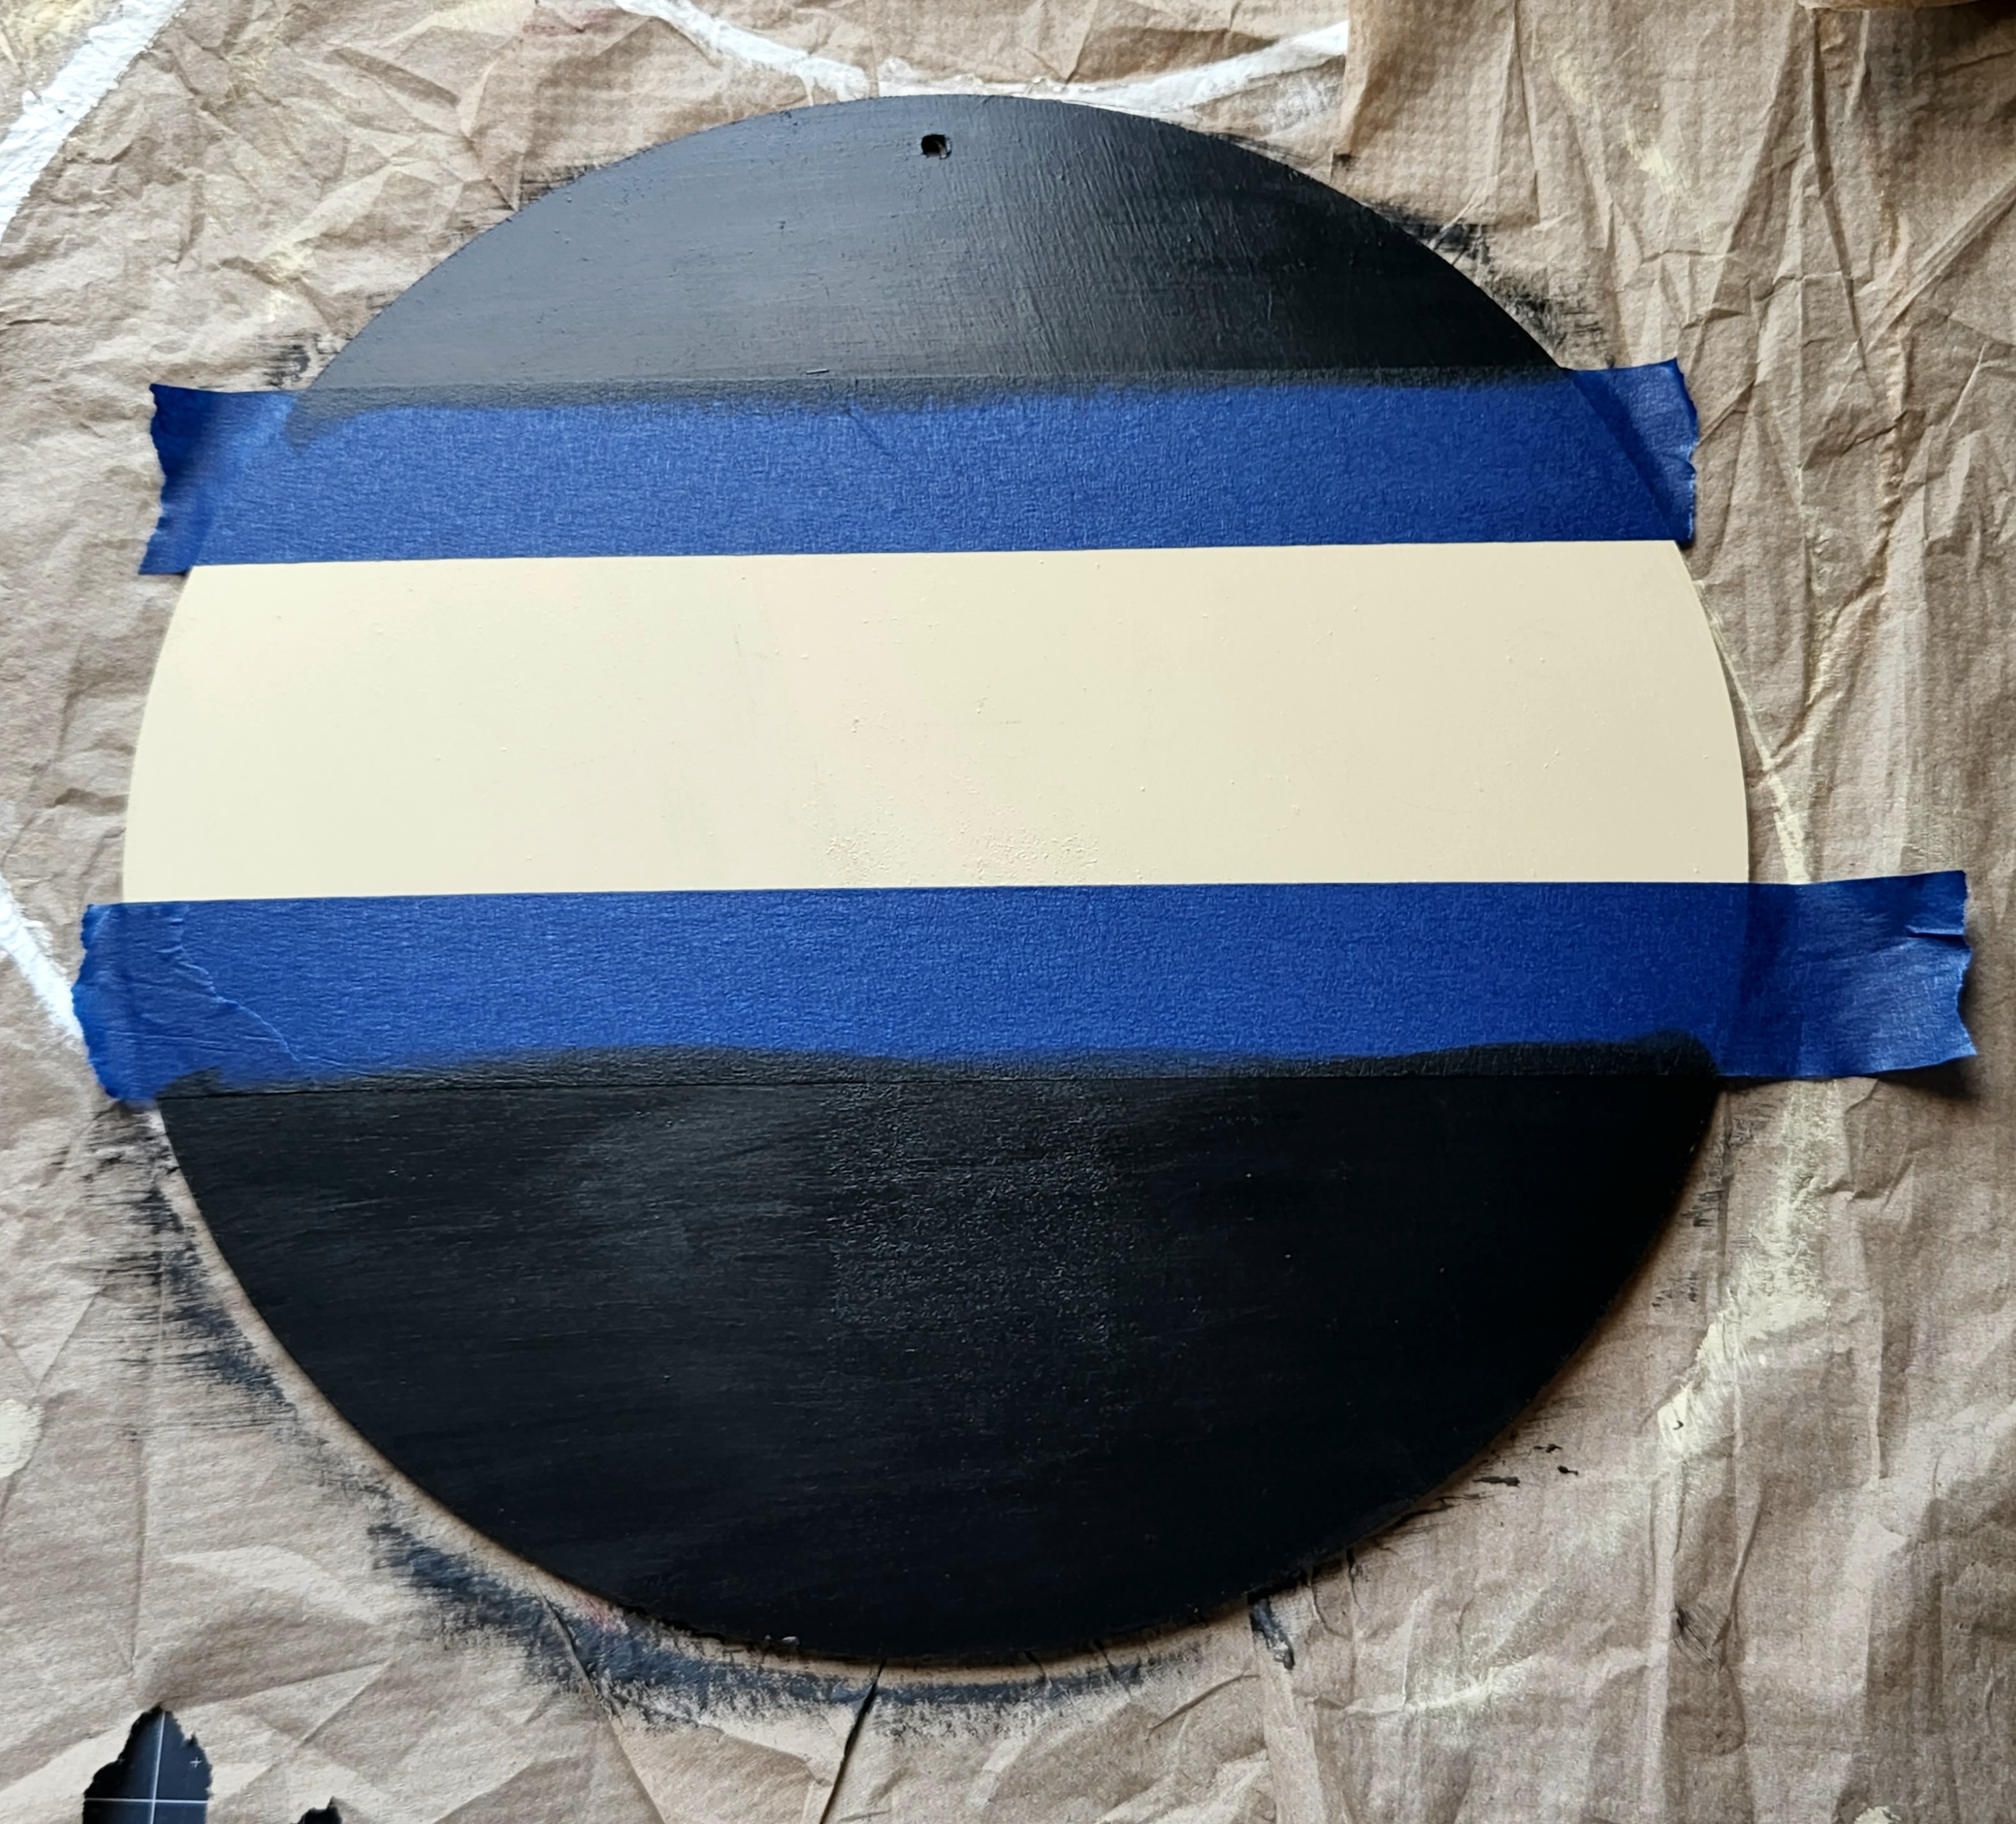
Paint above and below the tape and allow it to dry. I used two coats this time due to the darker color.

Cut & Weed SVG
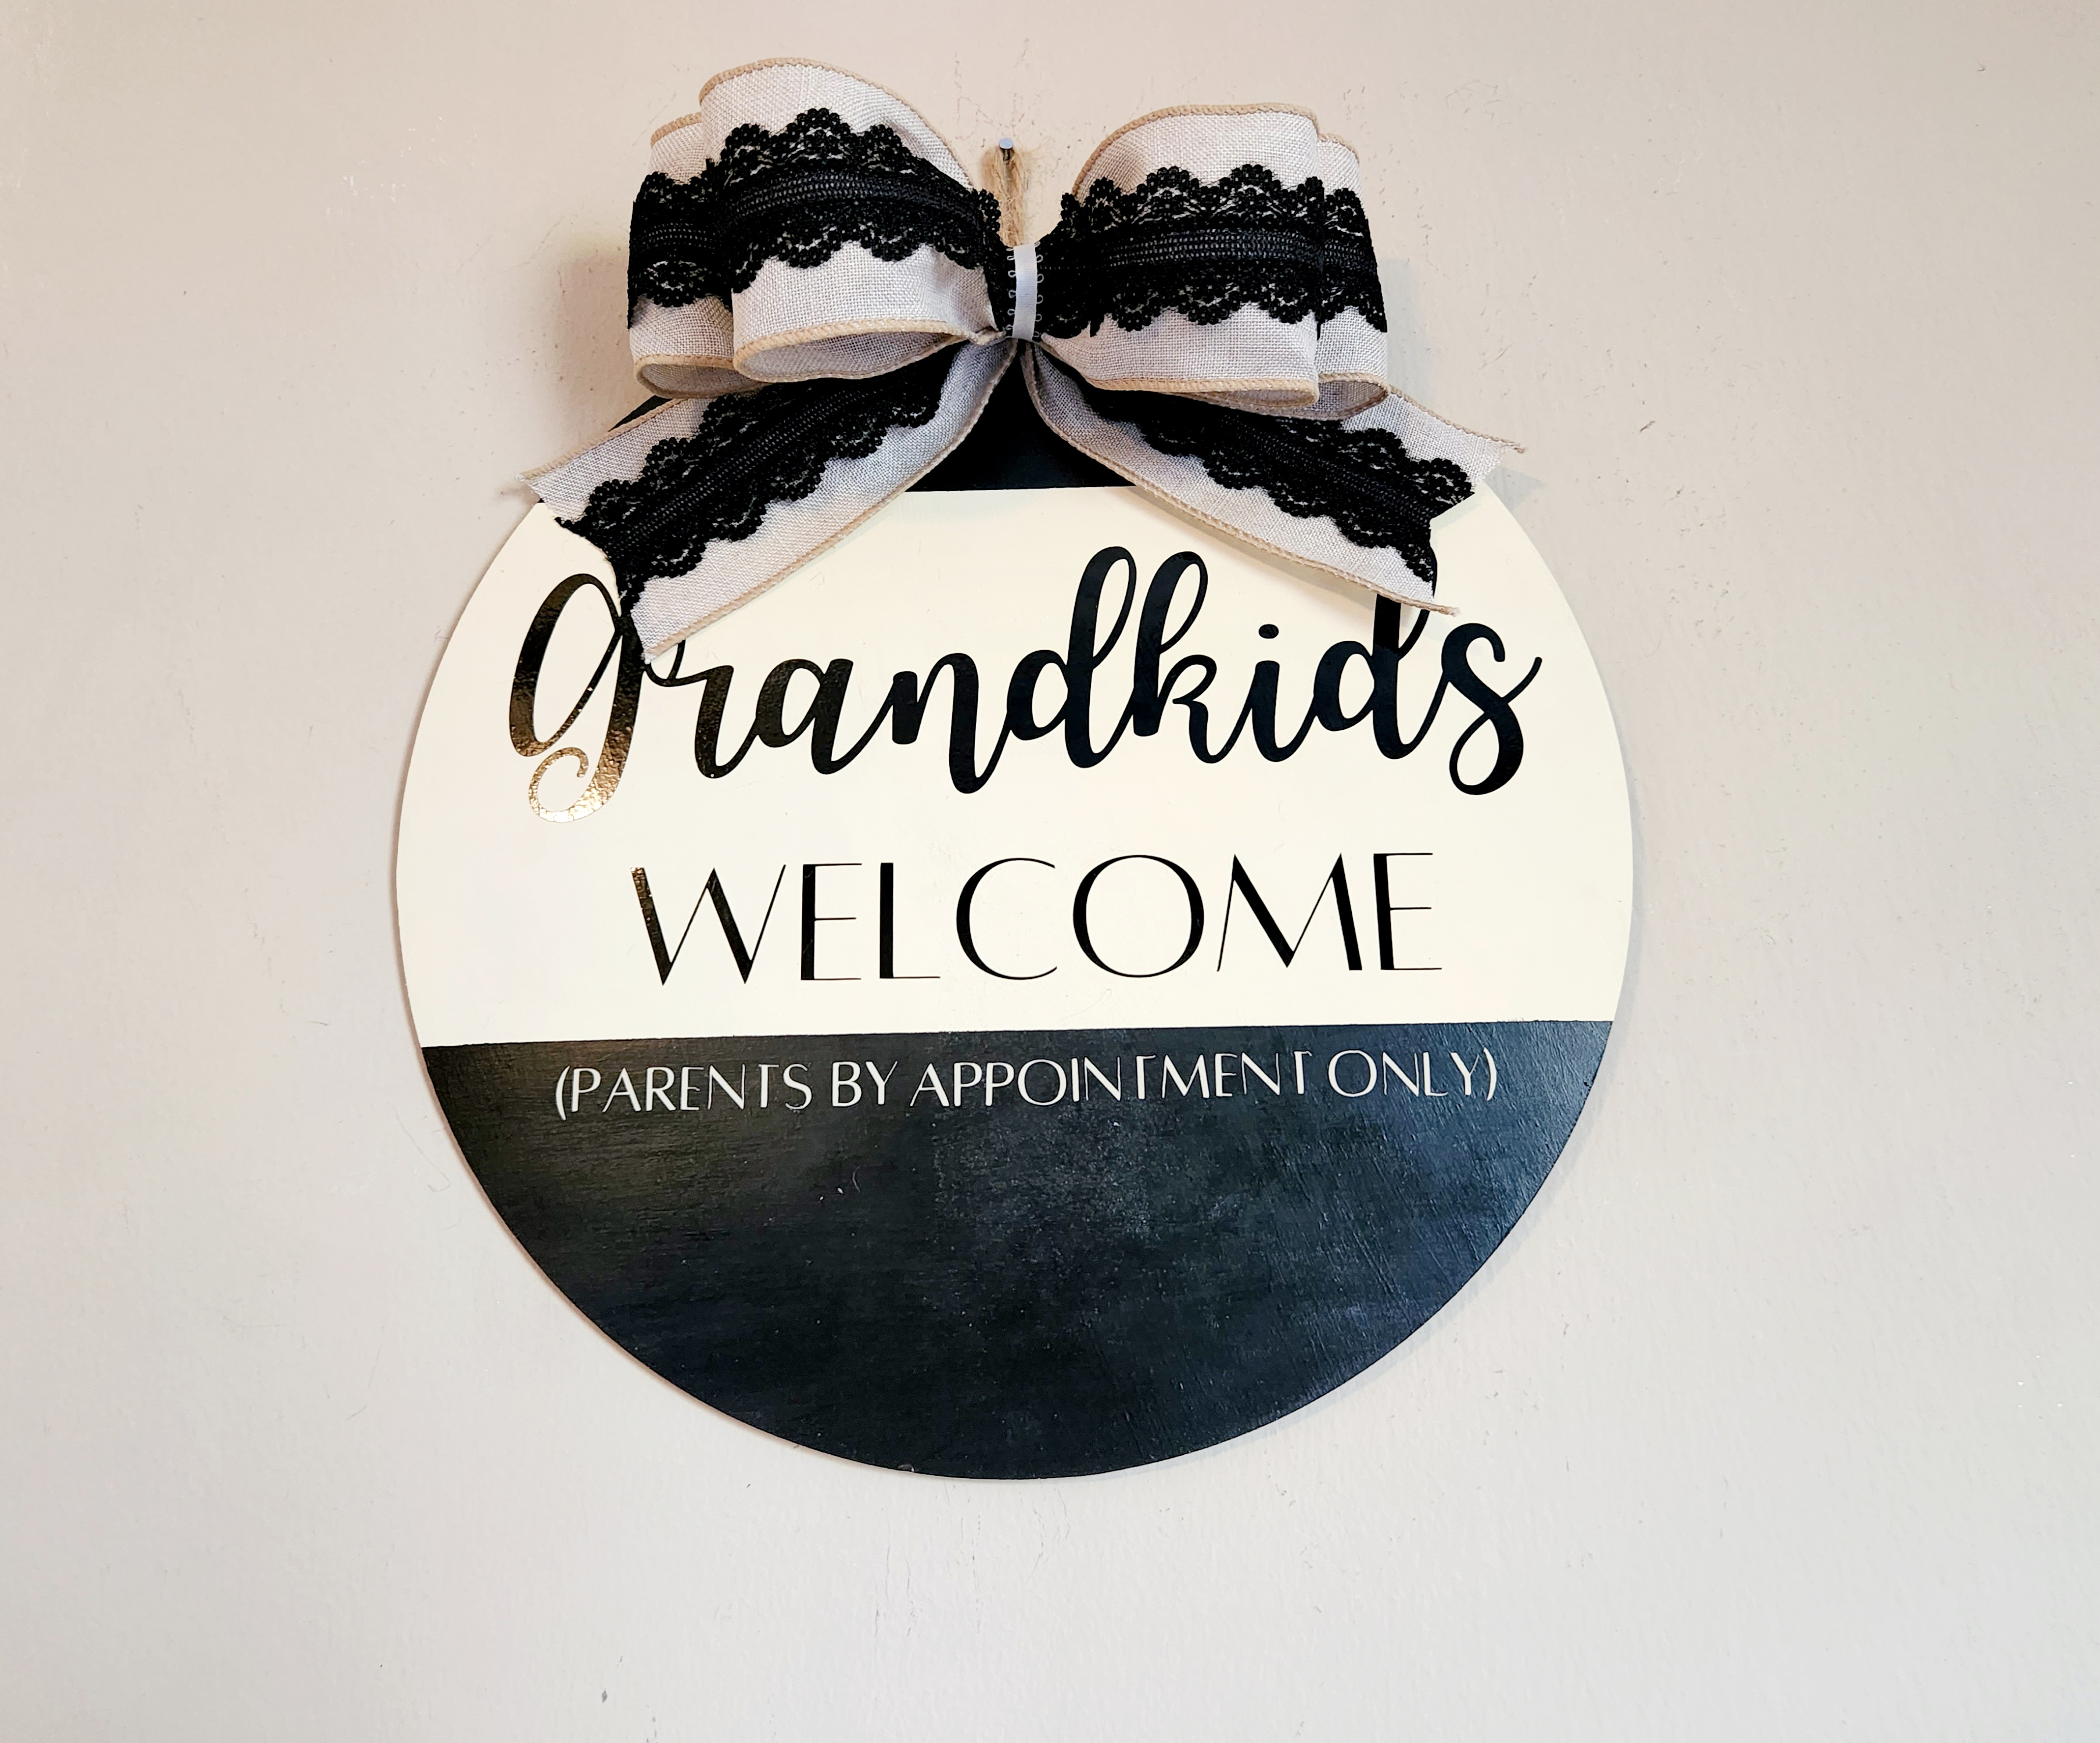
I created an SVG for my mom’s sign that says, “Grandkids welcome (parents by appointment only).” I’m sharing that for free with you today! As with all of my free printables and SVGs, they are not to be shared, sold, or used on items to sell. If you’d like to share it, I would love for you to do that using the social media share buttons at the end of the post or by sending your friends straight to the blog. Thank you for following these few rules as it helps me keep these printables and SVGs coming to you for free. If you’d like to skip downloading the image here, then uploading it to Design Space, you can go straight to pre-uploaded design in Design Space here.

If you don’t have a cutting machine, you can download this as a PNG file and print it. You can then do one of two things, cut it out then Mod Podge it on to your painted sign. Or- you can use the carbon copy method and transfer it to the sign and paint it on. You can see my tutorial for this method here. Be sure to resize the image before printing.
Once you’ve cut your image, weed the negative space from the design. If you’d like to use this as a stencil (maybe you don’t have the right vinyl color, but you have the paint color), weed the positive space. If you’re not sure how to make a stencil with a Cricut, you can check out my tutorial here.

Apply the Vinyl to the Mother’s Day Gift Sign
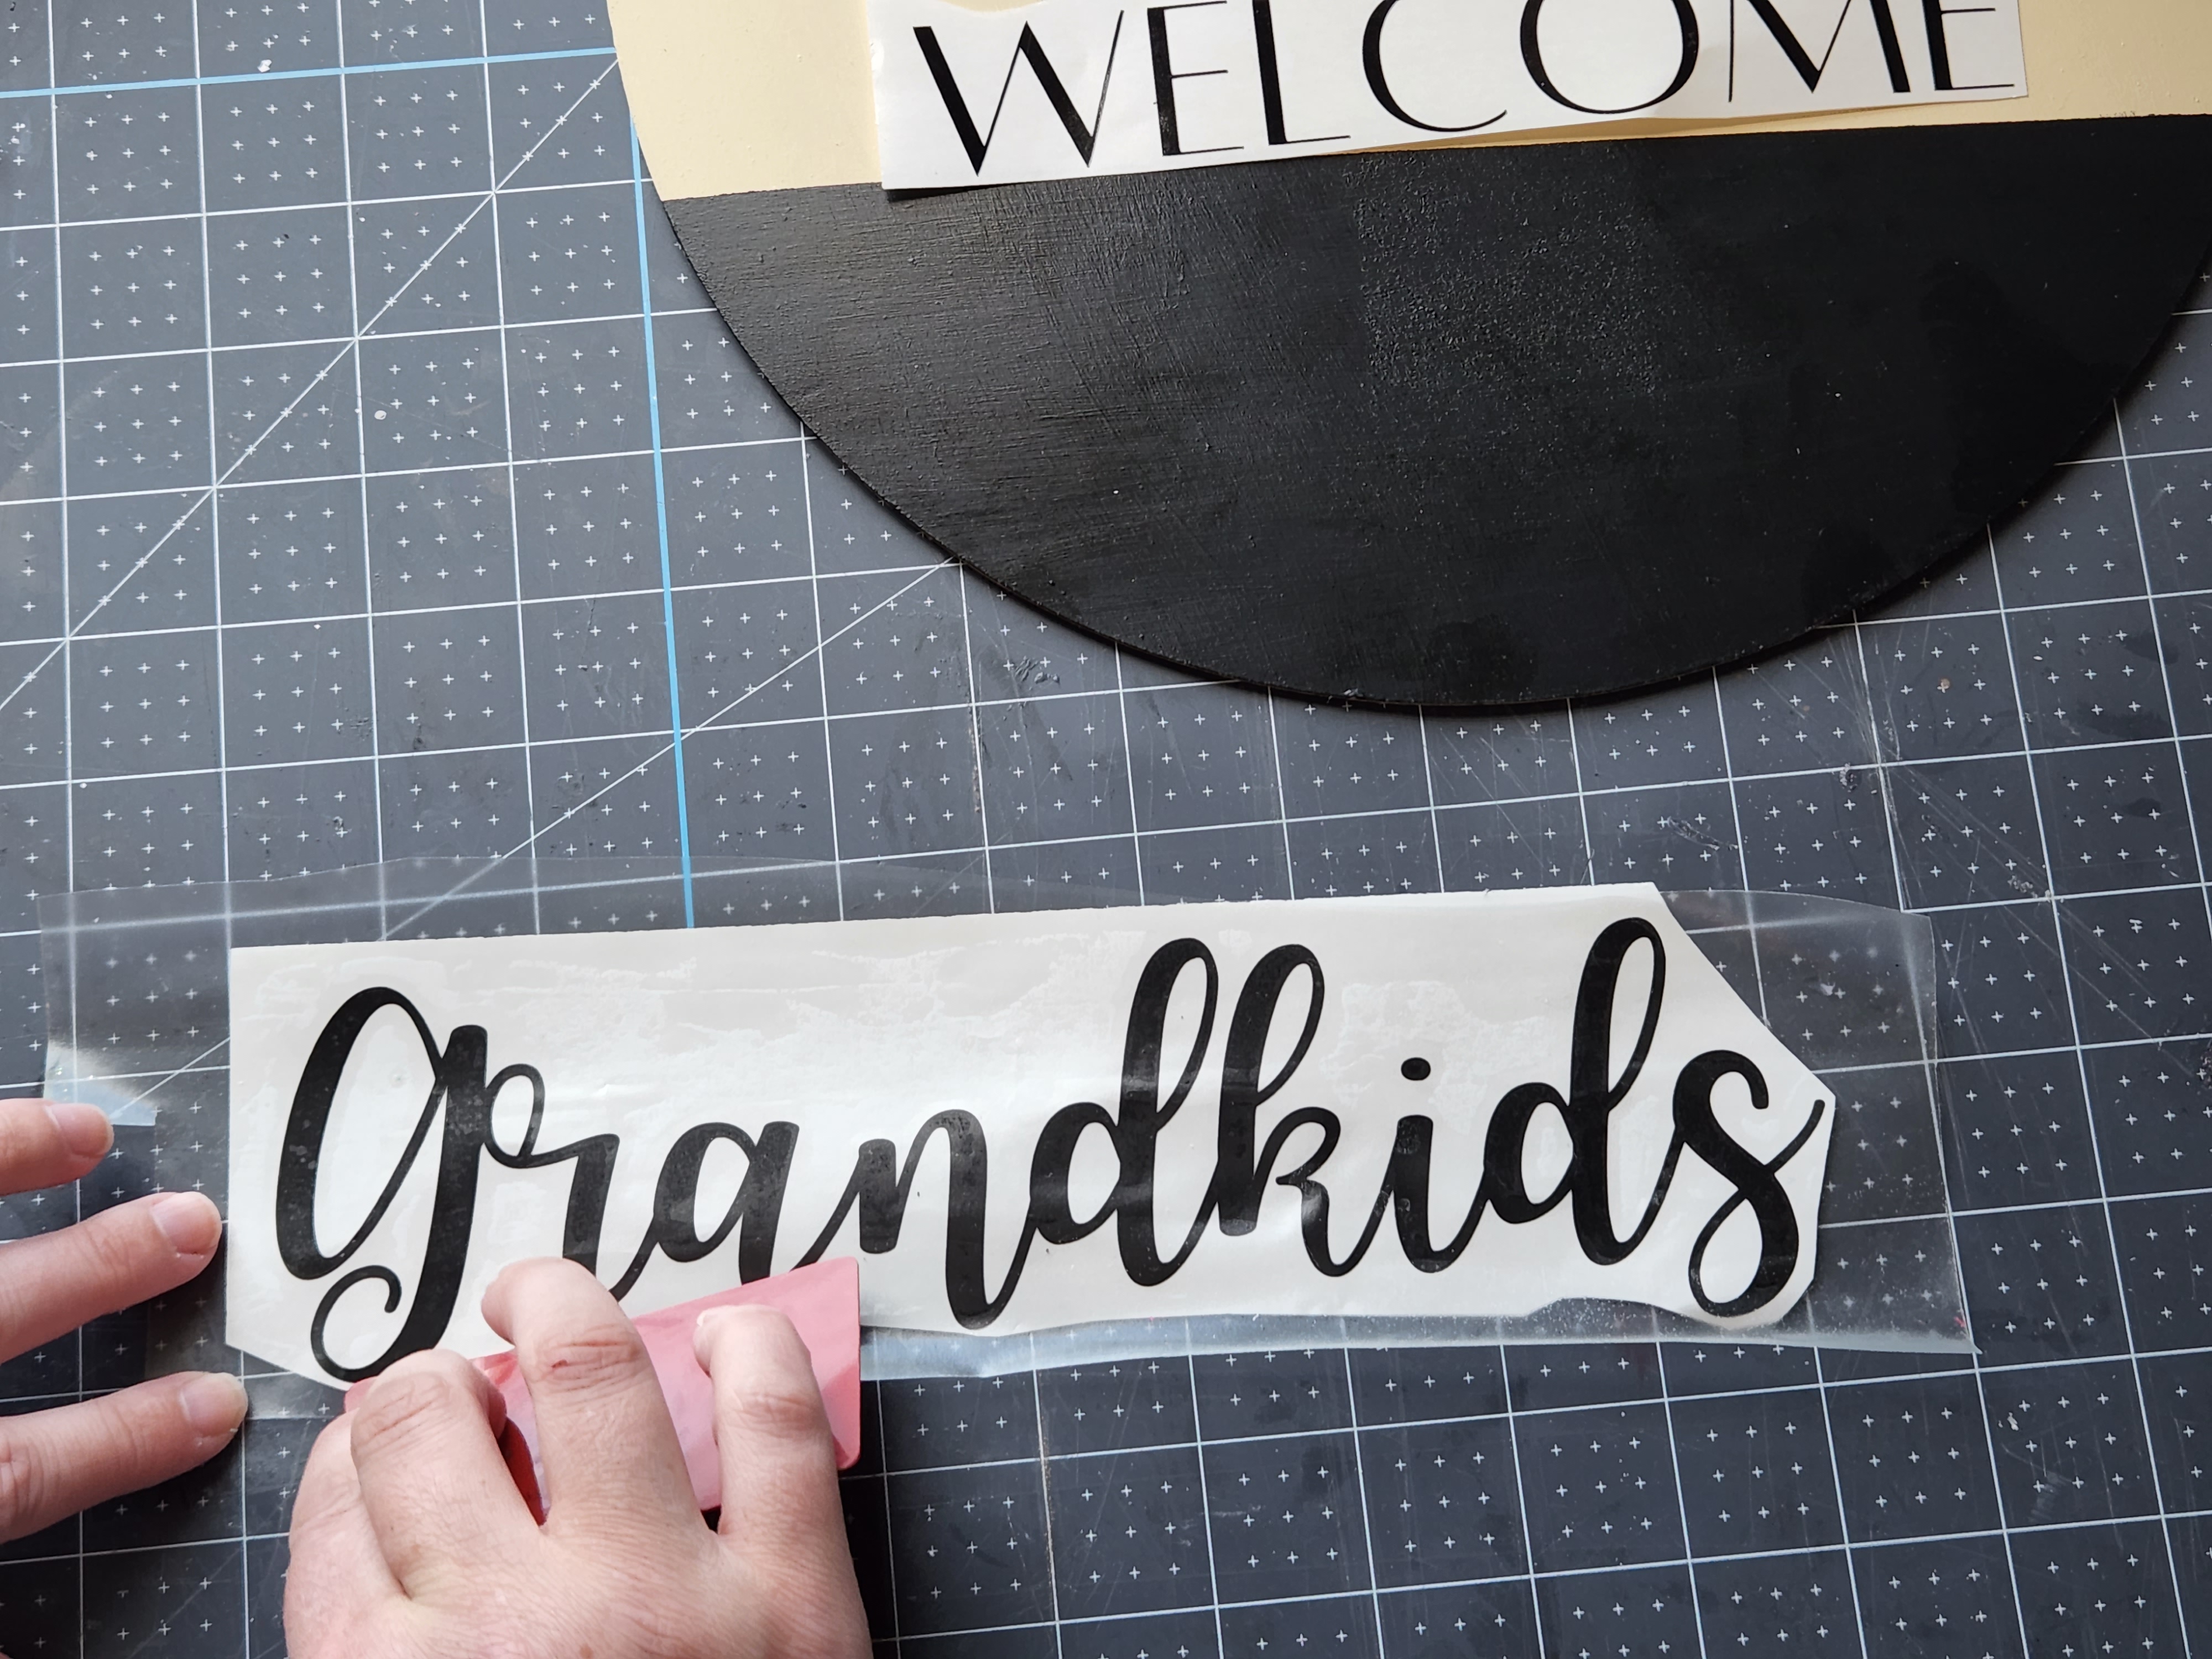
You need transfer or contact paper to transfer the design onto the sign if you’re using outdoor vinyl. If you’re using HTV, you can look at my wood door hanger sign tutorial to see how to transfer it onto the sign. Place contact paper over the design and go over it with a scraper or credit card to adhere the vinyl to it.
Remove the backing from the vinyl and center it on the sign. You’ll want to place the highest point in “grandkids” about 1.5-2″ from the black top section.
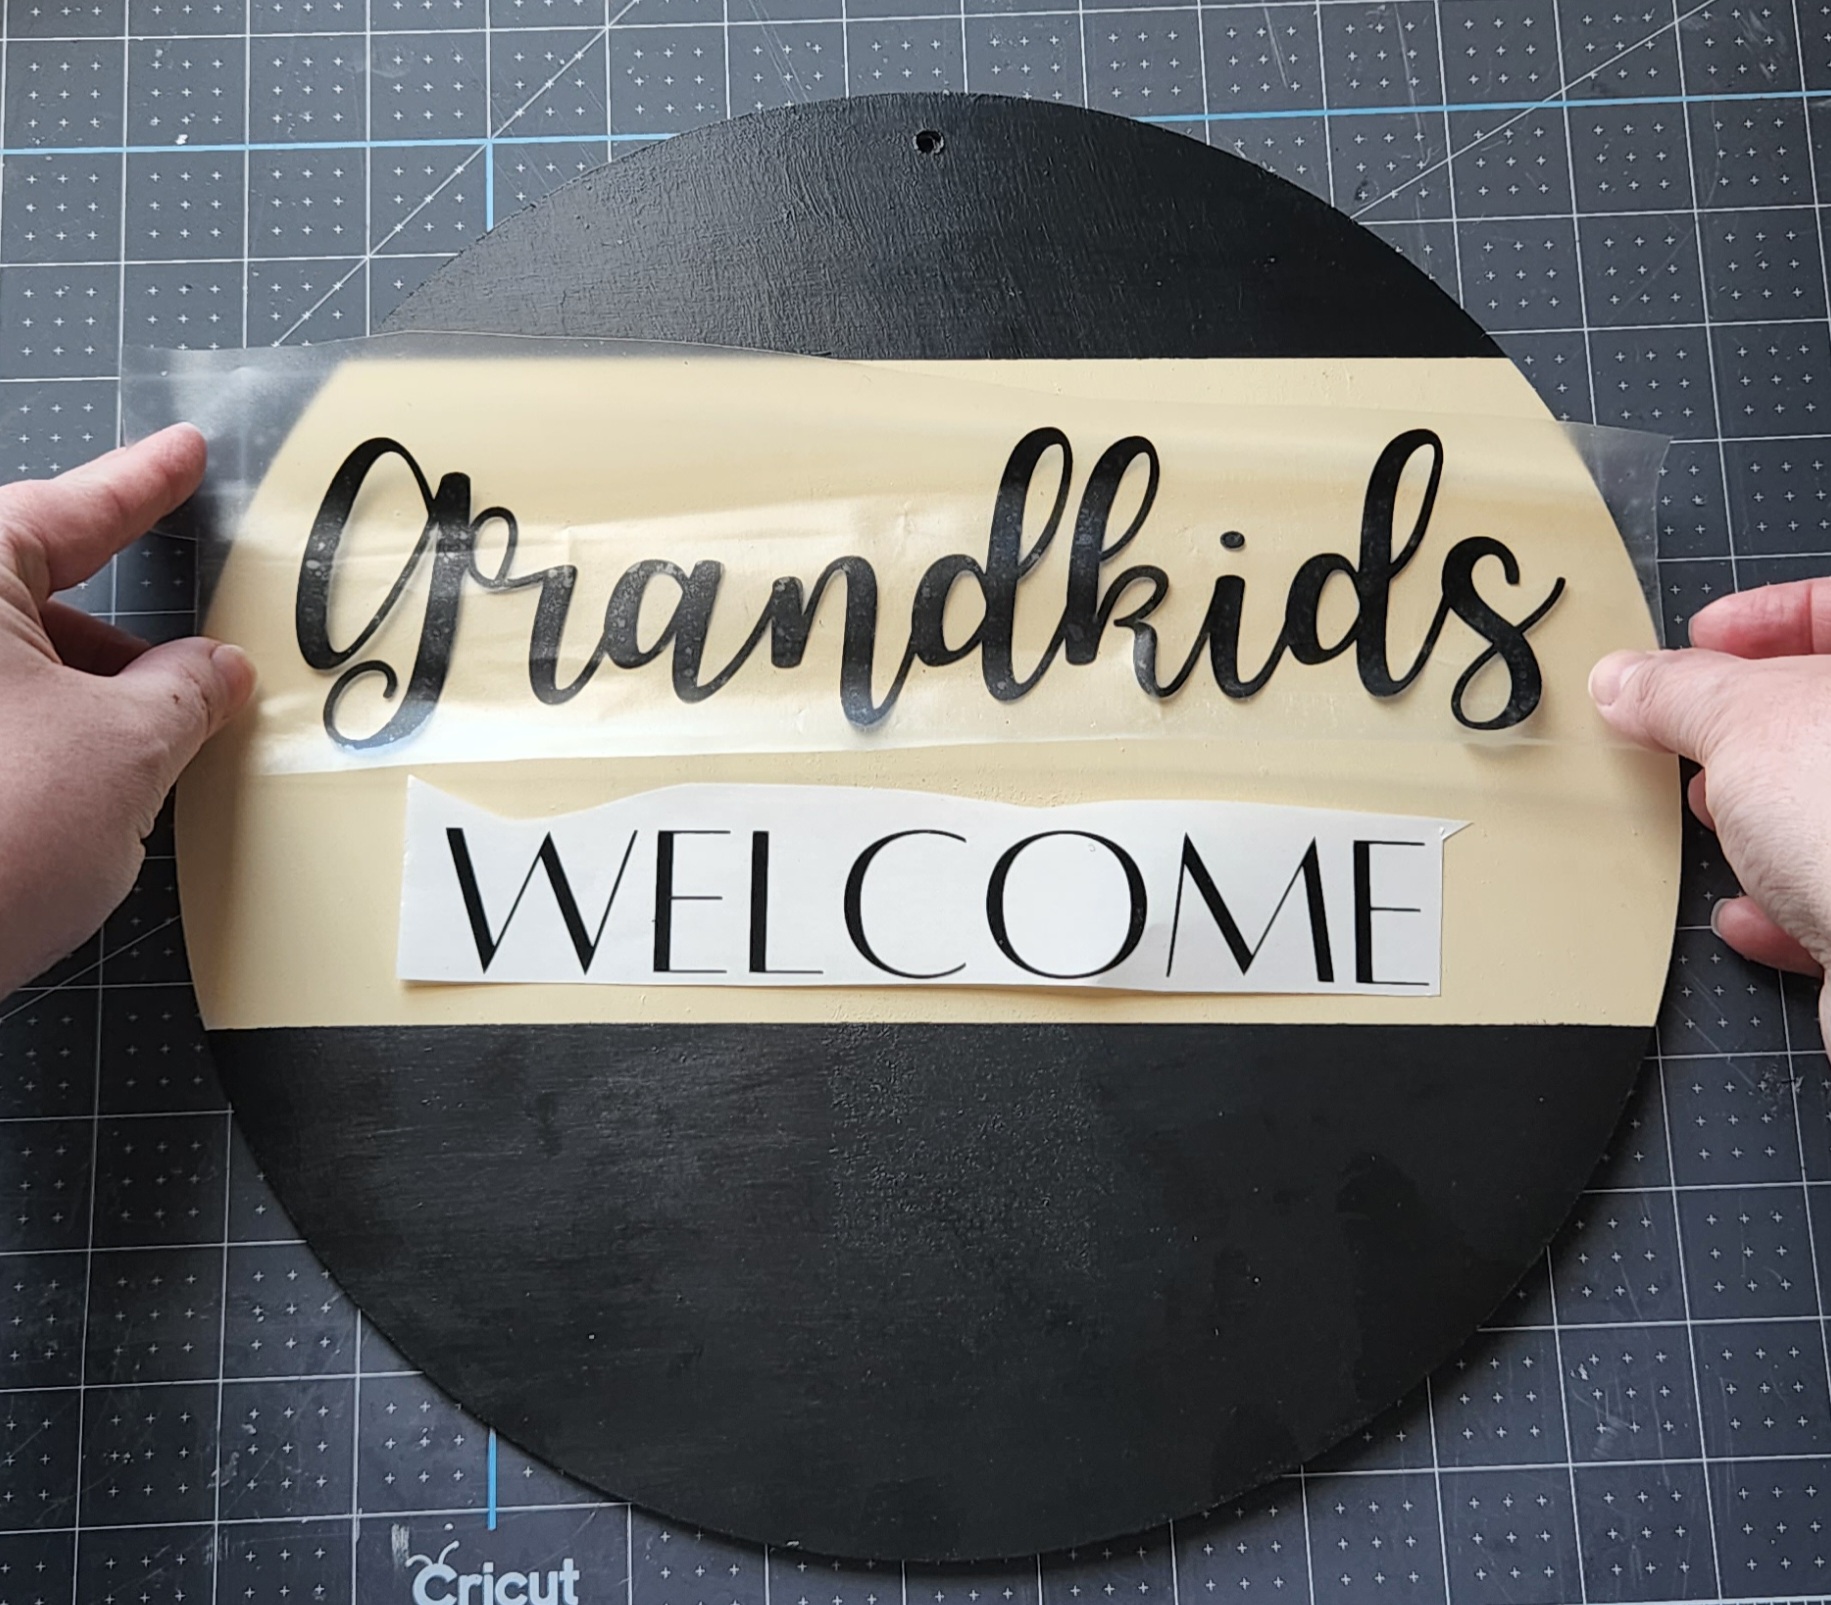

Repeat the process with “welcome,” placing it just under “grandkids.”

I cut “(parents by appointment only)” out of cream vinyl, so I placed it at the very top of my bottom black section.


Add a Bow & Hanger
Cut the jute rope that you removed from the sign to about 4″ in length. Feed it back through the hole and tie it in a knot. I left it long in these pictures, but I had to remove it and shorten it later.

I made a simple four loop bow with 2″ tails for my sign. You can make one with two or more loops. I just felt a simpler bow was best for the ribbon that I used. Secure your bow with a pipe cleaner or floral wire and leave the wire long so that you can attach it to the sign.

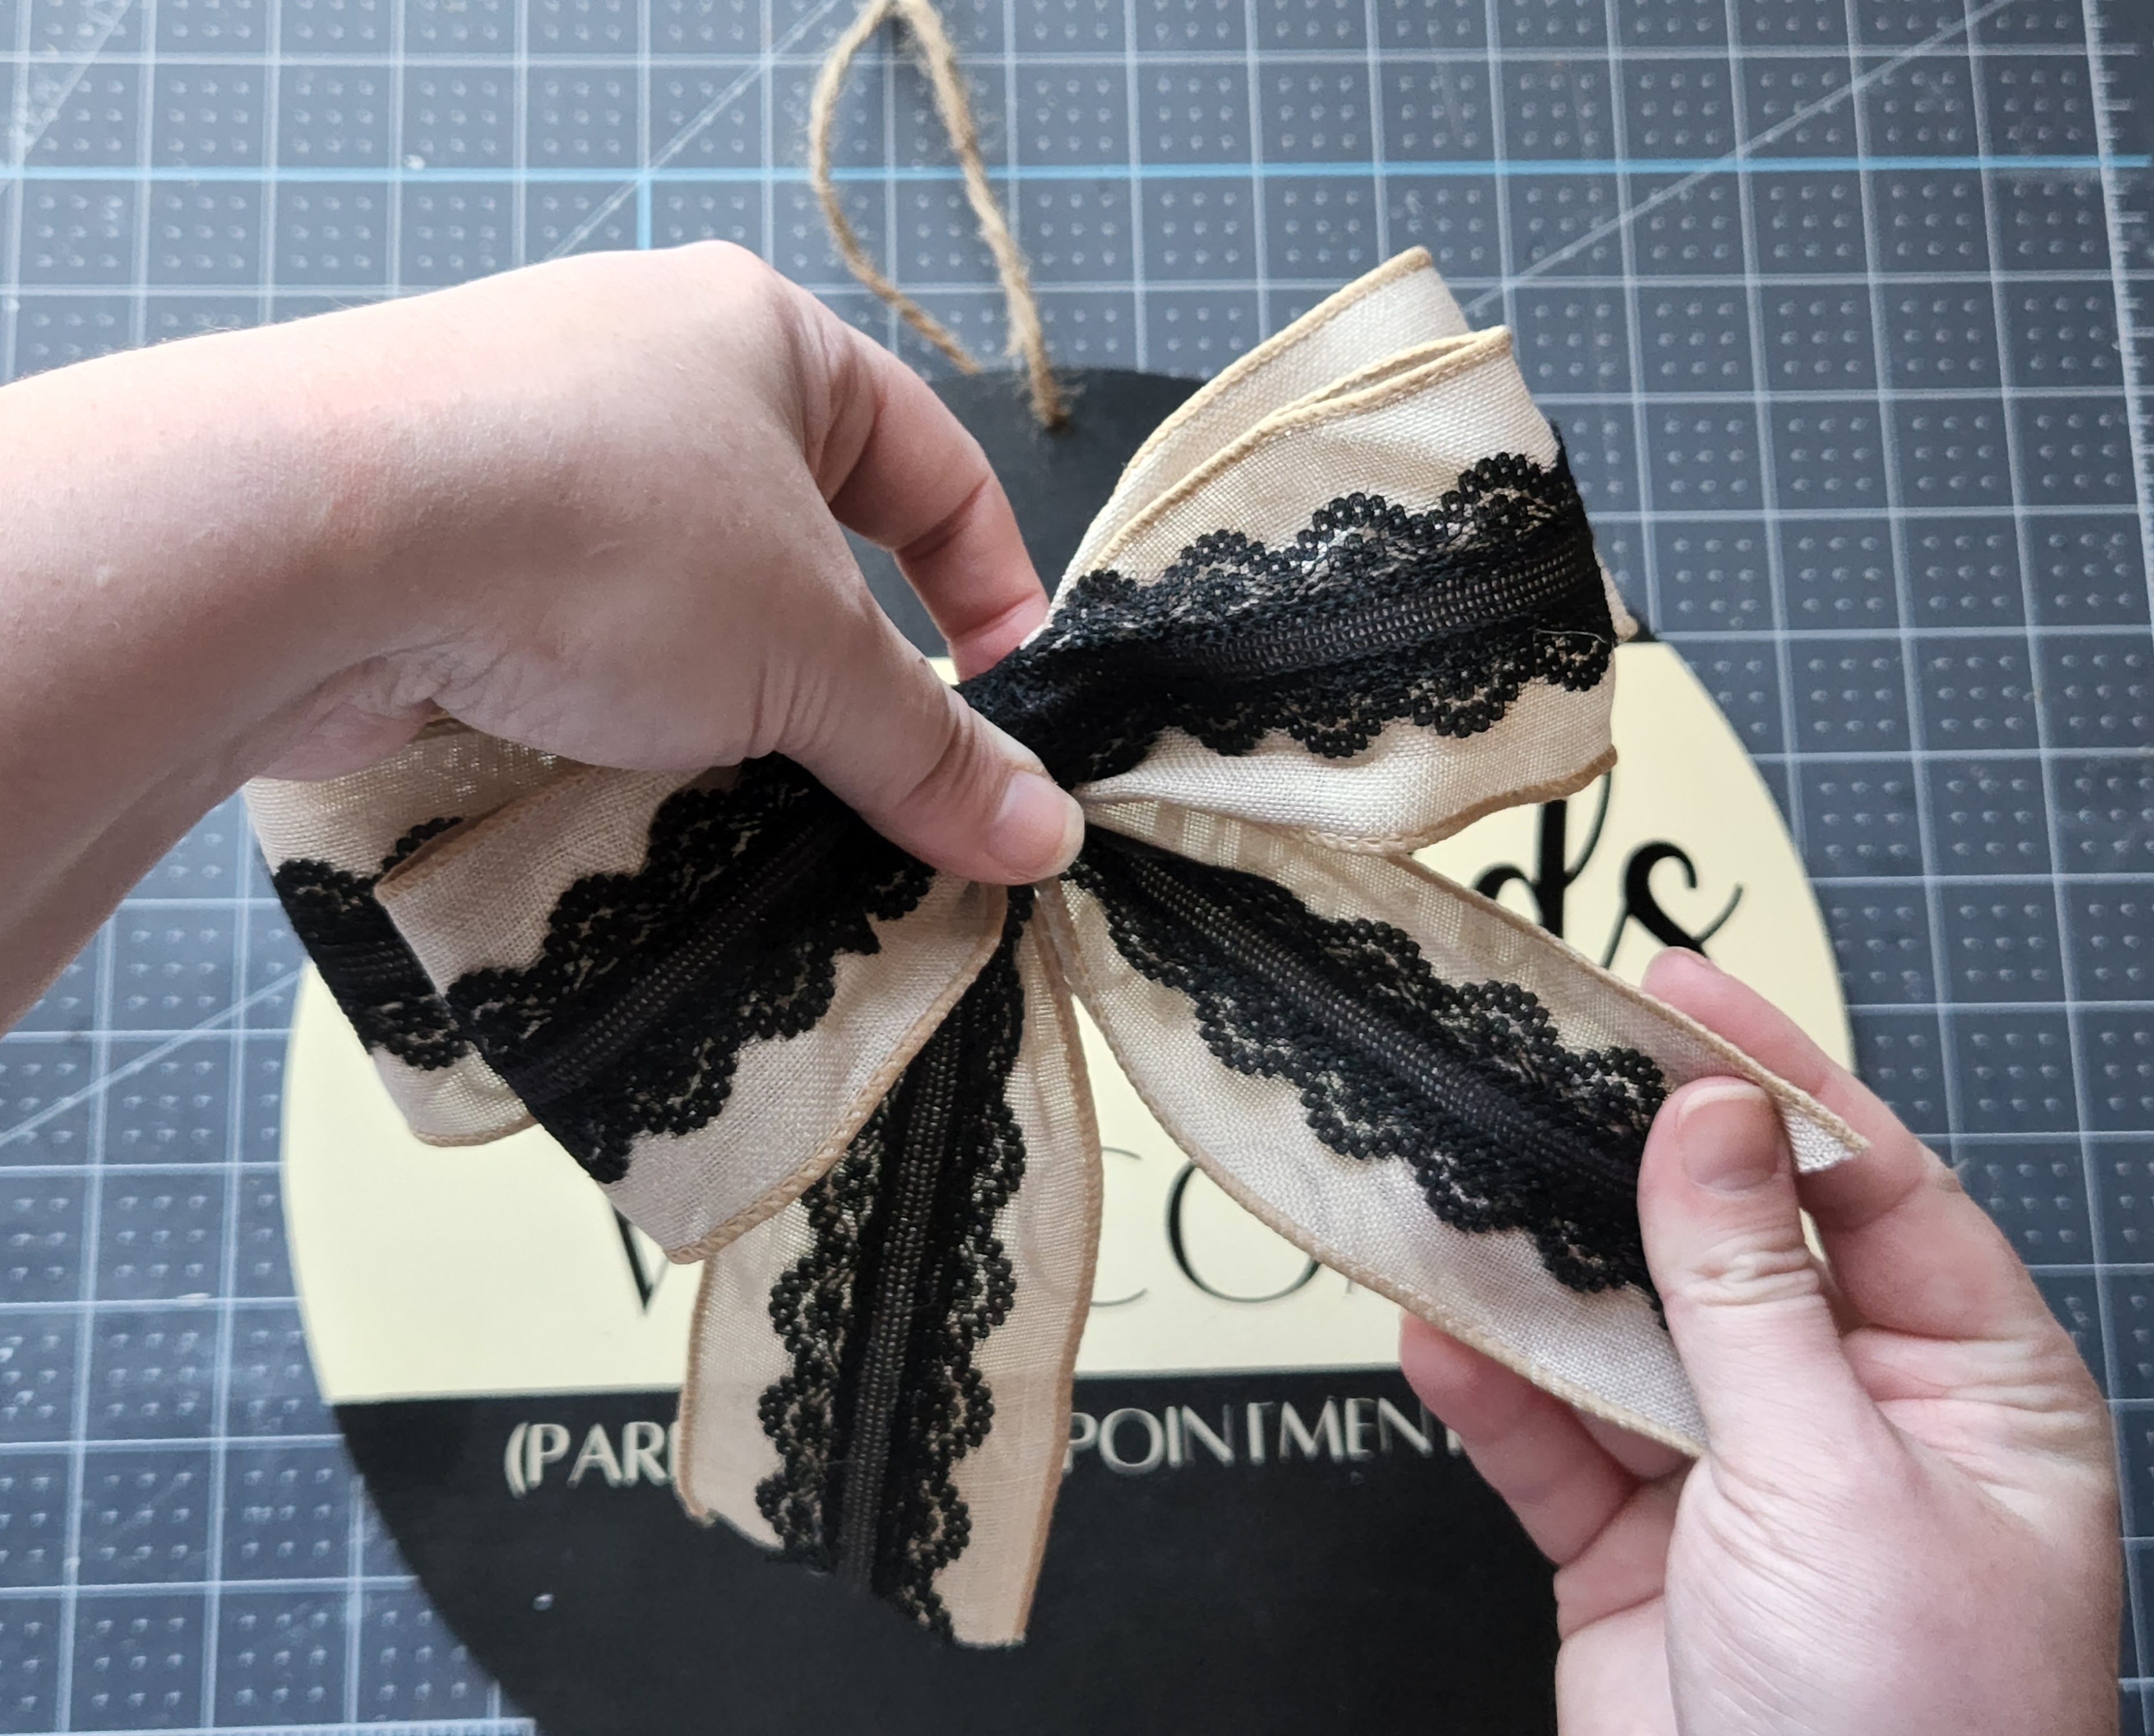
Feed the pipe cleaner through the hole where the rope is. You can extend each end of the wire to either side or twist it around the rope to hold the bow in place. If you don’t care if you can use the back of the sign or you’re sure you won’t want to change the bow, you can hot glue it in place.


Fluff your bow, and you’re done!

You can now give your DIY Mother’s Day gift to the best Mom/MiMi in the world!
I hope that you enjoyed this tutorial. If you make your own sign, I would love for you to follow me on social media and tag me so I can see your version! That way you can also keep up with what’s going on here on the blog. By the way, did I mention that you can make this for less than $10?! Here is how my DIY Mother’s Day gift turned out:

Remember to pin the image below or share this post with the buttons on the left side of the page so you can find it when you’re ready to start your project! Also, follow me on Pinterest for new ideas added weekly! Be sure that you never miss a great tutorial for decor like wreaths, signs and other home decor, free printables, crafts, and other fun posts! Enter your email address below to be notified of new posts! Use the buttons below to follow me on social media for other great content.

Don’t go yet! There’s more to see!
There’s plenty more to see here on the blog! If you’re looking for something specific, use the search box in the sidebar to look it up. If not, you might enjoy these ideas. Don’t have time to read them all now? That’s ok, just click over to the posts using the pictures and pin them for later. You can also add Life as a LEO Wife to your favorites and check back for new ideas and free printables and SVGs every Wednesday, as well as link parties with tons of shared ideas on Sundays!
If you’re looking for a Mother’s Day project for your class or Sunday school kiddos, check out this post with a free printable poem and handprint sheet they can give as a gift for their moms or grandmothers.
There’s plenty more here on the blog, so stay and poke around for a while! If you’re looking for something particular, you can use the search box in the sidebar. If not, you might enjoy these posts:


Follow me on Pinterest for new ideas added weekly!


I love everything about this sign! The shape, colors, how you painted it, the bow, and the sentiment! Such a fun Mother’s Day gift! Donna
Thank you! My mom’s favorite color is black (weird, I know lol), so it was right up her alley!
Great makeover of an inexpensive sign from Dollar Tree. I am sure she will enjoy it. #HomeMattersParty
Thank you Donna!
Cute gift for a mom and a grandma! Thanks for sharing it! I’m featuring you for this week #HomeMattersParty
Thank you Mel!