Last year I used two Dollar Tree wire pumpkin wreath forms to make a fall centerpiece. I used it for Halloween, then switched out the bows and contents in the middle to use for Thanksgiving. Today I thought I’d show you how to make your own. You can make this fall wire pumpkin centerpiece and use it from September all the way through the end of November!

Update 2022: If you’re looking for more Dollar Tree pumpkin wreath form ideas, you’ll love this gorgeous burlap pumpkin wreath, Dollar Tree Halloween scarf pumpkin wreath, fun farmhouse truck centerpiece, of course the most popular fall pumpkin wreath, this burlap and lace pumpkin wreath, deco mesh Halloween pumpkin wreath, and this elegant chunky yarn pumpkin wreath.
Items needed to make a fall wire pumpkin centerpiece:
- 2 wire pumpkin wreath forms
- 3 zip ties
- white paint (spray paint or acrylic)
- paint brush
- tray (wood or plastic)
- pumpkins, leaves, flowers, vases, potion bottles, etc- These are used to fill the tray.
- wired ribbon- I used 2.5″ wired ribbon, one for fall, one for Halloween
- pipe cleaners or floral wire
- wire cutters
- scissors

Paint Wire Pumpkin Wreath Forms
I didn’t paint my wreath forms before I attached them together and that made it a lot more difficult. You get the benefit of my mistake. Paint your entire pumpkin wreaths, front and back. When I made this I didn’t have a tri-pod, so I didn’t get a lot of pictures during the process. I didn’t get a picture of me painting either, but it’s straightforward. You can use acrylic paint and a paint brush or spray paint. Spray paint is a lot easier. However I didn’t have any white at the time, so I used acrylic.
Add Items to the Tray
When making your centerpiece for the first time, you have the benefit of setting up your items on the tray, then put together the wreath forms around it. Don’t worry. When you put it together next year or for the next holiday, you can still place the forms around it pretty easily.
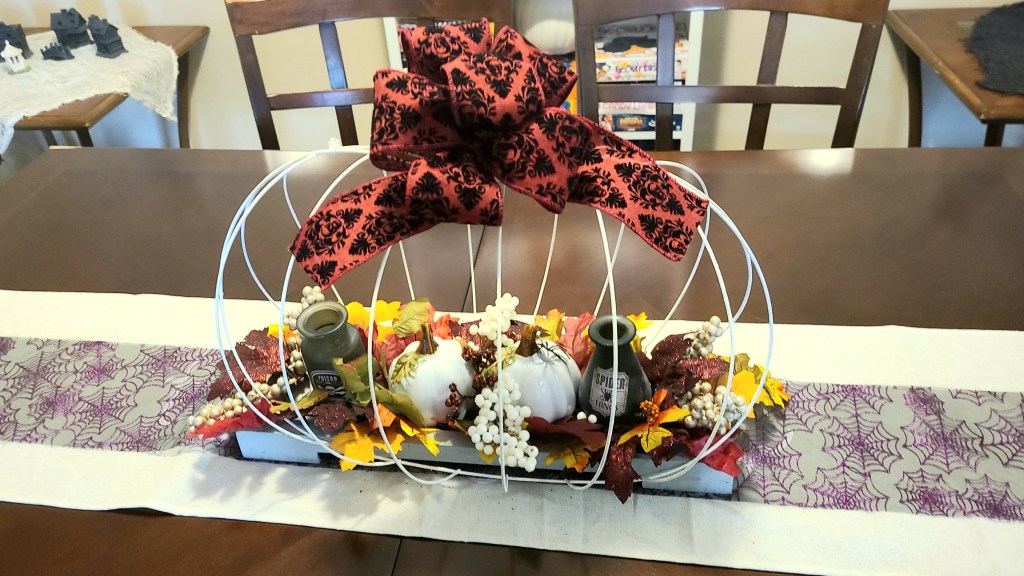
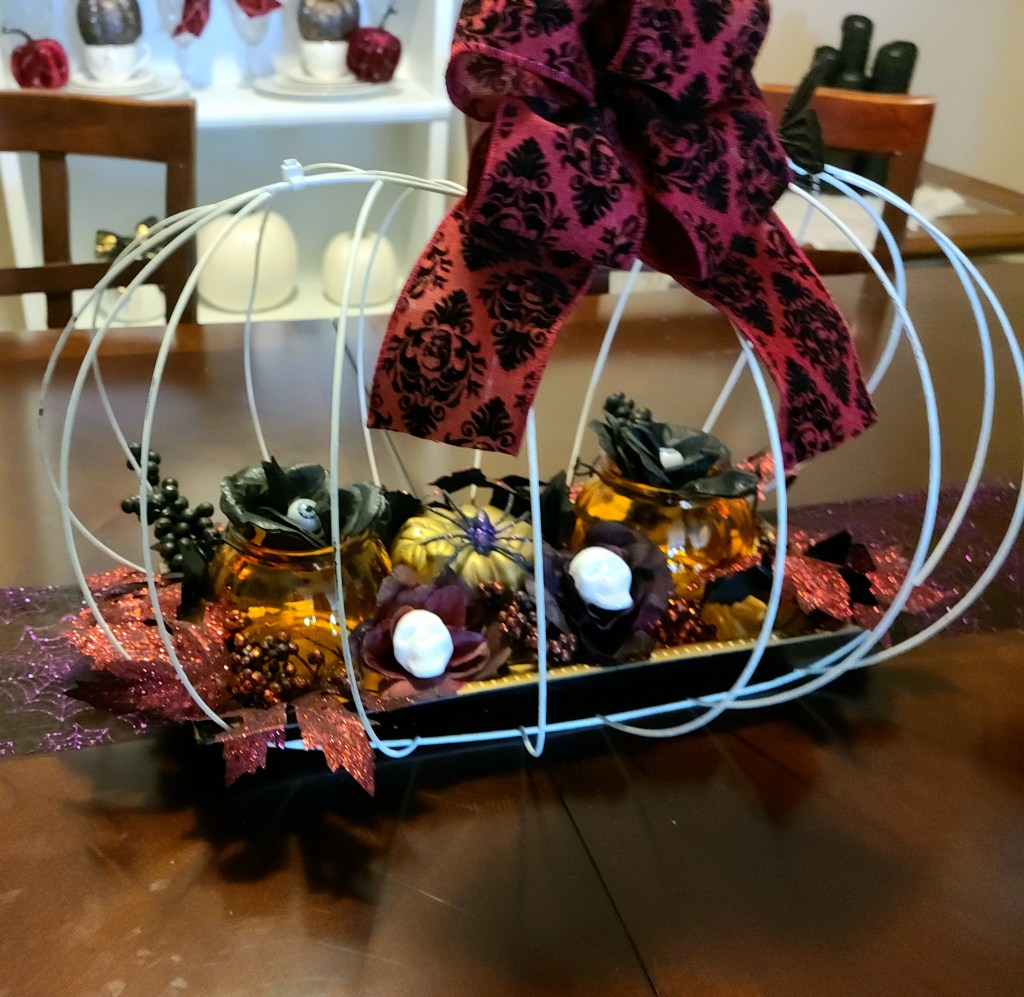
When I’m setting up a vignette or tray, I like to even out both sides. I place something on each side, evenly, in my case two pumpkins, then work in from there. I’m going to show you how I set up my tray for Halloween last year, then how I set it up for Halloween again this year. Last year I added two white glass pumpkins on each end, then placed faux Dollar Tree leaves all around the edges. This year I placed two glass jack-o-lantern votives on each side with black roses with an eyeball in each votive. Then I added black berries in each corner with burgundy glitter leaves from a bunch I got from Michael’s in a grab bag. When I change it up for Thanksgiving, I’ll add some pictures of that.


Next I added more items to the tray until I was happy with the way it looked.


Here is what I ended up with on my Halloween trays last year and this year. When fall came last year, I just removed the potion bottles and added a few more pumpkins. For some reason I didn’t get a picture of it. On last year’s tray I ended up moving the white pumpkins to the middle of the tray.


Attach the Pumpkin Wire Wreath Forms
With your tray filled, it’s time to place the wire wreath forms around it. Sit one wreath form on the back side of the tray, flush with the back and the table. Next sit the second form in front of the tray, again flush with the tray and table. Make sure that the tray is centered in the forms and they are even with each other. You want the stems lined up and touching and the right and left sides at the same point.
Bring the stem and tops of the wreath forms together over the tray. You may need another set of hands for this next part. Take the first zip tie and attach the two stems together, again making sure they line up exactly. Once the tie is tightened, cut the excess off with scissors.

Now attach the sides with the other two zip ties. You won’t be adding the ties on the top sides, but on the top, to each side of the stem. Place one on the left about 3.5″ from the stem, between the second and third vertical wire from the stem. Then attach the other on the right, 3.5″ from that side of the stem, between the second and third vertical wire from the middle. Cut the excess off of each zip tie.

I painted all of my zip ties white to match the frame. If you don’t have the correct color, the middle will be hidden by the bow, and you can add something on each side to cover them. This year for Halloween I put a bat on one side and a black glitter butterfly on the other. When you take the forms off, you can spray a little spray paint over the zip ties.

Add a Bow to the Fall Wire Pumpkin Centerpiece
Finally create a bow for the centerpiece. It can be really hard to make those big, beautiful loopy bows. I have two tutorials for making gorgeous bows the super easy way. This bow tutorial shows you how to make a loopy bow without cramping up your hand trying to hold everything. If you’re really terrible at making bows, this bow tutorial shows you how to make one without trying to form all the loops at once. That tutorial is probably the absolute easiest way to make a loopy bow.
I made one bow for Halloween, and another for fall. So in September I can have the regular pumpkin bow and then in October I can take that one off and put on the Halloween bow. I can put the same pumpkin bow back on in November, or make a new one for Thanksgiving. Add a pipe cleaner to the back of the bow, or just leave the floral wire long enough when you make your bow, then twist it around the stem of the pumpkin to attach it to the centerpiece.

Your fall wire pumpkin centerpiece is ready to display!
I really love the way this turned out. You can do something different with it each month, and something different every year. It’s so versatile, and really budget-friendly. We all need that right now!
Here are a few pictures of mine from last Halloween and this Halloween.


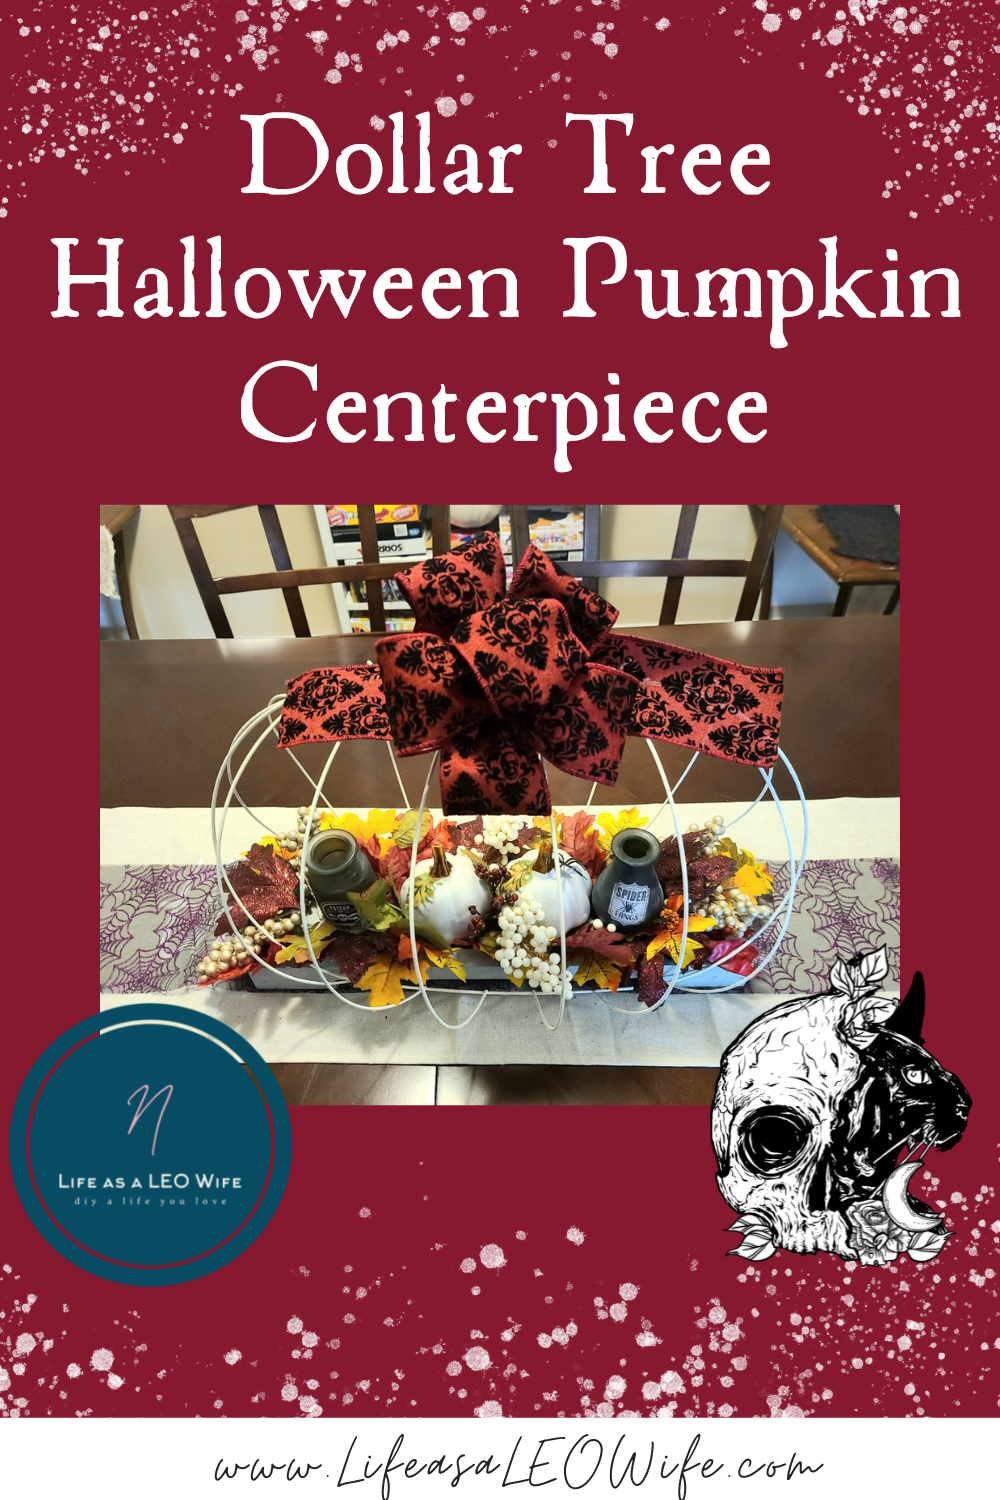
Remember to pin the image below or share this post with the buttons on the left side of the page so you can find it when you’re ready to start your project! Also, follow me on Pinterest for new ideas added weekly! Be sure that you never miss a great tutorial for decor like wreaths, signs and other home decor, free printables, crafts, and other fun posts! Enter your email address below to be notified of new posts! Use the buttons below to follow me on social media for other great content.
More Decor
I love fall decor. I decorate every month of the last four months of the year. Different decor for early fall, Halloween, late fall, and finally for Christmas. If you love fall decor as much as I do, stick around and check out all of the tutorials and free printables available here on Life as a LEO Wife.
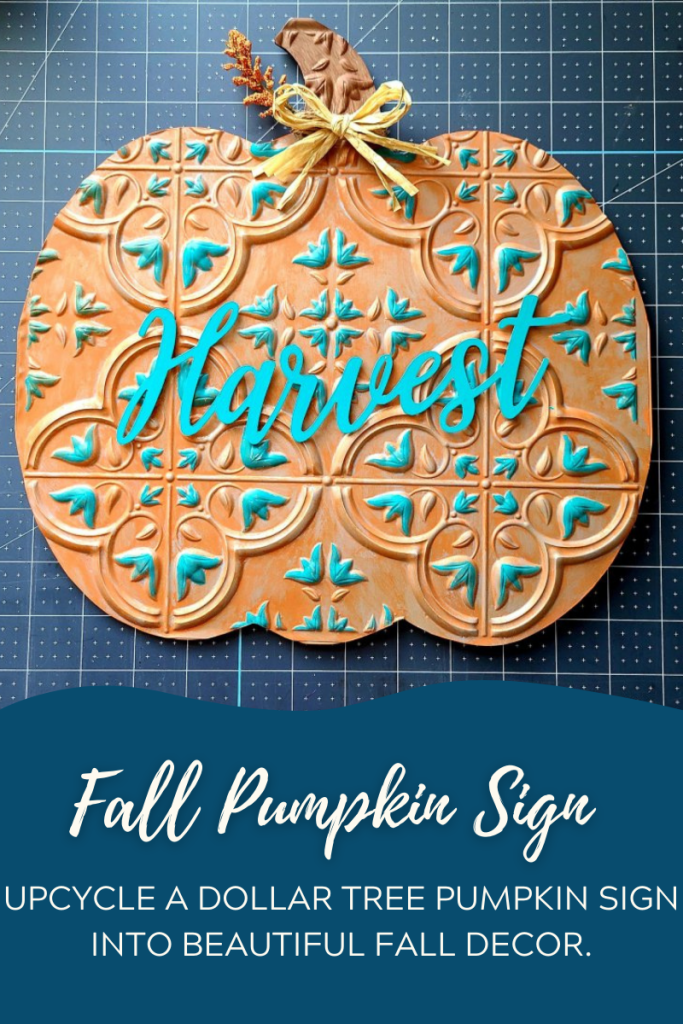
Here are a few tutorials and printables you might like:


Automatically find out when new posts are added!
If you’re one of my blogger friends, don’t forget to add your posts to my link parties, Happiness is Homemade, You’re the Star Blog Hop, and Traffic Jam Weekend. Make sure you don’t forget to add your posts by following me via email. You’ll get an email whenever the link parties open. Not a blogger? You’ll want to check those posts out for great recipes, home and seasonal decor, gardening, fashion, family ideas, and much more!


What a great centerpiece and so imaginative!! Love how you made it!! Thanks for sharing and thanks so much for stopping by!!
Hugs,
Deb
Thanks Debbie!
This is great – and you make it look so easy! Thanks for sharing at My Big Fat Menopausal Life’s Share the Wealth Party. Have a fabulous weekend. See you again after the 15th!
Thank you Helen!