I’ve had three styrofoam pumpkins sitting around my house, well in the fall decor bin, for about six years. I had a skein of slightly thicker navy yarn sitting around, so I decided to make some yarn pumpkins. The same old yarn pumpkins didn’t really appeal to me, so I tried my hand at braided yarn pumpkins. I came out with two different methods, so I’m sharing two different tutorials with you to make a braided yarn pumpkin. It’s gotten really late on me all of a sudden, so I will be adding the second tutorial with video in the morning.
To make a braided yarn pumpkin you need:
- styrofoam pumpkin (I used some from Target that I got for 10 cents!
- thick yarn
- hot glue gun
- scissors
- craft knife
- brown paint or a stick

Remove Faux Stem & Widen Hole
The pumpkins I used were from Target six years ago. The stems are plastic, and not the stryrofoam stems like the ones from Dollar Tree. Either way, pull up on the stem and remove it from the pumpkin. Widen the hole using a craft knife in order for your thicker yarn to fit in all around. I had a hard time figuring out how much on both of my pumpkins. How wide you make yours depends on the width of your yarn, but I’d say make it about 1.5.”

Cut Yarn
I’ll share the way I made my first braided pumpkin first. Just makes sense right? The way pumpkins are shaped makes it really awkward to add one straight strip at a time. I didn’t figure that out right away though. I’ll share how to fix that situation in a minute, but first you need to cut strips of yarn.
Hold the yarn up to your pumpkin, holding it at the opening you cut and bring it down to the bottom. I saved yarn by only bringing the yarn down to just below the curve. I was using a $10 skein, so I wanted to make as many pumpkins I could with it. Cut the yarn, and use it to cut many pieces of yarn. You’ll need a lot, at least 108. I attempted to count the number of braids I had on my finished pumpkin, and I believe I had 36, but it was hard to hold my finger on the one I started at and spin it all the way around lol.

Braid Yarn
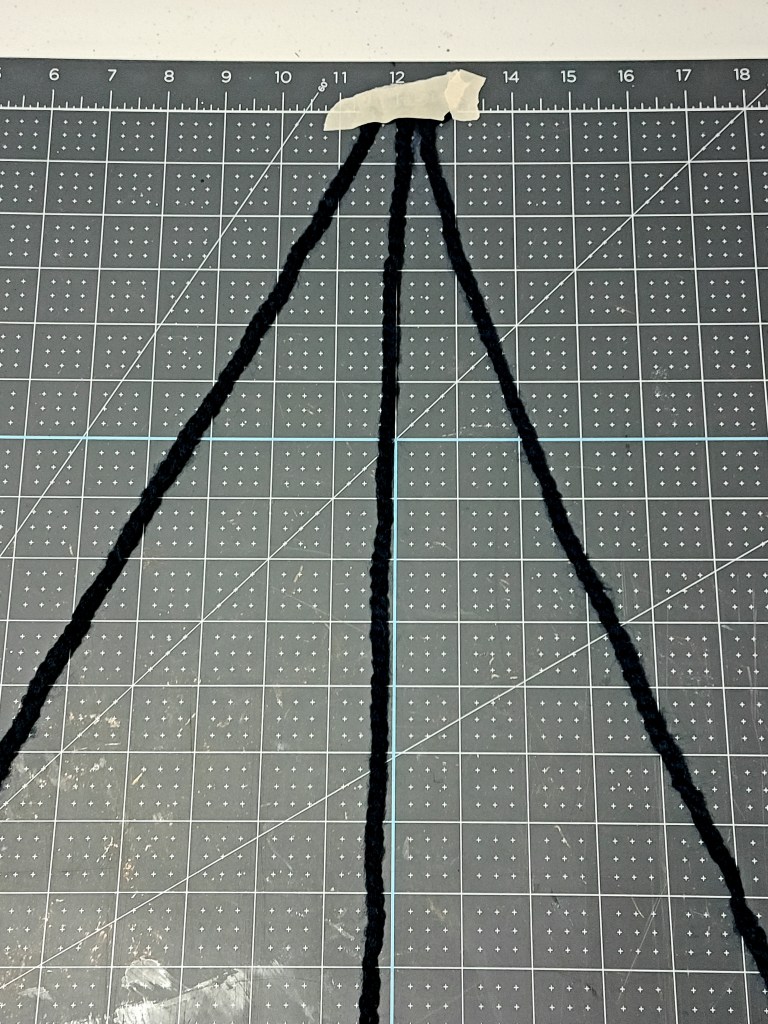
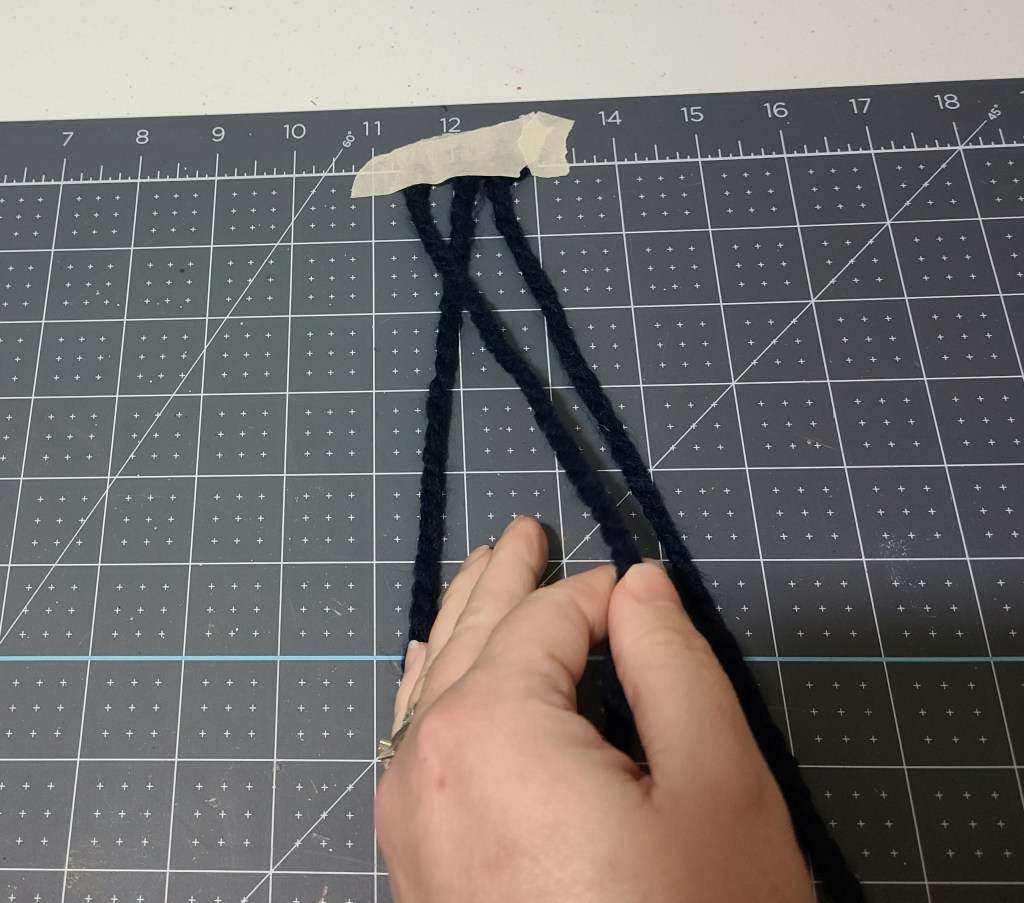
To make a braided yarn pumpkin, you need to braid a lot of yarn. Find yourself a good show, and let’s go! Use a piece of masking or other type of tape, and tape three pieces of yarn to your work space. You’ll want the right next to each other so you can braid them. Cross the right piece over middle piece, then the left one over the one that is now the middle piece. Do this just like you would braid your hair. In the pictures below, I’m braiding longer pieces of yarn for my second pumpkin, but this allows you to see how to do this a little better.

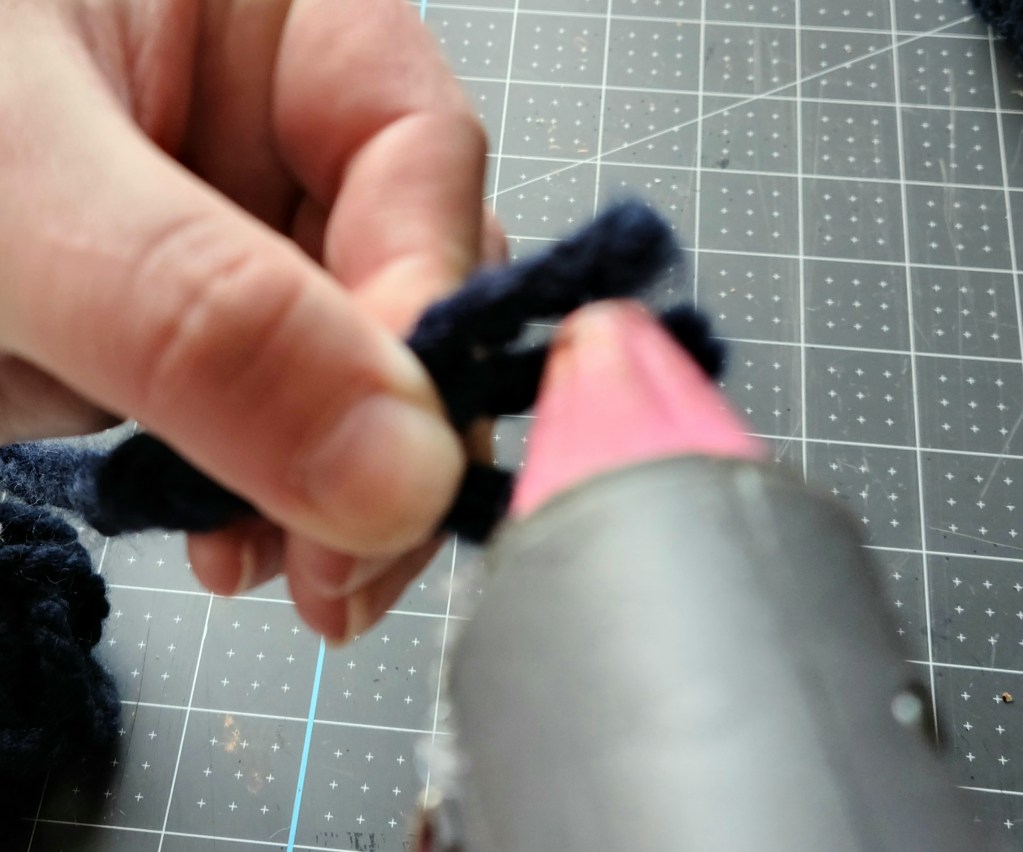
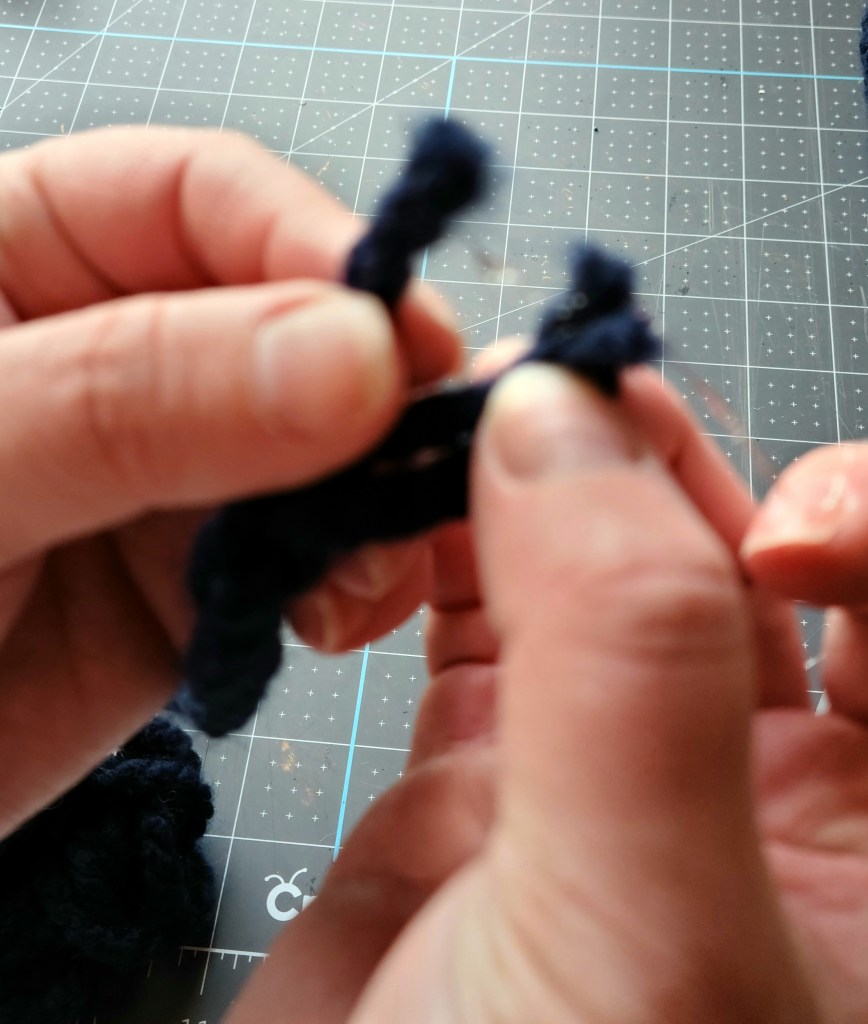
When you get to the end, you’ll need to seal it together. Place a small dot of hot glue on the middle piece of yarn at the end of the braid. Place one of the other pieces on top of that, then add another tiny amount of glue on top of that one. Then bring the final piece of yarn on top of that one. Sometimes you’ll get lucky and put one squeeze of glue on the middle piece and get both other pieces to stick to it without any extra glue.
How to Secure the Braids
Remove the tape holding the top of the braid down, and glue those pieces together. If you have a large amount of space from the top to the start of the braid, extend the braid up before gluing. It looks weird it the ends are glued and there’s a section not braided.

Continue braiding all of your pieces of yarn. Another option for braiding is to roll out feet upon feet of yarn in three pieces and braid the entire piece. Then you can cut it into pieces then glue each end once it’s cut. Here is a video of me braiding the really long braid that I used for my second pumpkin. This is the end of about a 12′ braid. I had to braid two of about that same length to do my second pumpkin which is done differently than this one. You’ll also see how to glue the ends together.
Glue Braids to Create the Braided Yarn Pumpkin
Add Four Braids
Ok, here’s where I had an issue, and I’ll show you how to fix it. I began by trying to glue my strips inside the hole I widened and all the way to the bottom. Soon I ended up with a crowded top and the sides were quite bare. So I had to pull off all of my braids and start over. To fix this you have to space out the top to bottom braids and place shorter ones on the sides.
First glue one braid from the opening to the bottom curve of the pumpkin at four corners. So you’ll have one one north, south, east, and west. Or top, bottom, right, and left, but since it’s round it seemed like it would make more sense to explain it N, S, E, and W. Place a dot of hot glue inside the top hole, then press the braid in it. The place a dot just past the bottom curve and press the end of the braid on it. You don’t have to go all the way to the center of the bottom because you won’t see it. If you are placing it in a bin where you will see it, make your braids longer and glue them in the center.

You can see I didn’t glue in the bottom center, but just past the curve. Top view of the pumpkin with the first four braids on.


Add Shorter Braids on the Braided Yarn Wreath
I’m going to refer to these as steps so that I can refer you back to a specific step number when you need to repeat one of them. This will keep it more clear. Gluing on the first four above won’t be included in this step numbering process.
Step 1
Now you will need to fill in the spaces in between the four braids. Start next to one of the braids, place a dot of hot glue right next to it at the start of the curve, and press the braid on it. You can make smaller braids for the sections in between the full braids, or you can just glue them farther toward the middle on the bottom. I made shorter braids to fill in the space. Glue another braid next to the one you just glued, exactly the same way.
This is what it will look like with the fifth braid, the first shorter one, from the side.


Step 2
Place a dot of glue just outside of the stem hole, covering the empty space above the last two braids.
Here it looks like a space between the braids on the pumpkin, but it’s just moved a bit.


Step 3
Next you’ll glue on a braid that’s a bit longer than the ones in step 2.

Step 4
Next add a short braid next to that one, then a longer one to cover the open space just like you did in step 2. This will bring you to the next original, full length braid. Now repeat steps 1-4 all the way around the pumpkin! If your pumpkin or yarn is a different size than mine, you will just glue more short pieces where you can, then glue longer ones to cover the top. You can’t glue long braids from the stem to the bottom because the top is smaller and the middle is wider, so the top will begin to overlap one another and become too full while the middle is bare. Also the braids will be farther over than the bottom. If I can find another pumpkin I’ll add pictures to show you the problem. You may see what I mean as you go through this process.

Place the Stem
With my Target pumpkin, the stem wasn’t those cheap-o styrofoam stems like Dollar Tree. It’s a hard plastic stem with a slight curve. I liked the way it looked, but it was black, so I painted it with nutmeg brown acrylic paint.
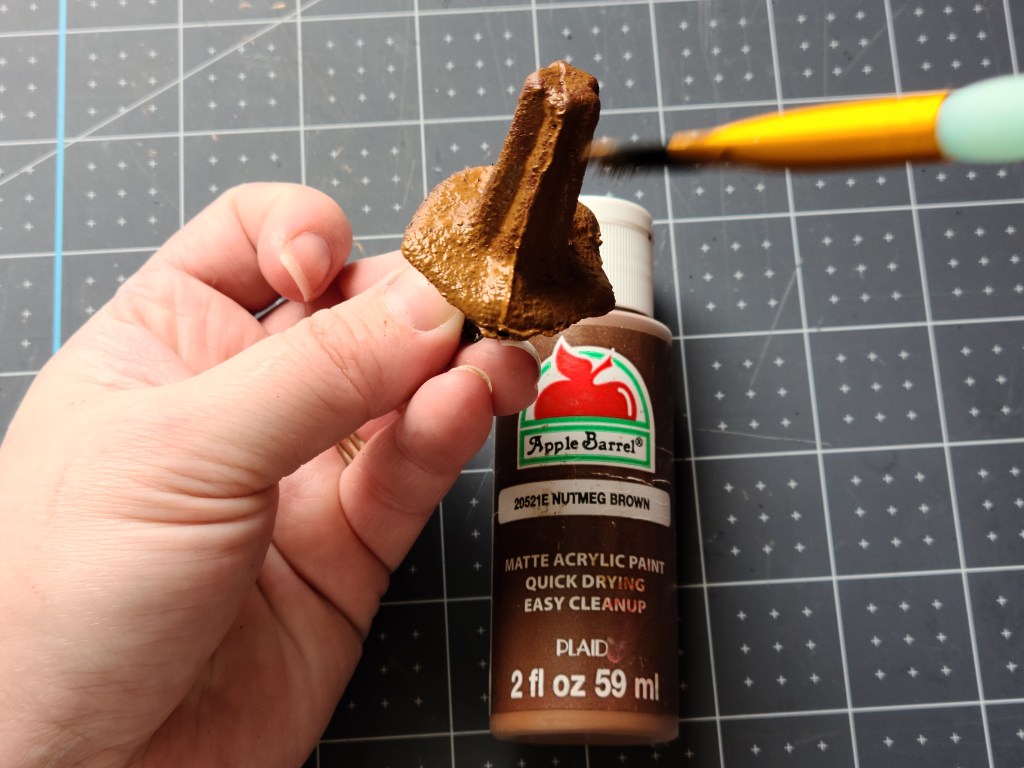
You can opt to paint your stem, or use a stick in place of it. Check out how I did that in my pumpkin topiary tutorial.

I will be adding the second braided yarn tutorial tomorrow, so make sure you follow me via email so you don’t miss it or any of my other tutorials or free printables. Enter your email address below and you’ll receive an email when I add a new post, including my link parties, and you’ll never get any spam.
Once your paint is dry insert it (or your stick) into the hole on top of the pumpkin after adding a bit of hot glue to it.


Your braided yarn pumpkin is now ready to display!
I really like this version of the pumpkin. Since I used a thicker yarn than normal, it’s nice and plush. Here are a picture of my newly created braided yarn pumpkin.

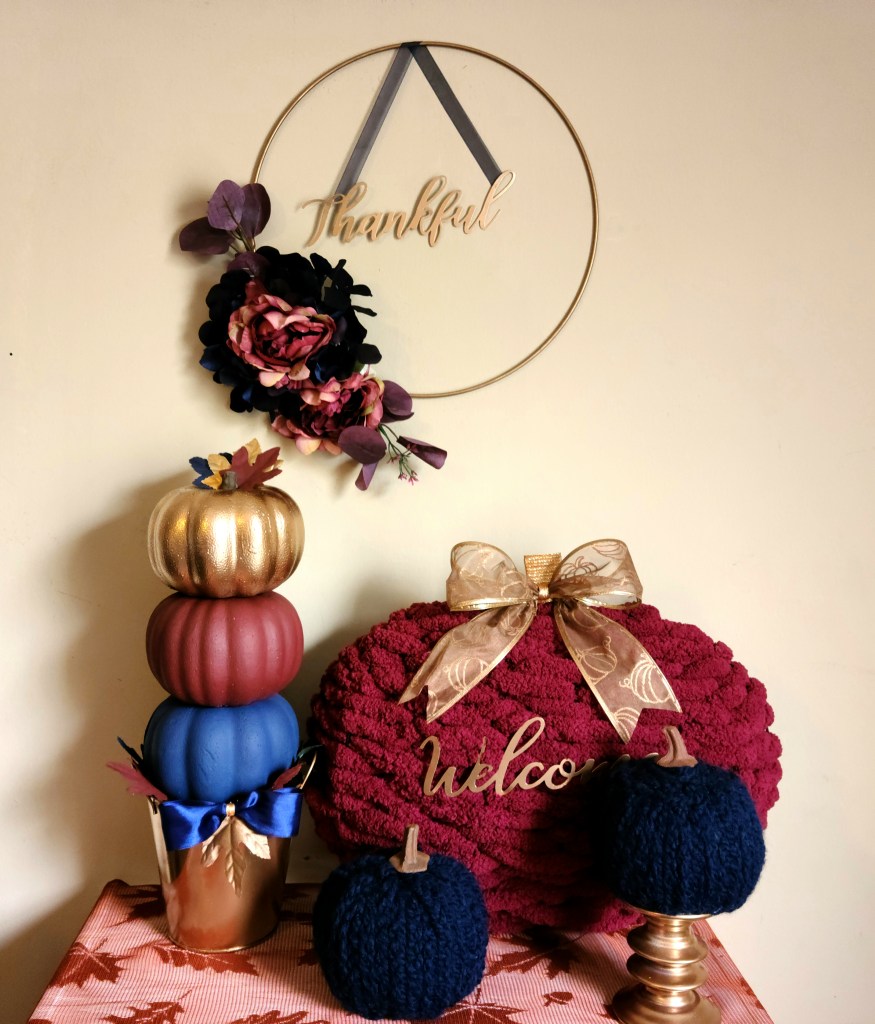
Here are a few pictures with my newest additions to my late fall decor. You can find the tutorial for the woven yarn pumpkin wreath here. You can see my fall hoop wreath tutorial here.


There are so many other fall and Halloween decor tutorials here on Life as a LEO Wife. I also have some free printables you can use during family movie nights, as decor, and for parties. I hope that you enjoyed this tutorial. If you make your own, please tag me on social media because I would love to see it! Use the buttons on the sidebar to follow me. If you have family and friends who love home decor and crafts as much as you and I, use the buttons at the bottom of the page to share this on social media. Make sure you pin this so you can get back to it when you’re ready to make your own braided yarn pumpkin!
If you’re a blogger, make sure you head over and share your family friendly posts on my three link parties, Happiness is Homemade, You’re the Star Blog Hop, and Traffic Jam Weekend. Follow me via email using the subscription bar above or on the sidebar so that you get an email when those parties go live. That way you never forget to share those amazing things with us! If you’re not a blogger but love great posts for crafts, recipes, home and seasonal decor, DIYs, free printables, fashion, and family ideas, check those parties out each week. We have so many amazing bloggers sharing all of those amazing things!


These are so cute!
Thank you Amy!
This looks so easy! And what a great result. Thanks for sharing at My Big Fat Menopausal Life’s Share the Wealth Party. Have a fabulous weekend. See you again after the 15th!
Not too hard at all! Thanks for coming by!