Hello pumpkin! I’m so glad that you’re here today because I have a great tutorial for you. It’s almost fall and that means pumpkin making season is upon us! Today I’m going to show you how to make rope pumpkins without needing to buy (or find for that matter) any pumpkin form or base, like the styrofoam ones from Dollar Tree. All you need is cardboard and rope. Let’s get into it!

Looking for yarn pumpkins? I have several versions, including a braided version, in this post.
Rope Pumpkin Supplies
- sisal or cotton rope
- scissors
- really thick cardboard
- thick stick for the stem
- artificial leaf
- hot glue gun & glue
- clear tape

Create a Flat Ball with the Rope
Squeeze some hot glue on the end of the rope and begin to roll it in on itself. It will form a flat ball.


Continue adding glue onto the side of the rope and roll it into a flat ball. Stop when you’re happy with the size. If you want a larger rope gourd, you can attach another piece of rope, end to end.


Cut the Cardboard
If you want the pumpkin to easily stand on its own, you need a very, very thick piece of cardboard. The piece I used was almost 3/4″ thick and came as packaging material in a 32″ TV box. Regular cardboard will work, you will just need to make more rounds on the sides of the pumpkin, create a kickstand, or place it on an easel. You could probably even glue multiple pieces together to form one thick piece.
Place your new rope pumpkin onto the cardboard and trace around it with a pencil. When you get to the bottom, leave it a bit square. That helps it stand, but with my thick cardboard my rope pumpkins stood pretty easily. I traced around and cut the little notch area where the rope pumpkin began, but in the end I didn’t need it because I placed that part at the bottom on one side.

Use a utility knife and cut along the pencil line. Remember to leave a flat edge at the bottom. You can see where I left the notch area on the right side, but I cut it off later.


Attach the Rope Pumpkin to the Cardboard
Squeeze a good bit of hot glue on the cardboard, then place the rope pumpkin on it. Make sure that the notch where you began winding the rope is at the bottom on one of the sides.


Cover the Edges of the Gourd
Now that one side of the cardboard is covered, you need to cover the raw edges. Sit the rope pumpkin up on its side. Squeeze some hot glue on the side just to the left of the flat bottom.

Place the end of the rope on the glue. If you cut the rope, place tape around the end before your glue it on. That will keep it from coming apart.

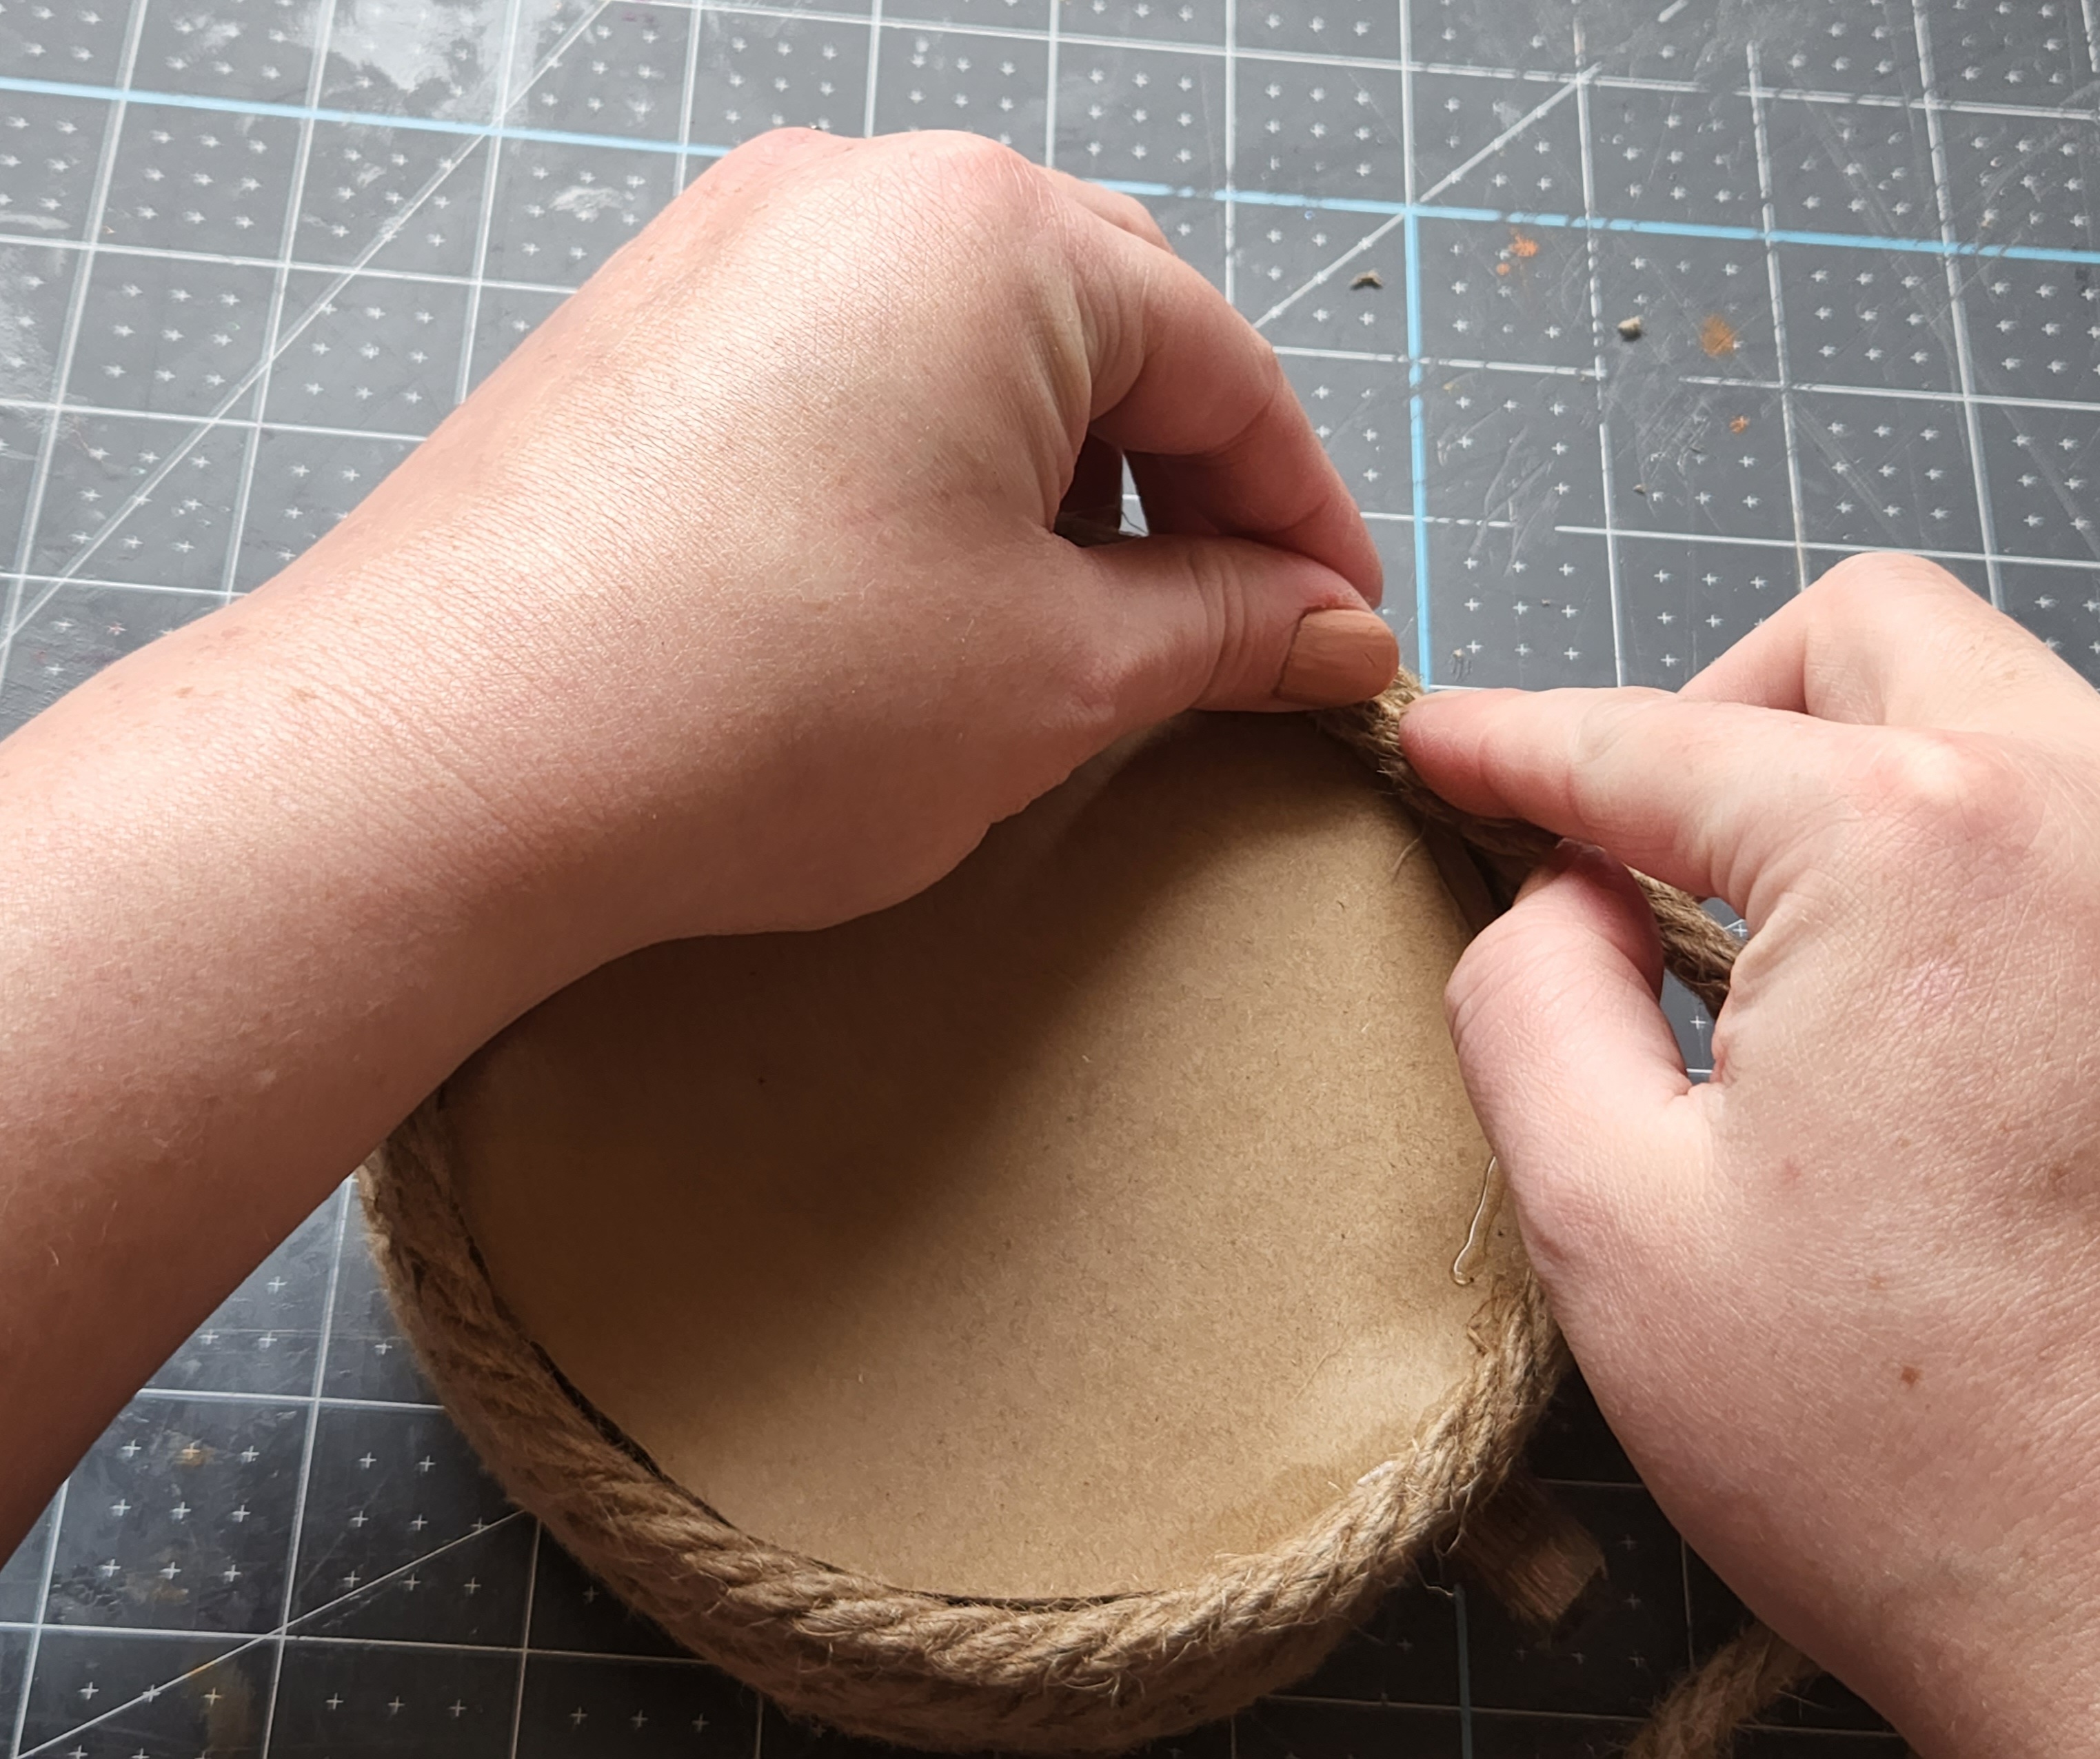
Add glue and keep wrapping the rope around the edge of the cardboard until you get to the other side of the flat bottom. Cut and tape the rope when you get to the bottom right side. Leave the flat section without rope.


Add another layer of rope behind that one. You can squeeze the hot glue on the side of the rope if you don’t have a solid section of cardboard available. Leave about an inch gap in the glue at the top of the rope pumpkin. This will allow you to tuck the stem and leaf in.

Add the Final Piece of Rope
With the width of my cardboard, I needed three rounds of rope to cover the exposed edge. If yours is thicker or thinner, leave a round off or keep adding more until your edge is covered.
When you add the final round of rope to cover the edge, don’t cut it off on the bottom right side. Bring it up to the back side of the cardboard and glue it along the flat bottom.

Continue adding glue and wrap the rope around toward the center. You’ll be making a reverse rope pumpkin ball. Just like the first side of the pumpkin, only backwards. When you get to the middle, cut the excess rope off and add a dot of hot glue in the center. Tuck the rope in and press it down until the glue dries. You don’t have to tape the end of this part.

This is my pumpkin made with the white cotton rope. It’s made exactly the same way. This is what the top of the rope gourd will look like. You can slightly see the space that I left unglued.

And here is what the backside of the pumpkin will look like. You can tell this one was woven from the bottom up with one length of rope.

Add the Stem & Leaf on the Rope Pumpkin
I painted a leaf from a pack I bought at Dollar Tree with mustard yellow acrylic paint. Place the leaf at the opening that you left on top of the rope pumpkin. The slit that I left unglued looks wider because I pushed the stick through first. Once it’s placed in you won’t see a gap at all.

Put your stick along the bottom of the leaf and push it into the opening. With my thick cardboard, the chipboard inside is also larger than normal. That left spaces open where I could put the stem without having to cut the board. You can see what I mean in the pictures above where I covered the edges of the cardboard with rope.

You won’t even have to glue the stem and leaf in place!

I trimmed another leaf, painted purple, down to fit the smaller white cotton rope pumpkin. Then I inserted it with another bit of the thick stick.

Put out your adorable rope pumpkins and admire your handy work!
How cute are these bad boys?!


Julie over at Sum of Their Stories shared a free pattern for a super cute mini cross stitch pumpkin that would look so cute with your new rope pumpkins! If you make a large pumpkin, wouldn’t this make an adorable tag to hang around the top?


Well, that’s all ladies and gents! I hope you enjoyed this tutorial, and you start making your own adorable rope pumpkins. When you do, tag me on social media. I love seeing what you talented people do with these ideas!
Remember to pin the image below or share this post with the buttons on the left side of the page so you can find it when you’re ready to start your project! Also, follow me on Pinterest for new ideas added weekly! Be sure that you never miss a great tutorial for decor like wreaths, signs and other home decor, free printables, crafts, and other fun posts! Enter your email address below to be notified of new posts! Use the buttons below to follow me on social media for other great content.

Don’t go yet! There’s more to see!
There’s plenty more to see here on the blog! If you’re looking for something specific, use the search box in the sidebar to look it up. If not, you might enjoy these ideas. Don’t have time to read them all now? That’s ok, just click over to the posts using the pictures and pin them for later. You can also add Life as a LEO Wife to your favorites and check back for new ideas and free printables and SVGs every Wednesday, as well as link parties with tons of shared ideas on Sundays!


Super cute Niki! Very clever!
Another great idea, these are too cute! Thanks so much for linking up at the Unlimited Link Party 80. Pinned.
Thanks Dee!
These are so cute. Well done
Visiting today from #AnythingGoesLinky #7
Thank you!
love all you pumpkin ideas i have lots of rope to use
Thanks Suz! I had a ton of rope left from summer projects with no pumpkins to use as a base, so these no styrofoam needed pumpkins fit the ticket!
These rope pumpkins came out adorable! Great Job Niki!
Thanks Meagan!
I love these. So simple but look gorgeous.
Thank you!
Thanks for sharing with us, I’m featuring you this week when the next To Grandma’s house we go link party starts!
I’m honored! Thank you!!