Welcome friends! Today I thought I’d bring you an update one of my early DIYs, a fall pizza pan wreath with a matching faux wood picket sign. Since I was so, so new to taking photos of my projects while in process and to blogging in general, I didn’t get as many photos and give as many instructions as I now do. As I brought the wreath and sign out, I thought, why not update the project and give you some free images that you can use on your own fall pizza pan wreath and sign?! All you need to get started is a pizza pan and a fall faux wood picket sign from Dollar Tree. Let’s get into this!

Fall Pizza Pan Wreath & Matching Sign Supplies:
- round pizza pan
- fence picket sign
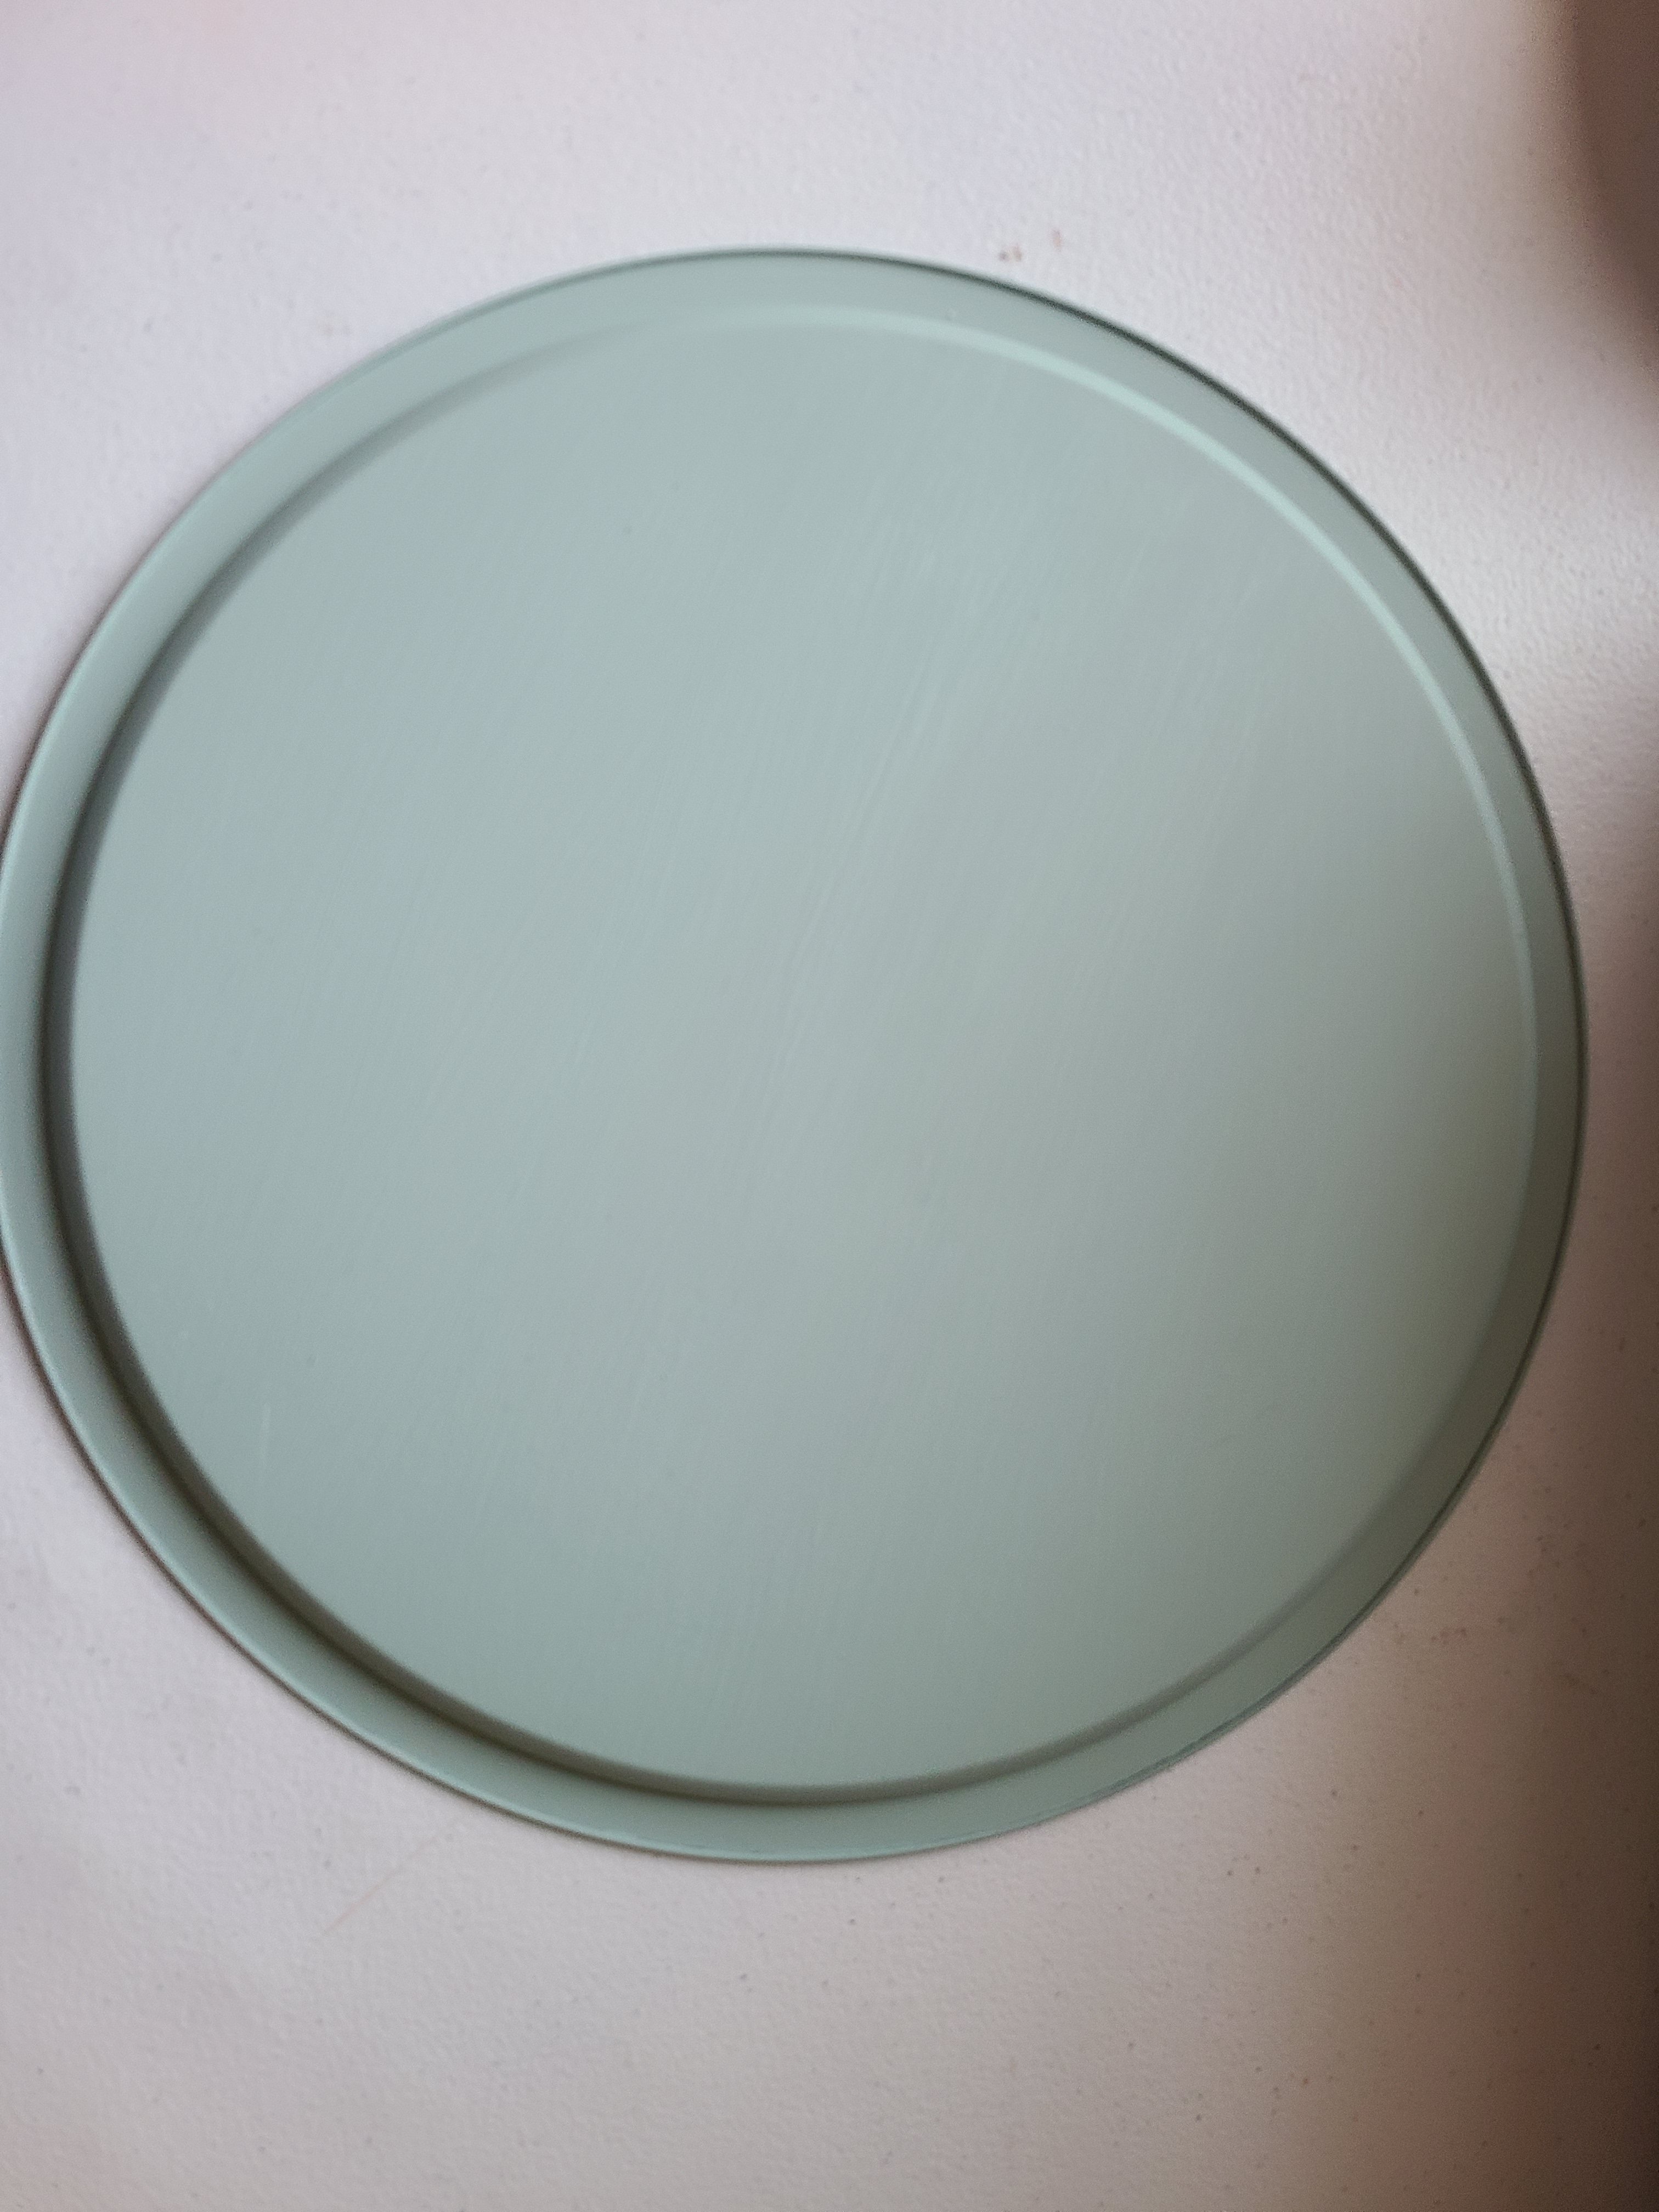
- chalk paint- I used Folk Art’s Sage.
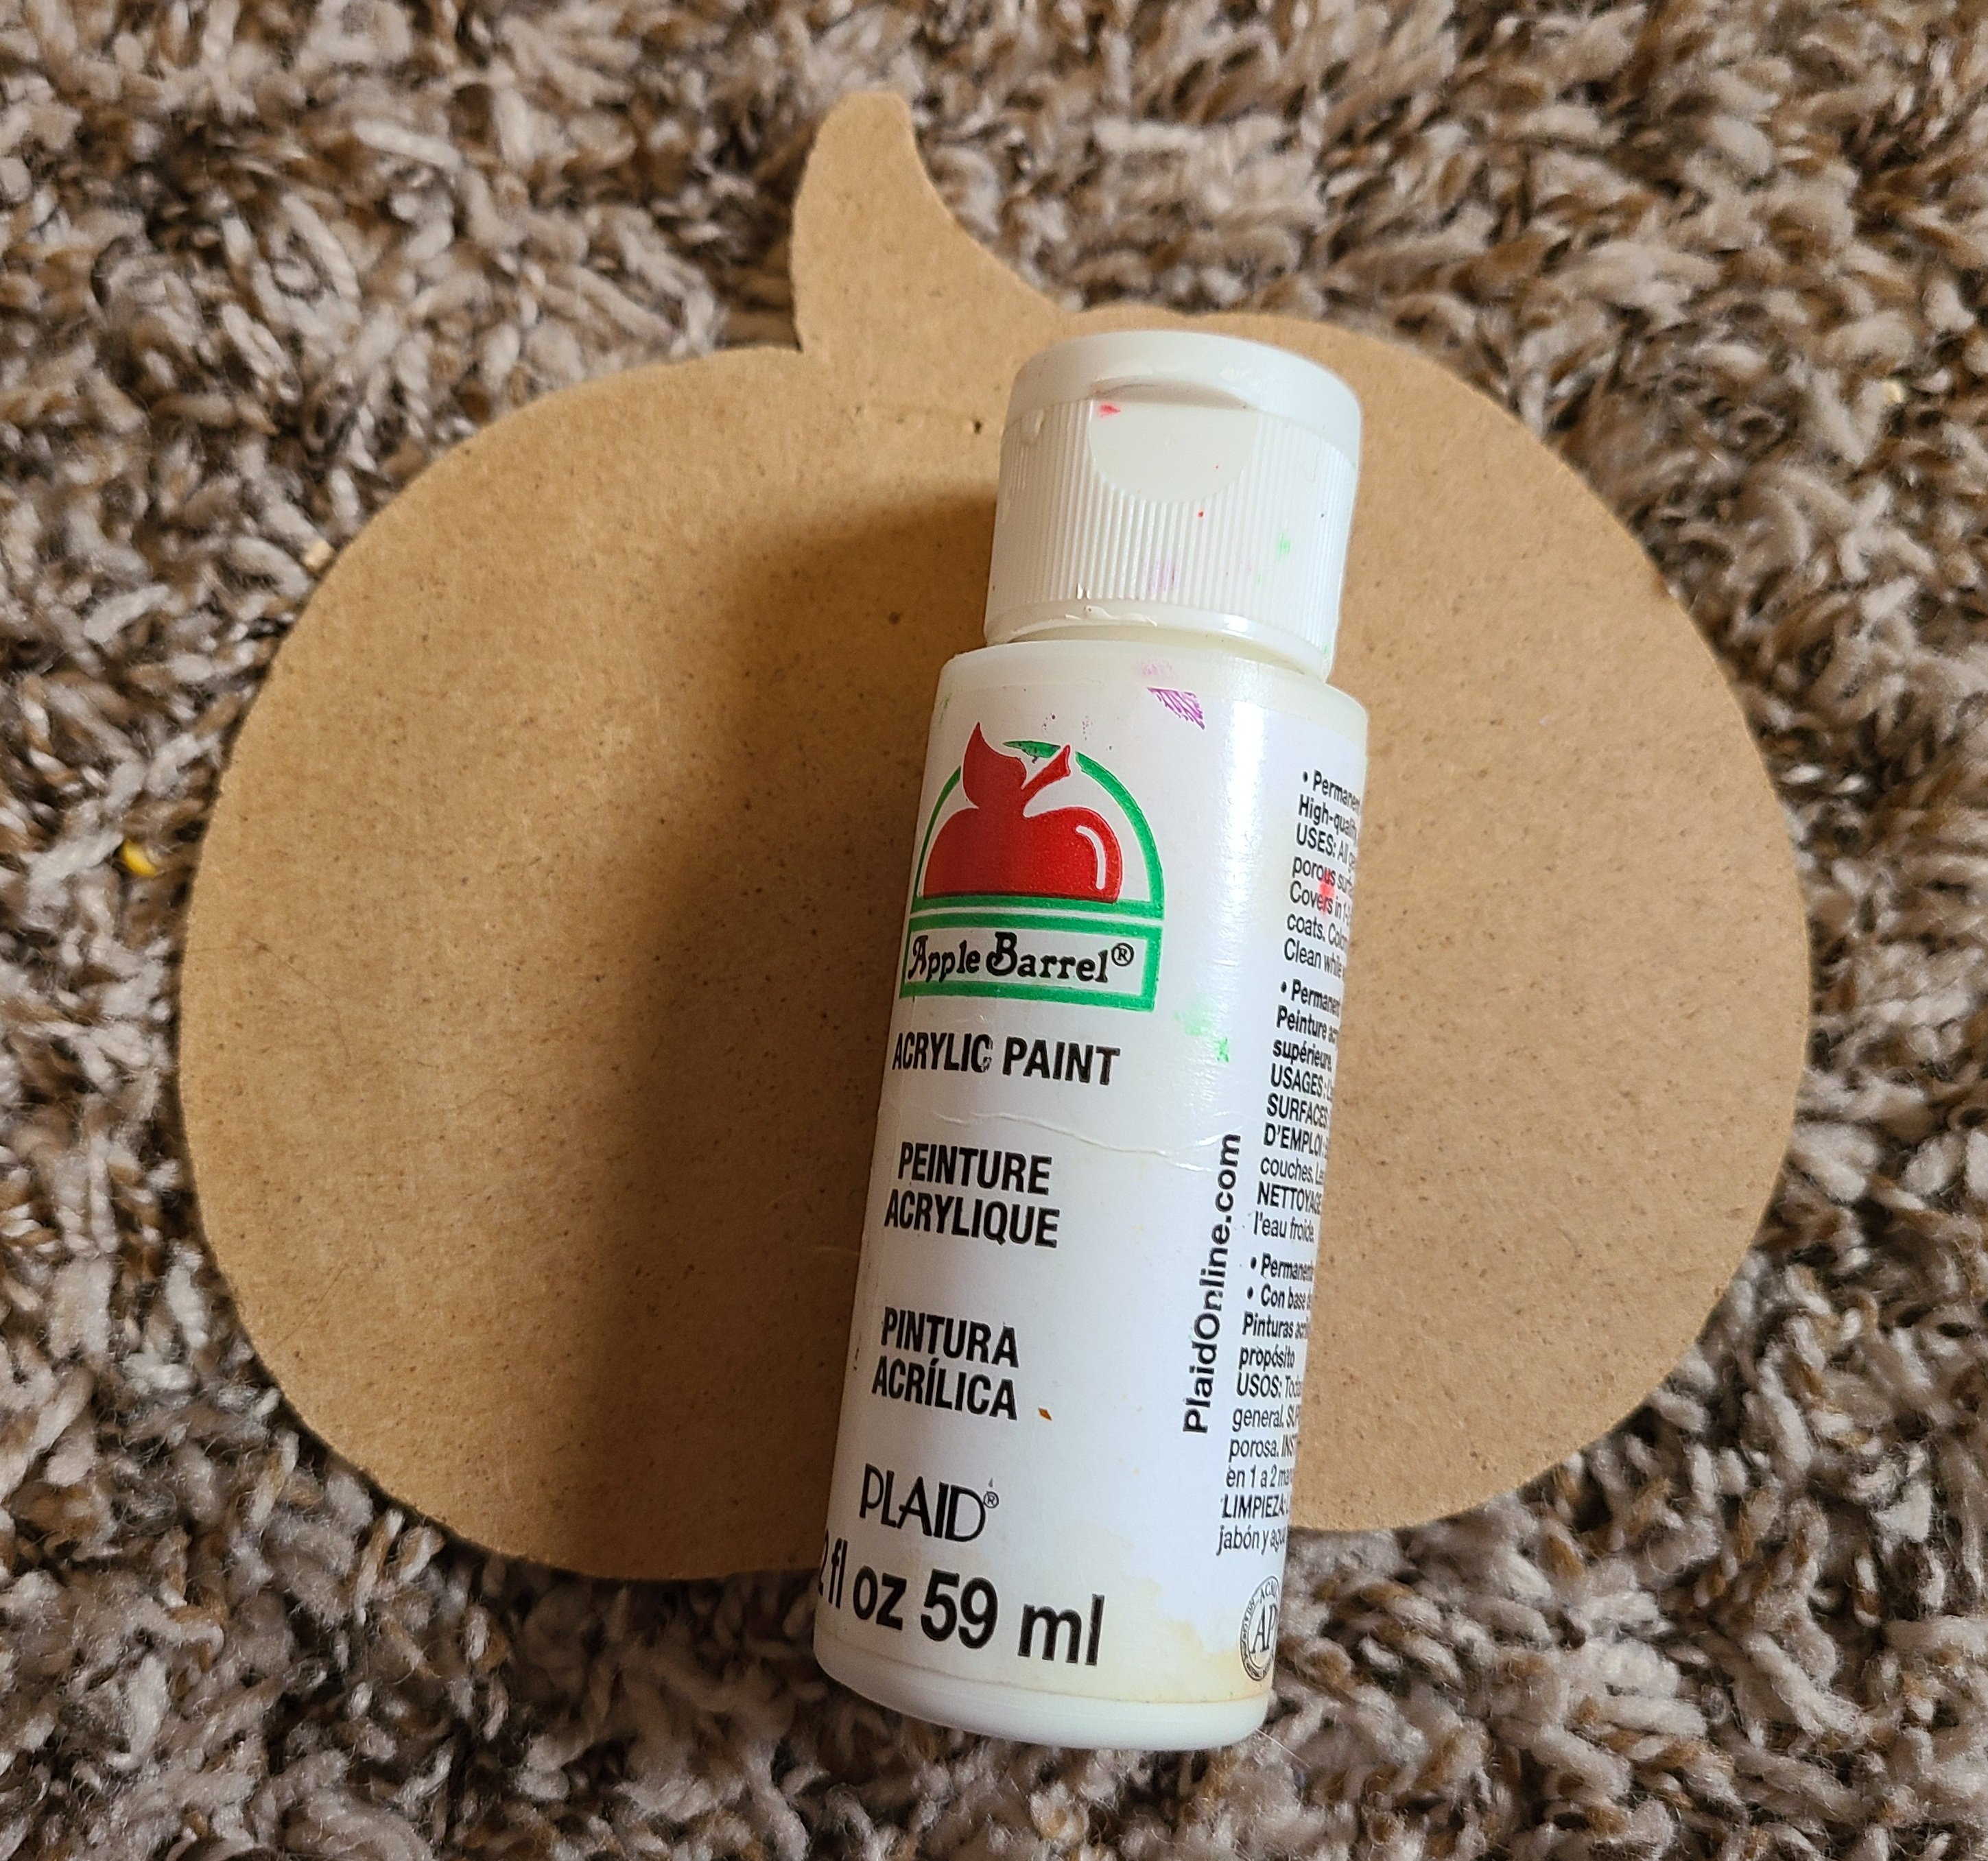
- white acrylic paint
- paint brush
- wood pumpkin from a Dollar Tree item- The one I used had 3 pumpkins and 2 footballs on it. See this Halloween scarf pumpkin wreath where I used two of the pumpkins.
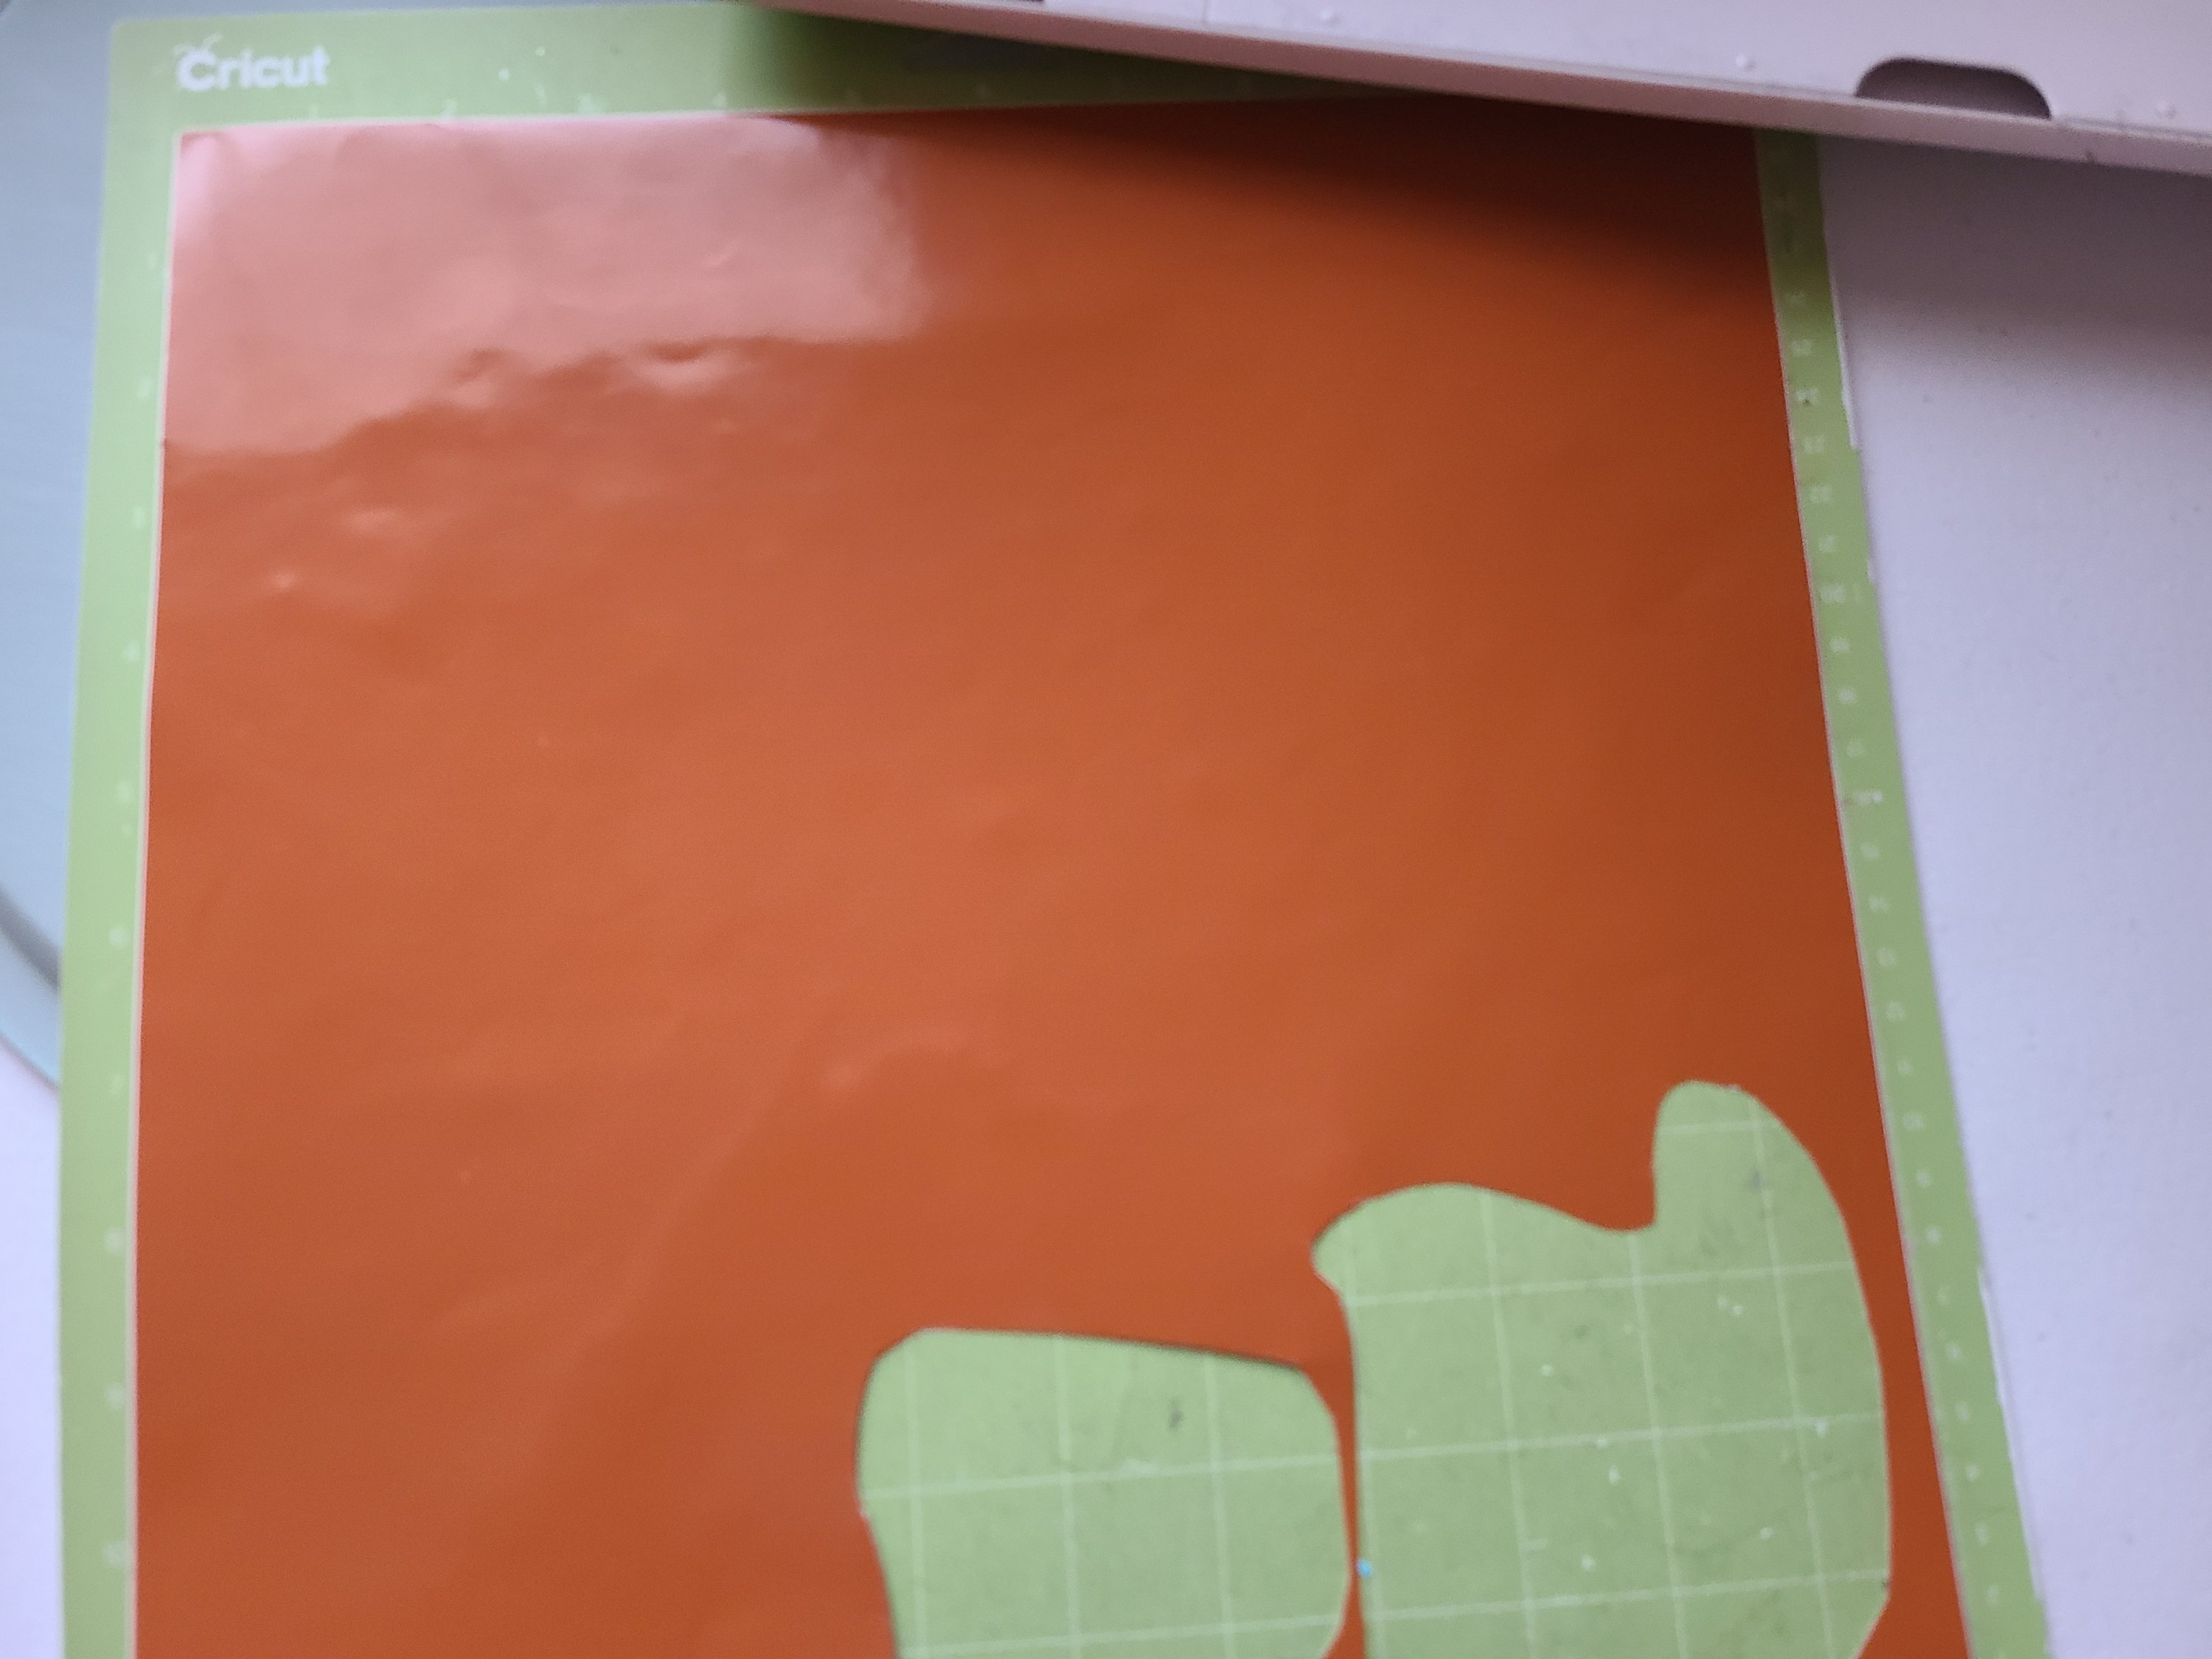
- die cutting machine, vinyl, & my free design or
- my free design, acrylic paint, a pencil, & this tutorial where I show you how to make signs w/o a cutting machine or
- stencils & paint or vinyl letter stickers
- 2.5″ wired ribbon- I used two different ribbons, one tan with white pumpkins and one orange.
- faux greenery- I used 1 baby’s breath & 1 orange stem (not exactly sure what it is).
- hot glue gun and glue
- pipe cleaner
- scissors
- optional- styrofoam glitter pumpkins from DT or small wood pumpkin stickers from Target to cover the wire securing the bows


Paint the Pan & Fall Sign
Begin by painting the pizza pan and the “beware” sign with the chalk paint. If you have to remove the pumpkin from another sign like I did, sand over the staple marks so you have a flat surface to paint on the back. Paint it with the white acrylic paint or other color of your choice. Repeat the process until they’re well covered. I used two coats. You can paint the sign facedown or up. I painted it facedown because I bent the greenery over the top in an arch, so that fit best.
Free Designs for Personal Use Only
For personal use only. All of my free printables & cut files are copyrighted material. Feel free to download these free designs and print them or use on your Cricut projects for your own use at home. They are not for commercial use, not to be placed on items for sale. That helps me keep these printables, SVGs, and PNGs coming to you for free! Another note: you will not my logo overlay on your downloaded design. It is there to keep people from downloading the images straight from Google, or others from stealing them to use on their site. Thanks for understanding! Feel free to share this post for your friends and family to make their own projects with this design!
Design for the Pizza Pan Wreath
I created a new design for this wreath. The one that I made a few years ago was used after Halloween, so it said, “give thanks.” So that you could use it longer this one says, “hello pumpkin,” which will match, “it’s fall,” for the sign. If you want to use it with a cutting machine, just upload it and click the negative spaces to remove the background. It’s created on a 12×12 canvas so if you want to use it without a cutting machine, check the print settings and click “size to fit” or a similar setting on your printer so that it fits on regular paper.
Here’s a design with slightly different fonts.
Design for the Fall Dollar Tree Sign
The design for the dollar store sign was also made as a 12×12. Remember that the downloaded file will not have my logo on it. Follow the same instructions as above for using with and without a cutting machine.
Here’s the matching design for the second font.
Cut Design & Place on the Wreath & Sign
Cut the designs on vinyl or mirror them and cut on HTV. Transfer them to your fall wreath and sign with contact or transfer paper. I’m sure those of you using a cutting machine have got it from here! You want the designs about 2/3 of the way down the wreath and fall sign. When I placed my design on the fall sign, I left 4-5″ between “it’s” and “fall.” You can separate the design in Design Space using the slice tool if you want your words farther apart.

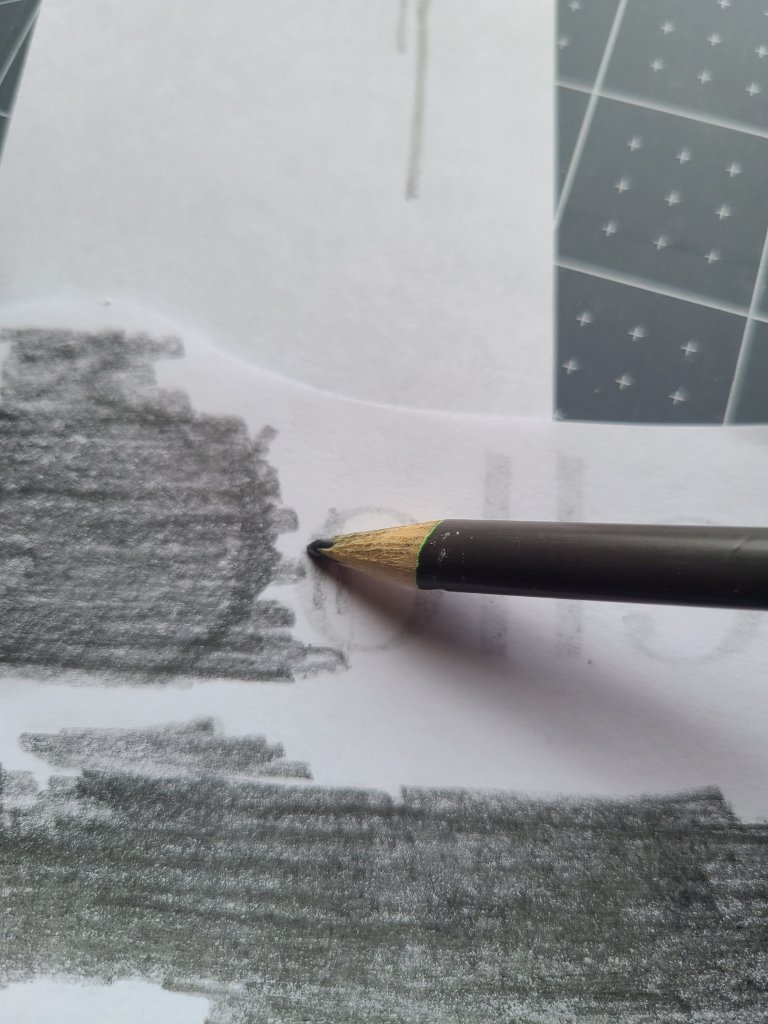
If you don’t have a cutting machine, you can use my carbon copy tutorial to make a fall pizza pan wreath and sign without one! Print the designs, cover the back in pencil lead, tape them to the pan and sign, then trace around the designs on the sign and wreath with pencil. That will leave the outline of the words on them, and all you need to do from there is paint them with your choice of acrylic paint. The pictures below are from the carbon copy tutorial. If you want to space the words out on the sign like I did, just cut “it’s” and “fall” apart and trace them where you want them.


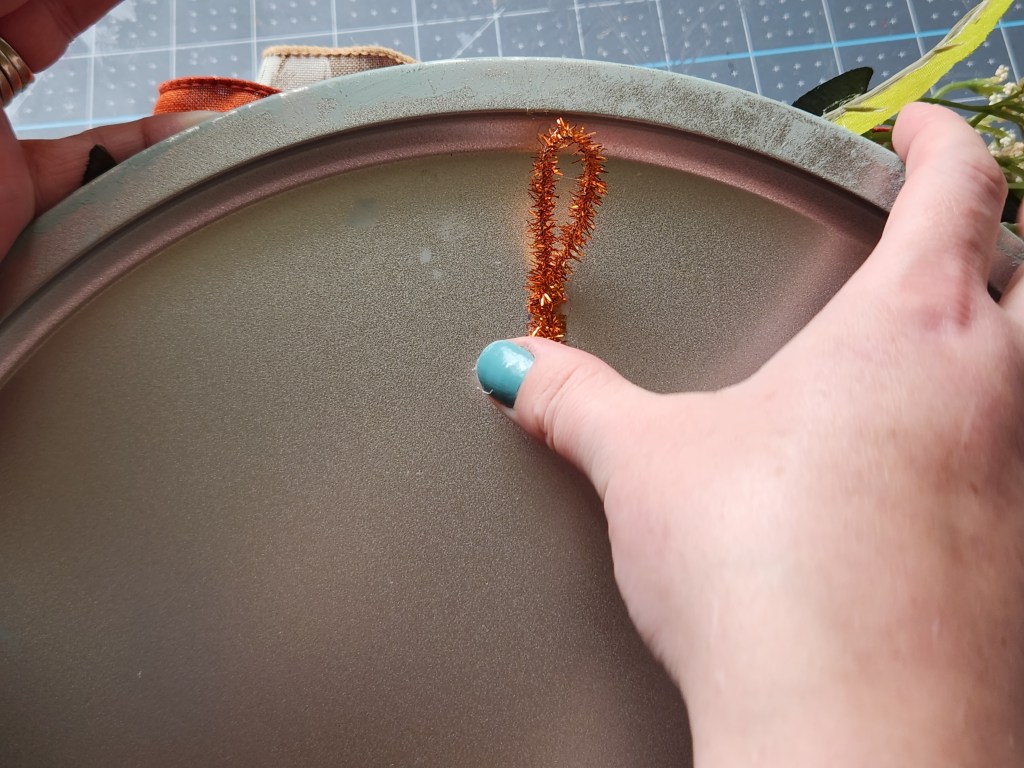
Add Hangers to the Back of Both Pieces
Next, create a loop with a piece of pipe cleaner or floral wire to hang your wreath and fall sign on your door. Twist the ends together and hot glue it to the upper part of the back of the wreath. Then add a piece of strong tape over it to hold it in place more securely. I added the tape later because the loop kept coming off and my poor sign would end up on the ground in the morning. It hasn’t happened since the tape. In the pictures my wreath is already made, but it’s easier to add hangers before so your bows and greenery don’t get smashed.

Repeat the process for the sign.
Add Faux Greenery to the Fall Pizza Pan Wreath
I chose to add one stem of the orange greenery and one stem of baby’s breath to each side of my fall wreath. When I made the project, I glued them on the lip and the bow on the edge of the higher section. So, if you were tall, you could maybe see where the stems were glued on. I removed them but couldn’t remove the bow without damaging the wreath. I simply lifted it as much as I could and glued the stems under it a bit. After the pictures were taken, I bent the ends of the stem until they were completely behind the bow.


Since your bow isn’t attached yet, you can glue them on the lip as I did initially. Bend the stems so that they drape down the side of the pizza pan wreath.
Make the Bows
Roll out about 25″ of ribbon for the first bow on the Dollar Tree sign. If you’re using a second color, you’ll need about 30-35″ for the two bows in back to be a little bigger so that you can see it behind the first one. The front bow on the pizza pan wreath will need at least 50″ because you will leave about 10″ tails on it. You can make your bows before cutting the ribbon so that you have the length you want.
Make two two-loop bows with each ribbon and secure each one in the center with a piece of floral wire or pipe cleaner. The bow that will go in the back on the wreath will need no tails. The one in front needs at least a 10″ tail on each side. Leave the wire on the front bow extra-long in order to use it to secure the two together. Place one behind the other and wrap the extra wire around both bows to keep them together.
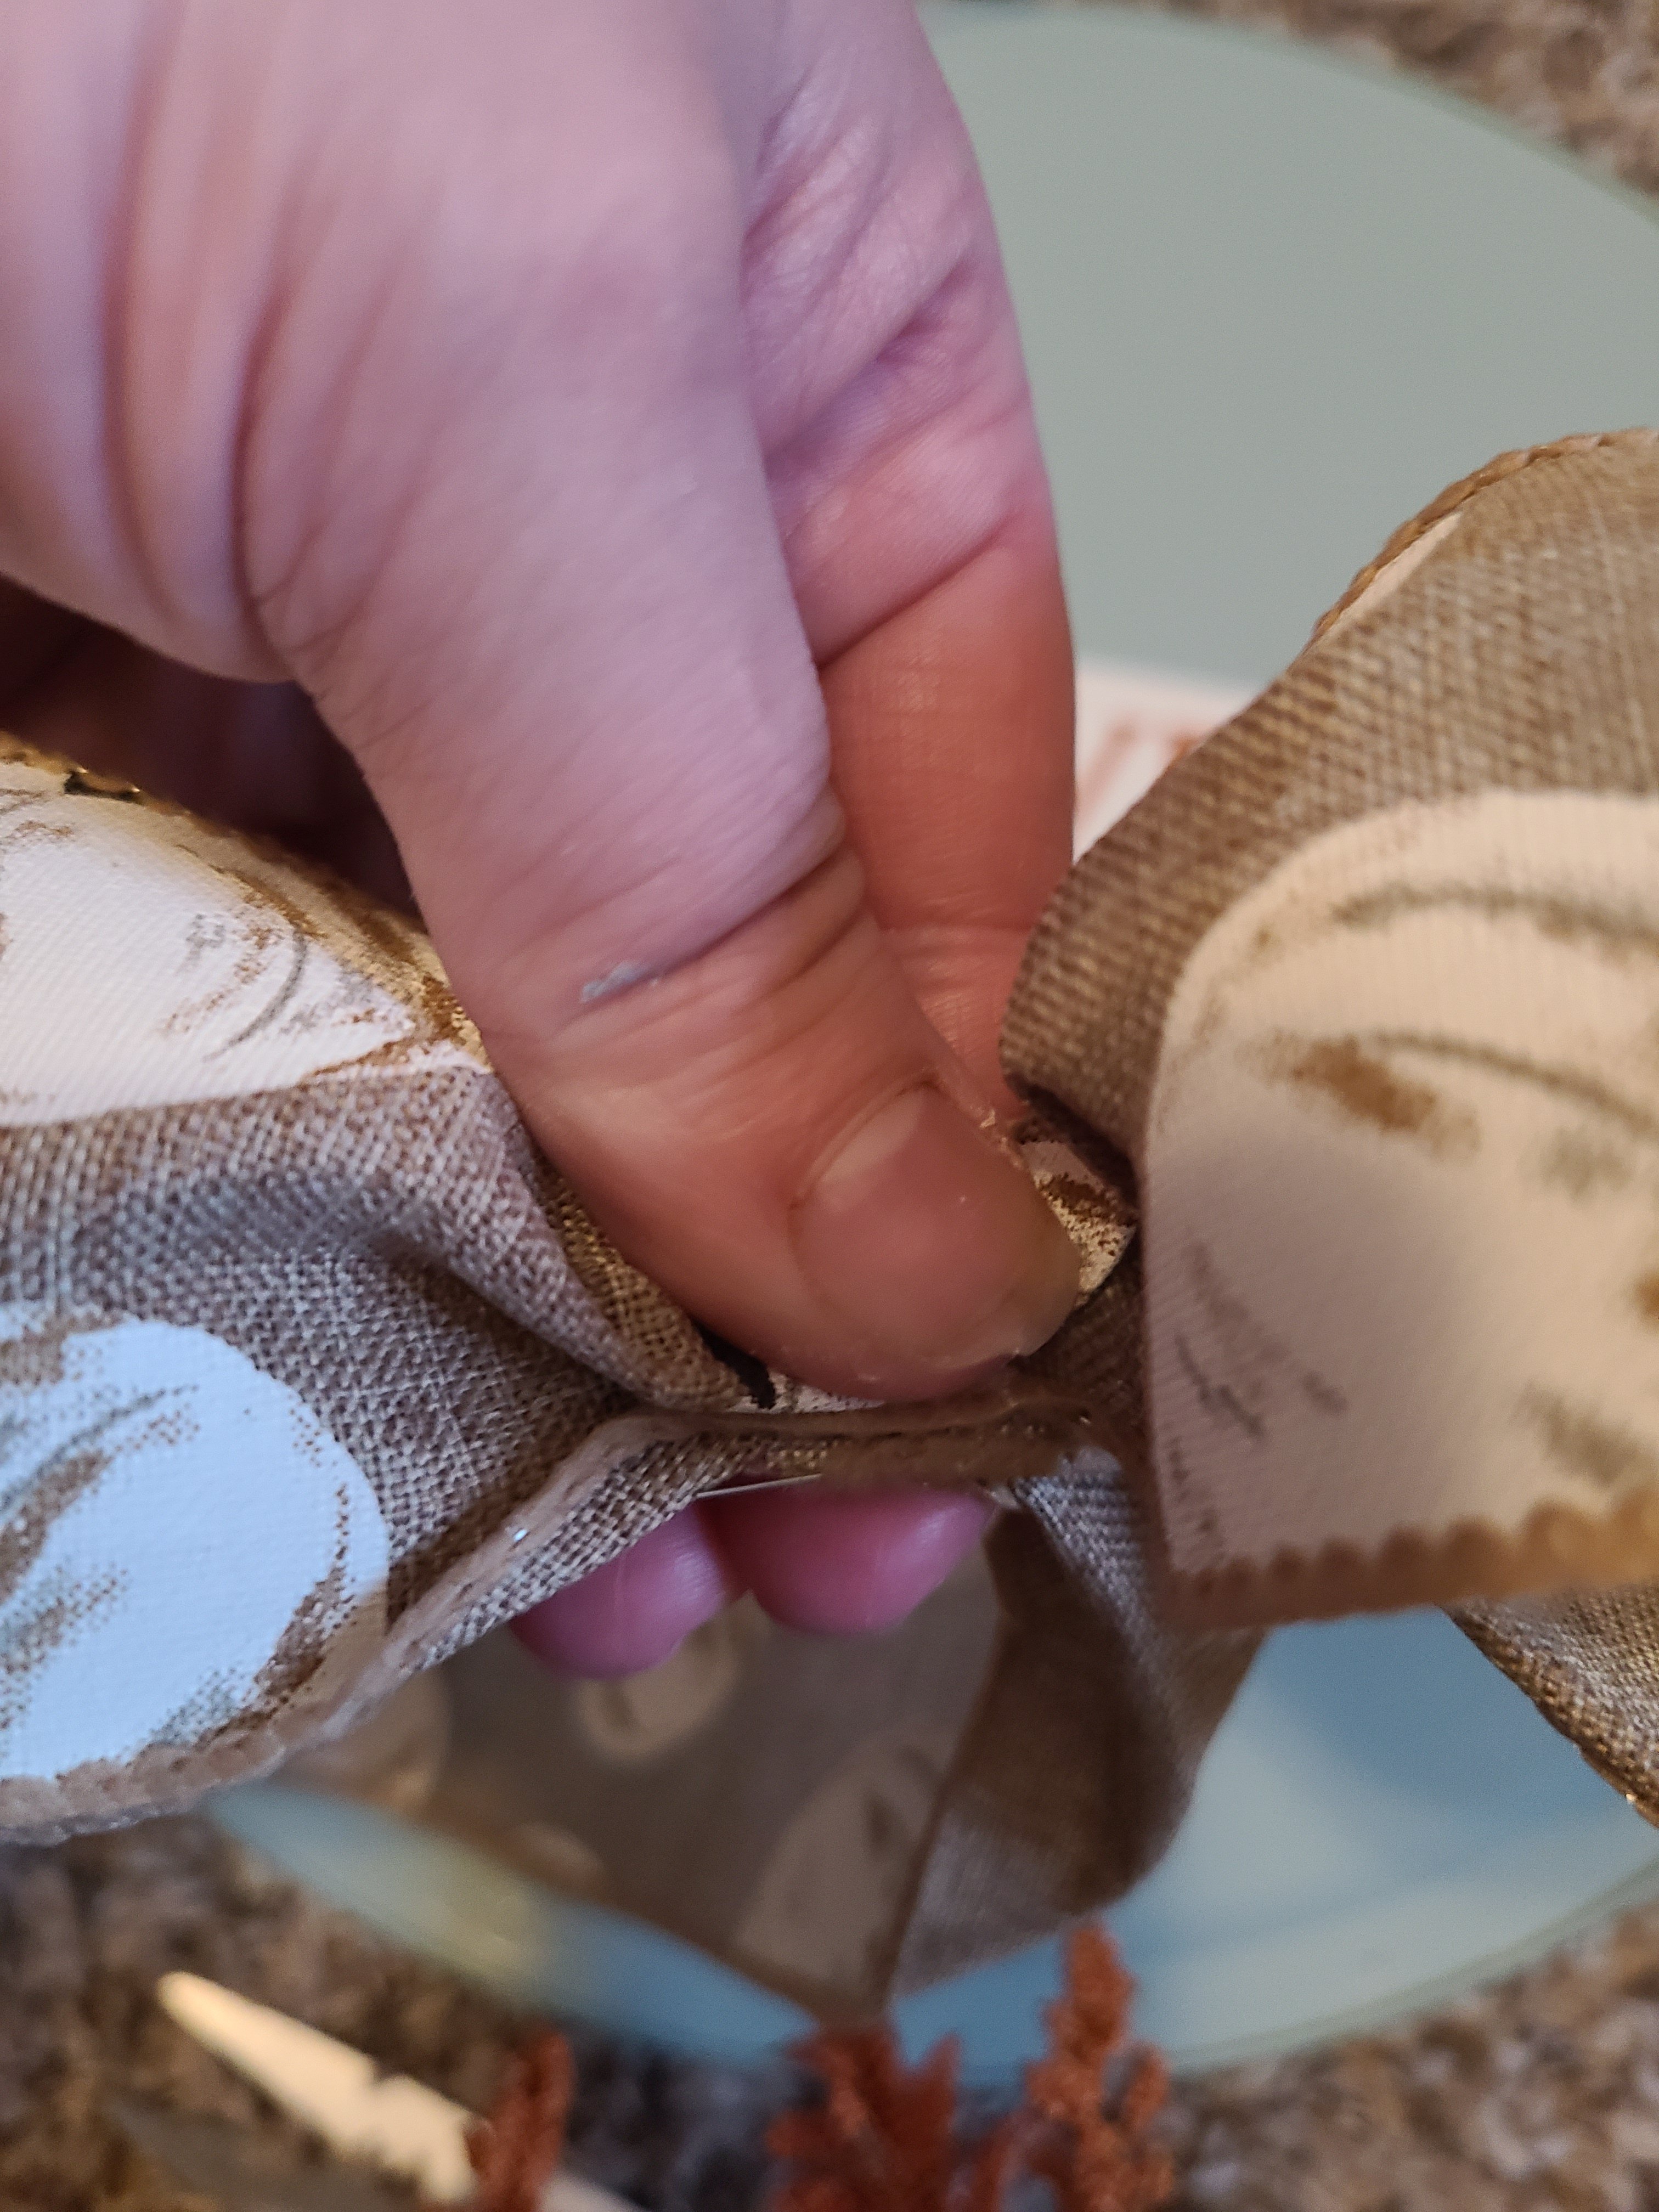
Please ignore my broken nail with the paint under it, ugh! Apparently I was messy & clumsy with this project! Well, clumsy is always true and messy with paint and wood stain is often true! I cut and stabbed myself 3 times the other night making my fall entryway pumpkin keyholder. I was trying to pry off a wood word from the original sign and it didn’t eve work out 🤦♀️😂.
Repeat the process for the fall Dollar Tree sign using a 25″ and a 30-35″ piece of ribbon. Make the first bow smaller with shorter dovetails. I didn’t get a picture back when I made these bows, but here is how they’ll look once attached. I wish I had made the tails on the orange ribbon longer, so that’s why I said 30-35″.

Add the Bows to the Fall Wreath
Glue the double bow to the top of the fall pizza pan wreath. Drape the long tails down and around the back of the wreath form. Create “waves” by placing a finger under the ribbon and placing your other fingers on top, pushing up with the finger underneath. Make two to three of them on each side of the bow. Glue the end of the ribbons to the back of the pan.


I added a styrofoam glitter pumpkin to the center of the bow to hide the black pipe cleaner. This year I glued a piece of cotton rope that I had previously unraveled over the pipe cleaner then put the pumpkin back on top after because I felt like you could slightly see the black pipe cleaner. However, the black pipe cleaner matched the bow, so it wasn’t necessary. If you covered the wire with ribbon when you made the bow, then you don’t have to worry about the pumpkin, it’s just cute.


If you’re looking for another great fall pizza pan wreath, my friend Gail over at Purple Hues and Me has an adorable buffalo check one that I think you’ll love!
Finish Up the Fall Dollar Tree Sign
Hot glue the bows about 4″ from the top of the wreath. Now if you didn’t cover the wire securing the bows with a ribbon or something, you can cover it with a small pumpkin or other item. I use a wood pumpkin that came in a pack from Target a few years ago.


Finally, glue the white pumpkin so the bottom of it is about 3″ from the bottom of the Dollar Tree sign.

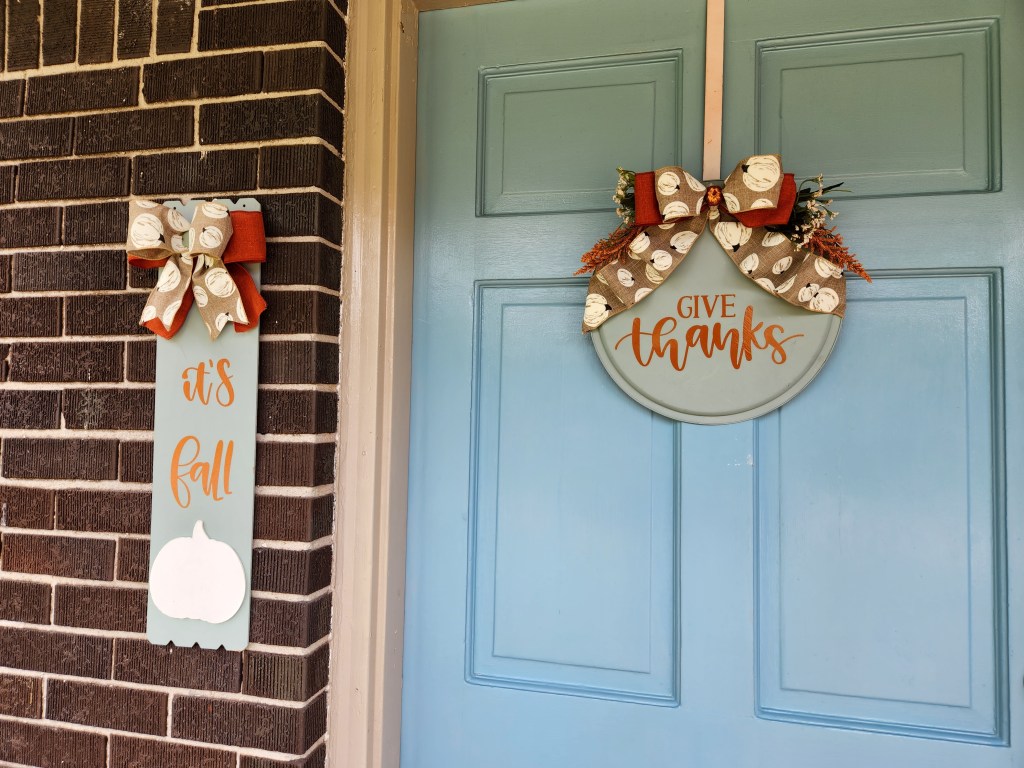
That’s it! Now hang your fall wreath and sign for all to admire!
Now you have porch decor perfect for fall. You can leave these up from September to December. Who doesn’t like more bang for your buck?! Well, two bucks and change, but who’s counting? I hope that you enjoyed these tutorials and have a wonderful fall to enjoy them during!

Remember to pin the image below or share this post with the buttons on the left side of the page so you can find it when you’re ready to start your project! Also, follow me on Pinterest for new ideas added weekly! Be sure that you never miss a great tutorial for decor like wreaths, signs and other home decor, free printables, crafts, and other fun posts! Enter your email address below to be notified of new posts! Use the buttons below to follow me on social media for other great content.

Don’t go yet! There’s more to see!
There’s plenty more to see here on the blog! If you’re looking for something specific, use the search box in the sidebar to look it up. If not, you might enjoy these ideas. Don’t have time to read them all now? That’s ok, just click over to the posts using the pictures and pin them for later. You can also add Life as a LEO Wife to your favorites and check back for new ideas and free printables and SVGs every Wednesday, as well as link parties with tons of shared ideas on Sundays!


Love your Fall pizza pan wreath and sign, Niki! It’s very creative and quite unique for your front door entry way and will surely impress your friends and family! It’s certainly amazing what can be made using a pizza pan! And thank you for the awesome shout-out and link-up, too! I cannot express my appreciation and gratitude enough!
Thank you! And you’re so welcome. I’m hoping to include my fellow bloggers in a post every week. Hopefully it works well for everyone!
Super cute Niki, I love the way you did the bows!
Thank you!
The pizza pan and sign are so cute! I love your designs, bows, and embellishments.
Thank you for participating in Talent-Sharing Tuesdays Link-up 33.
Carol
http://www.scribblingboomer.com
Thank you!
Love this. You do beautiful work.
Visiting today from Let’s Have Coffee #23&24
Love your pizza pan wreath…it looks great! (Check your contact email regarding this post.)
Thank you! I’m honored, Allyson! I emailed you the photos. Thanks for reaching out & not just skipping me. I so appreciate it! I had to install a right click block due to a website that was stealing my posts, word for word, pictures, videos and all! I asked them to stop over and over, but they didn’t care that this is my full-time job and how I pay my bills. So sad that there are people like that out there! They have stopped, after not being able to copy for months, so I removed the plugin that blocks the save. I thought I had already done that about a month ago, but somehow, I didn’t lol! It’s off now.
No way–a pizza pan?! That’s so darling. I love the matching sign as well. Thanks for sharing at Will Blog for Comments #4.
Right?! Thank you!