Putting together large Halloween centerpieces can get expensive. Especially if you want to go the spooky candle route. I wanted to make two large pieces for side tables that I have next to a bookcase in my dining room, but I would have had to spend over $65 on candles! I wanted them to be completely Halloween, so I wouldn’t have been able to use them for the rest of the year. Therefore the investment wouldn’t have been worth it. I wracked my brain, and came up with this $2.50 Halloween candle centerpiece. Instead of spending $75 (at least) I made two centerpieces for $5! If you’re looking for a small centerpiece, check out this small cauldron flower arrangement.

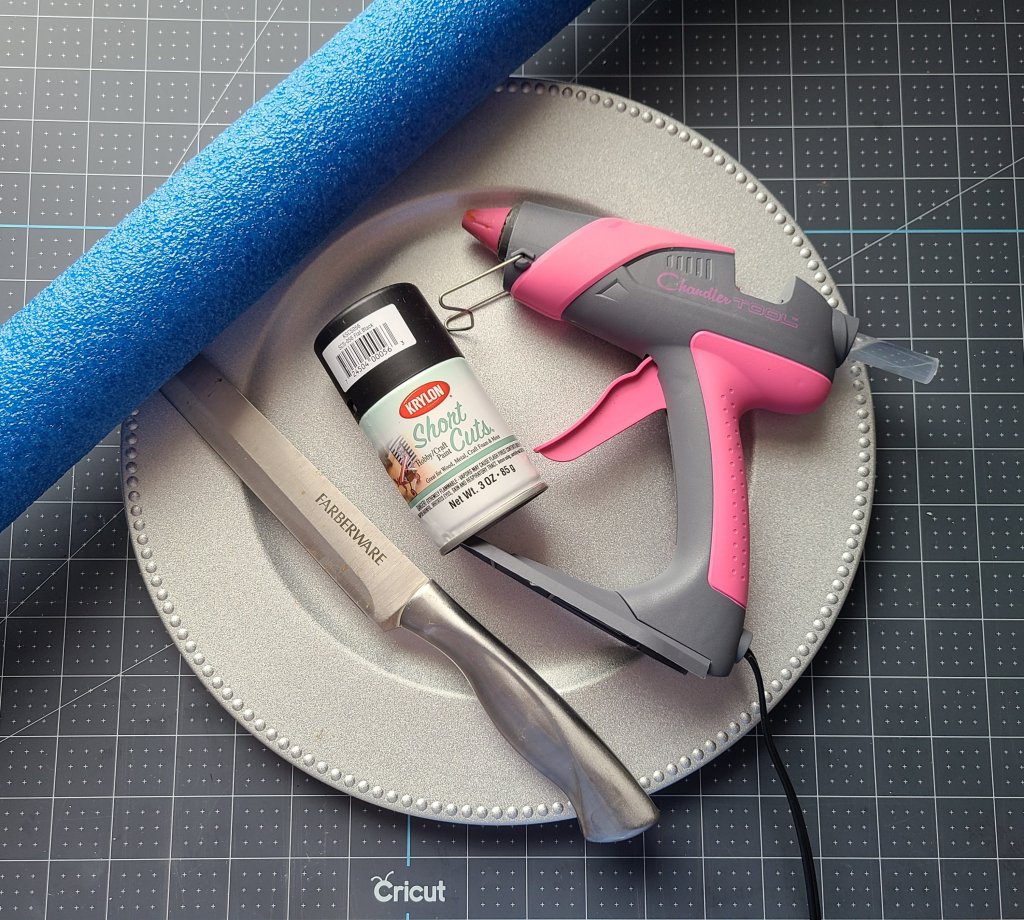
To make a Halloween candle centerpiece you need:
- 1 regular size pool noodle
- 1/2 of a thick pool noodle
- 2 chargers
- flat black spray paint
- 7 tealight candles (real or batter powered)
- hot glue gun & glue
- long knife
- craft knife
I used two regular size noodles and a thick one to make two centerpieces.
Cut the “Candles”
Use a large knife to cut each “candle.” An Exacto knife will work, it’s just easier to use a long knife that will go all the way through in one cut. Decide how long you want each candle. I made mine all different heights, the tallest is 13″ and they range down to 5.” Slice the pool noodle at an angle, in about a half “V,” but not quite as severe an angle.

When you cut the next “candle” you will cut it straight through, not at an angle. The end that you already cut will be the angled top and this cut will be the flat bottom of the candle.

Continue to cut the noodles, alternating cutting at an angle then straight, until you have 7 total faux candles, 14 if you’re making two like I did. Cut the regular noodle and half of the the thicker one. You will have five made with the thin noodle and 2 with the larger one. Having different size “candles” looks best in the arrangement. You can cut two the same size for each charger, or you can make them all different lengths. I just eyed my candles, making each centerpiece a bit different.

Add Wax Drippings
When all of your candles are cut, it’s time to add the wax drippings to them. Start at the front, the lowest part of the cut, and draw a line of hot glue straight down about 4″ or so. You don’t have to be precise. This is meant to look like the random melting of wax as a candle burns.
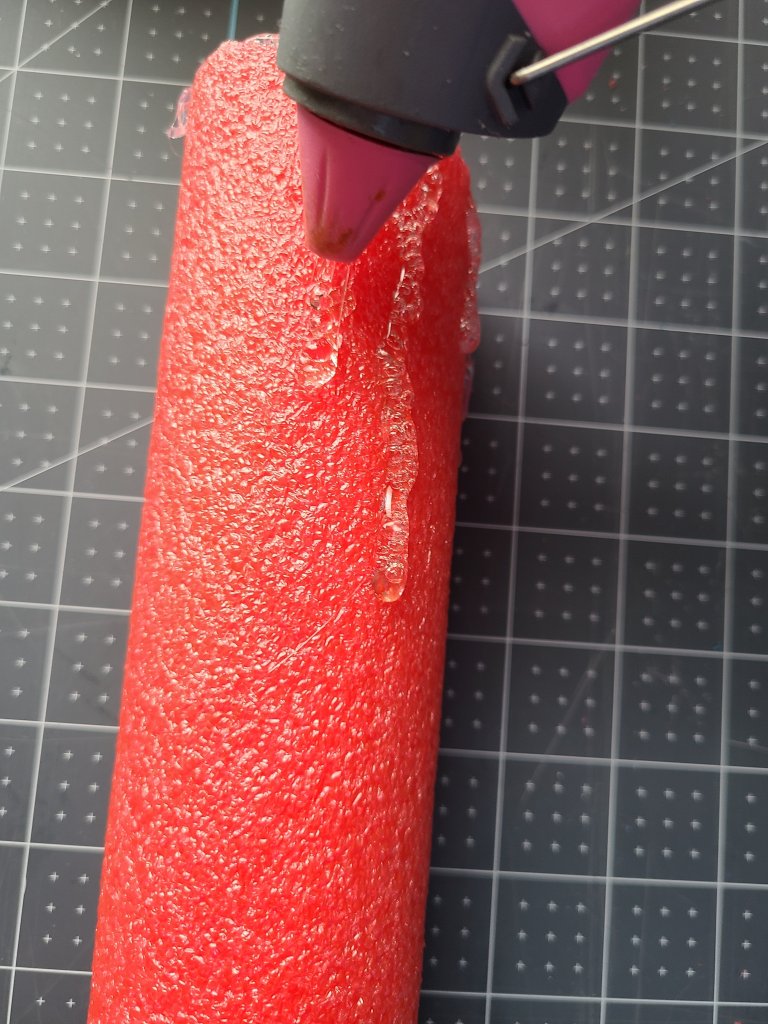
Continue adding lines of glue around the candle. Make them different lengths just like a real candle would melt. You don’t have to space them evenly either. When I had “wax” around the sides, I added a thin line around the rim. That is optional.

Paint the Parts for the Halloween Candle Centerpiece
I used a matte black spray paint for my centerpiece. You can use a gloss if you’d prefer, and if you don’t have spray paint available you can use acrylic for all of it. Lay out your pieces and spray paint every candle and the chargers if they aren’t already black.

Cut Holes for the Tealights
Place a tealight on top of the noodle, in the middle. Carefully slice around it with an Exacto knife. I found that if you move the knife up and down, as you slowly go around the tealight, the foam cuts best.

When you’ve gone fully around the tealight, remove it so that you can go around the cut again, making it deeper. Tilt the knife a little so you can cut underneath as well.

When you have cut under the surface, you should be able to pull the foam plug that you’ve cut out.
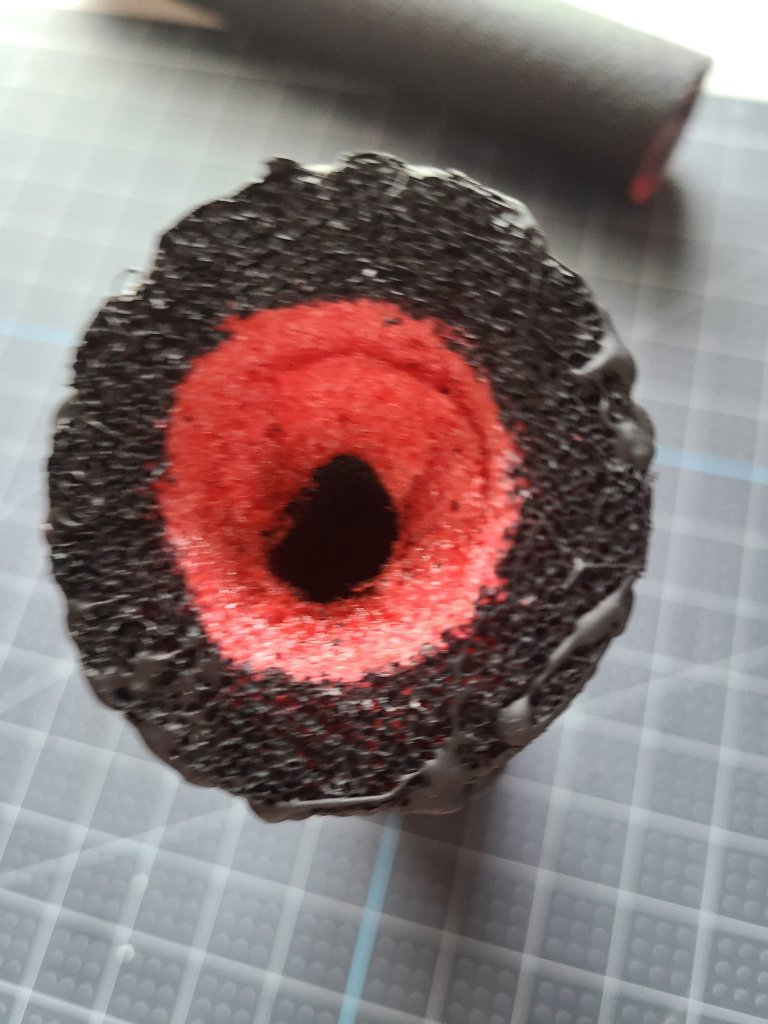
Sit the tealight in the space that you’ve cut for it. If it isn’t deep enough, take it out and trim a bit deeper.

Continue cutting a hole for a tealight in all of the faux candles.
Glue the “Candles” to the Charger
Place the cut candles on the chargers to see how you want them. When you have a pattern you like, lift a candle, place hot glue on the bottom, and press them back on to the charger. Hold it down for a moment while the glue hardens.


Paint the Tealights
Use black acrylic paint to paint the tealights. Be careful with this, especially if you plan to light them and walk away. I’ve lit mine with no problems, but you can never be too careful. If you plan to just leave them, consider not painting them. Either way, watch anything you light at all times.

Touch up any areas where the spray paint has worn off and the silver part of the tealights. I gave mine two coats.

You will end up with this.

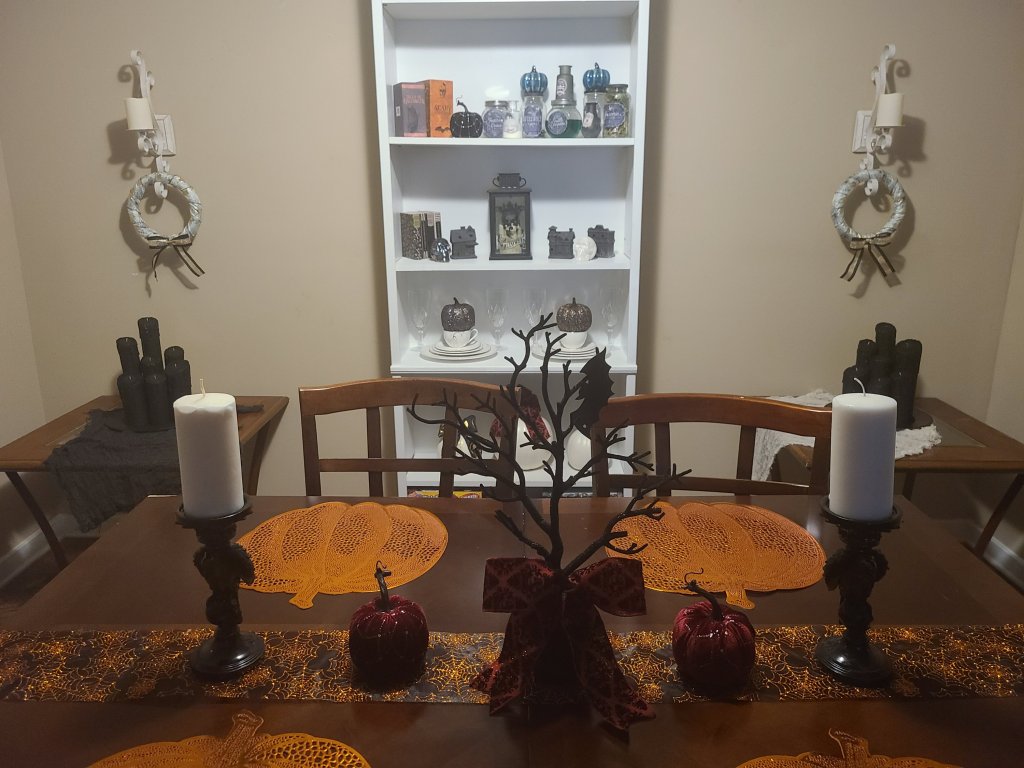
The Halloween candle centerpiece is complete!
You’re now finished with your centerpiece. I really like the way mine turned out. Each one is a little bit different. I placed them on two side tables in my dining room next to a bookshelf. This is what they look like unlit.
And here are a few shots of the way they look lit.


I hope you enjoyed this tutorial, and you use it to save yourself a ton of money! If you have money saving, Halloween loving friends and family, use the buttons at the bottom of the post to share this with them on social media. Make sure you pin this tutorial to use when you’re ready to make your Halloween candle centerpiece!
I love having ya’ll visit me every week! I post on Tuesdays, Thursdays, and some Saturdays. There are also three link parties posted each week where you can share and find great posts on crafts, recipes, home decor, gardening, fashion, family ideas and more! Happiness is Homemade opens Sundays and runs thru Thursdays, You’re the Star Blog Hop is open month long and new features are posted each Monday, and Traffic Jam Weekend opens Thursdays at 5pm CST and runs thru Sundays.
Right now I’m trying to focus on growing my social media channels, so I’d like to ask you to follow me on your favorite platform or on all of them using the buttons in the sidebar! This is my full time job, so I’d love for your help with spreading the word about Life as a LEO Wife, which you do by following me. I plan on sharing more of our daily life on Instagram if you’d like an inside peek, join our IG family!
More Halloween Decor
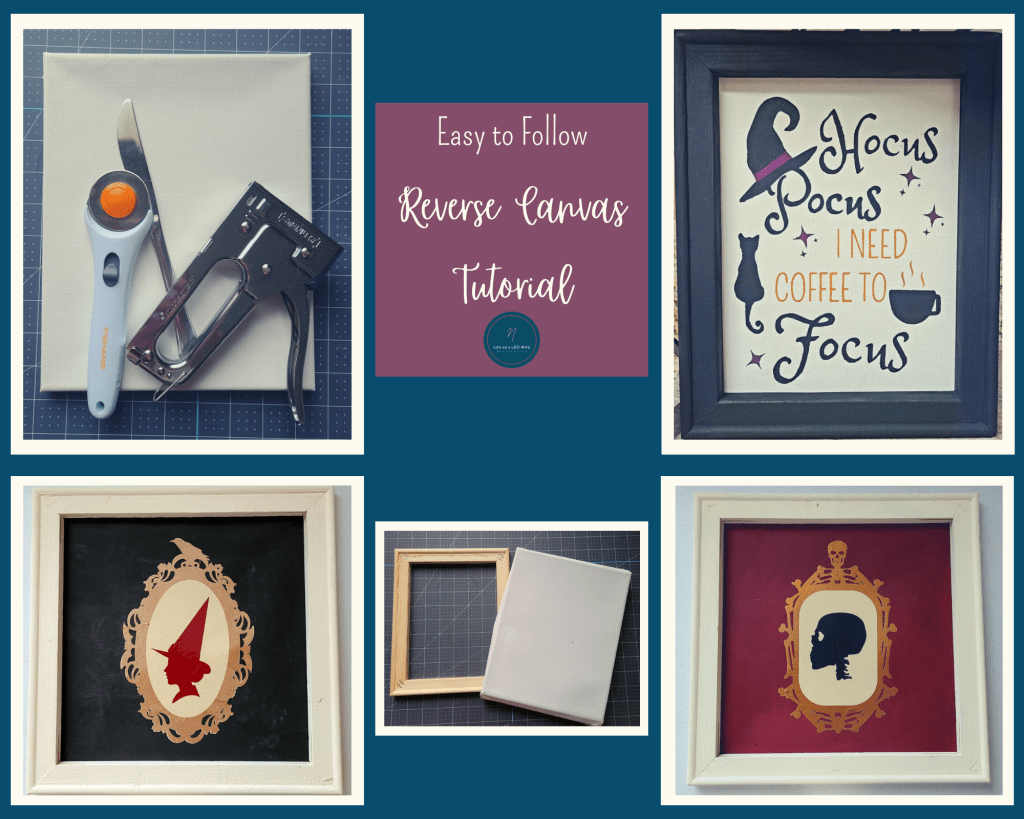
I made this really cute free printable that you can use to dress up your coffee bar (or just place in your kitchen) that you can print in two different sizes or download as a free SVG file to cut with your Cricut. The sign says, “Hocus Pocus I need coffee to focus,” and you can take a look at this post where I show you how to cut a stencil and paint it on canvas without the paint bleeding. Did you know that you can turn those plain old canvases into beautiful home decor pieces without spending any extra money? Under those canvases are beautiful wood frames, and I show you how to reverse those canvases and reveal it!


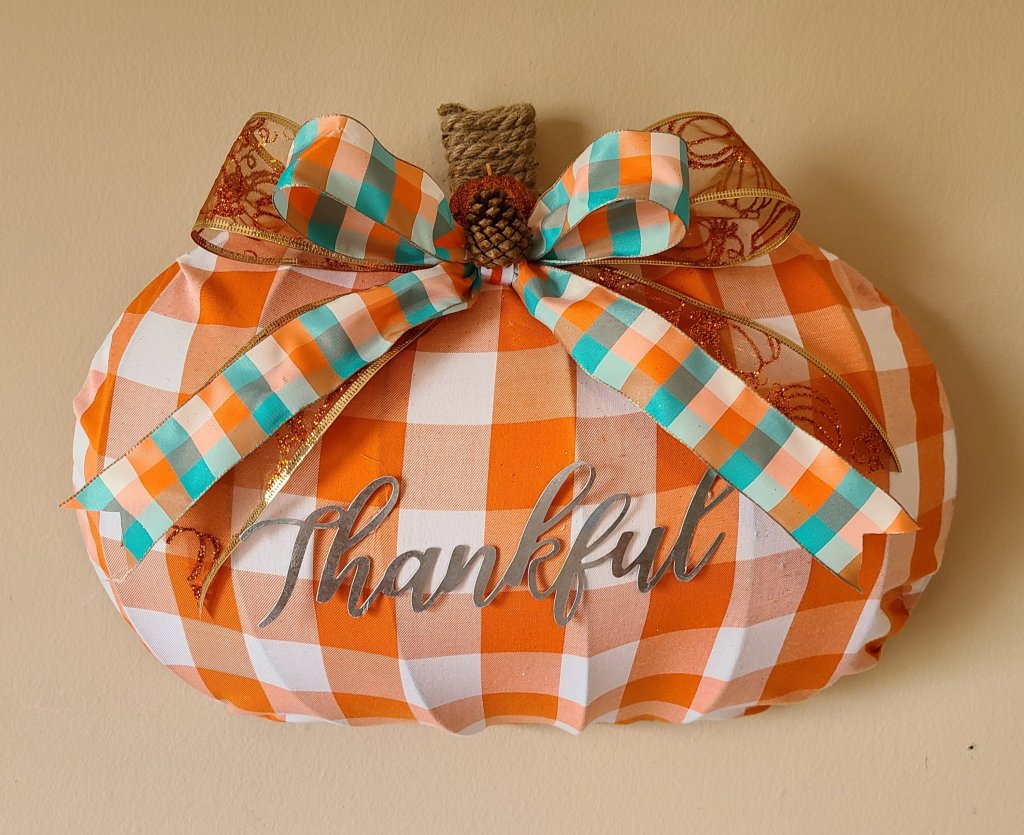
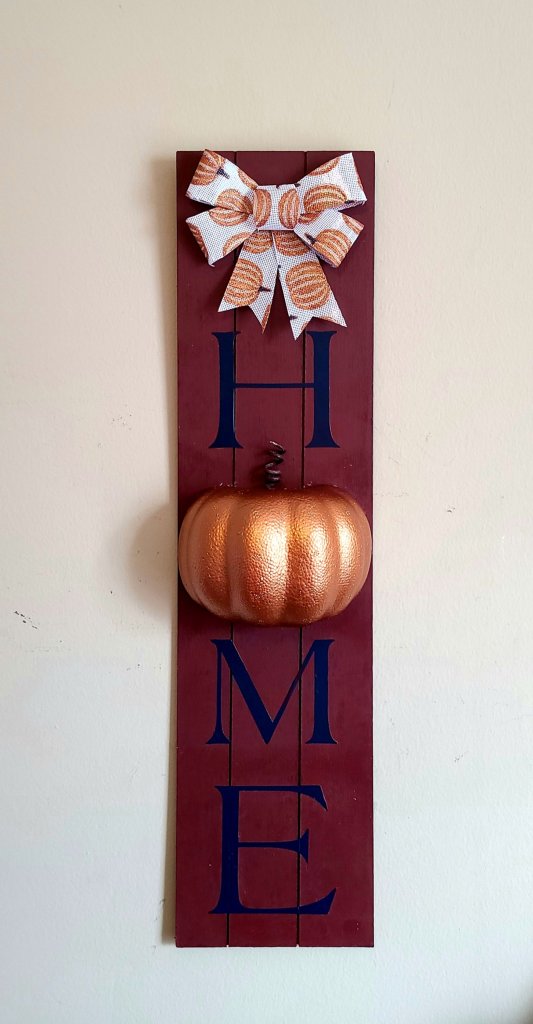
Here are a few more Halloween and fall pieces that you might like: this fall orange buffalo check pumpkin wreath, this elegant Halloween hoop wreath, this Halloween scarf pumpkin wreath, this witch hat burlap wreath, this fall farmhouse style burlap wreath, and this fall home 2′ sign.


There are plenty more seasonal DIYs and free printables here on Life as a LEO Wife, so I’d love for you to stick around and find items to help you to “DIY a life you love!”


Very interesting, looks nice! Thanks so much for linking up at the Unlimited Link Party 35. Pinned!
Thank you!
I love this Niki! It never ceases to amaze me how creative you are! I’m passing this along to my daughter. She is a Halloween fanatic and I know she will absolutely love making this. Pinned!
Aw thank you! I hope she finds it useful!
What a fun and easy project! Pinned – Thanks for sharing at the Share the Wealth Party!
Thank you!