
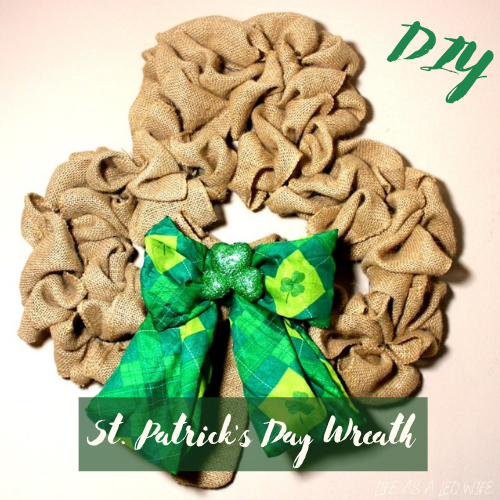
You probably remember my burlap shamrock wreath that I shared last week. When I was at Dollar Tree last month I went ahead and bought two of the shamrock wire wreath forms. I’ve been going back and forth between doing another cotton rope wreath and one made with a scarf. The scarf won out since I just made the heart rope wreath. Today I’ll be sharing how I made a DIY shamrock wreath for less than $3!
Today is our monthly Crafting with Christ post! Stick around after the post for a short devotional that lines up with our craft in theme. We’ll be concentrating on building our lives on our (sham)Rock so that we will not be shaken!
Looking for more St. Patrick’s Day decor? You’ll love this shamrock garland, this “lucky” centerpiece, and this St. Patrick’s Day sign that you can make without a Cricut!
DIY Shamrock Wreath Supplies:
- shamrock wired wreath form
- St. Patrick’s Day print scarf
- hot glue
- clothes pins or binder clips
- green yarn (optional)
- 1.5″ ribbon for a bow (I used a scrap piece about 8″ long.)

Remember to pin this DIY shamrock wreath tutorial for later!


Cover the Center “Leaf”
Unpackage the scarf and iron it if that’s needed. Tuck the end of the scarf into the wreath form through the top of the wire stem where it meets the middle “leaf.”

Pull the long end of the scarf over the middle of the wreath form and over the top. Turn the wreath form over. Squeeze hot glue on the inner most wire at the “triangle” tip above the stem and press the end of the scarf to it. That will hold the scarf in place.

Make sure the scarf is pulled taunt. Add hot glue on the back of the top wire forming the middle leaf. Press the scarf onto the glue. Continue adding glue down the sides of the middle leaf and pressing the scarf down over on it.


Cover the Second Leaf
With the scarf securely glued to the middle leaf, bring it down from the top and slightly left. Flip the wreath over as you’re bringing the scarf down and bring it (pulled taunt) up and over the left leaf. You will have a gathering in the middle of the wreath where the two layers of scarf, one covering the middle leaf and the other covering the left, meet. The side you’re bringing up now will create a slightly diagonal gathering. That’s what you want.


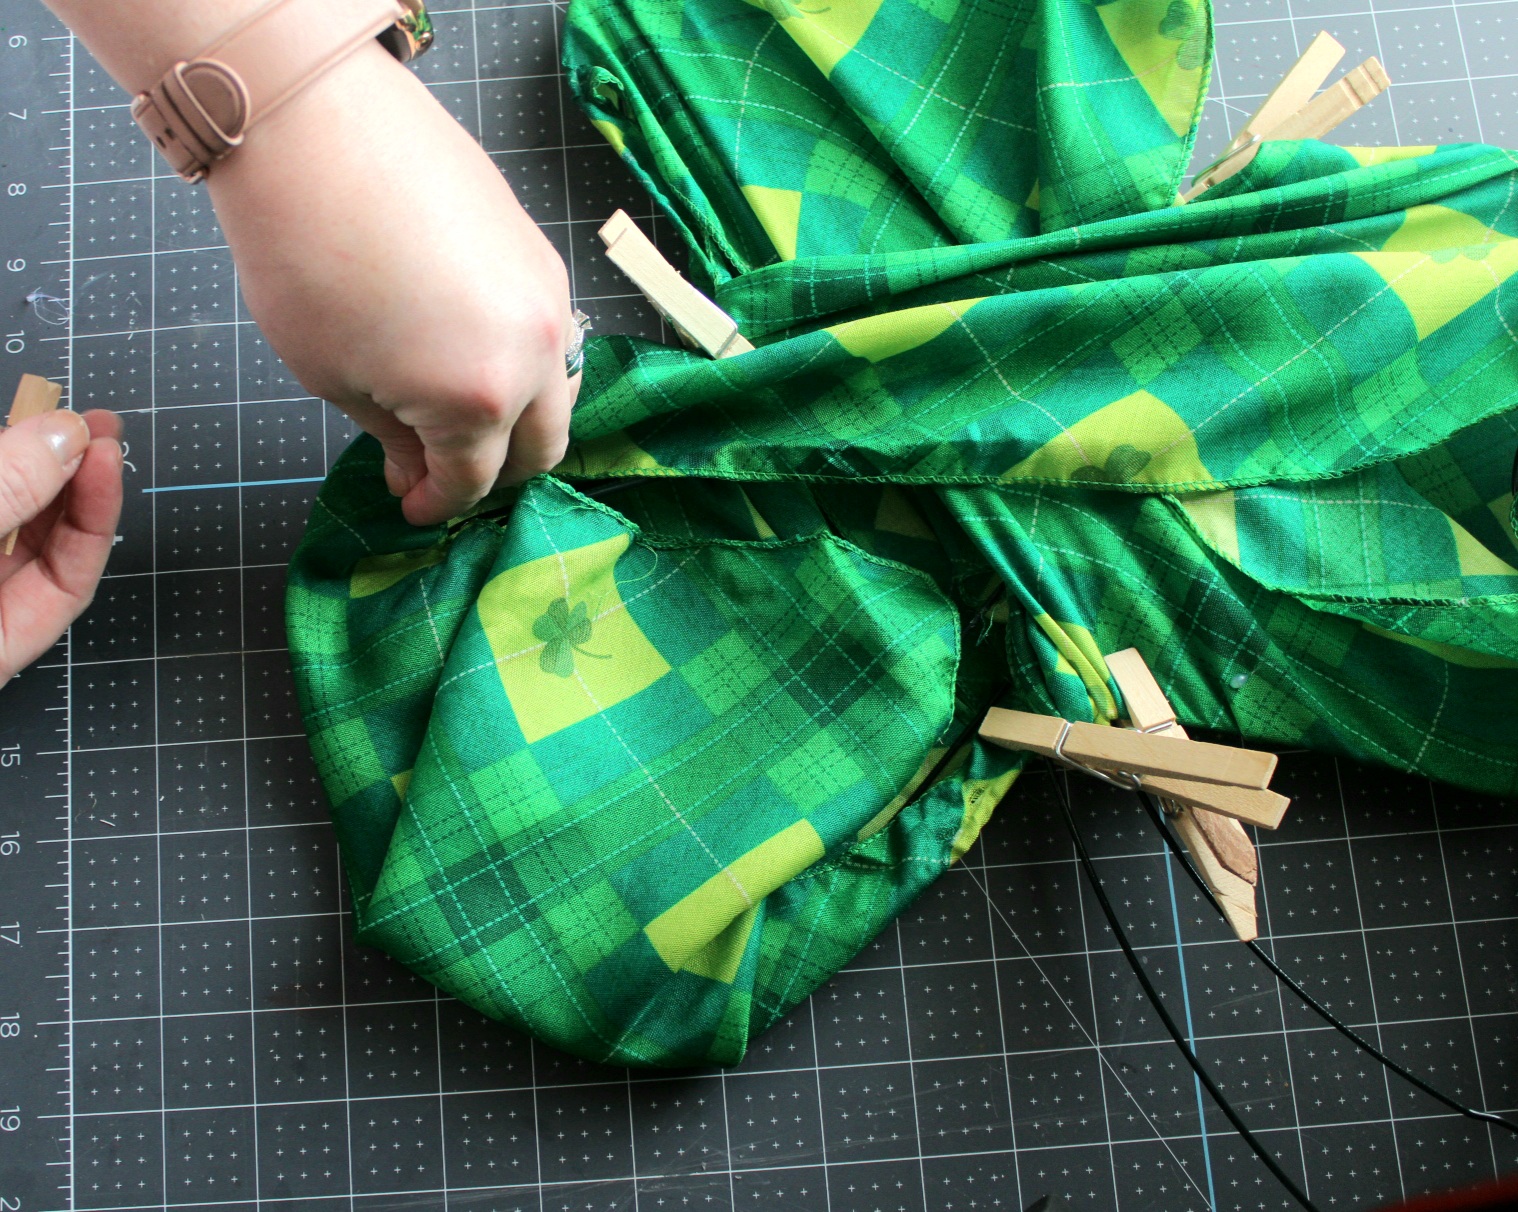
Pull the fabric taunt around that leaf and use clothes pins to pin it in place. You may remember this method also used on the adorable Halloween scarf pumpkin wreath made from Dollar Tree’s wire pumpkin wreath form (be sure to pin that tutorial for Halloween and fall!).

Cover the Last Leaf on the DIY Shamrock Wreath Form
With the wreath form face down, pull the fabric taunt across the wreath toward the last leaf.

Open the wreath up and bring it up to the wires meeting at the middle leaf and the last one.

Now pull it over the front side of the leaf, covering it tightly.

Keep the fabric taunt and pin it in place with the clothespins or binder clips. You’ll have the same gathering in the middle as you do on the other side.
When you have the scarf pinned in place on the shamrock wreath form, you’ll have something that looks like this:

After pinning everything, turn the wreath upside down if it isn’t already. Cut the piece of scarf that is crossing from the right side to the left. Cut the fabric about 3″ or so from the clothespins on the left. This will allow you to hot glue it to the wires easier.

Hot Glue the Scarf in Place
Start with the right leaf (with the frame face down), remove a clothespin closest to middle leaf, add hot glue to the back of the outer wire, and press the scarf onto the glue.

Continue removing the clothespins and gluing down the fabric. When you finish the first leaf, go ahead and glue the scarf to the last leaf.


Now you can start to cut off the excess fabric. I cut mine about 1″ from the wire all around. I chose to leave the middle section of scarf on the back of the wreath because it’s holding that section especially taunt. You can cut it off if you choose.

This is what you should have:

By the way- if you’re looking for some quick and easy St. Patrick’s Day decor, check out my post full of free printable wall art. You can print, frame, and hang or place them on shelves throughout your home for super easy (not to mention free) decor to make your home pinch proof!

Cover the Stem of the Shamrock Wreath
Next you need to decide how you’d like to cover the stem. You can use a piece of scarf that you removed from the wreath and attach it to the stem just as you did with the main part of the form. Place hot glue on the back of the wires and press the fabric on. Make sure to keep the piece of fabric taunt as you glue it down. OR-
I decided that I wanted the stem of my DIY shamrock wreath to stand out from the leaf sections, so I used moss green yarn from Dollar Tree to cover it. To do the same, add a dot of hot glue on the back of the top of the stem, right where the stem meets the outer wire.

Wrap the yarn around the two wires of the stem, keeping it tight.
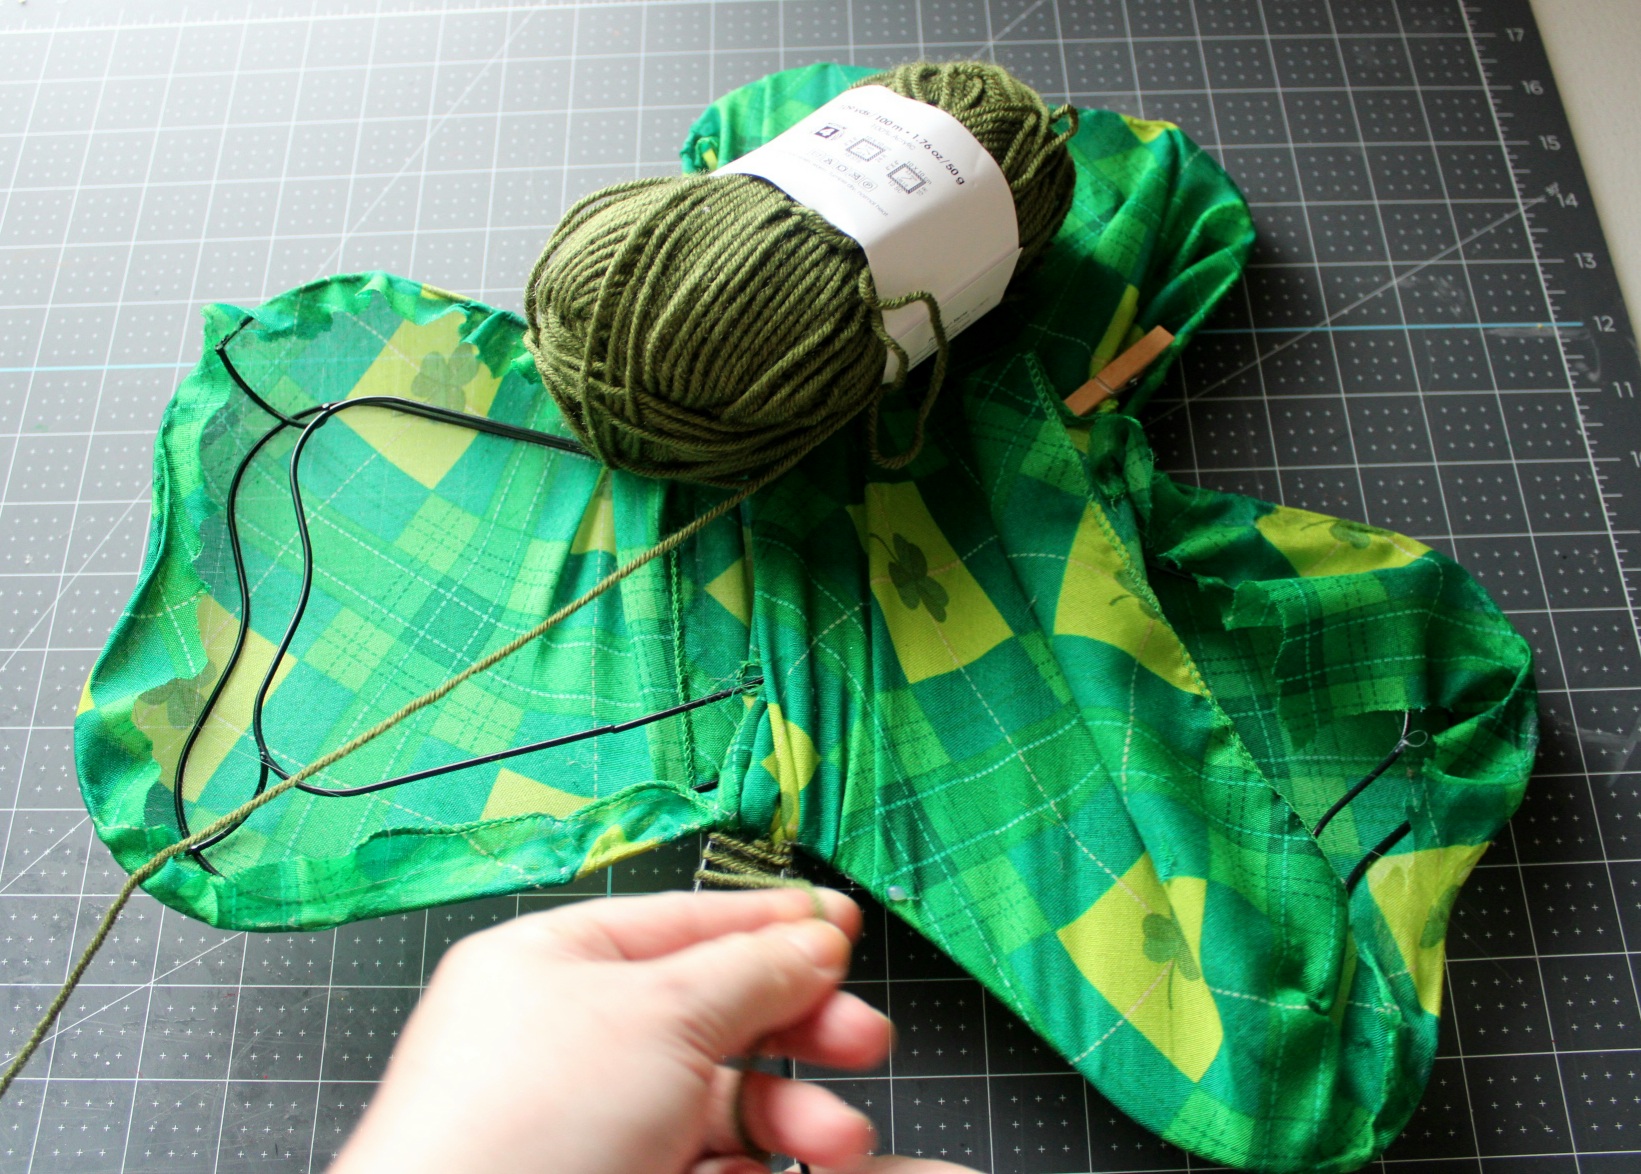
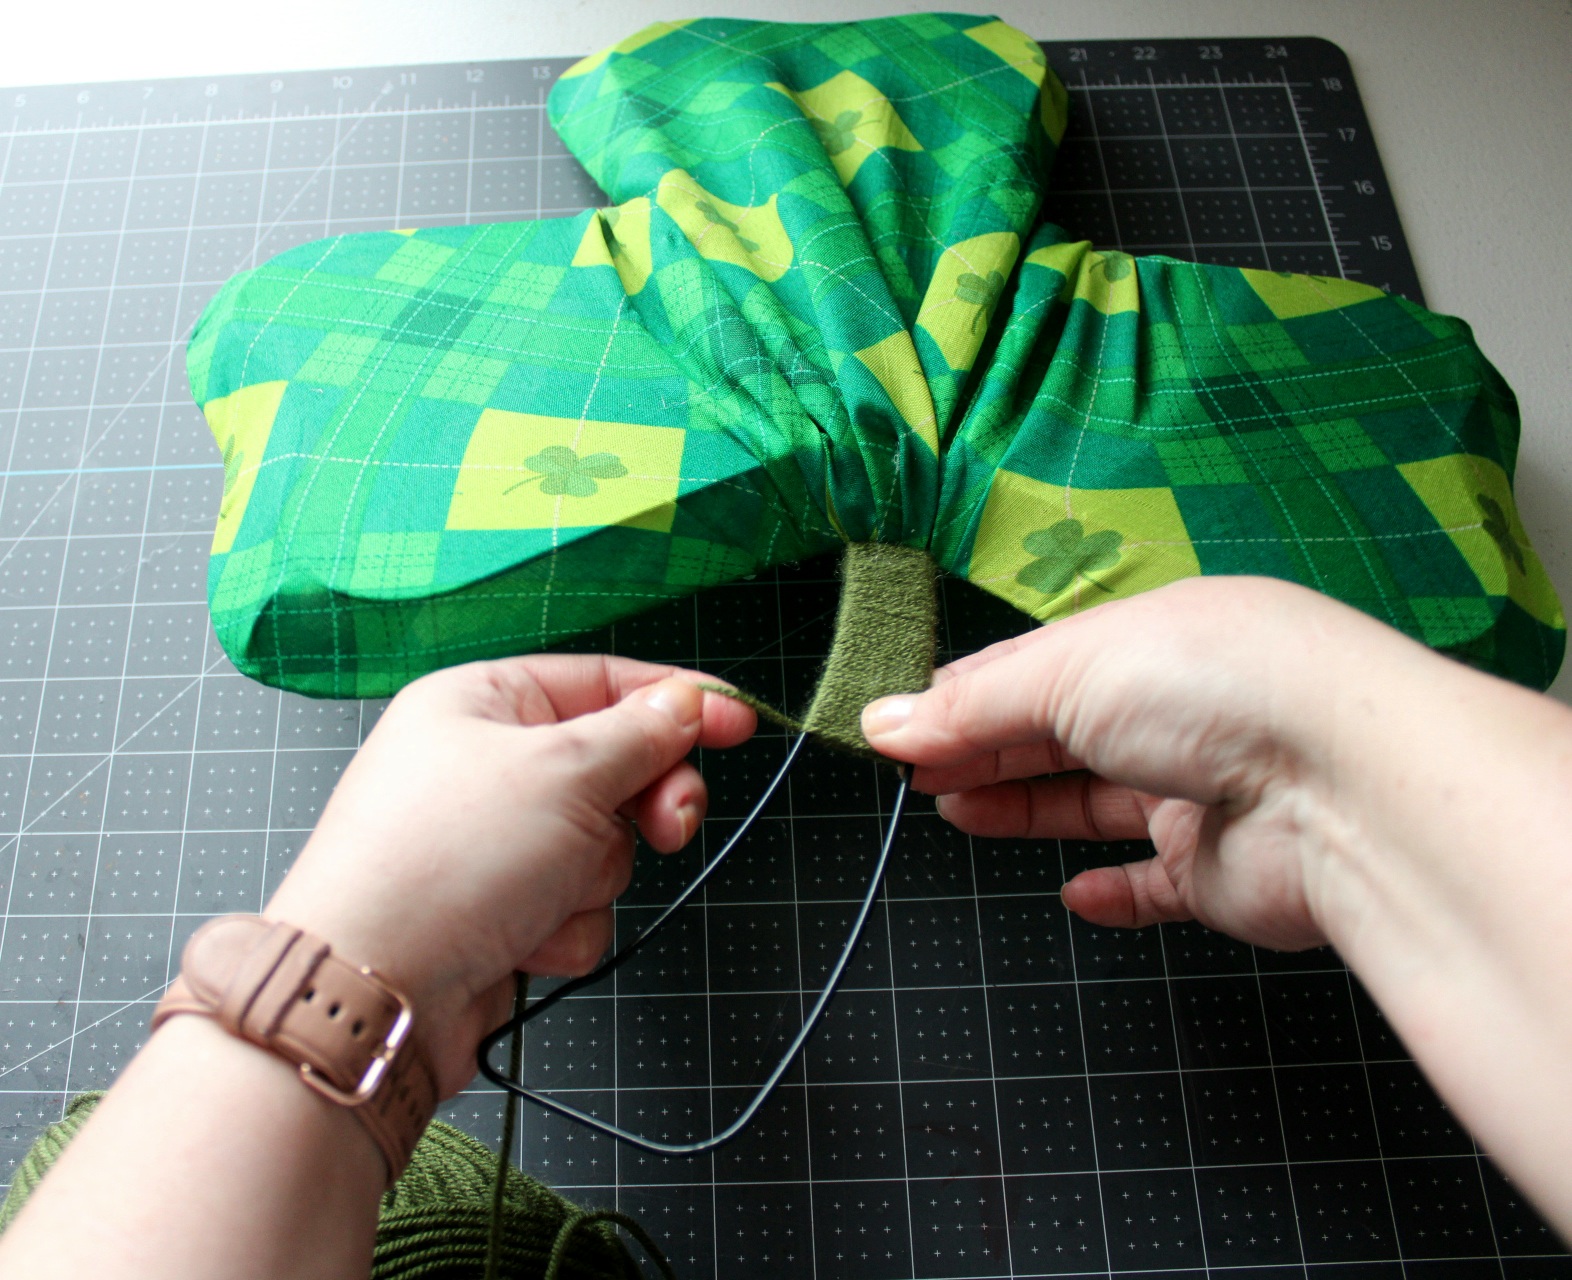
The end of the stem widens and curves out a bit. Due to that you’ll have to add hot glue to the stem in that section as you’re wrapping it. I wrapped the yarn back up the stem a bit to cover some hot glue that was showing through. When it’s covered, add a dot of glue and press the yarn on it. Cut the rest of the yarn from the stem.


This is what you’ll have:


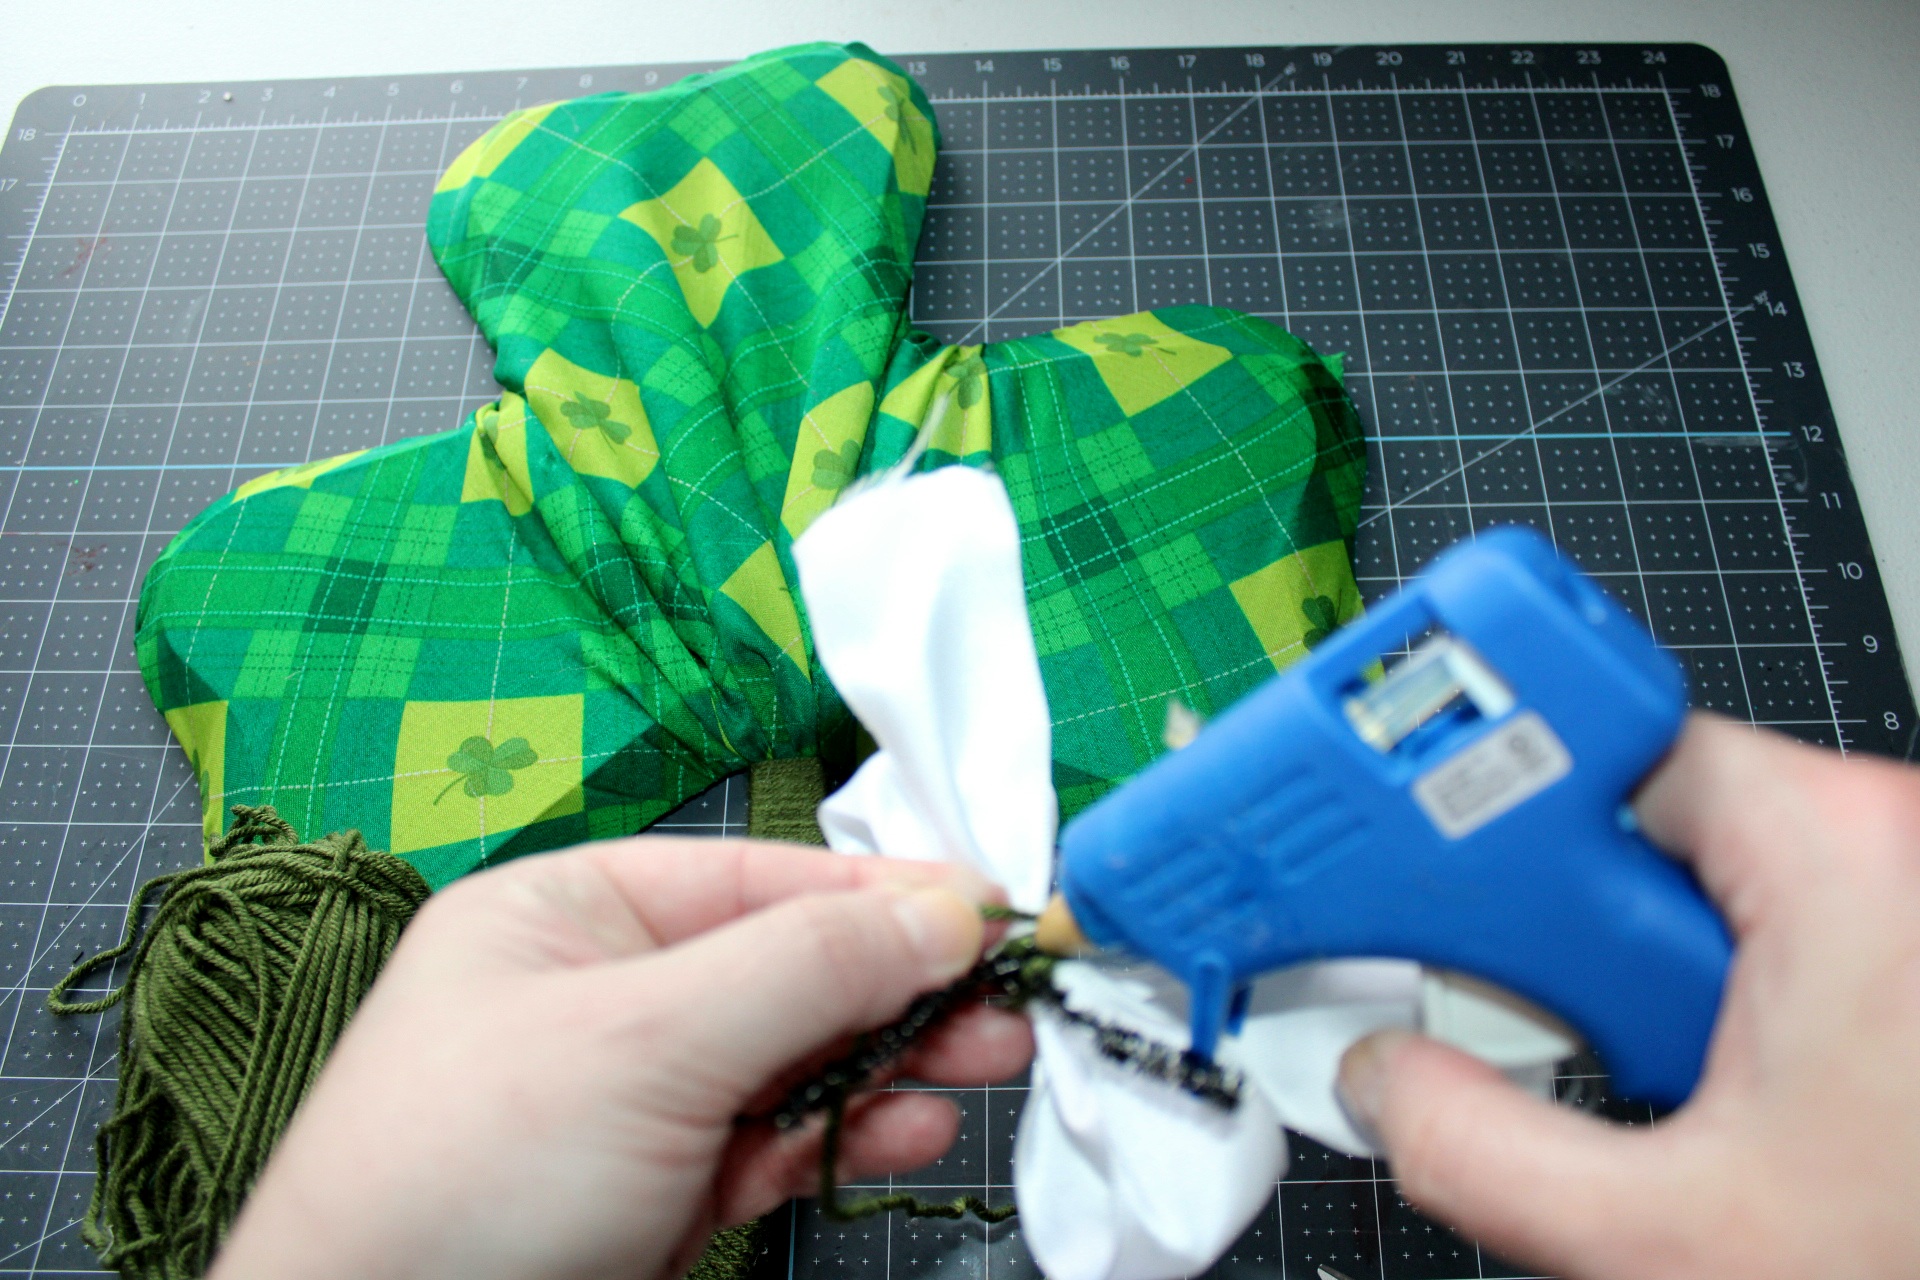
Add a Bow to the DIY Shamrock Wreath
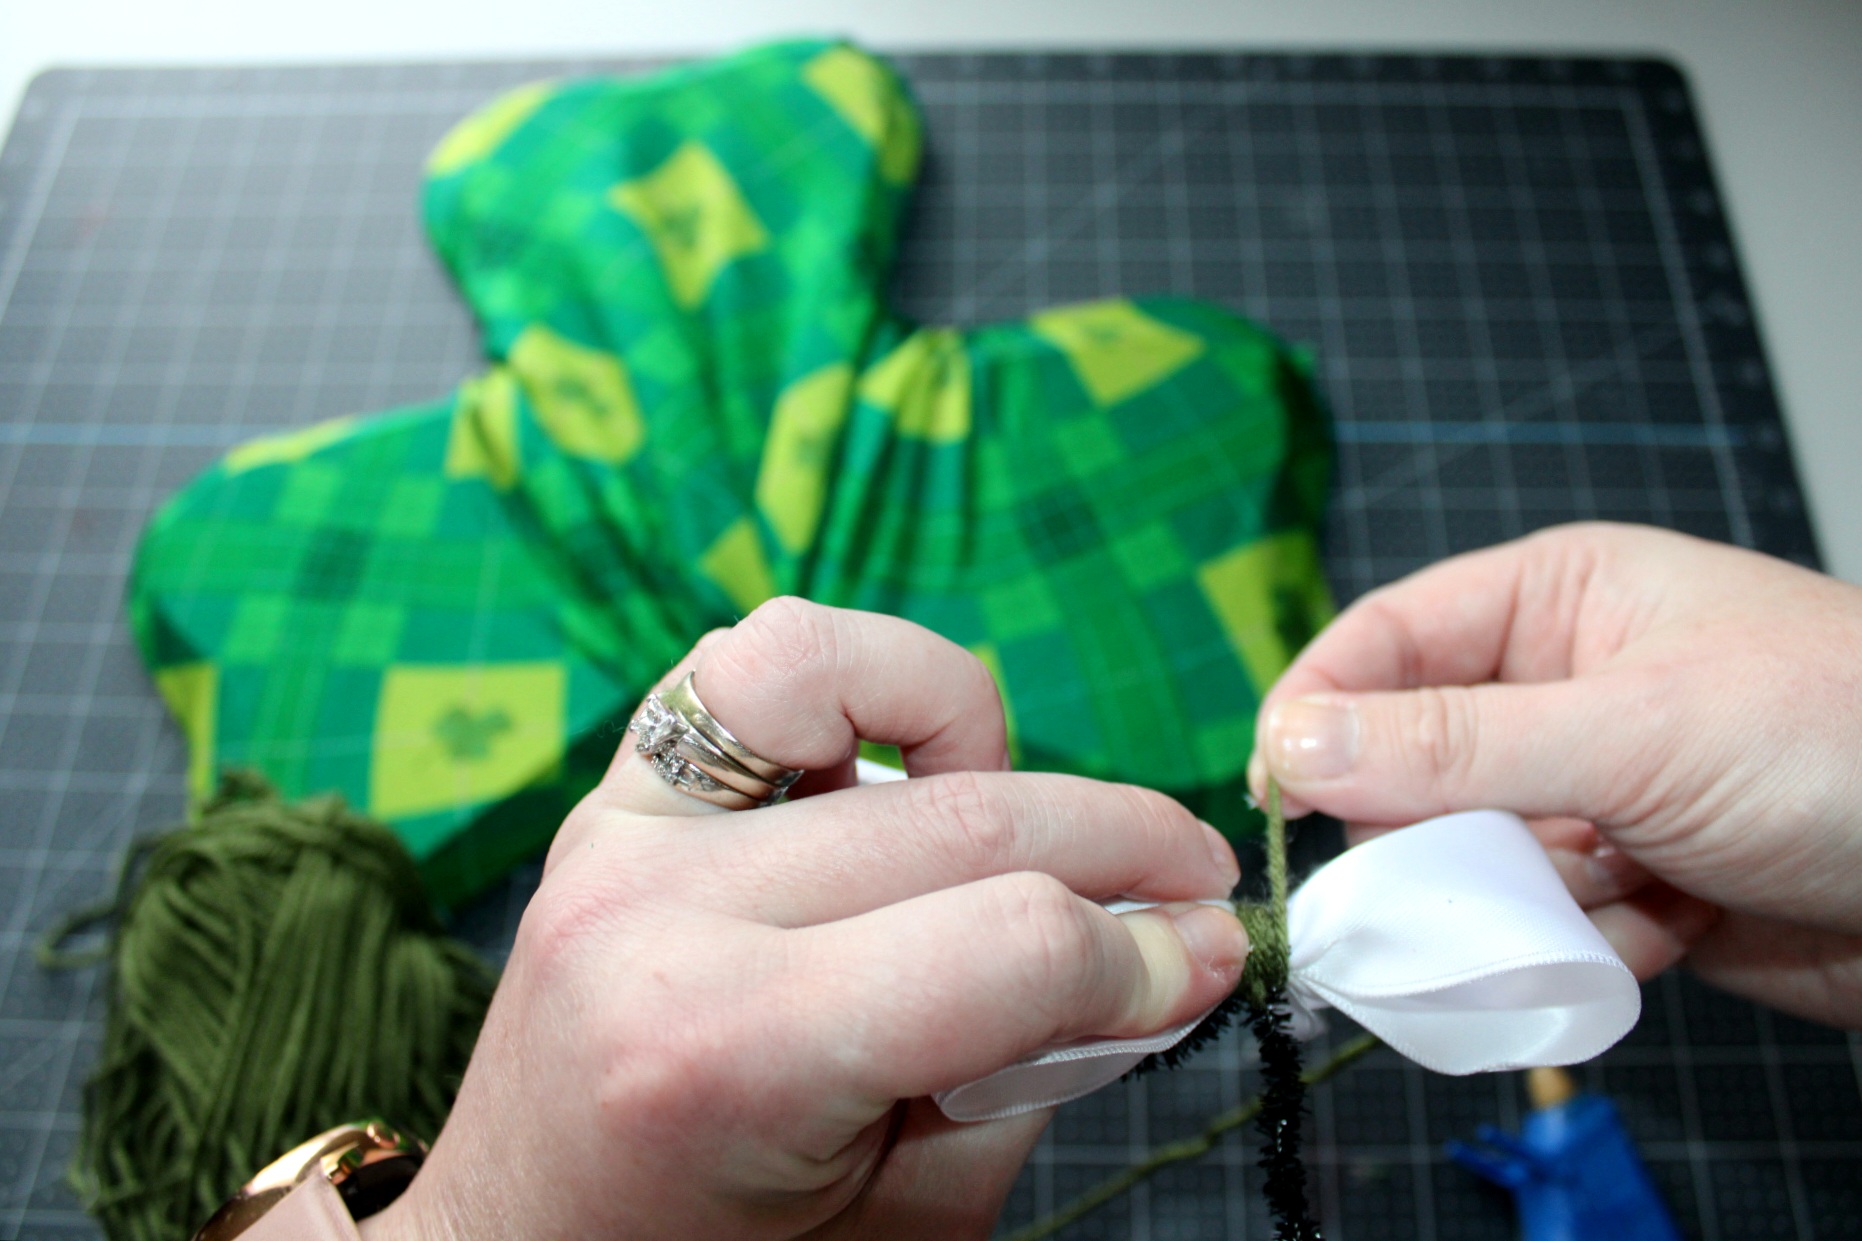
I made a simple 2-loop bow with about 2.5″ tails with 1.5″ wired white ribbon. Secure your bow in the middle with a pipe cleaner or piece of floral wire.


Next you need to cover the wire with another piece of ribbon or the yarn used on the stem. Add a dot of hot glue on the back of the bow, wrap the yarn around the wire to cover it, then cut the yarn off and glue that end in place.

Place the tails on top of each other and fold them in half. Cut a half V in them to create dove-tails.

Finally attach the bow to the wreath at the top of the stem. Use the pipe cleaner on the back of the bow to wrap it around the stem and twist it closed in the back.


I didn’t need to put a hanger on my wreath because it hangs easily with the wire that forms the frame. However, if you need one, you can use a piece of wire or pipe cleaner, twist it in a loop and glue it on the back of the wreath.
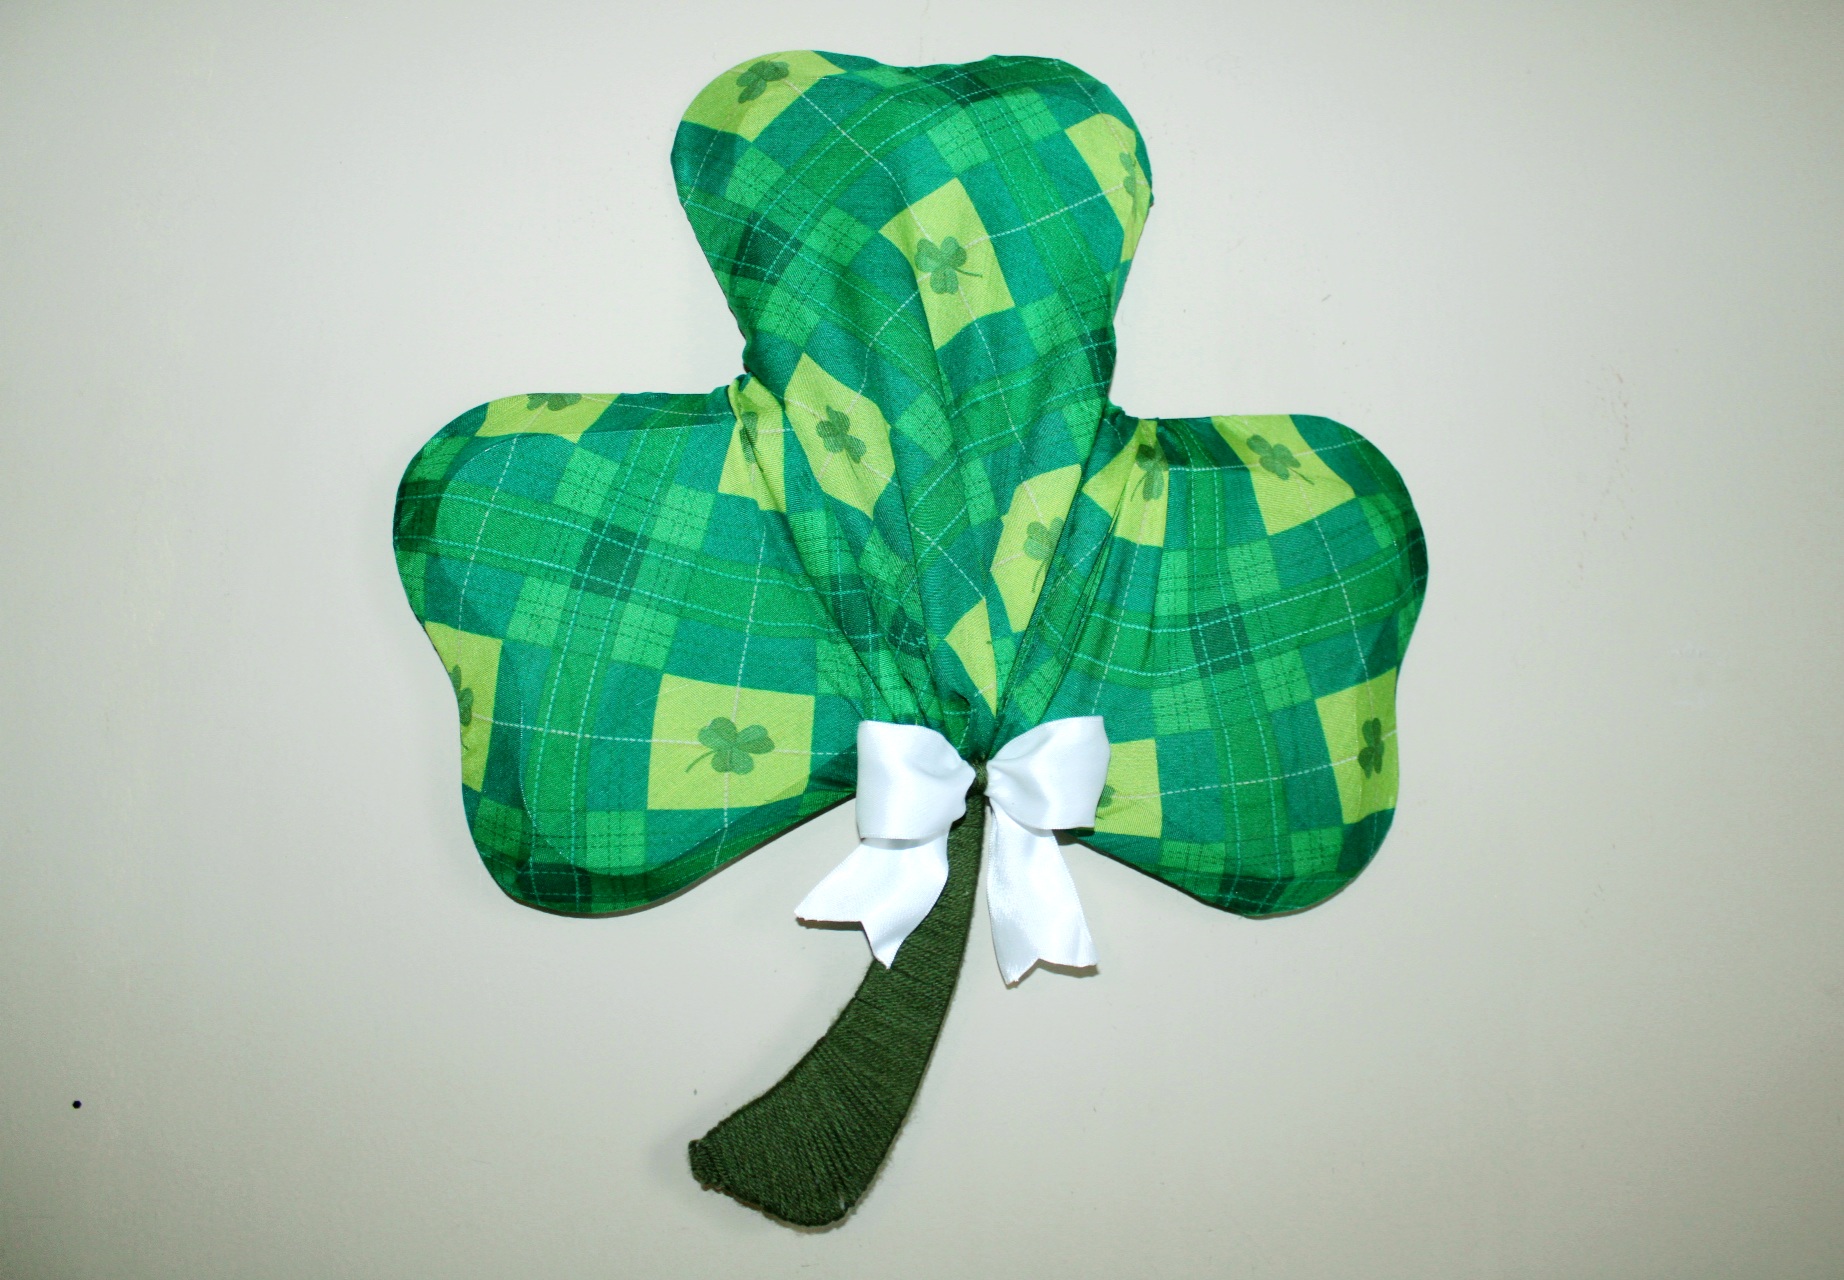
Your DIY shamrock wreath is ready to hang!
That’s it! Now you can place your shamrock wreath in its spot of honor. Here’s how mine turned out:


Remember to pin the image below or share this post with the buttons on the left side of the page so you can find it when you’re ready to start your project! Also, follow me on Pinterest for new ideas added weekly! Be sure that you never miss a great tutorial for decor like wreaths, signs and other home decor, free printables, crafts, and other fun posts! Enter your email address below to be notified of new posts! Use the buttons below to follow me on social media for other great content.

Keep Reading for Crafting with Christ
There’s plenty more tutorials here on the blog that you might enjoy, so stick around! If you’re looking for something specific, you can use the search box in the sidebar. If not, you might enjoy these St. Patrick’s Day posts:
Here are some spring posts that you might enjoy:


Some home decor tutorials you might like:


And finally, some craft DIYs that you must know!


Follow me on Pinterest where I add new ideas weekly!
Crafting with Christ: Build Your House on the Rock
Those of you who have been around may remember our Designing Devotion posts. I have decided that I will be changing the title of those posts to “Crafting with Christ.” After all, He is at the center of what we’re doing here! In today’s post I’d like to talk about Jesus’ commands to build our lives on Him; on the solid (sham)Rock. You see what I’m doing there right, lol? Our devotion needs to line up with the craft of course, so I knew a teaching on the Rock would be perfect for a tutorial for a shamrock wreath!
Stand on the Rock
Throughout all four Gospels, Jesus teaches on the importance of building your life on the solid rock. A solid foundation. He says in the book of Matthew chapter 7 of the ESV:
Everyone then who hears these words of mine and does them will be like a wise man who built his house on the rock. And the rain fell, and the floods came, and the winds blew and beat on that house, but it did not fall, because it had been founded on the rock. And everyone who hears these words of mine and does not do them will be like a foolish man who built his house on the sand. And the rain fell, and the floods came, and the winds blew and beat against that house, and it fell, and great was the fall of it.
Matthew 7:24-27 ESV
It seems like everything in this world has been turned upside down. It’s absolutely insane. We can easily lose sight of what’s right and important in it; I know I can. Wrong is being called right and right is being called wrong. We can lose sight of what’s truly right because we want to be liked, we don’t want to be mocked or called bigots or crazy for following Christ and believing in morals. But Jesus didn’t come and die for our sins for us to be fickle or to concede ground on what’s truly right and wrong. He didn’t come for us to allow the world to corrupt our children and our hearts with the evil in the world. Guard your hearts and theirs, while you still can, above all else.
Be a Wise Person
With His commands for us to build our “houses” on The Solid Rock, Jesus is telling us to read our Bibles, soak up His commands to us (all those words in red), and follow them. Build your life on The Rock, Jesus. Stand firm as wave after wave hits your house and tries to tear down you and your children, teaching them that all things sexual are okay at any age. Stand firm as the wave of “me culture” hits your family, teaching them that whatever makes them happy is perfectly fine.
Do not waver friends. Don’t give in. Hold on to Jesus. Teach your children to give more than they take, teach them what God says about sex, teach them that Jesus gave all that He had to ransom them from Death and Hell. Remind yourself of these things. Show them strength and what it means to rely on the rock that is Jesus. Do as God told us to do through Moses; talk about Him when you rise and when you go to bed, when you work and when you rest.
Read the Word
Stay in His Word. It’s the only way to “having done all to stand, stand therefore.” It’s the ONLY way. If we don’t stay in His Word and pray without ceasing, we will be like the man who built His house on sand, and we will fall. It’s a matter of when, not if, the world takes our family if we don’t build our lives on the Rock. I fail every single day, but Jesus does not. He holds me firmly in His hands, and I thank God for it every single day!
Stand strong on the Rock, my brothers & sisters. Stand firm! I love you & so does Jesus!
Remember to subscribe to the blog to read our Crafting with Christ post each month.


3 thoughts on “Easy Shamrock Wreath from Dollar Tree Scarf”