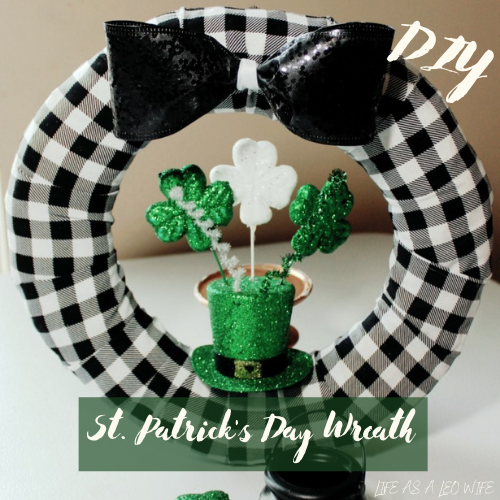
I can’t believe that it’s almost March. As I was taking down my Valentine’s Day decor I realized it was way too early to put up my spring decorations and I had nothing to put up for St. Patrick’s Day. So I headed out to Dollar Tree to grab some items to put together some decor including a St. Patrick’s Day wreath. Today I’m sharing a tutorial for you to create your own easy, inexpensive, and absolutely adorable wreath for you to hang in your home for the next month.
If you’re looking for more St. Patrick’s Day decor, you might like these farmhouse style decor pieces: shamrock garland, DIY sign without a Cricut, this burlap shamrock wreath, and this shamrock wreath made with a St. Patrick’s Day scarf.
Today I’m joining a group of lovely ladies for a blog hop called Creative Craft Hop hosted by Sara from Birdz of a Feather. Every third Thursday of the month we join up to share our creativity with all of you. If you’re coming over from Terrie over at Decorate and More with Tip, I’m so glad you’re here! Be sure to stick around after the post to visit the other blogs on the hop!

Easy St. Patrick’s Day Wreath Supplies (all from Dollar Tree unless noted*):
- straw* or styrofoam wreath form- I used a *12″ straw wreath form from Michael’s that is about $3 with a coupon. If you’d like to keep it an all Dollar Tree project, you can use the 8″ styrofoam form from there, it will just be a lot smaller. I do plan to make two different St. Patrick’s Day wreaths with those forms, so check back for a tutorial on those soon!
- black and white buffalo check fabric- I believe they come as a fat quarter.
- leprechaun hat with shamrock topper
- black, green, or white 2.5″ ribbon
- scissors
- hot glue
- pipe cleaner
- straight pin (optional)

Cut Fabric
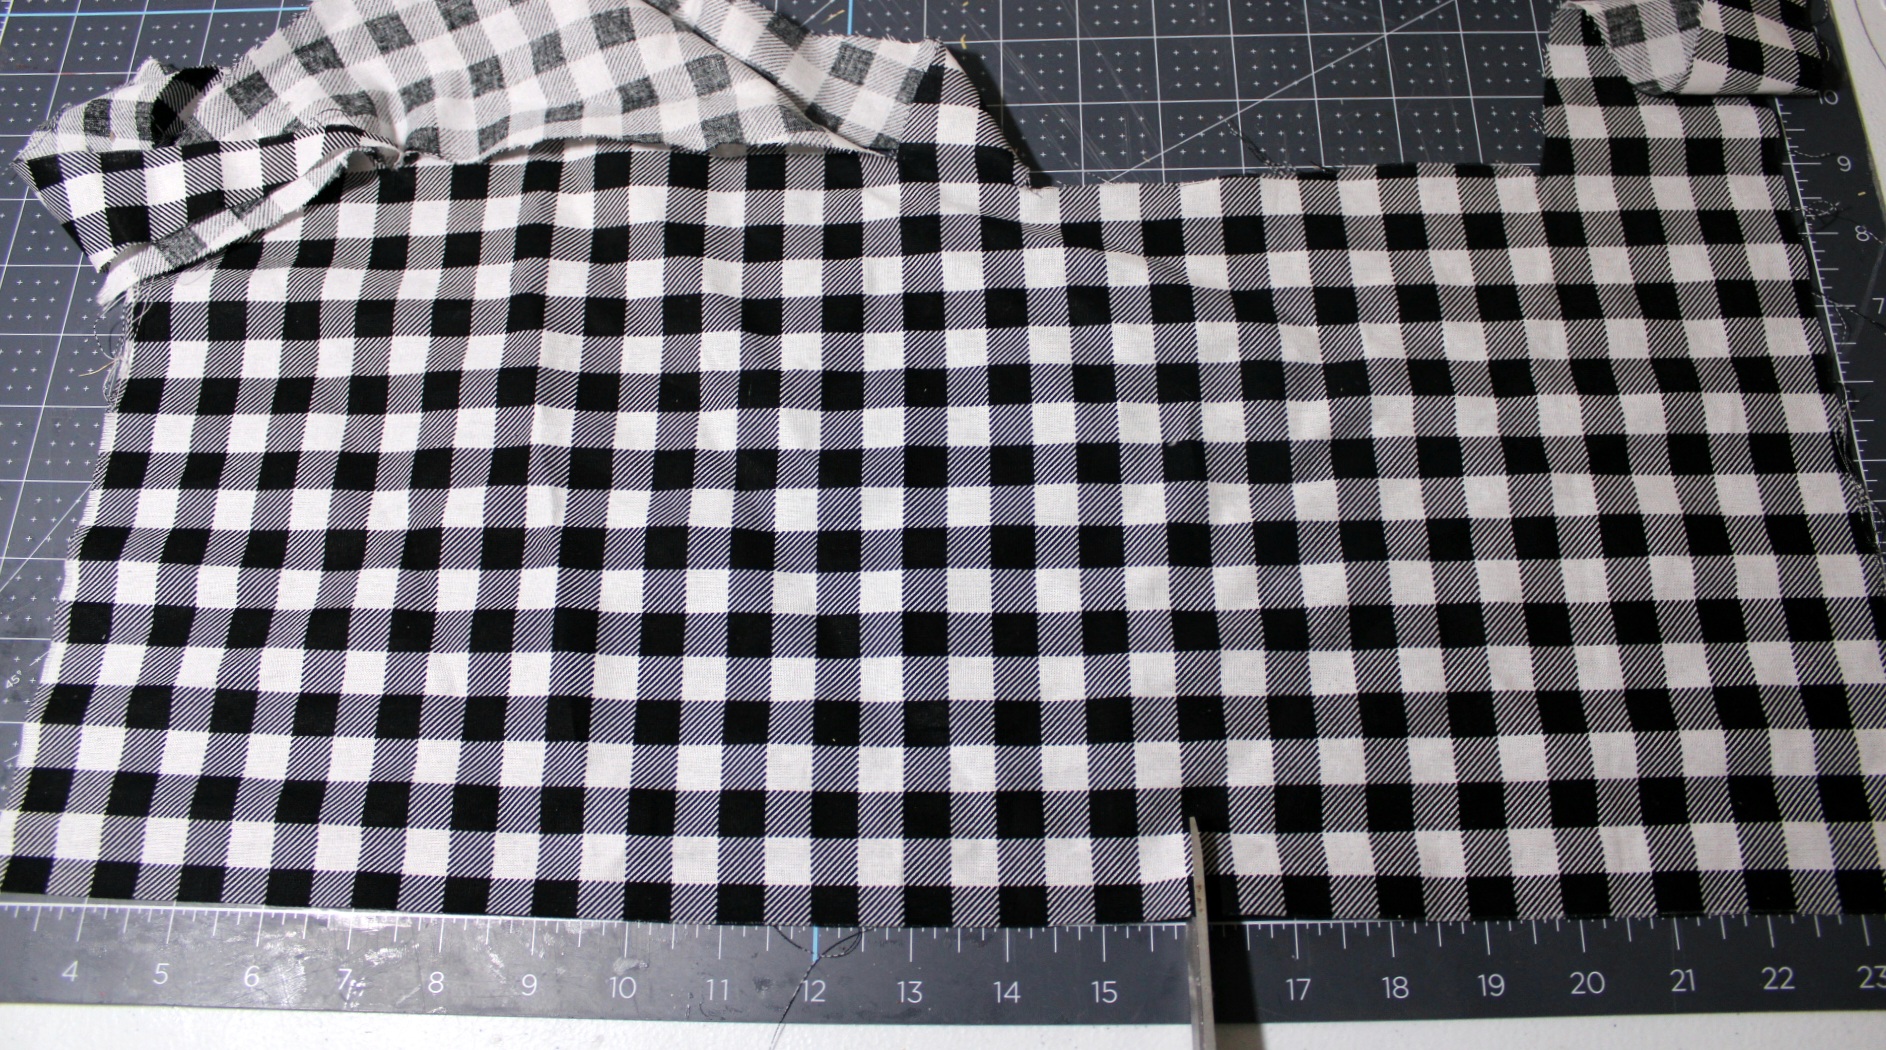
The fabric from Dollar Tree is not long enough (and too wide) to attach to the wreath form in one fell swoop. You need to cut it into smaller pieces to cover the form. Unroll your fabric and place it on a cutting mat or near a ruler to cut it to the correct size. The size of your form will determine the measurements of your fabric. You could cut the fabric into strips to wrap if you like that look.
For my 14″ wreath, I cut my fabric into 9×9 squares. I did this because I like the little bit of pleating that occurs on the inner part of the form when you glue on wider pieces. It took 4 pieces (overlapping a bit) to cover the form.
Attach the Fabric to the St. Patrick’s Day Wreath
Lay the fabric squares face down and place the wreath on top of it. Squeeze a line of hot glue on the middle of the back and press one side of the fabric on it. You could use pins to attach the fabric if you want to be able to remove it.

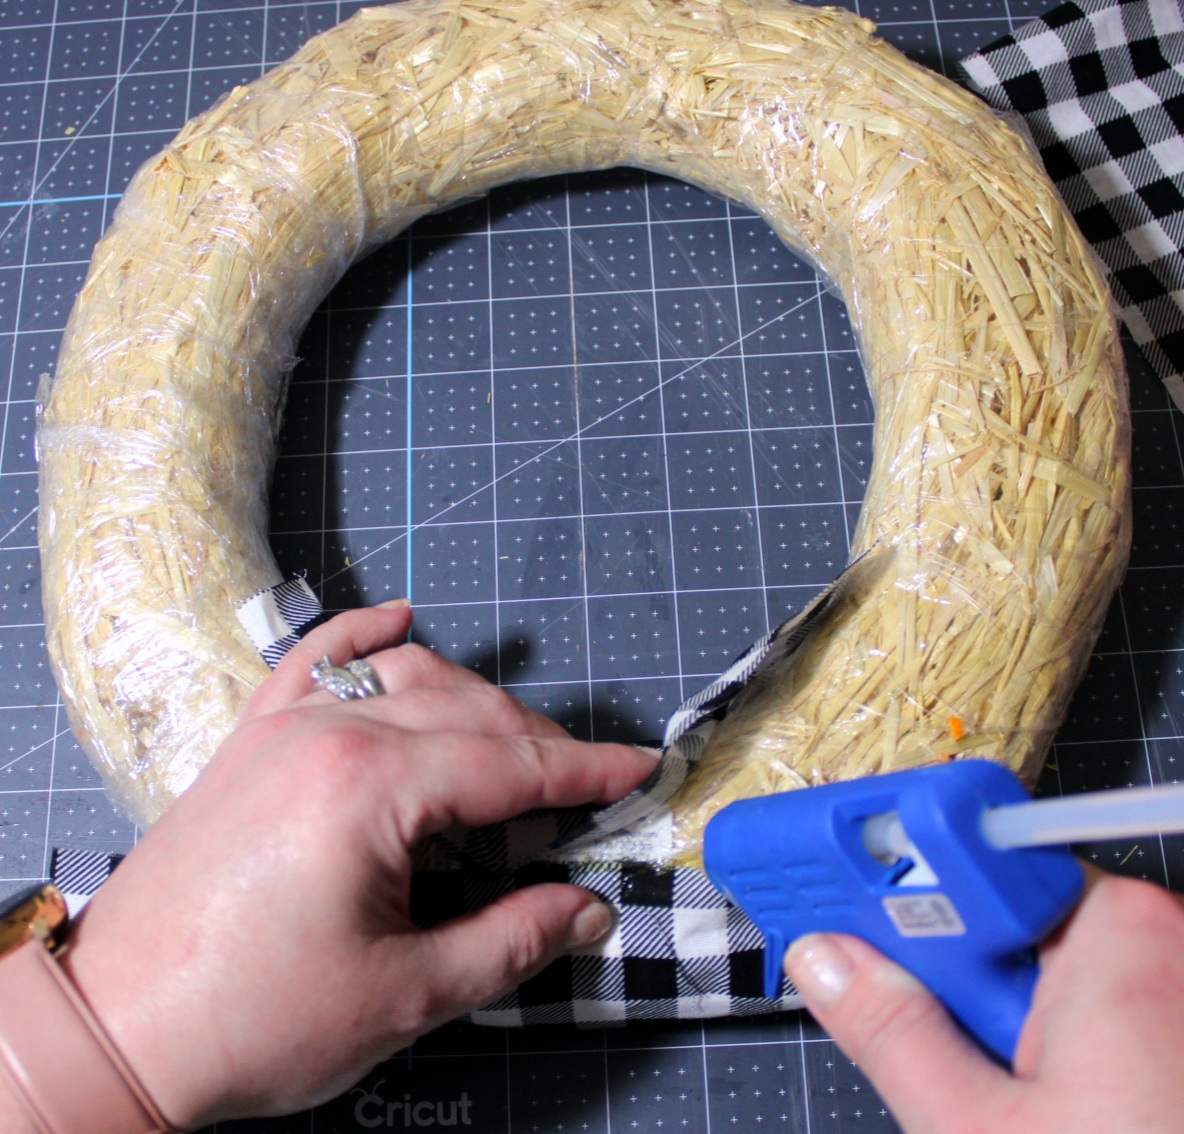
Add hot glue to the edge of the fabric you just glued down, then wrap the other side of it around the form. Pull the fabric taunt, then press it onto the glue.
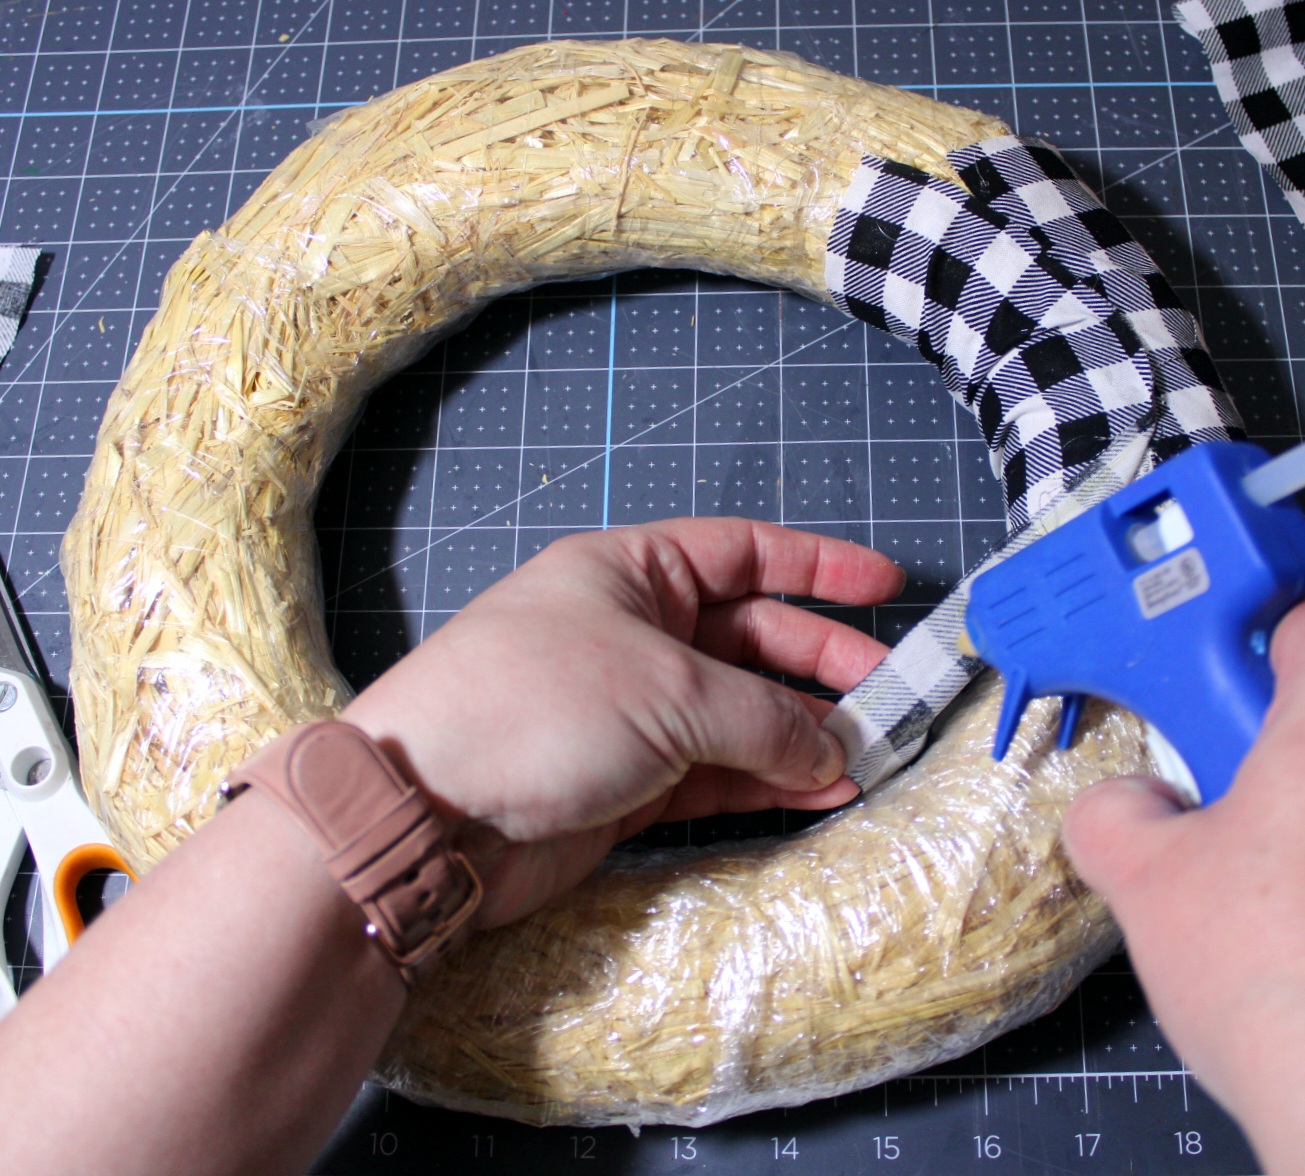
Continue around the form until it’s covered in fabric.


Make & Add a Bow
I made a simple two loop bow with 2.5″ wired black glitter ribbon that I got from Dollar Tree during Halloween. I covered the pipe cleaner that secured the bow with white ribbon.

Add hot glue to the center of the bow then place it on the St. Patrick’s Day wreath. I glued mine on before I thought of this, but if you’d like to reuse the form for other holidays or season, you can attach the bow with a decorative pin (or regular pins hidden inside the bow loops) so you can swap it out.


Add Embellishments to the St. Patrick’s Day Wreath
You’re almost done! Place your leprechaun hat in the middle of the wreath. Press your pin through the back of the brim of the hat and into the wreath form. I only used one pin in the back so that you couldn’t see it. It does allow it to move up and down in the front if you’re moving it, but it stays on fine when it’s hung. If you don’t have a pin, you can hot glue it on.


This is what you’ll have.

I had shamrock picks that I had initially planned to use on the wreath, but I decided to leave it with just the hat. As I was writing this, I thought, “Well let’s see if I can somehow place them on the wreath in a way that I can still remove them like the hat.” There was no way to pin them on, so I decided to try to slide them in between the pieces of fabric in the front. I slid one on the left and one on the right side of the wreath like so:


Adding the picks are optional. I’m not sure if I’ll leave them in or not. I change my wreaths up all the time, so I’m sure at some point this one will look different! Excuse these pictures please. They were taken at night and the light in my craft room is awful!

It’s time to place your St. Patrick’s Day wreath in its place of honor!
I told you this was easy, didn’t I?! Most of the pictures of my wreath were taken during the day with extra light.


As I finished my easy St. Patrick’s Day wreath, the word easy reminded me of Matthew 11:30 where Jesus tells us to give Him our burdens and stress and take on His comfort and love saying, “For my yoke is easy, and my burden is light.” I’m so glad I have Him to give my cares to and that I can take on His easy yoke!
Remember to pin the image below or share this post with the buttons on the left side of the page so you can find it when you’re ready to start your project! Also, follow me on Pinterest for new ideas added weekly! Be sure that you never miss a great tutorial for decor like wreaths, signs and other home decor, free printables, crafts, and other fun posts! Enter your email address below to be notified of new posts! Use the buttons below to follow me on social media for other great content.

On to the Creative Craft Hop!

Next up on the blog hop is Tammy from Patina and Paint! She’s sharing a tutorial for creating an easy fabric carrot. Spring is only a month away, so that’s a post you don’t want to miss. After visiting her, make sure to check out the posts from these amazing ladies! (Their main blog is linked to their name with their project linked to its name, which is always the way I set up my blog hops links.)
Gail from Purple Hues & Me | Macrame Mail Stand
Cecilia from My Thrift Store Addiction | Soft & Cozy DIY Throw
Sara from Birdz of a Feather | Japanese Glass Float DIY – Tie One On!
Ann from The Apple Street Cottage | Plain to Pretty: Wood Trinket Box Makeover
Donna from Modern on Monticello | Painted Confetti Bud Vases
Jenna from The Painted Apron | St. Patrick’s Day Lantern
Terrie from Decorate & More with Tip | Faux Wooden Dough Bowl Candle
Tammy from Patina & Paint | How to Make an Easy Fabric Carrot
Thank you for visiting us today. I hope you’ve found several of your next DIY projects! Be sure to pin this post and any others you like so you can get back to them when you’re ready to get crafty. Follow me on Pinterest for new ideas added weekly.
If you enjoyed this post, you might like these:


How cute! I love the buffalo check and green combo for St. Patrick’s Day! Blessings, Cecilia @My Thrift Store Addiction
Thank you! I used it at Christmas, so I already knew it looked ok with green. So I went for it!
Very cute Niki! The black and white checks look great with the St. Patrick’s Day green! St. Patrick’s Day is such a fun holiday to decorate for ☘️
Jenna
Thank you! It’s the first time I’m decorating for it and I don’t know why it took me so long!
So cute Niki; it’s sure to bring the luck of the Irish!
Thank you! Let’s hope!
So cute! Don’t you just love how buffalo check ribbon goes with just about every season? So glad you joined up this month.
Thank you! I can switch out the hat and use it all year, lol!
Your St. Paddy’s Day wreath is adorable, Niki! And putting a bow on it is definitely the finishing touch! I love it!
Thank you!