
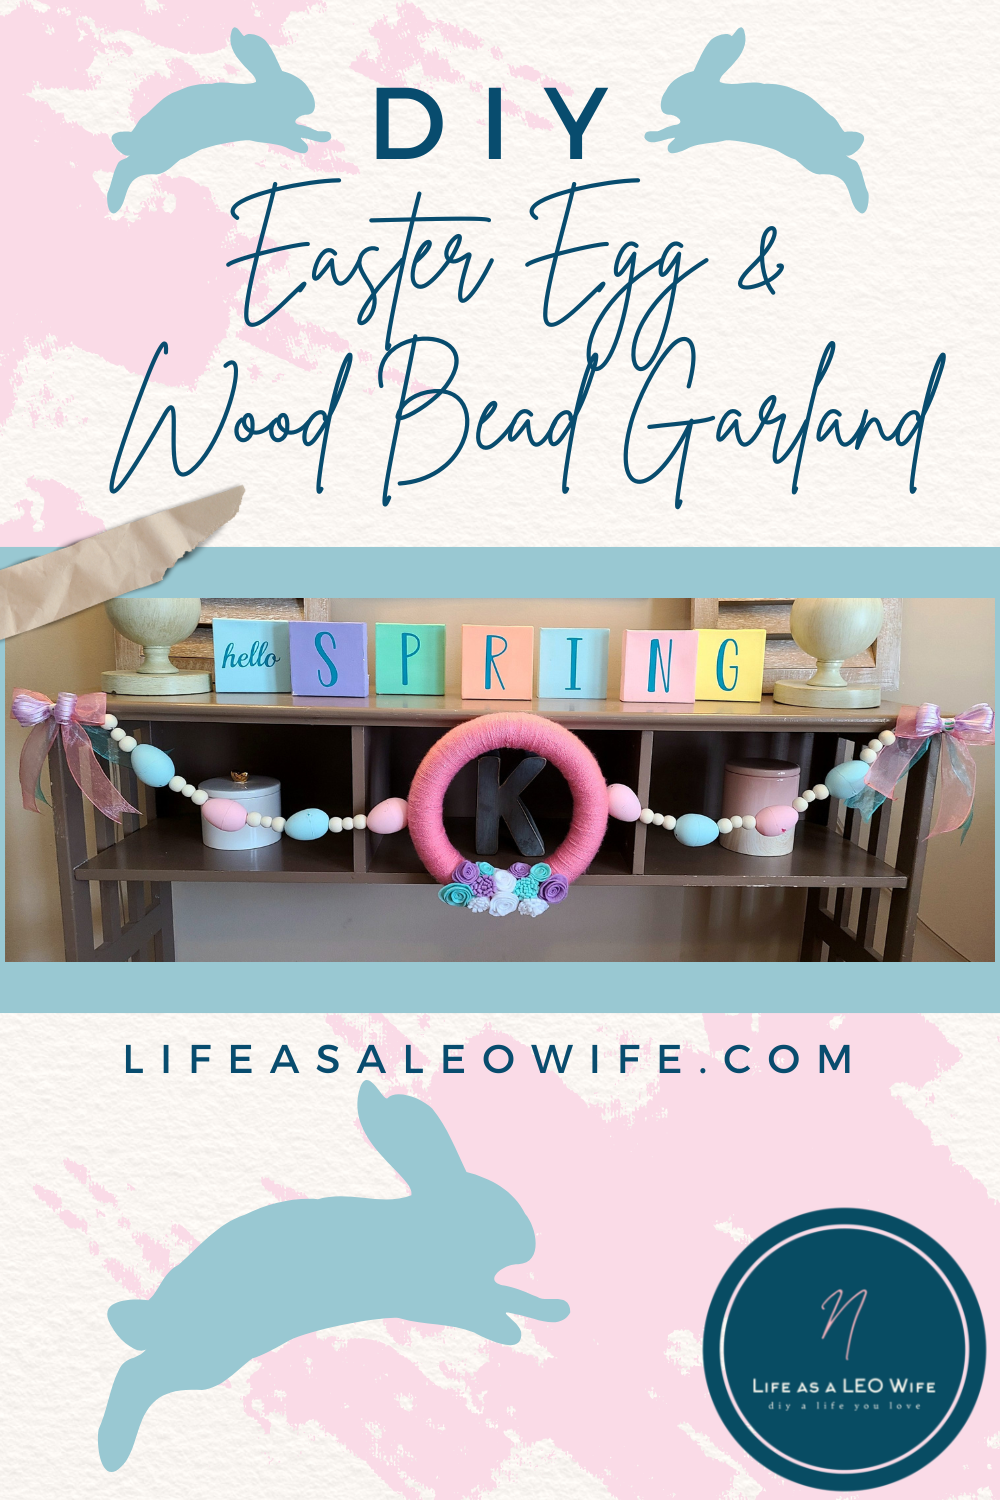
Spring has sprung so it’s time to break out the bunnies, eggs, and everything that celebrates renewal! You probably know that I love decorating for every season and holiday. I like to add a few new pieces each year because I always have a different theme. That can get expensive so I’m always looking for ways to DIY anything I like as affordably as possible! I saw a few Easter egg garlands on Pinterest that I liked, but I wanted to create something different for my living room. I have neutral colors in my dining room and kitchen and spring colors in the living room. Today I’m going to share a unique and adorable Easter egg and wood bead garland.
Sometimes I start a project without knowing exactly where it’s headed, and this was one of those times! I love where it went! I had a styrofoam wreath already wrapped in pink yarn, so I decided to incorporate it somehow. This was only the second time I used wood beads. Therefore, I headed into new territory. (Update- since this post I’ve used tons of wood beads, and they’re one of my favorite craft mediums!)
To make your Easter egg and wood bead garland you need:
- wood beads in 16 and 20mm
- twine or string– I used robin’s egg blue twine
- plastic Easter eggs
- pink and robin’s egg blue chalk paint or your color choice (optional) and paint brush
- 10″ styrofoam wreath
- yarn in your color choice- Mine was pink.
- felt in your color choices- I used lavender, white, and robin’s egg blue.
- hot glue gun and glue
- scissors
- pipe cleaners


Disclosure: I am a participant in the Amazon Services LLC Associates Program and the Dollar Tree Affiliate Program, affiliate programs that allow me to link to the products that you can use to make this project quickly and easily. If you purchase any of these products I may receive a very small commission at no cost to you! That commission helps me continue to bring these great decor DIYs, free printables, and all of the other goodies on this site to you. Thanks so much for your support!
Paint the eggs.
If your eggs come in the colors you want to use for your wood bead garland, you can skip this step. I wanted mine to match the other decorations in my living room so I had to paint them. When I tried using regular acrylic paint, the second coat ripped the first coat with the paint brush. AGGGHHHH! So annoying yall! I would spend twenty minutes painting the eggs, then I’d let them dry for an hour or two, only to have them ruined with the next coat.
After a few go rounds with the regular acrylic paint, I tried using my chalk paint. For some reason it worked and didn’t rip the first coat off when I painted the second. I used three coats to cover the bright colors of the eggs. Once painted leave them out to dry. I let mine dry overnight, but about an hour or two after the last coat should be good enough to move to the next step.
Make the wreath.
Wrap the form in yarn.
Making a yarn wreath is easy. You just glue the yarn to the back of the form, then wrap it around the form until it’s completely covered. Glue the end of the yarn to the back of the form, the same side that you glued the beginning to. Check out this post for more instructions with pictures and video for more guidance.
Make felt flowers for the wreath.
Next you will make the felt flowers to add to the bottom of the wreath. I used thee colors for my flowers, white, robin’s egg blue, and lavender. I’m going to give you a really quick run-down of how to make the flowers. I used two types of flowers. The next post that I make will be on the flowers, a step-by-step tutorial with pictures.
Make roses.
For the regular rose type flowers, cut a square with round edges. It doesn’t need to be perfect because flowers in nature are not perfect. At the edge of the squ-oval begin cutting a spiral all the way to the center of the shape. In the center, make the spiral end in a circle. Starting from the outside of the spiral and roll the shape around itself. When you get to the middle, hot glue the circle, where you ended the spiral, to the bottom of the flower which will keep the flower together. There’s a full video tutorial in my Valentine’s Day chenille yarn wreath tutorial.


Make chrysanthemums.
The next flower is a chrysanthemum. They are pretty easy. Cut a long, thin rectangle. The longer the rectangle, the bigger the flower. Place a strip of hot glue on the edge of one long side. Fold the rectangle in half so that it’s edges are glued together. Cut tiny slits all along the edge without the glue. Cut them all the way to the end. Put some glue on one end then roll the felt all the way to the other end and hot glue it. Pretty easy!


Lay out your flowers at the bottom of the wreath, and move them around until you’re happy with where they are. Hot glue them on the wreath.


Assemble the Easter egg & wood bead garland.
Measure & cut the twine.
The first step to assembling your garland is to measure the place that you want to hang it. Add a few inches to that so you definitely have enough twine to finish the garland. You can always cut off extra, but you can’t stretch it longer. There should be enough twine to give the wood bead garland enough room to drape a bit on each side of the wreath.
Fold the twine in half, and cut it exactly in the middle. Find the center of the wreath on each side, making sure your felt flowers are in the center of the bottom. Glue one half of the twine on the right side and one on the left at the same level. If it’s not at the same place on each side, the wreath will be leaning one way or the other.

String the Easter eggs & wood beads on the twine.
Once the wreath is attached to the twine begin stringing the beads and plastic eggs on to each side. Each plastic egg comes with two holes on the top and two on the bottom. Feed the twine in one side of the egg and out the other side. Next slide the wood beads on it, a large one followed by a smaller one and then the larger one again.


Continue following the same pattern until the twine is the length you need to hang in it’s new home.
Make & attach bows to the Easter egg garland.
The final addition to the garland is bows for each end of the twine. I made a simple bow for my wood bead garland. Make two loops with one color of the ribbon with two tails (just like tying shoes or a hair bow). Next add in a second color, this time add only tails to the first ribbon. Finally, with a third color, make two loops only, no tails, and add it to the first bow.


The final step is to glue the bows on each end of the garland. Place the bow on the twine with one side touching the last bead. Add a bit of glue to the middle of the bow and press it down with the edge of the bow still touching the bead. Repeat this step with the other end of the garland.


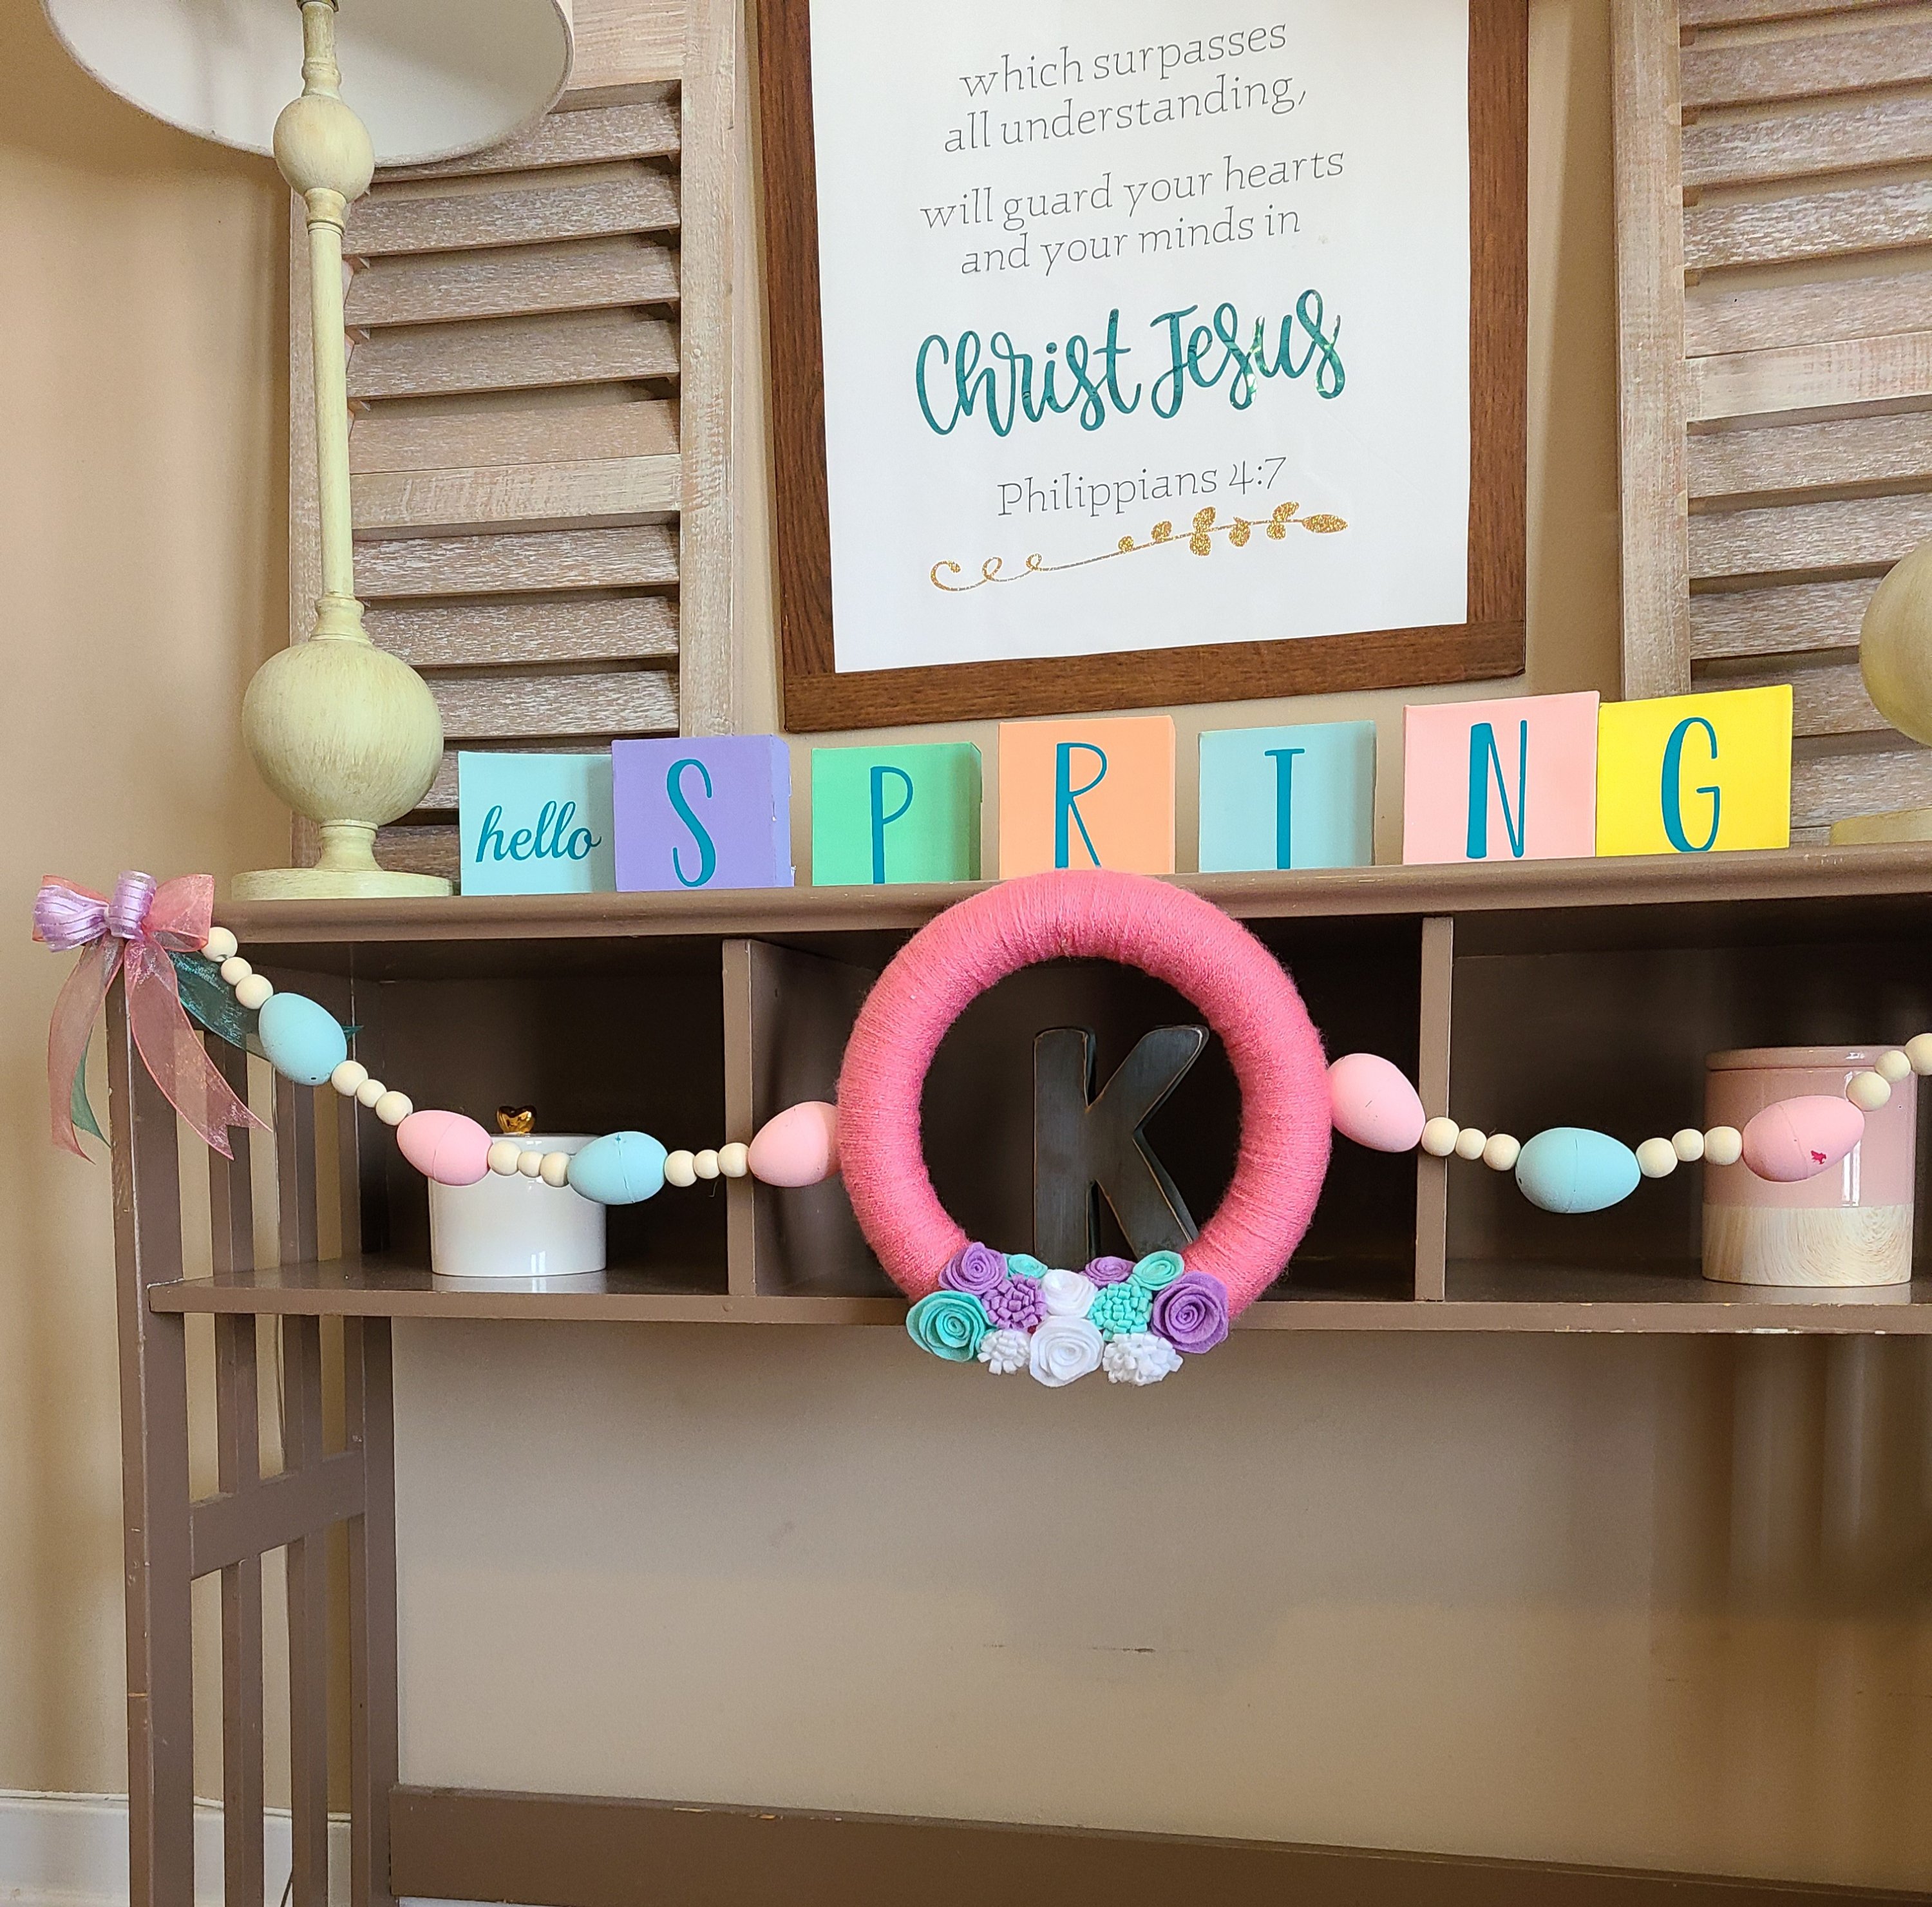
Hang Your Spring Wood Bead Garland
I hung mine in front of my “Hello Spring” canvas block set. You can see the tutorial for that post here. I love how it looks. I think next year I will make one in neutral chalk paint colors.


Remember to pin the image below or share this post with the buttons on the left side of the page so you can find it when you’re ready to start your project! Also, follow me on Pinterest for new ideas added weekly! Be sure that you never miss a great tutorial for decor like wreaths, signs and other home decor, free printables, crafts, and other fun posts! Enter your email address below to be notified of new posts! Use the buttons below to follow me on social media for other great content.
Don’t go yet! There’s more to see!
There’s plenty more to see here on the blog! If you’re looking for something specific, use the search box in the sidebar to look it up. If not, you might enjoy these ideas. Don’t have time to read them all now? That’s ok, just click over to the posts using the pictures and pin them for later. You can also add Life as a LEO Wife to your favorites and check back for new ideas and free printables and SVGs every Wednesday, as well as link parties with tons of shared ideas on Sundays!


One thought on “DIY Spring Wreath and Wood Bead Garland”