Welcome lovelies! I have a fabulous tutorial to share with you today, one that is a little bit different from my normal DIY posts. My nails are in every post that I share, which means that they are across the internet and social media every single day. They can’t be looking shabby, but I certainly can’t afford to go to the salon two times or more a month. Today I’m going to share how I get a salon worthy gel manicure at home, which saves me more than $120 every single month!
Gel Manicure Supplies:
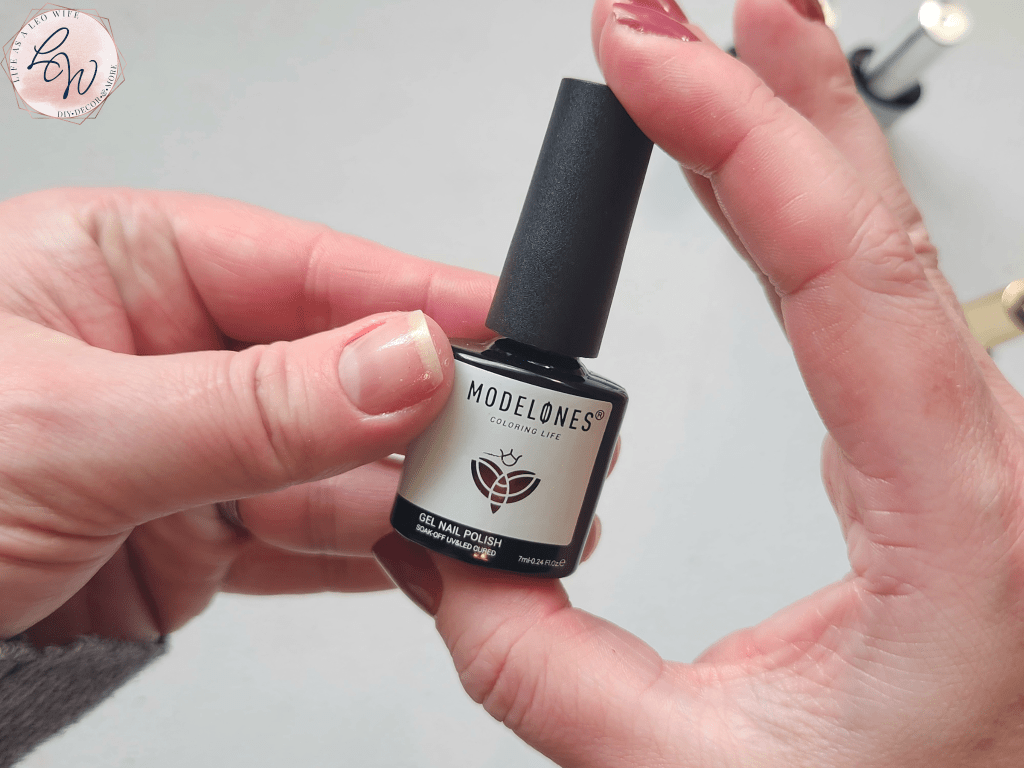
- gel nail polish kit- I like this one by Jodsone (which comes with everything you need to get started) and the neutral bubble bath kit by Modelones.
- UV light
- nail file & buffer
- nail clippers
- cuticle tools
- bowl of soapy water
- cuticle oil
- lotion- I love this Ahava smoothing hand cream.
- acetone for removal or
- gel polish removal kit- I highly recommend this kit. It will save you about an hour every time you need to remove the polish.


Gel Manicure Kits
Jodsone Kit
There are many gel manicure sets available on Amazon, so it took me a while to choose the ones that were right for me. First, you need a kit that includes a UV light hands down.
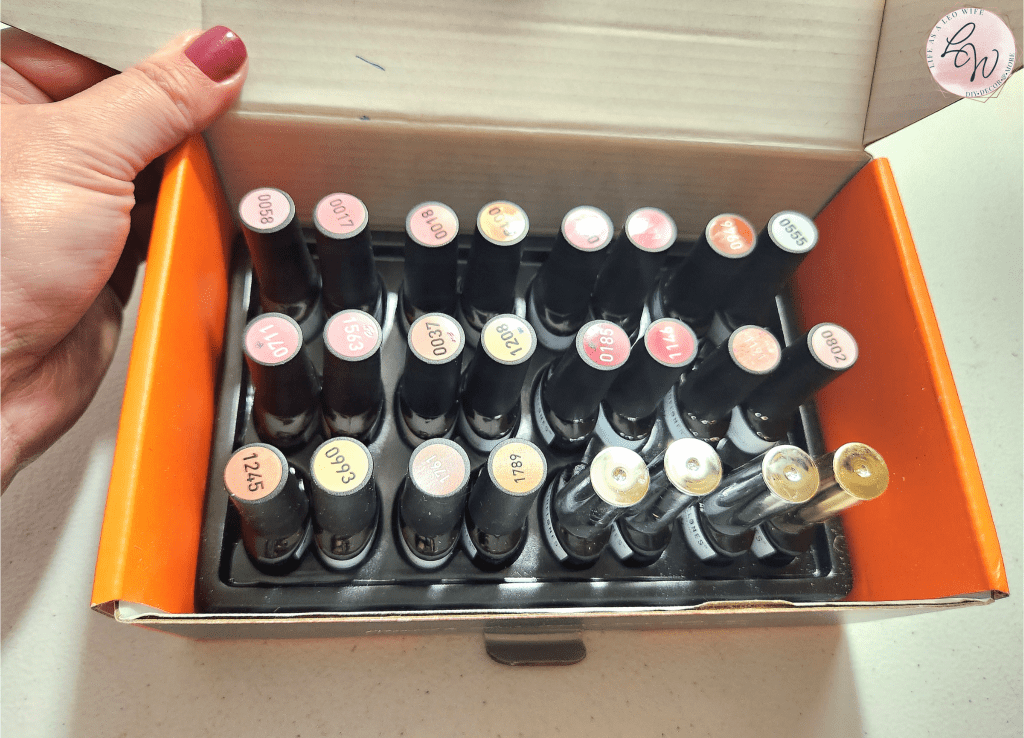
I’ve had this Jodsone kit with classic colors for about 8 months. A lot of their packages come with the same stuff, just different colors. The colors are good, but not over-the-top fabulous. I say that only because there are about 6 colors that have almost a twin. However, there is a color (32 of them) to get you through every holiday and season of the year. That makes it an amazing starter kit and comes with a great UV light.
In addition, the kit comes with all of the tools that you will need to give yourself an at home gel manicure. For example, a hefty metal cuticle pusher (also used to remove gel polish), a cuticle trimmer, tweezers, nail files, a nail buffer, cuticle oil, and nail soak caps. There are only 5 caps, but I found that you can get a set of 10 at Dollar Tree if you don’t purchase the gel polish remover. I do highly recommend this remover kit though! When I say it will save you at least an hour, I mean it!
There’s also a lot of extras that you may or may not use. Like French manicure guides, nail stickers, nail stripe tape, toe spreaders, and nail polish remover pads (mine were dried out, so plan for that).
Modelones Kit
I bought this kit for the colors in it. The classic colors that came in my first kit didn’t have a whole lot of pinks and neutrals, so that was the reason for this purchase. If you already have all of the tools you need and you want pinks and nudes, this is a great kit. It does have a nail primer which extends my at home gel manicure by days, even with my hands in paint and Mod Podge and all kinds of other stuff every other day.
With both of these kits I’ll have more than enough polish, including base and top coats, for more than a year! Talk about saving some money. It will cost you more for one visit to the salon than to buy one of these at home gel manicure sets!
Prep Your Nails
First, you want your cuticles and the skin around your nails to be as soft as possible. Soak them in a bowl of warm water with a little bit of soap. I use Dove or Olay, but any soft soap will work. Let them soak for about 5 minutes. I didn’t get a photo of this because it’s literally just soaking your fingertips in water lol.
Dry your hands well, and then trim off any dry skin or overgrown cuticles. Be very careful with this. It’s very easy to end up with bleeding and swollen skin tomorrow! Do not trim very much and definitely don’t angle the clippers down when cutting.
Push back your cuticles with a cuticle pusher.

File your nails to your preferred shape. Mine naturally grow in a squoval, so I don’t force them to do anything they don’t want to do! Then use a fine grit nail file or buffer to scuff up the tops of your fingernails. You can skip this, but your at home gel manicure will last a lot longer if the gel polish has something to grip on to. It’s kinda like all of our paint projects. You have to sand before painting!

Now wash your hands to remove all of the nail dust, dirt, and oils from the surface of your nails. When you file your nails you usually end up with a little clingy layer at the tips, so a nail brush is very handy.
Nail Primer
Some of the at home gel manicure kits come with a nail primer and some don’t. I really find that it’s so useful, and extends my gel manicure for 3 to 4 days. This Jodsone one comes with the UV light, but not the primer. The Modelone one I linked, does come with the primer. I did my manicures for about 3 months without the primer, so it’s not a must have. If you have it, go ahead and put a light coat on your nails. I do one hand completely, then move to the next hand.
There is no need to cure this step in a UV light. Just allow the nail primer to dry for 20 to 30 seconds before applying the next step.


Start the Gel Manicure
It’s time to get down to business!
Start with a base coat on the nails of one hand. It’s best to have a light coat as a thick coat causes bubbling, cracking, and early peeling. At first, it’s handy to have a very thin craft paint brush and a bit of fingernail polish remover near your when applying the polish.


Cure the base coat for 60 seconds under the UV light.
Next, apply a light coat of your preferred nail color. It’s best to do two light coats and not one thick coat. It will last a lot longer that way.

Cure your nails for 45 to 60 seconds under the UV light. I usually go ahead and do the full 60 seconds. You will see me use the UV light in the video tutorial.
Once it’s cured, brush on a second light coat of your color gel polish. Cure it for 45 to 60 seconds again.

Finally, apply a thin layer of either your regular or matte coat. I like the Jodsone matte top coat on dark colors, but I hate the Modelones matte top coat on any color. It’s horrible! So, of course I used the regular Modelones top coat here.


Cure under the UV light for 60 seconds.
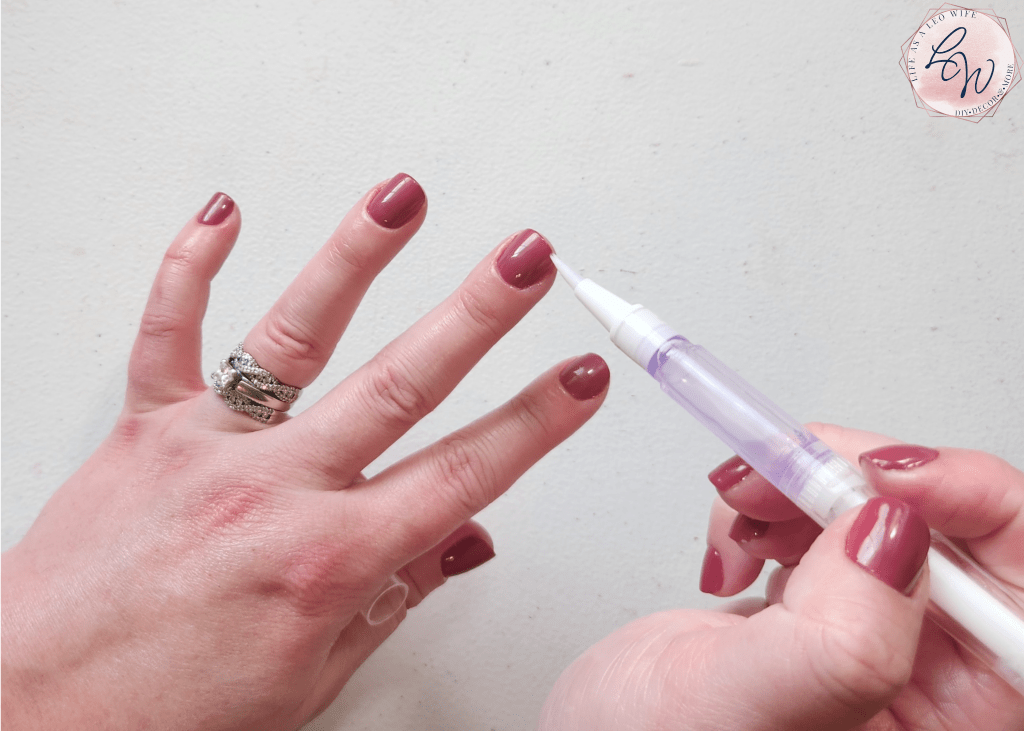
Treat Yo’ Hands!
Now it’s time to pamper your hands. Use the cuticle oil pen and brush it around the skin on your nails and on the nail bed.
Finally, slather on some good hand lotion. I like this Ahava Smoothing Hand Cream. It contains kale and tumeric, a superfood that makes your skin happy. The brand uses minerals from The Dead Sea which is also ah-mazing.
Video Tutorial
That’s it! You just saved yourself $60+ every two weeks!
The longer you do your own gel manicure at home, the better you will get at painting your nails. I have to redo my nails every week or two simply because I’m a DIYer and blogger, so I type for hours every day, sew, cut, and have my nails in paint and Mod Podge several times a week. Yours will probably last two weeks or more.
I am now giving myself an at home gel manicure for less than $0.65 a week. It would cost me $50-60 (with tip) to have my nails done at a salon. Can you believe that savings?! In this economy, you can’t pass that up!
Now, if you’re looking for how to easily remove gel manicure (at home or salon), come back on Saturday when I will share the full tutorial on that!
Remember to pin the image below or share this post with the buttons on the left side of the page so you can find it when you’re ready to start your project! Also, follow me on Pinterest for new ideas added weekly! Be sure that you never miss a great tutorial for decor like wreaths, signs and other home decor, free printables, crafts, and other fun posts! Enter your email address below to be notified of new posts! Use the buttons below to follow me on social media for other great content.
Don’t go yet! There’s more to see!
There’s plenty more to see here on the blog! If you’re looking for something specific, use the search box in the sidebar to look it up. If not, you might enjoy these ideas. Don’t have time to read them all now? That’s ok, just click over to the posts using the pictures and pin them for later. You can also add Life as a LEO Wife to your favorites and check back for new ideas and free printables and SVGs every Wednesday, as well as link parties with tons of shared ideas on Sundays!


3 thoughts on “Nail the Perfect Gel Manicure: Step-by-Step Guide to Professional Nails at Home”