The last few years have been really rough for the entire world, but especially here in the United States. It can be so easy to get down and think that there’s no hope. As a Christian I have a hope to cling to that things will not always be bad, and that the Lord will always provide all of our needs in Christ because He promised He would. Last year I shared a tutorial for creating a thankful journal that your family can write in year after year. This year I decided to make a gratitude pumpkin, and today I’m sharing that tutorial with you.
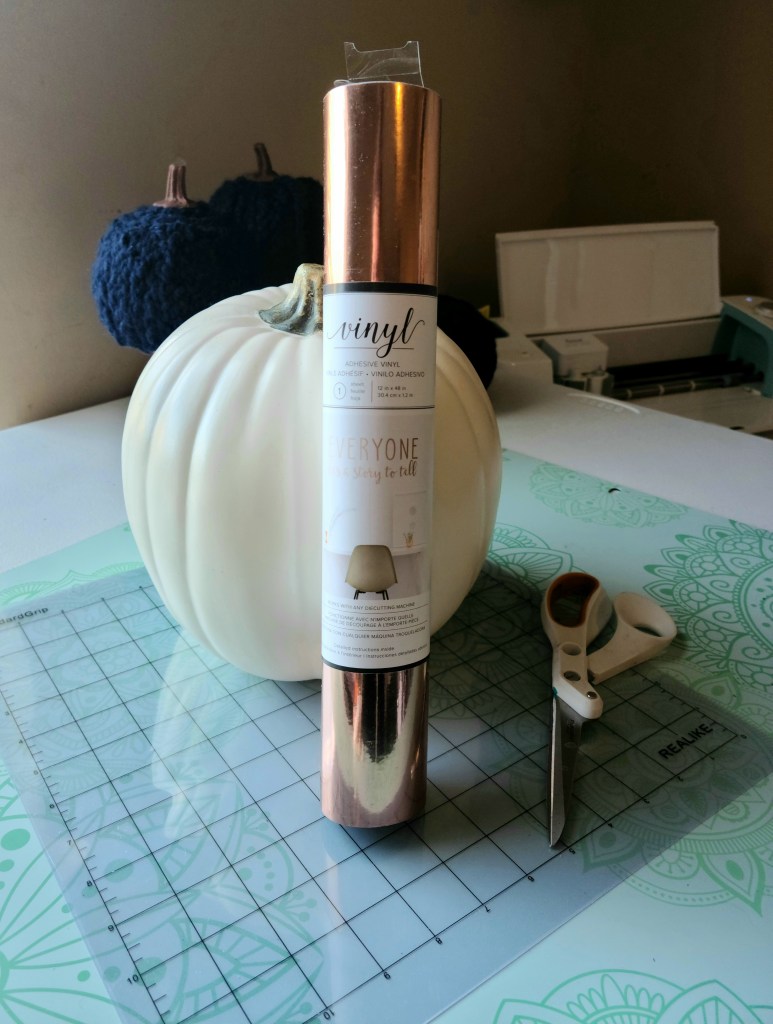
To make a gratitude pumpkin you need:
- at least an 9″ pumpkin – I used a white 9″ pumpkin from Michael’s.
- vinyl – I used copper.
- contact paper or transfer paper
- weeding tool
- credit card or other scraping tool
- Cricut or this tutorial for transferring images using a printer & a pencil.
Cut Image with a Cricut or Print It
I used an image that comes with the Cricut Access subscription for my gratitude pumpkin. It says, “Give thanks to the Lord,” which comes from the book of Psalms. I liked the loopy look of it. Since my Thanksgiving decor consists of burgundy, navy, and copper, so I used copper vinyl to cut the design on.
Since my pumpkin was 9″ (let last 1″ or so is the stem) I cut the design to 4″x3.077.” When you decide what size you want your image, cut a piece of vinyl just a bit larger and place it on the cutting mat. You can use a standard grip mat.
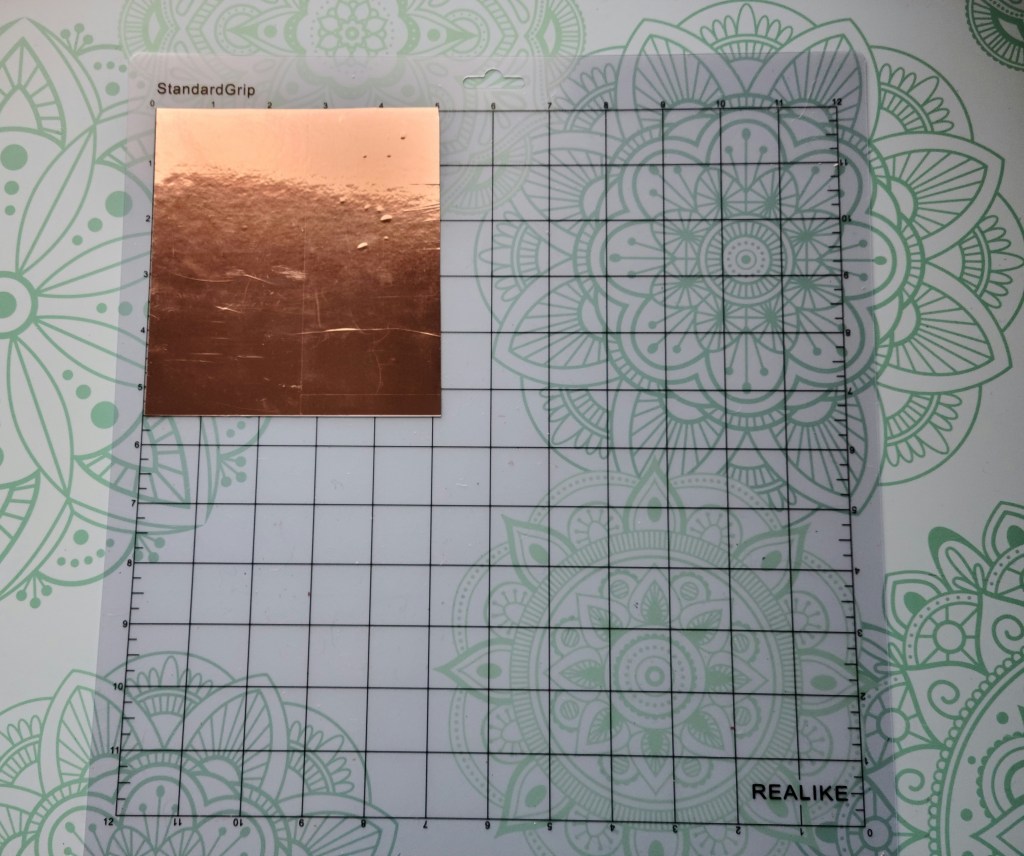
Place the mat into the machine, press the arrow to load the mat, and press “C” to cut the image. When it finishes cutting, press the arrow button again to eject the mat.

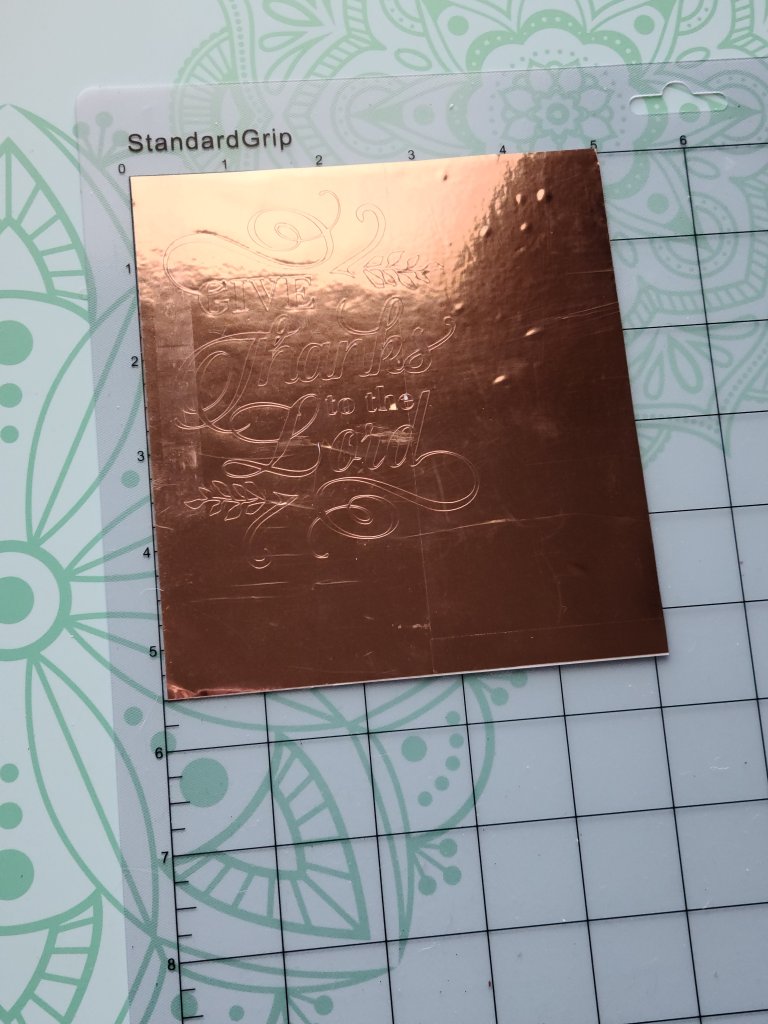
Your image will be cut, and this is what you’ll have. Now you can remove it from the mat.
Weed & Apply the Image to the Gratitude Pumpkin
Remove any inner sections of vinyl, like inside e’s, o’s, a’s, and loops. Then remove the excess vinyl from around the design until that’s all you’re left with.

Cut a piece of contact or transfer paper just a little bit larger than the design. I use contact paper because it’s so much cheaper than transfer paper ($1 vs $10 plus you get more contact paper), and I’ve been using the same roll for years! Remove it from the backing and place it on top of the design. Use a credit card or other scraper and go over the top of the contact paper along the design.

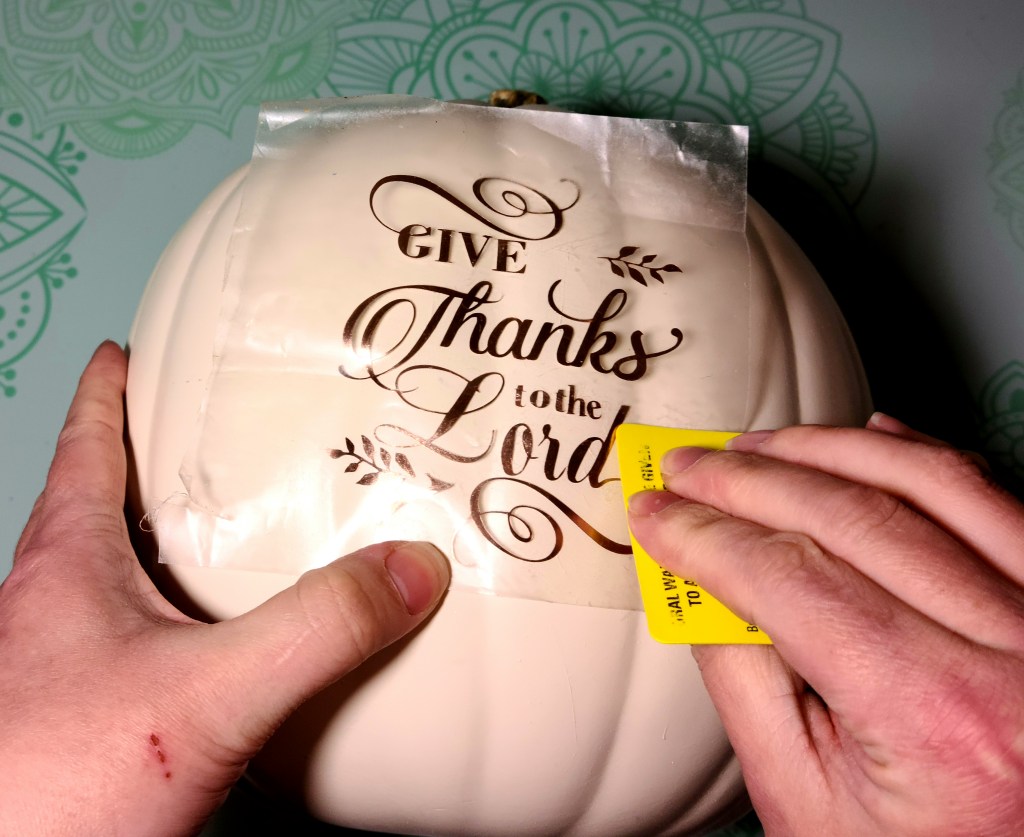
Remove the design from it’s backing, and place it on the middle of the pumpkin. The middle of the design should be at the 4″ mark on the pumpkin if you have the 9″ one.

Use the credit card and rub over the entire design to adhere it to the pumpkin. Make sure to go over it very well, paying extra attention to the thinner areas. I usually spend about 5 minutes going over a design this size. This vinyl is a cheaper brand that I found at Tuesday Mornings a few years ago, so it’s kind of a headache!
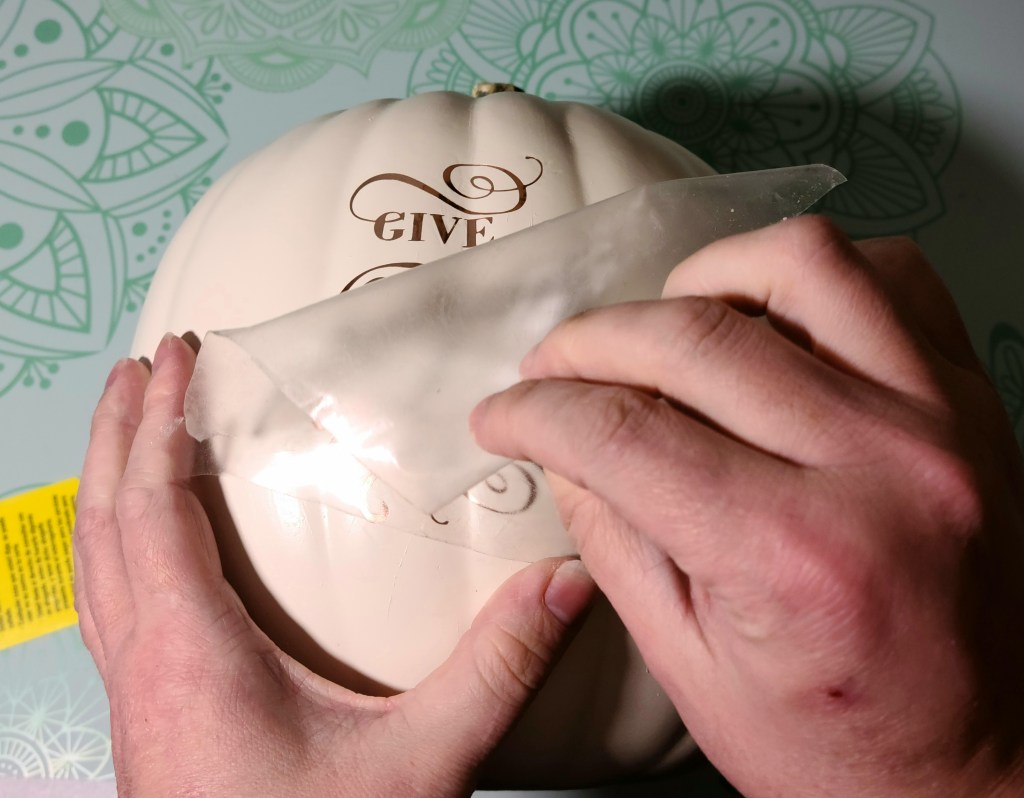
Once the design is completely adhered, remove the contact paper. If you’re removing it and a piece of the vinyl comes off a bit with it, place it back down and go over it again with the credit card. Or in my case your Miranda rights card, ha!
Cut & Add the Year (Optional)
I decided that I’d like a collection of these pumpkins to place out each year. I’m not picturing a crazy amount of pumpkins in one area each year like people on My Secret Obsession or whatever that show is called. Remember that show on TLC? That one lady with all the shoes? Yea, no. With these pumpkins you can put a few in the dining room during Thanksgiving, maybe the latest ones. Then you can place others throughout your home as fall decor.
I cut the year, 2021, on the same copper vinyl. Then I placed it on the opposite side of the pumpkin. Here is a video of how to remove, weed, and apply vinyl to your pumpkin. Y’all I still can’t video without hitting the tripod. I’m so sorry. It’s just me, lol. Also sorry I’m at the bottom of the screen for most of the video… One day I’ll get better. This is only my third one.
Write on the Gratitude Pumpkin
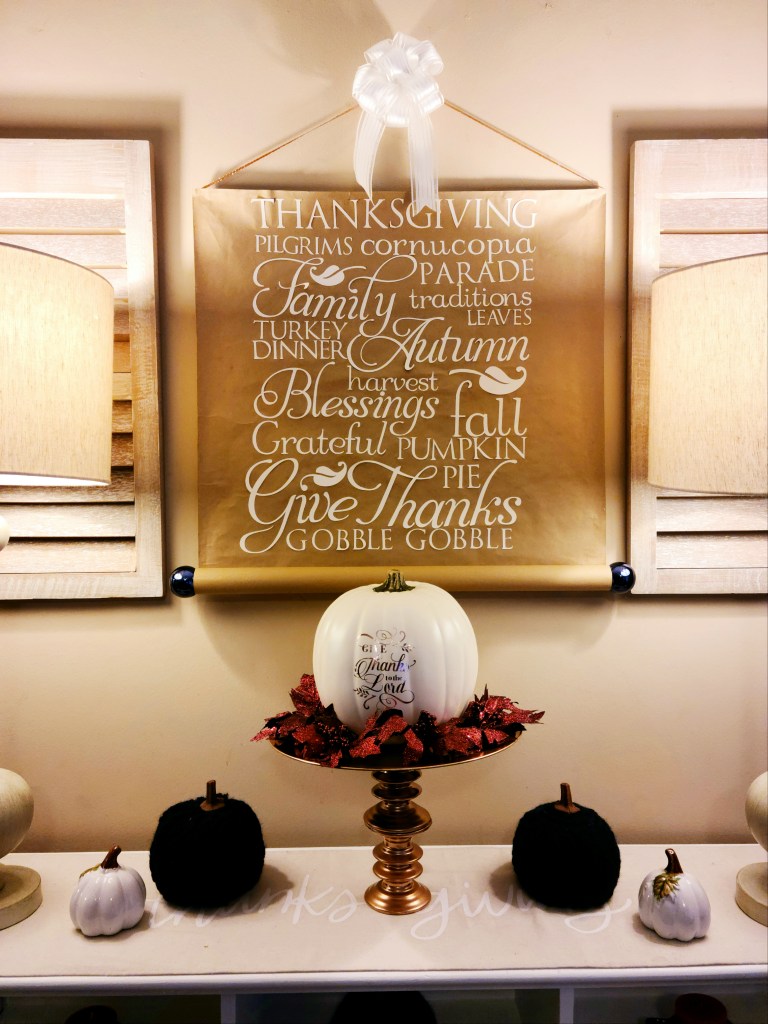
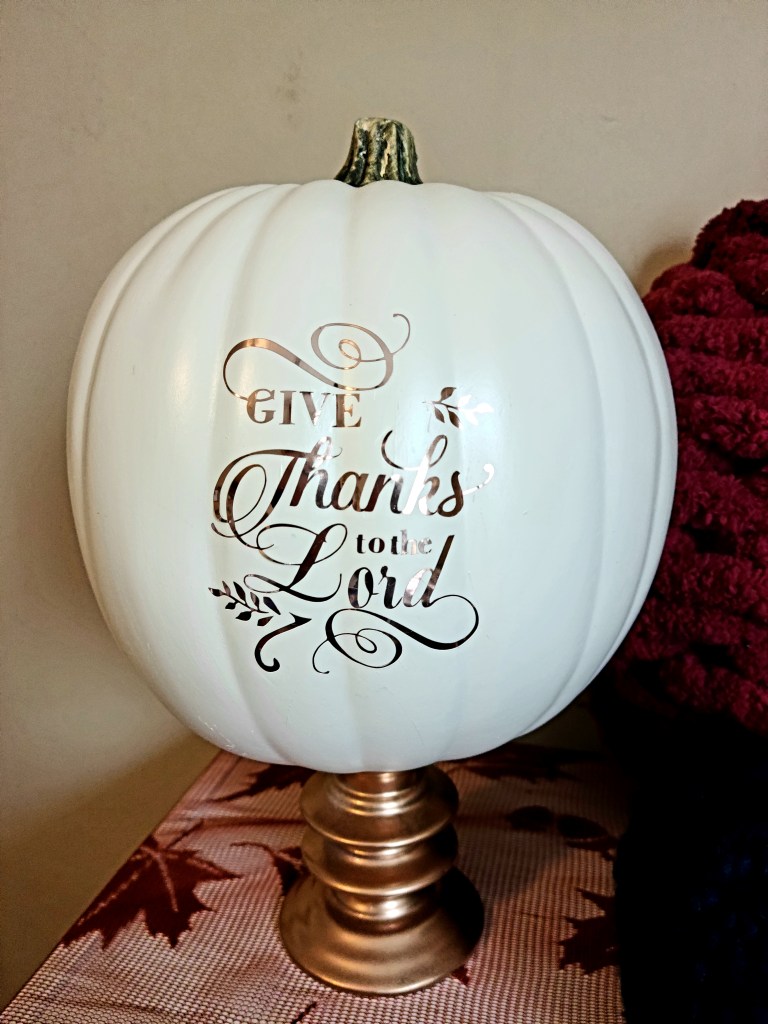
The gratitude pumpkin is now complete! All that’s left to do now is write what you’re thankful for on the pumpkin. You can use a regular Sharpie or a paint or metallic Sharpie. I’m going to buy a copper pen or a navy one for this pumpkin. When I do, I’ll update this post with our writings on it. I think that I’ll make a thing of it on Thanksgiving. Perhaps when everyone arrives, I’ll have them write what they are thankful for on it, then I’ll place it on the dinner table as part of the centerpiece. I’ll add pics of that as well. I know I’ll be writing that I’m so thankful for God’s provisions for our family over the last year. We’ve had an extremely hard year, yet we haven’t not eaten or gone without a place to live!
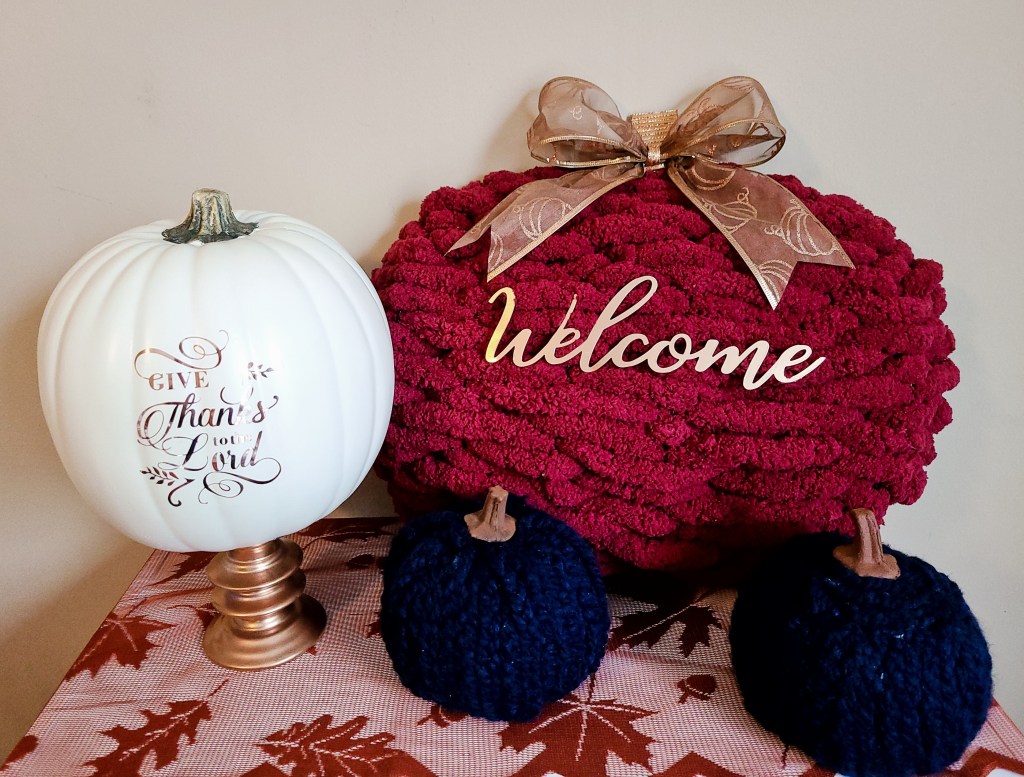
Here’s my finished pumpkin!
I hope that you enjoyed this tutorial and this pumpkin becomes a beloved tradition in your home. I think it will in ours! If you have family and friends who would love to add this to their own Thanksgivings, use the buttons at the end of the post to share this on social media. Make sure you pin this idea so you have it when you’re ready to make your gratitude pumpkin.
I hope that you’re all having a blessed week, and that you’re coming weekend is even better! I have a fun collab coming up with House Finch Entertainment this weekend for Halloween. Make sure you follow me on social media using the buttons on the sidebar to keep up with what’s going on here on Life as a LEO Wife. Don’t want to miss a great tutorial, free printable, or other post? Enter your email address below, and you’ll get an email when I add a new post. If you’re a blogger friend, you’ll get a reminder to come by and share your family friendly posts on my link parties, Happiness is Homemade, You’re the Star Blog Hop, and Traffic Jam Weekend.
Don’t miss any great ideas! Get an email when new posts are added.


This looks fabulous! I love it!
Thank you Amy!
This is the cutest. Was the metallic vinyl easy to work with and transfer. The cricut is so versatile.
Thank you! The vinyl transferred easily, but it’s a cheap brand that was at Tuesday Mornings. I know they get discounted stuff, and this was definitely one of those cheap items! It didn’t hold very well. I’ll have to make sure that I wrap it carefully for storage. I’ve used the Orcal metallic vinyl and it sticks and transfers well.
I love your fall decor setting, I especially love this gratitude pumpkin. It is beautiful.
Thank you!
Love how this looks. anything copper is so rich. The gratitude pumpkin is so special. Thanks for sharing at Love Your Creativity.
Thank you Linda! And thanks for hosting!
Thanks for featuring my gratitude pumpkin! I’m honored!!
Simply love this idea. Very pretty. Thank you for joining us over at Crafty Gals. Best of luck and hope to see you again soon. DT~Jana Forrest
Thank you! And thank you for visiting!
Love your gratitude pumpkin. A pumpkin is a great place for a message of gratitude. It makes a great decoration for the season.
Thank you!