
Today is the 10th of January and that means it’s time for our $10 on the 10th blog hop. I’m joining a group of lovely ladies for this month’s theme: Valentine’s Day. Each one of us has created a DIY that will cost you less than $10 to make! This month I made an adorable Valentine’s Day tabletop decor piece that you can use to decorate your home until the day of love. You can also use it as beautiful gift box for those special people in your life. Who doesn’t like a two-for-one project?!
To make this Valentine’s Day tabletop decor piece you need:
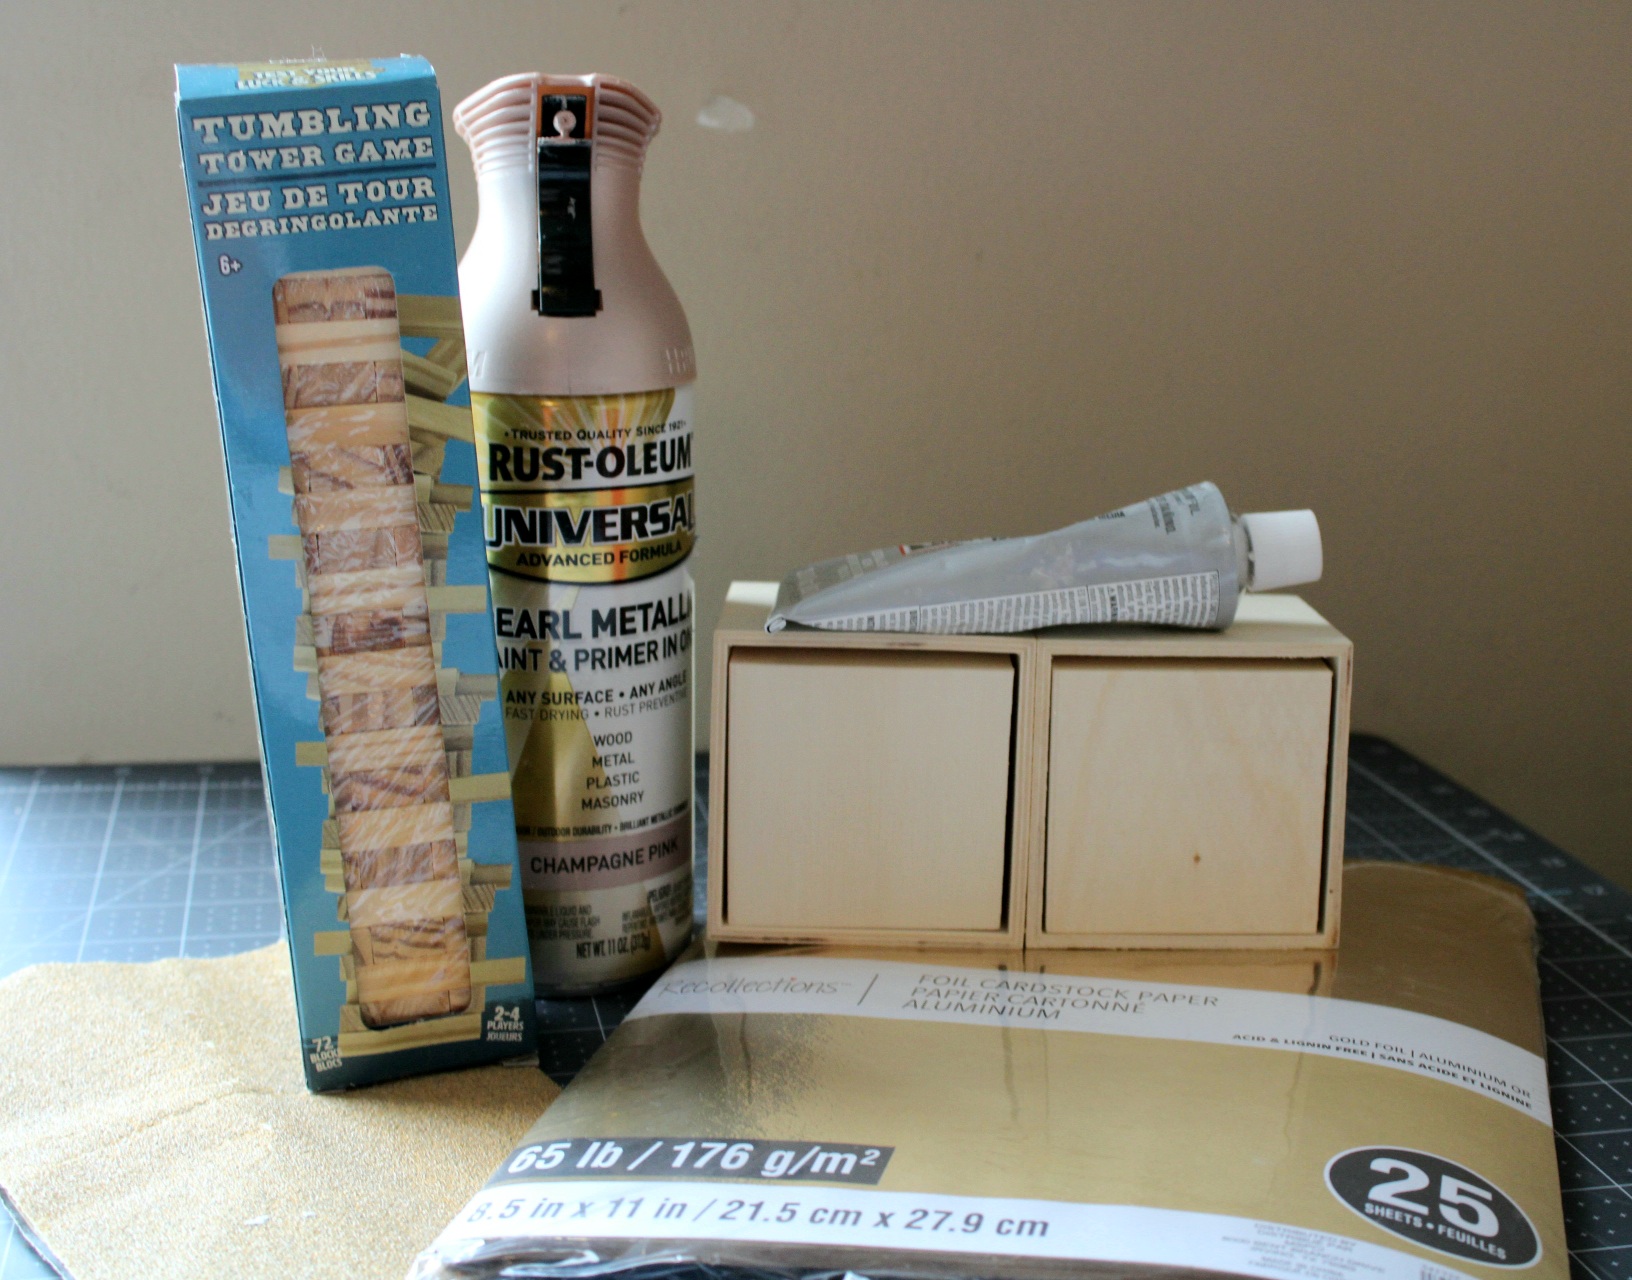
- 2 Dollar Tree wood boxes with drawers- $1 each
- blush pink & white paint (or other Valentine’s Day color)- acrylic paint is $0.50 at Walmart or $1 at DT.
- paint brush
- small Jenga blocks or 10″ piece of wood from Dollar Tree- each $1
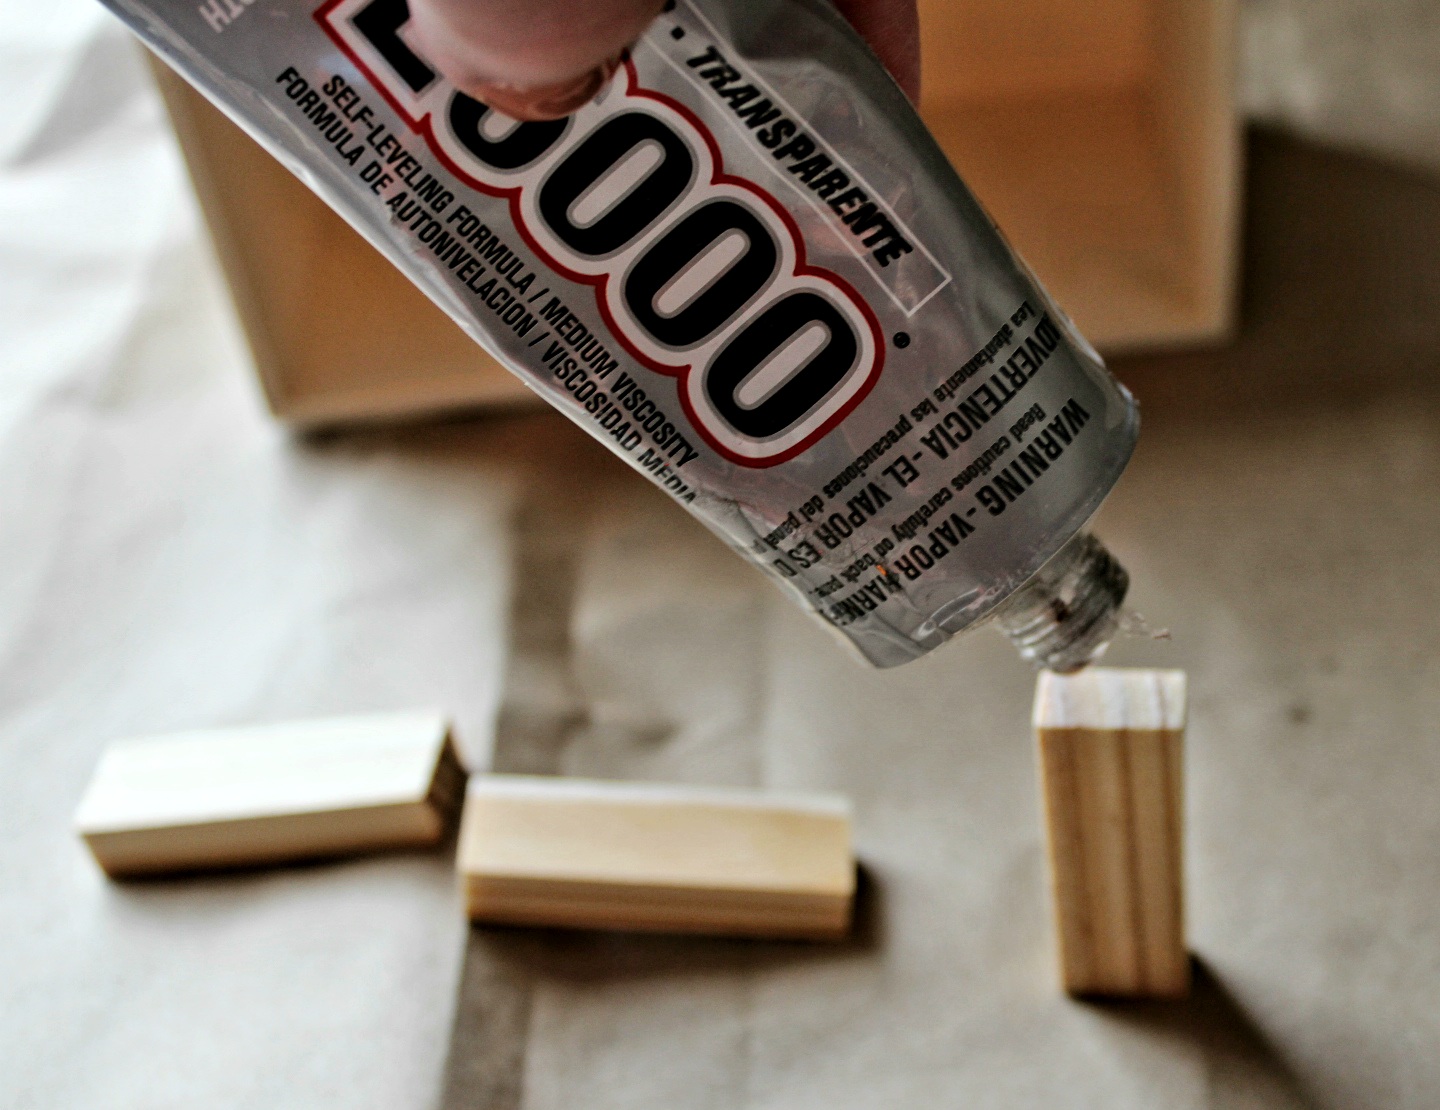
- E6000
- hot glue
- gold vinyl $0.99 or cardstock $0.33
- wired ribbon for a bow- I used an old spool from Michael’s that I got for 50% off. It was $3.99
I paid $3 for this project, but if you need to purchase everything except the basic supplies like paint, you can make it for $8 without paint or $9 with paint. I’m sure most of you ladies have ribbon and paint so you probably just need the wood!
Glue Wood Together
Boxes
The boxes from Dollar Tree are more like drawers. They come wrapped in plastic, and they have a variety of shapes cut in the front of the drawer. In my case the shapes are butterflies, but it doesn’t matter what shape you pick since they won’t be seen. Unwrap two boxes and glue them together side by side with E6000. If you need to you can add a little hot glue as well. Press the two boxes together and hold them for a minute or so to allow the glue to start to dry. Set them aside and allow them to dry for a few hours.

Jenga Pieces
There are two different types of wood that you can use for the top of the Valentine’s Day tabletop decor piece. I initially was going to use pieces from the small Jenga game from Dollar Tree. Once I had three glued together, I decided I wanted it wider. I already had the pieces painted, so I changed tactics and used a 10×1.5″ piece of wood that they also sell at Dollar Tree.
If you already have Jenga pieces or your DT doesn’t sell the wood separately, let me tell you how to glue them together. Put E6000 on the small end of a game piece and add a small amount of hot glue on top of that. Next press another game piece to that one. Wipe off any excess glue that squeezes out.

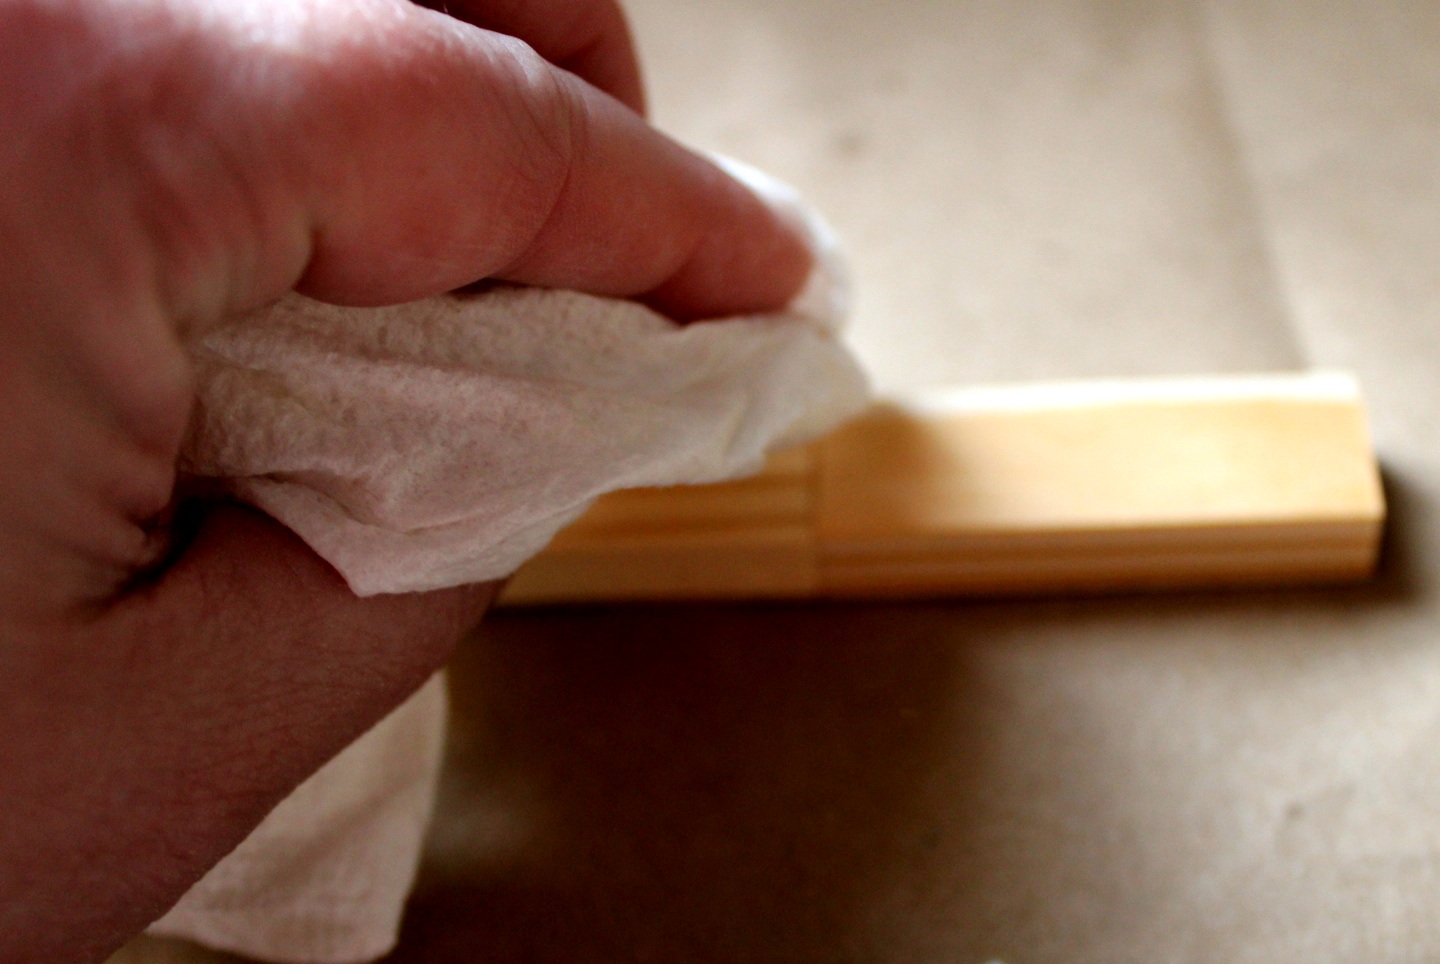
Then glue another one to the end of that until you have a line of three game pieces.

Now stack three more on vertically. Continue adding pieces until you’re happy with the height and width.
If you’re using the 10″ long piece of wood, you’ll need to cut it down to size. Place it on top of your boxes and mark where you need to cut it with a pencil. I used a simple handsaw to cut it off. They sell them at Dollar Tree if you don’t have one already. Sand down any rough edges and the surface.


Paint the Pieces of the Valentine’s Day Tabletop Decor
Once your boxes and game pieces are dried together, give the surfaces a light sanding. The wood from Dollar Tree usually has a lot of scraggy pieces hanging off. Remove the drawers from the boxes, place the pieces out on a piece of cardboard, and spray paint each one. Two coats of Rust-oleum Vintage Blush covered the wood well. When they dry, turn the shape to the back of the drawer and slide it into the box so that the front of the drawer is flat.


I painted the wood for the top of the boxes with white acrylic paint. You can spray paint it if you’d rather. It took three coats to cover it well.

I painted the Jenga pieces before deciding to go with the wider piece of wood.


Glue the White Wood on Top of the Boxes
Put E6000 on the bottom of the wood that you painted white. Squeeze some hot glue on top of that, then center the white piece on top of the boxes, flush with the front of the drawers.


Cut the Vinyl or Cardstock
While your paint dries it’s time to cut the design for the boxes. I created an image in Cricut Design Space, with “February” for the top wood piece and “1” and “4” for each of the boxes. You can get my design here if you have a Cricut. I used my Cricut Access subscription, so it didn’t cost me anything extra. If you’d like to buy the font and lines to keep, I believe they are $4.99 and $.99 respectively.

Use transfer paper to add the vinyl on to the sign. I’m not going to go into detail on how to use the vinyl, but if you need a tutorial on that, you can check out my Cricut tutorial posts. Center the “1” on the left box drawer, and the “4” on the right drawer. Center “February” on the white piece of wood. Remove the transfer paper once the vinyl is secure on the wood.

Free Printables to Mod Podge on the Valentine’s Day Tabletop Decor Boxes
If you don’t have a Cricut, or you do and you don’t want to pay anything extra, I made some free printables just for you! You can download each piece, the month (5.75″x1.5″) and each number (2″ tall), then you can print it. Make sure your printer settings are set to print the size you want it to and doesn’t “fit to page.” You can cut it out by hand or use the print then cut feature on your cutting machine. If you don’t want to cut out each letter in “February” out by hand, you can trim it as short as you’d like then Mod Podge it on to the wood at the top of the boxes. Then cut each number out and Mod Podge them on to each drawer.
As always, these printables are for your personal use only. Please send your friends and family to this URL to print and don’t print multiples for others. You can share it directly with them using the buttons at the end of the post.


Don’t want to Mod Podge and don’t have a cutting machine? No problem! You can use the carbon copy method with a printer and a pencil. Print my designs, cover the back in pencil lead (just scribble all over the back), and then trace over the letters on top of the wood. That will transfer the designs onto the wood, and you can simply paint it. See my winter door hanger post for the full tutorial with video!
Add a Bow
Finally add a simple bow to the top of the piece of white wood. I made a simple two loop bow and secured it in the middle with a piece of floral wire.

To cover the floral wire, I used a piece of white 1/8″ ribbon and secured it with hot glue.


The final step is to hot glue the bow on top of the Valentine’s Day tabletop decor piece. There are a few ways you can do it. You can sit it straight up and add hot glue to the bottom of the loops then sit it on top of the white piece of wood. Or add a dot of hot glue to the center of the bow and center it on the white wood. You can adjust the loops so they lay flat on top, or pull them forward a bit so they face out. I made mine face out a bit.


Your Valetine’s Day tabletop decor piece is complete!
That’s it! Wasn’t that easy? How is that for a $3 Valentine’s Day decoration? You can also use it for small gifts or to store mints or other wrapped candies in on your side table. Here are a few shots of my sign along with this Valentine’s Day globe.


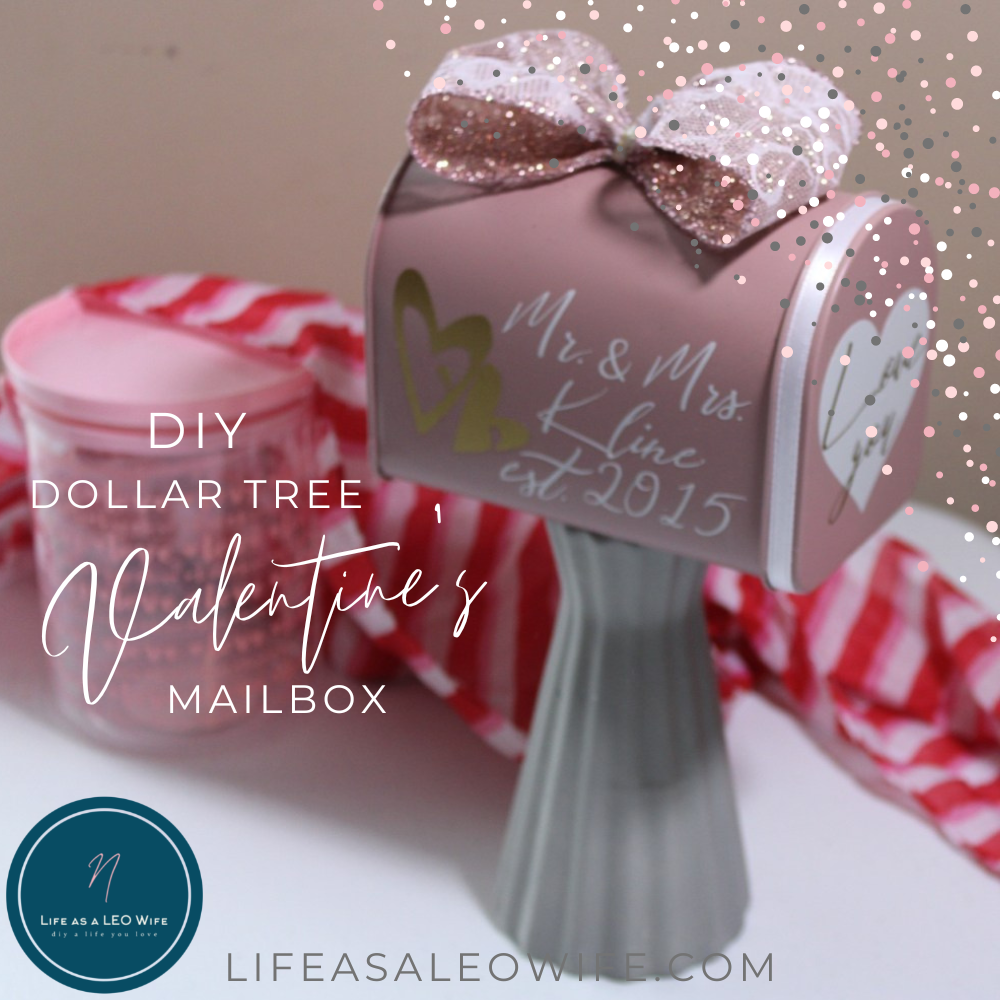
If you’re looking for more matching decor, you might enjoy my Valentine’s tiered tray decor post where I show you how to make enough pieces to fill a large two-tier tray. This personalized Valentine’s mailbox is another matching piece, and you can deliver my free love notes for your spouse and these for your kids in their own special mailbox!
Remember to pin the image below or share this post with the buttons on the left side of the page so you can find it when you’re ready to start your project! Also, follow me on Pinterest for new ideas added weekly! Be sure that you never miss a great tutorial for decor like wreaths, signs and other home decor, free printables, crafts, and other fun posts! Enter your email address below to be notified of new posts! Use the buttons below to follow me on social media for other great content.

Don’t go yet! There’s more to see!
There’s plenty more to see here on the blog! If you’re looking for something specific, use the search box in the sidebar to look it up. If not, you might enjoy these ideas. Don’t have time to read them all now? That’s ok, just click over to the posts using the pictures and pin them for later. You can also add Life as a LEO Wife to your favorites and check back for new ideas and free printables and SVGs every Wednesday, as well as link parties with tons of shared ideas on Sundays!


Under $10 on the 10th Blog Hop

I know you can’t wait to see what the other lovely ladies in the hop have cooked up for Valentine’s Day! I know I can’t!
Tammie – Patina & Paint (main blog)
Valentine’s Day Tic Tac Toe Bags
Terrie – Decorating & More with Tip (main blog)
Patti – Pandora’s Box (main blog)
Valentine’s Day Washcloth Cupcake Gift
Allyson – Southern Sunflowers (main blog)
Valentine’s Day Painted Jewlery Box
Corine – Junk to Gems (main blog)
A Neutral & Easy Valentine’s Craft


That valentine diy is adorable. I am definitely going to try and do one. Wish me luck!
Thanks Corine! I added you to my post. Somehow I missed you, like a goober lol. Tag me if you try it! Happy hopping!
Nicki this is soooo cute! I never would have thought to have made this and I love it! Thanks so much for sharing. I can’t wait to try making it.
Thank you Tammy! I really love how it turned out. It didn’t start out like it ended up though lol. You know how that goes! Happy hopping!
This is so cute and a great item for my desk here at work. I am going to make one! Thanks for sharing!
If you do I would love for you to tag me! I think I left you out of the hop list. I’m so sorry! I added you. Happy hopping!
Looks great! I like how you were able to take Dollar Tree wood and turn it all fancy for Valentine’s Day. There must be a lot of crafters in my area because I haven’t had recent luck in that DT wood aisle.
Luckily I bought everything back in November. I need to check out what they have before my doctor’s appointment tomorrow. Hoping they have some good stuff out. The one I can walk to never has any good stuff. Go figure lol!
Fantastic and well done. Thanks for sharing at @esmesalon #SeniorSalonPitStop I love your work and wish I had time to do these type of stuff
What a clever Dollar Tree DIY! Too cute, especially the ribbon. Thanks for sharing at Vintage Charm. xo Kathleen
I adore the ribbon as well. The glitter gets EVERYWHERE though. I look like a pixie when I’m finished with it lol! Thank you!
Such a innovative idea.
Thank you!
What a fantastic project.
Thank you for entering our Anything Goes Challenge at Through The Craft Room Door this week. Looking forward to see you again next challenge.
Hugs
Sheryl xx
TTCRD DT
Cat Crazy Craft Corner{My Blog}
Thank you for visiting!