with Dollar Tree items and Sweater Ribbon
I changed my Christmas wreath to create this Valentine’s wreath. Decorating for holidays and seasons is something I love. I made this wreath at Christmas which I can keep up for winter since it’s made of white sweater ribbon. I encourage you to make a few wreaths that you hang in your house that you can remove some of the decorations, then add new ones for the next holiday or season.
This is relatively easy. You can make the base wreath when you have extra time, then all you have to do it change the bows or other decorations within five minutes. I make my base wreaths for fun; a little Mom me-time!

For this Valentine’s wreath you need:
- 18″ straw wreath base or this 16″ styrofoam wreath base, or the size that fits your home and the place where you will hang it.
- 5″ white sweater ribbon
- heart sign with five hearts hung on a ribbon from Dollar Tree
- pack of pink and red foam hearts from Dollar Tree
- four pipe cleaners, preferably white
- scissors- These are my favorite; they’re sharp and easy on the hands. If you’re looking for something cheaper, then the original Fiskars are good.
- hot glue gun and glue– This is a Gorilla glue gun that comes with the glue sticks.

Wrap the Valentine’s Wreath
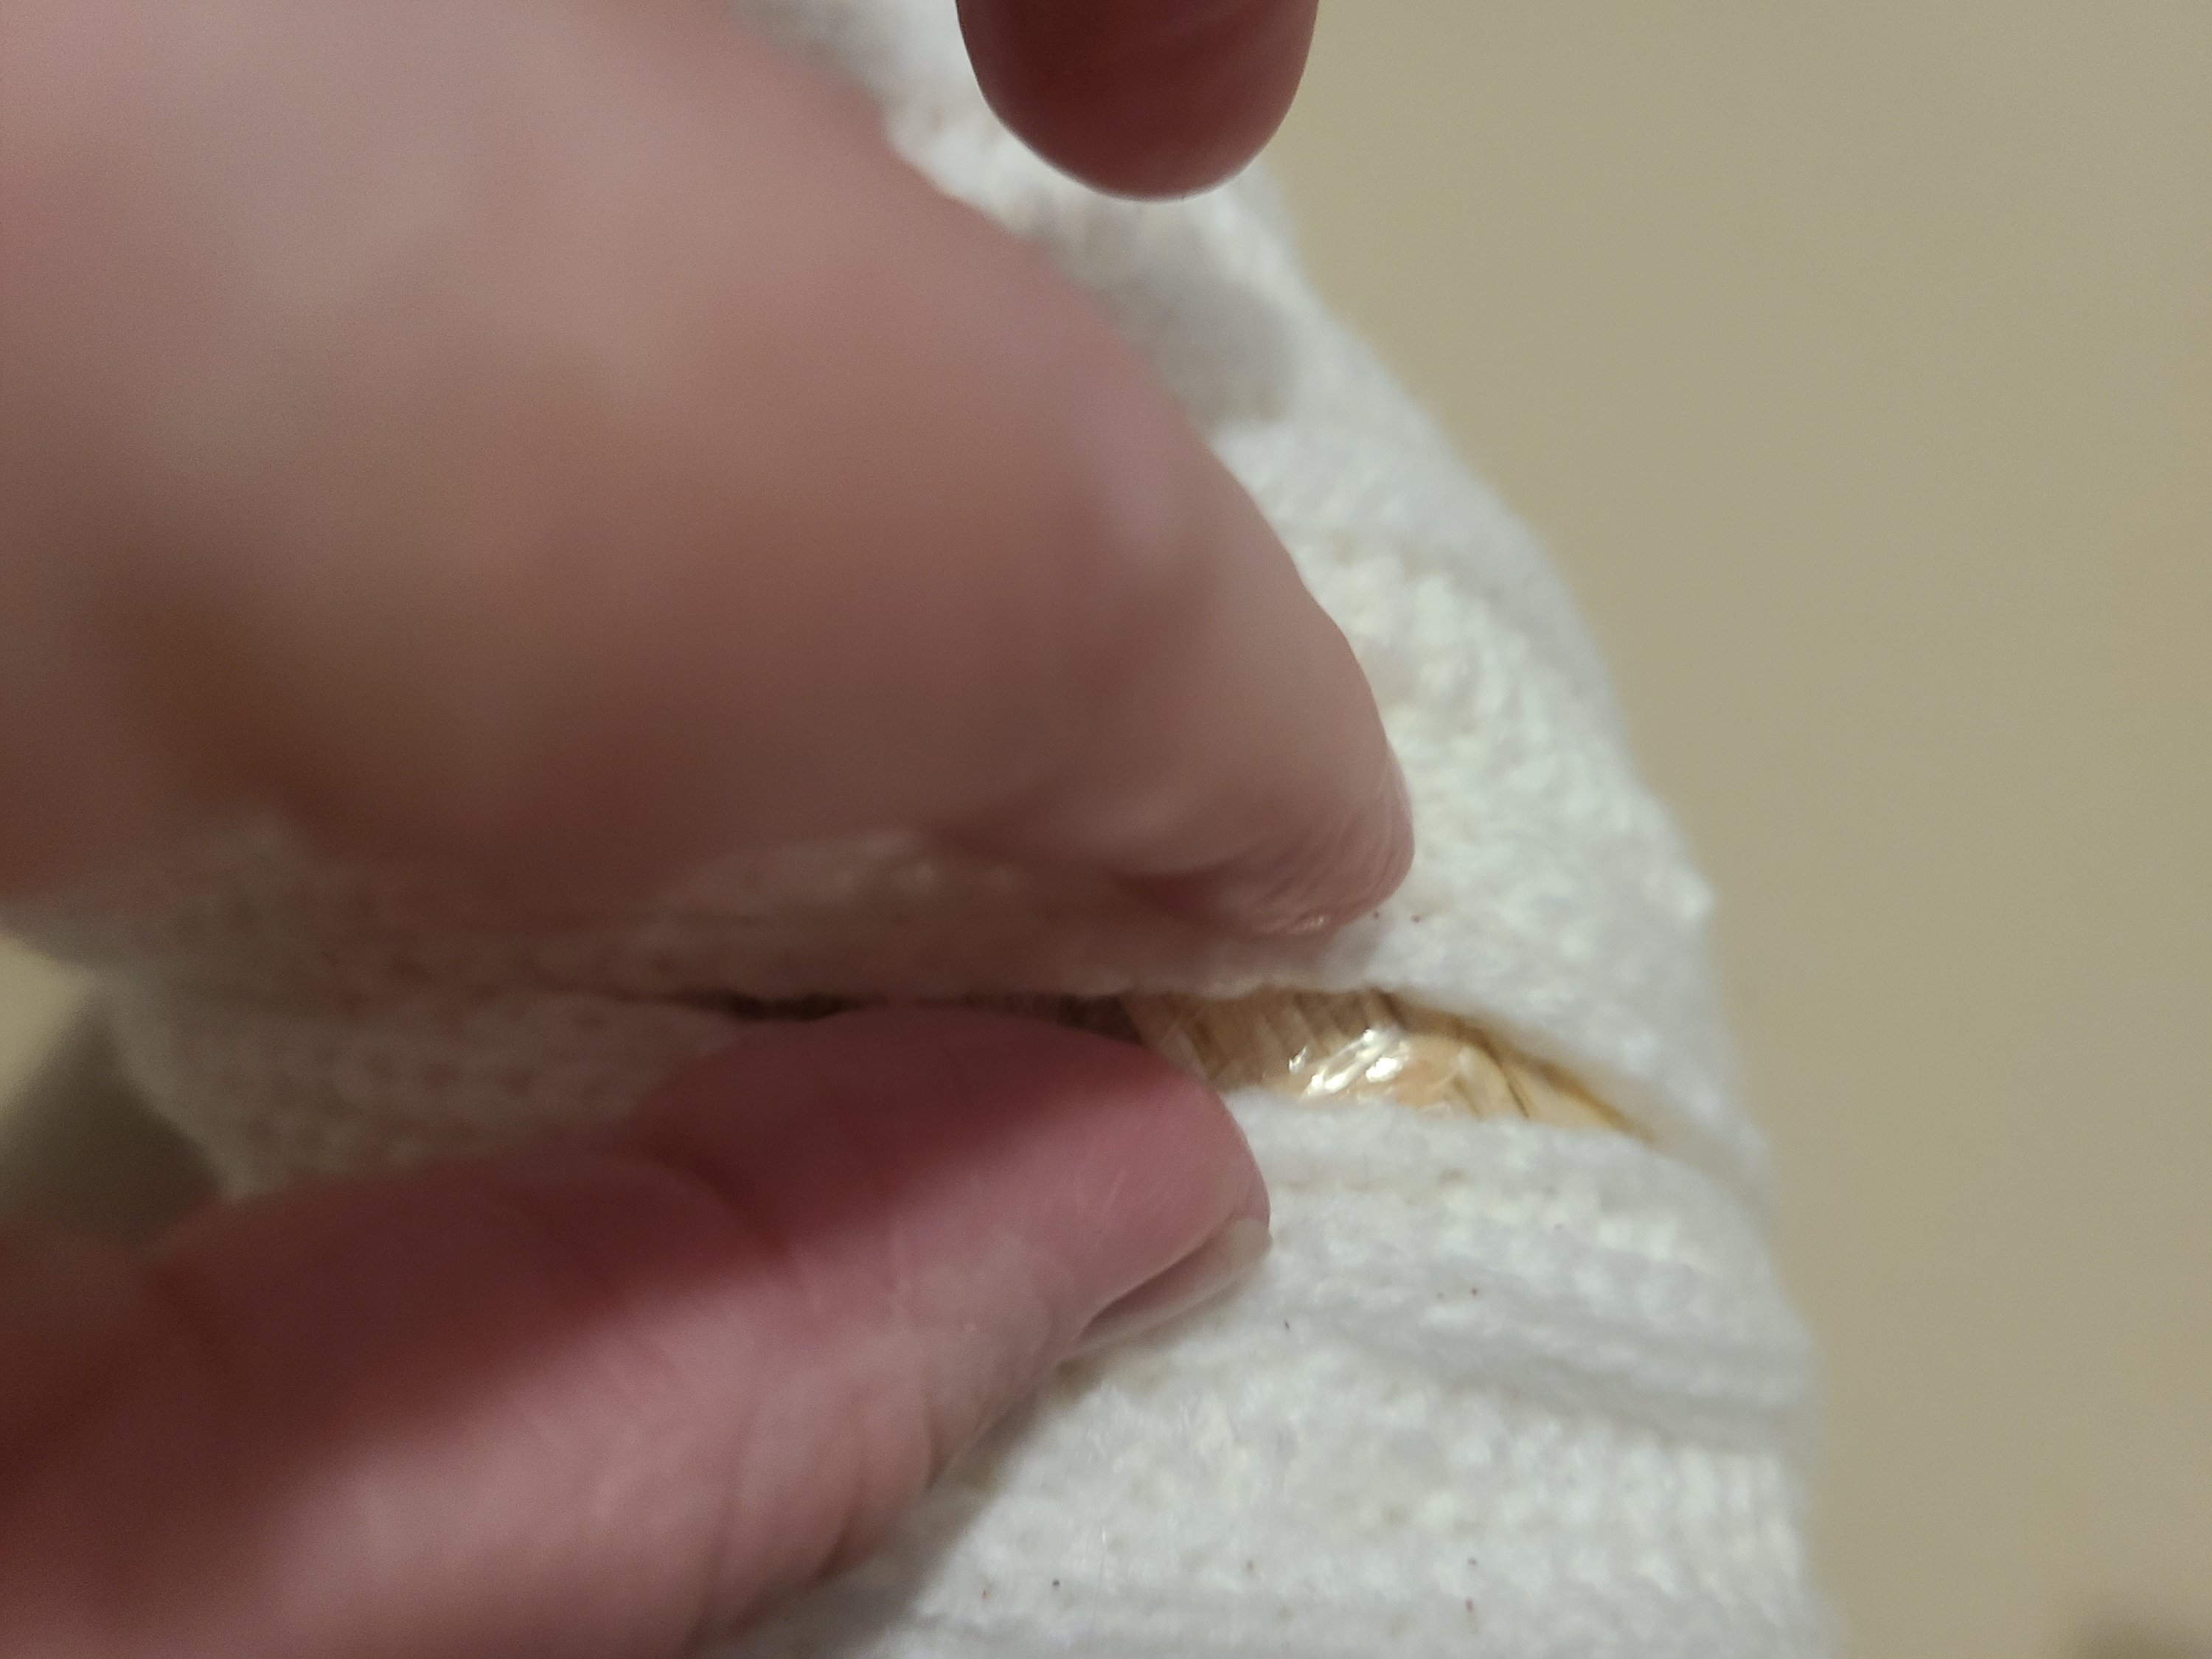
Put a strip of hot glue along the edge of the sweater ribbon, and press it on to the back of the wreath form. Begin wrapping the ribbon around the form. Match up each wrap, with every wrap touching the edge of each new one. If the gap won’t stay closed, add a strip of glue edge where the edge of the ribbon needs to be. When you are back where you started, make the final loop straight up and down, not a bit diagonal like all of the other loops. Cut off the ribbon and glue it to the back of the form.

Glue the Hearts Together
First you will separate the hearts from the rest of the sign. The hearts are attached to a red ribbon, glued vertically. Hold the ribbon and gently pull each heart down and away. They come off very easy.
Place the red “Welcome” heart at the bottom center of the wreath. Next put the two pink hearts on the left and right side of it with the edges of the pink hearts under the red just a bit.

Build on those three hearts by putting the “XOXO” and the white and red polka dot hearts under the two pink hearts. Squeeze some hot glue along the V of each heart, then press the two pink ones over them. This will create one piece that can be added to the Valentine’s wreath. You can lay them on the wreath as you work to make sure you’re putting them in the right place.
Add the Hearts
In order to place the piece on to the wreath, and be able to take it on and off, you need to attach pipe cleaners on the back of it. Turn the hearts face down and put a strip of glue, about 2″ long, on the back of each of the top hearts. Press the middle of each pipe cleaners on the sections of glue.
Once the glue is dry, find the bottom center of the wreath. Put the hearts face down and put the wreath on top of them, face down. Make sure the hearts are centered, then wrap the pipe cleaners around the wreath and twist them closed. Repeat this process on each side. Now put the foam heart on the top of the wreath. The pack from Dollar Tree have adhesive backs, so it should stick on its own, but if it doesn’t place a TINY bit of hot glue on the back of it and press it on the wreath.
Alter the Valentine’s wreath for each winter season and holiday.
If you want to you can change this wreath all year long, but I just use it in late fall through winter holidays since it’s made with sweater ribbon. During the Christmas holidays I had a burgundy glitter ribbon on top of the wreath. In November I placed a fall covered chevron ribbon with leaves of orange, brown, and gold coming out of each side of the ribbon.
Other ideas are seasonal flowers, family initials, banners to go across the wreath, wood or metal words, the list can go on and on. Make sure if you make other embellishments, that you do not glue them to the wreath itself. Add pipe cleaners to the backs of the decorations and use those to attach it to the wreath.
I hope you have enjoyed this tutorial. When you make your wreath, post a picture in the comments section below or on my social media accounts. I love to see your work! Make sure you share with your friends and family so they can make their own wreath. Share, share, share! Sharing my posts can help me keep these tutorials and ideas coming your way.
If you enjoyed this tutorial, you may like these tutorials: Valentine’s Day sign, this Valentine’s doormat, and this Valentine’s Day globe. This scallop wall art is beautiful and so versatile! You can use it as a backdrop for a DIY photobooth like I did for my daughter’s sweet 16, for a backdrop behind a dessert table at parties (I did that too!), or as a piece of wall art. I think you’ll love it!


I post on Tuesdays, Thursdays, and Saturdays, so make sure you come back to see what’s new! I also host link parties that on Sundays, Mondays, and Thursdays. On those parties bloggers stop by and share their wonderful ideas and you can be inspired by their DIY decor, crafts, recipes, fashion, family posts, and so much more! Enter your email address below and you’ll get an email when I add a new tutorial, free printable, or other great post so you never miss a thing!
Follow me on social media using the buttons in the sidebar to keep up with the blog (I’ll love you forever if you do!). Let me know in the comments if you follow and would like me to follow back. Follow me on Pinterest where I add new ideas weekly!

How cute! Thanks so much for linking up at the 25 and Done Link Party 2. Shared onto Fb, Pn, and Tw!
Thanks Dee!