I love decorating for every season. Walking around Hobby Lobby & Michael’s does my heart good, especially during fall & winter seasons & holidays. Michael’s has half an aisle of blush pink & black Halloween decor. It’s beautiful & goes great in the master bedroom. (You can see my master bedroom Halloween here.) To buy all of the cutesy things would cost a pretty penny. I love creating pieces of decor for a lot less than the store prices. Today I’m going to show you how to make this glittery Halloween pearl skull, that Michael’s has for $19.99, from Dollar store items.

To make a Halloween Pearl Skull you need:
- Plastic skull from Dollar Tree
- Glitter- I used pink bc our bedroom is blush & navy & I had it on hand. I think white, black, silver, or gold would be great.
- Tacky glue- You can use any glue you like, just not hot glue as it dries too quickly to get the beading on.
- Chalk paint in cream or white
- Paint brushes- one for the paint & one for the glue.
- Beading- I used Recollections Specialty Glitter from Michael’s
- Optional- clay tool, double-ended with a spatula top on one end & pointed on the other end.

Paint the Skull
First paint your skill in the cream Chalk paint. You could also use white. Allow it to dry for about 30 minutes.

Add Glue & Glitter
Brush some Tacky glue in the left (with the skull facing you) eye socket, a tiny amount in the right eye, & in the nasal cavity. Take your glitter & sprinkle some in both places. Spread more of the the glue from the right eye up & on top to just before the halfway point. Add more glitter. Make a small line of glue from the bottom of the right eye down, curving down & getting skinnier to the right side of teeth, to the chin. Add more glitter. Shake the skull around to remove the excess glitter. Allow it to dry a little. I think with brighter colored glitter that I wouldn’t add the glitter under the pearls on the next one. If you have a light color, go ahead with the glitter. It’s kinda just subjective to your preferences.

Add Pearls
Now brush a pretty good bit of the glue in the right eye socket. Make sure you lay out a newspaper or craft paper to catch the extra glitter & beads. Shake the beads into the socket while holding the skull in one hand so the skull faces up. You may have to use the clay tool to get the beads exactly how you like. You can use your finger if you don’t have one, you’ll just have to wipe it clean a lot.

Next paint the glue on top of the skull, spreading up the socket, to the brown bone, making the glue wider as you go to the top. On the very top, the glue & beading should spread to about the nasal bones. Not down to the nose, just think of a straight line from the nose to the center of the top of the skull. Sprinkle the beads on the glue. Now sprinkle the beads down the face, teeth, & to the chin.

I love the way this turned out, especially since I didn’t have to spend a dime because I had all of the supplies. I dug into our Halloween decorations and got the skull. The glitter from our wedding, way back when, and of course I had the glue and paint. I saved $15 and added an adorable piece to our blush and black Halloween master bedroom.

The Halloween pearl skull is complete!
When you’re skull is dry, place it in it’s place of honor in your home! I like my little skull! I will be making another one this year (2021, this original post is from 2020) with gold or clear glitter. If you like the headstone behind the Halloween pearl skull, you can get that tutorial here.

I hope that you enjoyed this tutorial! Make sure you pin this tutorial so that you can find it later, and while you’re there, follow me on Pinterest! I have several fall and Halloween boards that I think you’ll enjoy. Another way to save this tutorial is to share it on social media using the buttons at the bottom of the post. That way you have it saved, and you’ve shared a fun Halloween project with your friends.
I have more fall and Halloween tutorials and free printables coming up so make sure you follow me so you can see when they are posted. Use the social media buttons in the sidebar to follow me on your favorite platform. To make sure you don’t miss a thing, follow me via email. Enter your email address below, and you’ll get an email when a post is added!
Get new content delivered directly to your inbox.
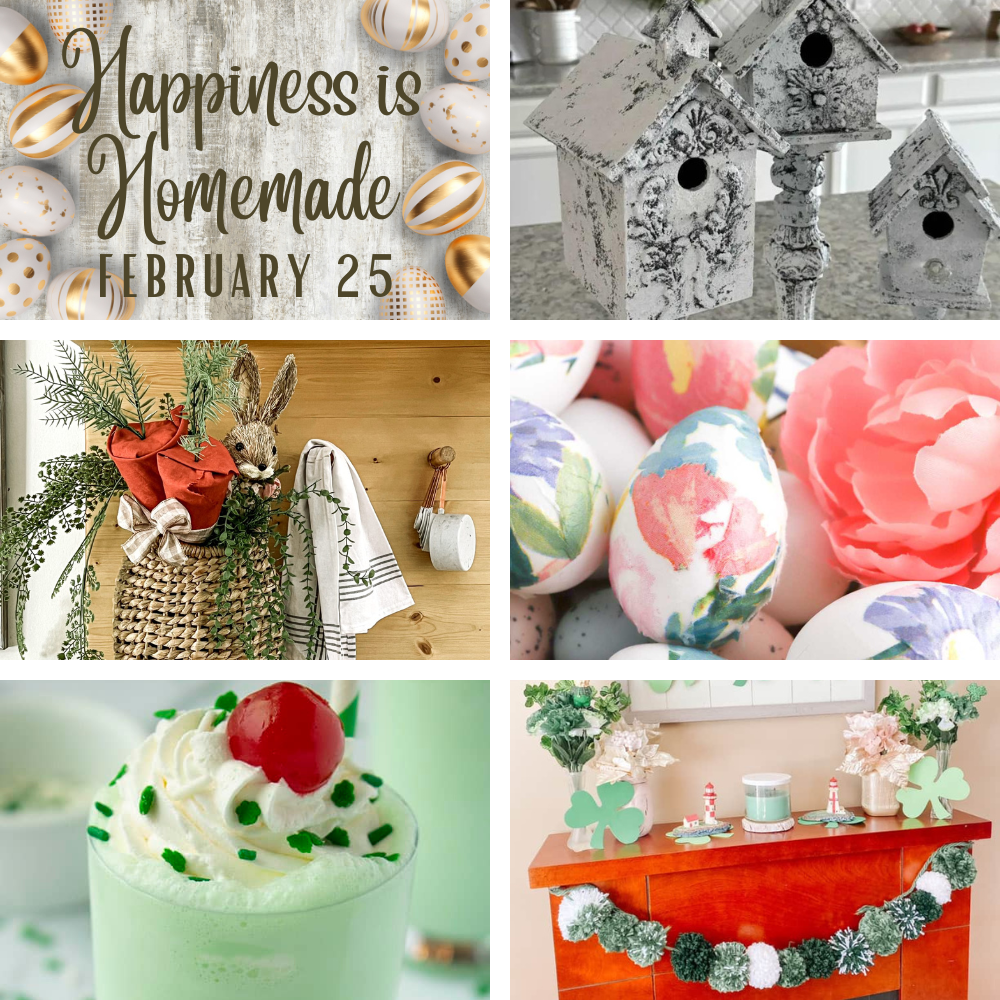
For my blogger friends visit us each week to share your family friendly posts on our three link parties, Happiness is Homemade, You’re the Star Blog Hop, and Traffic Jam Weekend. It’s a great way to widen your audience and get a chance to be featured on the next week’s party! If you’re not a blogger, you should check those posts out because you will find great recipes, home and seasonal decor ideas, tutorials, crafts, family posts, gardening ideas, and more!


One thought on “Halloween Pearl Skull DIY Tutorial”