Welcome to (or back to) the blog! I’m so glad that you’re here with us today. We recently moved into a new house, and a few days ago I finally got around to hanging the first pieces of wall art. I needed to write my review of a canvas print from Printique, so the first pieces went up in our master bedroom. Today I’m going to show you how to easily hang photos, either alone or in groups forming a gallery wall. This technique will help you not have to hang items, then realize you’ve measured wrong and allows you to make sure that you like a grouping before going through with the process.

Supplies for Hanging Photos:
- painter’s or masking tape
- wall art
- nails
- hammer
- or command hanging strips
- pencil
- measuring tape
How to Hang Photos with Tape
Decide what items you want to hang and gather your supplies. Turn your photo upside down and place masking tape along every side.


If you have more than one item that you’re hanging, go ahead and add tape around the sides of those as well.

Now you need to map out where the nails will go. Place a piece of tape from the top edge down to the exact spot where the nails will go. If you have two or more hangers on the back, place a piece of tape for each one. Cut a slit to show exactly where the nail will go, or if there’s a triangle-shaped ring, you can poke a hole in the tape at the top of the ring.


If there is a claw-type hanger right on the top edge of the photo, cut a nick in the tape and fold it in a bit, to show the center of it.

Measure & Mark the Wall
In my case, I was hanging a small 4-piece gallery wall on a long blank wall. I decided that I wanted the gallery to be centered in the middle of the space and expand out. So, I measured the wall, and divided it in half. Next, I measured the photo that I was placing in the center and placed a small pencil mark in the middle of its tape “frame” (by dividing it by two as well). You can do the same if you’d like to center a photo in the center of a wall or a section of the wall.
Normally, when you learn how to hang photos, you learn that you want to have the focal point at about 60″. If you need to start it higher, you can at least have the bottom of the photo at the 60″ mark. Now that will change over couches, beds, and other objects.
Place the first tape “frame” where you know you need to begin:
For this project, I needed to cover a hideous breaker box that was just hovering about 5.5′ off the ground and about 2′ from one of our bedroom windows. It is almost in the center of our room. How crazy is that?! I had to cover it with one of the photos, so the photos on the sides start about 55.8″ off the ground.
First, I covered the breaker box with my first tape “frame.” Next, I placed the tape from the multi-opening frame that needed to be in the middle at the halfway point in the wall. It didn’t have to be as high as the first because I was placing two in this spot. I measured it and again divided it by two, marked that (on the tape), then once I knew the halfway point, I measured the tape “canvas” I was hanging above it and placed the center of it at the center point of the frame.

Finally, I was able to measure the distance between the multi-opening frame and the first frame I hung over the breaker box. Once I knew that number, I measured from the multi-opening frame and marked the other side at the same distance. Then I measured from the floor up 55.8″ and placed a tiny pencil mark there. I tried judge about how high the 55.8″ would be when I marked the distance from the frame, so I was able to erase the first mark and bring those two points together. I could then hang the final tape frame.

Add Command Strips
For my first photo, I went ahead and hung it with command frame strips. I couldn’t use nails on the metal breaker box, so I used those instead. If you’re using those, just place them on the back of your frame with the set that goes on the wall. Remove the adhesive from the wall set and press the frame onto the wall perfectly inside the tape. You can rip a bit of the tape away where you know the strips will go before pressing it to the wall. Once it’s hung snugly, you can lift sections of the frame away from the wall strips if you need to, to remove the rest of the tape. I didn’t need to take the frame off to remove the tape. I was able to just pull it from underneath the frame.

Add the Nails
Now you can add nails where you need them. Hammer the appropriate size nail right over the spots that you marked on the tape. I didn’t get any photos of this since I needed both hands, one to hammer and one to hold the nail lol. I’m sure that you understand what I mean. In the photo above you can see the two small pieces of tape coming down from the top of the wider “frame.” That’s where I placed the two nails for that piece. The hangers on the other frames were on the actual outer edges of the frames, so those were marked with a hole in the tape.
How to Hang Photos… Perfectly!
Once the nails are in, remove the tape, hang the frames, step back, and enjoy your perfectly placed handiwork!


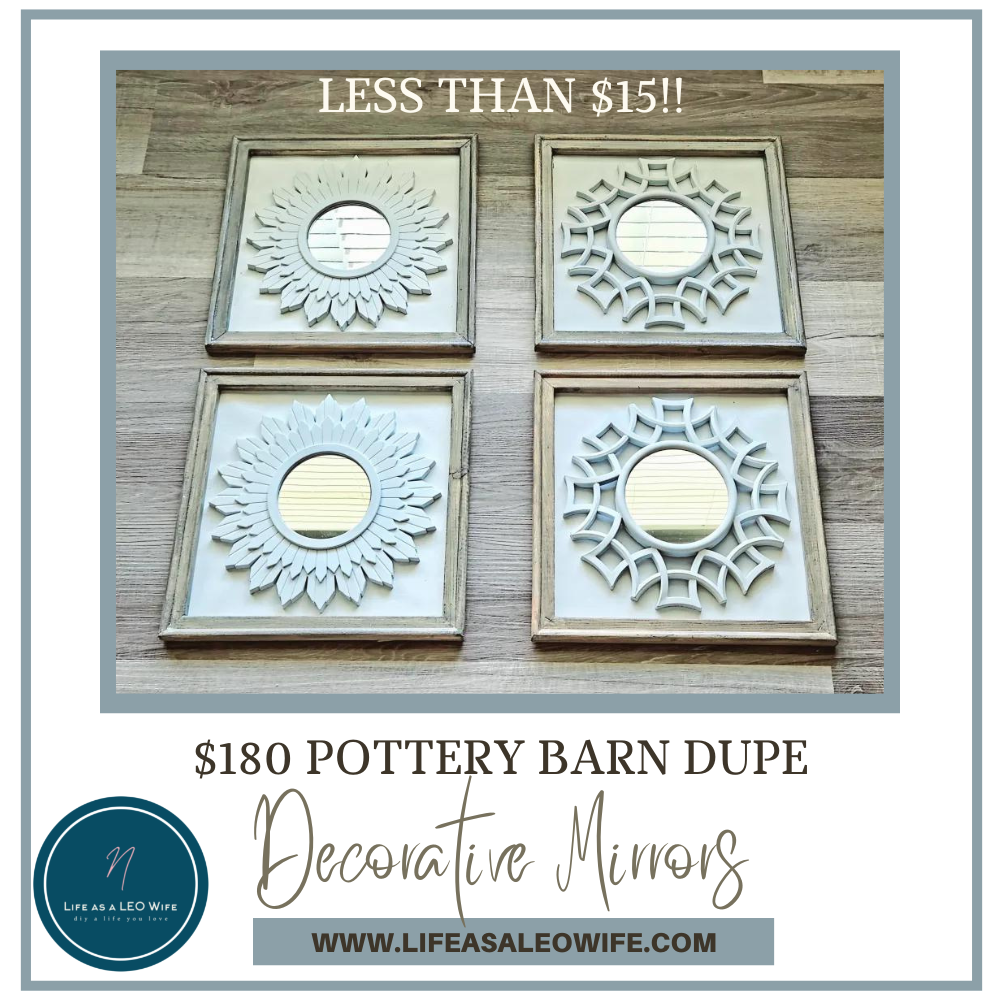
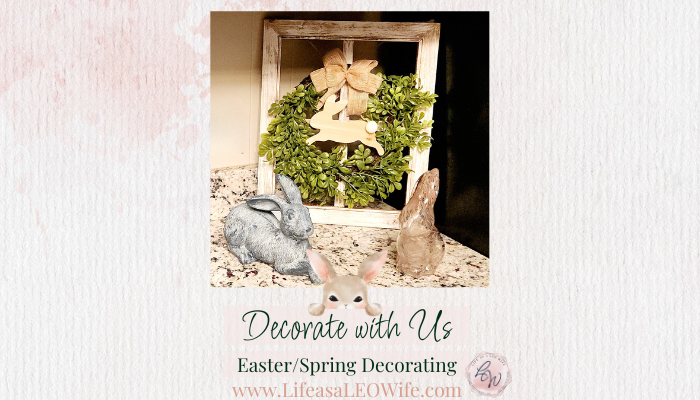
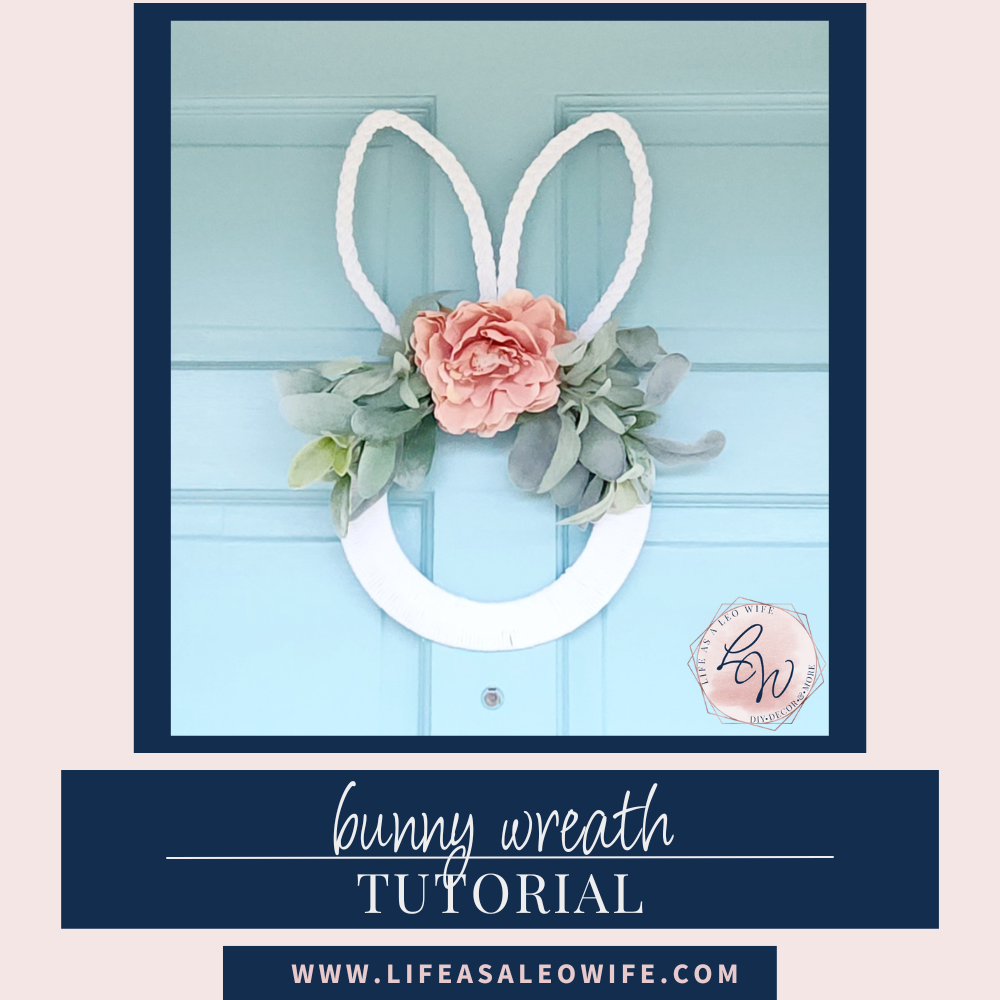
If you’re looking for some beautiful decor to add to your walls, you might like these ideas:


I hope that you enjoyed these tutorials! I’ve got some great home decor DIYs upcoming here on Life as a LEO Wife, as well as a DIY gifts, free printables and SVGs, so make sure you’re following me on social media and via email. Enter your email address below and you’ll get an email when I add a new tutorial, free printable, or link party.
There’s plenty more on the blog, so I hope you’ll stick around! Use the search box in the sidebar if you’re looking for something specific. If not, check out the different pages, full of DIYs, home decor, ideas, and more!
Follow me on Pinterest for new ideas added weekly!
Don’t go yet! There’s more to see!
There’s plenty more to see here on the blog! If you’re looking for something specific, use the search box in the sidebar to look it up. If not, you might enjoy these ideas. Don’t have time to read them all now? That’s ok, just click over to the posts using the pictures and pin them for later. You can also add Life as a LEO Wife to your favorites and check back for new ideas and free printables and SVGs every Wednesday, as well as link parties with tons of shared ideas on Sundays!


Great masking tape tip on how to hang photos. It sure makes decorating walls less stressful. Hope you are enjoying your new home!
I am! Thanks Allyson!