Hello friends and the start of the fall decorating season! Yes, I know, it’s so hot that you can fry an egg on the hood of your car, but it’s still time to look forward to the decking your home in fall decor! Hey, my grass is already brown like it’s fall! The scorching heat and sun down here on the Gulf Coast has killed everyone’s grass! It’s wild, so I’m so happy to start decorating for cooler weather, starting with these DIY fall coasters! I’ve got two different styles to share with you today, so let’s get into it!

Today is our Creative Craft Hop, hosted this month by Donna of Modern on Monticello. If you’re coming over from Allyson’s amazing free autumn printables over at Southern Sunflowers, welcome! At the end of this post I will direct you to the next stop on our hop. I know you’re going to love all of the great projects shared this month!
Supplies for Fall Coasters:
- 4″ square wood pieces
- wood pumpkin shapes
- fall themed napkins- I used Hobby Lobby napkins that have rust and blue pumpkins and gourds on them. If you have a similar fall color scheme, these from Amazon are pretty. &/or
- fall fabric
- burlap- I used white burlap and regular.
- felt
- scissors
- Mod Podge
- raffia (optional)
- hot glue (optional)
- fall stencils (optional)
- chalk or acrylic paint (optional)

Disclosure: I am a participant in the Amazon Services LLC Associates Program and the Dollar Tree Affiliate Program, affiliate programs that allow me to link to the products that you can use to make this project quickly and easily. If you purchase any of these products I may receive a very small commission at no cost to you! That commission helps me continue to bring these great decor DIYs, free printables, and all of the other goodies on this site to you. Thanks so much for your support!


Fall Coasters- 2 Ways…. At Least
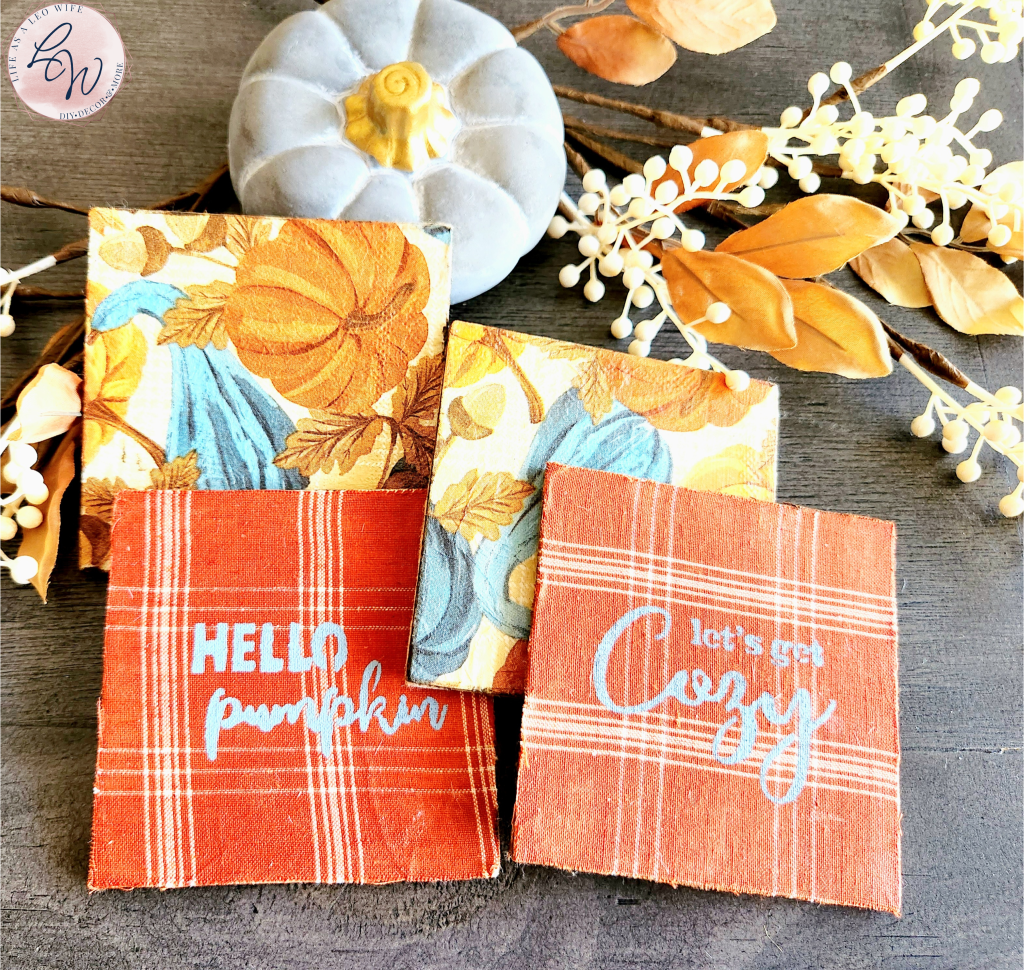
I couldn’t decide if I wanted pumpkin shaped coasters or regular square fall coasters, so I thought why not have the best of both worlds? Thus, I made both square and pumpkin shaped DIY fall coasters.
Now, I say fall coasters 2 ways… at least… because technically I made them 4 ways. I made them using square wood and pumpkin shaped wood, then I used 2 different mediums on them. Decoupage with fall napkins and then decoupage with fall fabric on both the square and pumpkin coasters.
You can check out the tutorials then decide which DIY fall coasters are best for you. Or don’t decide at all. Make both sets!

Add Felt to Wood
In order to protect your furniture, you need to add cork or felt to the back of your DIY fall coasters. Dollar Tree does carry cork… sometimes… if you can find it. I couldn’t, so I used felt.
Apply Mod Podge to the back of your square and/or pumpkin piece of wood.


Next, add felt or cork. You can cut your felt first, but I find it easier to just cut 2 sides by applying the felt to the Mod Podged wood. It keeps you from having to trace the shape onto the felt or fabric (in the next step) first.

Cut the excess felt or cork from around the DIY fall coaster.


Mod Podge Fabric to the Coasters
Now it’s time for the decorative and functional side. We’ll start with the square coasters.
Apply Mod Podge to the front of your DIY coasters, then smooth the fabric onto it.

Cut the excess fabric from around the edges. If you’d like, you could leave a little excess fabric around the edges to fray it. I didn’t think of this on the first coaster, so I just cut them to the edge.

Add a layer of Mod Podge over the fabric to protect your fall coasters.

Once it dries, apply a second coat.
Fabric Pumpkin Coasters
I’m only adding a little separate section for the fall pumpkin coasters with fabric because I used a different fabric that I cut a little differently. The process is the same except for one little step.
Since the pumpkin coasters have a stem, you will need to cover it separate from the body. Of course, this is optional, but I used burlap for my stems. Add Mod Podge to the stem, then add your burlap and trim off excess.


The second fall fabric that I used had squares with fall sayings and pictures. I evenly cut out two squares with the sayings that I wanted on them. Then I Mod Podged the fall fabric onto the pumpkin coasters and cut the excess off. Finally, I sealed the fabric onto the wood with a topcoat of Mod Podge.


Add Fall Napkins to Other Coasters
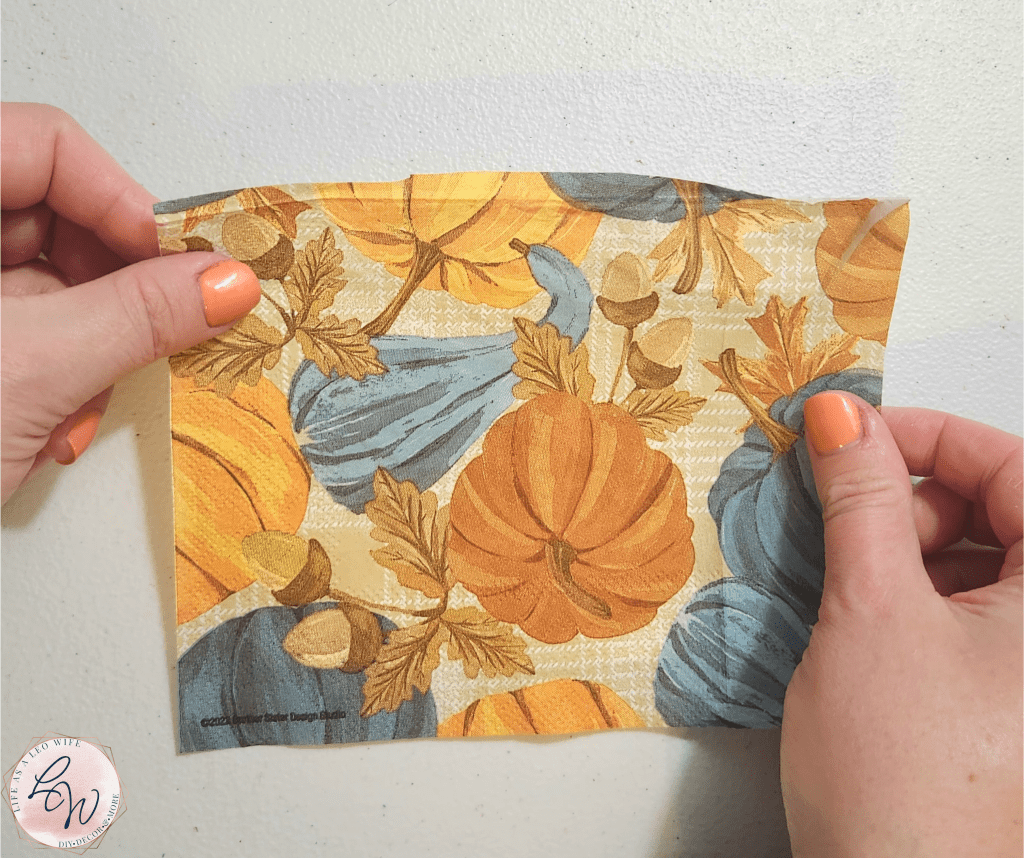
First you need to find some pretty fall napkins. I found mine at Hobby Lobby, and they perfectly matched my fall color scheme of light rust, navy blue, tan, and dusty blue. With the 40% off sale, I got 50 napkins for $1.80. Some Dollar Tree locations have fall napkins, but mine didn’t. Considering that DT napkin packs usually only have 12-24 napkins for $1.25, the HL napkins were actually cheaper.
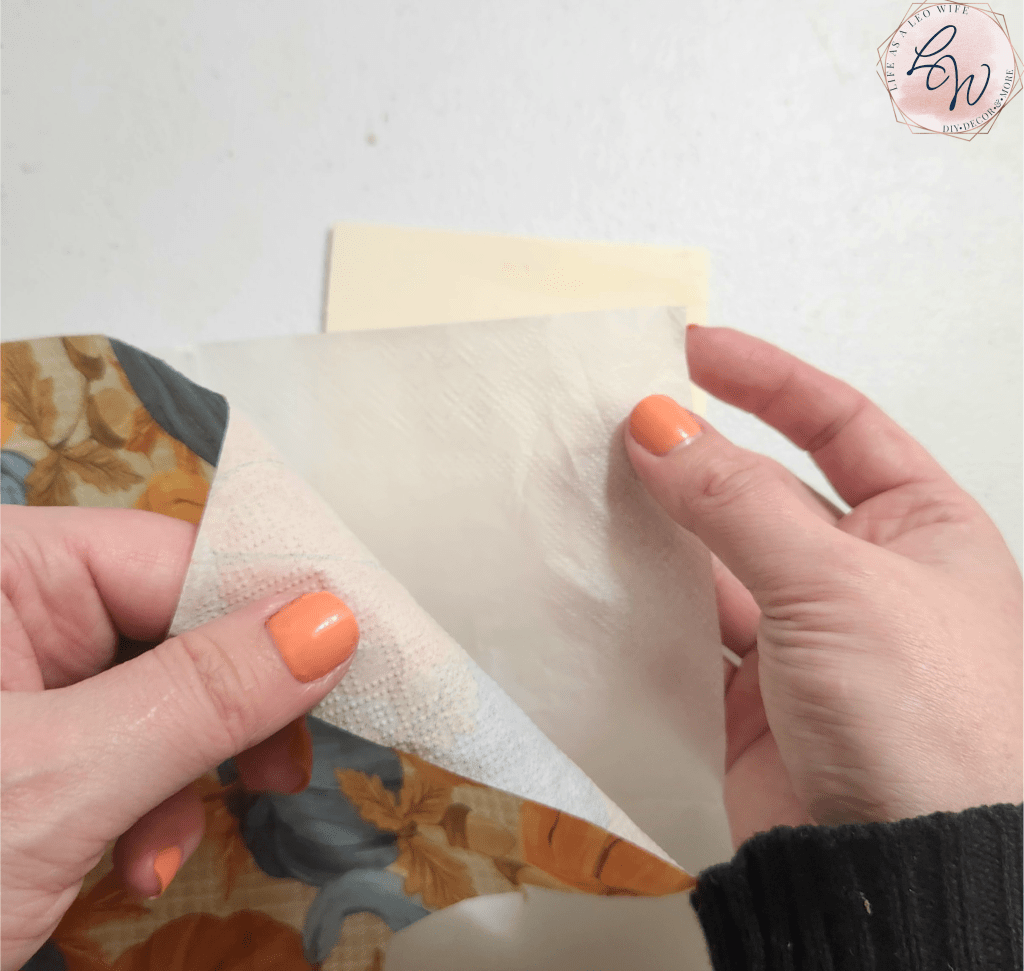
Most napkins are 2-ply, so you need to pull them apart to use the printed side only.
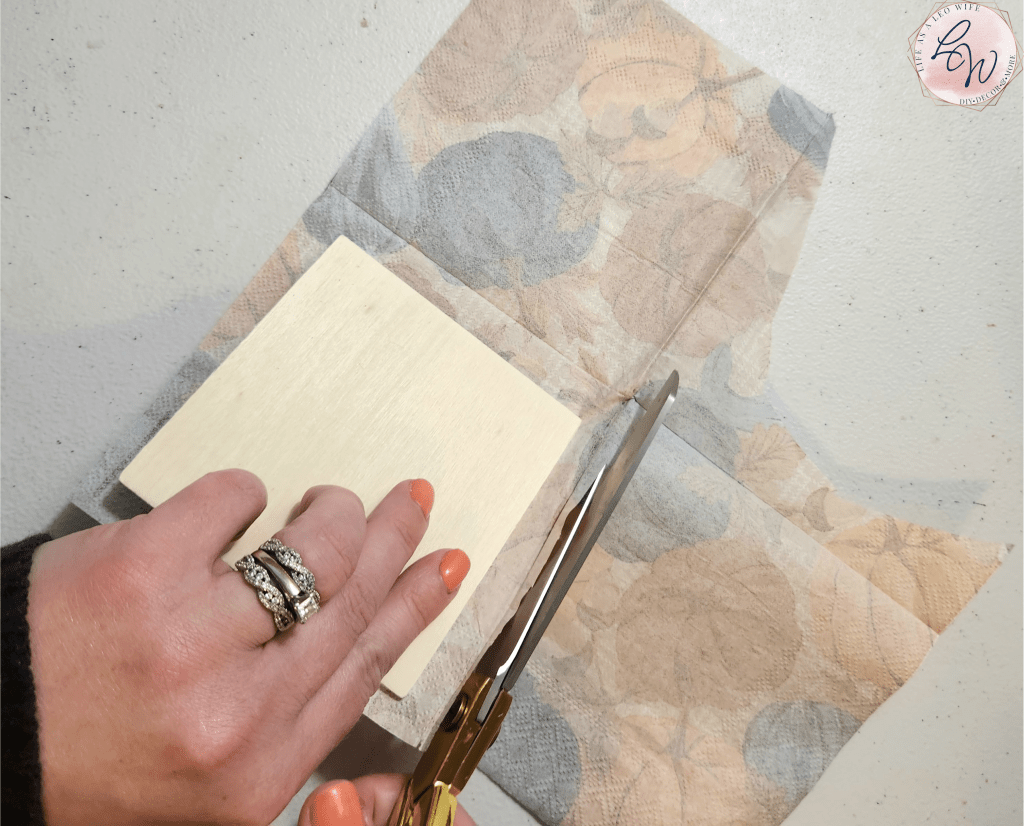
It’s not necessary, but I cut my napkin down a bit before applying it. You don’t need to make it perfect since we’ll do that later.
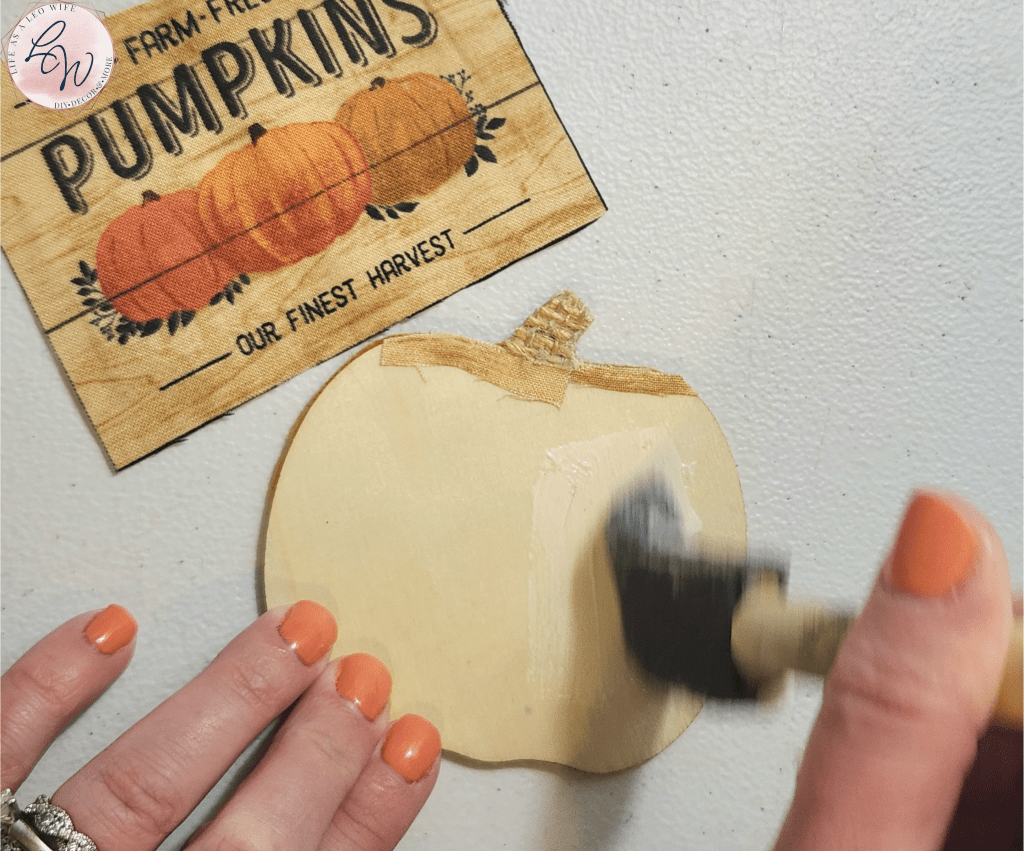
Next, apply Mod Podge to the coasters.
Then smooth your fall napkin on top.


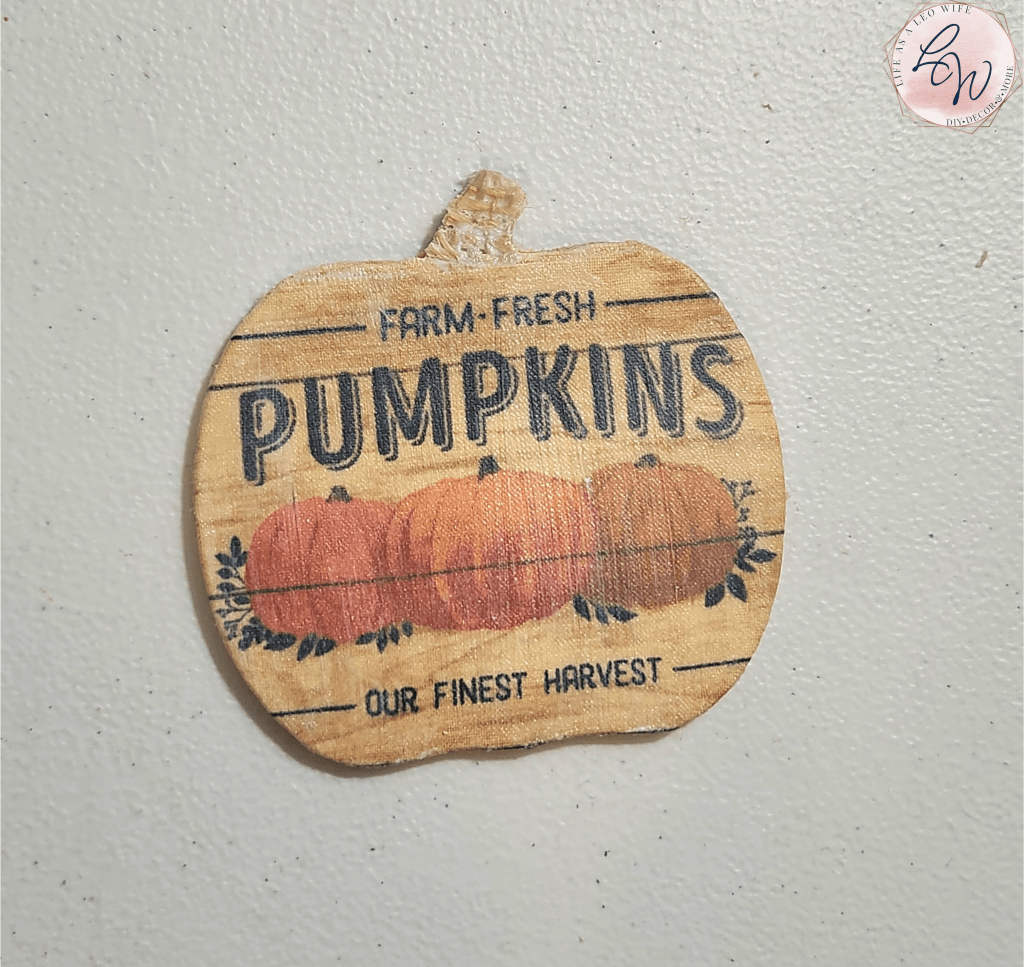
Finally, use sandpaper along the edges of the DIY coasters to remove excess parts of the napkin. Push down along the edge with the sandpaper, and it will take the napkin right off with a nice, farmhouse style edge.


Optional Embellishing
These next few steps are optional, but they certainly make your DIY fall coasters cuter!
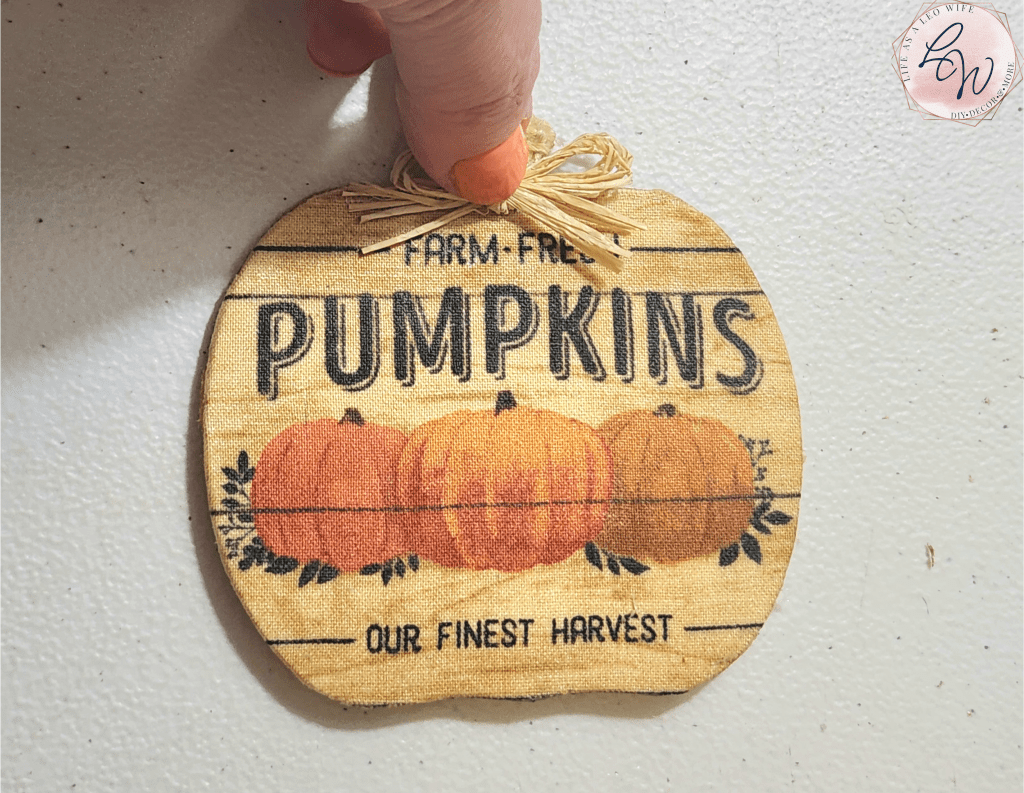
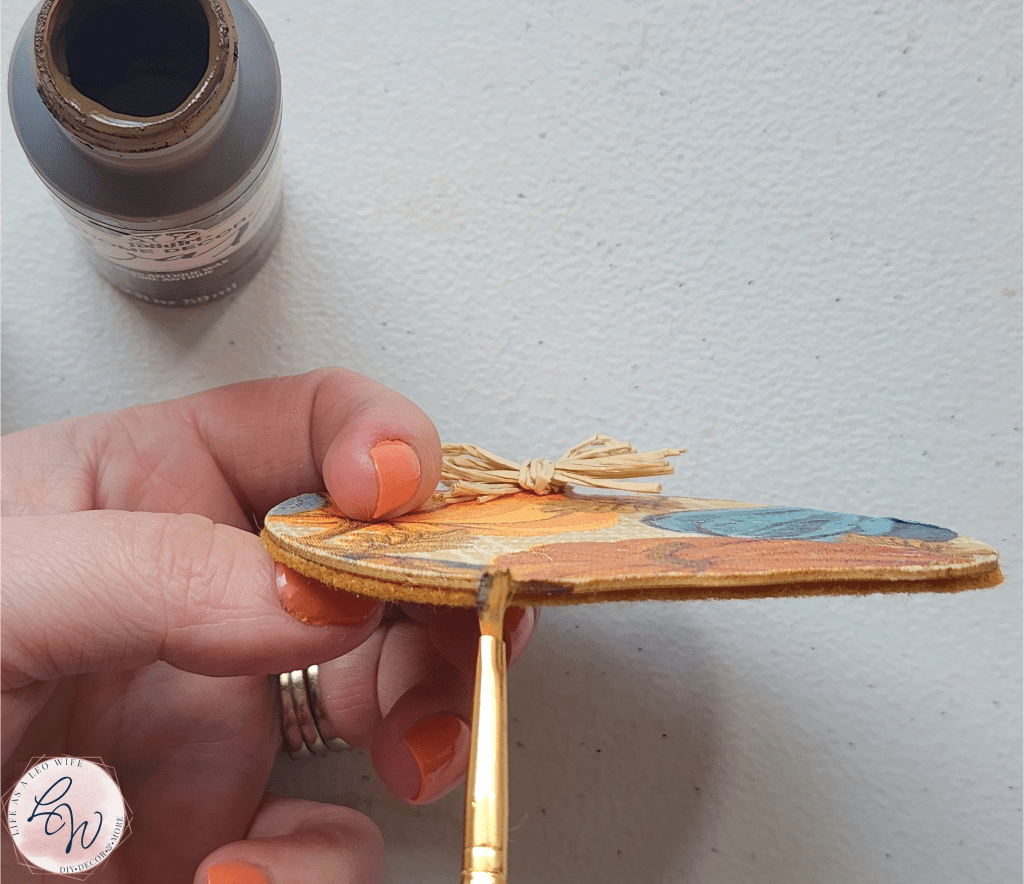
Make a small bow with raffia for each of your pumpkin coasters, and hot glue them to the stems.


I also added some antiquing wax to the edges of my fall coasters, then wiped it off per the instructions.

Finally, since I used more of a plain fabric on my square coasters, I decided to paint on some fall stencils. My stencils are from Hobby Lobby, and they’re actually for coffee! I don’t drink coffee, but wouldn’t it be cute to add fall designs with cinnamon to yours?!
Anyway- you can get any stencils or use your printer to make one to carbon-copy method on your coasters. (You can see a tutorial for that method here.) Place the stencil on your coasters and dab paint onto them.

I used two different stencils. Aren’t these cute?!

Remember this is a blog hop, so keep reading after the tutorial so I can send you to the next stop on the tour!
Fall Coasters Video Tutorial
Here’s a quick video tutorial for those who need to see it in action. It’s sped up to save time, but if you need to see it slower, you can set the speed of the video to half or less.
That’s it! Now you have DIY fall coasters 2 ways!
I just love how these fall coasters tuned out!
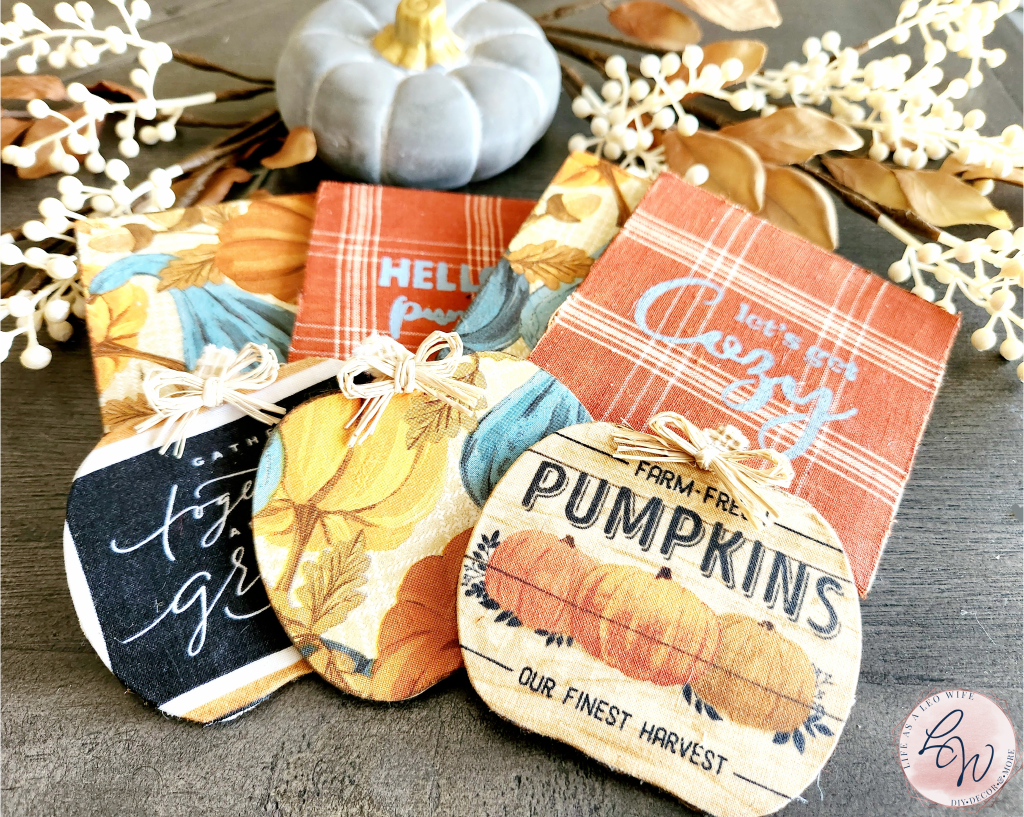
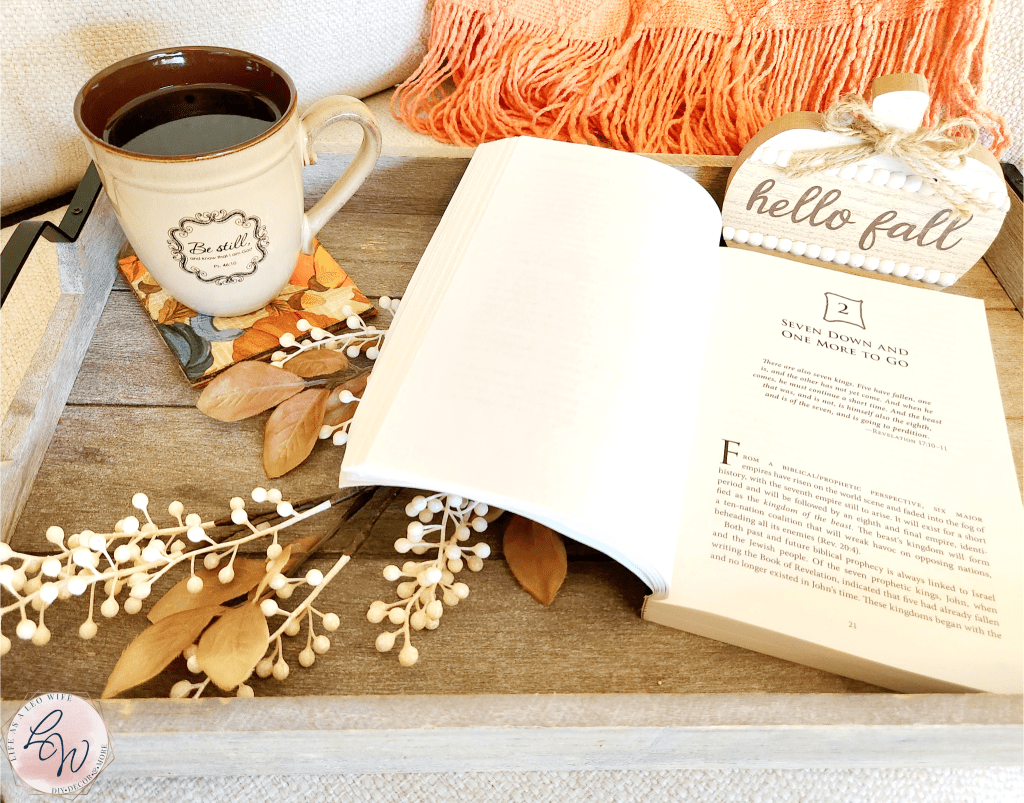
They actually work as coasters, not just as cute fall decor!

To store, I placed them in a little square wood box that I got after fall from Dollar General last year. I’ve joined the ladies from Decorate & More with Tip, Patina & Paint, Junk to Gems, and Through a Vintage Door for the fall season of Decorate with Me, so you’re going to see my full home decorated for fall over the next few weeks. Tomorrow we will be sharing both a video and a blog post on our entry ways and foyers, so don’t miss it, here and on FB & IG! Be sure to follow me using the buttons at the top of the post!
Now on to Our Creative Craft Hop
The next stop on our blog hop is Jenna over at The Painted Apron. She is sharing a beautiful September pumpkin that you’re going to love!
After you’ve visited Jenna, be sure to continue on the Creative Craft Hop because there’s some amazing DIYs and free printables shared this month (as always)!
September Pumpkin
How To Make a DIY Fairy Garden House from a Coffee Mug
The Easiest Way to Make Zippered Pillow Covers
Simply Elegant Dried Flower PumpkinsPumpkin Soap Dispenser
Embellish Pumpkin with Flower Molds
5 Easy Steps for Making a Milkweed Pod Wreath
Autumn Sunflower Free Printable Decor
DIY Fall Coasters 2 Ways
Don’t go yet! There’s more to see!
There’s plenty more to see here on the blog! If you’re looking for something specific, use the search box in the sidebar to look it up. If not, you might enjoy these ideas. Don’t have time to read them all now? That’s ok, just click over to the posts using the pictures and pin them for later. You can also add Life as a LEO Wife to your favorites and check back for new ideas and free printables and SVGs every Wednesday, as well as link parties with tons of shared ideas on Sundays!


Your coasters are so cool and lovely, Niki! I love the designs you chose for the fall season! They truly look like they’re from an upscale store!
Thank you! They had so many great patterns to choose from!
Niki how cute!! I love that you used fabric – cause I’ve got a drawer ( or 3) full of it! Beautiful color choices. Can’t wait to give these a try.
Thank you! I just got more fabric. It’s an addiction!
Your coasters are so cute, Niki. I love Mod Podge and I think the napkin ones are my favorite – love the pattern!
Thank you! It is a beautiful pattern that matches my color scheme perfectly!
Very cute Niki, and such a creative idea! I especially love the pumpkin shaped ones! They are all adorable!
Thank you! I knew I had to make both bc I couldn’t pass up pumpkins!
All your coaster ideas look so good! It’s nice to know so many variations we can use to make them, from napkins, fabric, to stencils. That little raffia bow is a cute addition.
Thank you! I was worried the bow would get in the way, but it doesn’t!
I thought the pumpkin coasters were my favorite, but now I am not so sure. I actually love them both! Dollar Tree is the best place to shop when you are wanting to get creative.
Niki, these turned out so cute! I always love Dollar Tree crafts. I would love if you shared it at my newest blog link party on my second blog. It opened today and runs until tuesday! 🙂
https://crazylittlelovebirds.blogspot.com/2023/08/crazylittlelovebirds-link-party-1.html
Thank you so much! I’d love to share on your new party!
Niki, thank you for sharing over at my new party. 🙂 Hope to see you again on Friday!
You’re welcome!
I love making coasters and your versions are really pretty for fall. Love the variety of ways you made them. Very cute and versatile.
Thank you! They are fun to make!
Oh, these are so darling I can’t get over it. Pinning!! Visiting from Crazy Little Lovebirds. I’d love you to share this at my link party as well https://lifetalesbooks.blogspot.com/p/calling-fellow-bloggers.html Makes me in the mood for autumn. 🙂
Thank you, Jennifer! I’d love to!
I love dollar store crafts and these are so cute! Blessings, Cecilia @My Thrift Store Addiction
Thank you! So do I!
I love this project. I think anyone would end up with professional looking results!
Thank you Janet!
These are just darling! I love the colors! Thanks for sharing at Will Blog for Comments #4.
Thank you!
Niki, these are so pretty. I love dollar tree crafts. Pinned 📌.
Visiting today from SSPS 275 #87
Thank you! I do too, Paula!
What a fun and easy project Niki.
Thank you for sharing your fall coasters DIY at Create, Bake, Grow & Gather party this week. I’m delighted to be featuring it at tonight’s party and pinning too.
Hugs.
Kerryanne
Thank you! I’m honored!!
LOVE the coasters! Thanks for sharing on craft schooling sunday!
Thank you!