Welcome back to my DIY nail series friends! Today I’m going to be sharing a new trick that I found, creating nail art with vinyl and a Cricut! It has allowed me to produce perfect nail designs every time!

For hours I attempted to paint stripes on my nails for 4th of July. Something went wrong every time since I’m a perfectionist lol. My husband would say, “It looks fine.” Then I would point out a little smudge or a smidgen of red that bled onto the white. Finally, I gave up. I remembered hearing something about using a Cricut to make nail art stickers, and I thought I would give it a go.
Cricut Nail Art Supplies:
- Cricut- I used my Explore Air 3.
- vinyl- I used white matte by Orcale.
- fingernail polish- I used this Jodsone gel polish kit.
- clear top coat- If you’re using a gel kit, you will already have the top coat.
- needle nose tweezers
- alcohol if using gel polish
- sponge if using gel polish


Disclosure: I am a participant in the Amazon Services LLC Associates Program and the Dollar Tree Affiliate Program, affiliate programs that allow me to link to the products that you can use to make this project quickly and easily. If you purchase any of these products I may receive a very small commission at no cost to you! That commission helps me continue to bring these great decor DIYs, free printables, and all of the other goodies on this site to you. Thanks so much for your support!
Cut Designs with Your Cricut
I used Canva to make a few simple designs for my nails. Feel free to download them to use as your own nail art with a Cricut! Of course, you can use them for decor, shirts, or anything else you’d like.
For my first try at this, I thought I would use some thin, elegant designs like these:
Unfortunately, when cutting nail art designs, they must be really, really tiny. So small intricate lines don’t cut and weed well. The swoops in the heart didn’t cut at all in the smallest areas. Well, they did, just in one slice, not two so there was nothing to remove.
So, when making nail art with a Cricut, it’s best to go with designs that have thicker lines. These designs worked well:
For personal use only. All of my free printables & cut files are copyrighted material. Feel free to download these free designs and print them or use on your Cricut projects for your own use at home. They are not for commercial use, not to be placed on items for sale. That helps me keep these printables, SVGs, and PNGs coming to you for free! Another note: you will not my logo overlay on your downloaded design. It is there to keep people from downloading the images straight from Google, or others from stealing them to use on their site. Thanks for understanding! Feel free to share this post for your friends and family to make their own projects with this design!
Upload the Designs to Design Space & Cut
Once you’ve created or downloaded the designs that you want, open Design Space and upload them. I created them with a transparent background, so that’s all you need to do.
Add them to the canvas and then resize to fit your nails. Mine were anywhere from 0.35-.0.45.”

To cut designs this small, you need to do a few things with your machine before cutting. First, remove the blade in its housing. Depress the button to expose the blade and stab it into a ball of aluminum foil a few times. That will remove anything on the blade (glitter, tiny pieces of vinyl, etc.) that would drag the blade across the vinyl and rip it up.

Turn the dial on your Cricut to “custom,” then browse the material list and choose washi sheet. That will allow the blade to cut though the vinyl but will be more delicate on the intricate designs. Load your vinyl and cut the designs.


Weed the vinyl and your Cricut nail art stickers are ready to use.

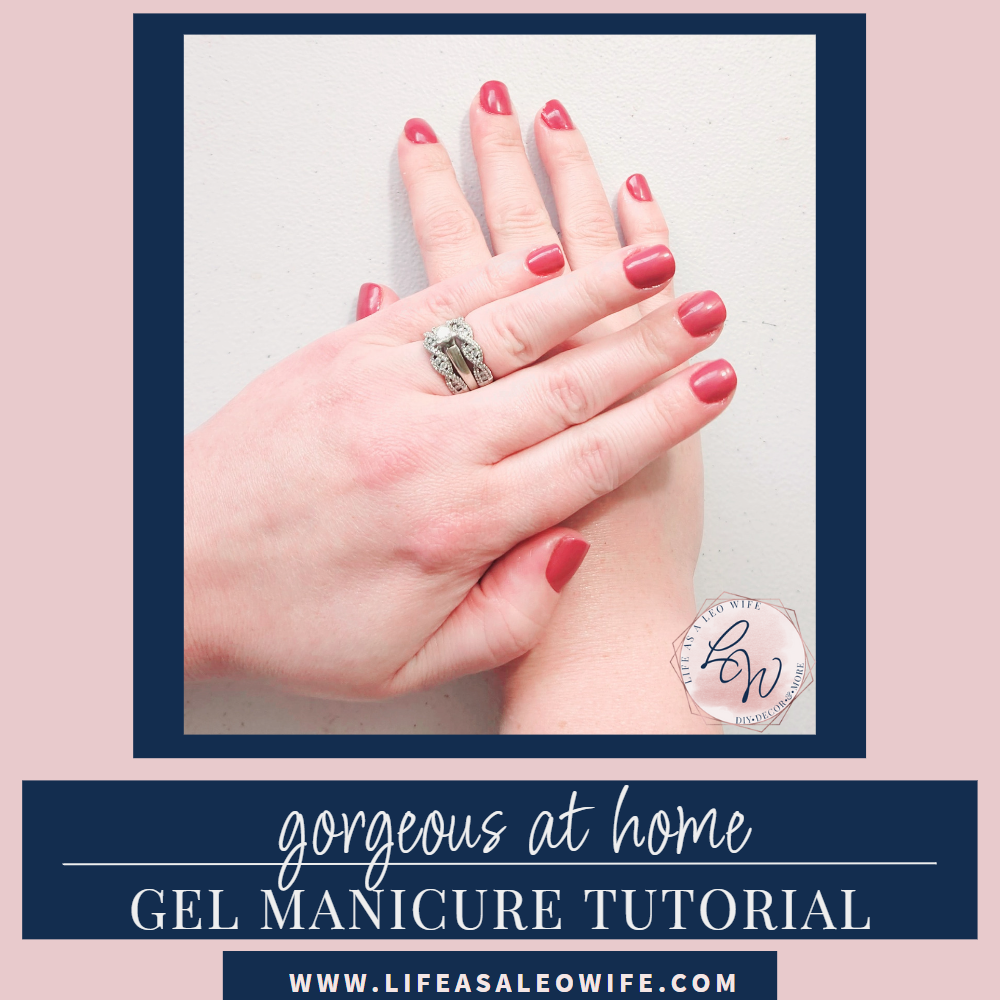
Do Your Manicure
First, do your at home gel manicure as usual. Finish the steps on all of the fingers that you’re leaving painted only. On the nails that you’re placing Cricut nail art, do everything up to the second coat of polish and cure it.

You can also do this with regular fingernail polish. Do your manicure as normal. Paint your nails, applying the top coat on all of the nails that you’re leaving as-is. Don’t apply it to the nails that you will be placing your nail art on yet.
Apply Alcohol to the Nail
Next, add some alcohol to a makeup sponge. I wish I could’ve found those cheap wedge ones I have, but alas I could not. I was forced to use my good ones. Oh well. Don’t try to use a cotton ball because it will leave lint on your polish!

Swipe the alcohol over the gel polish to remove that sticky layer. This will allow you to reposition the Cricut nail art if needed.

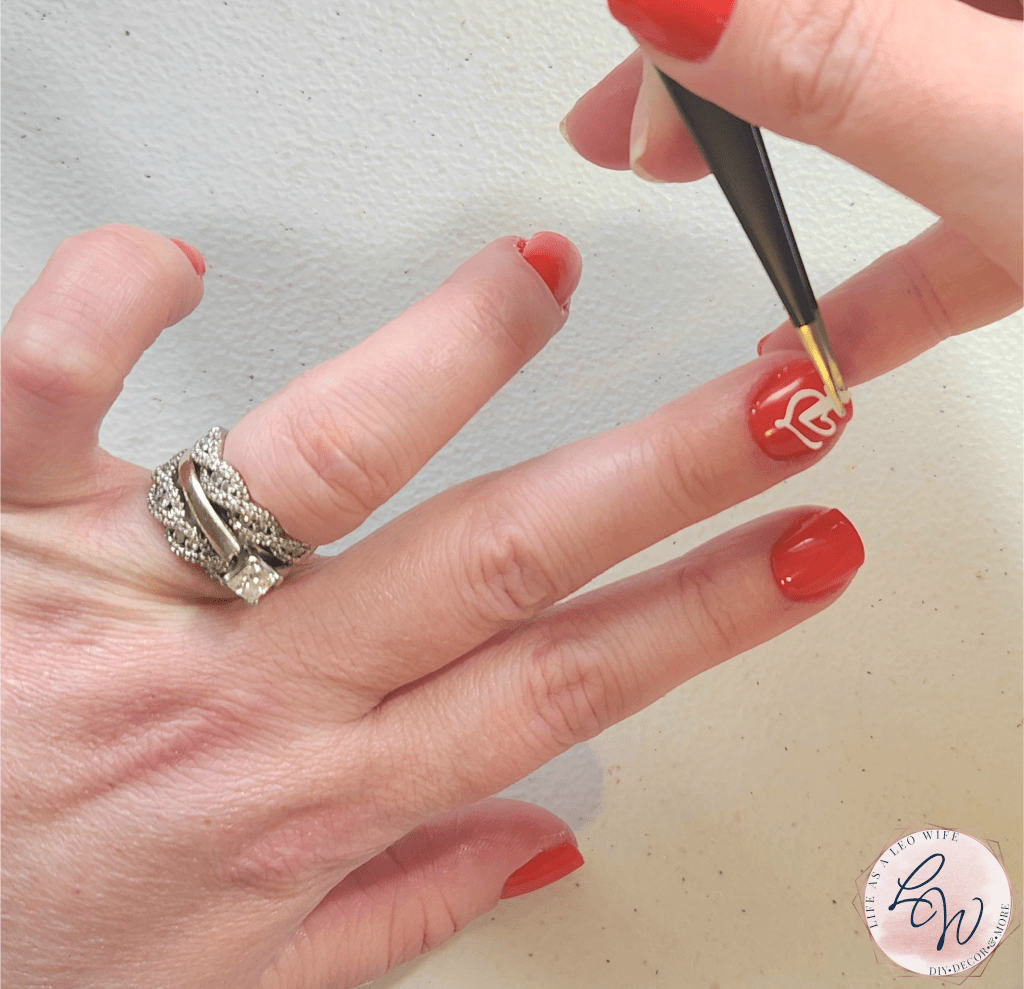
Add the Cricut Nail Art to the Nails
Remove the nail art from the backing with needle nose tweezers and place it onto the center of the nail. Press it down firmly.

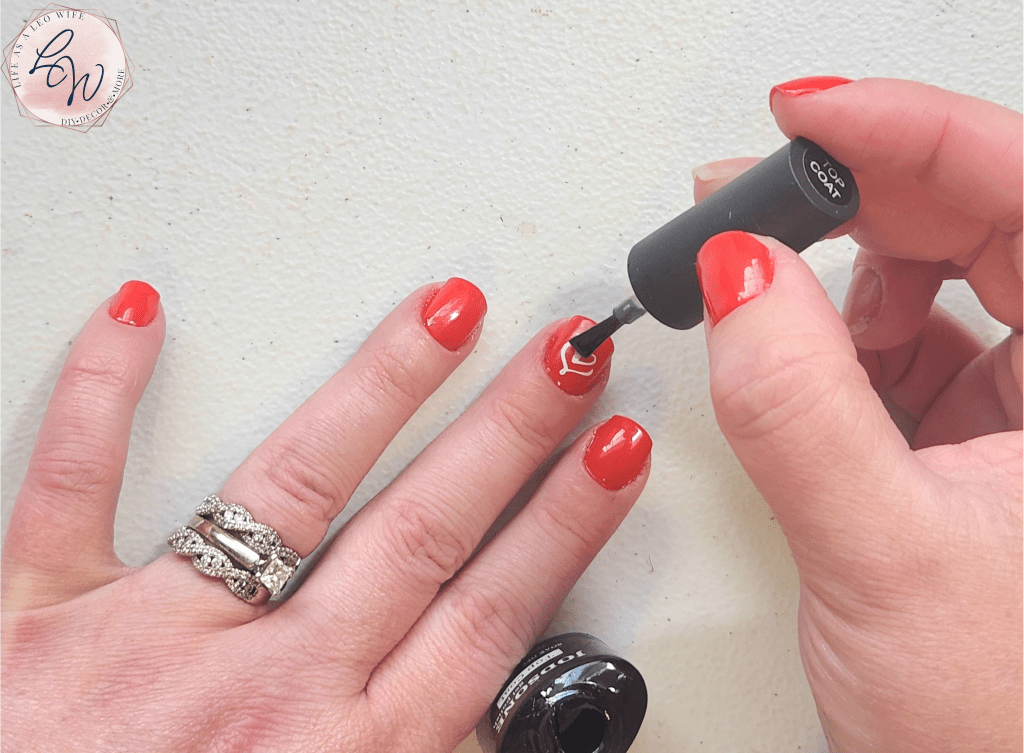
All that’s left to do now is apply your gel (or regular) top coat and cure it under the UV light!
Now you can add nail art to the list of things you can do with your Cricut!
What do you think?!

I plan to add more nail art stickers that you can download as the seasons change, so be sure to check for them later!
Remember to pin the image below or share this post with the buttons on the left side of the page so you can find it when you’re ready to start your project! Also, follow me on Pinterest for new ideas added weekly! Be sure that you never miss a great tutorial for decor like wreaths, signs and other home decor, free printables, crafts, and other fun posts! Enter your email address below to be notified of new posts! Use the buttons below to follow me on social media for other great content.

Don’t go yet! There’s more to see!
There’s plenty more to see here on the blog! If you’re looking for something specific, use the search box in the sidebar to look it up. If not, you might enjoy these ideas. Don’t have time to read them all now? That’s ok, just click over to the posts using the pictures and pin them for later. You can also add Life as a LEO Wife to your favorites and check back for new ideas and free printables and SVGs every Wednesday, as well as link parties with tons of shared ideas on Sundays!


