I’ve seen these DIY side tables made from Dollar Tree trash cans on Pinterest and Tik Tok lately. Since I have medical bills in excess of $1,000,000, I do not want to spend money on outdoor furniture! I mean I would if we didn’t need to eat, lol! When I was decorating our porch (check out this post for tutorials for everything you see on my balcony plus more you don’t see for under $20!) for the rest of the summer, I thought why not make my own DIY side table. This table only cost me $4, and I was pleased with the result!
Supplies needed for a DIY side table:
- 2 wired trashcans
- pizza pan
- contact paper, cardstock, or vinyl
- 3 zip ties
- hot glue gun & glue
- Super Glue or E6000
- pencil & Sharpie
- scissors
- Exacto knife
Attach the Trashcans
Flip one trashcan upside down, because you will be attaching the two bottoms together. The wider, open end of one will be the bottom of the table. Squeeze some E600 around the edge of the bottom of one can. Then quickly squeeze hot glue on top of that. The hot glue will allow the cans to stick together quickly, then allow the E6000 time to dry to hold the DIY side table together more permanently.


With the other trashcan right side up, sit it on top of the base can. The bottoms of them will be together. Press down on the top can and hold it for a minute while the hot glue dries.
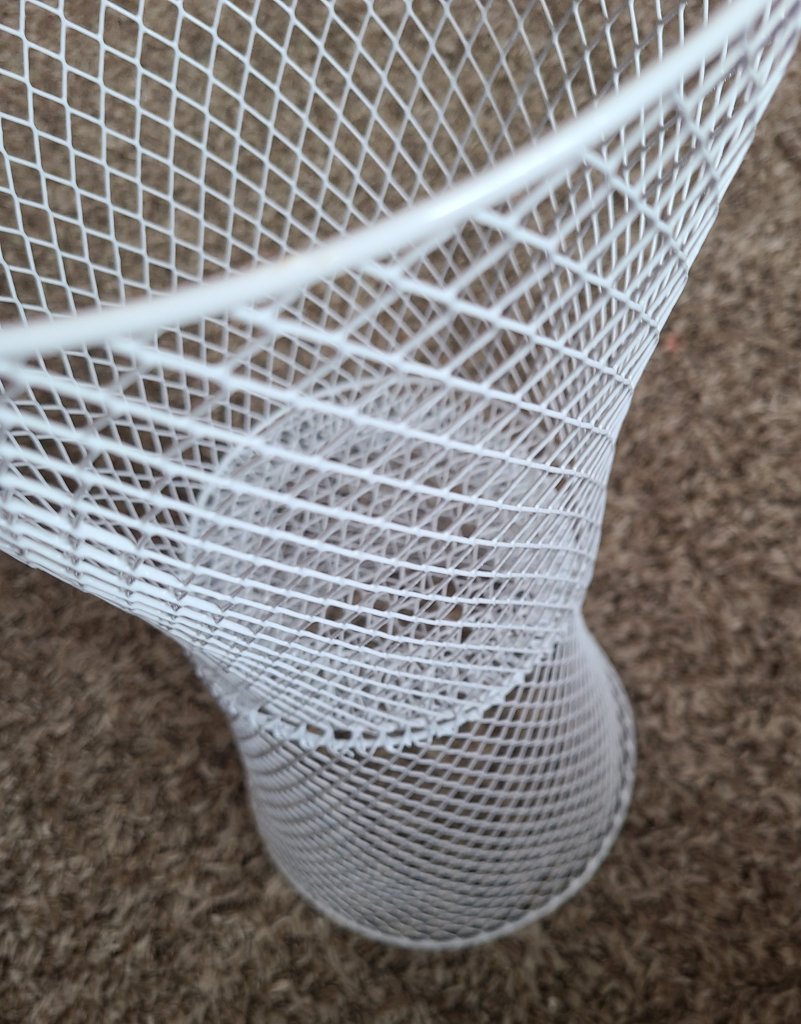

Next you will add zip ties to hold the two cans together while everything dries. I left my zip ties on, but you could take them off later if you’d like. Feed a zip tie through the top can at the junction of the two, then through the bottom of both, then out the side of the second trashcan. I hope the pictures can explain it better than I can in words!


Pull the tie tight, then cut off the excess.


Customize the Pizza Pan
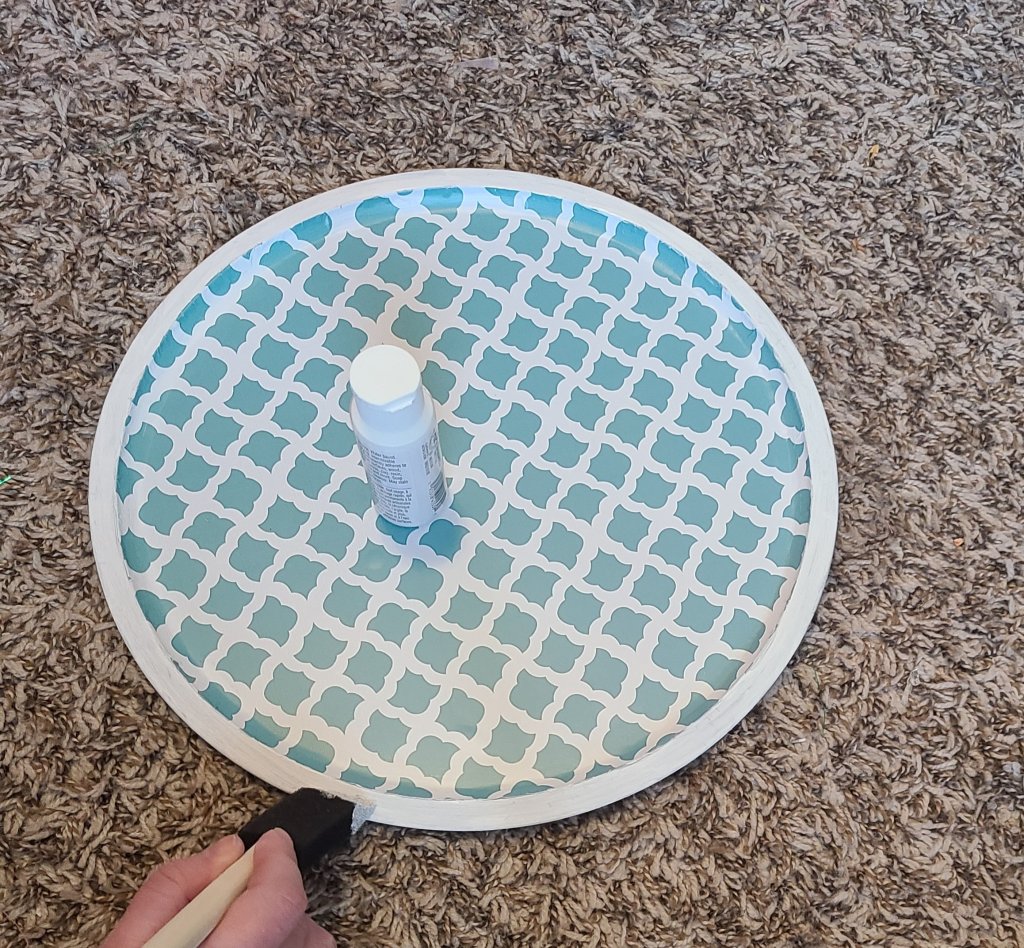
Pretty-ing up your pizza pan is optional, but it sure looks better! If you don’t want to, you can skip this section and go straight to attaching the pan to the trashcans. There are so many ways to customize your pan; with paint, vinyl, cardstock and Mod Podge, etc. For this tutorial I am going to show you how to use Dollar Tree contact paper to update the look of the pizza pan.
First lay your contact paper on top of the pan, and trace around the entire pan with a pencil.

Now cut the contact paper along the line.

Remove the backing from the contact paper and lay it over the pan. Use your hand or a credit card to smooth it from the center of the pan out. Use the card to smooth out any bubbles.


Because of the dip in the pan then the flat, round edge, the contact paper doesn’t lay flat around the outside edge. It has a few wrinkles. If you don’t mind that, you can smooth the paper on the entire pan. I didn’t like it, so I used a craft knife to cut the contact paper off of that flat edge.


If you choose to cut the contact paper, paint the edge of the pan white to match (or another color that matches your paper). If you know you don’t want the contact paper to go to the edge of the pan, paint it before adding the contact paper. That will be much easier!
Attach the Top of the DIY Side Table
Once the paint is dry it’s time to attach the pizza pan to the trashcans. Turn the pan upside down and place the trashcans, centered, on top of it. Use your Sharpie to trace around the trashcans so you will know where to put the glue. I found that adding the glue to the rim of the trashcans does not work. The glue just runs off the rounded edge and drips on the ground. If you have E6000 then that won’t be a problem for you, and you can add the glue straight on the edge of the trashcan. I just didn’t have any E6000 on hand when I made my side table.

Squeeze super glue just inside the Sharpie circle, then squeeze hot glue on top of that.


Quickly sit the trashcans on top of the pizza pan, making sure the lip of the trashcan sits on the glue circle. Press the cans down for a minute while the hot glue dries. Using a paper towel, wipe off any excess glue that may leak from around the can edge.

Carefully turn the DIY side table right-side up. Place some books or another heavy object on top to press the pan and the trashcans together tightly. Let them sit there for at least an hour. I finished mine at night, so I just let it sit overnight.

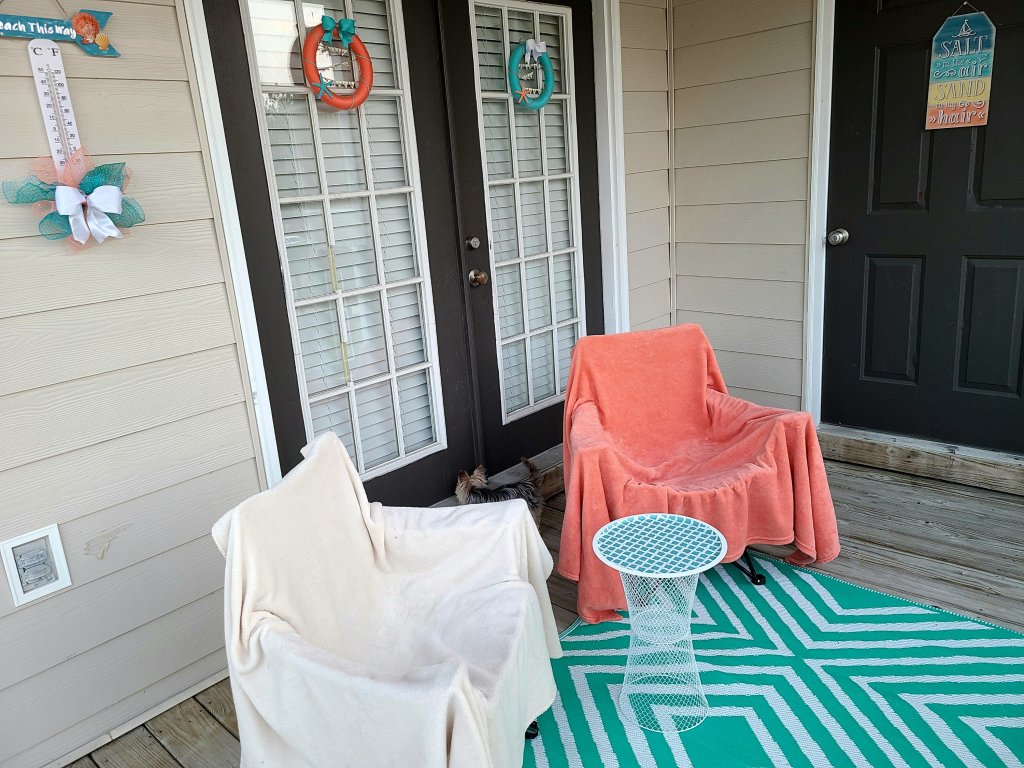
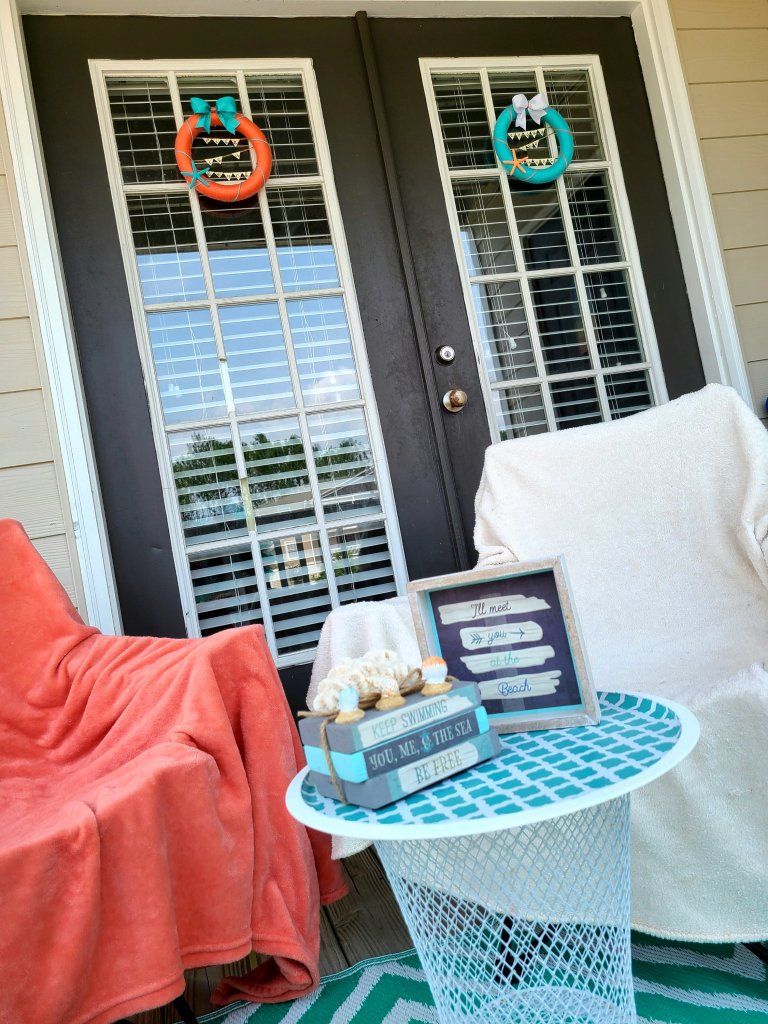
Place your DIY side table in its position of glory!
Your table is finished! Sit it out where you’d like and add your decor to the top. I placed mine on our porch on top of my new outdoor rug. Since my porch theme is beachy, I added some Dollar Tree shells and knick-knacks on the top of it.


I hope you have enjoyed this tutorial and that you make your own DIY side table! Be sure to pin this so that you can come back to it when you’re ready to make it, and share it with your friends. Use the buttons below to follow me on social media. Enter your email in the sidebar to subscribe to the blog, so when I upload a new post you will get an email. That way you never miss a thing! Before you go, check out the other DIYs that I used on my summer porch makeover, like this deco mesh wreath tutorial, how to make a banner using your Cricut, and this adorable outdoor thermometer porch decoration.


If you’re one of my blogger friends, make sure you submit your family friendly posts to our link parties, Happiness is Homemade, You’re the Star Blog Hop, and Traffic Jam Weekend. Not a blogger? Make sure you check out those posts to find tons of great ideas and inspiration for things like wreaths, DIYs, crafts, home and seasonal decor DIYs and ideas, family tips and ideas, recipes, fashion, gardening, and much more!


Wow!! You are so good at it
Thank you!
I can’t find enough things to love about this! It’s cheap, easy, and just so adorable! Thanks for sharing the tutorial and all the tips on how to make it! 🙂 You really did a beautiful job. <3
Thank you! I was hoping I explained the zip tie part good enough, ha!
Oh, WOW! That turned out nice! Thanks so much for linking up with me at the Unlimited Link Party 31. Pinned!
Thanks Dee! Thank you for hosting as well!
That is a really clever DIY side table! I have to keep this in mind for if I ever get around to creating a relaxing outdoor space. Thanks for sharing and linking!
Shelbee
http://www.shelbeeontheedge.com
Thank you! I can’t wait to update it for fall!
I’m honored to be featured! Thanks for hosting Rebecca!
This is brilliant. Dollar Tree is not exactly where I would think of to make a table and here you are. Featuring when my link party opens!
Thank you!
CONGRATS! Your post is FEATURED at my Unlimited Link Party 32!
Wow! Thanks Dee!