Hello friends! I am so happy to be back to bring you a quick and easy DIY Christmas decor idea. The economy is kind of rough, so anytime we can make affordable decor, it’s a win! Today’s idea is a double win: a way to make DIY Christmas wall art using a gift bag- 2 different ways! Let’s get right into it.

Christmas Gift Bag Wall Art Supplies:
- Christmas gift bag
- scissors
- hot glue
- Exacto knife
- Quick Grip
- 5 gallon paint stir sticks or
- stretched canvas the size of your gift bag
- spackle

Large Gift Bag Wall Art- Prepare Canvas
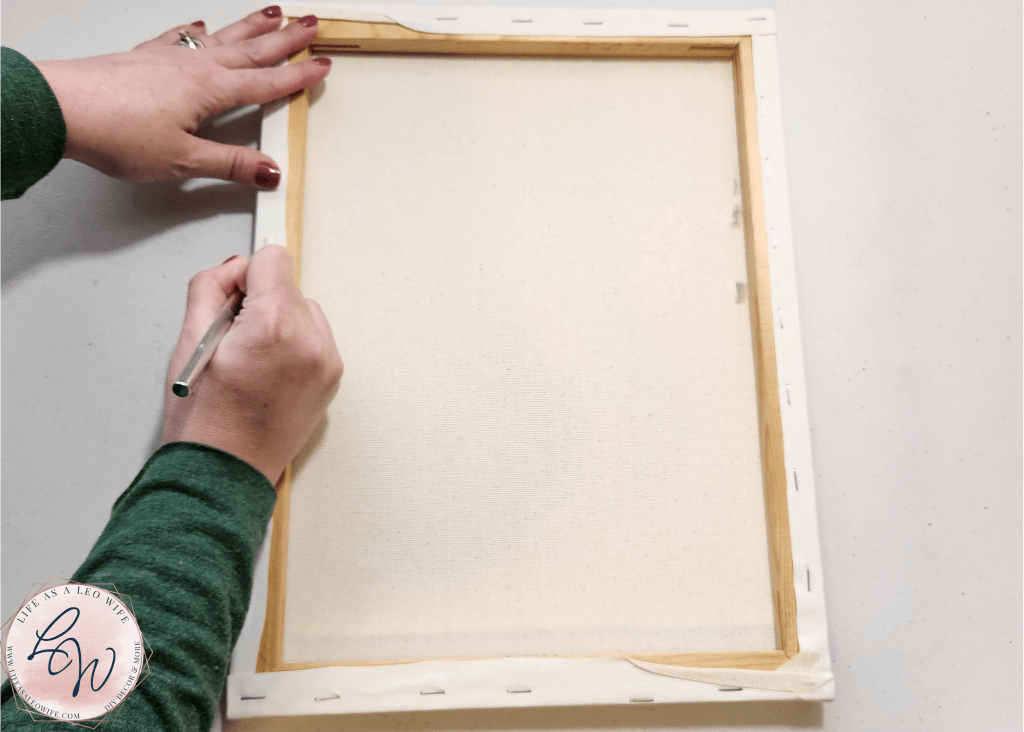
I’ve done a lot of reverse canvas tutorials, so I’m going to give a quick rundown of how to prepare the canvas for your Christmas gift bag wall art.
Turn the canvas over and cut outside the staples with an Exacto knife then remove it.

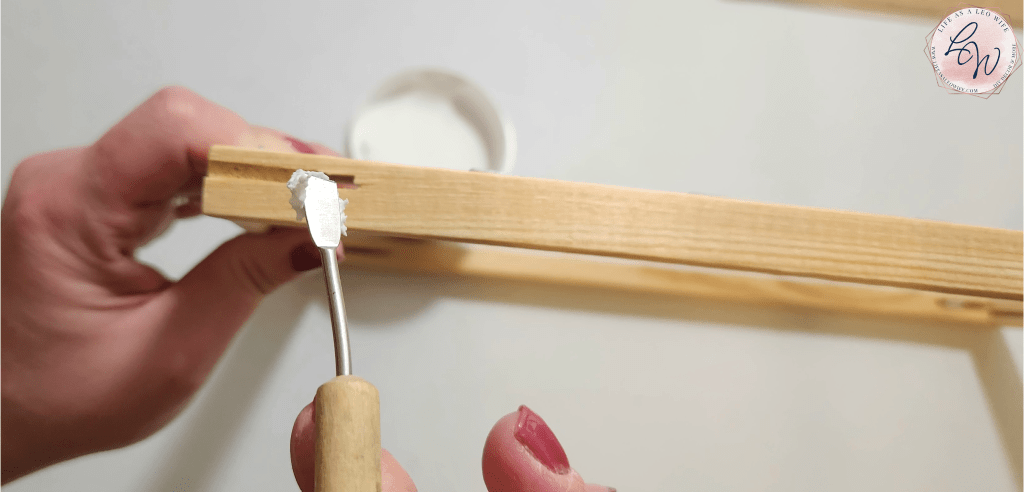
Next, fill any holes in the wood frame that’s under the canvas with spackle. After it’s dry, sand it down. I didn’t get a photo of the sanding process, but you know how to do that I’m sure!
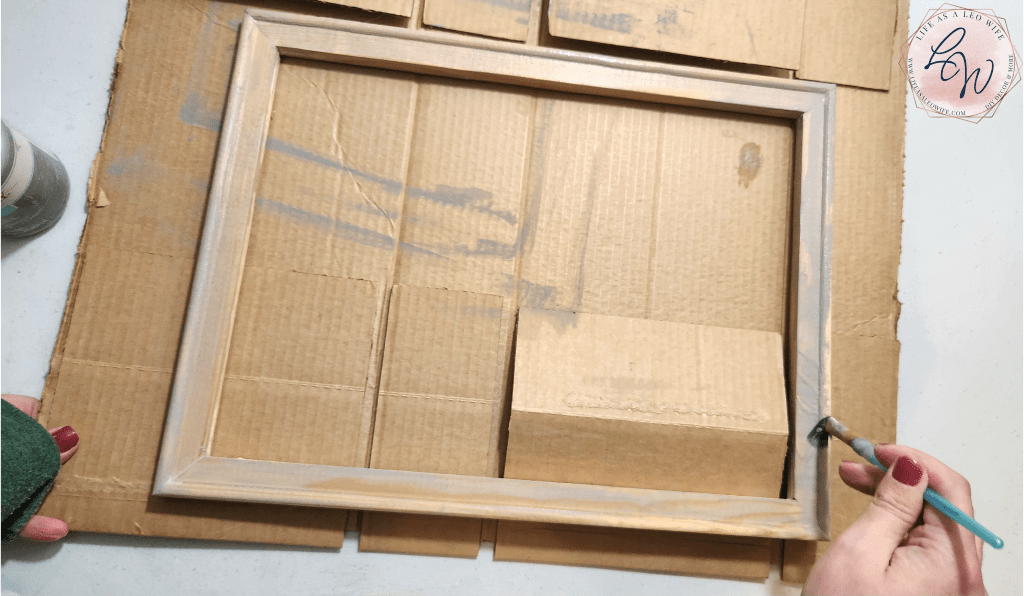
Next, paint or stain the frame. I used gray chalk paint that was watered down so that the stain still showed through a bit.
Glue the Gift Bag to the Frame
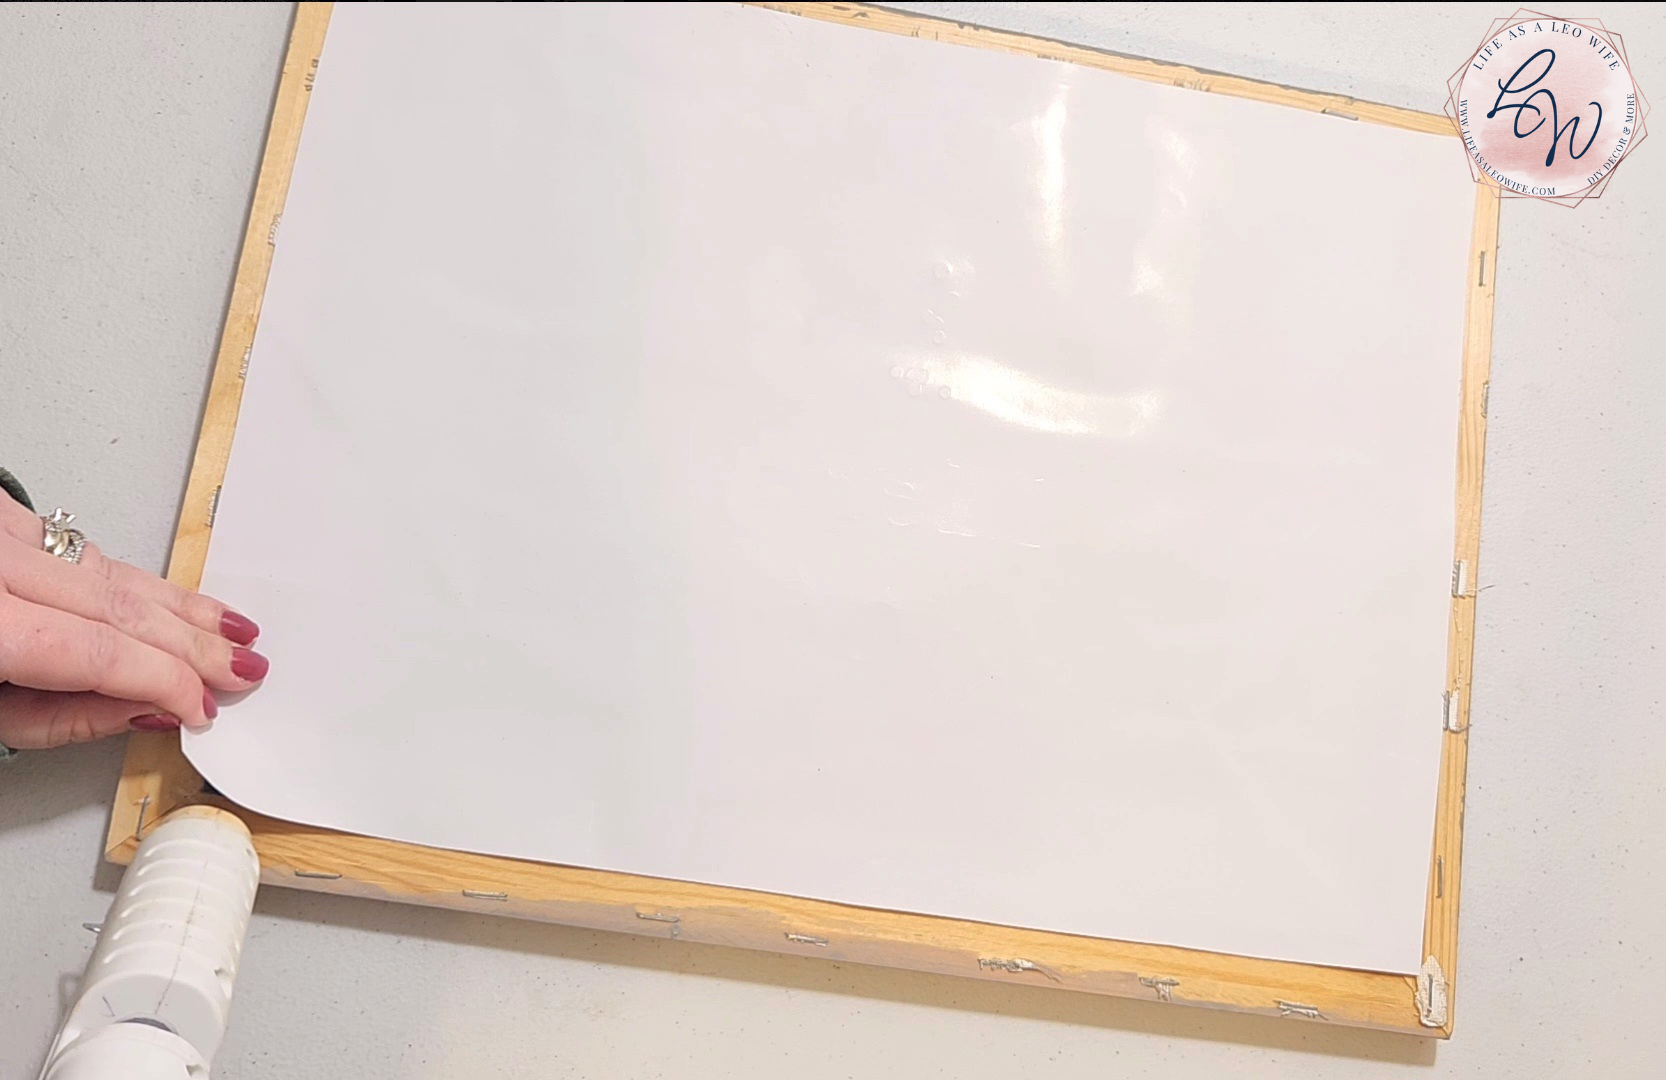
Finally, it’s time to attach the gift bag to the frame.
Cut the bag down a bit if needed. The front of my large bag was about 15×18 so I needed to trim it down a little.

Turn the frame upside down and place the gift bag in the center of it then glue it in place.

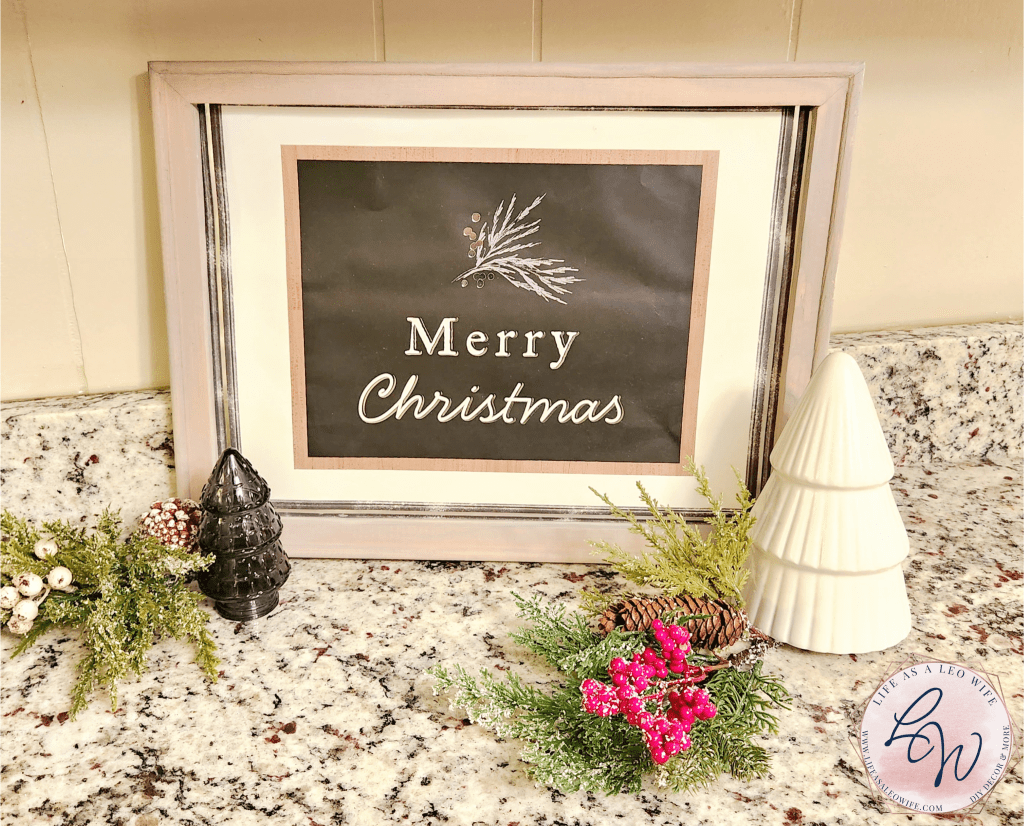
That’s it! Your canvas framed gift bag Christmas wall art is finished!
Small Gift Bag Wall Art with Faux Frame
Next, I made a Christmas wall art piece with a small gift bag and paint stir sticks.
First, remove the handles of the bag.
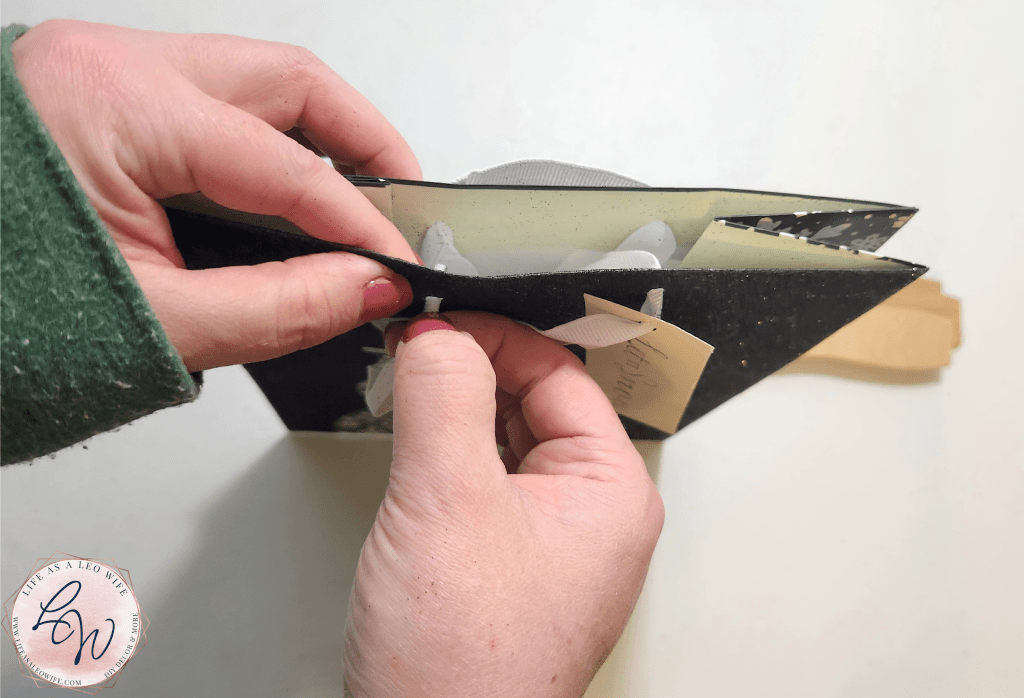
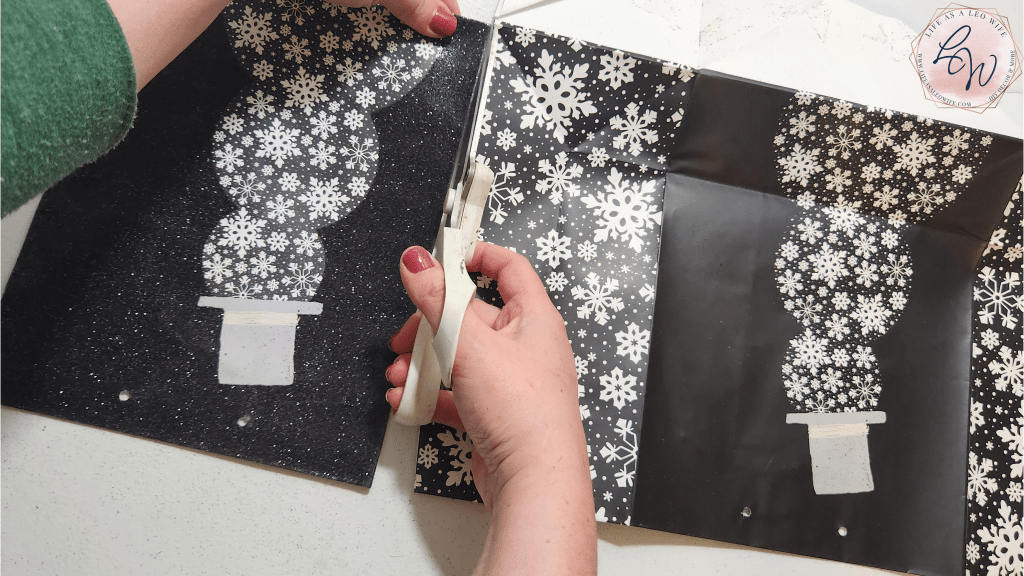
Cut the front of your Christmas gift bag out.
Make a Frame with Paint Stir Sticks
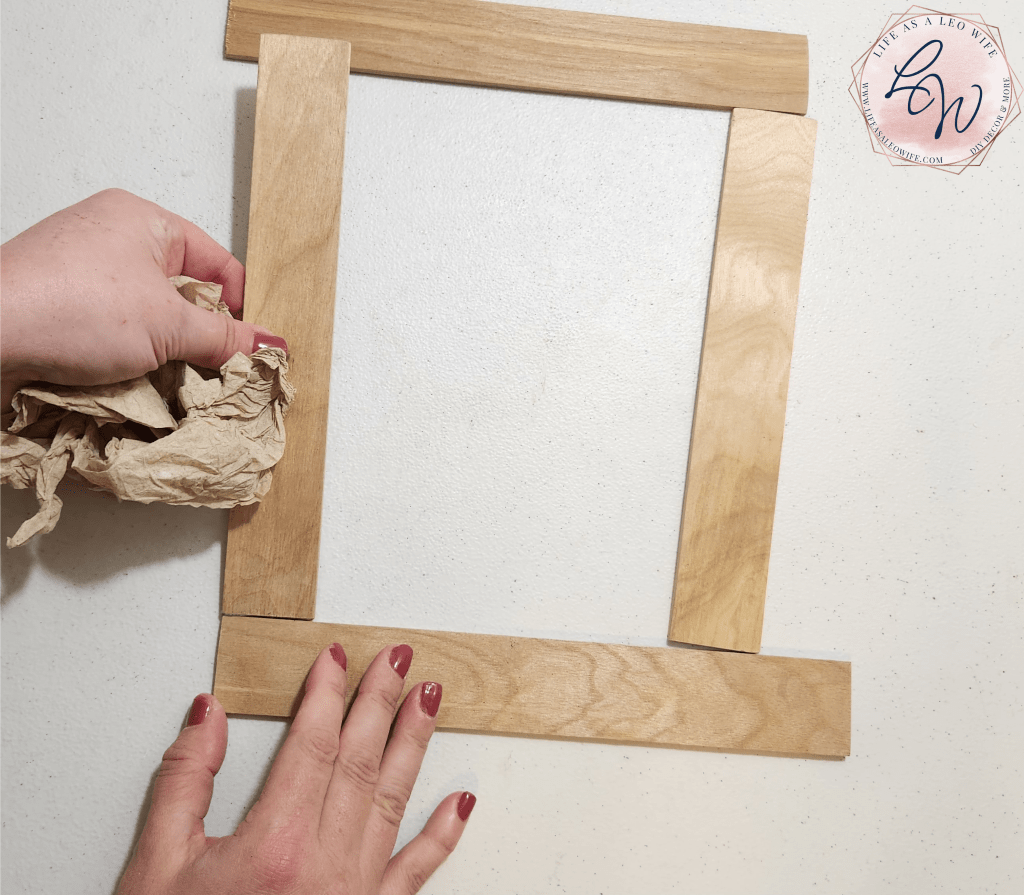
Place a paint stir stick on each side of the gift bag, then one on the top stretching from one side to the other, then mark that edge with a pencil.

Cut two paint stir sticks to the size you marked with a pencil and sand the end when you’re finished.

Next, lay one cut stir stick across the top (over the holes) of the gift bag and two along the side. Once they are lined up, lay the second cut one across the bottom, over the two uncut sticks. Use a pencil to mark the two uncut sticks above the cut one.


Cut those two side paint stir sticks to complete the edges of the Christmas wall art frame.
Next, place the frame near to where they will be when you glue them down. Add Quick Grip to each piece and press the frame together. Quick Grip is amazing and so much better and faster drying than E6000!

Assemble Christmas Gift Bag Wall Art
We are almost finished the second way to make Christmas wall art from gift bags!
Paint or stain the completed stir stick frame.


When it is dry, add hot glue along the edges of the gift bag then place the frame on top of it.
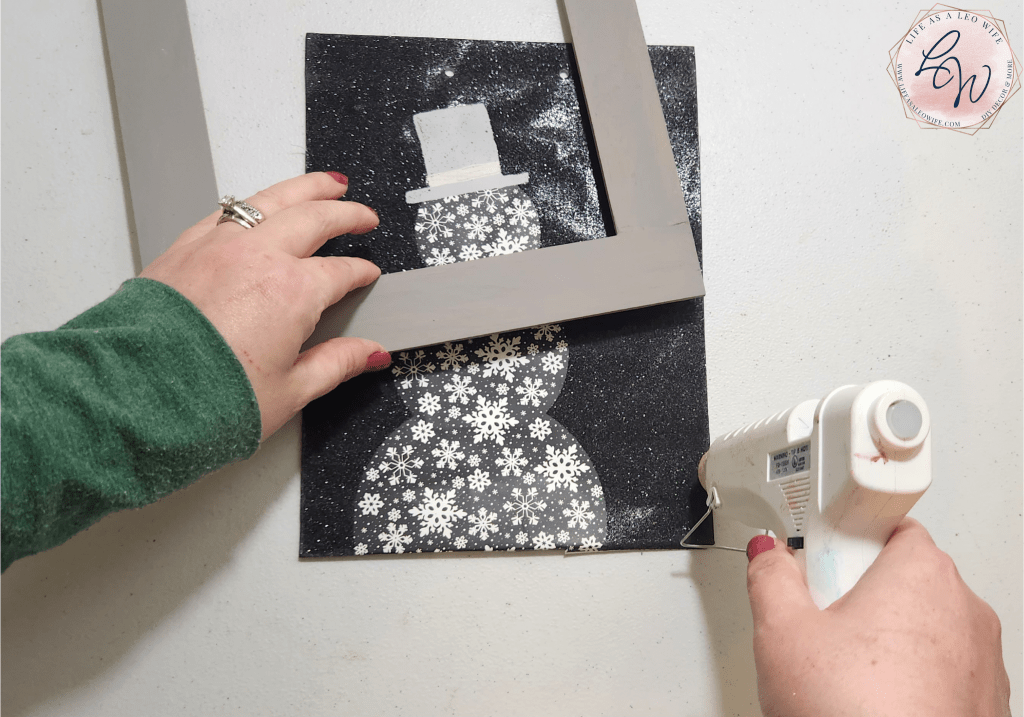
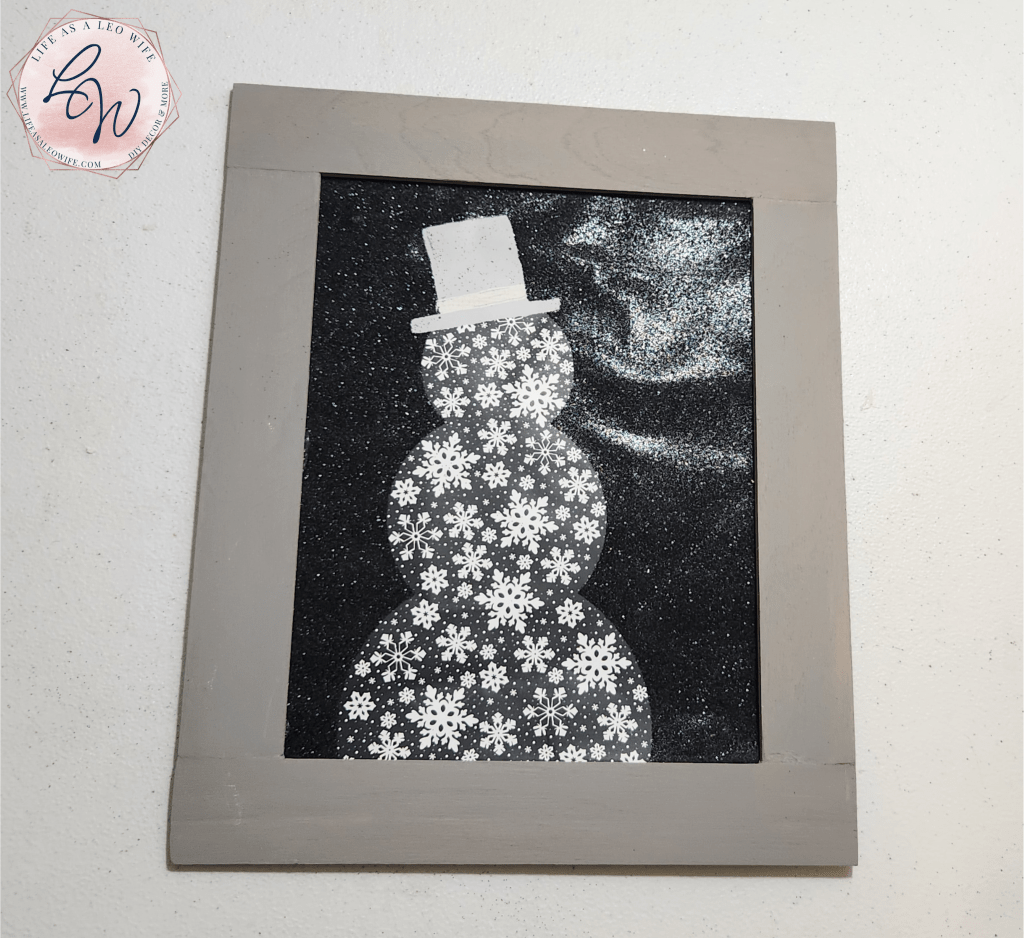
That’s it! Your small gift bag Christmas wall art piece is complete!

I hope you’ve enjoyed this affordable DIY Christmas decor tutorial!
I used these pieces in my master bedroom, and now that I’m back from some health issues, I will be sharing each room in my Christmas decorating. If you’d like to check them out before I get a chance to write about them, head over to my Facebook page to check out each of the decorating videos where you’ll see me decorate the rooms step by step! If you’d like to see the master bedroom decor video, you can check it out here.
Remember to pin the image below or share this post with the buttons on the left side of the page so you can find it when you’re ready to start your project! Also, follow me on Pinterest for new ideas added weekly! Be sure that you never miss a great tutorial for decor like wreaths, signs and other home decor, free printables, crafts, and other fun posts! Enter your email address below to be notified of new posts! Use the buttons below to follow me on social media for other great content.

Don’t go yet! There’s more to see!
There’s plenty more to see here on the blog! If you’re looking for something specific, use the search box in the sidebar to look it up. If not, you might enjoy these ideas. Don’t have time to read them all now? That’s ok, just click over to the posts using the pictures and pin them for later. You can also add Life as a LEO Wife to your favorites and check back for new ideas and free printables and SVGs every Wednesday, as well as link parties with tons of shared ideas on Sundays!


One thought on “Easy & Affordable Wall Art from Christmas Gift Bags: 2 Different Ways!”