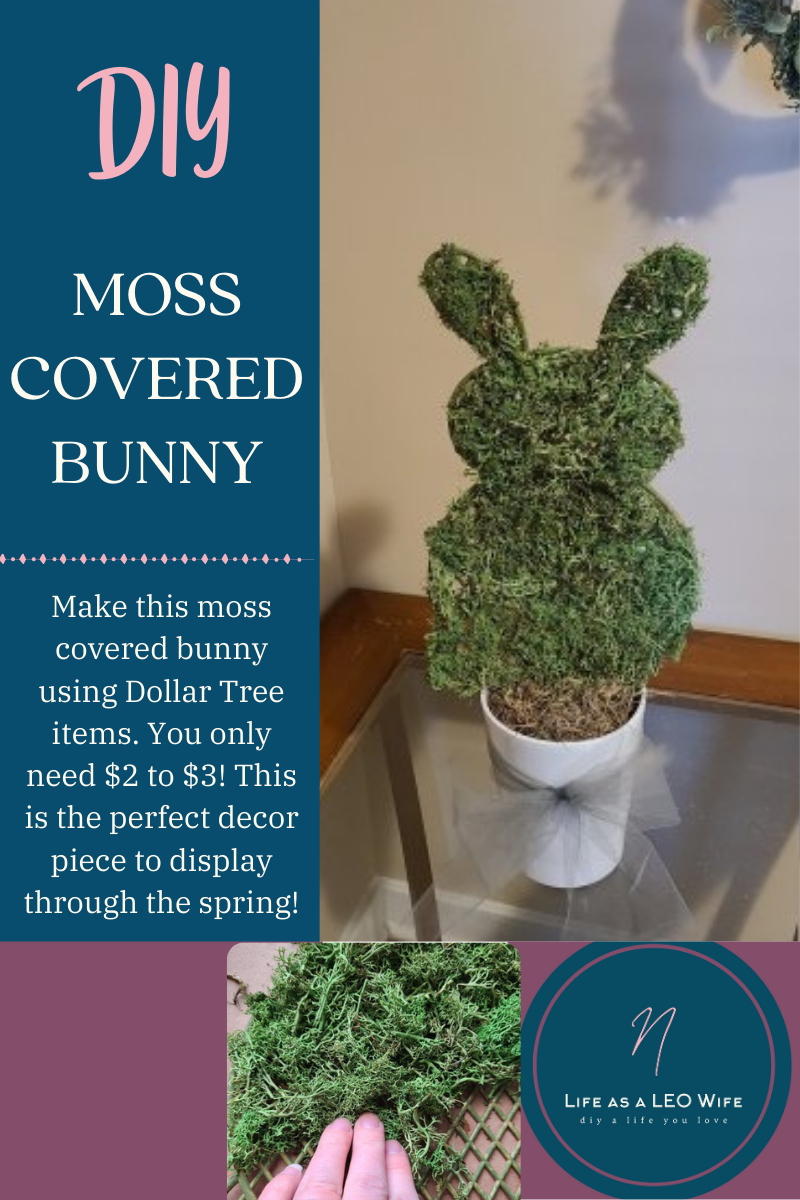
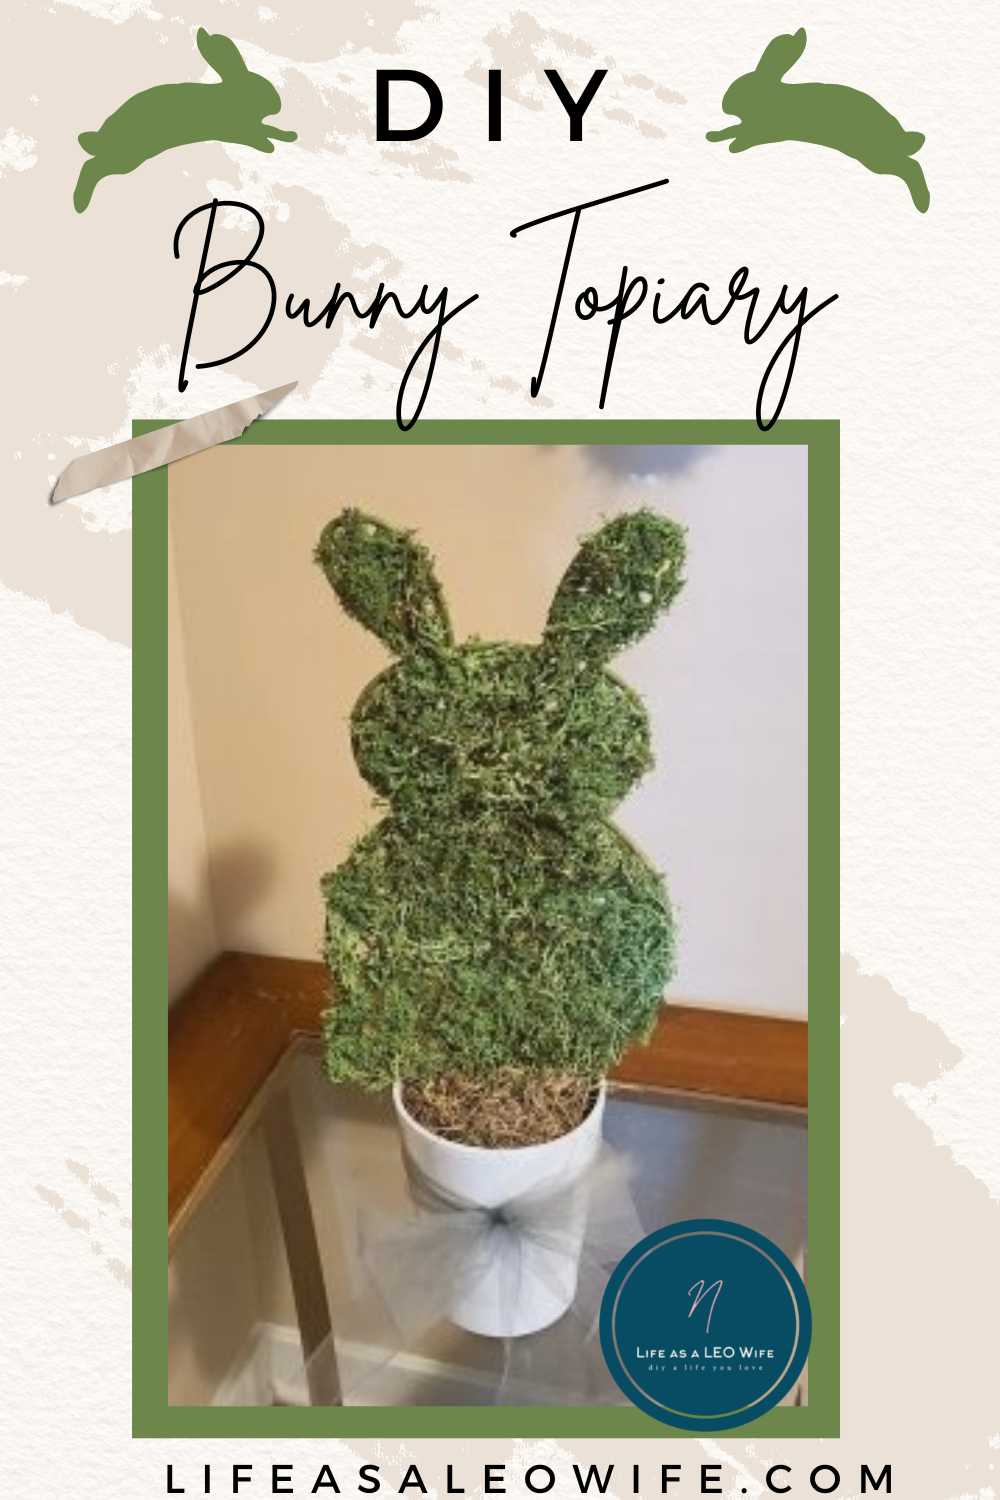
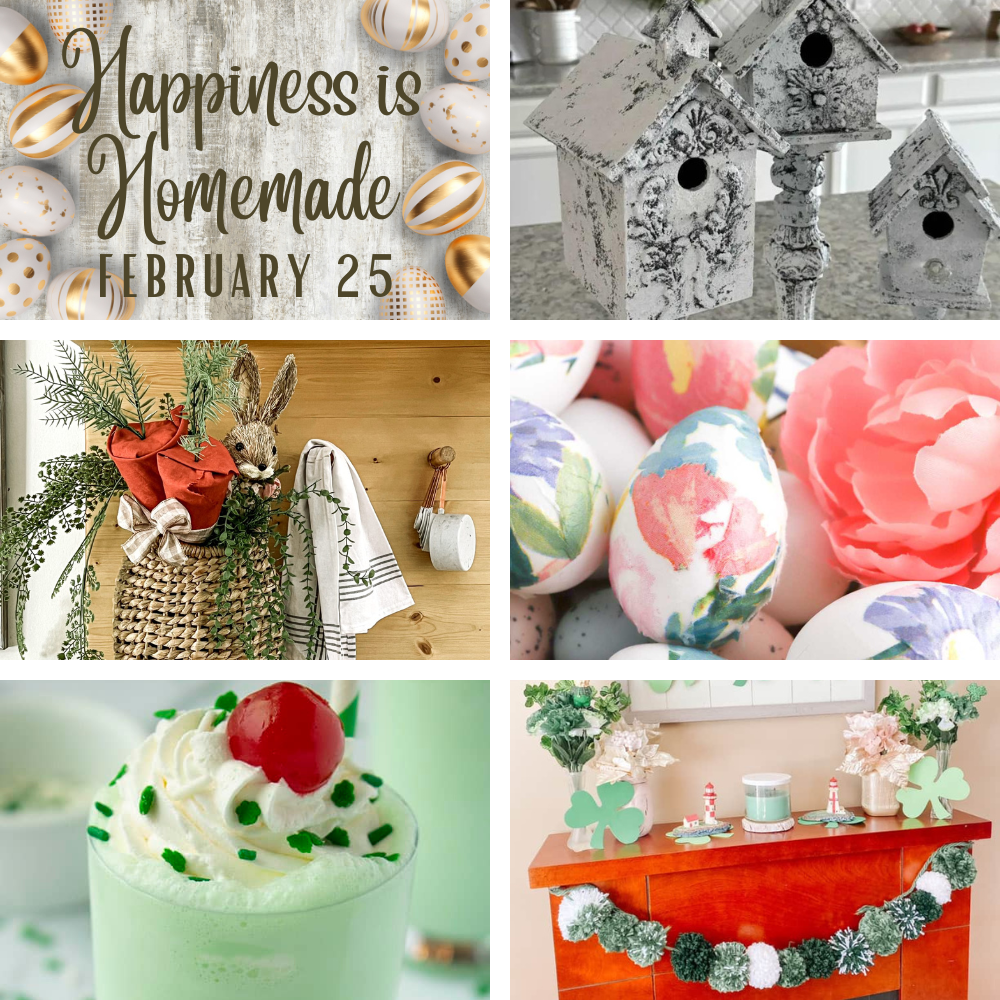
Two years ago I got this bunny from Dollar Tree, and I decided to make a moss covered bunny with it. It started off as a grid-type pink bunny with whiskers and two stakes to plant it in the yard. Until a week ago I wasn’t sure what I wanted to with it. I love the moss decor that I’ve seen around, and my dining room is set up with a neutral theme this spring. I thought this was the perfect time to make a moss covered bunny topiary of my own. It turned out great, so I am giving you the tutorial to make you own.
Supplies you need for the moss covered bunny topiary:
- bunny shaped garden stake
- reindeer moss
- chalk paint in a dark green that matches the moss & a paint brush
- flower pot or vase
- Spanish moss
- adhesive spray or craft glue
- wire cutters or something similar

Prep the bunny then paint it.
The pink rabbit comes with three whiskers that extend out of both sides. Use wire cutters to cut them off. Make sure to get all the way to the base. There shouldn’t be anything extending out from the it.
Paint the bunny using the green chalk paint or other dark green paint. If your it will only be seen from one side, you only have to paint the front. If you are placing it where both sides will be seen, paint the front and the back.

Begin to add the moss.
Reindeer moss was so hard to find this year. I’ve been to four Dollar Trees, several times each, to find more, but no luck. When you see it in your stores, grab up a few. My husband picked up some moss from Hobby Lobby, but it wasn’t reindeer moss, it was some kind of preserved moss. The color between the two is way different, so I couldn’t add it to mine. Thus, my bunny is covered, but I would definitely like to add more moss when I find it.
Starting at the top of the rabbit, spray the adhesive glue on a small section. If you are using liquid glue, squeeze it along all of the lines in a small section to start. Pull pieces of moss and begin adding them to the bunny in the places you have glue. If you have more than one pack of moss, you can be liberal when adding it, but if you only have one make sure to spread it thin so it will all be covered.
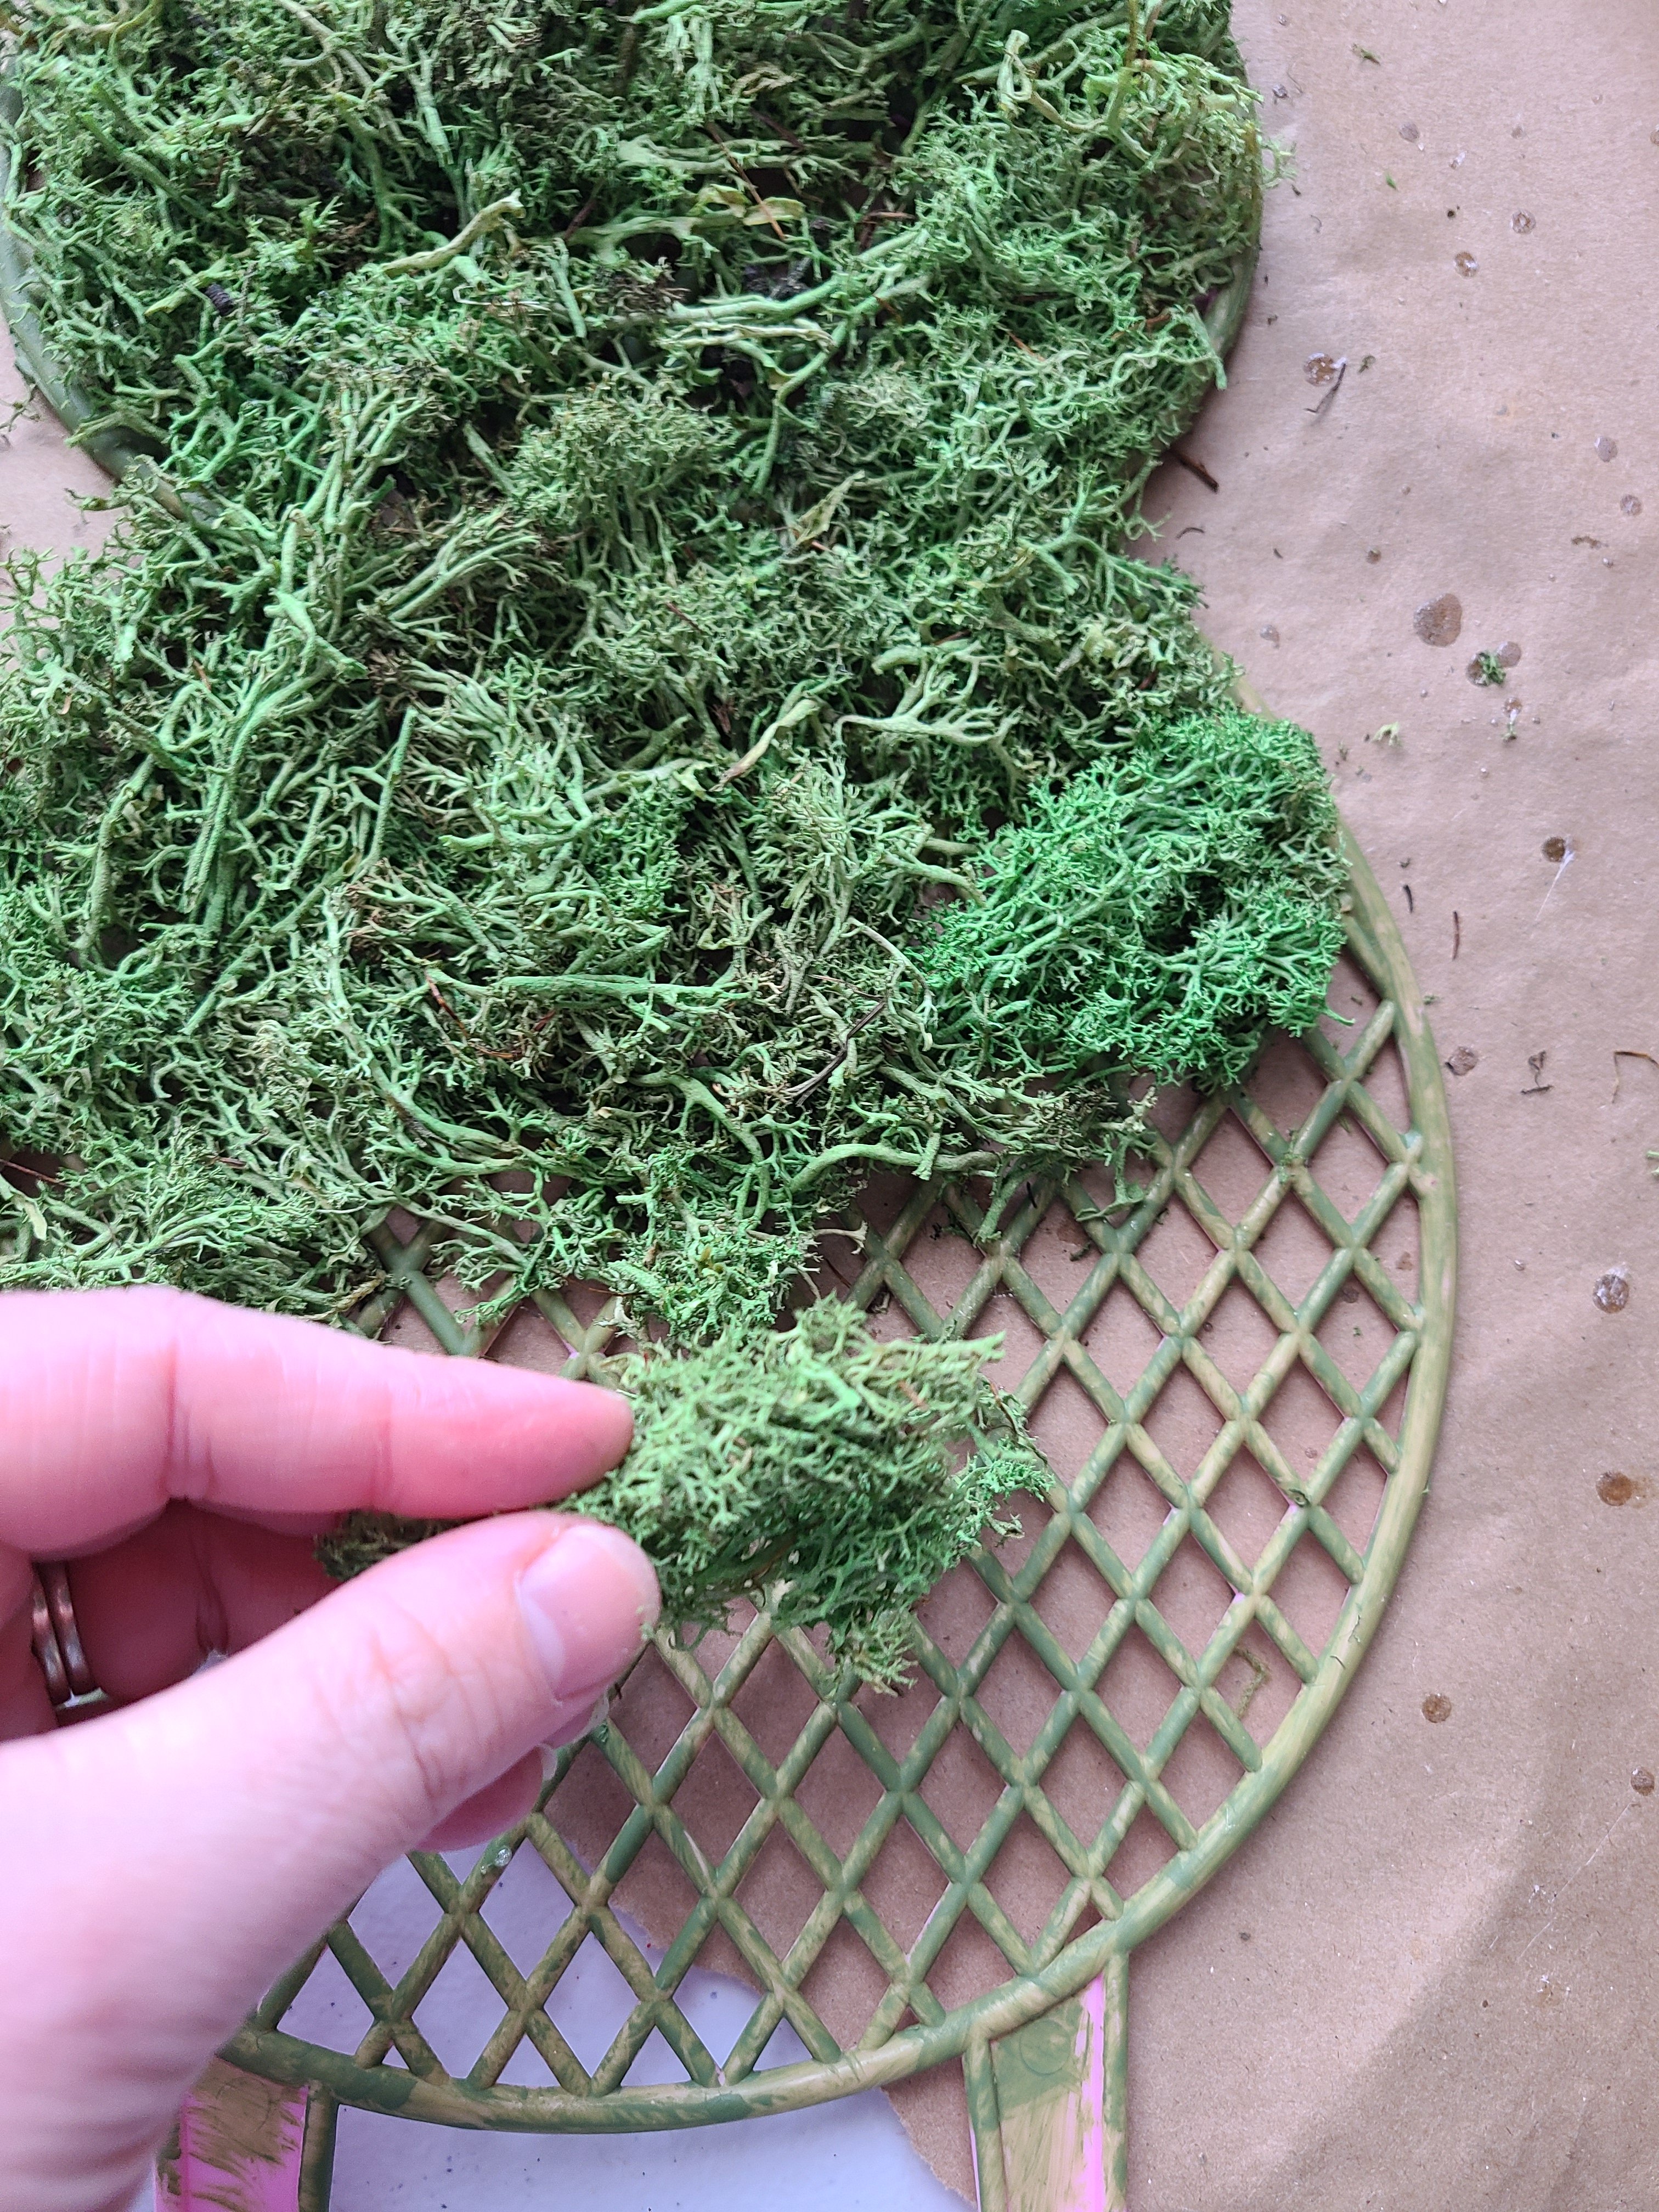

Continue adding glue then moss until the bunny is completely covered.
Display your moss covered bunny.
There are many ways you can display the moss covered bunny. You can cut the stakes off and use it as a wreath on your door or wall. I chose to use mine as a spring topiary.
To do that you need a vase or flowerpot, floral foam, Spanish moss or decorative rocks, and tulle or ribbon to add a bow if you choose. Put the floral foam in the vase then push the stakes into the foam. Next, cut pieces of the moss and place it the flowerpot over the floral foam. I used about two pinches of the moss because the foam takes up most of the pot.

Cut off enough tulle or ribbon to wrap around the flower pot then tie into a bow. Once it’s tied, cut off any extra tulle that’s hanging past the vase/pot.
That’s it! Your topiary is complete!
You are now ready to show off the work of art that’s your moss covered bunny! Mine is on a corner table in my dining room. I have another table exactly like it in the other corner. If I can find another bunny, I will be making one for it as well.


If you enjoyed this bunny topiary, you will love my smaller bunny topiary tutorial. There are three bunny shaped templates that you can download and use for free for your own! All you need is cardboard and terracotta pots from Dollar Tree!
Remember to pin the image below or share this post with the buttons on the left side of the page so you can find it when you’re ready to start your project! Also, follow me on Pinterest for new ideas added weekly! Be sure that you never miss a great tutorial for decor like wreaths, signs and other home decor, free printables, crafts, and other fun posts! Enter your email address below to be notified of new posts! Use the buttons below to follow me on social media for other great content.


Love your moss bunny. Congratulations, you are being featured at Over The Moon Party. I hope you stop by.
https://www.eclecticredbarn.com/2021/03/over-moon-linky-party_28.html
Hugs,
Bev
Thanks so much for joining us for our Love to Craft Challenge for March 2021.
We hope to see you again soon,
Lou DT xo
JemLou Productions
You’re welcome! I will be back for sure. If you’d like to, I work with two groups of lovely ladies in two link parties. Happiness is Homemade runs from Sunday to Thursday, new posts are put up on Sunday, and You’re the Star Blog Hop runs from Monday to Friday, new posts are up on Mondays. We’d love to see you around!